
There are seven Scenic Spots scattered around the world in Final Fantasy VII Rebirth and these give you the opportunity to capture the breathtaking sights while getting rewarded for it. On this page, we’ll provide you with the necessary steps to finding all seven scenic spots.
Capturing Scenic Spots
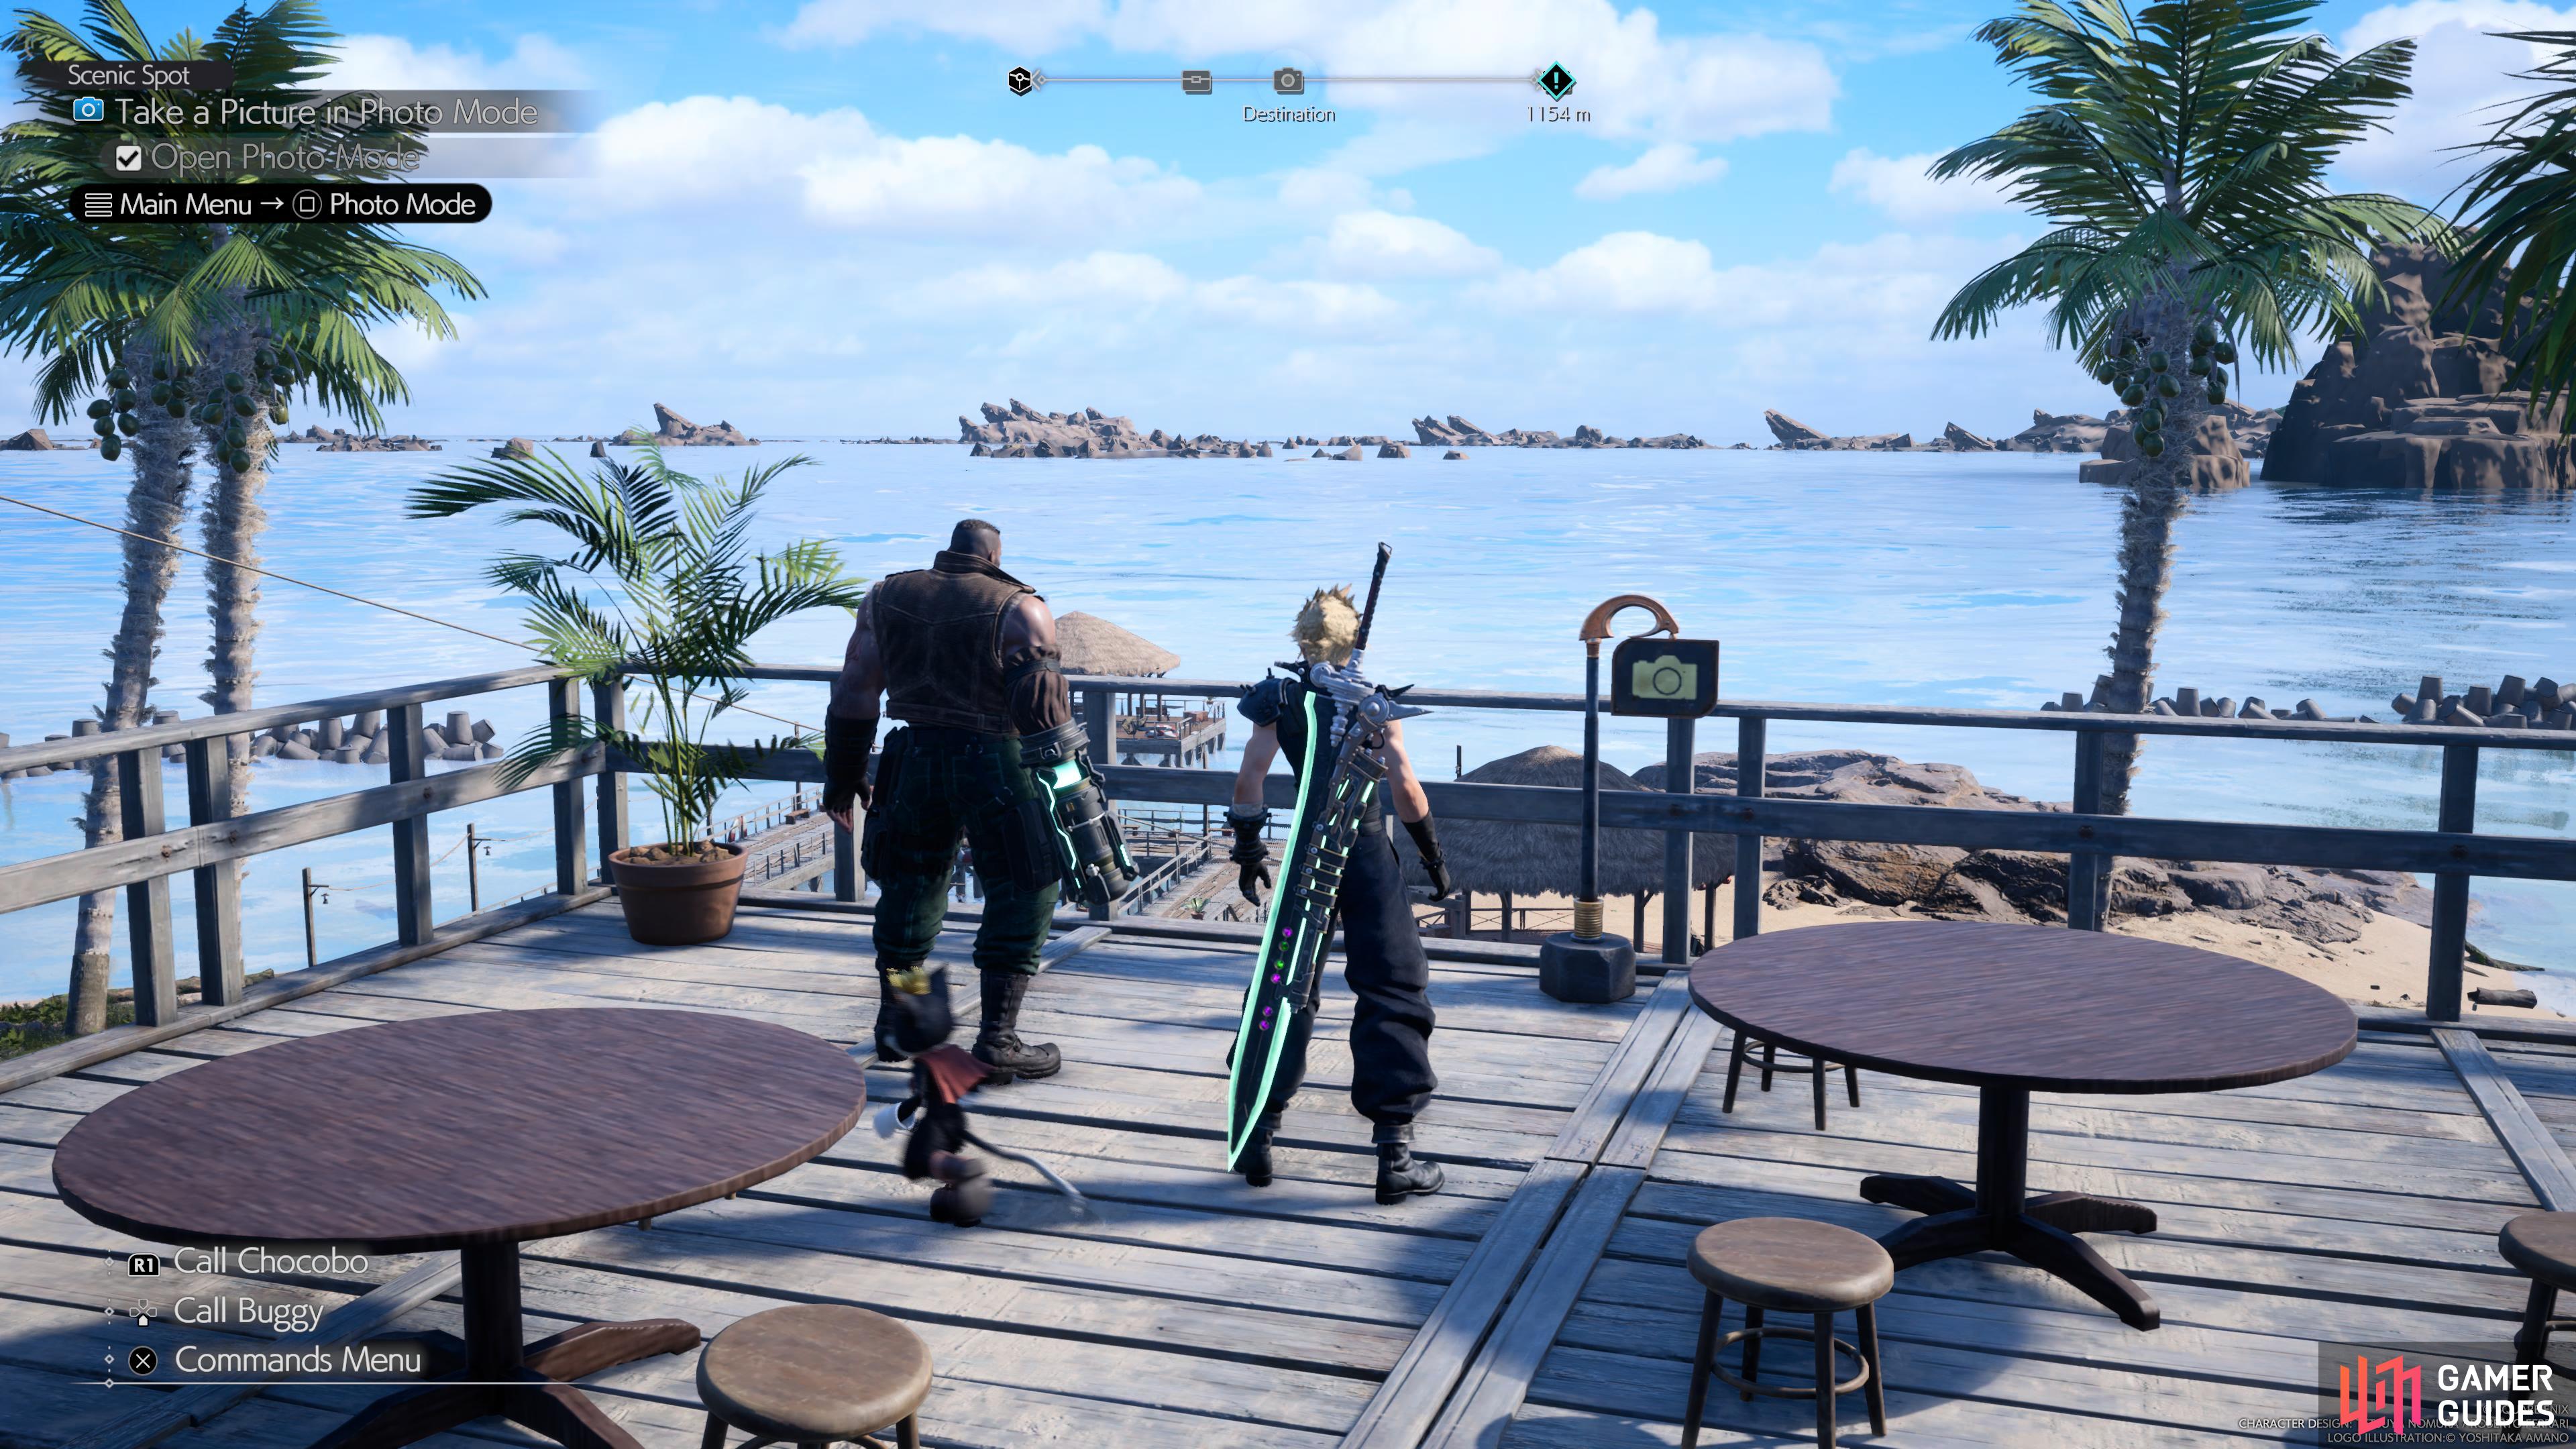
All you need to do in order to complete the objective given by Snaps is to head over to the scenic spot sign and open up the menu, then press square  to open up photo mode and take a picture using the screenshot button on the DualSense. However, you don’t have to actually take the screenshot if you don’t want to, as simply opening up the photo mode will complete the objective.
Scenic Spots Rewards
Every time you hand in a new photo you’ll be rewarded with the following filters:
| Region | Filter |
|---|---|
| Grassland | Grassland Skies |
| Junon | Junon Undersea |
| Corel | Costa Tropical Filter |
| Corel | Corel Mirage Filter |
| Gongaga | Gongaga Green Filter |
| Cosmo Crimson Filter | |
| Nibel | Nibel Nostalgia Filter |
| – | Cosmopolitan Chic Filter |
Scenic Spot Location #1 - Grasslands Region
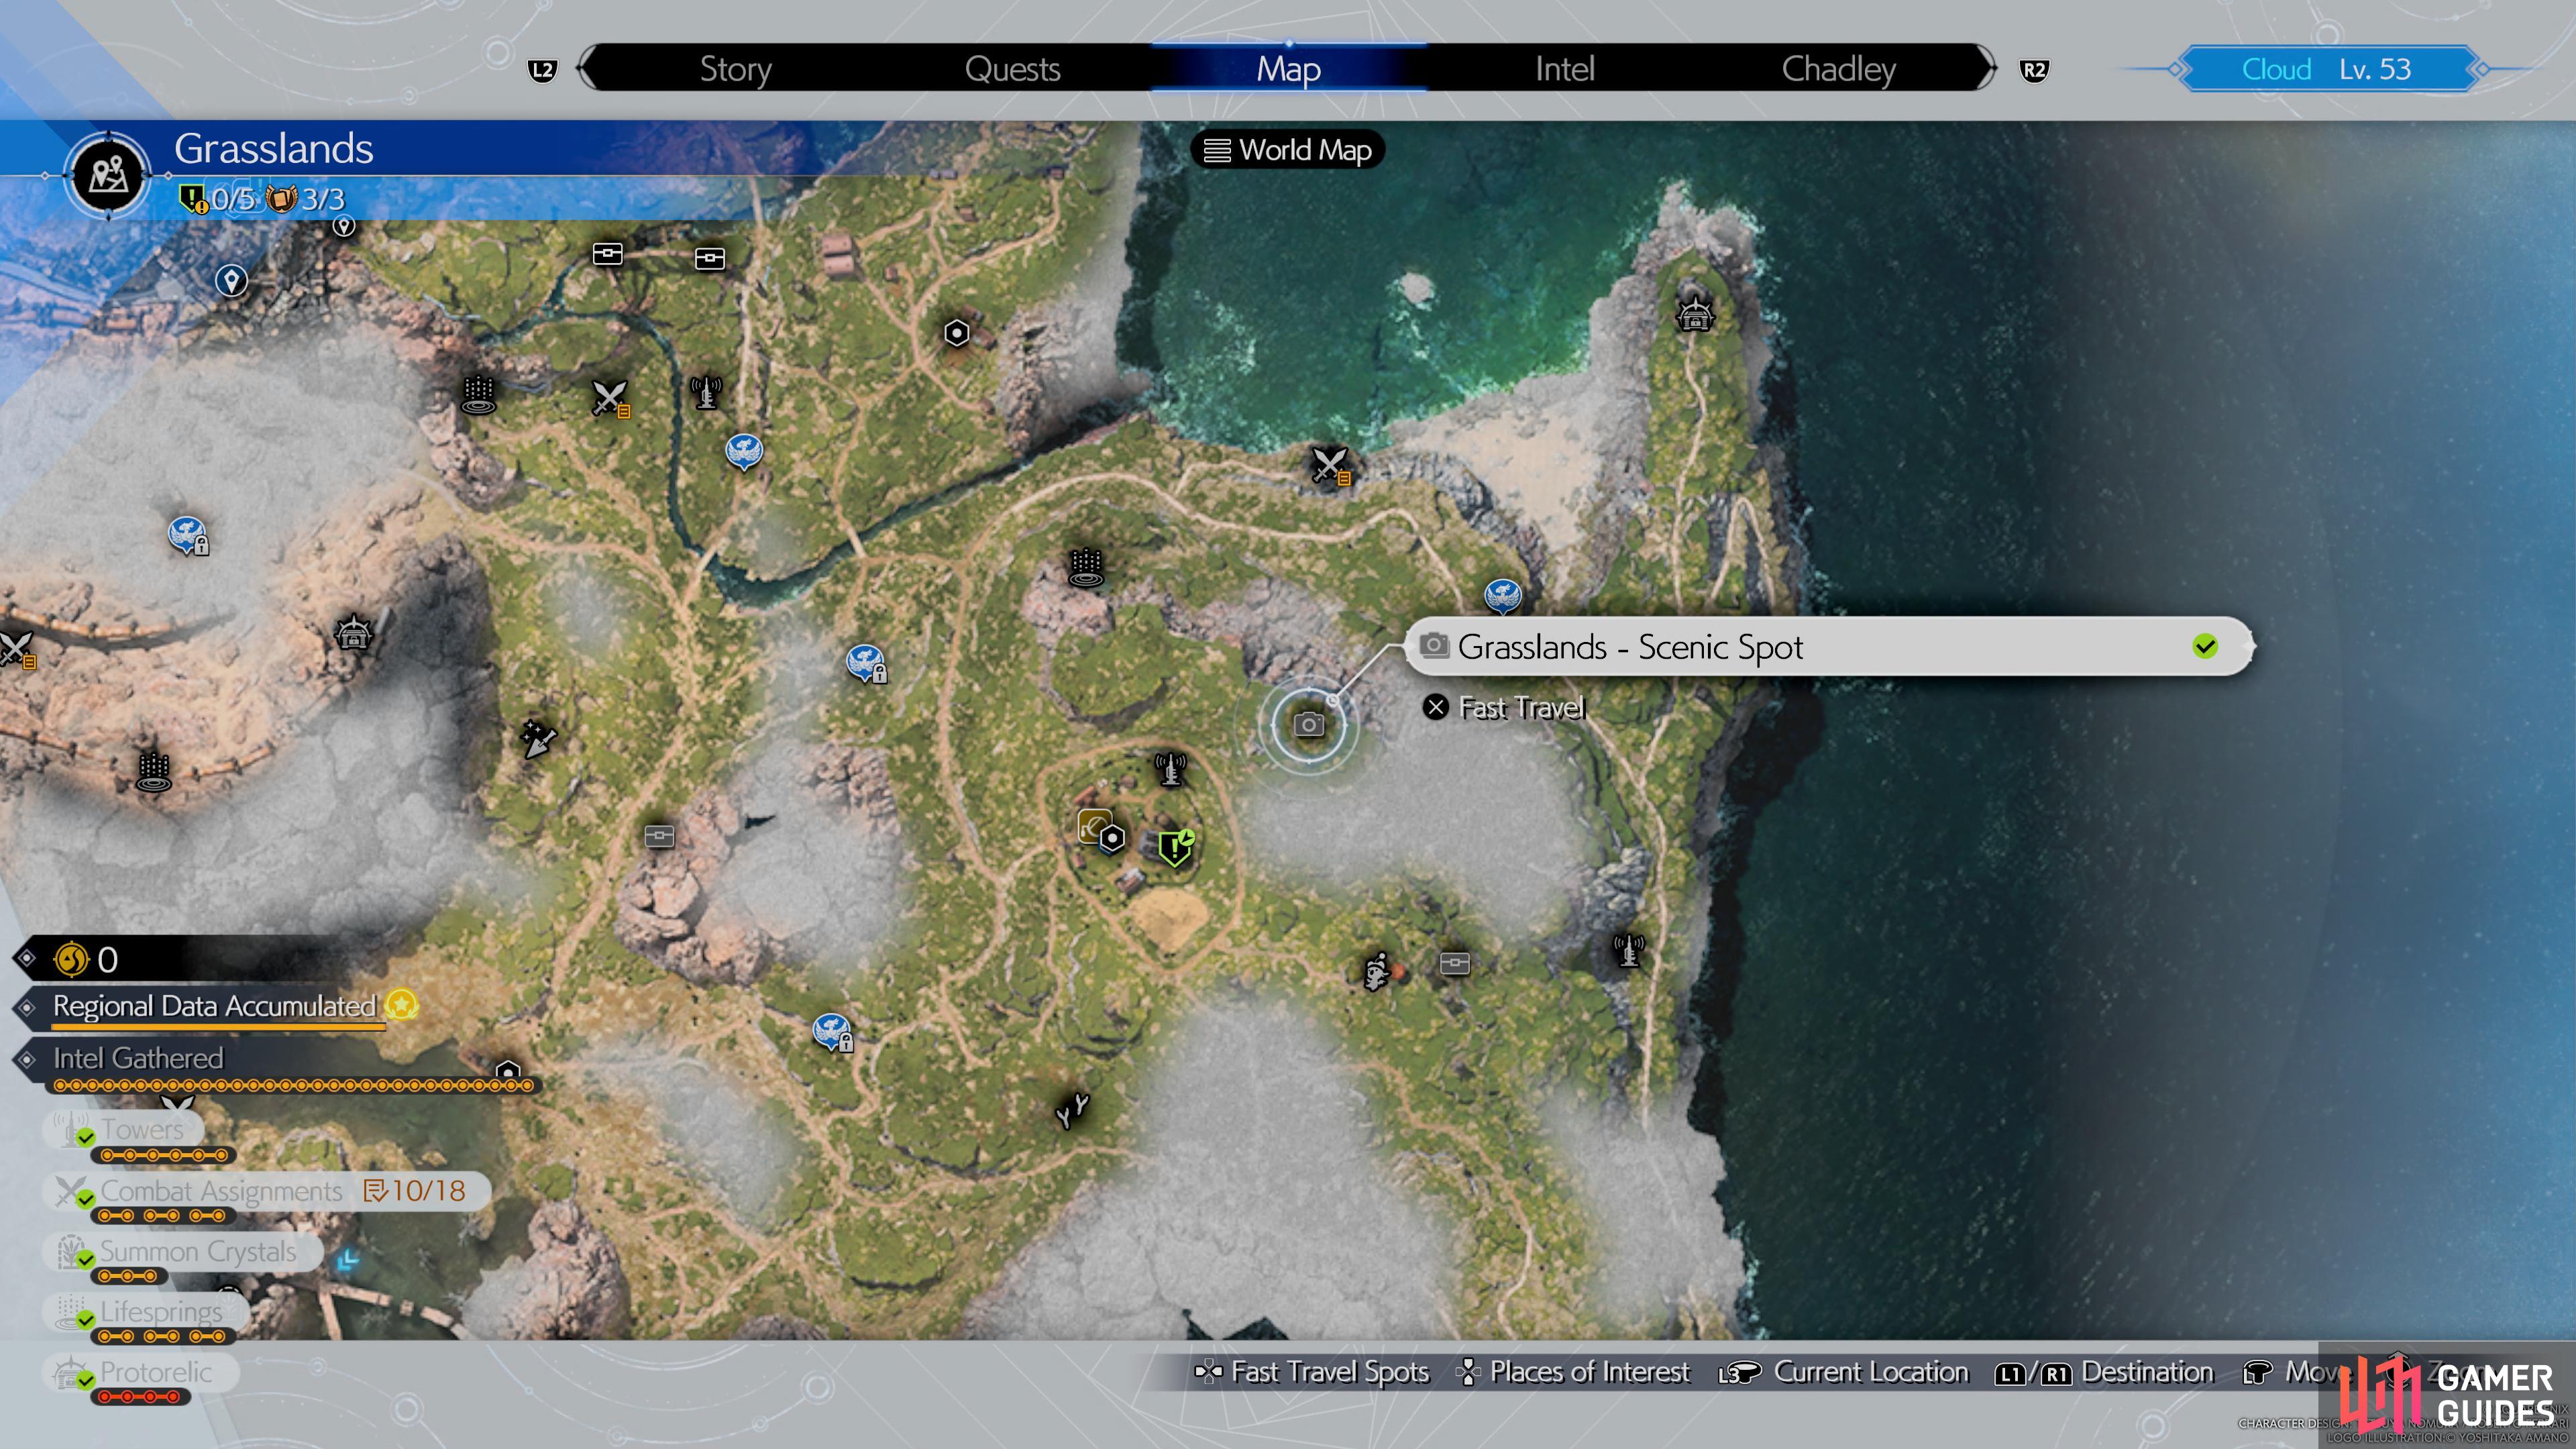


(1 of 2) Head to this location on the map
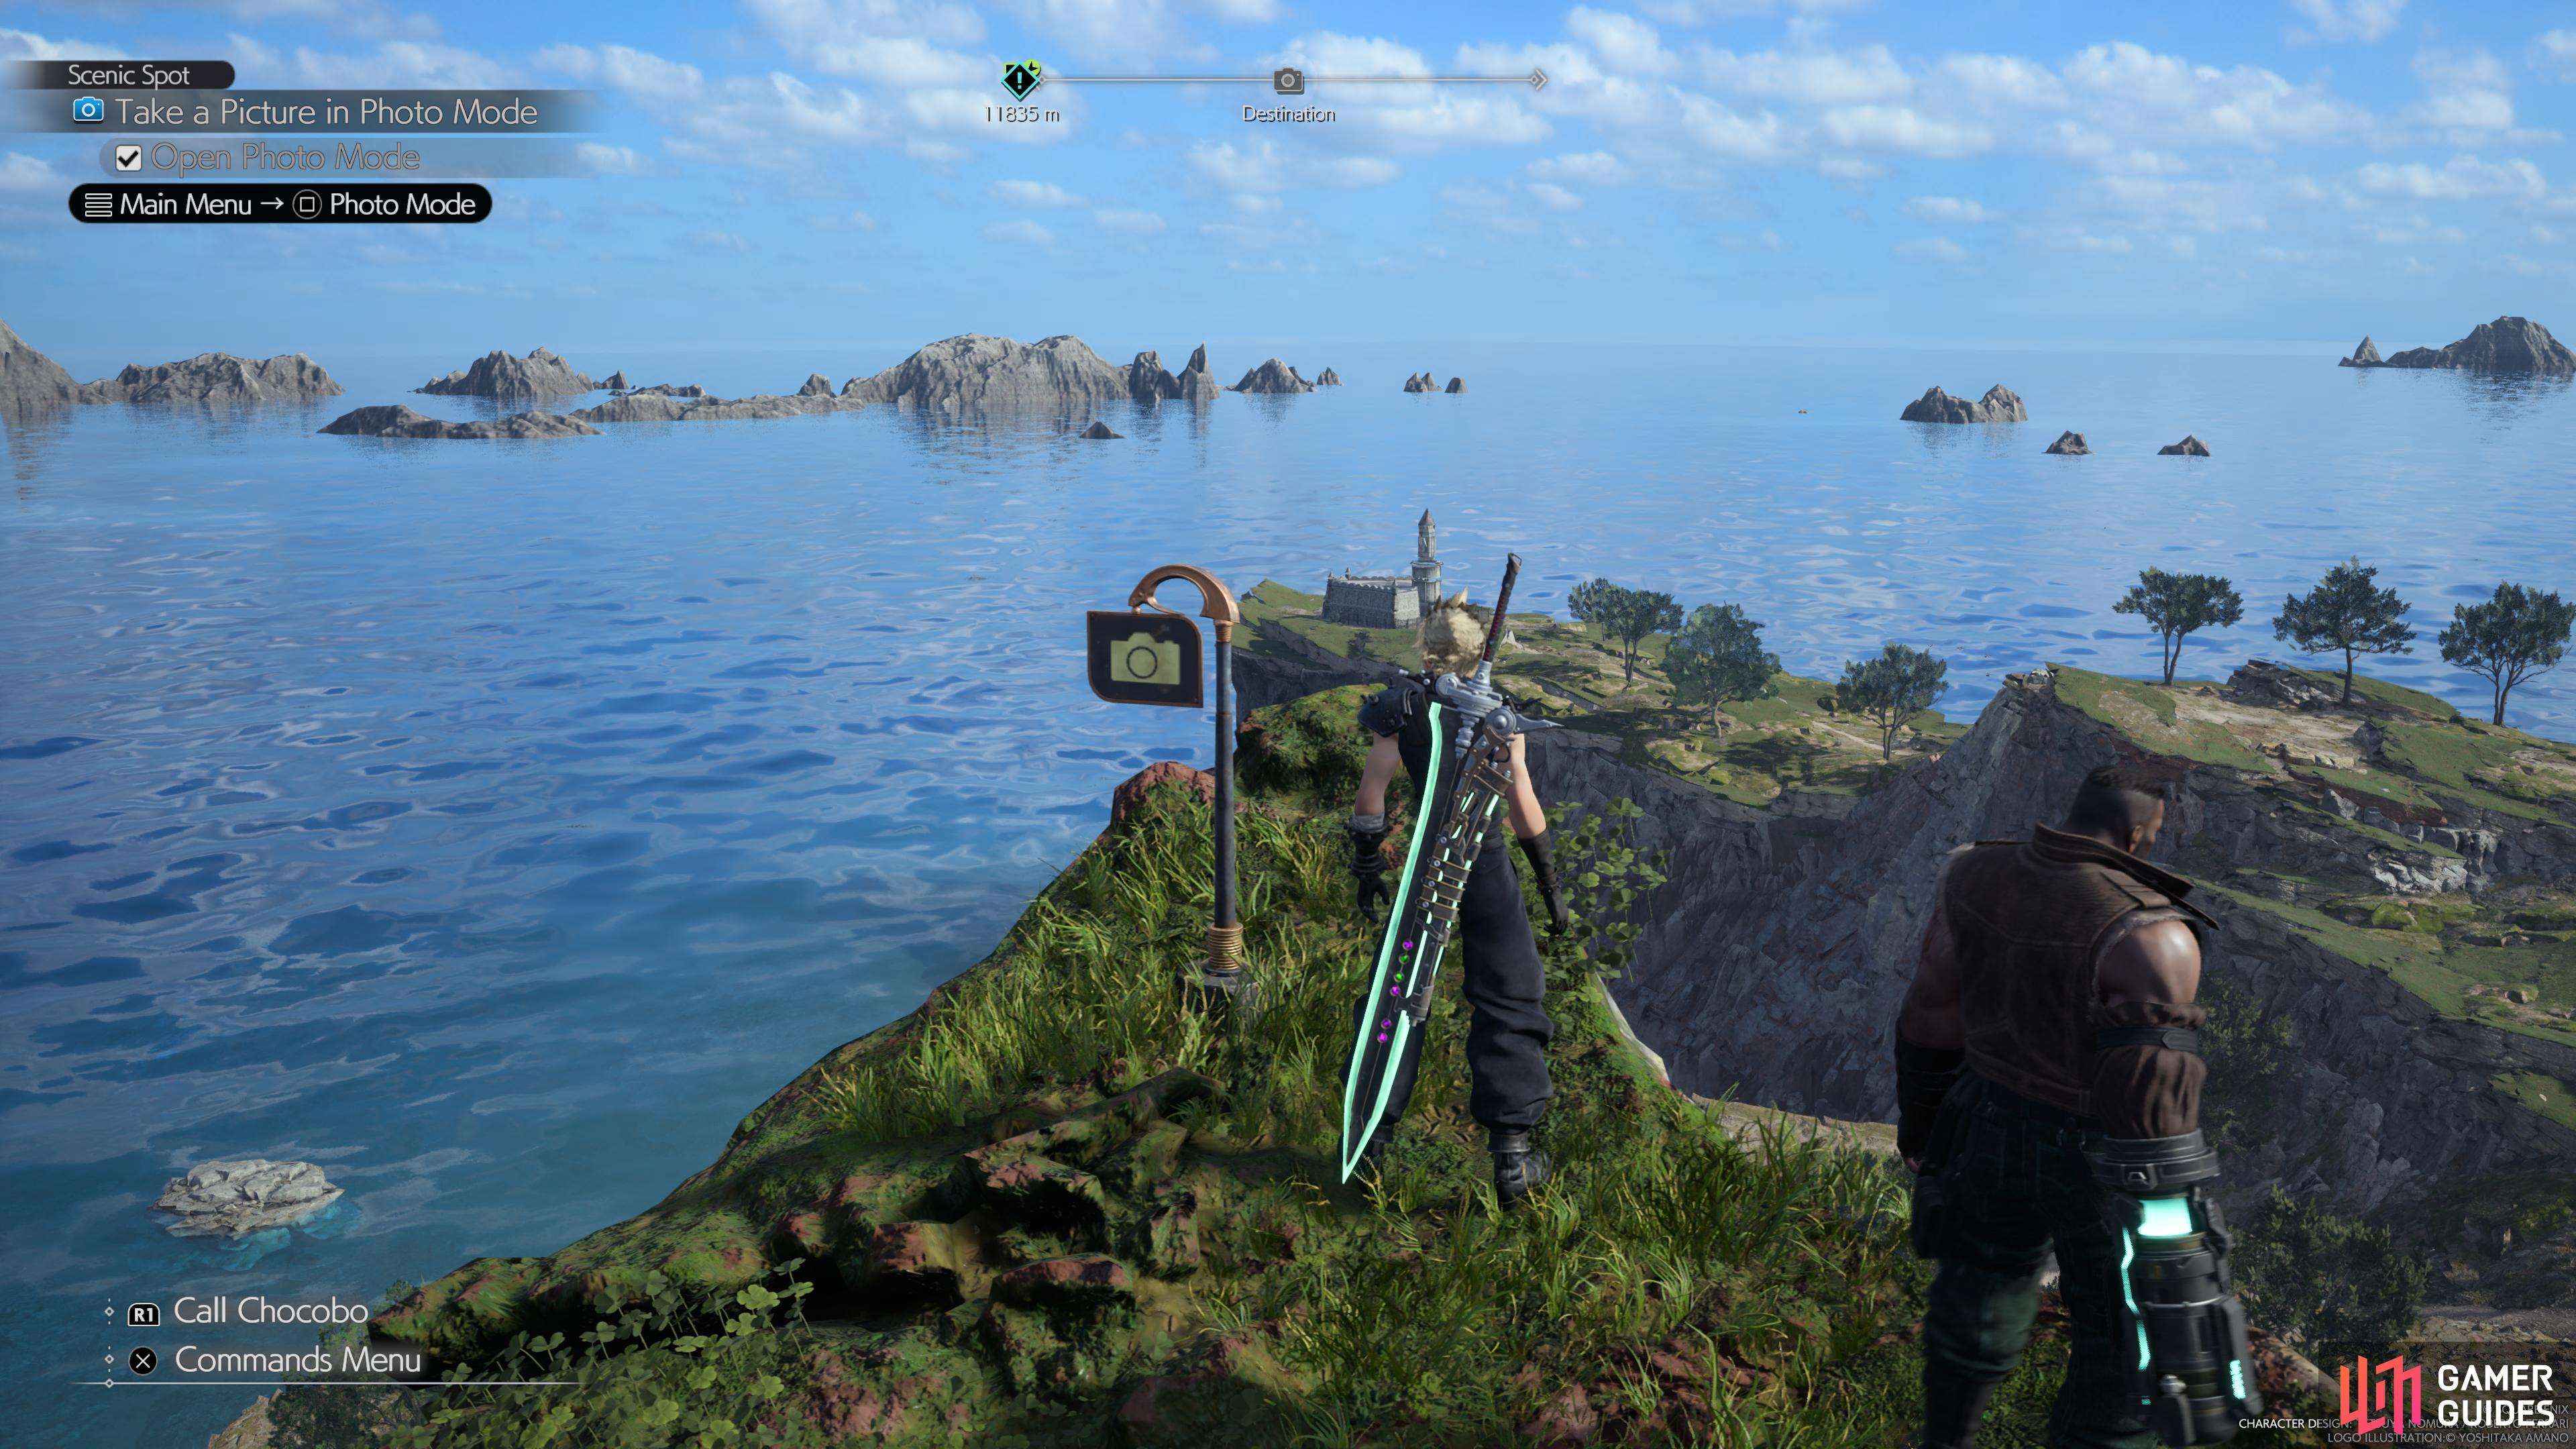
Head to this location on the map (left), to find the grasslands scenic spot. (right)
Once you’ve made it to the ![]() Grasslands Region in Chapter 2, you’ll want to speak with Snaps who can be found in the southwest corner of
Grasslands Region in Chapter 2, you’ll want to speak with Snaps who can be found in the southwest corner of ![]() Kalm. This will place the Scenic Spots location on your map and then it can be found to the northeast of
Kalm. This will place the Scenic Spots location on your map and then it can be found to the northeast of ![]() Bill’s Ranch Tower.
Bill’s Ranch Tower.
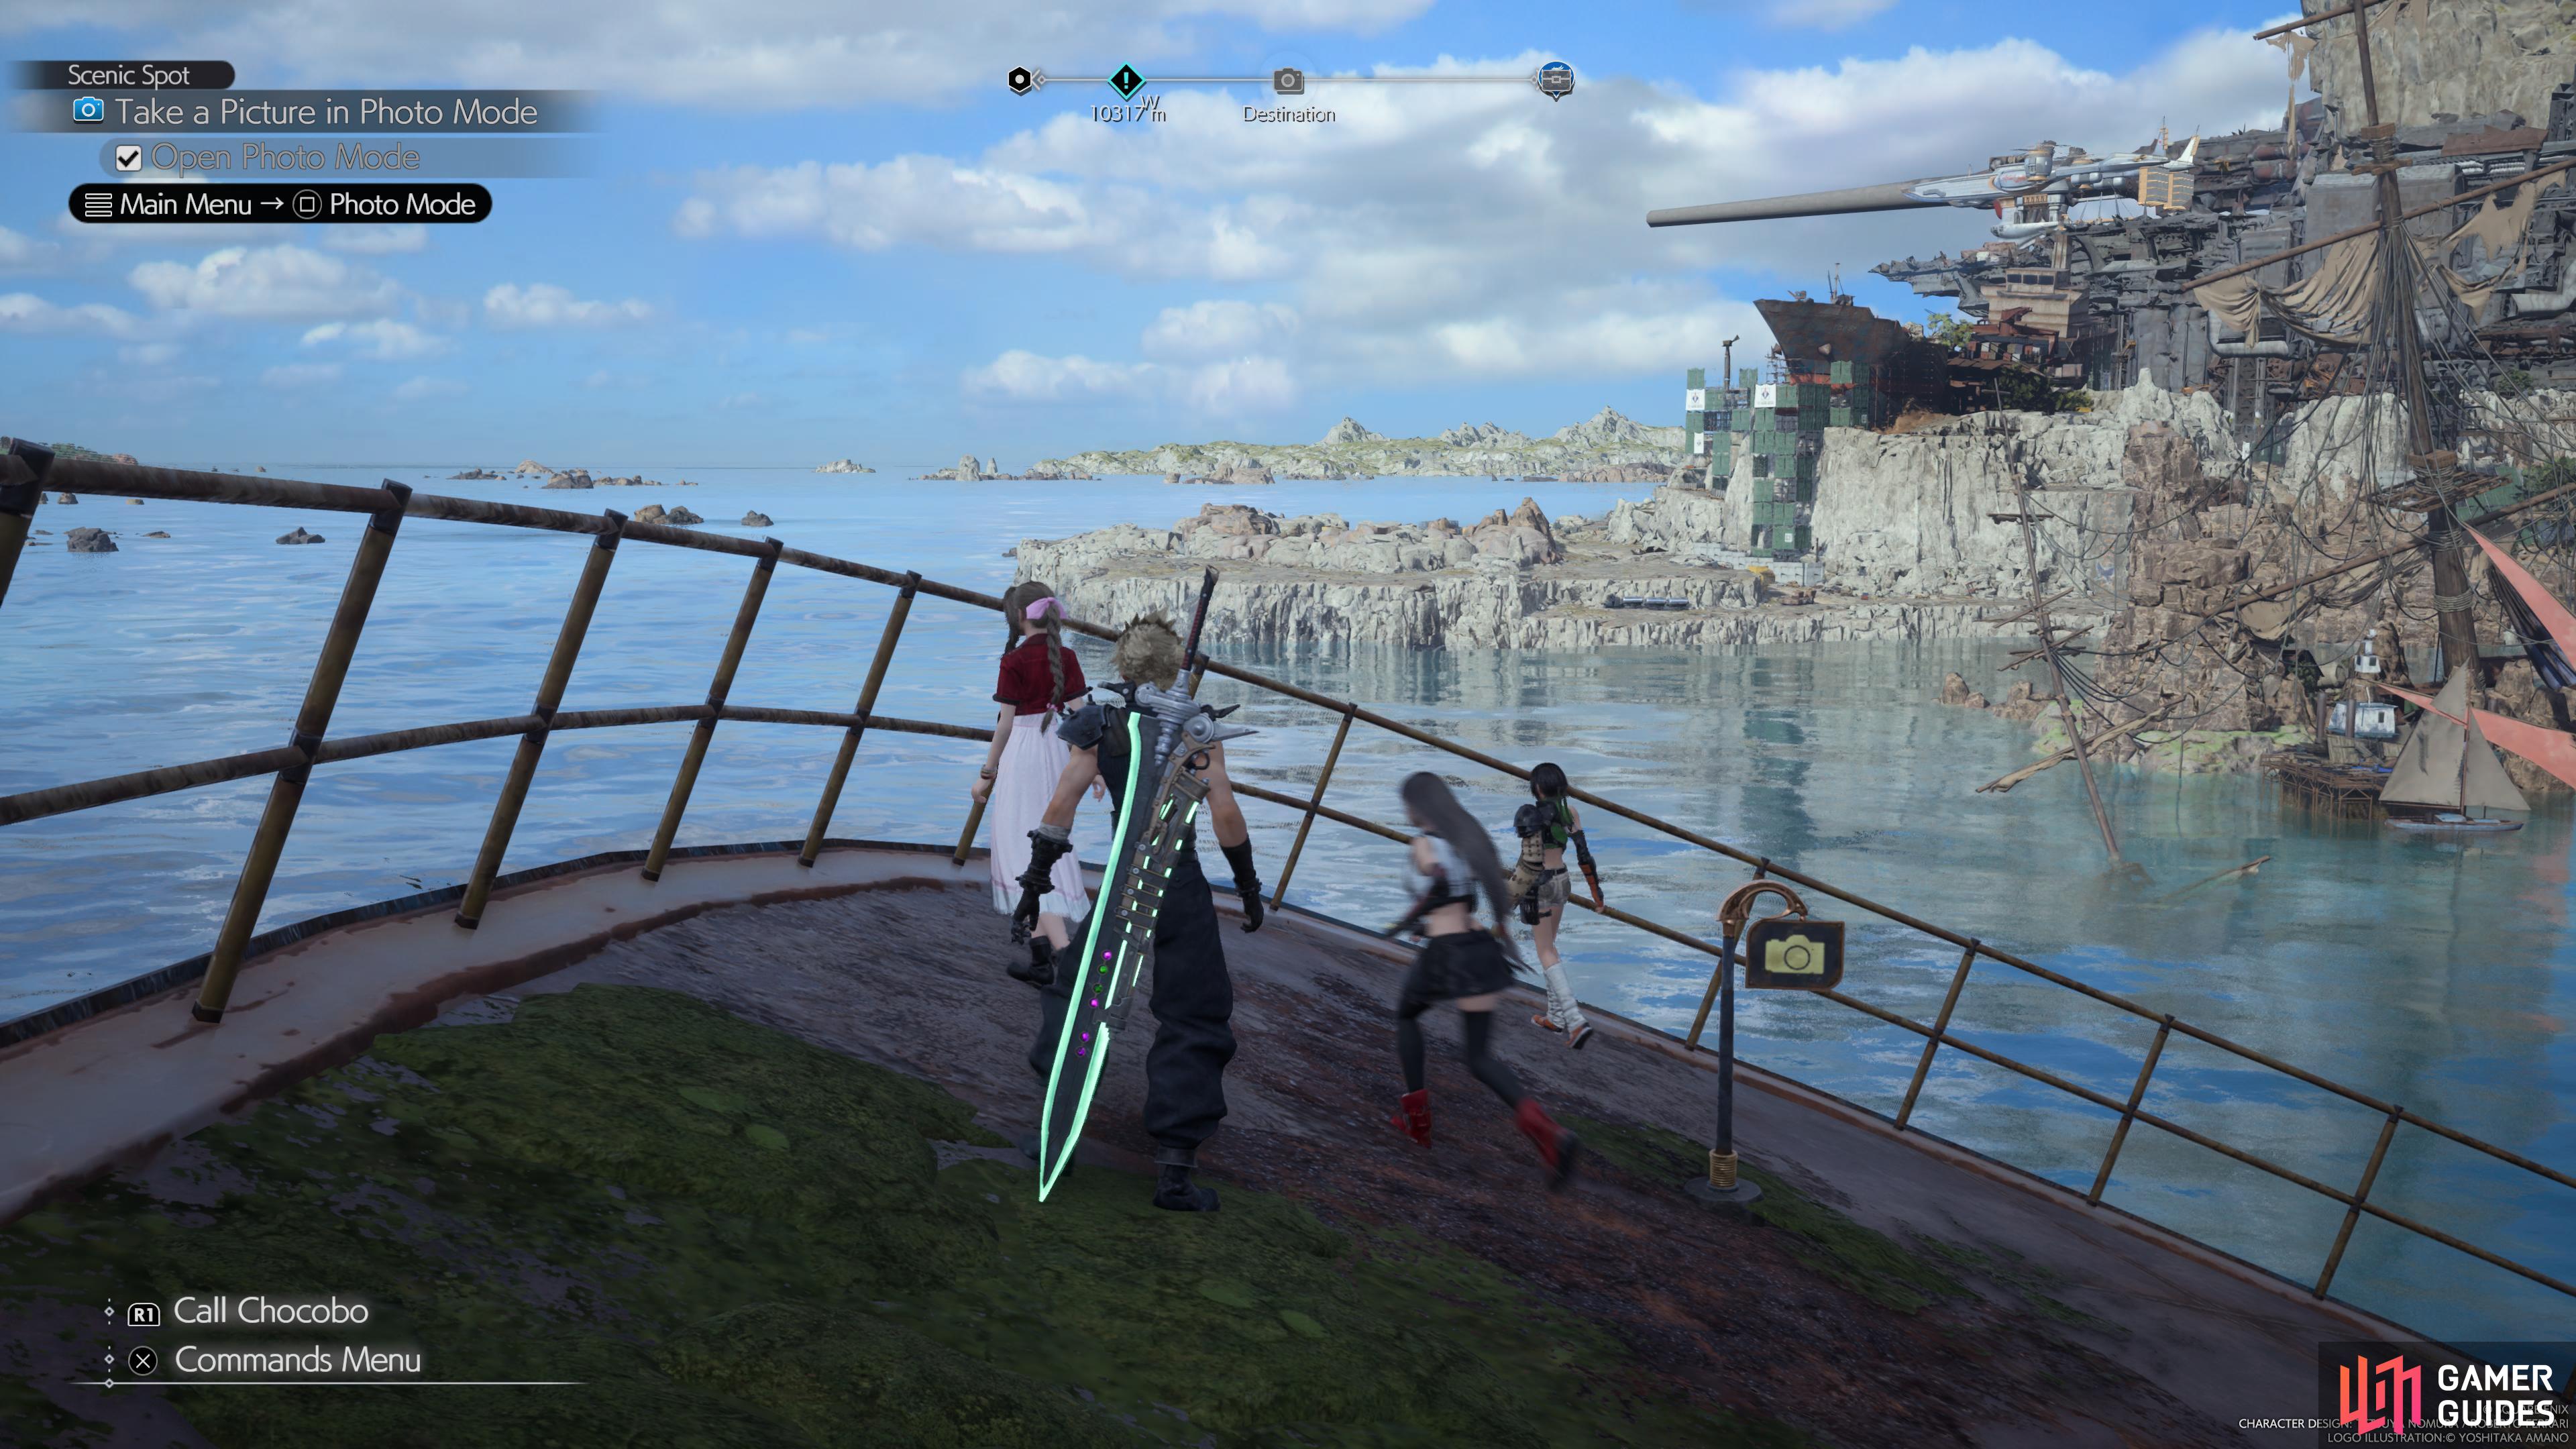
Scenic Spot Location #2 - Junon Region
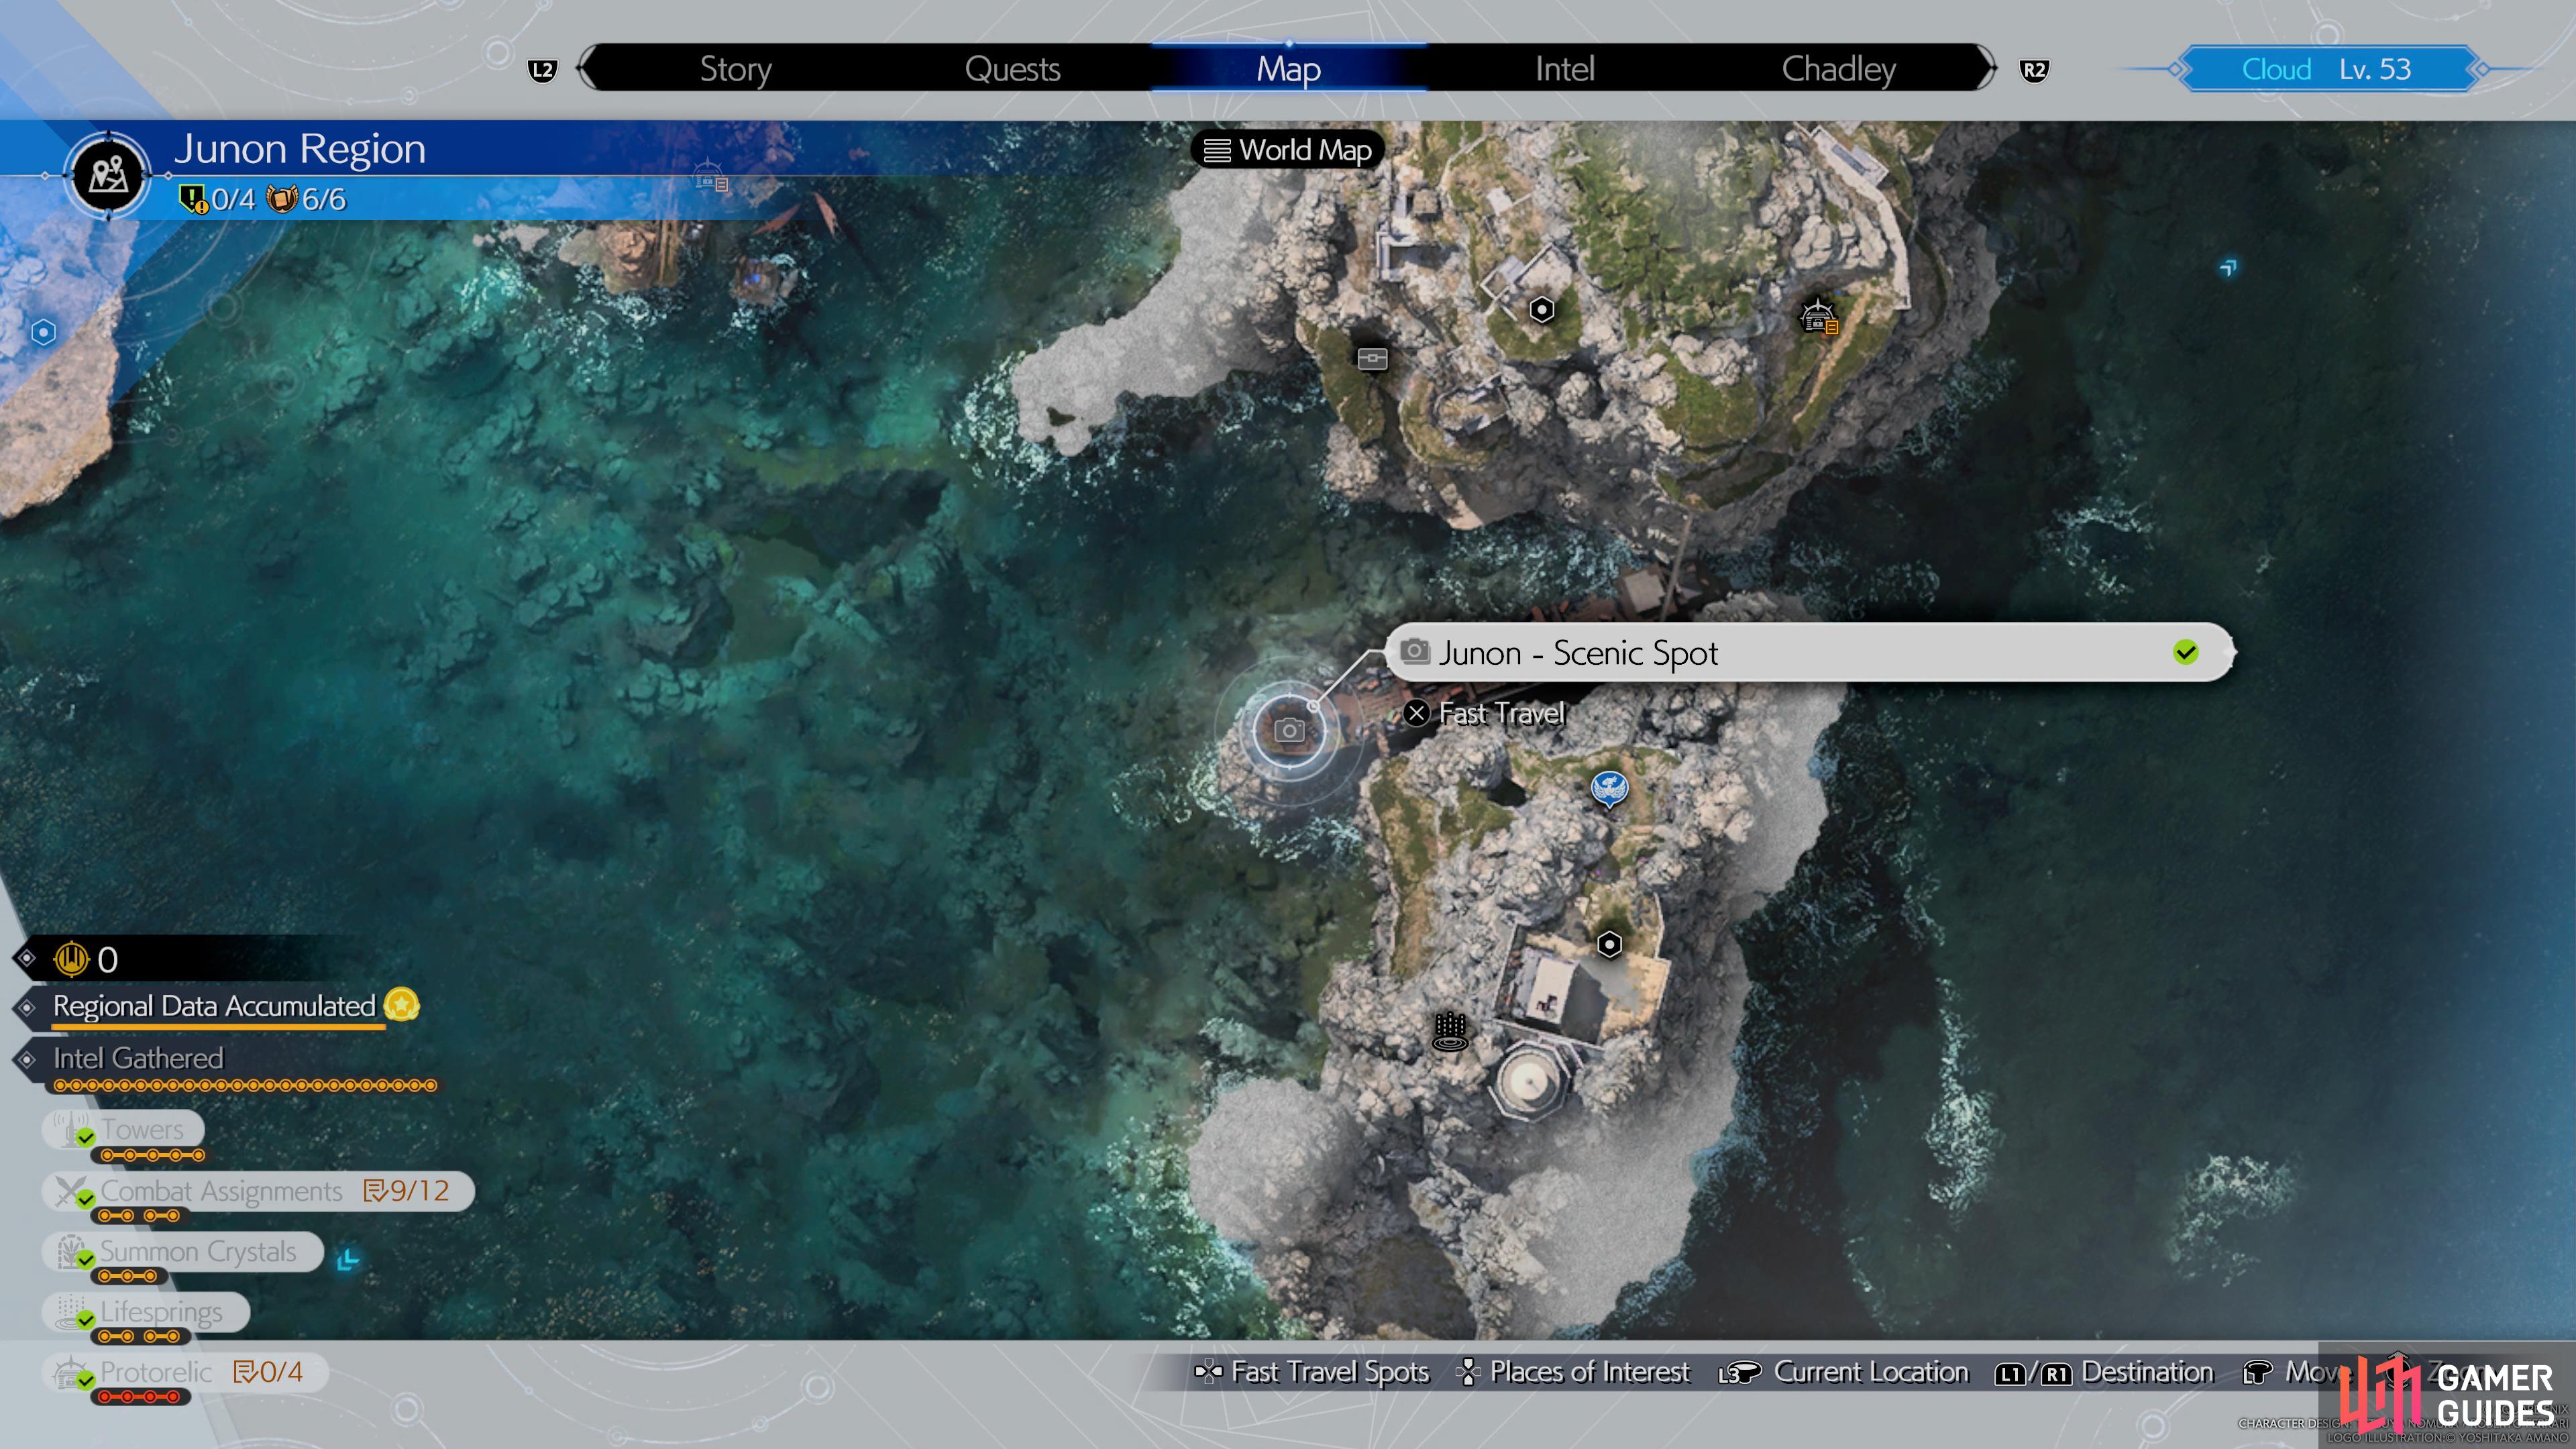


(1 of 2) Head to this location on the map
Head to this location on the map (left), to find the Junon scenic spot. (right)
Head down into ![]() Under Junon and speak with Snaps to get the next scenic spot marked on your map and then the location itself can be found on an abandoned ship to the northwest of the Abandoned Lighthouse.
Under Junon and speak with Snaps to get the next scenic spot marked on your map and then the location itself can be found on an abandoned ship to the northwest of the Abandoned Lighthouse.
Scenic Spot Location #3 - Corel Region

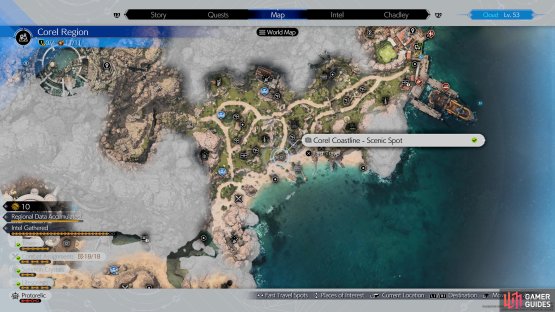

(1 of 2) Head to this location on the map
Head to this location on the map (left), to find the corel scenic spot (right)
Head over to Johnny’s Inn in ![]() Costa Del Sol to find Snaps and then the scenic spot can be found on a deck near the beach to the southeast of the Seashell Coast Tower.
Costa Del Sol to find Snaps and then the scenic spot can be found on a deck near the beach to the southeast of the Seashell Coast Tower.
Scenic Spot Location #4 - Corel Region
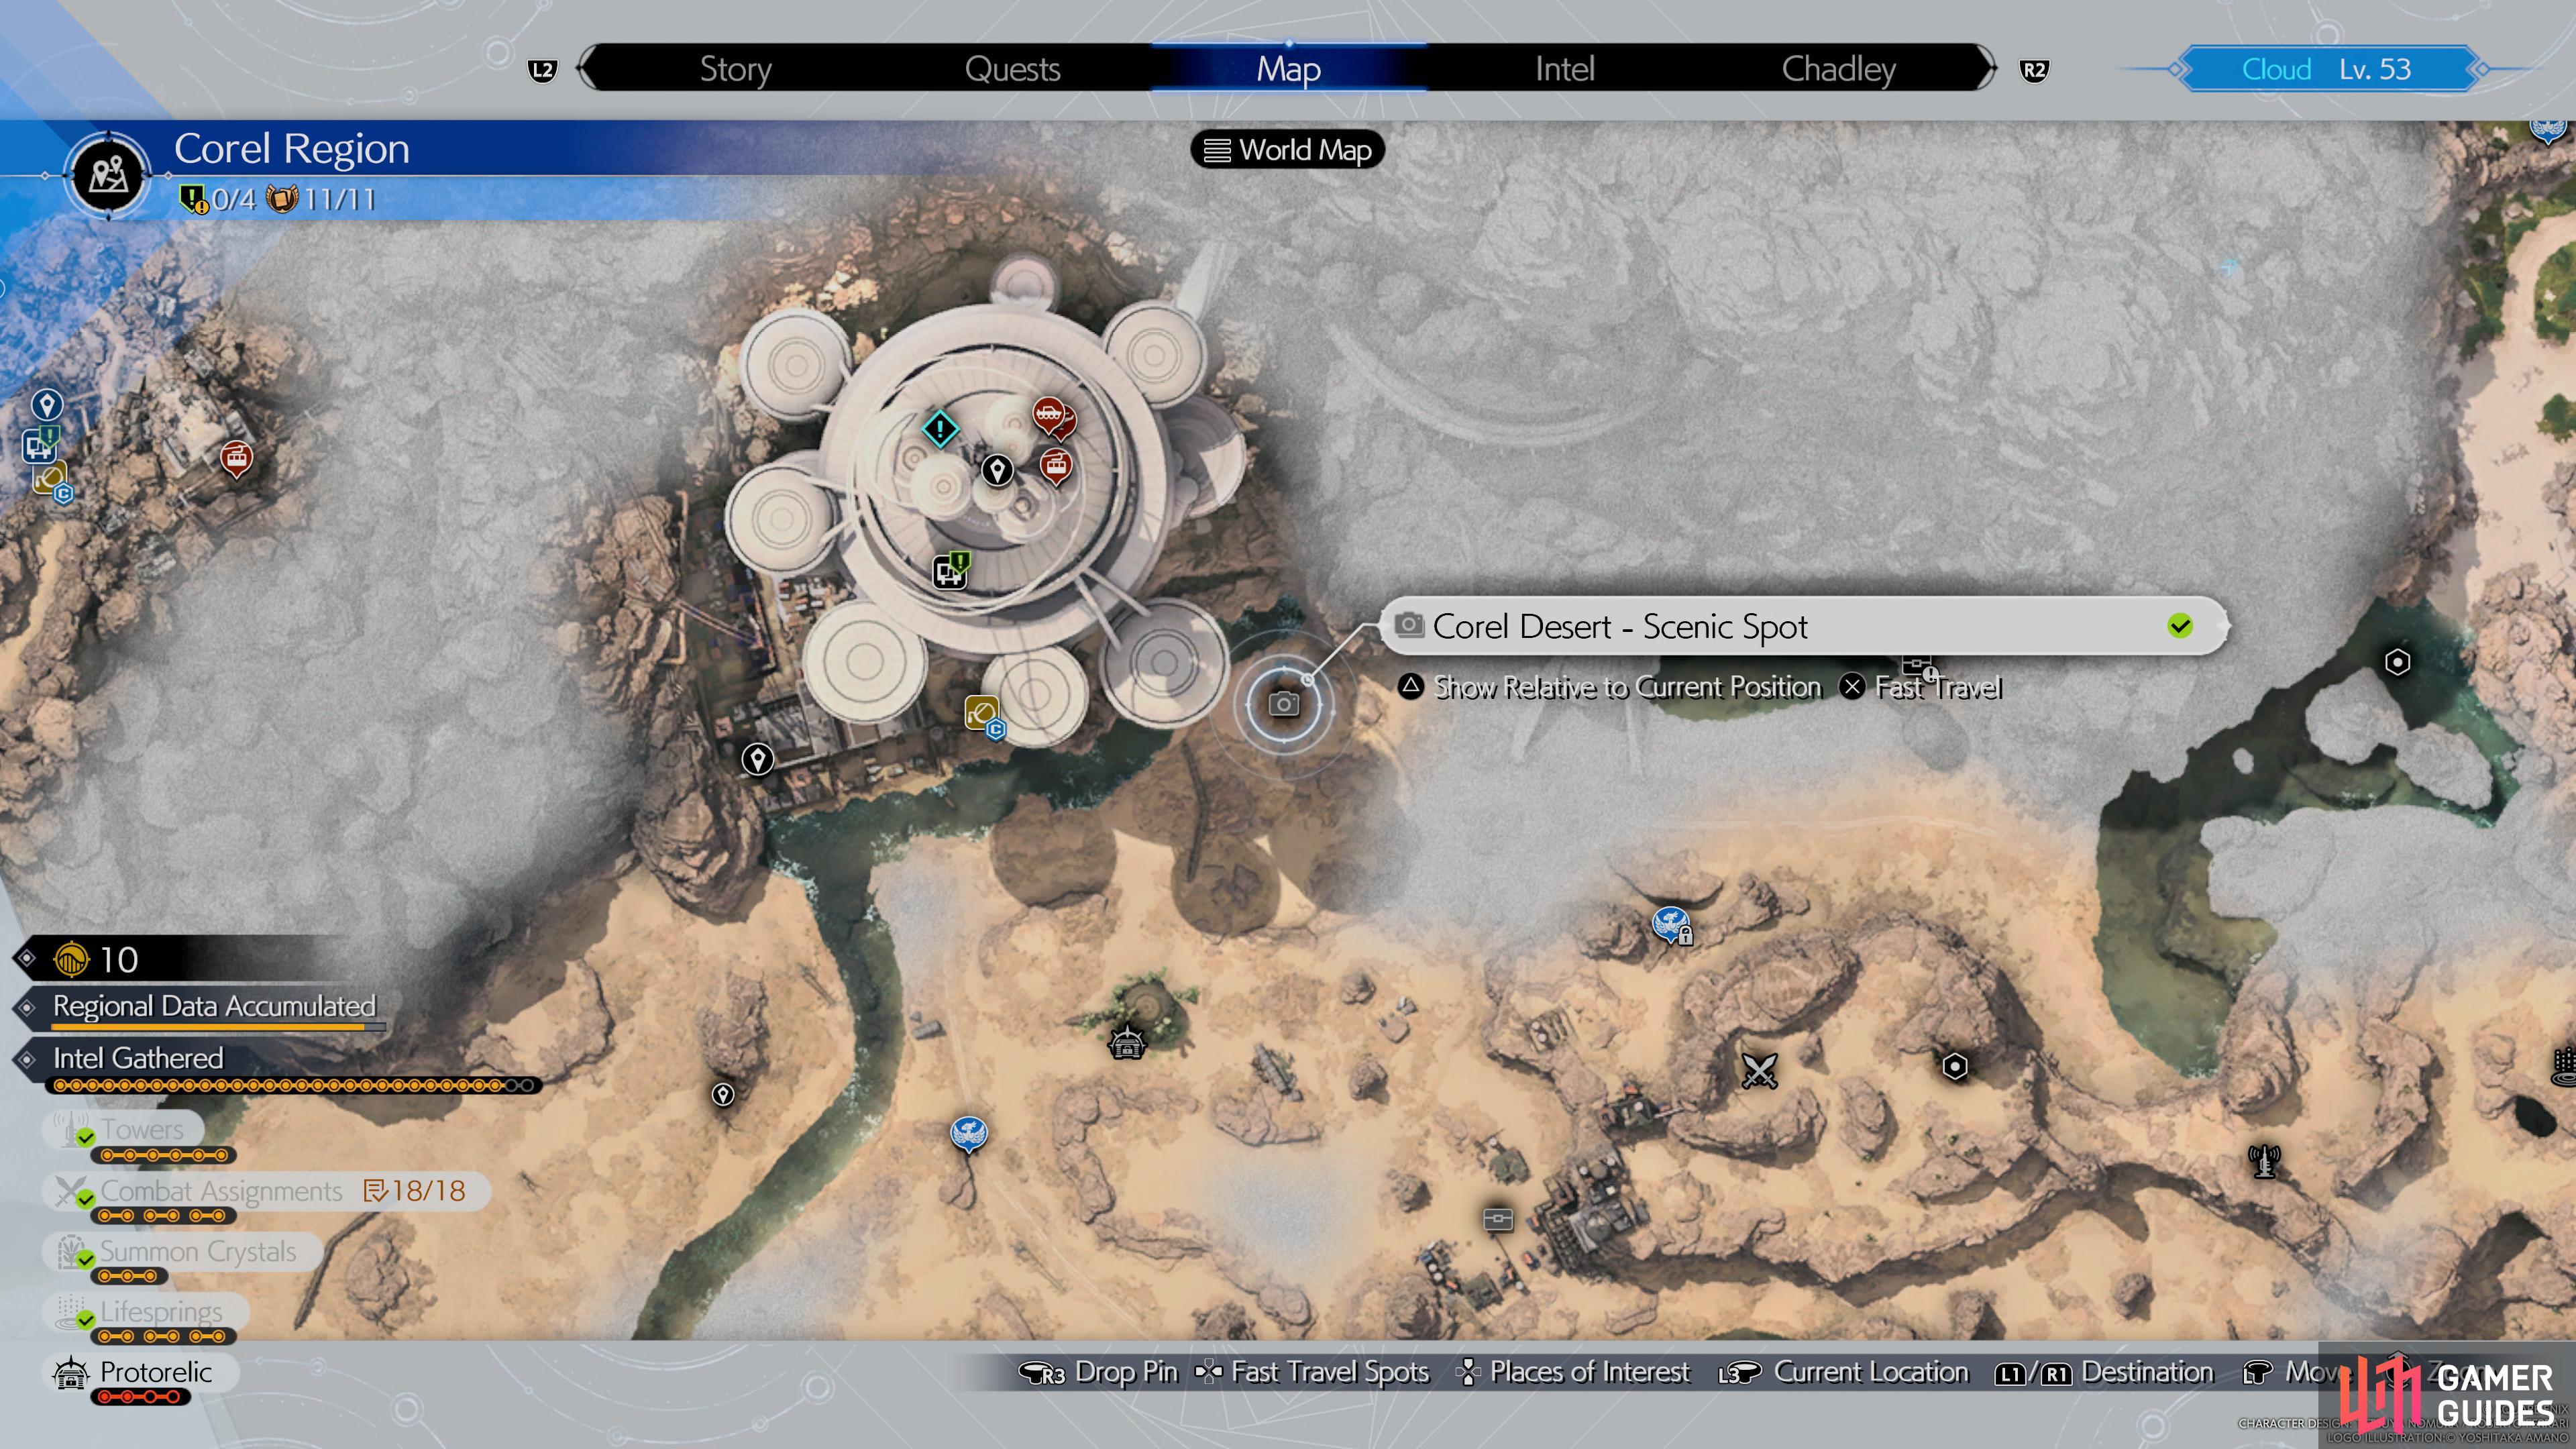
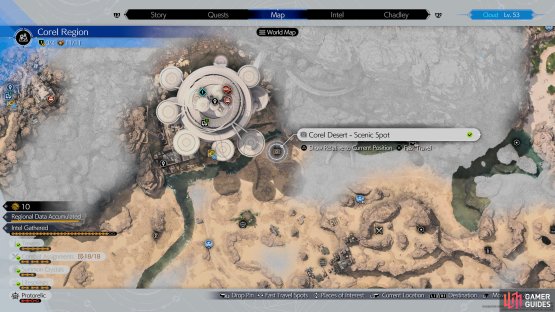

(1 of 2) Head to this location on the map
Head to this location on the map (left), to find the second Corel scenic spot. (right)
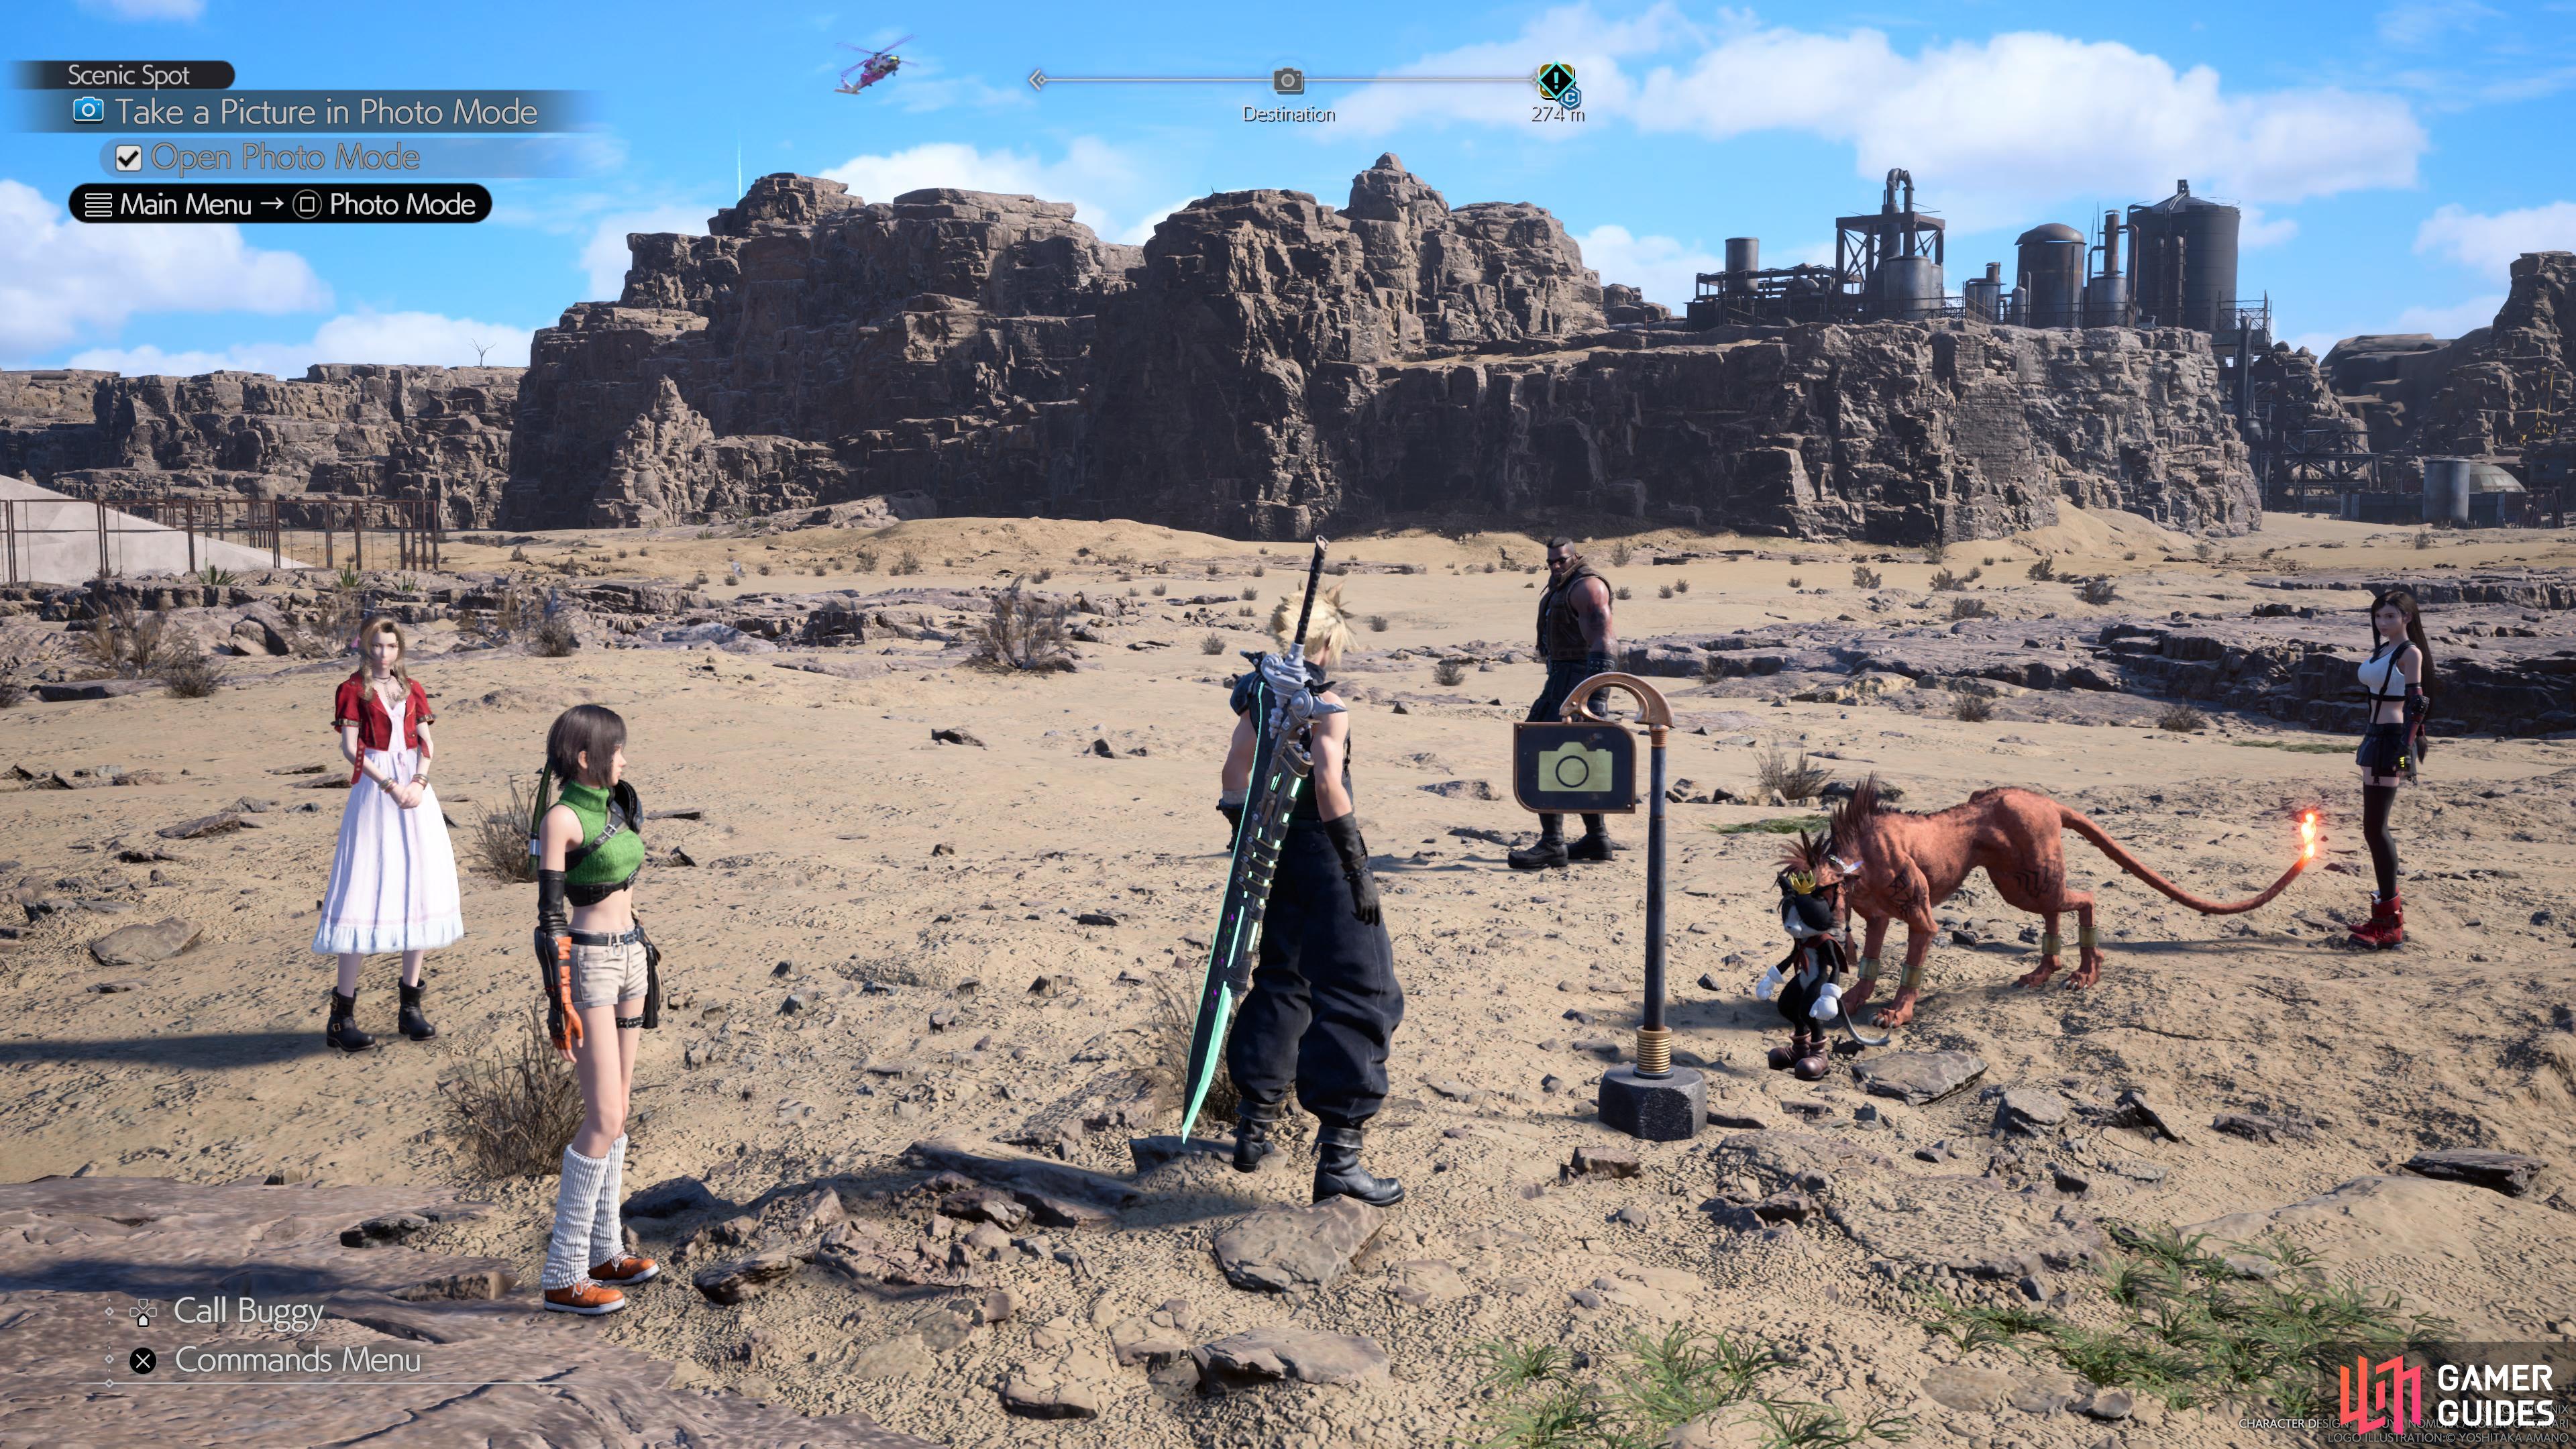
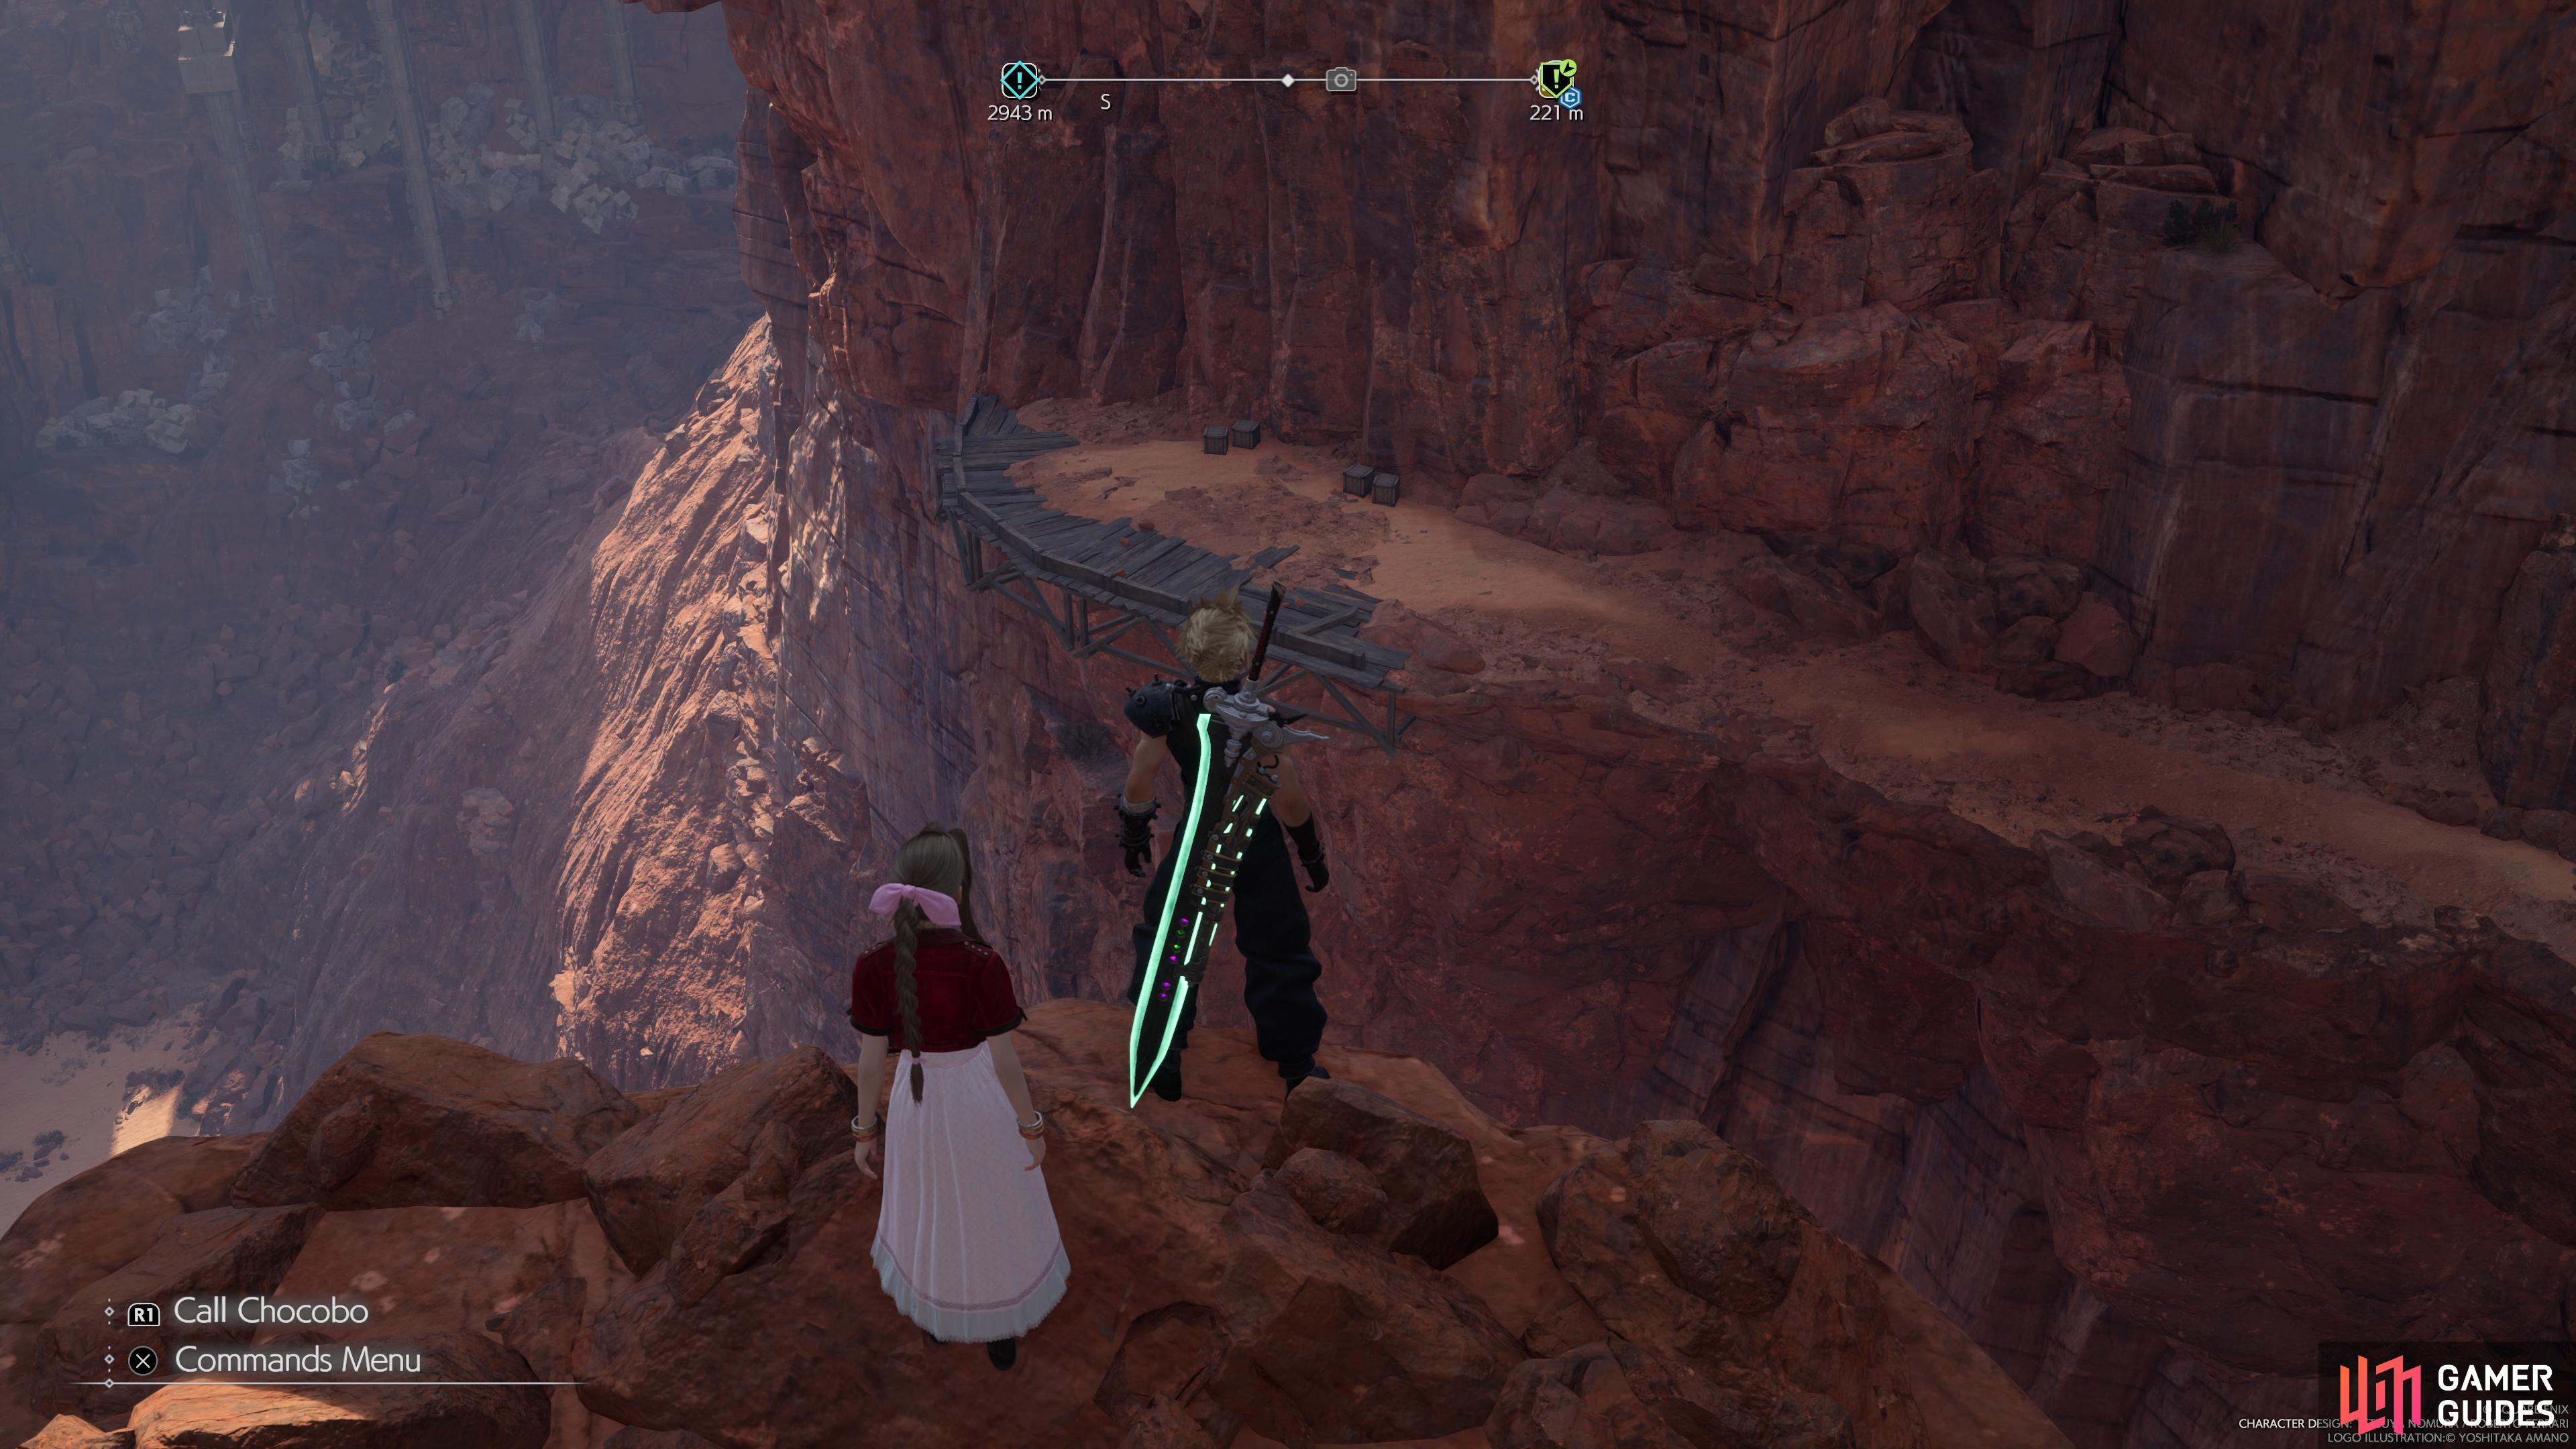
There is a second scenic spot in the ![]() Corel Region, but you won’t be able to speak with Snaps until Chapter 8 and then the location itself won’t be visitable until Chapter 9. Once you’ve gained access to the desert, you’ll find the scenic spot in a large open area to the northeast of the Wasteland Tower.
Corel Region, but you won’t be able to speak with Snaps until Chapter 8 and then the location itself won’t be visitable until Chapter 9. Once you’ve gained access to the desert, you’ll find the scenic spot in a large open area to the northeast of the Wasteland Tower.
Scenic Spot Location #5 - Gongaga Region


(1 of 2) Head to this location on the map
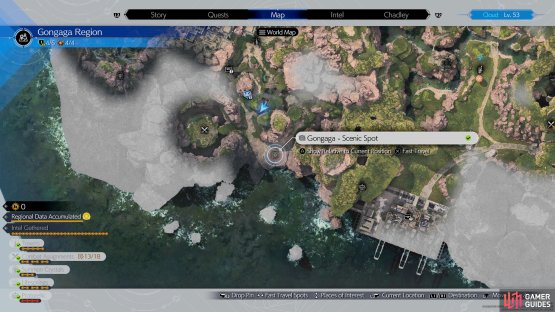
Head to this location on the map (left), to find the Gongaga scenic spot. (right)
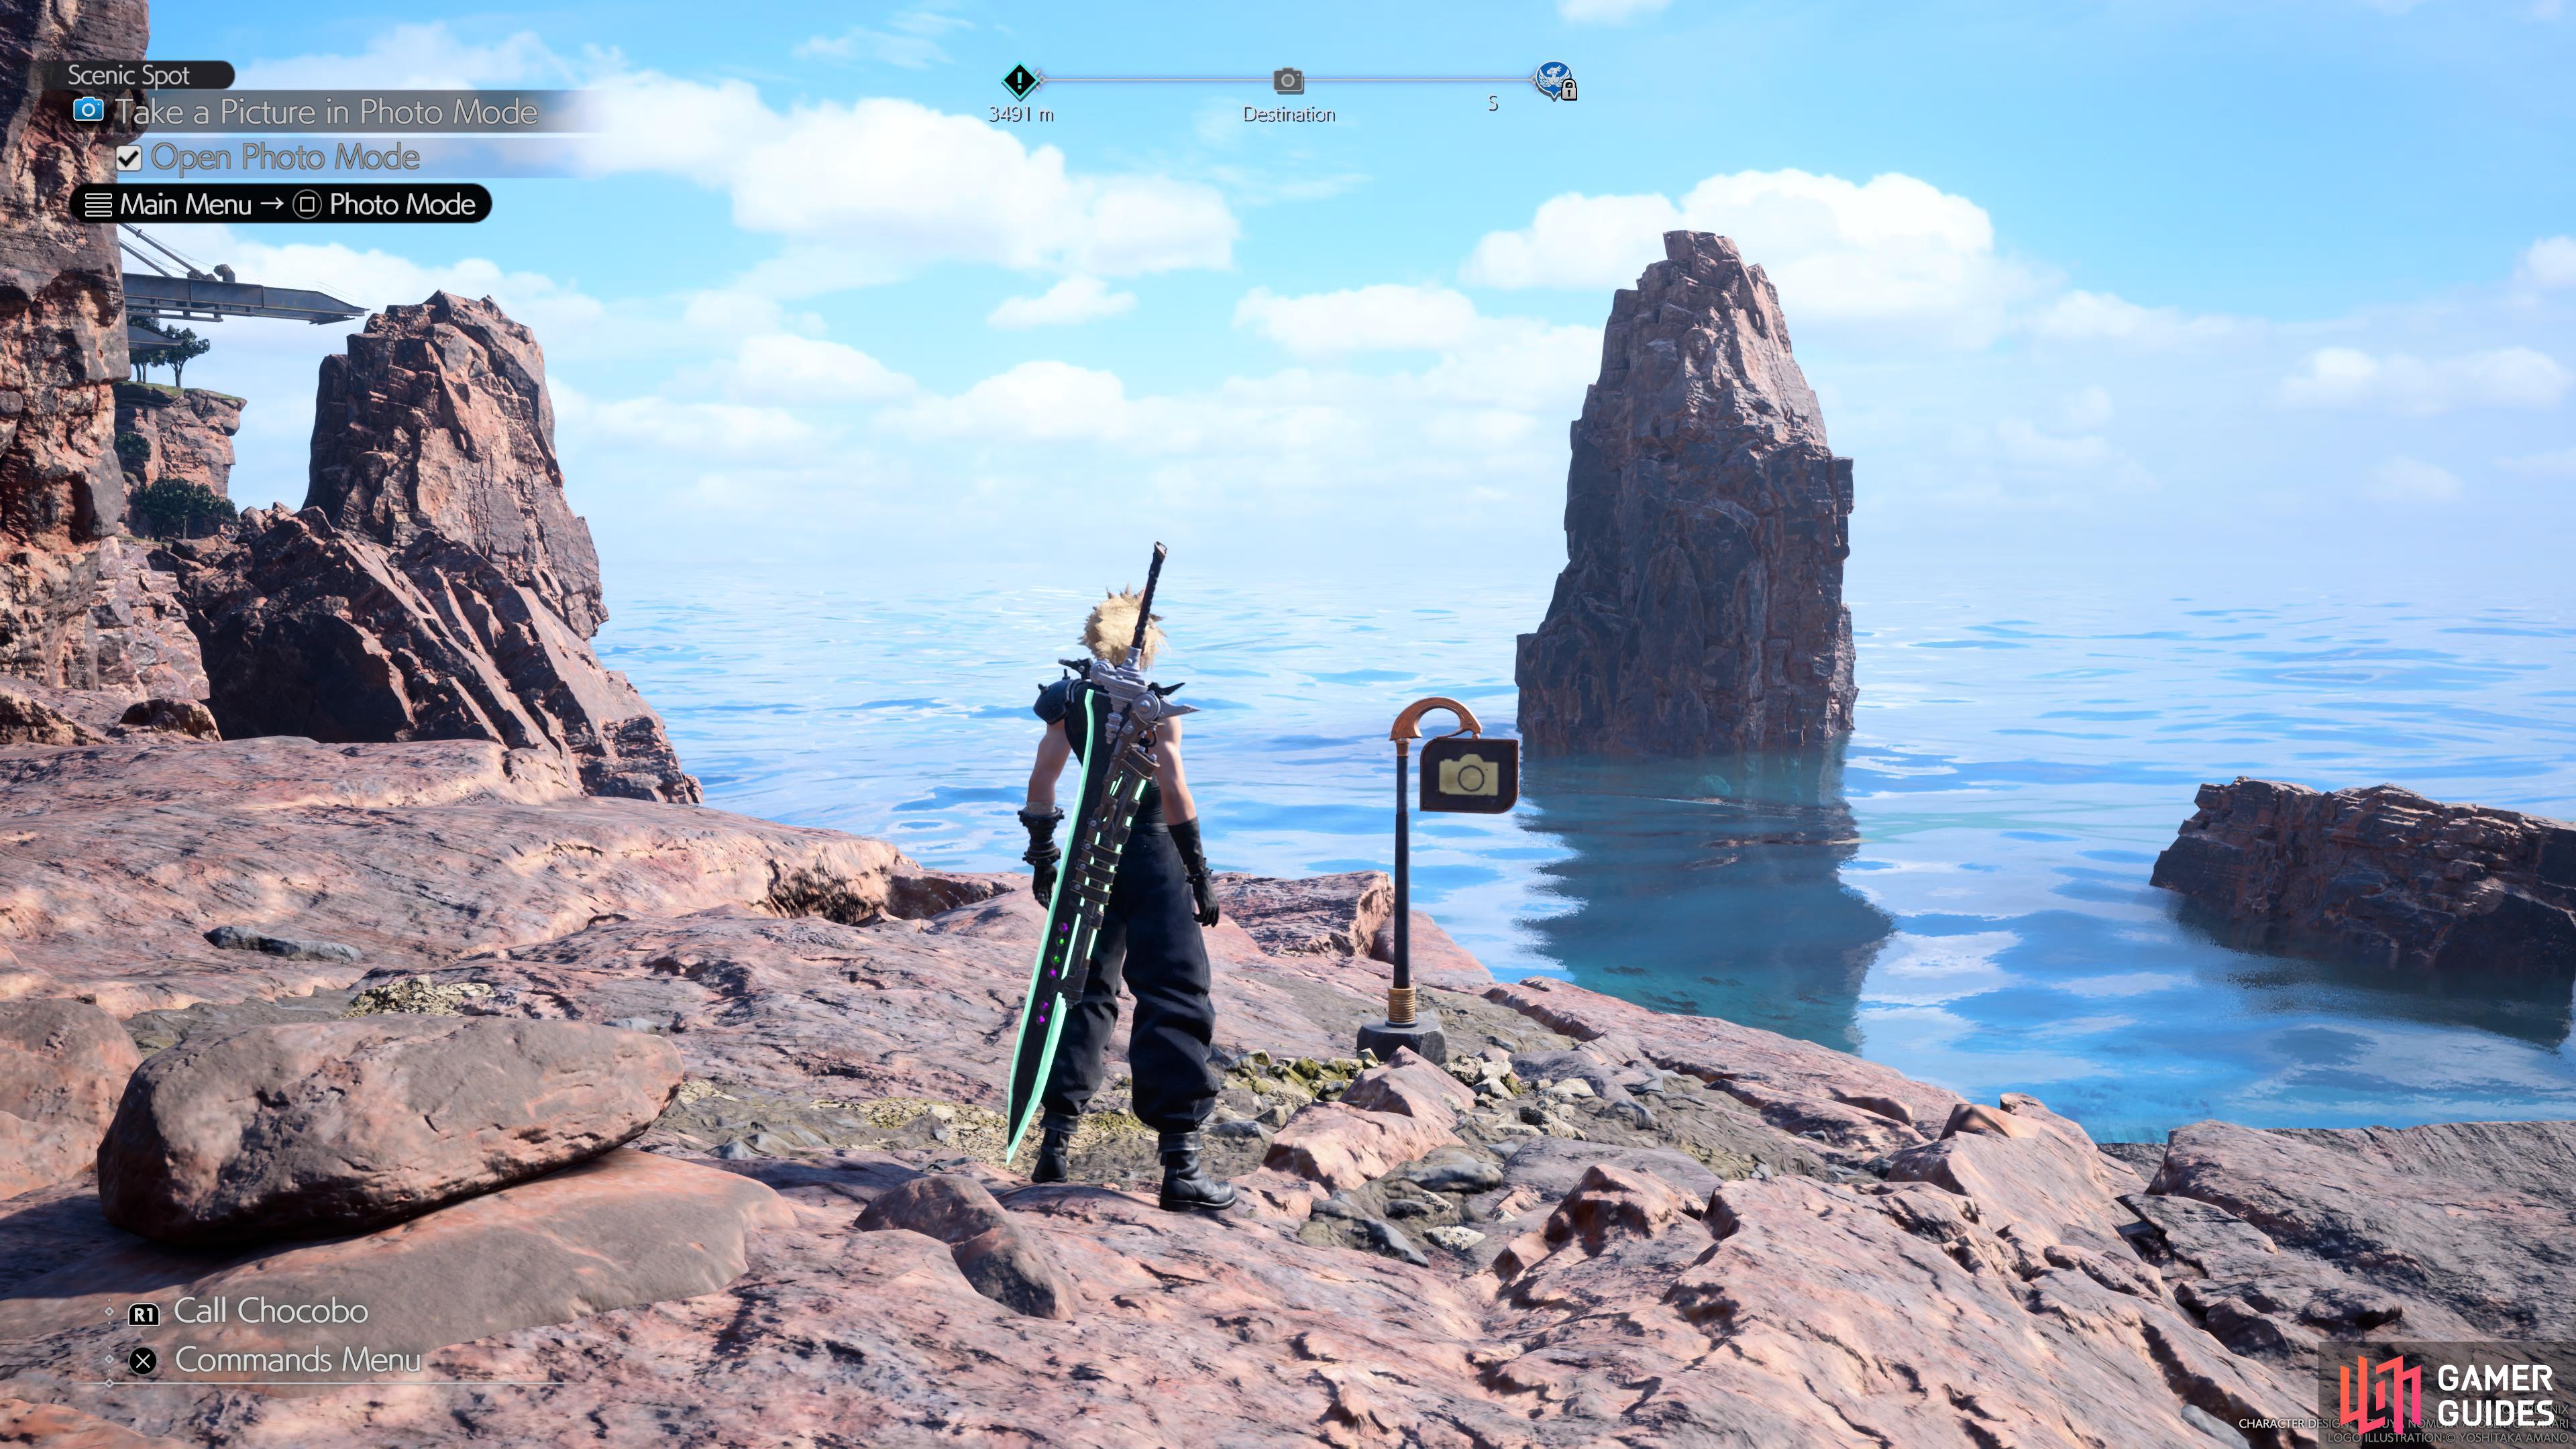
Once you reach the ![]() Gongaga Region in Chapter 9, you’ll want to start by speaking with Snaps who can be found in the village, and then you’ll want to head south of the Gongaga Ruins Tower to find the scenic spot overlooking the ocean.
Gongaga Region in Chapter 9, you’ll want to start by speaking with Snaps who can be found in the village, and then you’ll want to head south of the Gongaga Ruins Tower to find the scenic spot overlooking the ocean.
Scenic Spot Location #6 - Cosmo Canyon Region


(1 of 2) Head to this location on the map
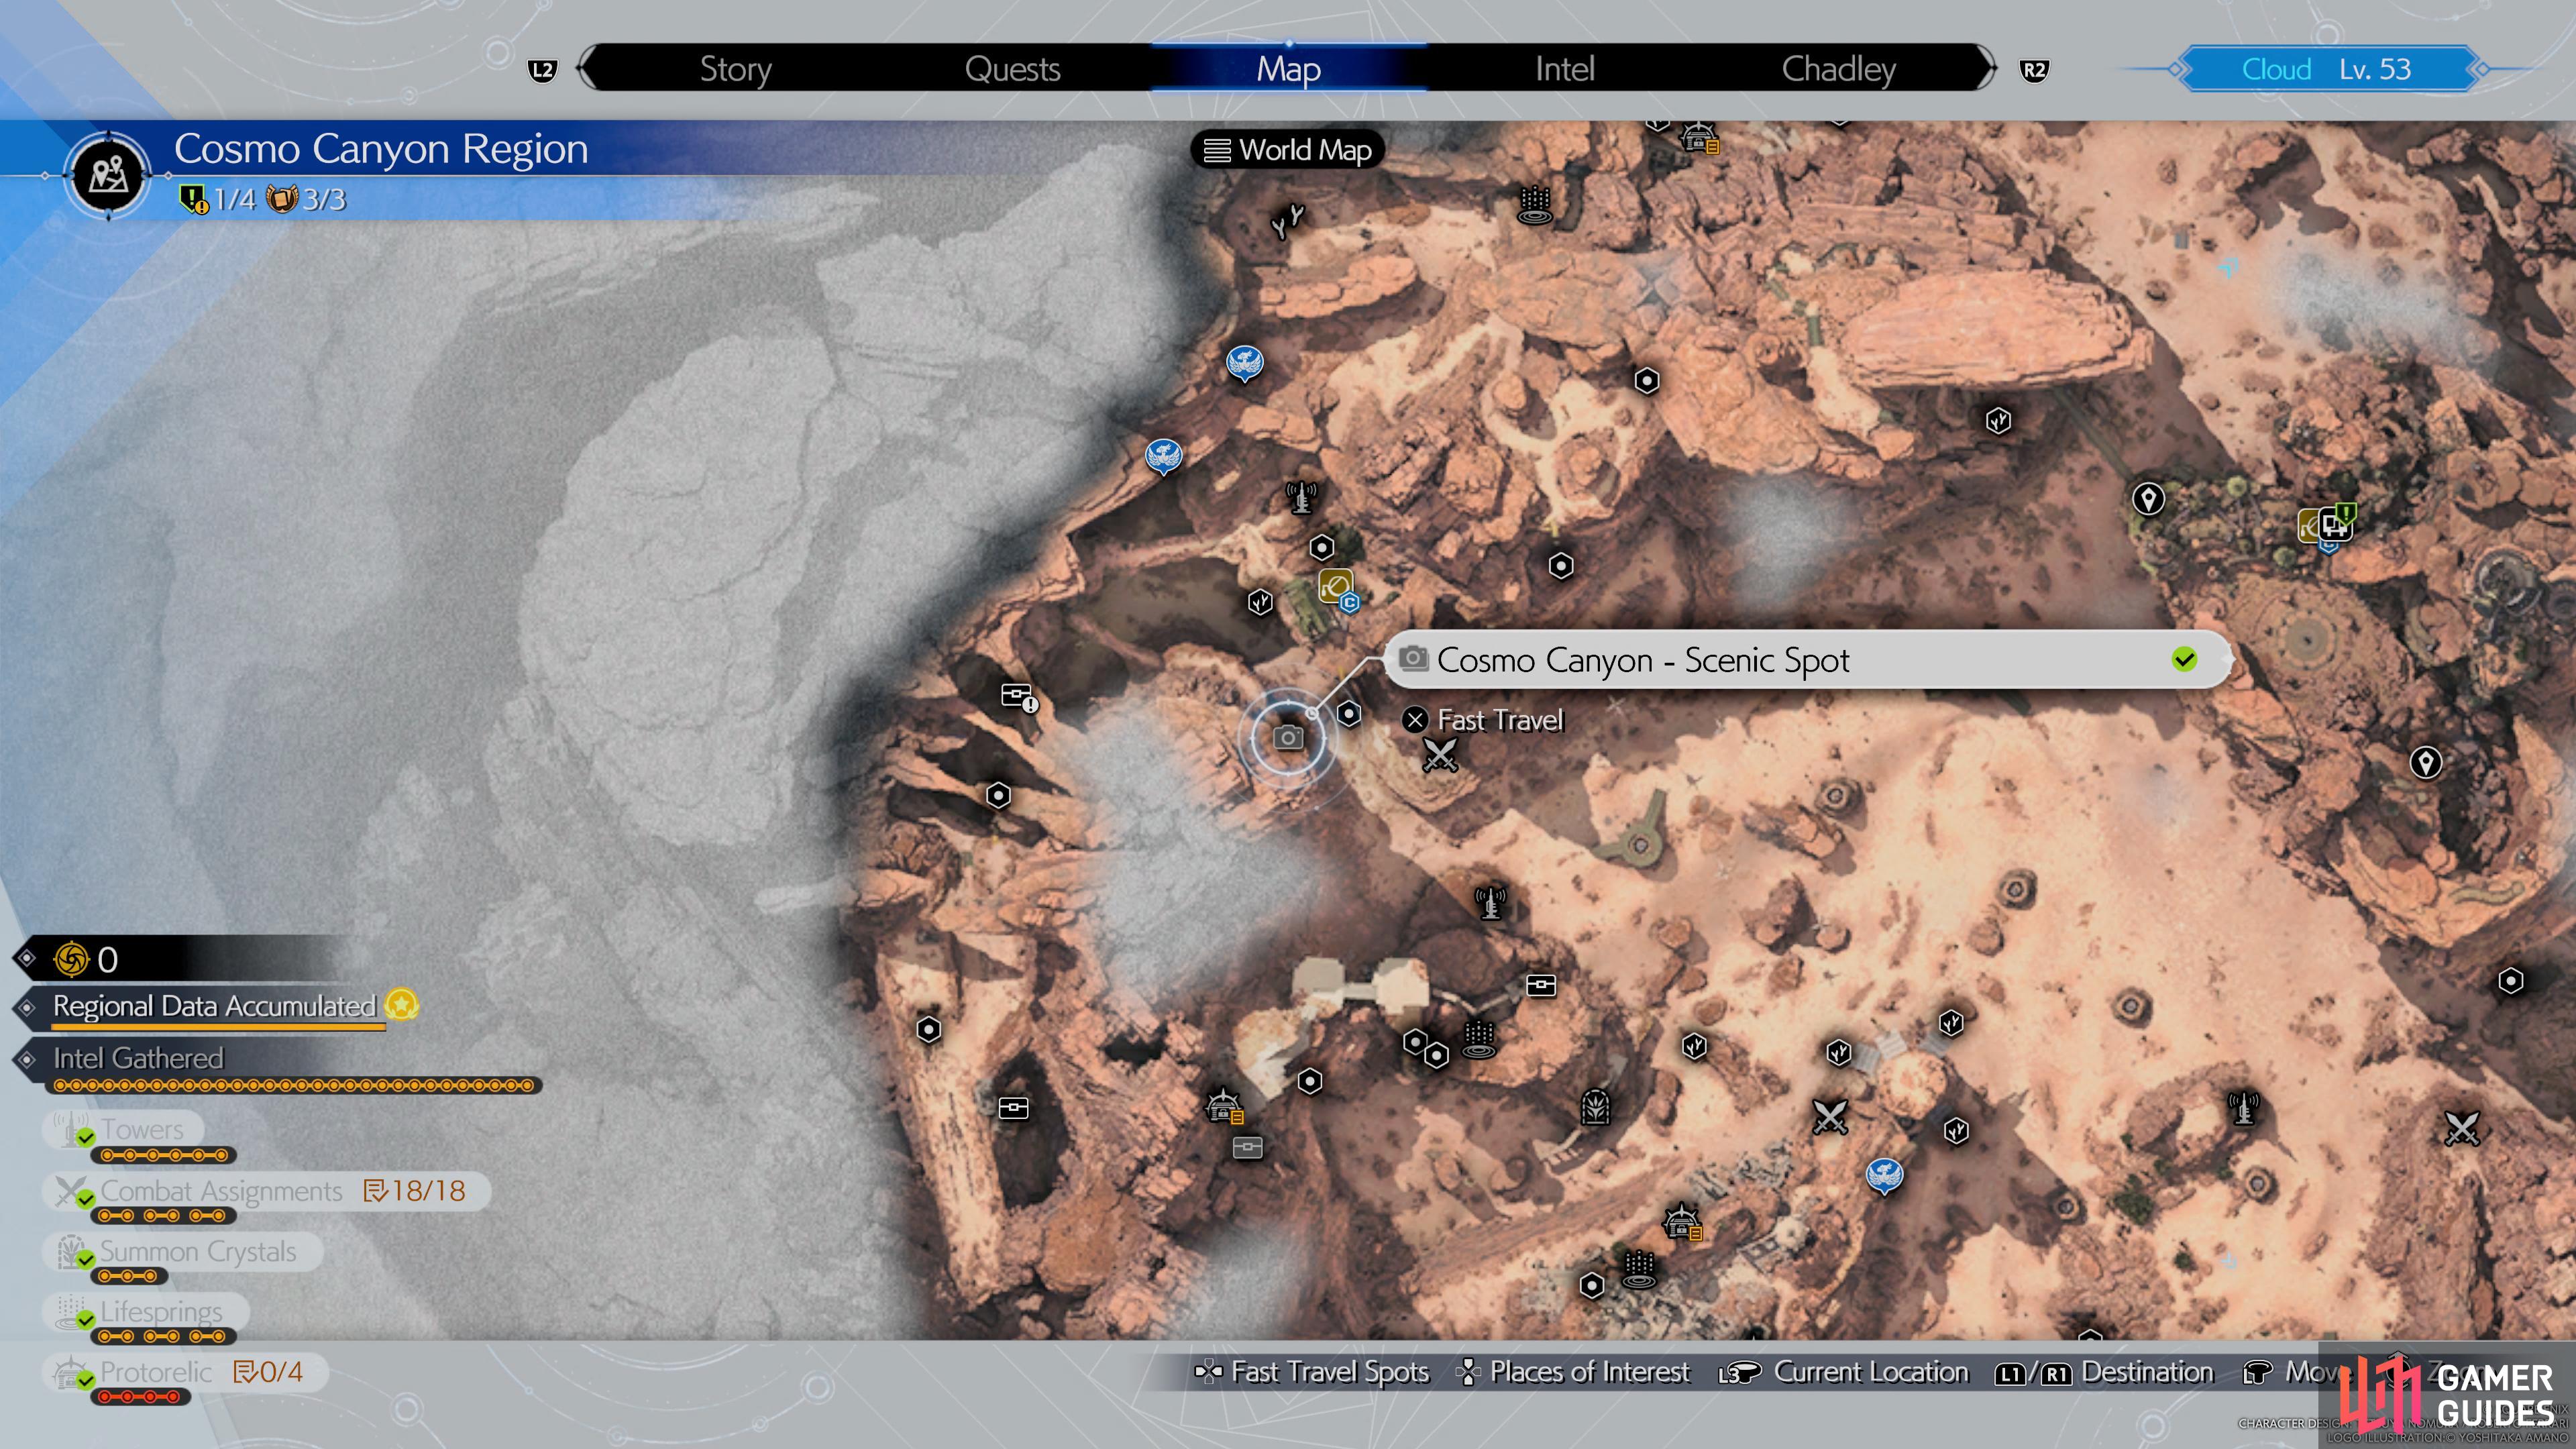
Head to this location on the map (left), to find the Cosmo Canyon scenic spot. (right)
Speak with Snaps in ![]() Cosmo Canyon which becomes available in Chapter 10 and then glide over to the scenic spot which is located on the platform across from Training Course No.3.
Cosmo Canyon which becomes available in Chapter 10 and then glide over to the scenic spot which is located on the platform across from Training Course No.3.
Scenic Spot Location #7 - Nibel Region


(1 of 2) Head to this location on the map
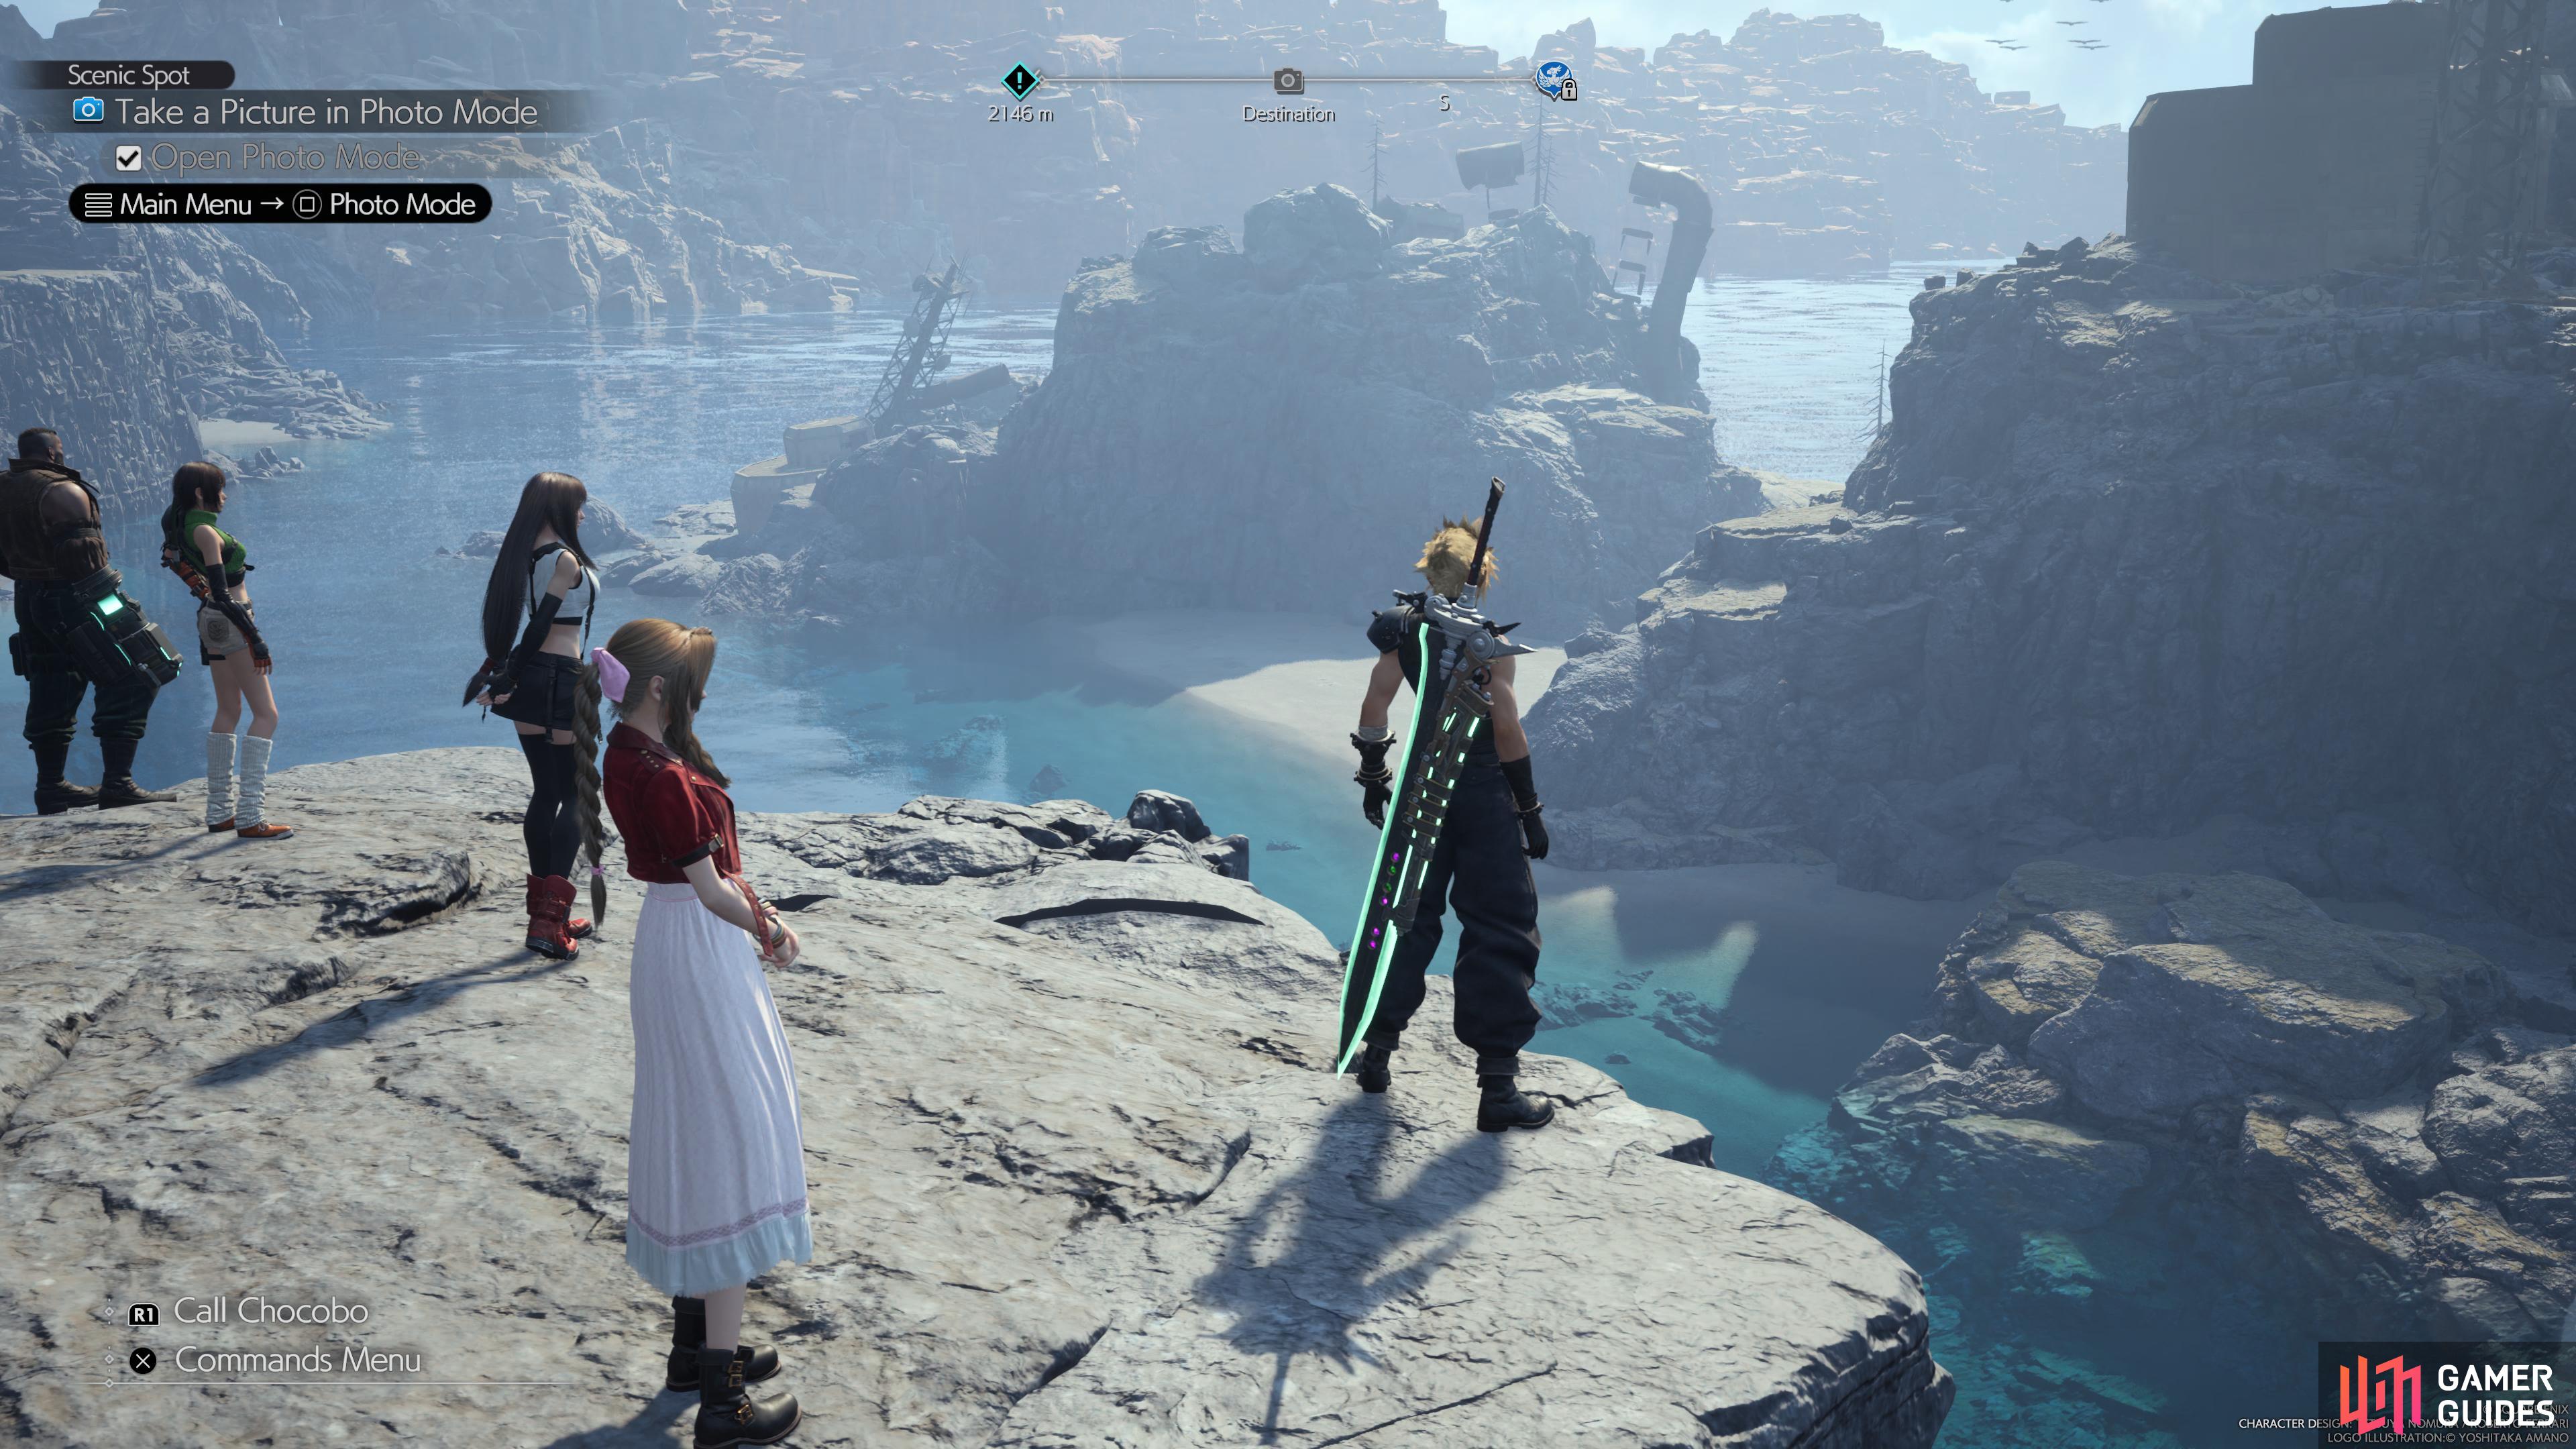
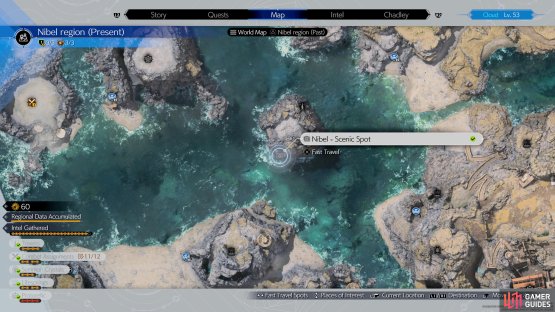
Head to this location on the map (left), to find the Nibelheim scenic spot. (right)
You can find Snaps for the final time in ![]() Nibelheim and the scenic spot can be found on the southern side of the island where Whitecap Reef Tower is.
Nibelheim and the scenic spot can be found on the southern side of the island where Whitecap Reef Tower is.
More Final Fantasy VII Rebirth Guides
Rebirth has a large variety of side quests on offer and some of them can be rather tricky, so be sure to check out the links below for tips on how to complete them!
No Comments