
The Protorelic is a chain of quests that started in the ![]() Grasslands, and continues throughout Final Fantasy VII Rebirth. The Protorelic in the
Grasslands, and continues throughout Final Fantasy VII Rebirth. The Protorelic in the ![]() Nibel Region is one you won’t be able to do right away, as you’ll need to do all of the story in chapter 11 before it becomes available. On this page, we’ll provide you with all the locations for all the Phenomenon Intel Nibel Region.
Nibel Region is one you won’t be able to do right away, as you’ll need to do all of the story in chapter 11 before it becomes available. On this page, we’ll provide you with all the locations for all the Phenomenon Intel Nibel Region.
Phenomenon Intel 1: Testing The Waters
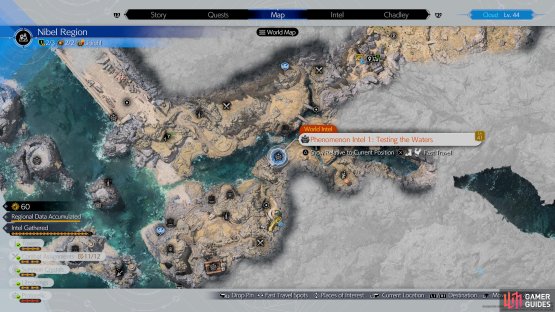

(1 of 2) Head to this location on the map

Head to this location on the map (left), to find the Testing The Waters Protorelic. (right)
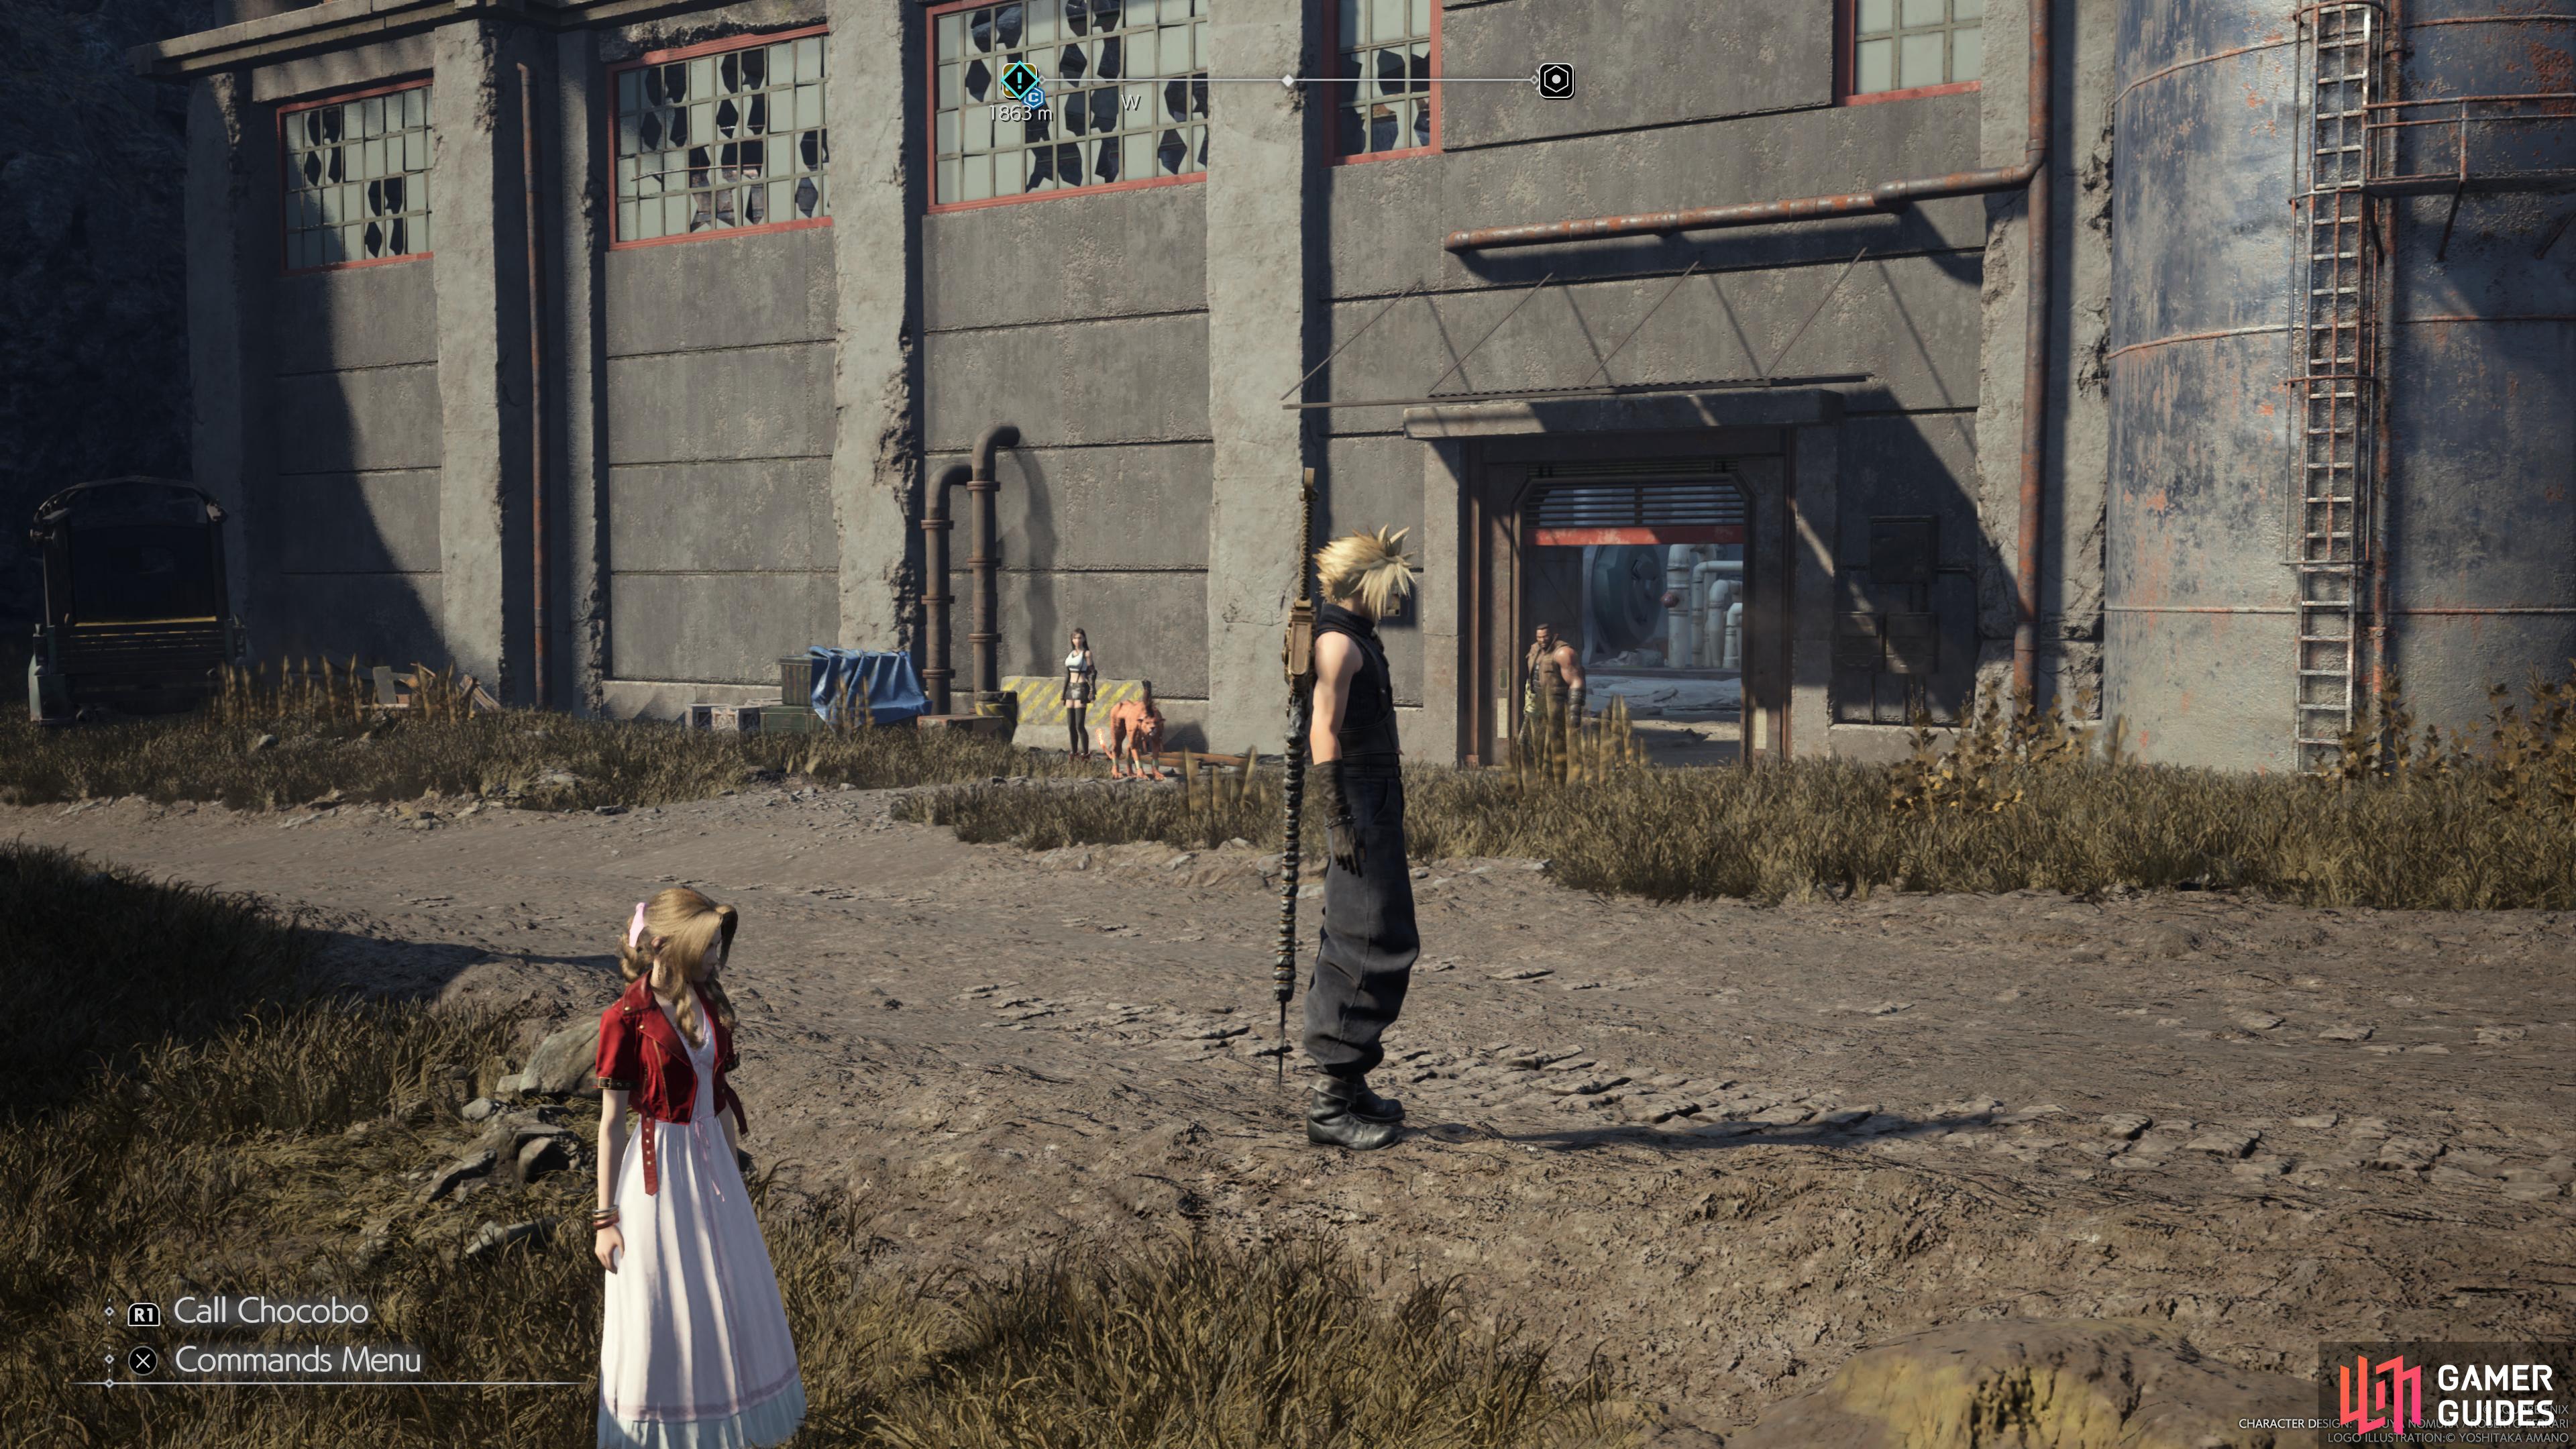
The Testing The Waters Phenomenon Intel can be found to the west of the Gull Bridge Tower. It can be reached by crossing the broken bridge and following the black robes until they reach an abandoned building, then open the door and you’ll be greeted by two Cavestalkers. These are weak to ![]() Ice, so you’ll want to avoid their attacks until they become galvanized and then make Aerith use Blizzaga to bring them out of it and pressure them as a result. At this stage, you’ll want to use
Ice, so you’ll want to avoid their attacks until they become galvanized and then make Aerith use Blizzaga to bring them out of it and pressure them as a result. At this stage, you’ll want to use ![]() Focused Thrust to stagger it. We recommend that you deal with one at a time to get it down quicker, so you aren’t being attacked from two directions at all times.
Focused Thrust to stagger it. We recommend that you deal with one at a time to get it down quicker, so you aren’t being attacked from two directions at all times.
Phenomenon Intel 2: Disquiet on the Docks
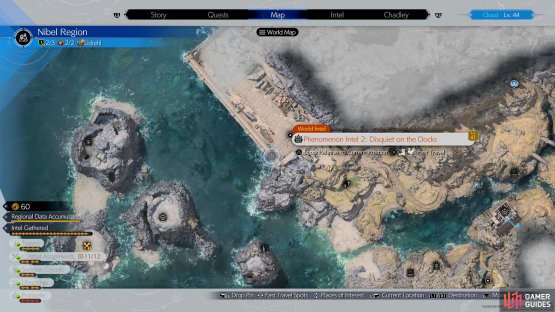
(1 of 2) Head to this location on the map


Head to this location on the map (left), to find the Disquiet on the Docks Protorelic. (right)
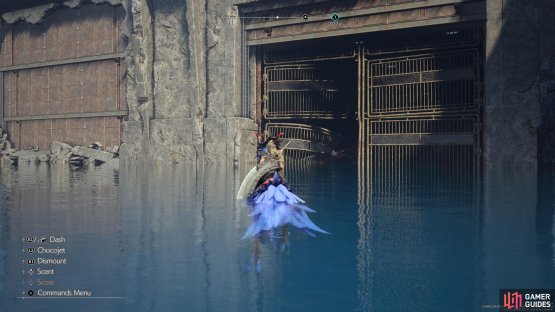
The Disquiet on the Docks Phenomenon Intel can be found to the southwest of the Nibel Airstrip. To begin, you’ll want to follow the black robes which are located to the south of the Airstrip Tower until you reach a locked door and then dive into the water to the west of the tower to find a broken gate. Enter the submarine dock and work your way around the obstacles by using the chocojet and then you’ll come across another three Cavestalkers. Here you’ll want to use the same strategy as the previous protorelic to take them down.
Phenomenon Intel 3: Cursed Confidant

(1 of 2) Head to this location on the map
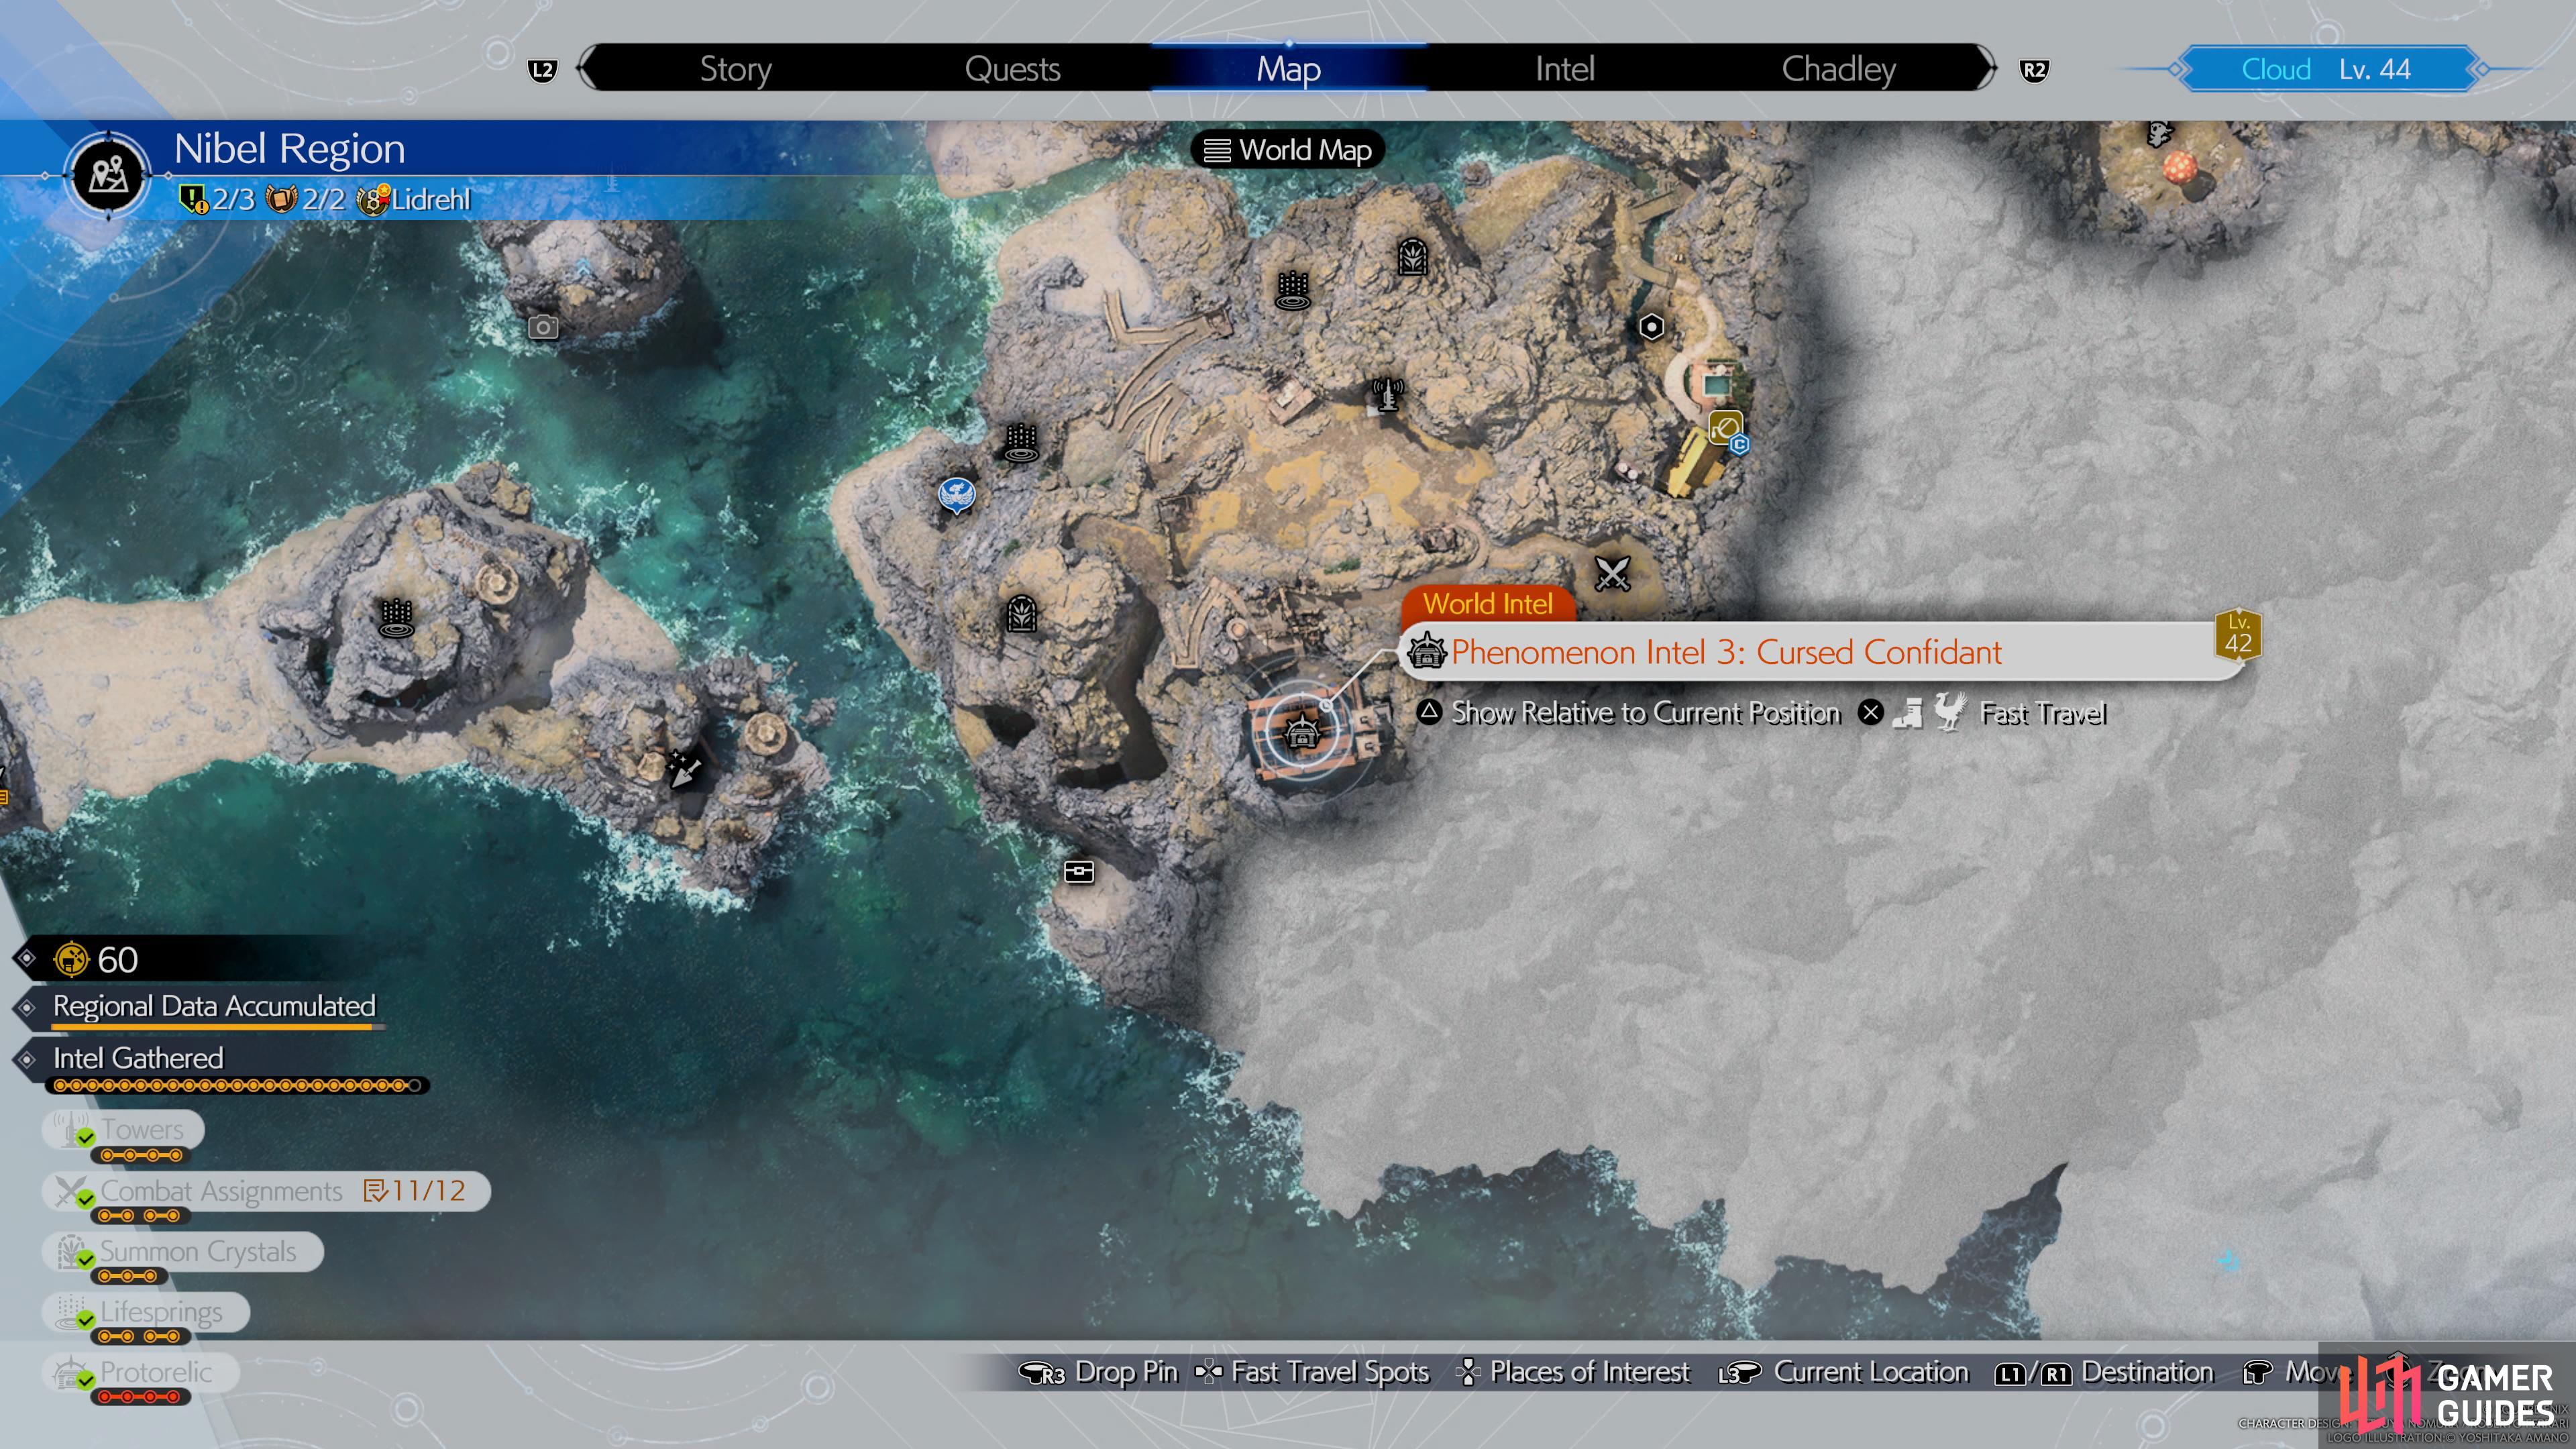
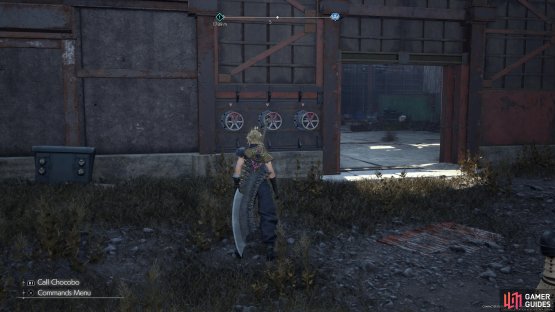
Head to this location on the map (left), to find the Cursed Confidant Protorelic. (right)
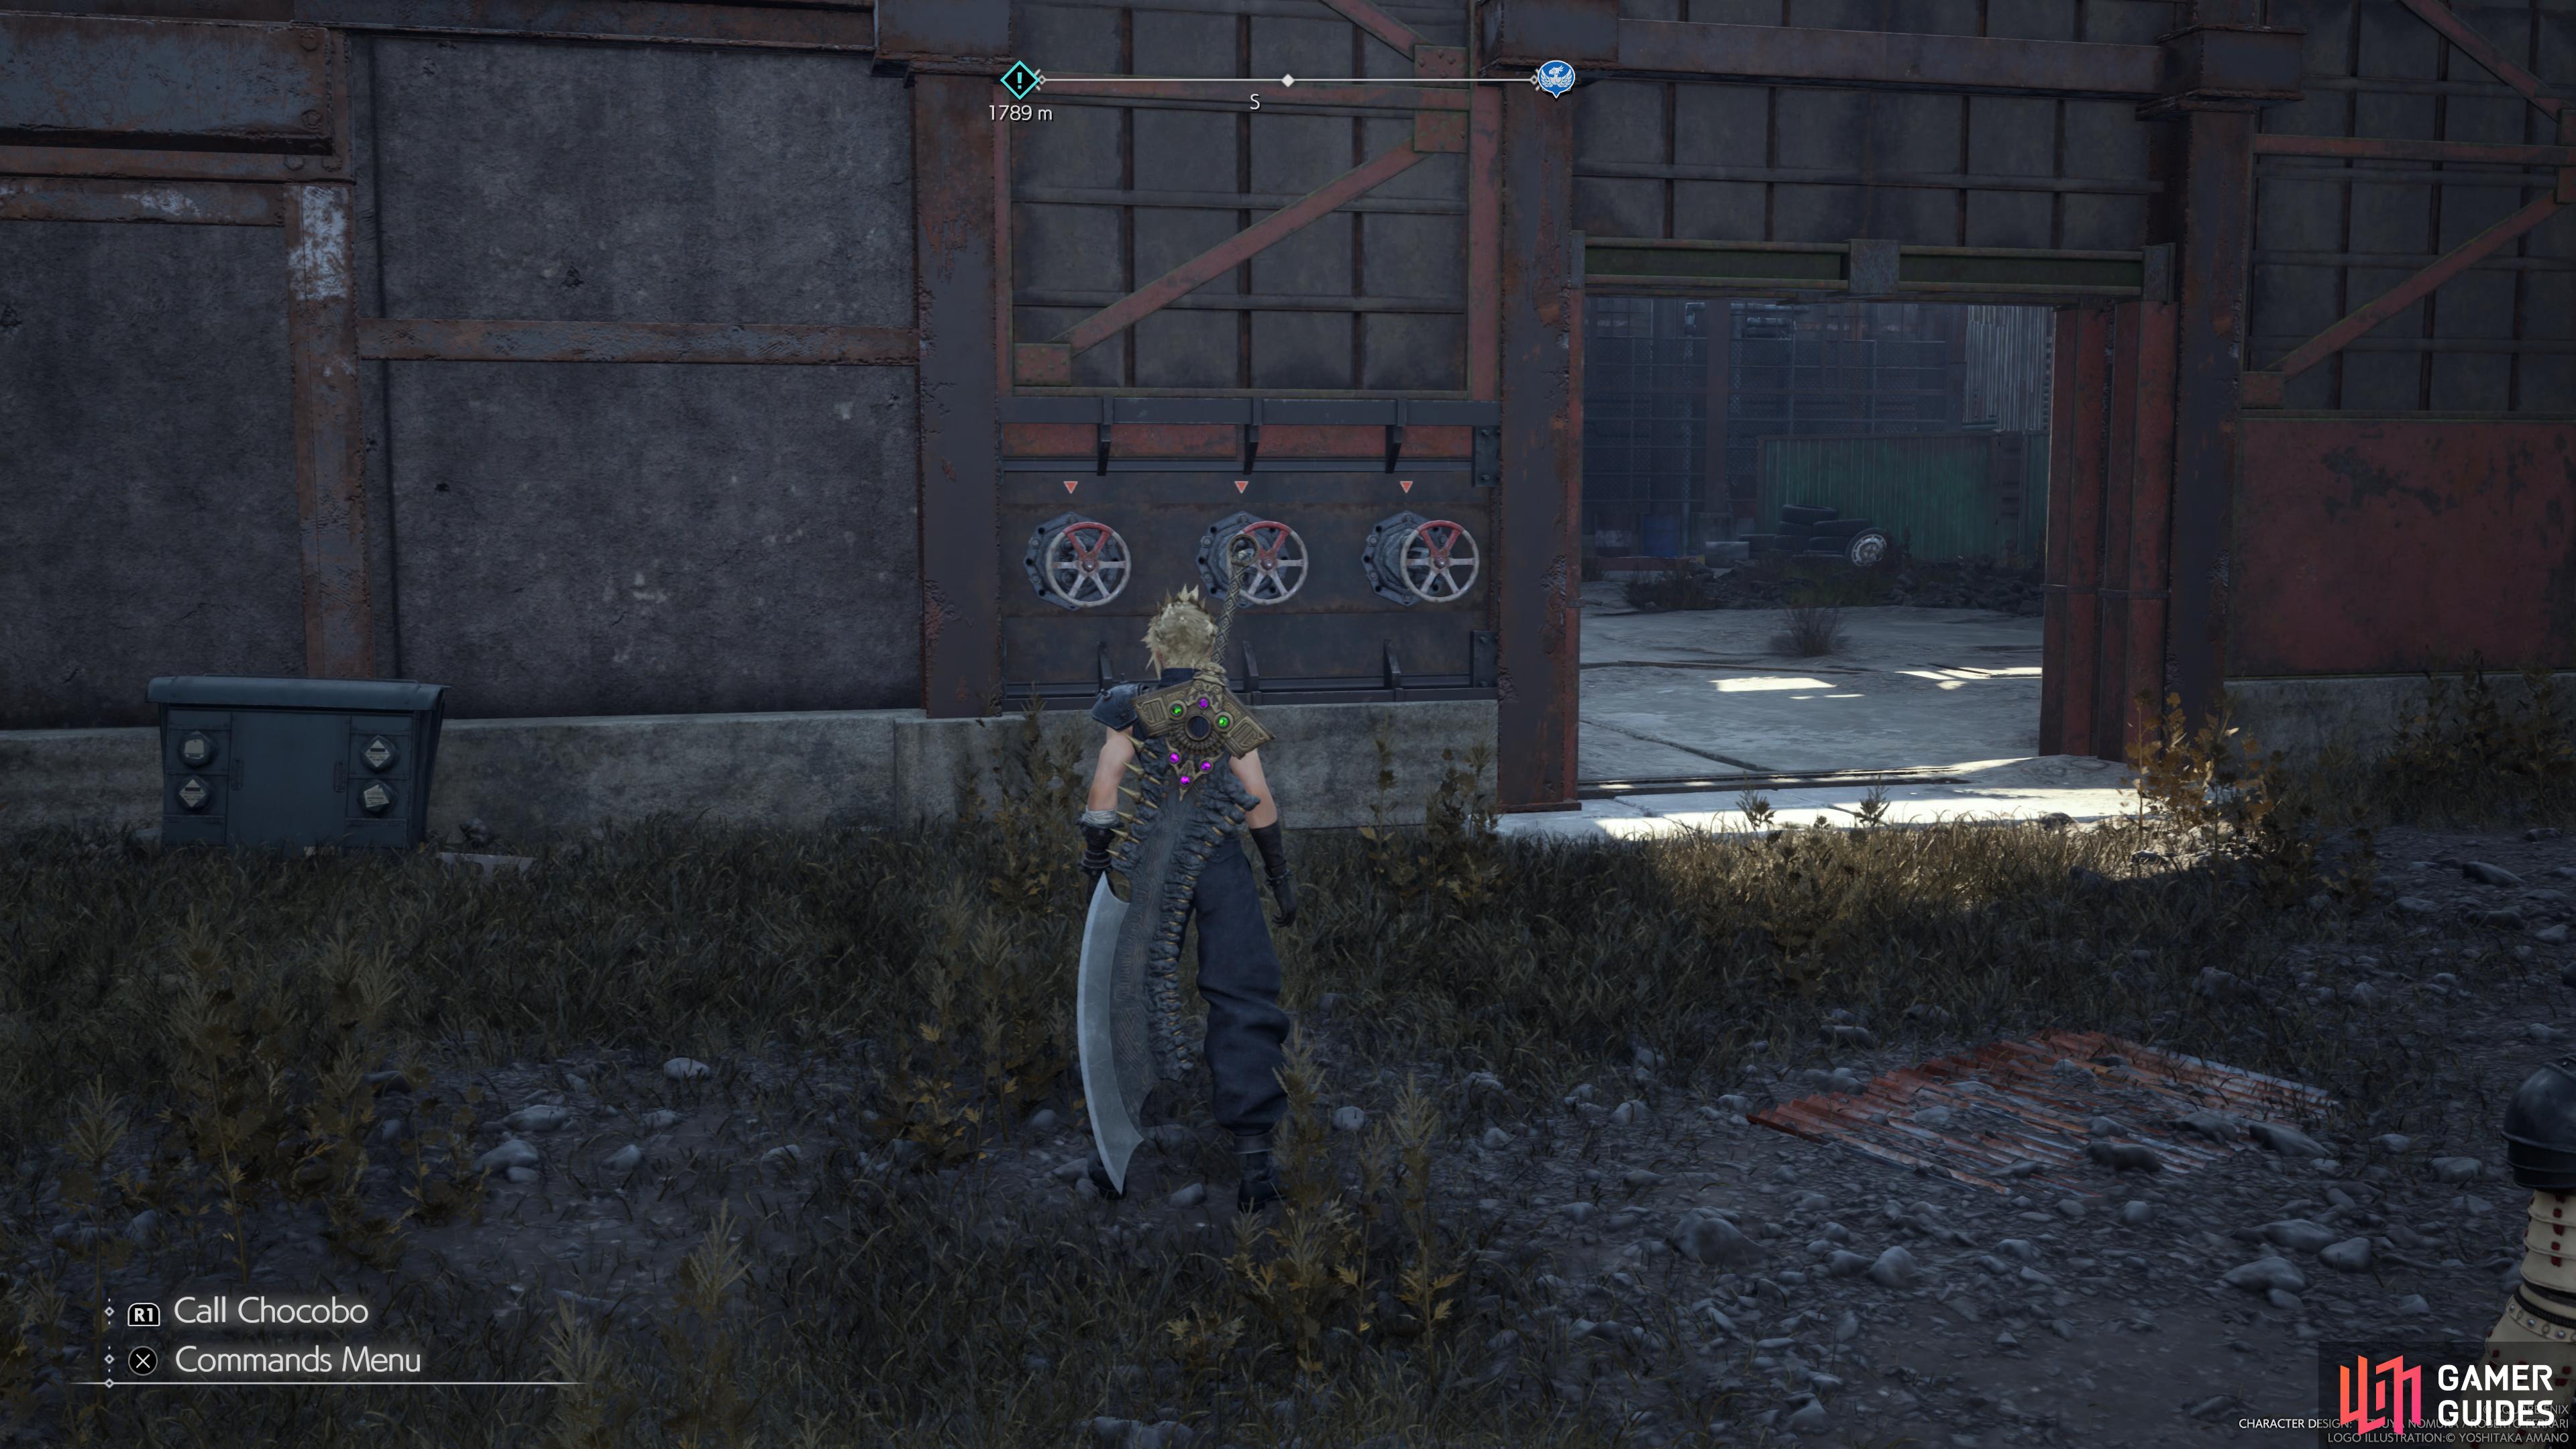
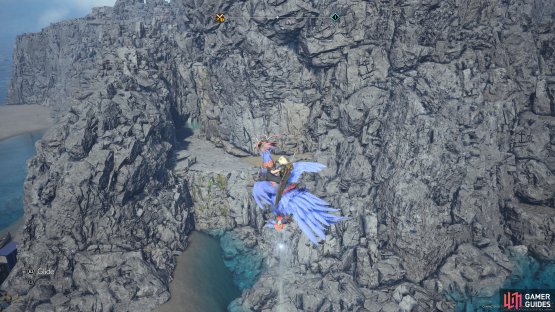
The Cursed Confidant Protorelic can be found directly south of the Beacon Hill Tower. It can be reached by flying down to the beach to the northwest of the tower and then following the black robes to the very top of the hill. Interact with the wheel to open the gate and then work your way across the rooftop while clearing out the enemies. Now you’ll need to interact with the three valves until the red paint is facing the top. You can do this by interacting with the middle one and making it face the bottom and then interact with the left one until it faces the top. If done correctly, the gate should now be opened and a Sanguine Scourge will await inside.
In order to defeat Sanguine Scourge, you’ll want to focus on pressuring it and you can do that by dealing lots of damage to it. We found that using Thundaga along with Braver and ![]() Firebolt Blade was a good combo to pressure it easily. Once pressured you’ll want to start using Focused Attacks to stagger it before unleashing your hard-hitting moves such as
Firebolt Blade was a good combo to pressure it easily. Once pressured you’ll want to start using Focused Attacks to stagger it before unleashing your hard-hitting moves such as ![]() Infinity’s End on it. When the Sanguine Scourge HP gets low it’ll activate a Mana Shield which means physical attacks will no longer work against it, so you’ll want to focus on spamming lightning magic until it goes down.
Infinity’s End on it. When the Sanguine Scourge HP gets low it’ll activate a Mana Shield which means physical attacks will no longer work against it, so you’ll want to focus on spamming lightning magic until it goes down.
Phenomenon Intel 4: Wayward Soul

(1 of 2) Head to this location on the map

Head to this location on the map (left), to find the Wayward Soul Protorelic. (right)
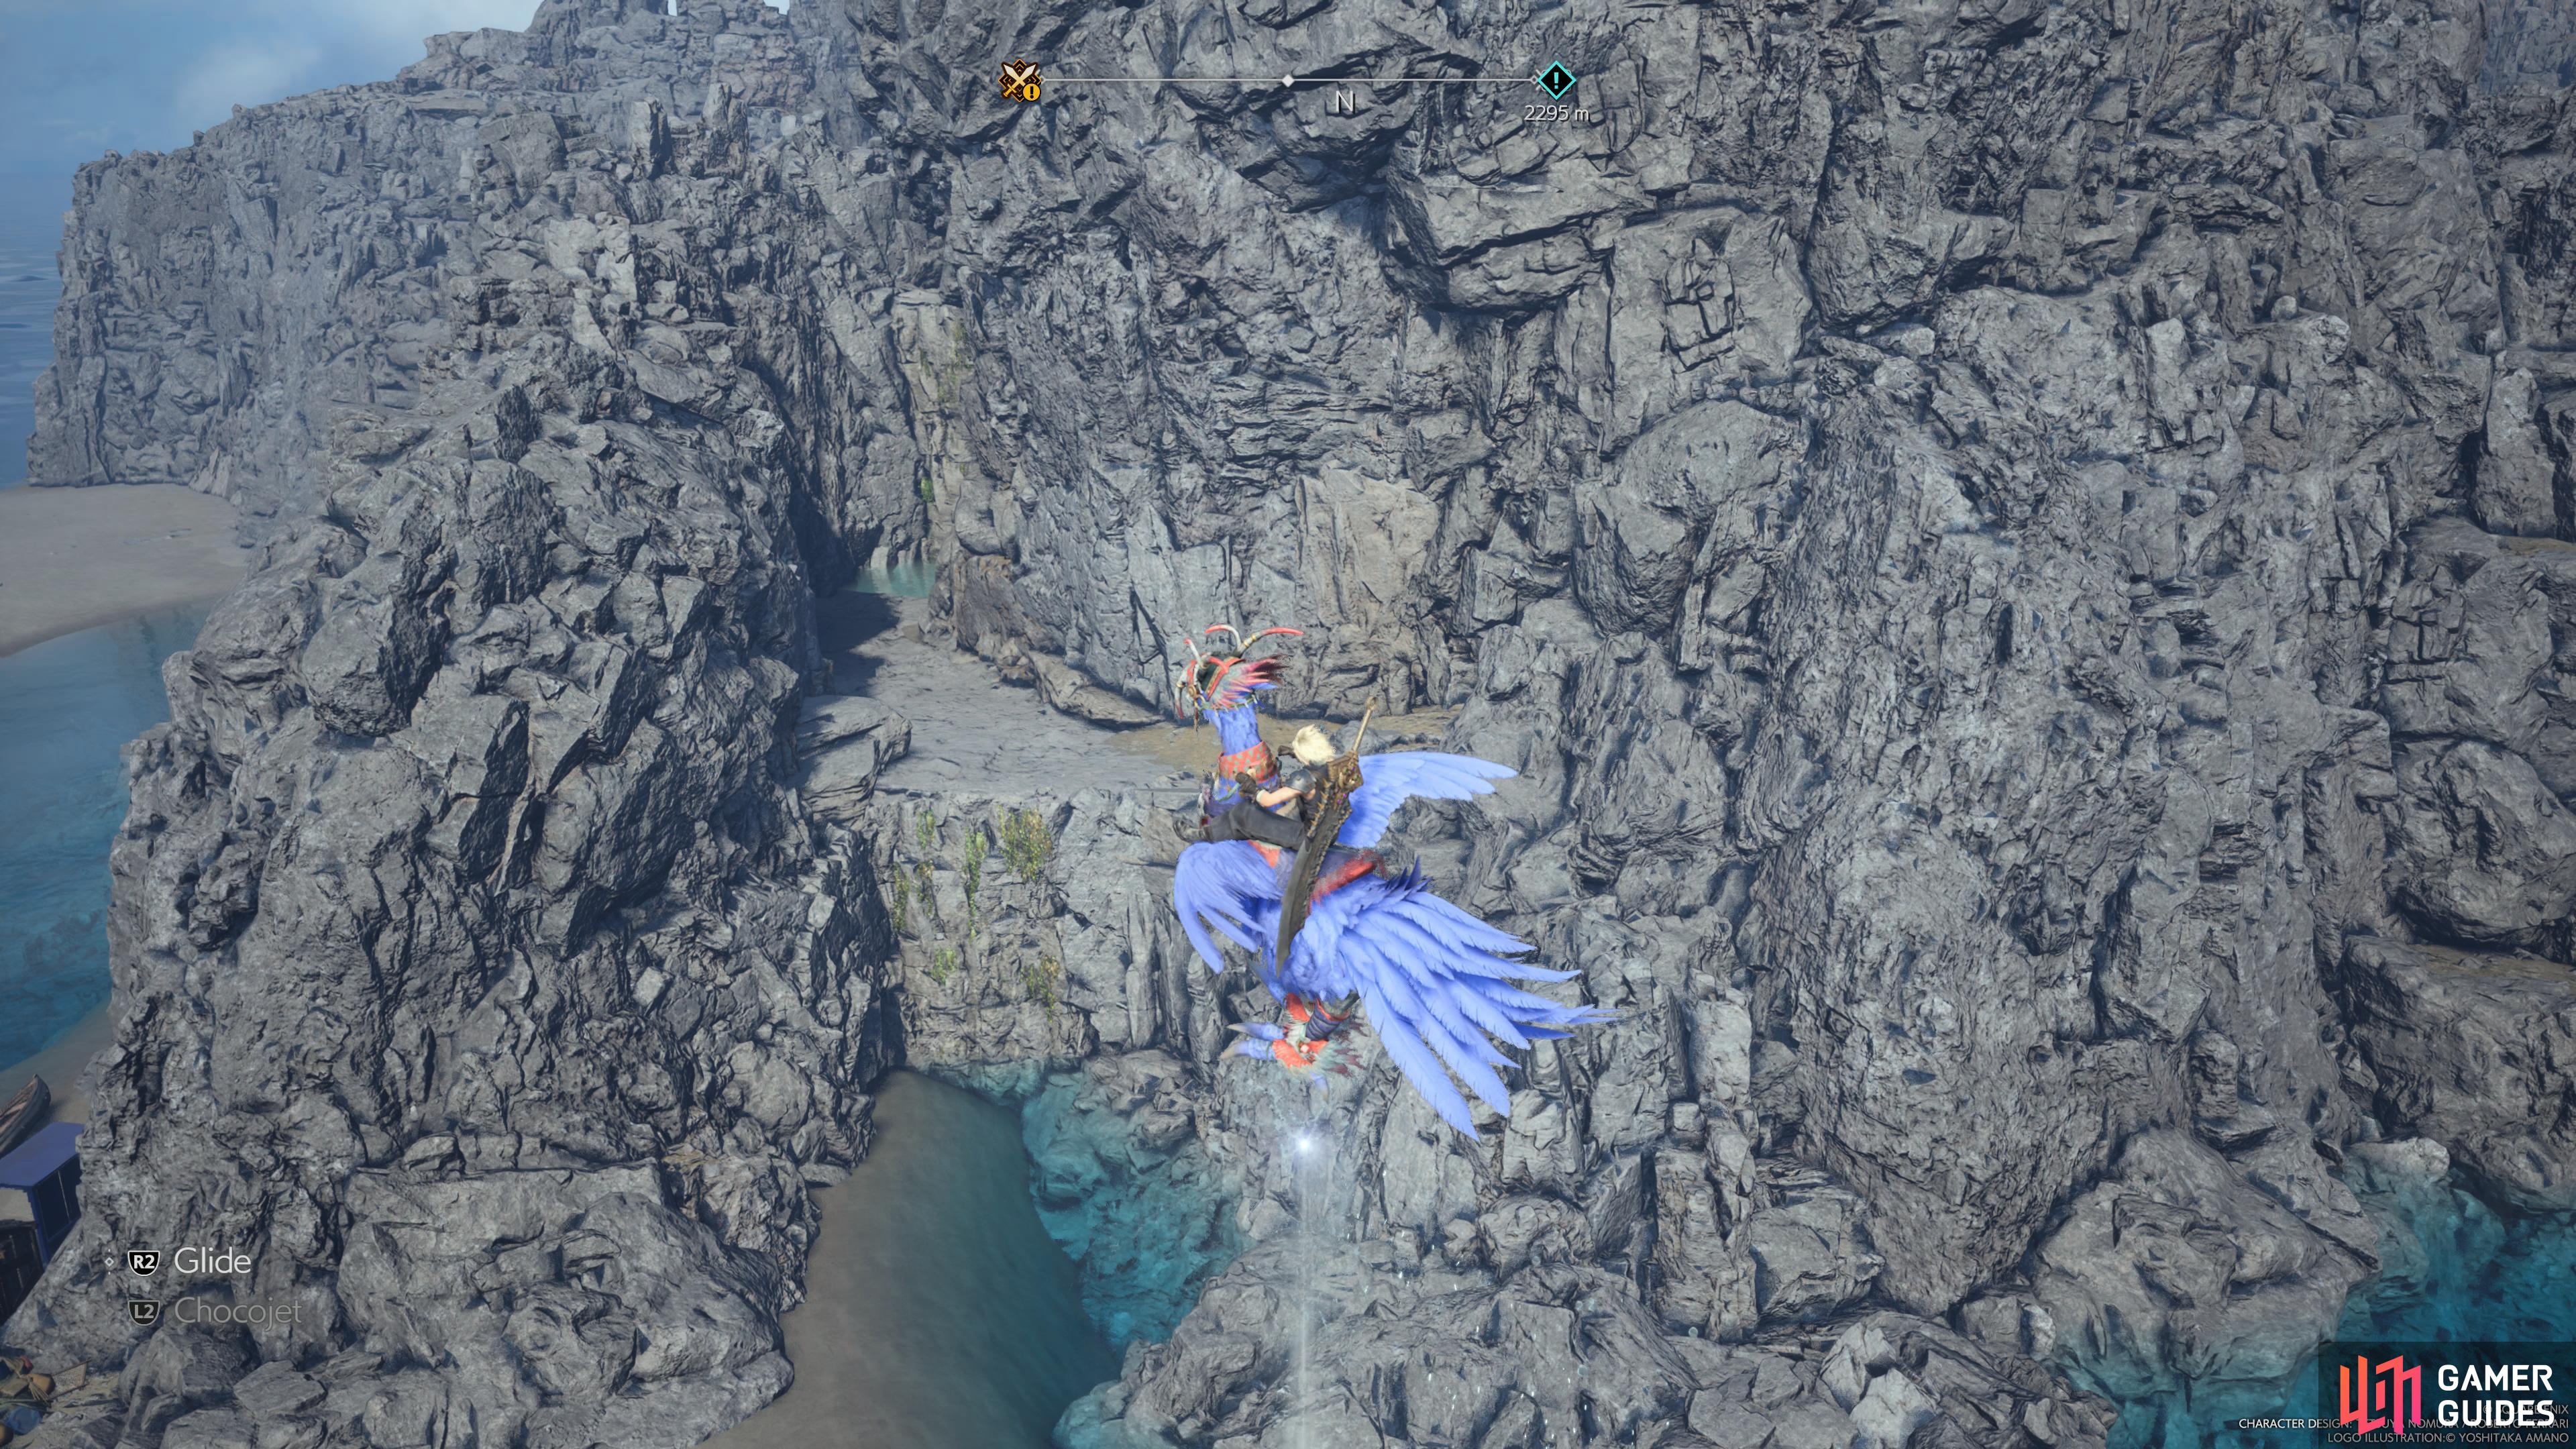
The Wayward Soul can be found to the east of the Whitecap Reef Tower. It can be started by heading to the beach to the southwest of the Airstrip Tower and then you’ll come across a large gathering of black robes. After the cutscene has come to a close, hop on the Chocobo and glide towards the middle island in the northwest corner of the map, then you’ll want to head to the southernmost portion of the island to find a path that leads to the protorelic. Here you’ll need to take down the Eccentric Swordsman and this can be done by perfectly blocking his attacks to pressure him and then use Focused Thrust and ![]() Fire Spells to stagger him. The best way to perfectly block his attacks is by playing as Cloud and using Punisher Mode. However, the only attack you can’t block is Curious Pose… so you’ll want to dodge this.
Fire Spells to stagger him. The best way to perfectly block his attacks is by playing as Cloud and using Punisher Mode. However, the only attack you can’t block is Curious Pose… so you’ll want to dodge this.
More Final Fantasy VII Rebirth Guides
If you’re looking for help in other aspects of Final Fantasy VII Rebirth, then make sure to check out the pages below:
No Comments