
Chapter 12 of the main story doesn’t give you a break, since there are essentially three boss fights in a row. First was Abzu (with Don Cornero), then you got a rematch with Elena and Rude. Things don’t end there, as at the conclusion of that fight, a new contender appears, Rufus Shinra. Unlike the previous battles, though, you will be fighting Rufus with only Cloud and you don’t get a break to make sure you’re properly equipped.

President Shinra appears after you defeat Elena and Rude, challenging Cloud to a one-on-one battle.
All of Rufus’ Attacks
Rufus will have two phases during the course of the battle.
-
Counter: Will pretty much use this if you try to attack him outside of Reload or during one of his other moves.
-
Bad Luck:
 Unblockable. Rufus shoots out a cloud of dark energy that will slowly track you. Can inflict
  Slow,
Slow,  Silence,
  Deprotect, and
  Sleep.
 -
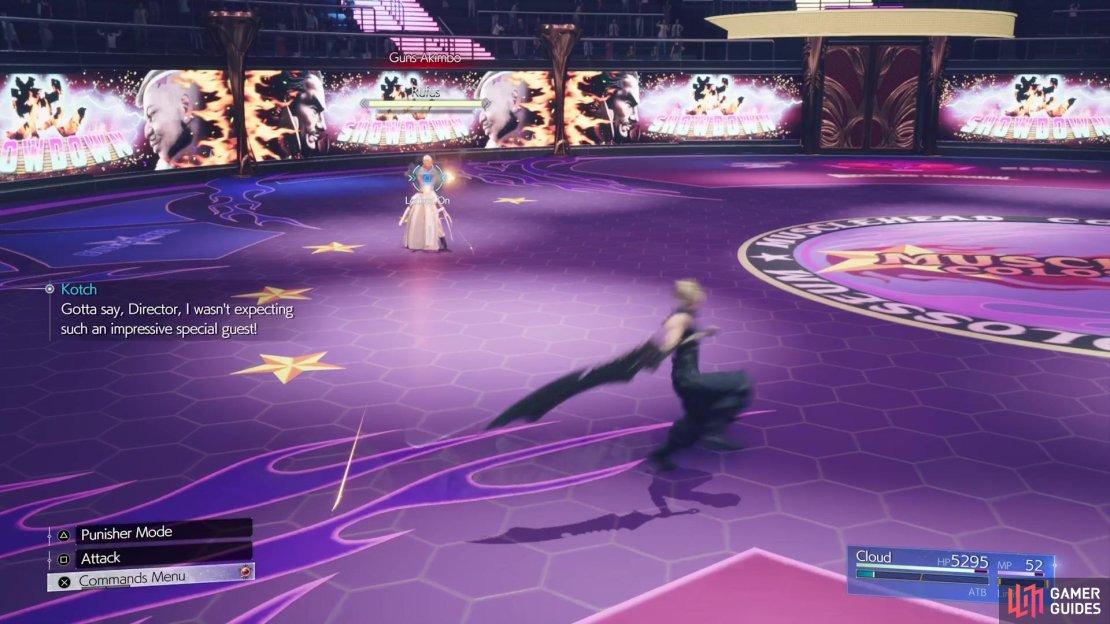
Guns Akimbo: Rufus will equip guns in each hand and fire a volley of shots at you. Keep moving to avoid these.
-
Hot Pursuit: You will see Rufus shoot something in the air, which will be followed by some lasers coming down at you.
-
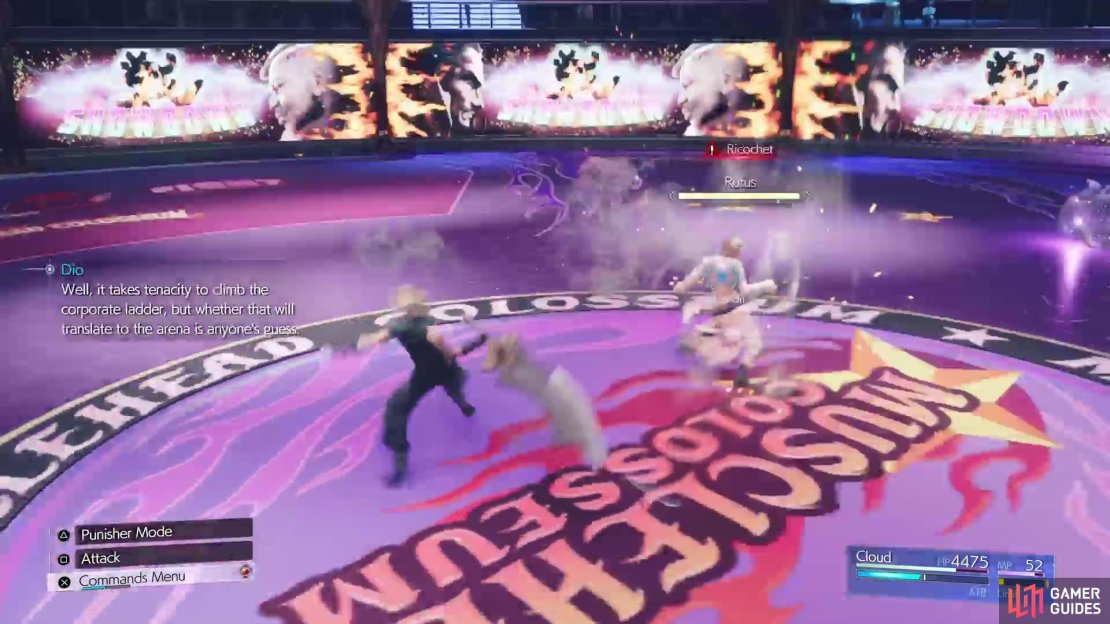
Ricochet: Unblockable. Rufus will dash towards you and try to perform a melee attack with his weapon.

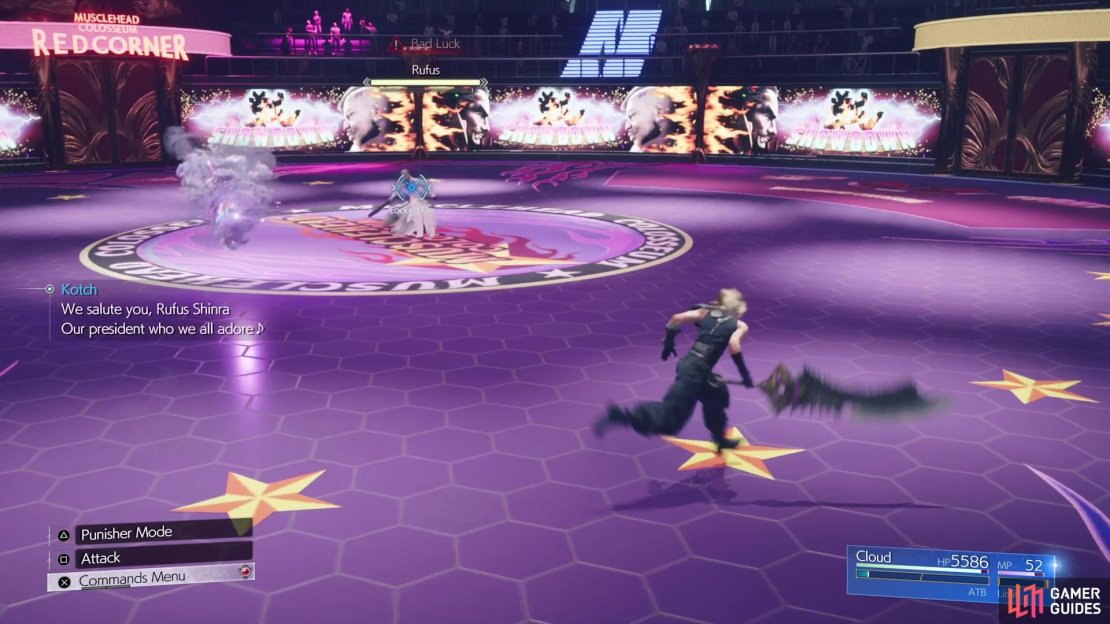

(1 of 5) Bad Luck should be avoided at all costs, since there are debuffs and ailments attached to it.
-
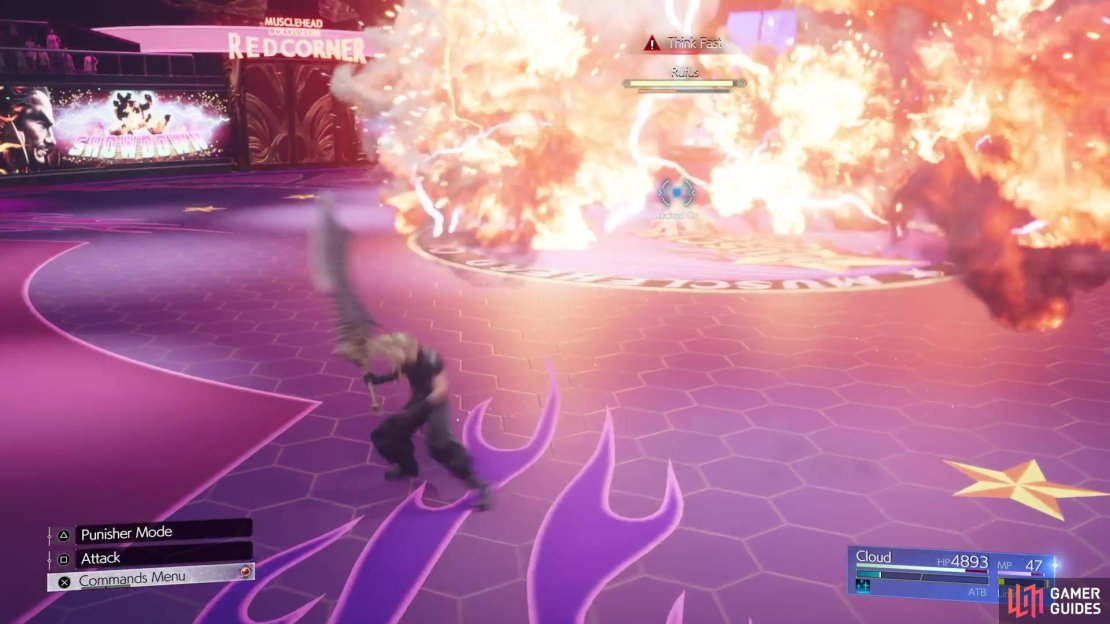
Think Fast: Unblockable. He will dash and toss out some grenades in front of him, which will explode shortly after thrown. Easy to avoid since it’s not that far in front of him.
-
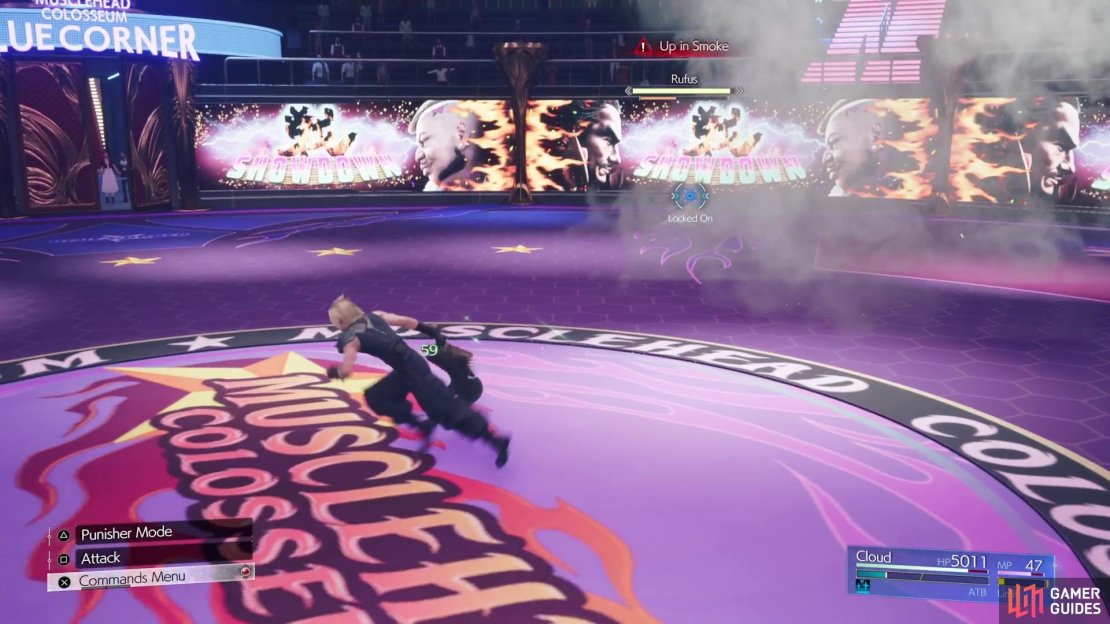
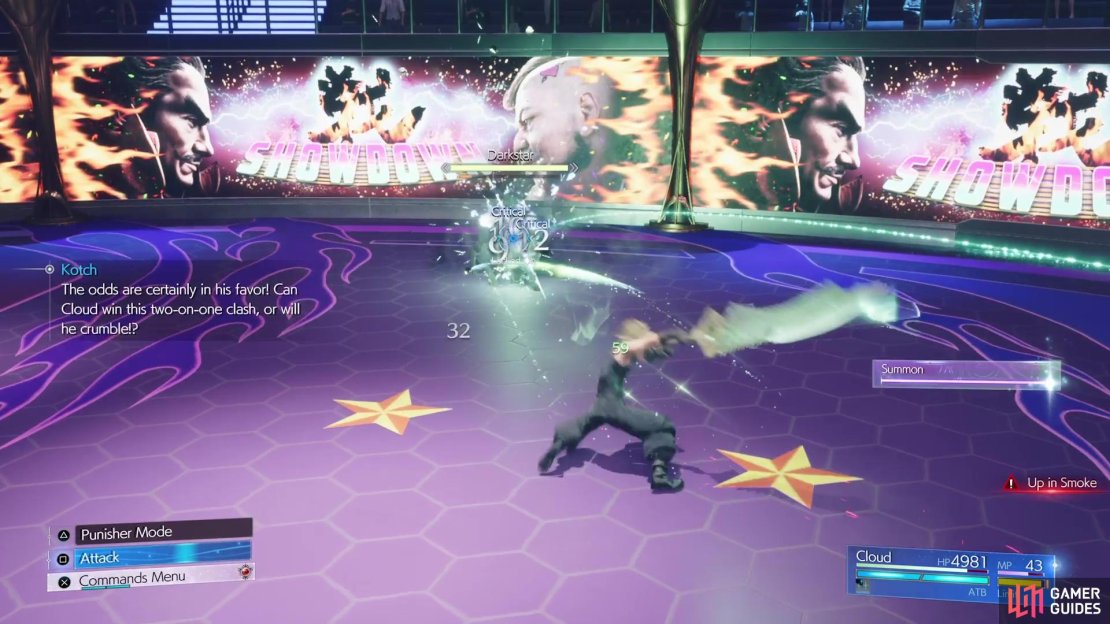
Up in Smoke: Unblockable. Rufus tosses a smoke grenade into the air, which he then shoots, creating a gas cloud. If you get hit, you’ll be stunned for a second or so, leaving you open to follow-up attacks.
-
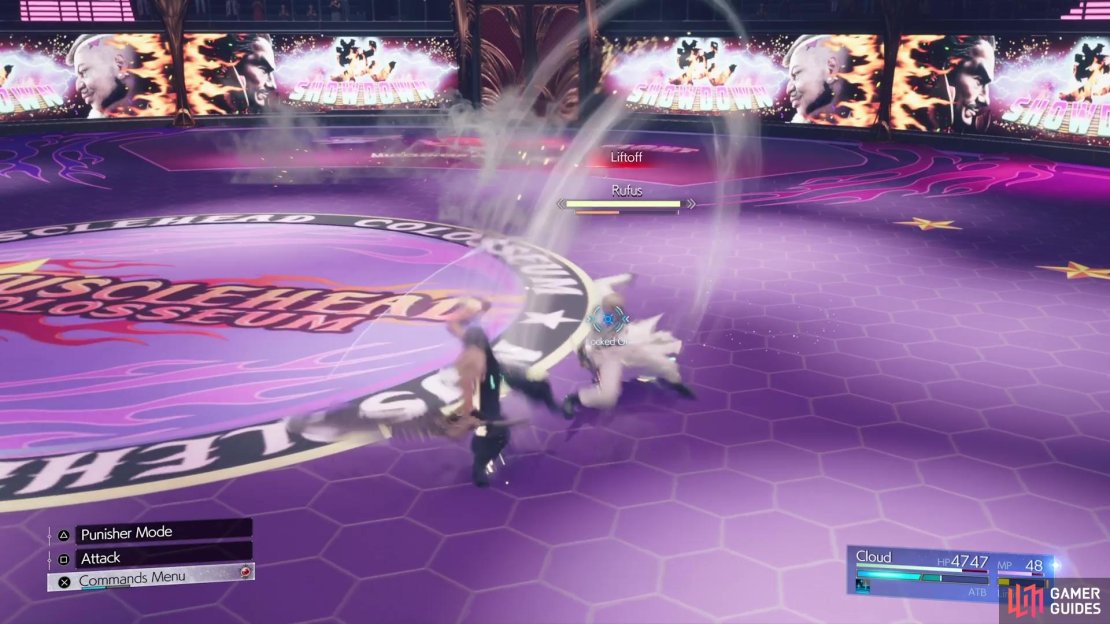
Liftoff: Very quick move, where Rufus will knock you up into the air. If successful, usually followed up by Guns Akimbo.
-
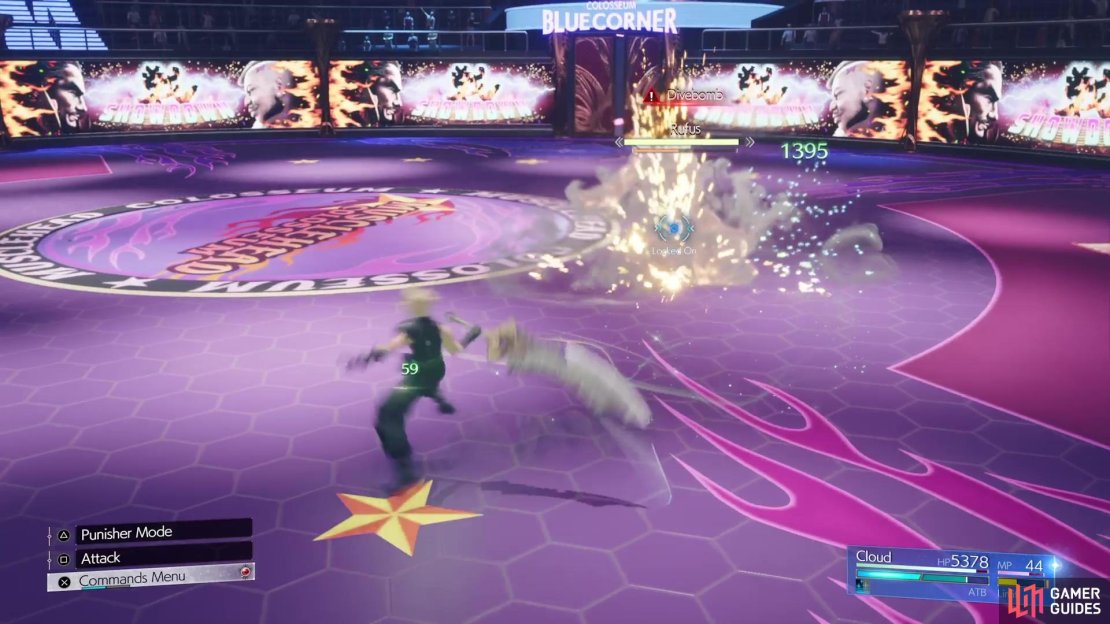
Divebomb: Unblockable. Rufus will quickly launch himself into the air, then attempt to crash down on top of you.
-
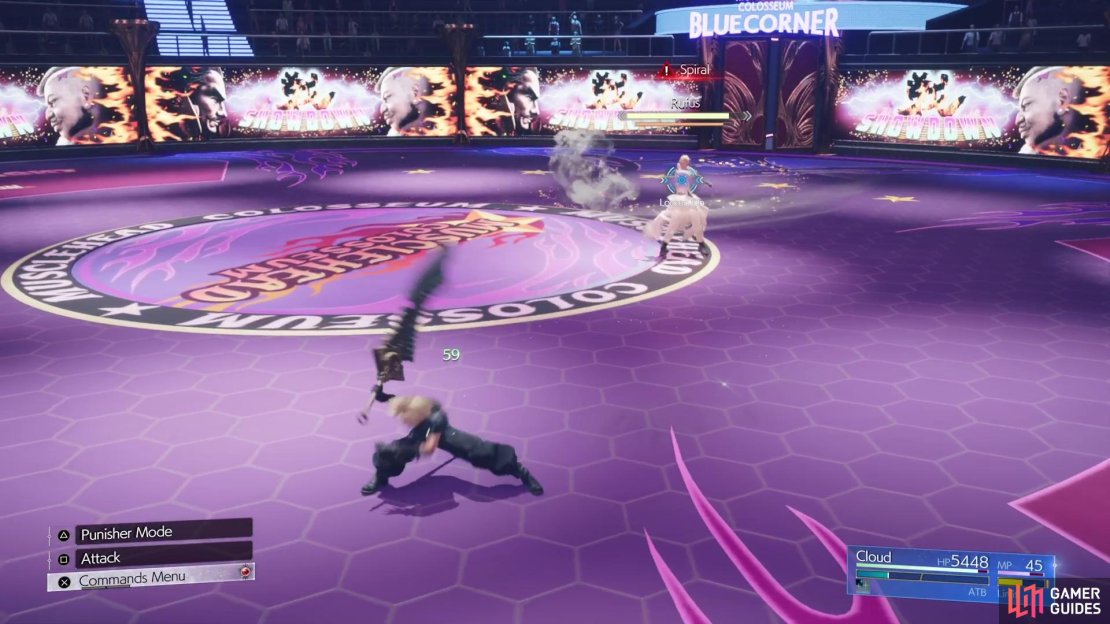
Spiral: Unblockable. Dashes towards you, then tries to perform a sweeping melee attack with his weapon.
-
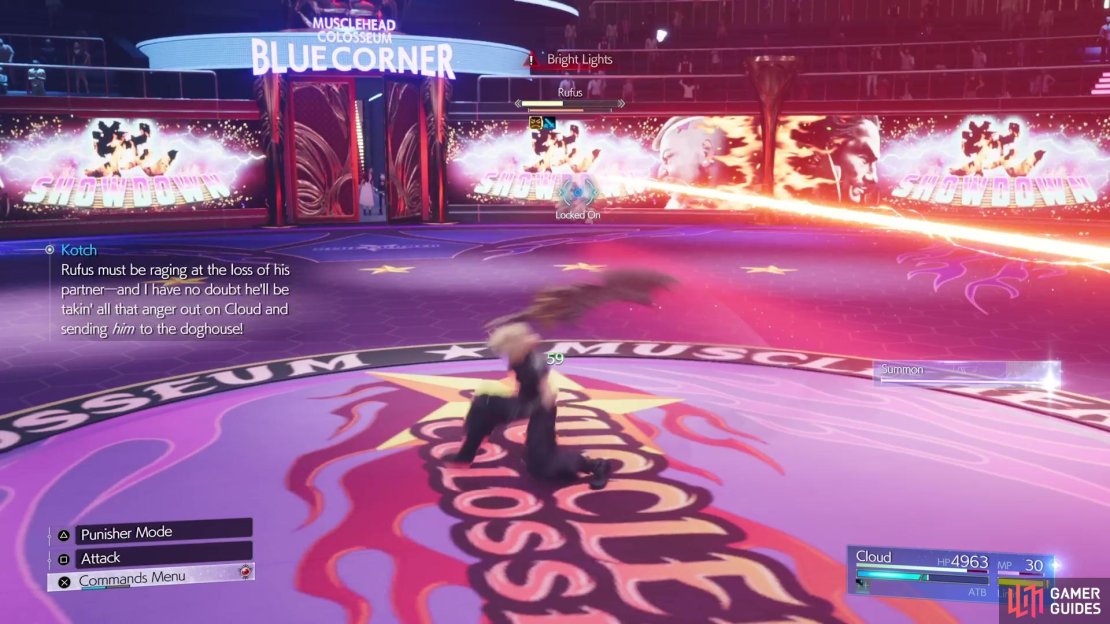
Bright Lights: Unblockable. Rufus will jump backward, then fire a laser in a straight direction.
-
Tread Softly: Unblockable. Rufus will toss out three electric mines near himself. If you touch these, you’ll take some damage and be stunned for a few seconds. When Darkstar joins, he will jump into the air and launch the mines a little farther ahead.

-
Thunderclap: Team-up move with Darkstar. Rufus fires a lightning-infused shot at you that hits like Thunder, should it connect. You can block it, but it’s just as easy to dodge.
-
Ascendant Assault: Unblockable. Team-up move with Darkstar. The latter will use
 Fire and Rufus will begin charging, then perform a very quick dash maneuver at you.
 -
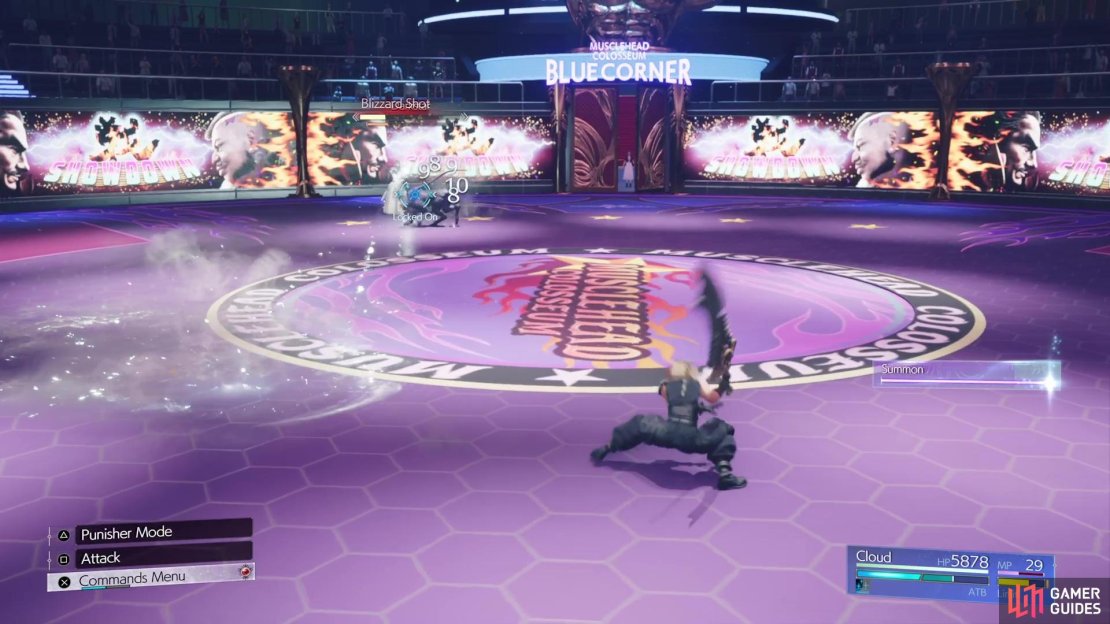
Blizzard Shot: Team-up move with Darkstar. The latter will cast Blizzard and Rufus will shoot a bunch of ice-infused shots at you, similar to Guns Akimbo.
All of Darkstar’s Attacks
Darkstar, Rufus’ pet, will join the action whenever you get Rufus to around 50% HP. Note that Darkstar’s elemental attacks won’t be listed here, as he doesn’t actually cast them at you. It does appear that a lot of the moves Darkstar does will be in conjunction with one of Rufus’ attacks.
-
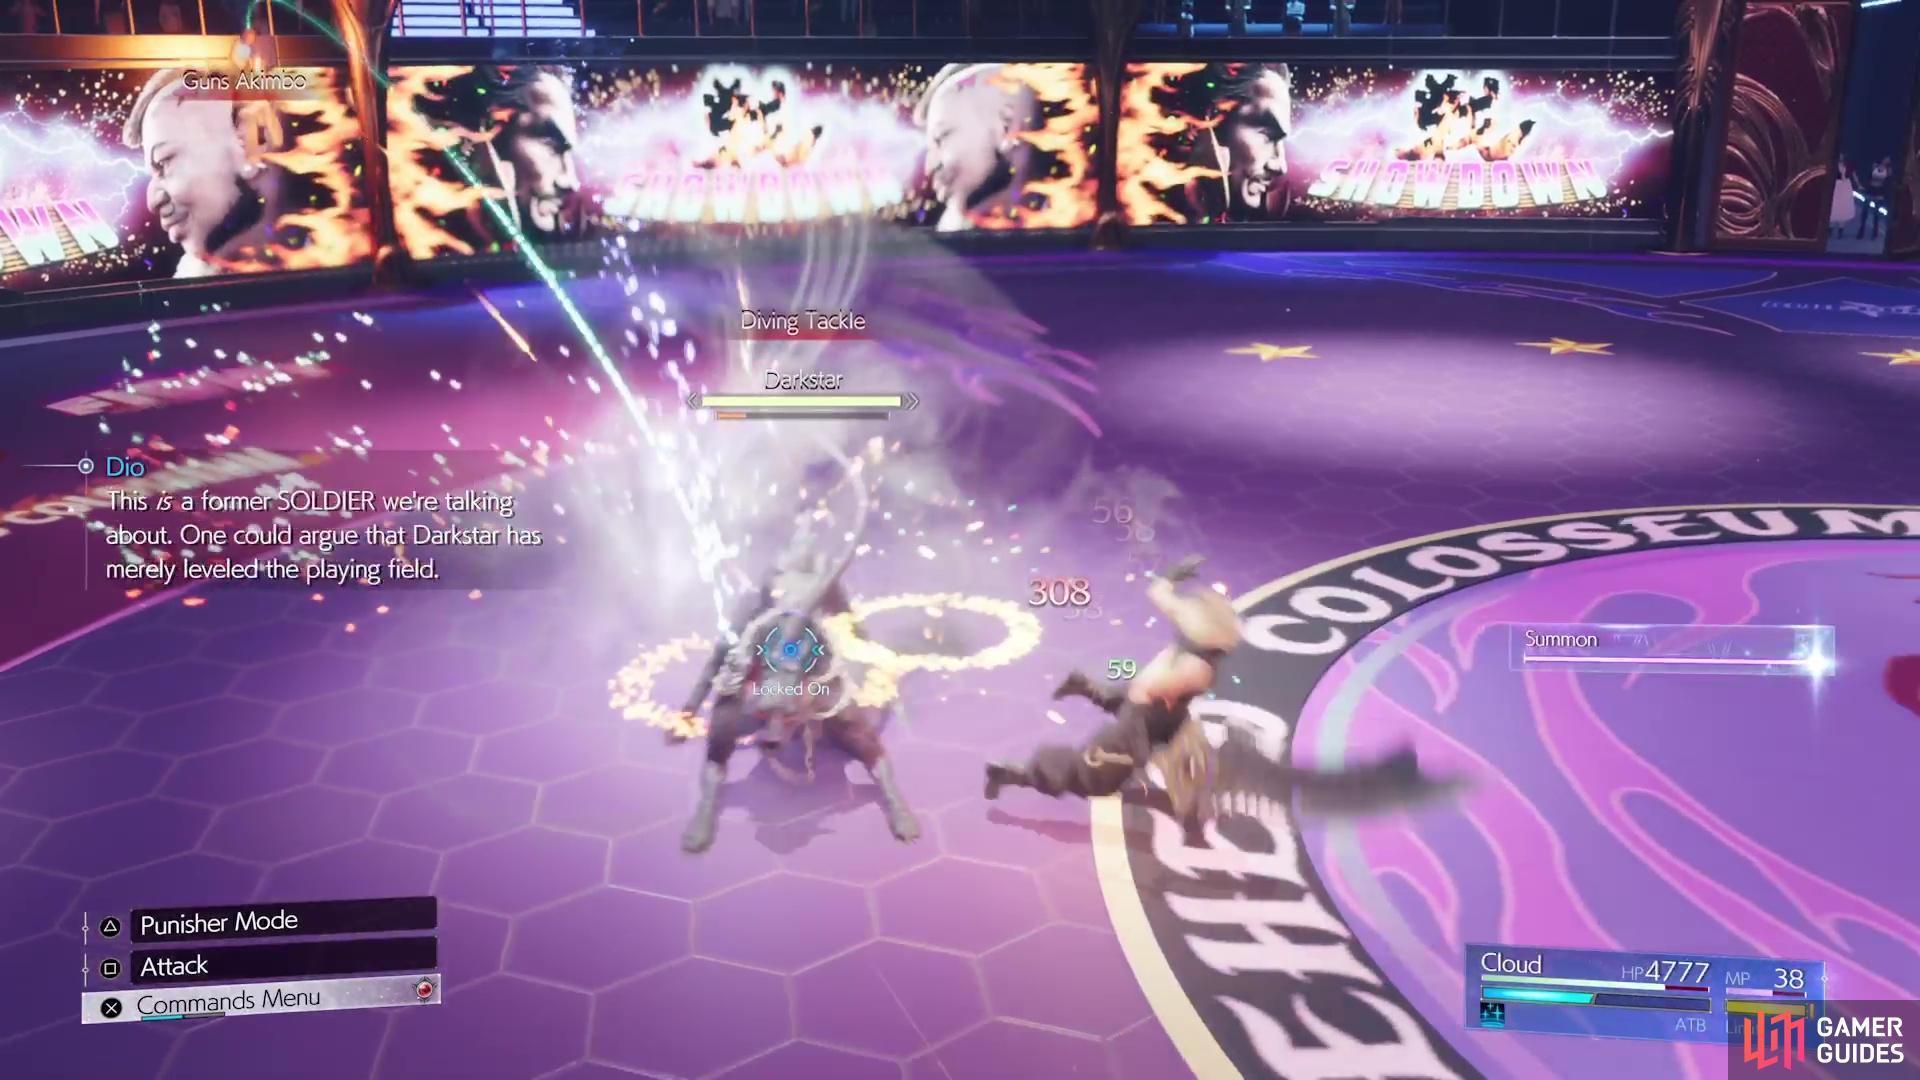
Diving Tackle: Darkstar will jump into the air and charge straight at you. It’s kind of quick, but you are able to block it.
-
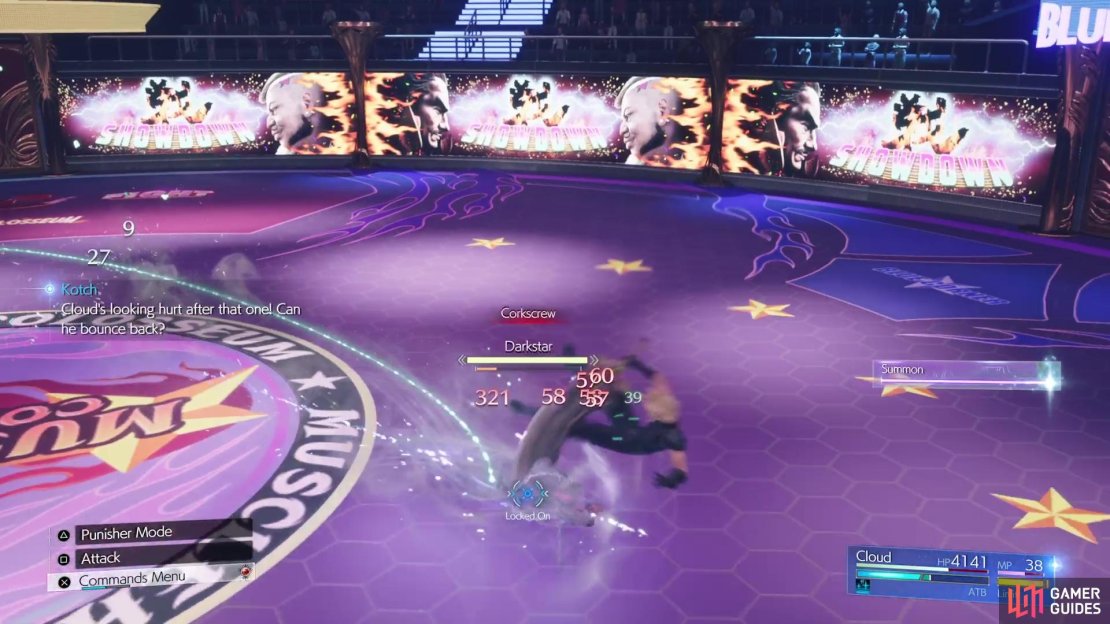
Corkscrew: Similar to the above attack, but Darkstar will remain on the ground for this charge.


(1 of 3) Most of Darkstar’s attacks on you are melee ones.
-
Bestial Dance: Darkstar will perform a three-hit combo of sweeping melee attacks. You can simply back away from him while he’s doing this.
-
Whirlwhip: Darkstar will jump into the air, moving right next to you, then slam into the ground.
Rufus Shinra Boss Strategy
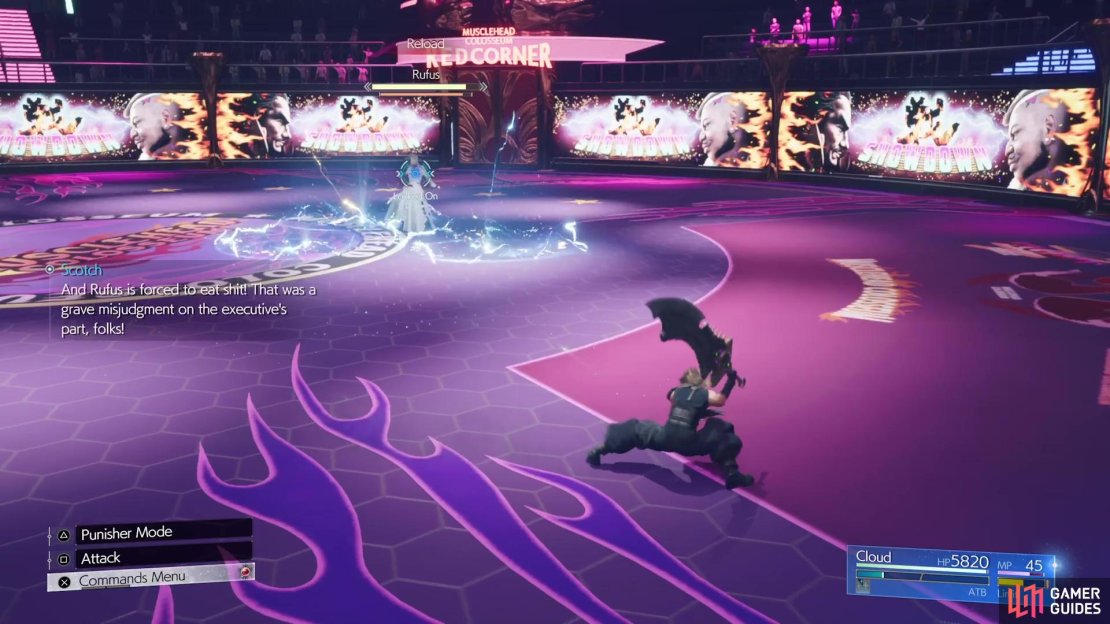
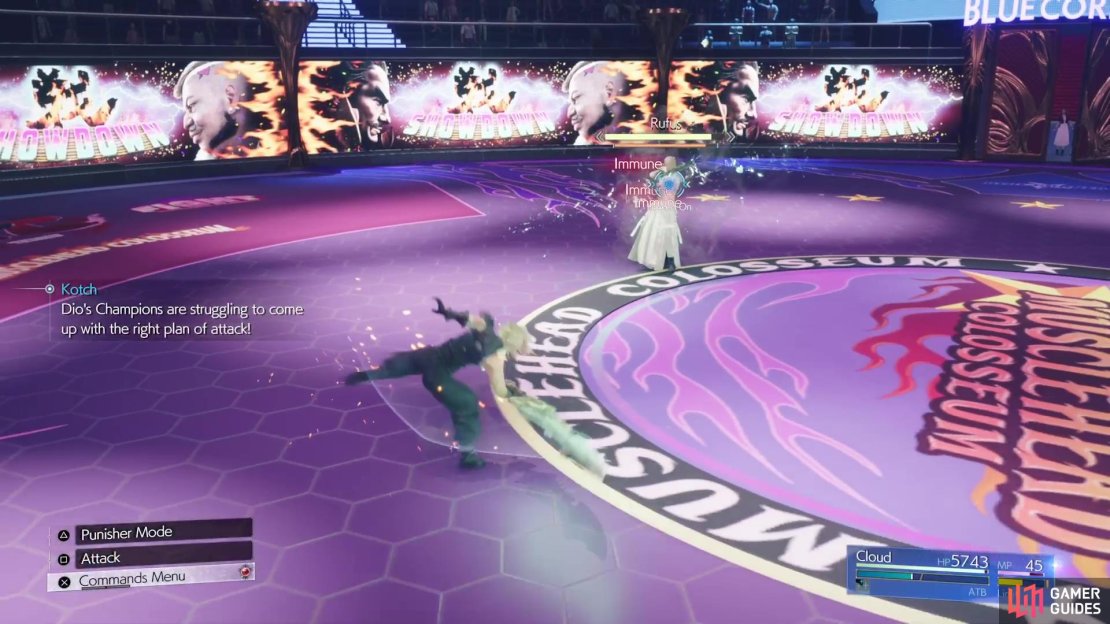
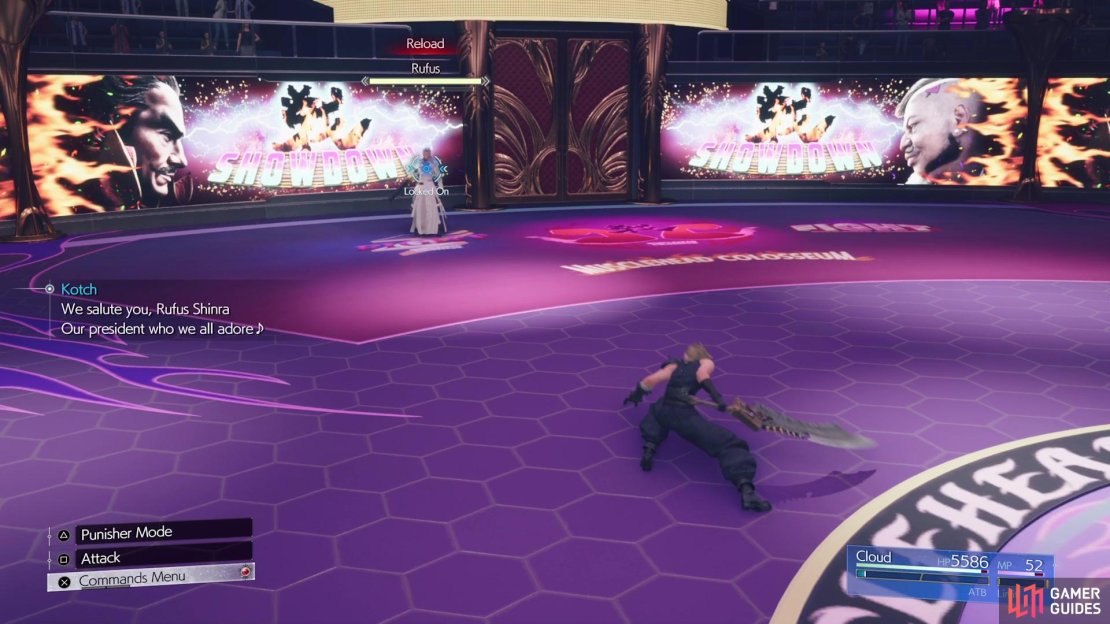
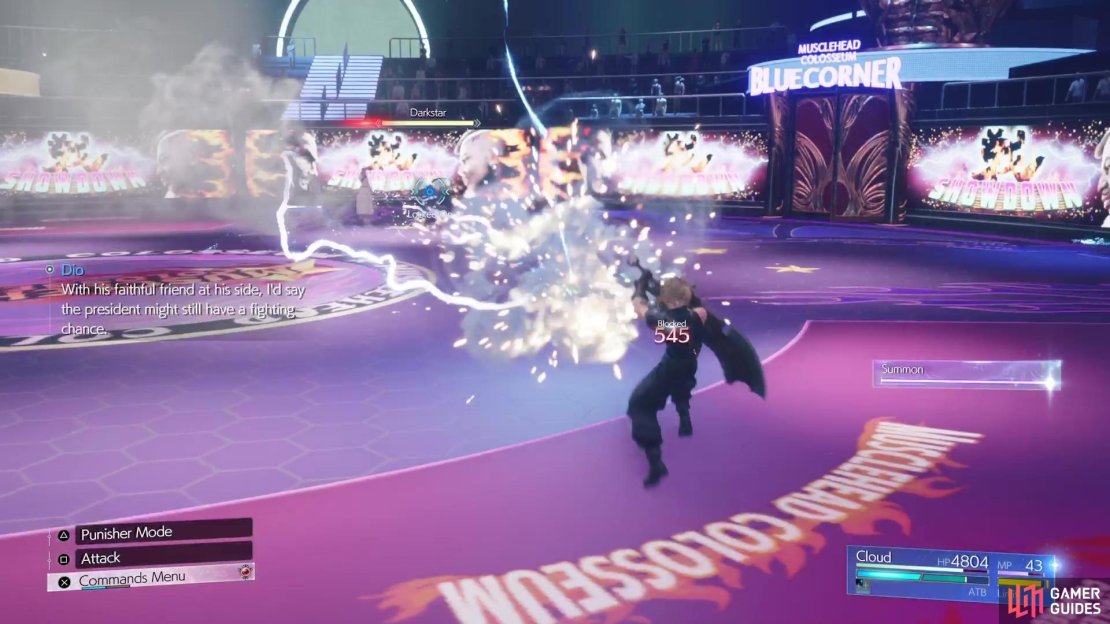
This will be a tricky fight, as you cannot play too aggressively here. If you decide to do that, Rufus will pretty much counter your attacks and the battle will be short (or one-sided, at least). He will also completely block all of your ranged attacks, with it showing up as Immune when they connect. Instead, you will need to wait until Rufus either uses Reload, or using an ATB ability while he’s using one of his own. The latter will cause a longer pressured state, but it’s a lot harder to pull off in the long run. It’s much easier to wait for Reload and attack him during it (any attack will do), then you can rush in to do a quick ![]() Focused Thrust to slowly build up the stagger gauge.
Focused Thrust to slowly build up the stagger gauge.
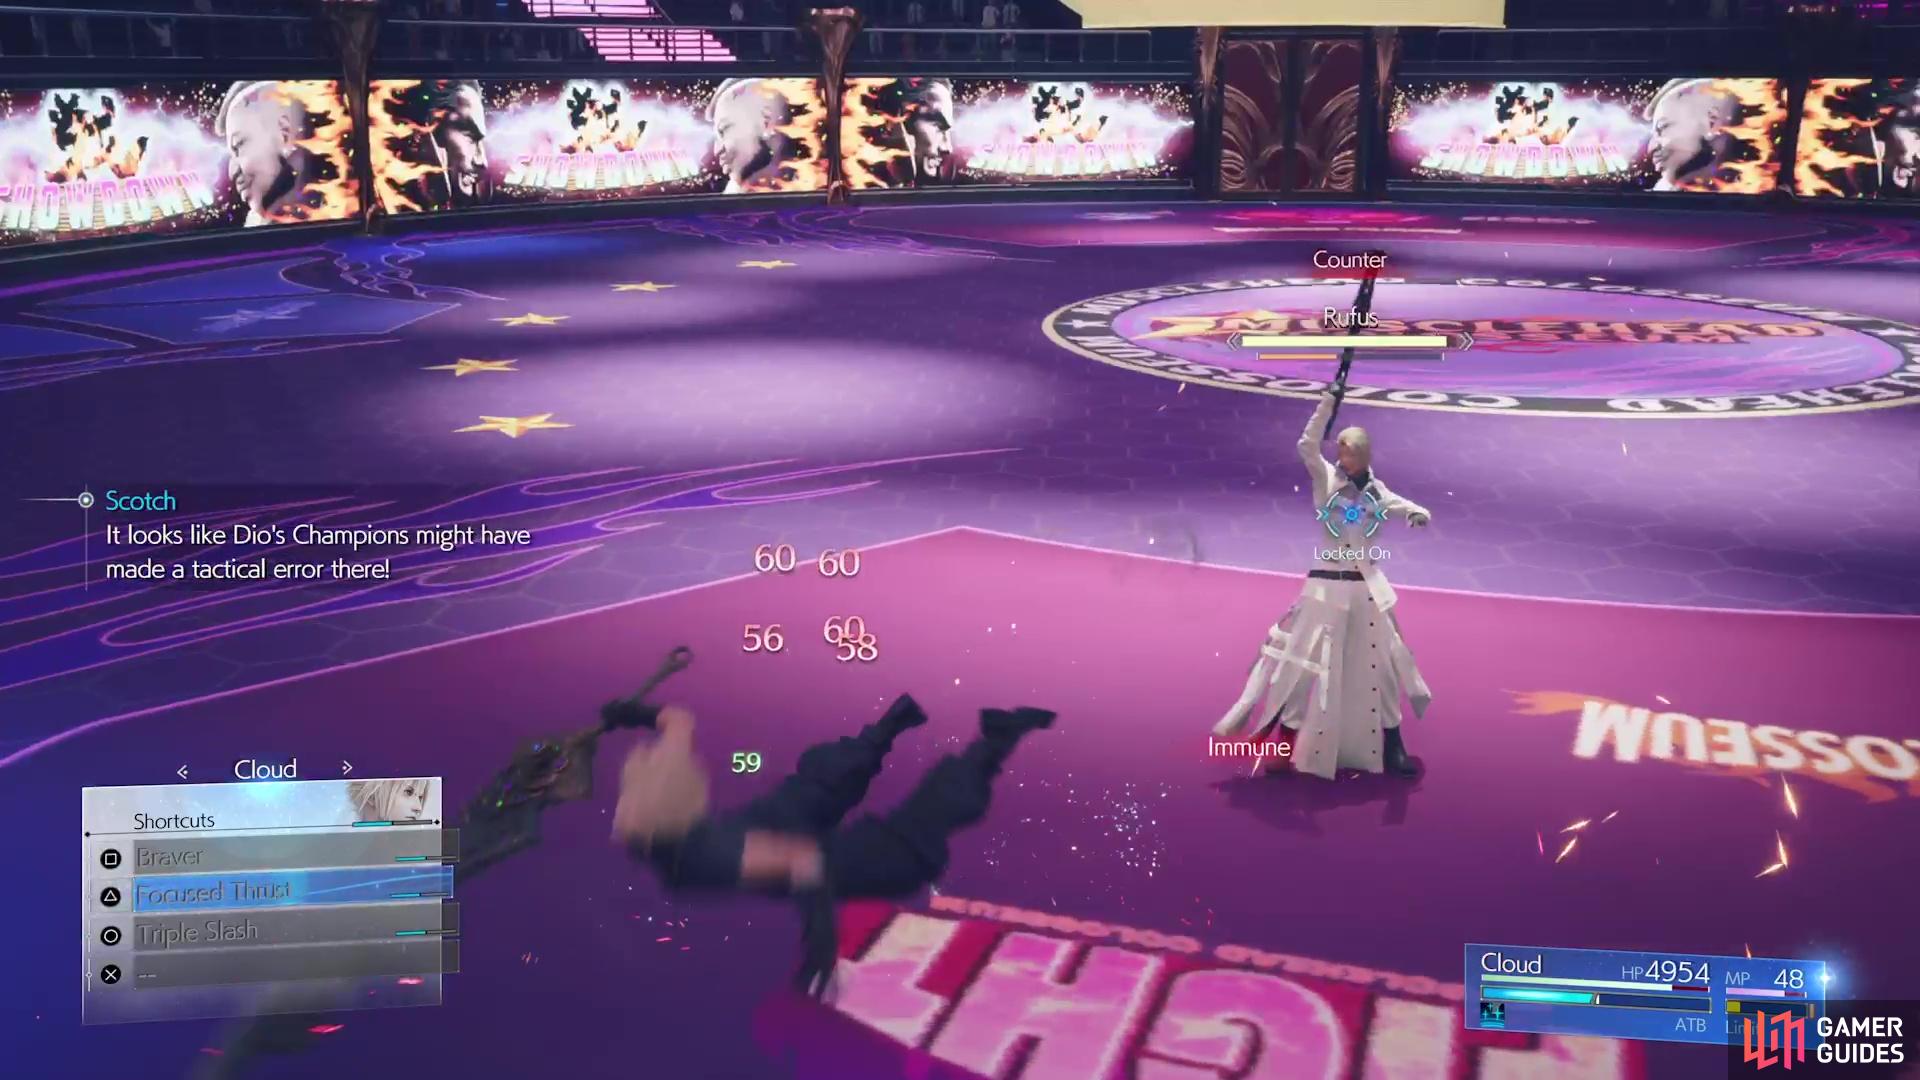


(1 of 4) Melee attacks on Rufus will be met with a Counter.
You’ll probably get hit quite often during this battle, as Rufus quickly moves around the arena, taking potshots at you with his gun. He will typically do a quick dash, then either his normal attack or one of the above moves. Of the moves in the first phase of the battle, Guns Akimbo can be one of the worst ones, despite its lack of damage output. The damage does pile up, though, if you get hit by one of the earlier shots, so it’s best to just keep moving to avoid. He will almost always Reload after the ability, though, so that is your chance to get an attack in for a pressure.
At around the 50% health mark, the second phase of the battle will begin, with Rufus’ pet dog, Darkstar, joining the fight. The fight here is both harder and easier at the same time. Darkstar is aggressive and Rufus will gain some new moves, thanks to his pet’s cooperation. For example, Darkstar has access to Fire, Blizzard and Thunder, but you won’t see these cast on you. Instead, they will trigger the appropriate new move from Rufus. Fire triggers Ascendant Assault, an unblockable move where Rufus does a quick dash towards you.
Blizzard will trigger Blizzard Shot and Thunder will have Rufus use Thundershot. Of course, Darkstar also has his own moveset, which are mostly just melee attacks. Bestial Dance is a melee combo, but it can be blocked, while Subdue is a grapple and thus unblockable. The rest of his attacks are all blockable and aren’t really anything special. The battle once Darkstar makes his appearance is one of two things, as you can either down Darkstar and go back to a solo battle, or you can try to focus on Rufus.
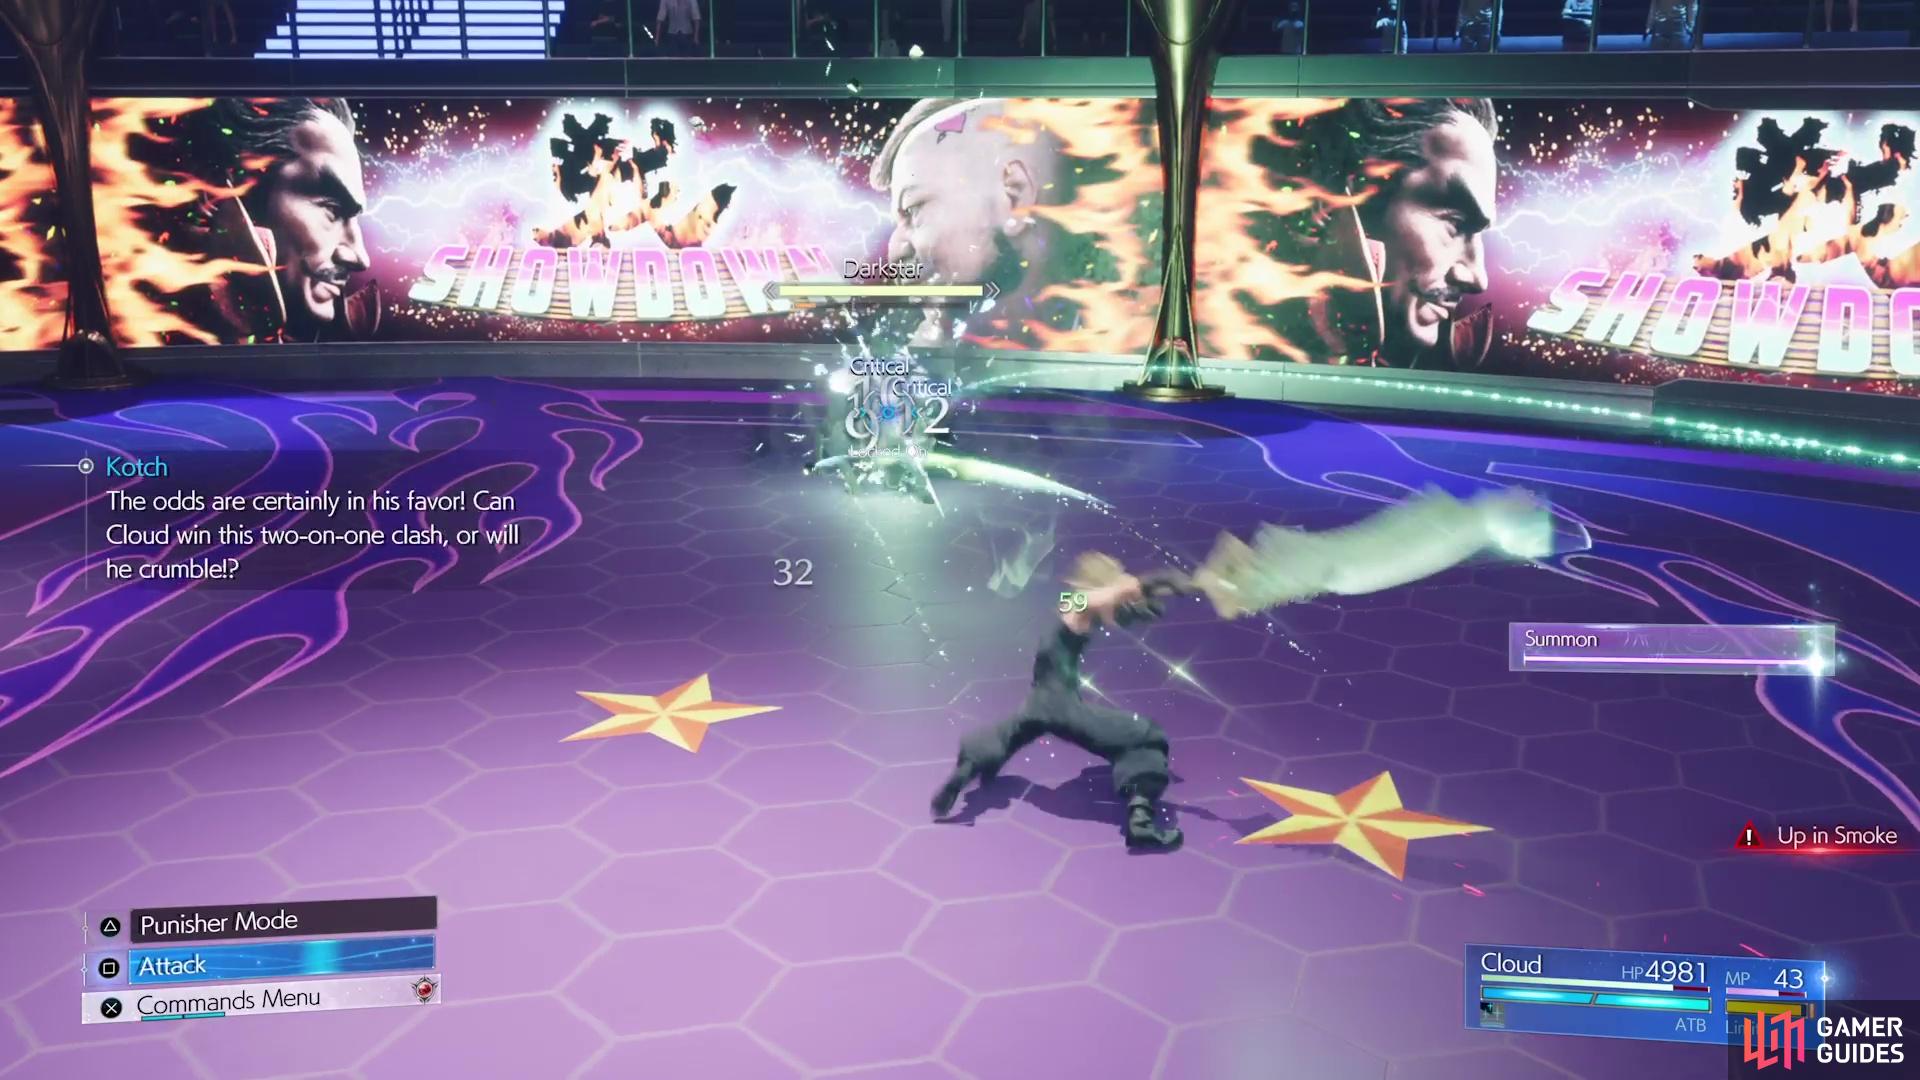

(1 of 4) Darkstar, Rufus’ pet, will join when you bring him down to half health.
Rufus and Darkstar will be tethered to one another, so if you pressure one, the other will also be pressured. Despite the temptation to end the battle with Rufus, you can make things much easier to go after Darkstar first, especially since he doesn’t have much health. Note that Darkstar doesn’t have the dodgey crap that Rufus does, so you can easily build up your ATB with him. Once you pressure Darkstar, one or two Focused Thrusts should be enough to stagger him, after which, you can build up for an ![]() Infinity’s End or some Bravers to quickly put an end to him.
Infinity’s End or some Bravers to quickly put an end to him.
This will cause Rufus to enrage, causing his attack power to increase. However, he will lose the extra abilities he gained with Darkstar, where it’s essentially the same battle as the first phase.
Chasing Down Cait Sith
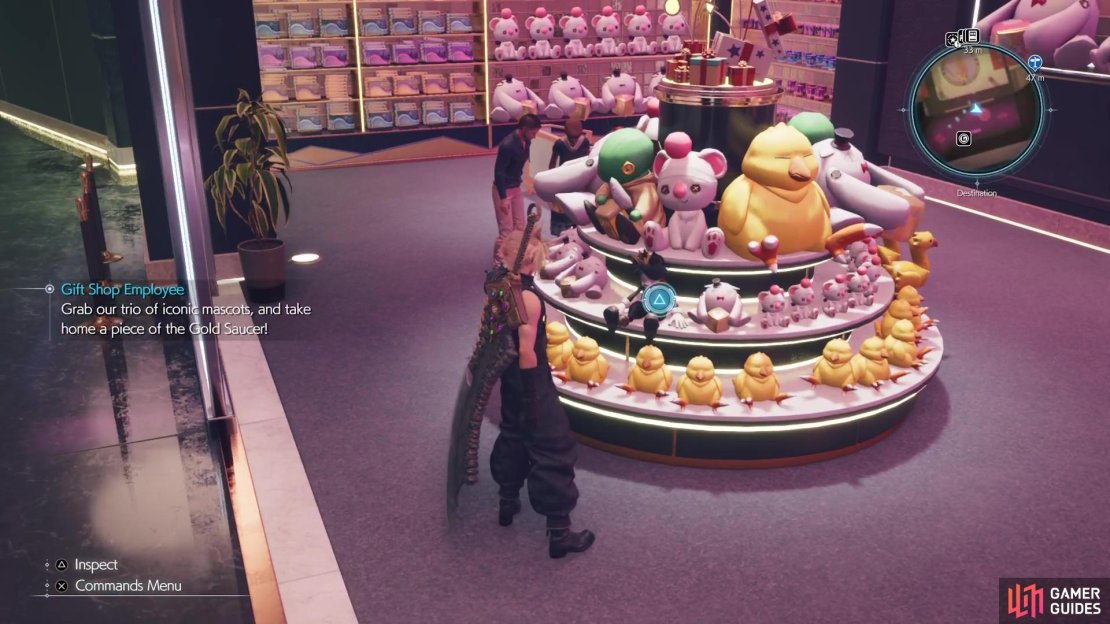
With Rufus finally down, that will put an end to the boss rush for this chapter, as well as all of the combat. However, you don’t really have a chance to celebrate, as you have to chase after ![]() Cait Sith. In the lobby, Aerith and Tifa will block the exits to the place and you’ll need to find the hidden Cait Sith. If you approach either of the above two characters, you will see a little scene of Cait running through the lobby. Thankfully, he doesn’t move hiding spots and is hiding in the gift shop, amongst the toys sitting on the circular shelves.
Cait Sith. In the lobby, Aerith and Tifa will block the exits to the place and you’ll need to find the hidden Cait Sith. If you approach either of the above two characters, you will see a little scene of Cait running through the lobby. Thankfully, he doesn’t move hiding spots and is hiding in the gift shop, amongst the toys sitting on the circular shelves.
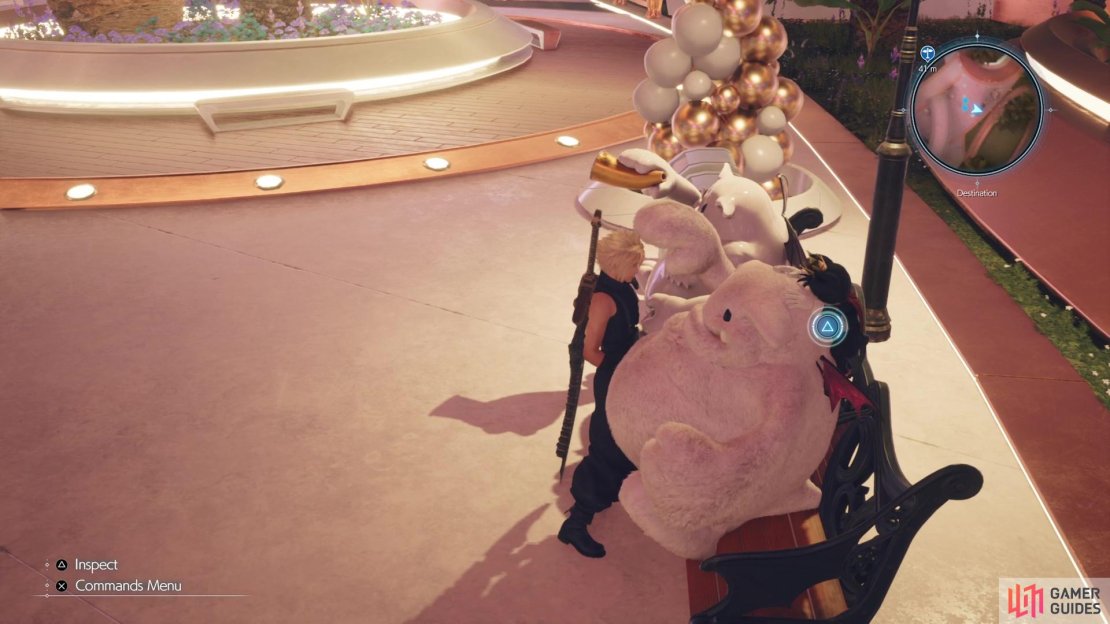
Get close enough for the button press to show, then follow Cait Sith to the second location, the main lobby of the ![]() Gold Saucer. Once again, you can approach your other party members here to get a general idea of where Cait is hidden. To be specific, he is on a bench in the southeastern corner, on the back of his giant Moogle buddy. Once you find him here, Cait Sith will run off through the back area of the Saucer, so give chase. There’s no more hide-and-go-seek now, so it’s just a matter of continuing through the backstage section.
Gold Saucer. Once again, you can approach your other party members here to get a general idea of where Cait is hidden. To be specific, he is on a bench in the southeastern corner, on the back of his giant Moogle buddy. Once you find him here, Cait Sith will run off through the back area of the Saucer, so give chase. There’s no more hide-and-go-seek now, so it’s just a matter of continuing through the backstage section.


(1 of 3) Approach one of your party members to get a little scene with Cait Sith running.
The only noteworthy thing back here is a purple chest that is hard to miss, which contains the Crystalline Cross weapon for Yuffie. When you get back to the main lobby area, some scenes will take place and your next objective is unknown. Note that you will lose Cait Sith as a party member for a little bit at this point. If you’ve done all other Quest up until this point, Can’t Stop Won’t Stop will unlock, which will be the final one in the game. You will also unlock the third and fourth stages of the Protorelic side story in the ![]() Corel Region.
Corel Region.
When you’re ready to move on with the main story, travel back to Costa del Sol and approach the Tiny Bronco. Some story will happen here, which will point you in the direction you need to go, as well as begin Chapter 13.
No Comments