
While trying to calm down the Lifestream, Aerith and the party end up getting separated into two groups. Cloud, Tifa and Barret end up pushing through their section of the Hall of Life, although they end being confronted by some Turks at the end. The other party consists of Aerith, Yuffie and ![]() Red XIII, who find themselves on their own path.
Red XIII, who find themselves on their own path.

Aerith’s sections will have you using the Lifestream to pave the path forward.
Hall of Life - Vessels of Life
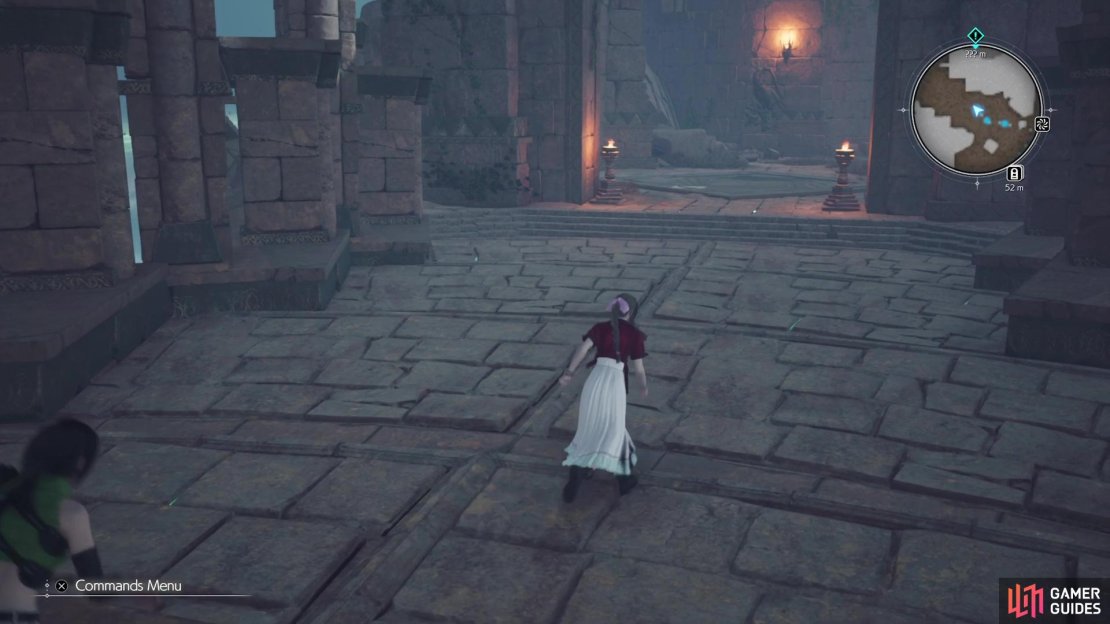
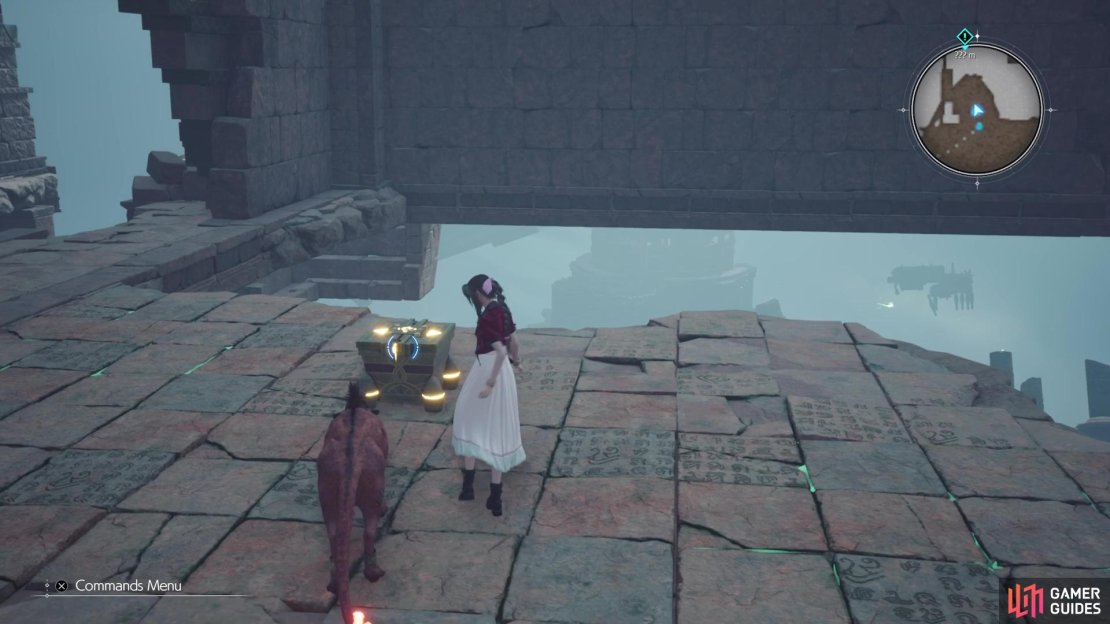
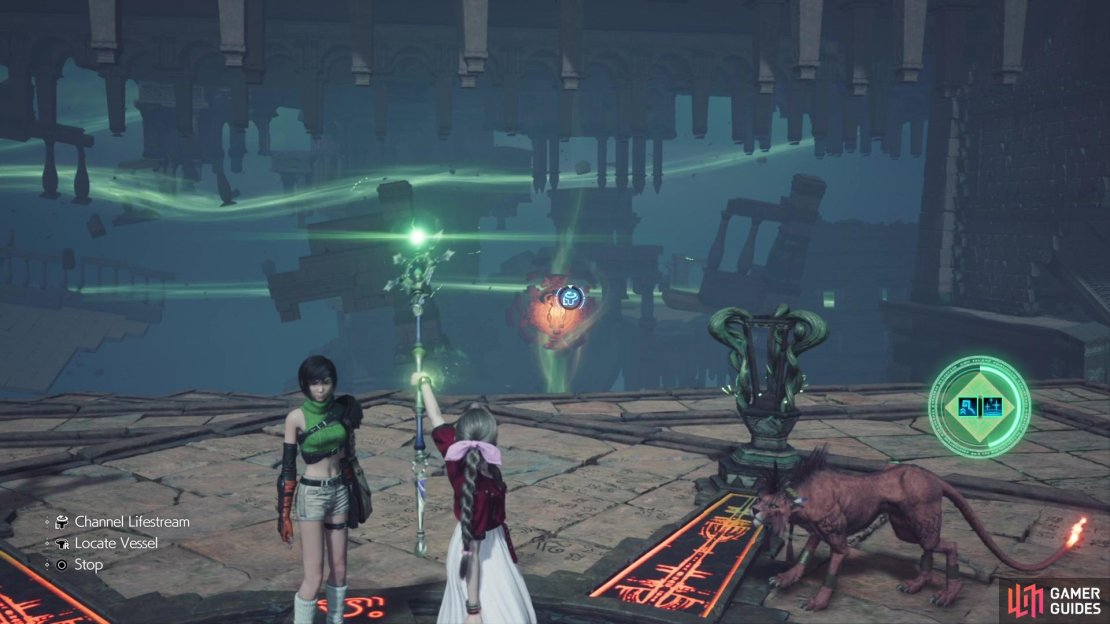
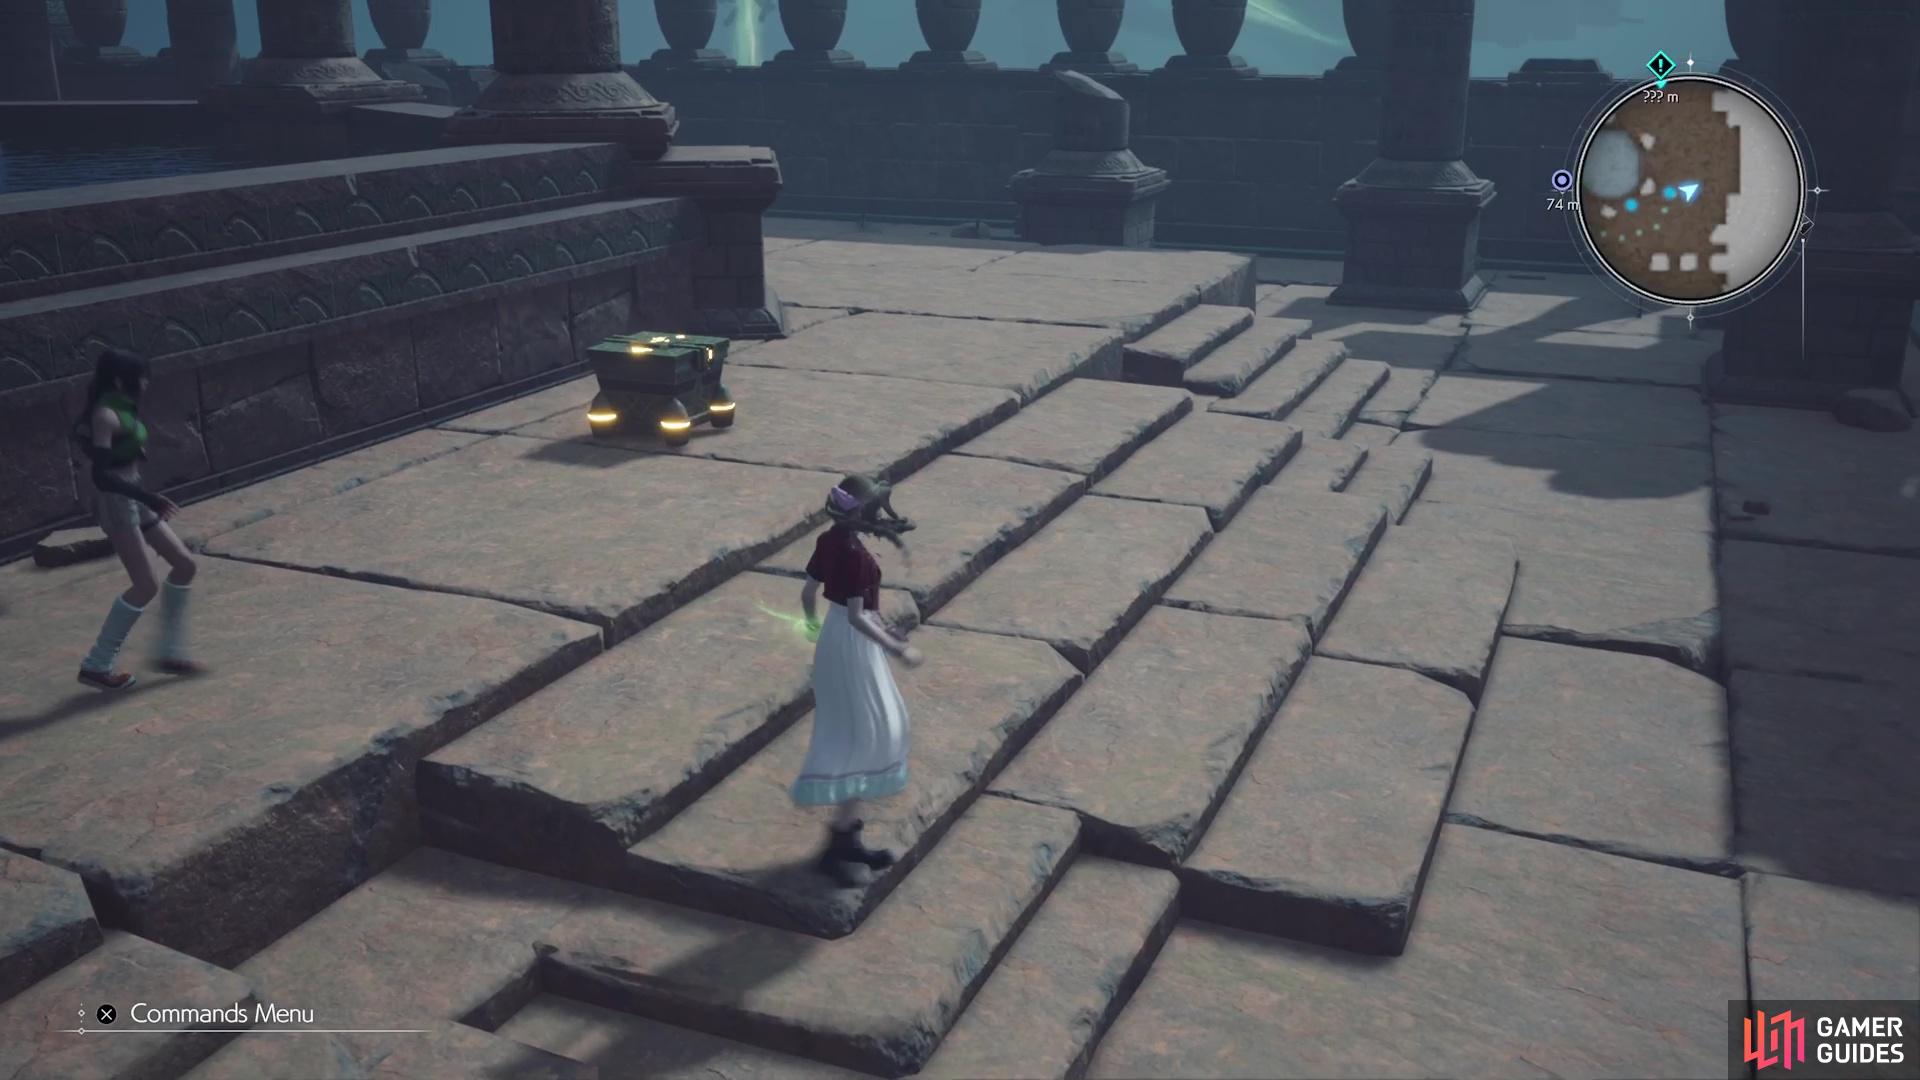
When you regain control, you will see a nearby bench, should you need to rest, as well as a vending machine and automat. There’s nothing else in the immediate area, so look for the door on the northern side and pass through it. You will come upon a pool of mako, so watch the ensuing cutscene that will introduce the gimmick for the Aerith sections. Basically, by collecting fragments of the Lifestream, you will be able to channel that energy into something called Vessels of Life that will essentially repair the terrain.
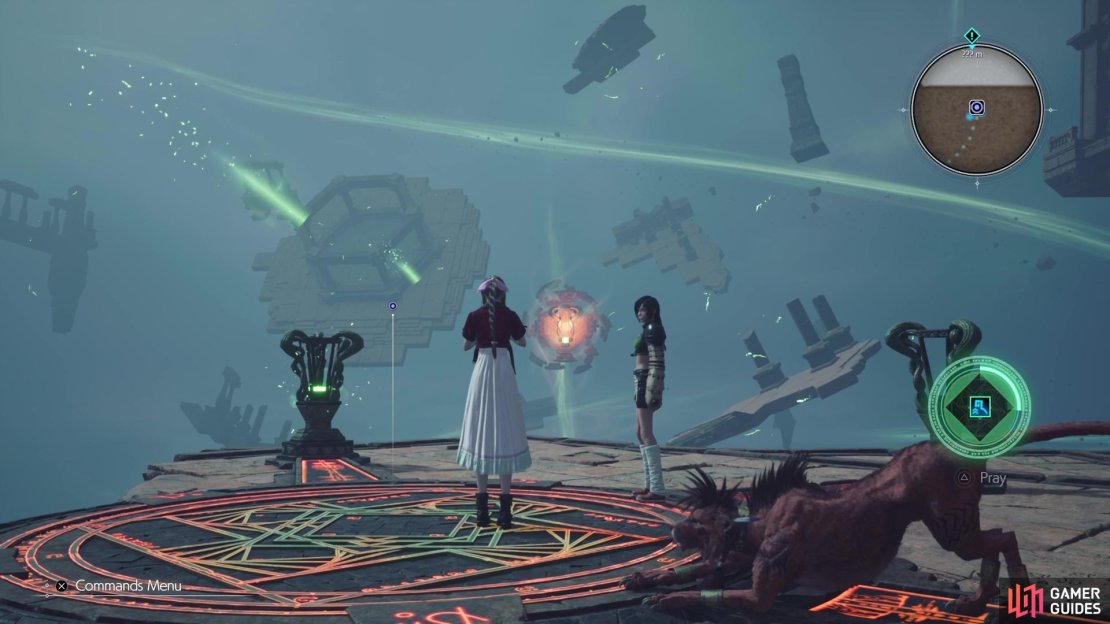
These fragments, once you’ve collected enough, will also grant you buffs at the start of battle, with there being various levels to the blessings. Of course, the buffs will come and go (for Aerith only), since you need to use the energy to progress. Once you’re ready to go, stand on the red platform on the ground and rotate the camera until you see the Vessel of Life. Upon locating it, center the camera on it until you see the prompt and rotate the left analog stick to send it energy. What you gathered will be depleted, but it should just be enough to fill the vessel and present the way forward.

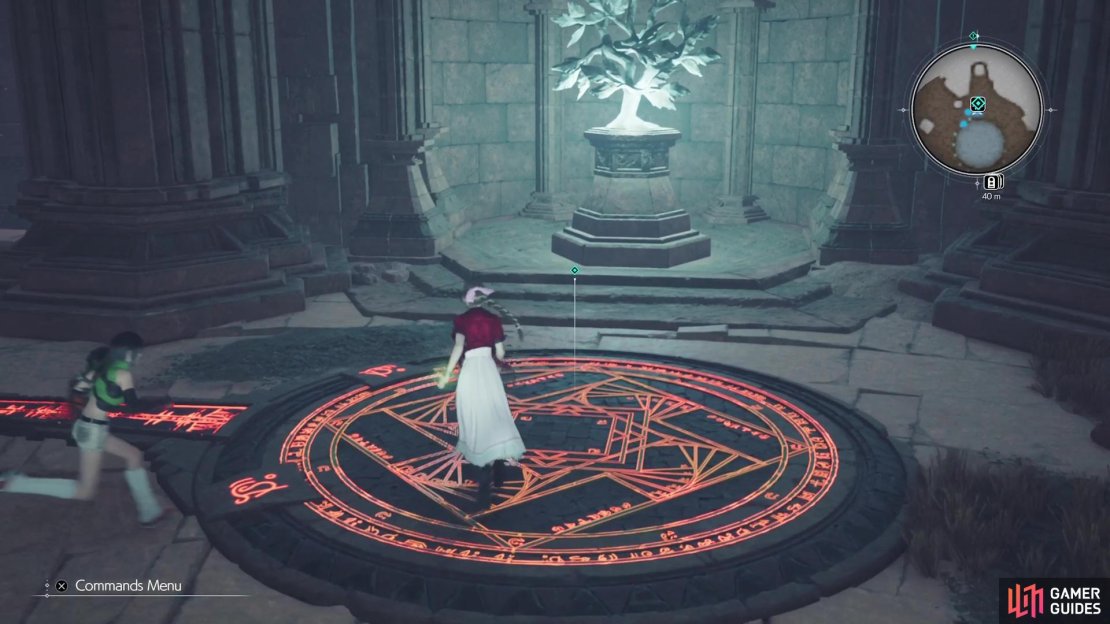

(1 of 3) Stand on the red platform to get started with the Vessels of Life.
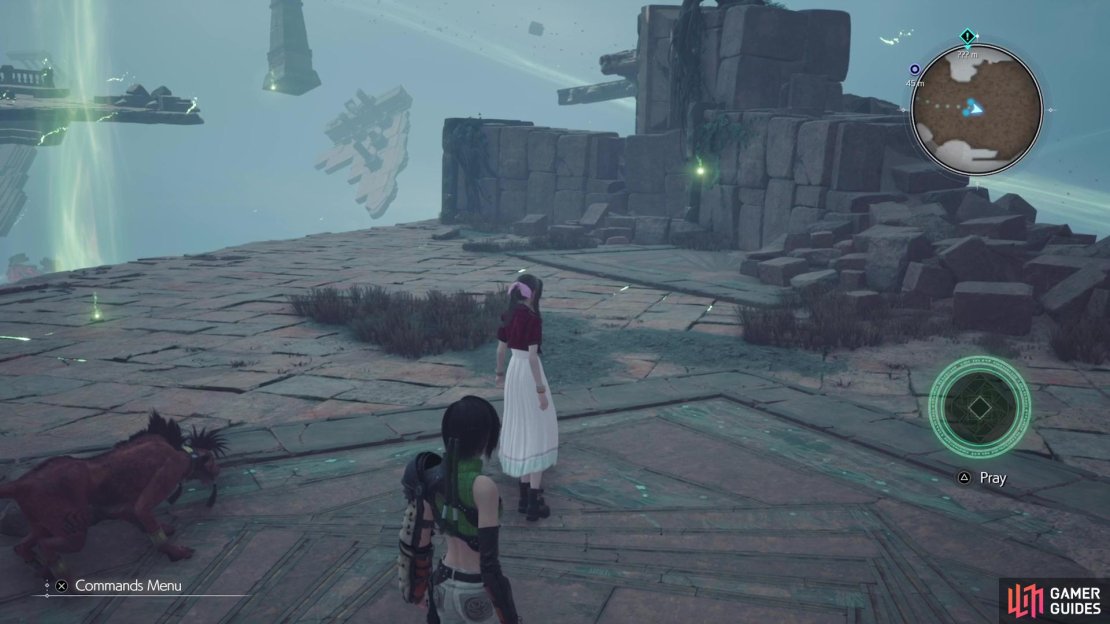
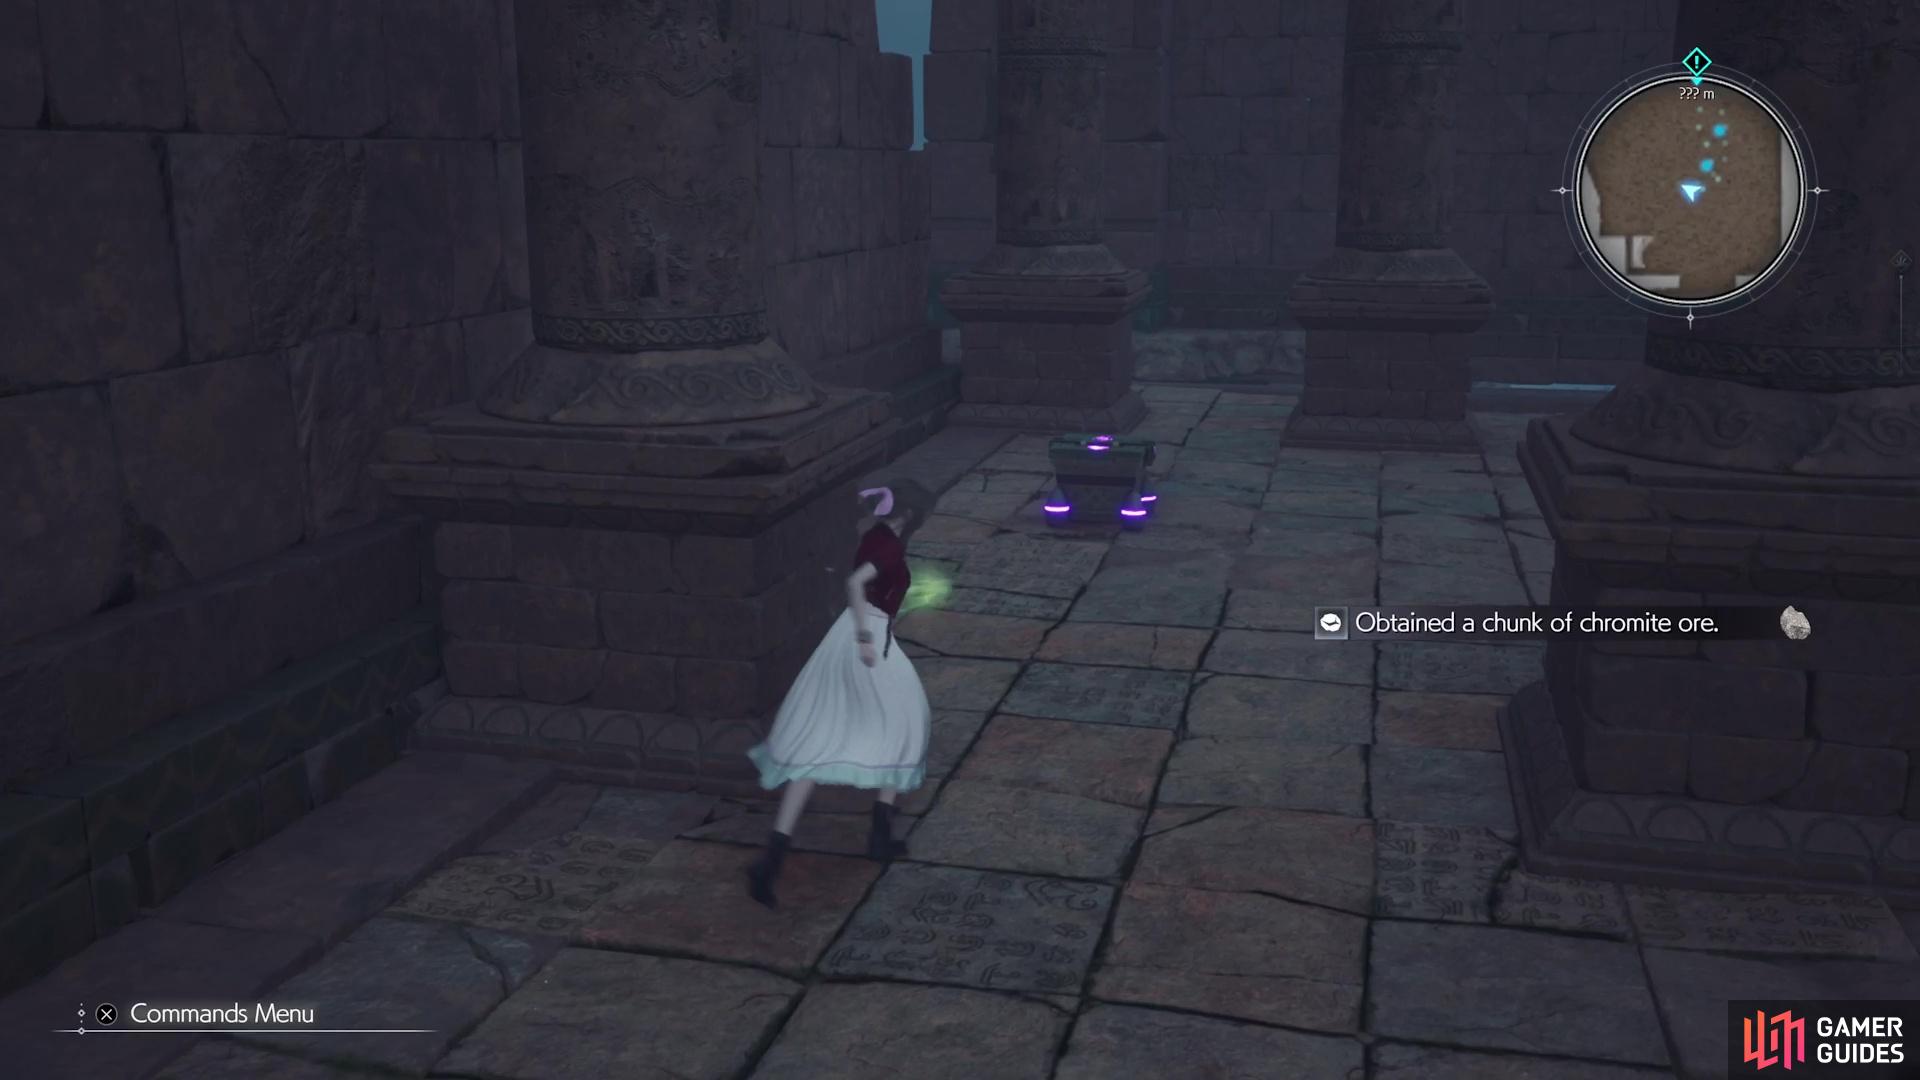
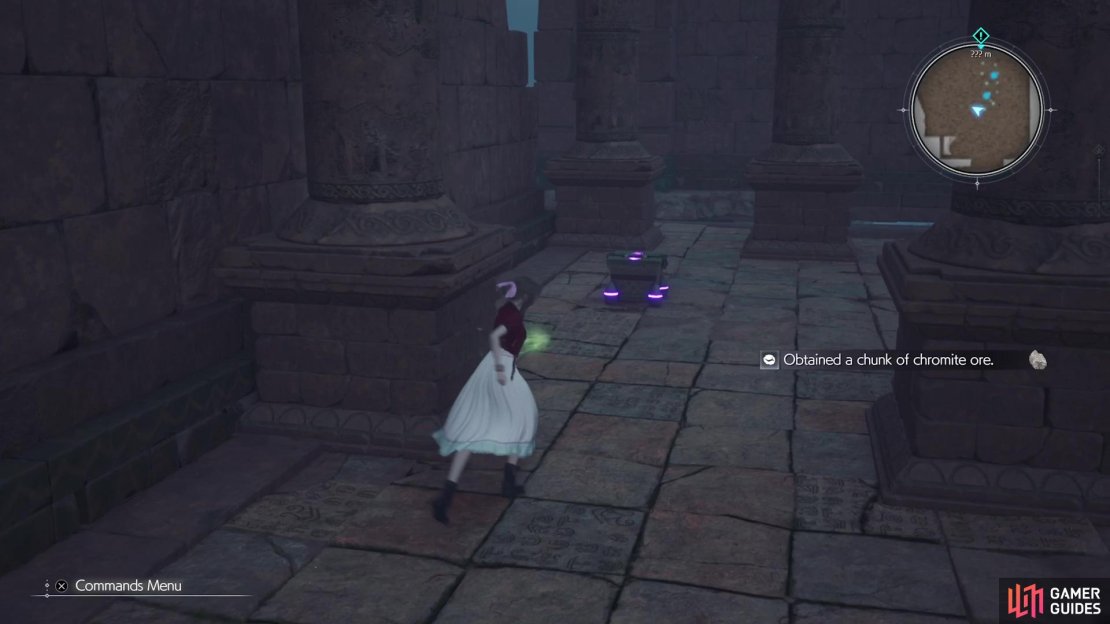
Follow the path here, where you’ll see another red platform, but you’ll first need to gather more energy. If you go to the far end of the area, you should see little green orbs floating in the air. You should also notice a button prompt to Pray underneath the Lifestream meter in the bottom right. Holding down the Triangle button will gather the orbs, so make sure you remember that. This will be one of three ways to gather more energy, as you will see these orbs sometimes floating in the open. As for the other two ways, that will come up very soon.
You passed two smaller rooms, so enter the one with the crystals to get a little tutorial about gathering energy. Near the Vessels, you can break crystals to get some more energy to appear, and defeating enemies will also leave behind some orbs. It’s pretty important to grab all of the energy, since you will be needing it to get all of the treasures found in this section. The other room here contains some enemies, and you will receive a tutorial on the buffs Aerith can receive at the beginning of combat, depending on the level of energy you’ve collected. For example, at Stage 1, she gets ![]() Faith, but at Stage 3, she can get Faith,
Faith, but at Stage 3, she can get Faith, ![]() Regen and Manawall.
Regen and Manawall.


(1 of 4) Hold Triangle to absorb any green orbs you find scattered around the areas.
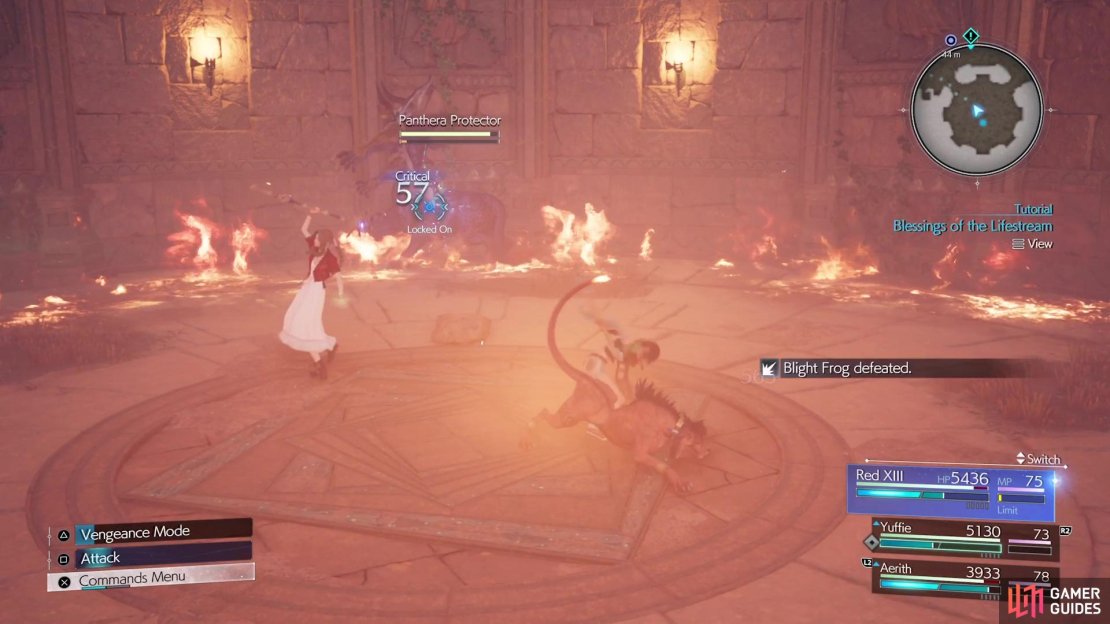
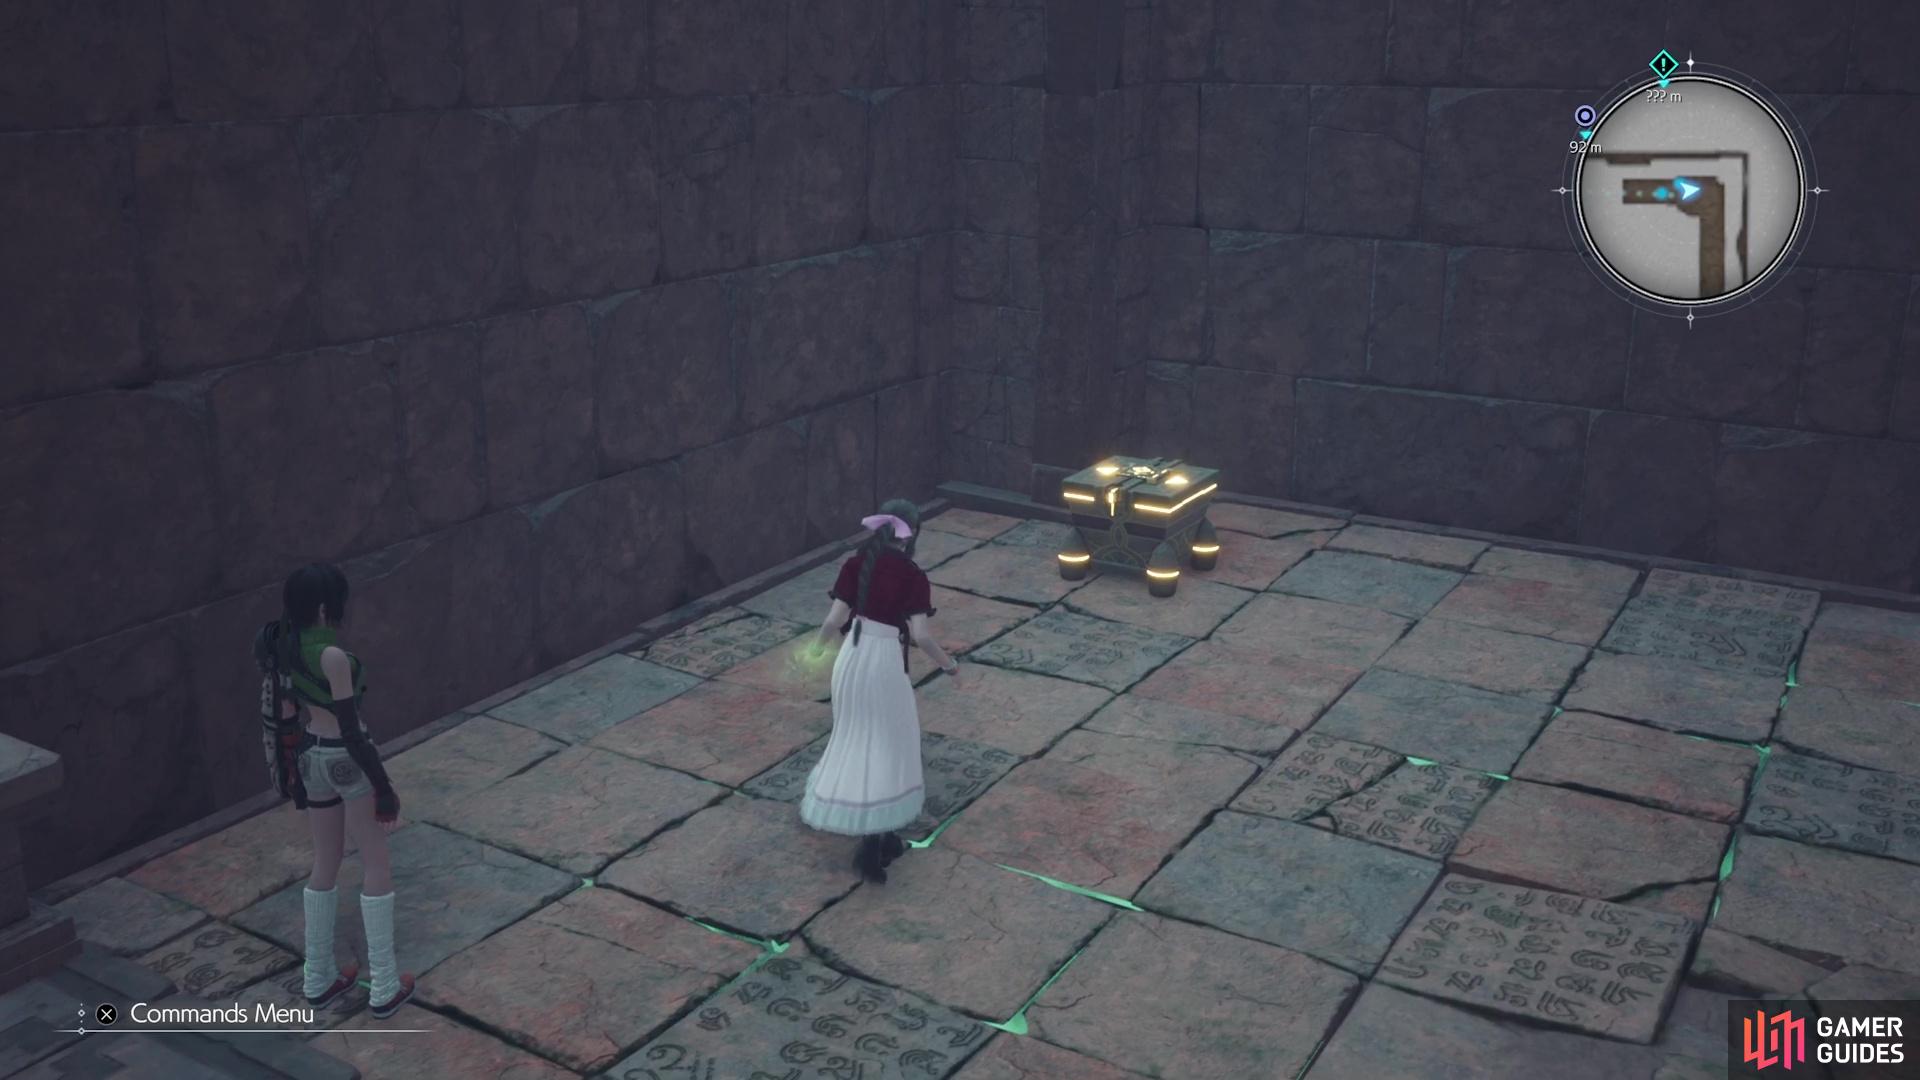
The battle here will contain a Blight Frog and a new enemy, the Panthera Protector. This creature can put down a ring of fire on the ground, limiting your movement; it is weak to lightning, though, and shouldn’t have too much health. Inflicting enough damage on them will not only pressure them, but also get rid of the ring of fire. With the battle over, collect the energy and then return to the Vessel of Life platform. There will be two to choose from here, one to the west and one to the east. Pick the eastern one first to gain access to a chest that contains a ![]() Hi-Ether. The other chest you can’t grab yet, so ignore it for now.
Hi-Ether. The other chest you can’t grab yet, so ignore it for now.
Order’s Vessels
Return to the red platform and activate the other Vessel on the western side, which will lead to some stairs. Descend the stairs and at the bottom, look underneath them to find a purple chest, which contains the Gambanteinn weapon for Aerith. There’s another enemy to your north (Ancient Dragon), then some more crystals around the red platform. When you stand on the platform, you will see that there are four Vessels here. Before doing anything, though, stop the process with the Circle button, which should prompt the Pray action to appear. Some of the Vessels already have some energy, so you can take it from them now.


Once you have the energy, look to the south and fill that Vessel first. This will spawn an area that is split into different rooms. Break the crystals for some energy in the main hallway, then start exploring the side rooms. The northwestern room contains a new enemy called the Floating Death (one of those eyeballs with wings), while the northeastern has some green orbs to absorb. The southwestern room has a chest (![]() Sapphire), and there are more enemies in the southeastern room (two Cthonilizards and a Kelmelzer). Defeat them all, grab their energy, then loot the
Sapphire), and there are more enemies in the southeastern room (two Cthonilizards and a Kelmelzer). Defeat them all, grab their energy, then loot the ![]() Steadfast Block Materia on the ground.
Steadfast Block Materia on the ground.
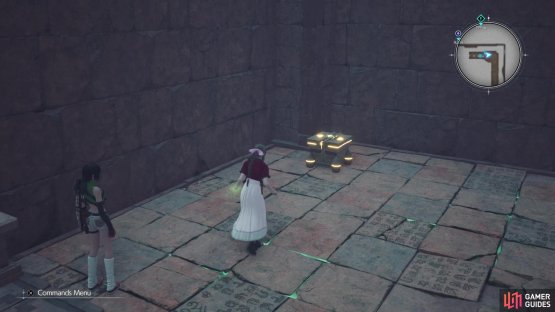
Return to the main room and back to the red platform. The next Vessel you’ll be filling is the one to the southeast and doing this will spawn another Vessel to the north. You can save that one until the end, as it’s the final one. Head southeast now, breaking the lone crystal, then defeat the two Ancient Dragons that appear. More crystals will be near the base of the stairs, then there’s a lone orb by the pillars. Climb the stairs all the way to the top to now open that one chest from earlier (Cetran Armband). This is another armor piece with no materia slots, so it’s pretty useless.
(1 of 2) The southeastern Vessel leads to the one chest you couldn’t reach earlier.
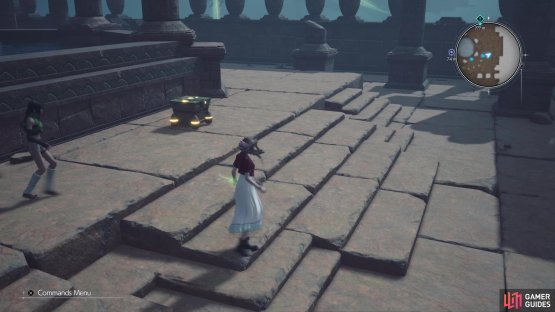
The southeastern Vessel leads to the one chest you couldn’t reach earlier. (left), The eastern Vessel has a chest hidden behind the pool of water. (right)
That’s all there is to do on this path, so return to the Vessels platform and fill up the one to the east. There will be a chest behind the pool of water, which contains an ![]() Elixir, as well as some crystals and stray green orbs on the sides. Return to the red platform and fill up the western Vessel, which will be the last area to explore in this section. Proceed into the ruined building through the door to find some Blight Frogs inside. Defeat them all, absorb their energy, then check the rest of the area for some crystals to bust.
Elixir, as well as some crystals and stray green orbs on the sides. Return to the red platform and fill up the western Vessel, which will be the last area to explore in this section. Proceed into the ruined building through the door to find some Blight Frogs inside. Defeat them all, absorb their energy, then check the rest of the area for some crystals to bust.
You’ve explored everything else in this section, so the only thing left to do now is fill the northern Vessel of Life that appeared. This will trigger a cutscene that will then put you back in Cloud’s shoes.
No Comments