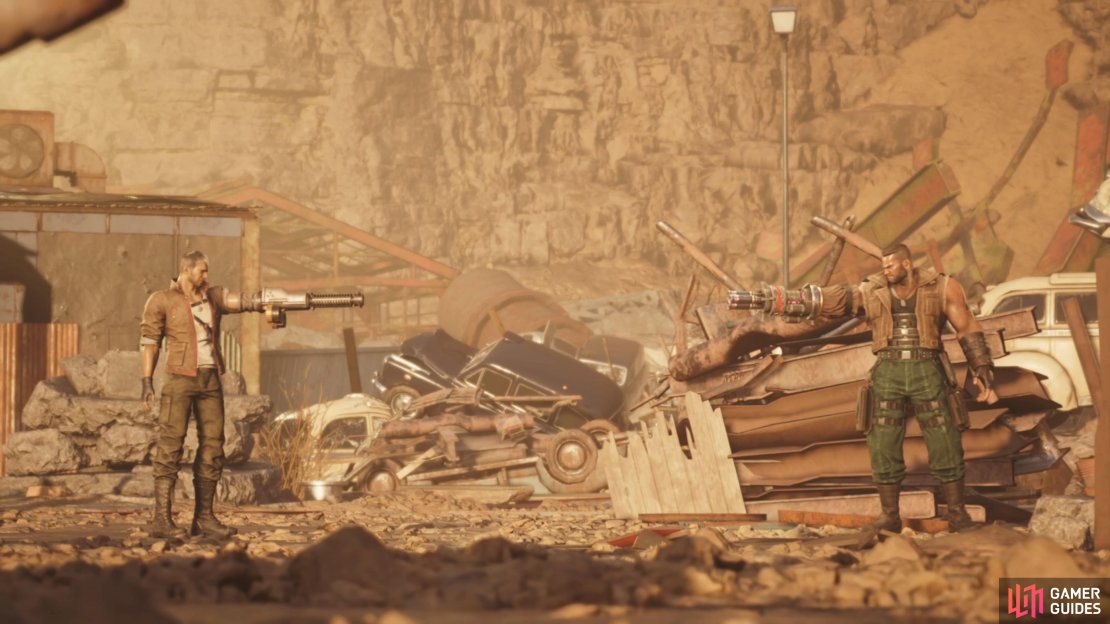
During Chapter 8 of Final Fantasy VII Rebirth, you will pay a visit to the ![]() Gold Saucer and have some fun playing minigames. This leads to some more drama and eventually your Chocobo Racing debut. After doing that, you will finally have a lead on the man with a gun for an arm, bringing you to fighting Dyne as a boss. This will be a one-on-one fight between Barret and Dyne, so you will need to be prepared.
Gold Saucer and have some fun playing minigames. This leads to some more drama and eventually your Chocobo Racing debut. After doing that, you will finally have a lead on the man with a gun for an arm, bringing you to fighting Dyne as a boss. This will be a one-on-one fight between Barret and Dyne, so you will need to be prepared.
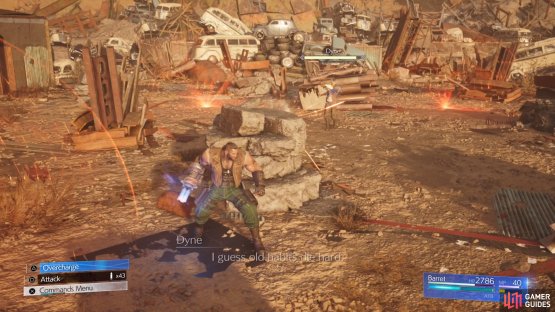
Dyne will be a one-on-one boss fight, where you only have Barret.
Dyne Boss Preparations
As mentioned above, you will only have Barret for this boss fight, so you should be coming prepared. Should you use Cure here or items to heal yourself? Well, that depends entirely on how many ![]() Hi-Potions and
Hi-Potions and ![]() Potions you have in your inventory. With a level two
Potions you have in your inventory. With a level two ![]() Item Master Materia, a Hi-Potion can heal for a good 1,000 HP or so. Since Barret normally has low MP, that might be better than putting a
Item Master Materia, a Hi-Potion can heal for a good 1,000 HP or so. Since Barret normally has low MP, that might be better than putting a ![]() Healing Materia on him. Dyne will be weak to fire, so using your MP for those spells is a better use of the limited resource (while saving your
Healing Materia on him. Dyne will be weak to fire, so using your MP for those spells is a better use of the limited resource (while saving your ![]() Ethers).
Ethers).
You should have ![]() Focused Shot,
Focused Shot, ![]() Bonus Round, and
Bonus Round, and ![]() Lifesaver already mastered from the other weapons, and you get the
Lifesaver already mastered from the other weapons, and you get the ![]() Vulcan Cannon just prior to this battle, so put that on him. This will give him slightly more
Vulcan Cannon just prior to this battle, so put that on him. This will give him slightly more ![]() Magic Attack for using the
Magic Attack for using the ![]() Fire Materia, too. For armor, your best one should be sufficient. If you have any accessories that can increase HP, then those might be good to use. The first half of the fight isn’t too bad, but the second half can be a little more difficult.
Fire Materia, too. For armor, your best one should be sufficient. If you have any accessories that can increase HP, then those might be good to use. The first half of the fight isn’t too bad, but the second half can be a little more difficult.
All of Dyne’s Attacks
Dyne will start rather tame but goes into a pseudo-second phase not long into the battle. He will have a bigger phase change, though, later on in the battle, which is when the fight will get more challenging.
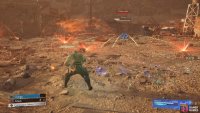
- Machine Gun: The only attack that isn’t named, with Dyne just firing a bunch of bullets at you, similar to Barret’s normal attack. You can block these, if you want, or hide behind cover in the first portion of the battle.
(1 of 3) Paralyzing Shot can be an annoying move in the first phase.
-
Firebombs: Dyne will toss some explosives at you, which will inflict you with
 Deprotect, should any connect. You are able to block these, though, to lessen the damage.
 -
Paralyzing Shot:
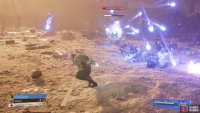
 Unblockable and magical. Dyne will shoot out some beams along the ground, in a fan-shaped pattern. He will then shoot out electrical currents on those beams, which can inflict lightning damage, as well as stun you. During the second phase of the battle, the beams will spiral outward, starting from Dyne.
 -
 Point Blank: Unblockable. Dyne will charge straight at you and should he hit you, a cinematic attack will strike you. He tends to do this often should you get stunned by Paralyzing Shot.
 -
Blast Mines: Unblockable. You won’t see this attack until the first cutscene happens, once you take off around 5% or so of Dyne’s HP. He will toss various mines throughout the arena, which will be highlighted with a dome signaling their range.
(1 of 2) Be careful not to roll into the range of the Blast Mines.
Be careful not to roll into the range of the Blast Mines. (left), Repentance will destroy any of the scrap piles it hits. (right)
- Repentance: Unblockable. The second attack that doesn’t happen until after the first cutscene. Dyne will fire a laser straight at you for decent damage. This attack will destroy any of the junk piles in the first phase.
-
Iron Spike: If you’re close to Dyne, he will summon some scrap out of the ground surrounding him. This is one of the few attacks that you can actually block.
-
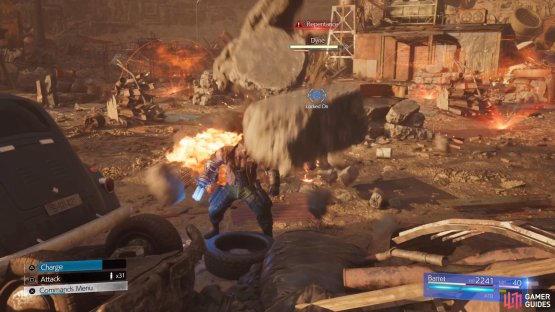
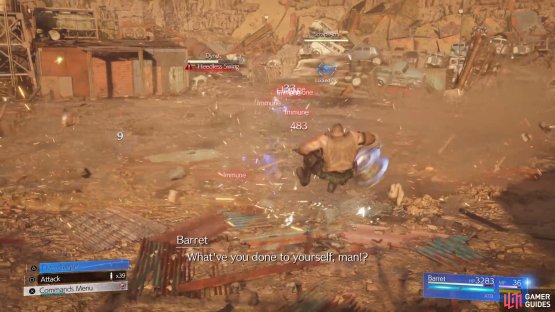
Heedless Swing: Unblockable. Dyne will form a giant arm made out of scrap, then do two large, sweeping attacks with it.
-
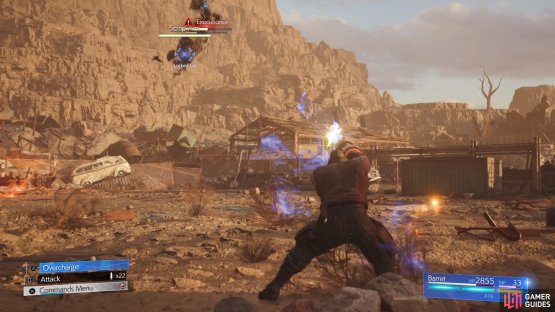
Executioner: Unblockable. Dyne forms an arm, then leaps towards you, smashing the ground.
(1 of 2) Heedless Swing is two sweeping arm attacks that can be hard to avoid.
Heedless Swing is two sweeping arm attacks that can be hard to avoid. (left), Likewise, Executioner is a jumping smash attack that is also difficult to dodge. (right)
-
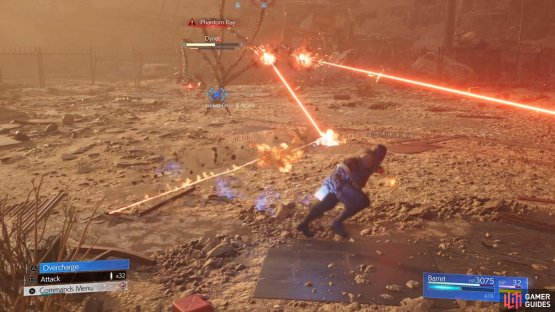
Phantom Ray: Unblockable. He’ll form five whips above his head, which will then fire lasers at you in random directions. You can destroy these tentacles.
-
Hidden Barb: Unblockable. Dyne will punch the ground, making dust come in your direction. This is really whips that travel under the ground and they will come out from underneath you a total of three times.
-
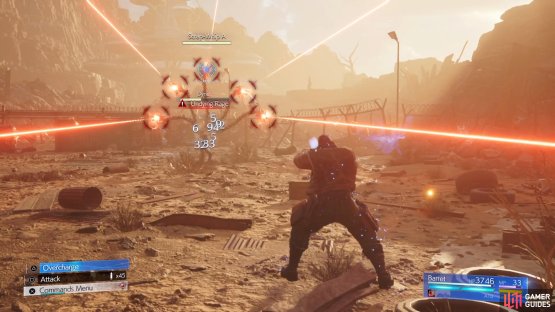
Undying Rage: Unblockable. Similar to Phantom Ray, except instead of firing the lasers in random directions, they will start apart and converge on your location.
-
Annihilation Beam: Unblockable. Dyne quickly gathers some power and shoots a bunch of projectiles in your direction, kind of like a shotgun approach. You should be able to dodge in either direction to avoid most of it.
(1 of 2) The lasers during Phantom Ray seem to randomly go off in different directions.
The lasers during Phantom Ray seem to randomly go off in different directions. (left), For Undying Rage, the lasers are more focused and close in on your position. (right)
How to Beat Dyne in FFVII Rebirth
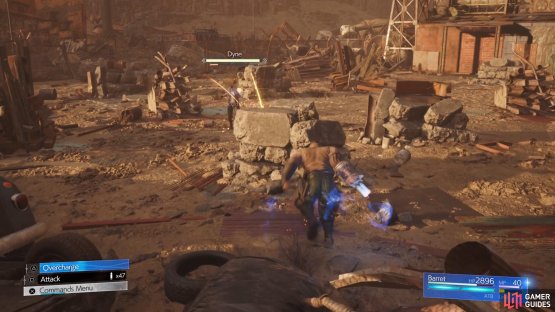
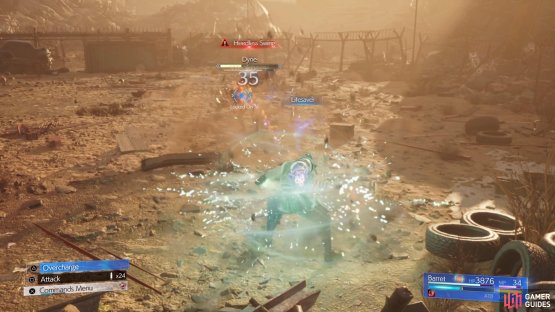
As mentioned in the opening paragraph, Dyne is a one-on-one battle with only Barret, so you will want to keep tabs on your health at all times. The first phase of the battle will have a lot of scrap piles in the arena, which you can use as cover, since Barret isn’t the most mobile character in the game. First and foremost, you should have Lifesaver active at all times, since this will increase Barret’s maximum HP. If you have ![]() Protect, you could probably cast that on him, too, but it shouldn’t be needed too much. Steelskin is another ability you will probably want active at all times, too, since it reduces damage and makes it so you aren’t easily interrupted.
Protect, you could probably cast that on him, too, but it shouldn’t be needed too much. Steelskin is another ability you will probably want active at all times, too, since it reduces damage and makes it so you aren’t easily interrupted.
From the first phase of the battle, the most annoying attack is probably Paralyzing Shot, as this can stun you and lead to Dyne following up with Point Blank. The former is done in a fan-shaped pattern, so you can use the gaps in between each line to avoid it. After taking off around 5% or so of his HP, there will be a short cutscene and Dyne will add two new attacks into his arsenal. Blast Mines will have him toss a bunch of mines across the arena, which will be marked with a bright light and a somewhat transparent dome.
(1 of 2) You can hide behind the scrap piles during the first phase to avoid most attacks.
You can hide behind the scrap piles during the first phase to avoid most attacks. (left), Lifesaver will definitely help a lot by increasing your max HP. (right)
Avoid getting into the range of these, or you’ll be blasted back by an explosion. The other attack is called Repentance and Dyne basically fires a laser at you. If you hide behind one of the scrap piles, then this laser will destroy it, removing it from the arena. You seem to pressure Dyne by simply doing a lot of damage, but considering you only have a single character, survival is more important. The second phase of the battle will begin at around the 60% HP threshold, where Dyne will gather a bunch of scrap on his arm. It is definitely a step up in difficulty, as all of the scrap from the battlefield will be gone now. That means you won’t be able to take cover at all from any attacks.
Dyne will retain a few moves from the first phase, like his normal attack, Firebombs, and Blast Mines. Paralyzing Shot also returns, but it will have a new pattern; it will be a spiral pattern that extends out from Dyne’s position. He will also add a bunch of new attacks in this second phase, with the majority of them being unblockable. The only one that isn’t is Iron Spike, which seems to only happen if you stay too close to him. Barret is best used at range, so you will probably never really see this move happen.
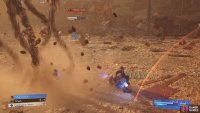
Heedless Swing and Executioner both involve Dyne growing an arm made out of scrap and using that to try and hit you with it. The former will be two sweeping attacks, while the latter is a jumping strike; both can be hard to avoid. Phantom Ray and Undying Rage both have him growing scrap whips that shoot lasers, with the former being randomly shot and the latter being more concentrated. Hidden Barb will have him shoot up the whips from the ground, underneath your current position, so if you pay attention, they should be easy to avoid. Annihilation Beam seems to just be a shotgun-style attack and you can essentially roll out of the way, despite it being Barret’s dodge.
(1 of 3) All of the scrap piles will be gone in the second phase, making it harder to avoid attacks.
Dyne will become a lot more difficult to pressure in the second phase, but some of his attacks will allow you to destroy the scrap parts he summons. This supposedly can make it easier to pressure him, but your focus should be survival. Dyne is weak to ![]() Fire, so you should be using that against him quite often. If you do manage to pressure him, then don’t forget to try and get off a Focused Shot to help increase the stagger bar. Even if you do stagger him, Barret isn’t exactly the monster in delivering damage, so either follow up with Maximum
Fire, so you should be using that against him quite often. If you do manage to pressure him, then don’t forget to try and get off a Focused Shot to help increase the stagger bar. Even if you do stagger him, Barret isn’t exactly the monster in delivering damage, so either follow up with Maximum ![]() Fury or try to sneak in a
Fury or try to sneak in a ![]() Charging Uppercut.
Charging Uppercut.
After finishing off Dyne, you won’t get too much of a reprieve, as with a short section later, you’ll be thrown into another boss fight, against the ![]() Anuran Suppressor.
Anuran Suppressor.






No Comments