
Cloud and his party were met with Reno and Rude before having to do a section with Aerith’s group. Their way was blocked after the Turks detonated some explosives, but it looks like the rebuilding done by Aerith has paved a new path for Cloud, so it’s time to get back to him.
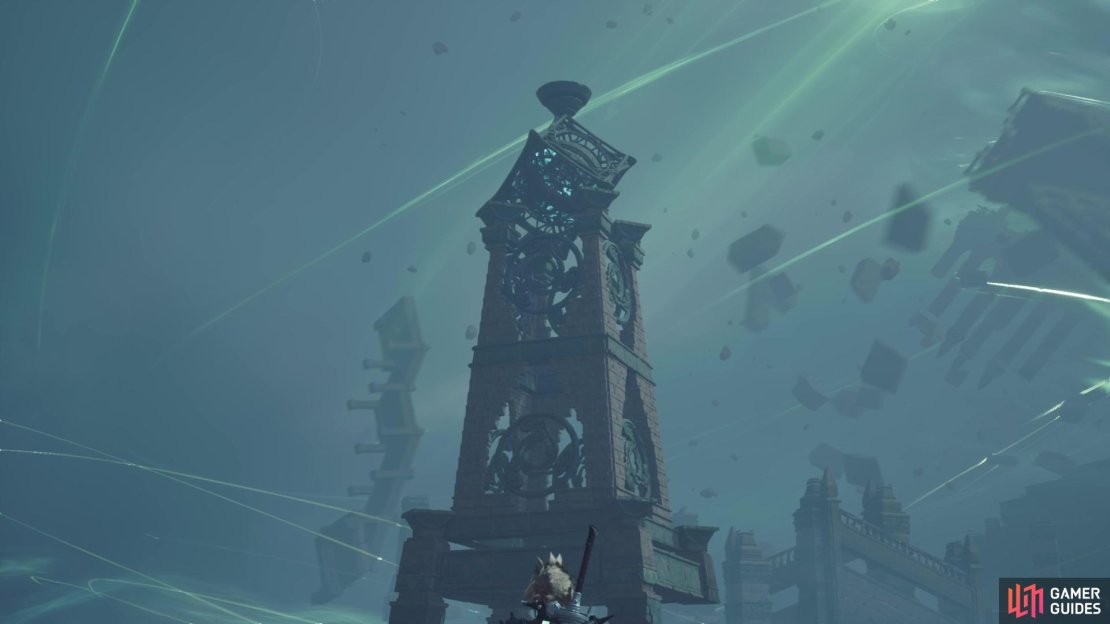
Hall of Life - Second Tier
Before you can do anything, Cloud and company will be immediately attacked by some monsters. You will be up against two Blight Frogs and a Panthera Protector, so they’re all enemies you’ve previously faced. Once you’ve defeated the enemies, walk outside of the room to be greeted with another cutscene. With control in your grasp once more, head on over to the bench and vending machine to get some rest, if you need it. Drop down again to find some Cthonilizards, so beat them up and look for the opening in between two fallen pillars to continue.

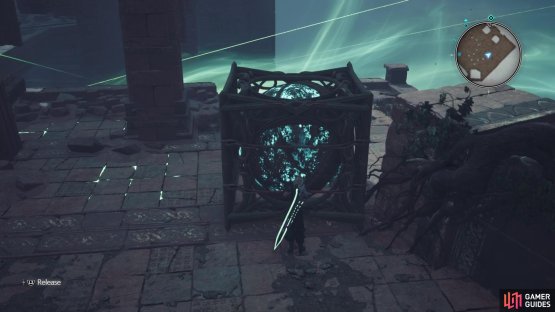
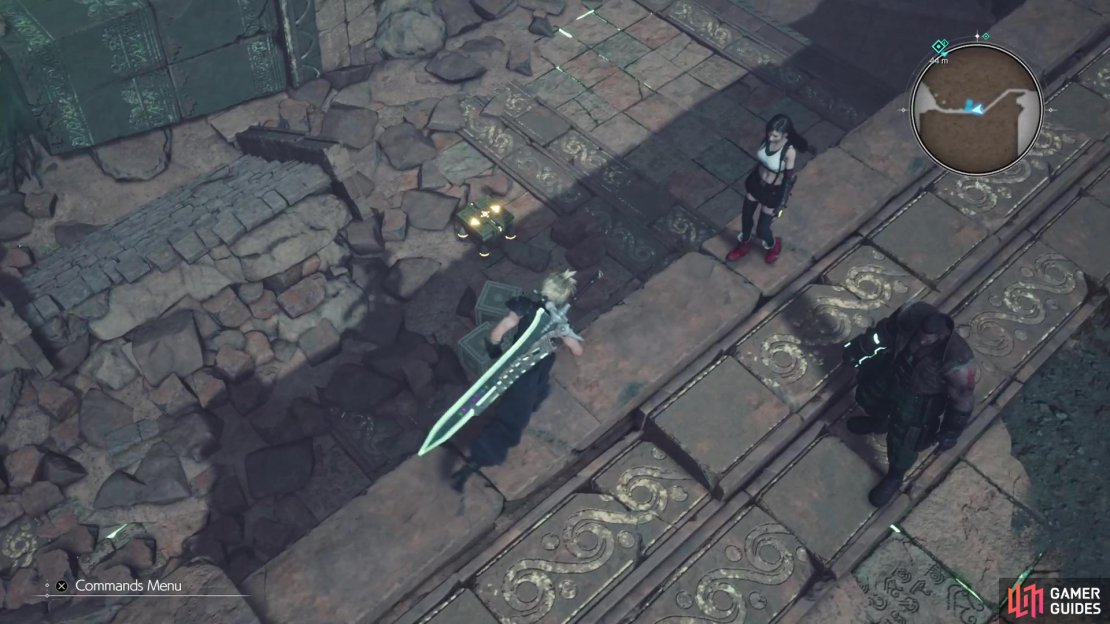
(1 of 2) Push this box over the nearby edge to have it get blown into the gap and form a bridge.
Push this box over the nearby edge to have it get blown into the gap and form a bridge. (left), Enter the one tower to find a purple chest that contains Barret’s final weapon. (right)
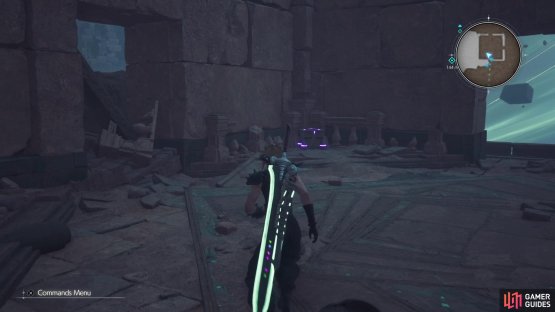
There will be another quick scene here, with some Shinra troops being swept away, which also hinders your path forward, as there’s now a gap in the path. To fix that, go down the stairs and turn to the right for a small area with a movable block. Push this block to the gap to the northeast on your minimap, where it will fall and get blown into the gap, allowing you to cross it now. Climb the stairs and you will be presented with yet another gap, so you’ll need to find a way to fill it.
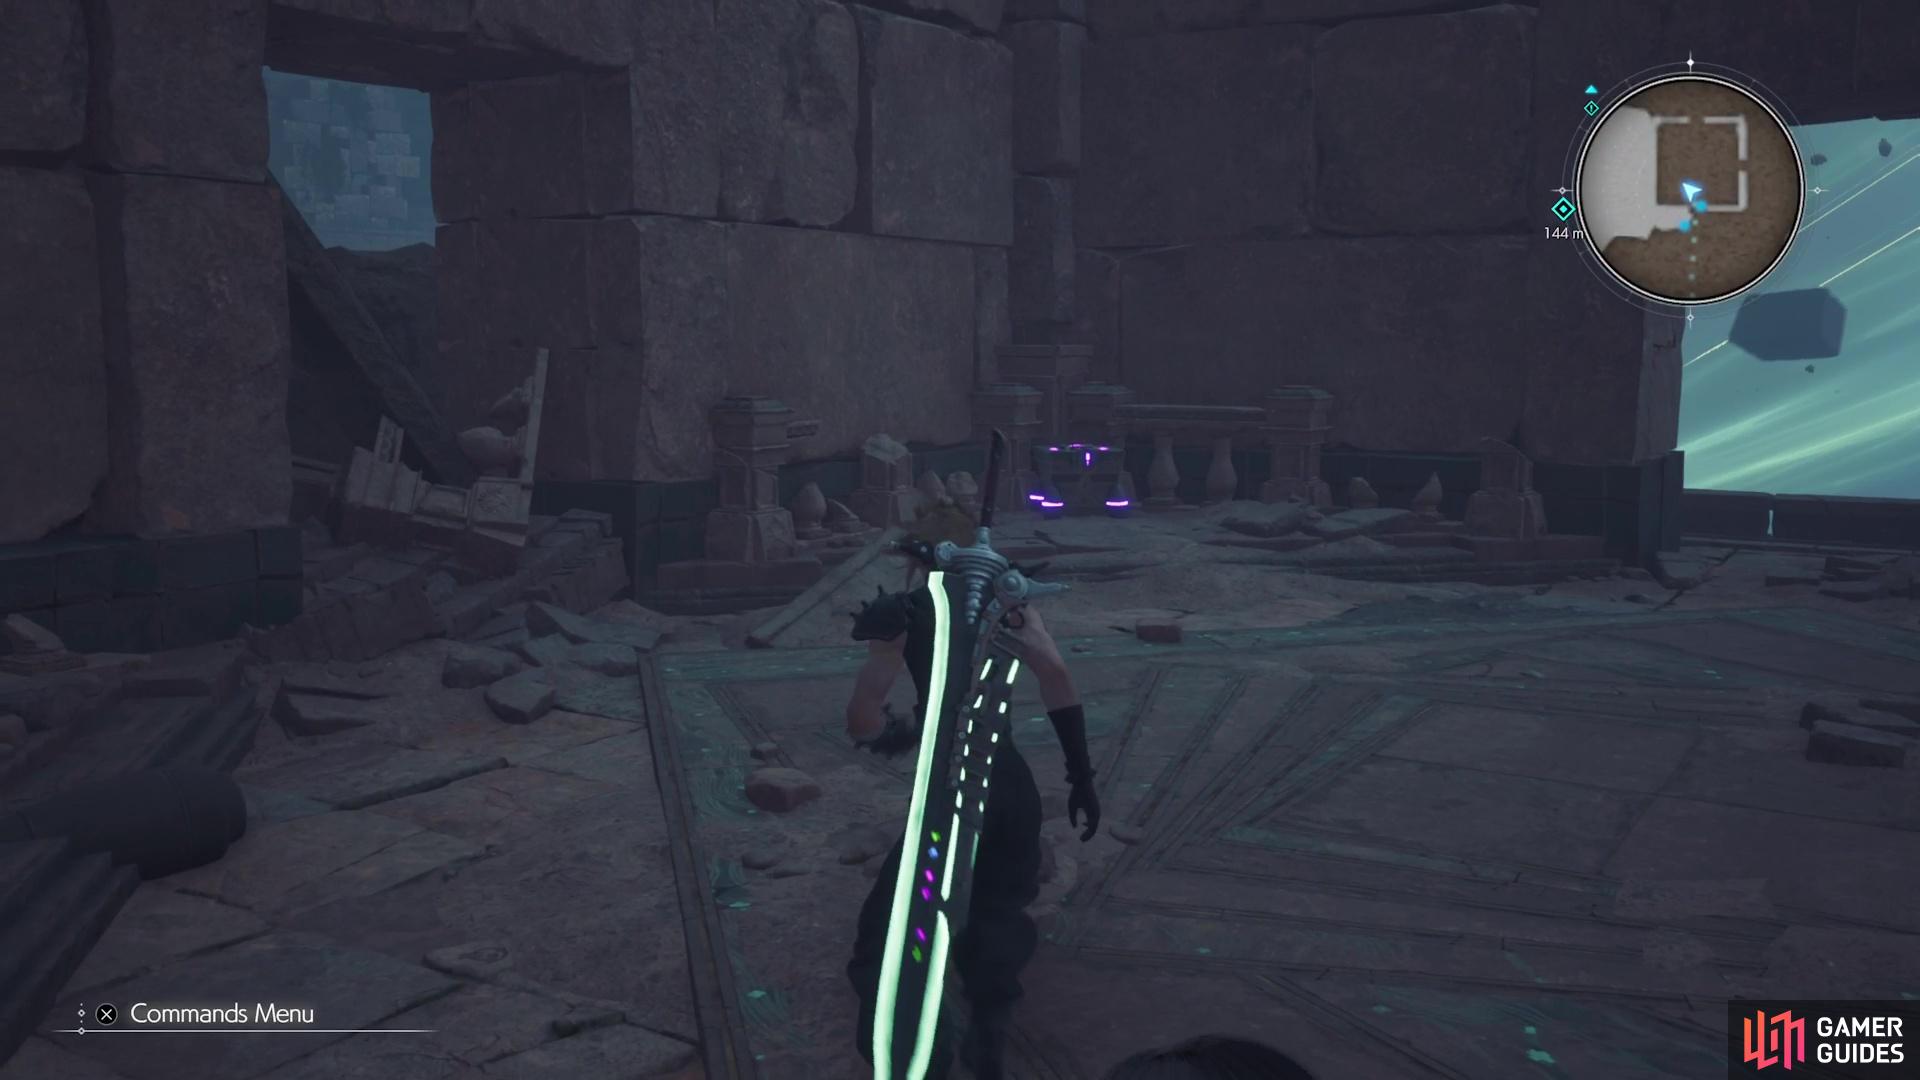
The idea here will be the same as the previous one, but you’ll need two blocks this time. Head into the tower to the north first, where you’ll find a purple chest on the side, which contains Barret’s Battle Cry weapon. Exit that tower and head up the nearby stairs, where you’ll encounter two Kelzmelzers on the first landing. Cross the bridge and immediately to the right will be one of the two blocks you need. Push it to the northern edge just above it to drop it into place.
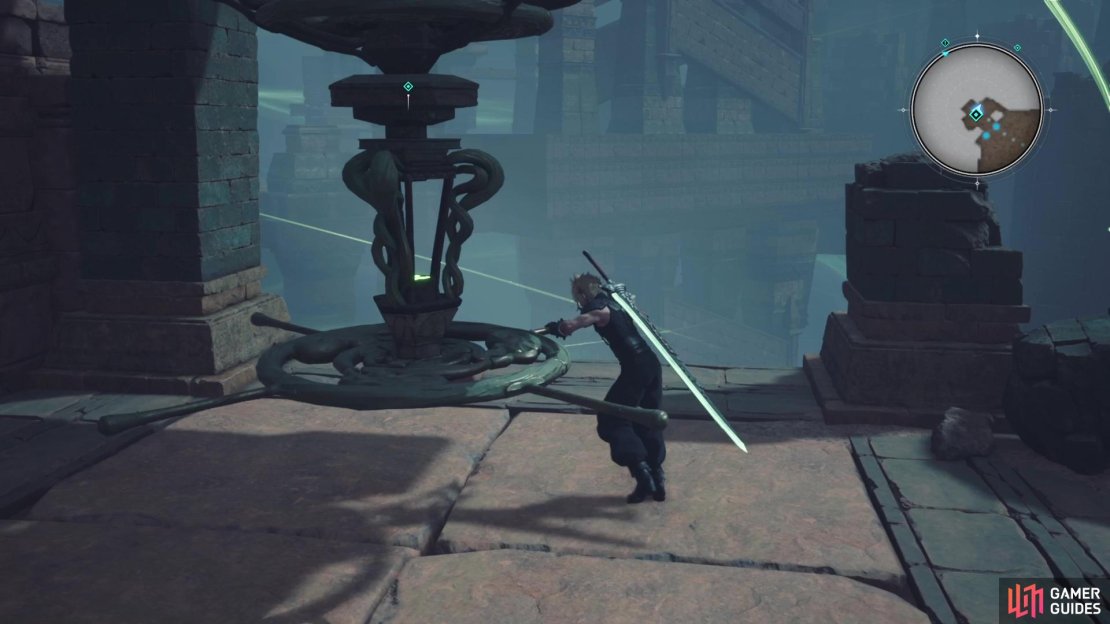
Go to the top of the area now and the game will point out the monument there. The second block is on top of the monument, so you’ll need to find a way to bring it down. Before doing that, go to the ledge on the southern side and look at the ground below to see a chest. Drop down and loot the chest for a Circlet, then find your way back up to the same platform with the monument once more. There is a switch underneath the monument, so grab it and start turning the thing. As you finish, there will be a scene and then you’ll be forced into a battle with an Ironclad.

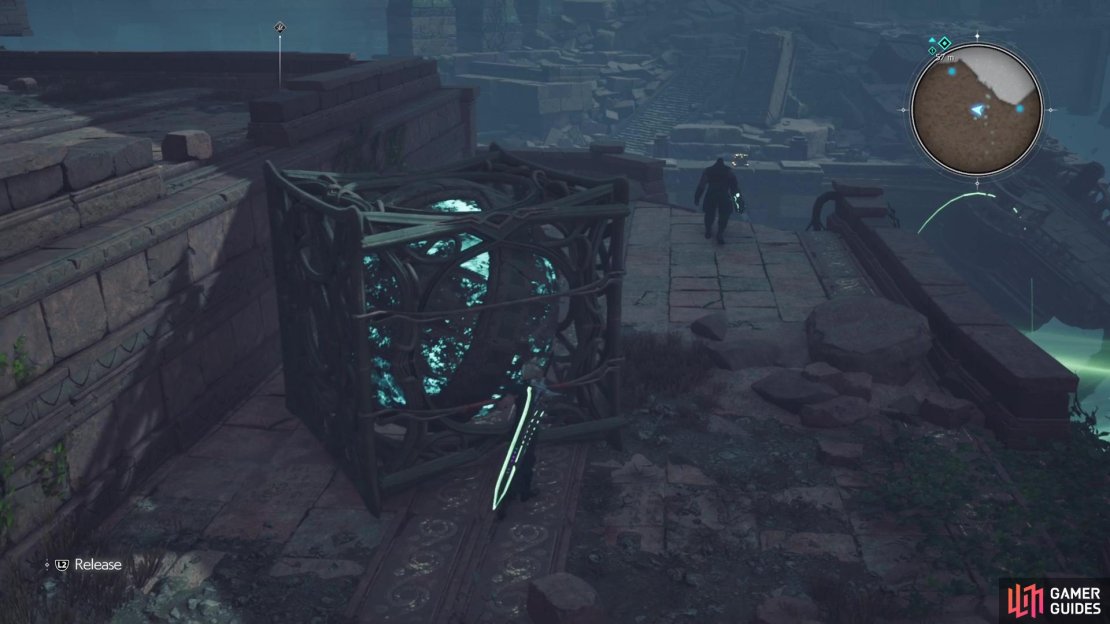
(1 of 4) Push this first box over the edge to have its start the second bridge.
Ironclad Miniboss Guide
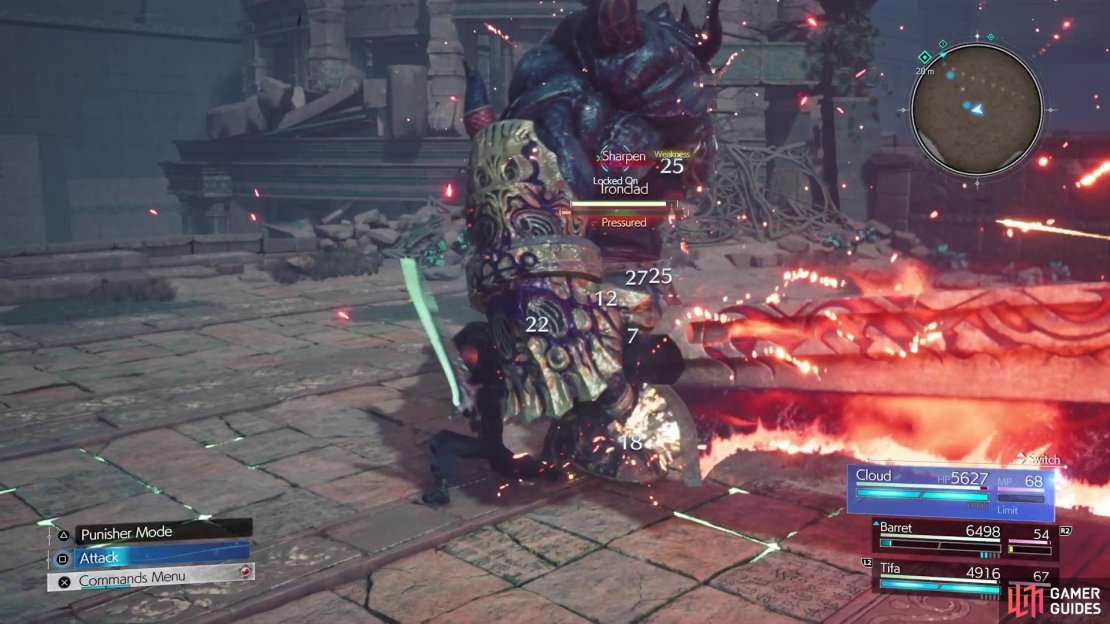
If you’ve done the Can’t Stop, Won’t Stop quest, then you fought an Ironclad at the end of the Musclehead Coliseum portion. If you haven’t then this enemy will be new to you. For the most part, the majority of its moves are east to dodge, since they hit in front of it. Be mindful of Crush, as this is a grab attack and is unblockable. Grand Sword is a series of three sword strikes in front of it, and Condemned is a large explosive sword attack. The Ironclad is weak to lightning, but in order to pressure the beast, you simply need to wait until it uses Sharpen.
When it becomes pressured, the idea is to simply try to build the stagger gauge, as you need to do this to continue in the dungeon. If you somehow defeat the Ironclad without doing this, then you turn the wheel switch again and redo the fight from the beginning. Now, you likely won’t stagger it on the first time it gets pressured, so don’t worry about that. Eventually, it will use Thanatosian Blade, which is basically like a bigger version of the Condemned move, then will stop being pressured a little bit after that.
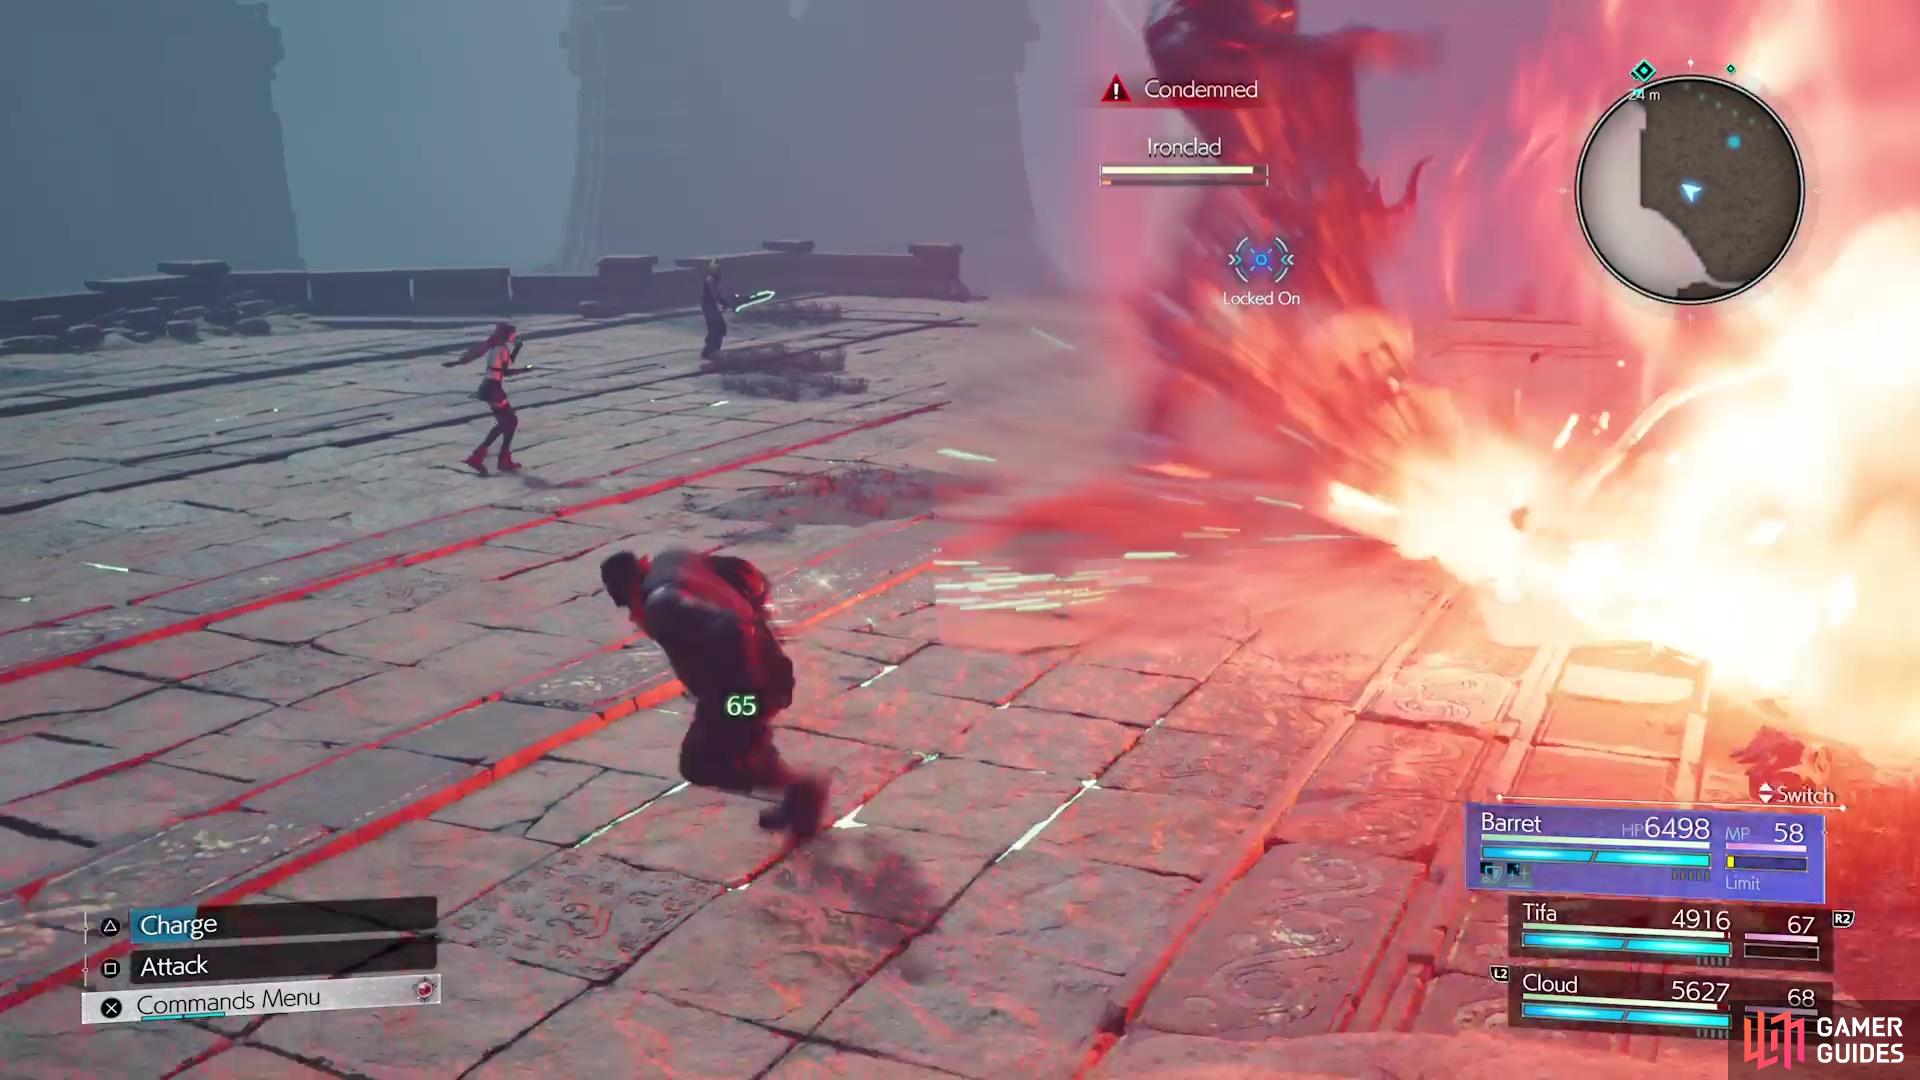
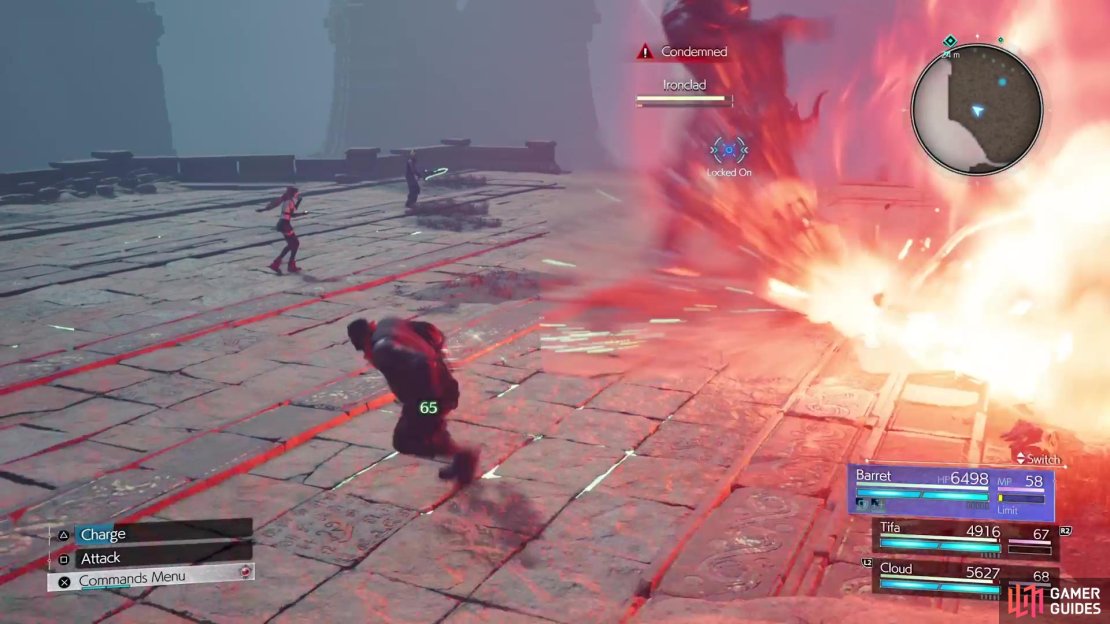


(1 of 4) Be sure to avoid the splash damage when it uses Condemned.
Upon staggering the Ironclad, a scene will play out where it gets knocked into the monument, freeing the box at the top. While that deed is done, the Ironclad is still alive, so you’ll have to take care of it. When the battle is over, grab the box and push it over the nearby edge, where it destroys the one tower, essentially creating a bridge for you now. Make your way over to it now and cross to the other side, then go to the bottom to loot the chest you could see (Revival Materia Earrings).
Climb back up and head north up there, going to the end for one final chest in this section, which contains a Mist Giga-Potion. Pass through the opening nearby and fight the two Panthera Protectors, if you want, then continue onward to a rest stop. Do the usual prep work, then drop down where the icon is located. You’ll find Reno and ![]() Rude here, but you’ll have to fight some normal enemies first, consisting of Blight Frogs and Cthonilizards. After defeating them all, a cutscene occurs, then you’re thrown into a boss battle.
Rude here, but you’ll have to fight some normal enemies first, consisting of Blight Frogs and Cthonilizards. After defeating them all, a cutscene occurs, then you’re thrown into a boss battle.
No Comments