
You’ve finally made it through the Hall of Life, where not only did you face and defeat Reno and Rude, but also Elena and Tseng. After all of the battles, your party will finally be whole again, or at least, most of it. Follow the path before you, using the rest stop if needed. From there, go down the hallway until you reach the elevator, which will take you to the Hall of Resurrection.
The Hall of Resurrection is bringing you near the end of Chapter 13.
Hall of Resurrection - Trials
At the bottom of the elevator, open the door and pass through it for a cutscene. Approach the altar after the scene for another one, then you can touch the pedestal to learn that each of the characters has to undergo a trial. You’ll be controlling Aerith at first, so go to the door that’s connected to her and head to the big statue at the end. Get close enough to the statue until you see a button prompt, which you can hold down to begin the trials.
The Trial of Red XIII
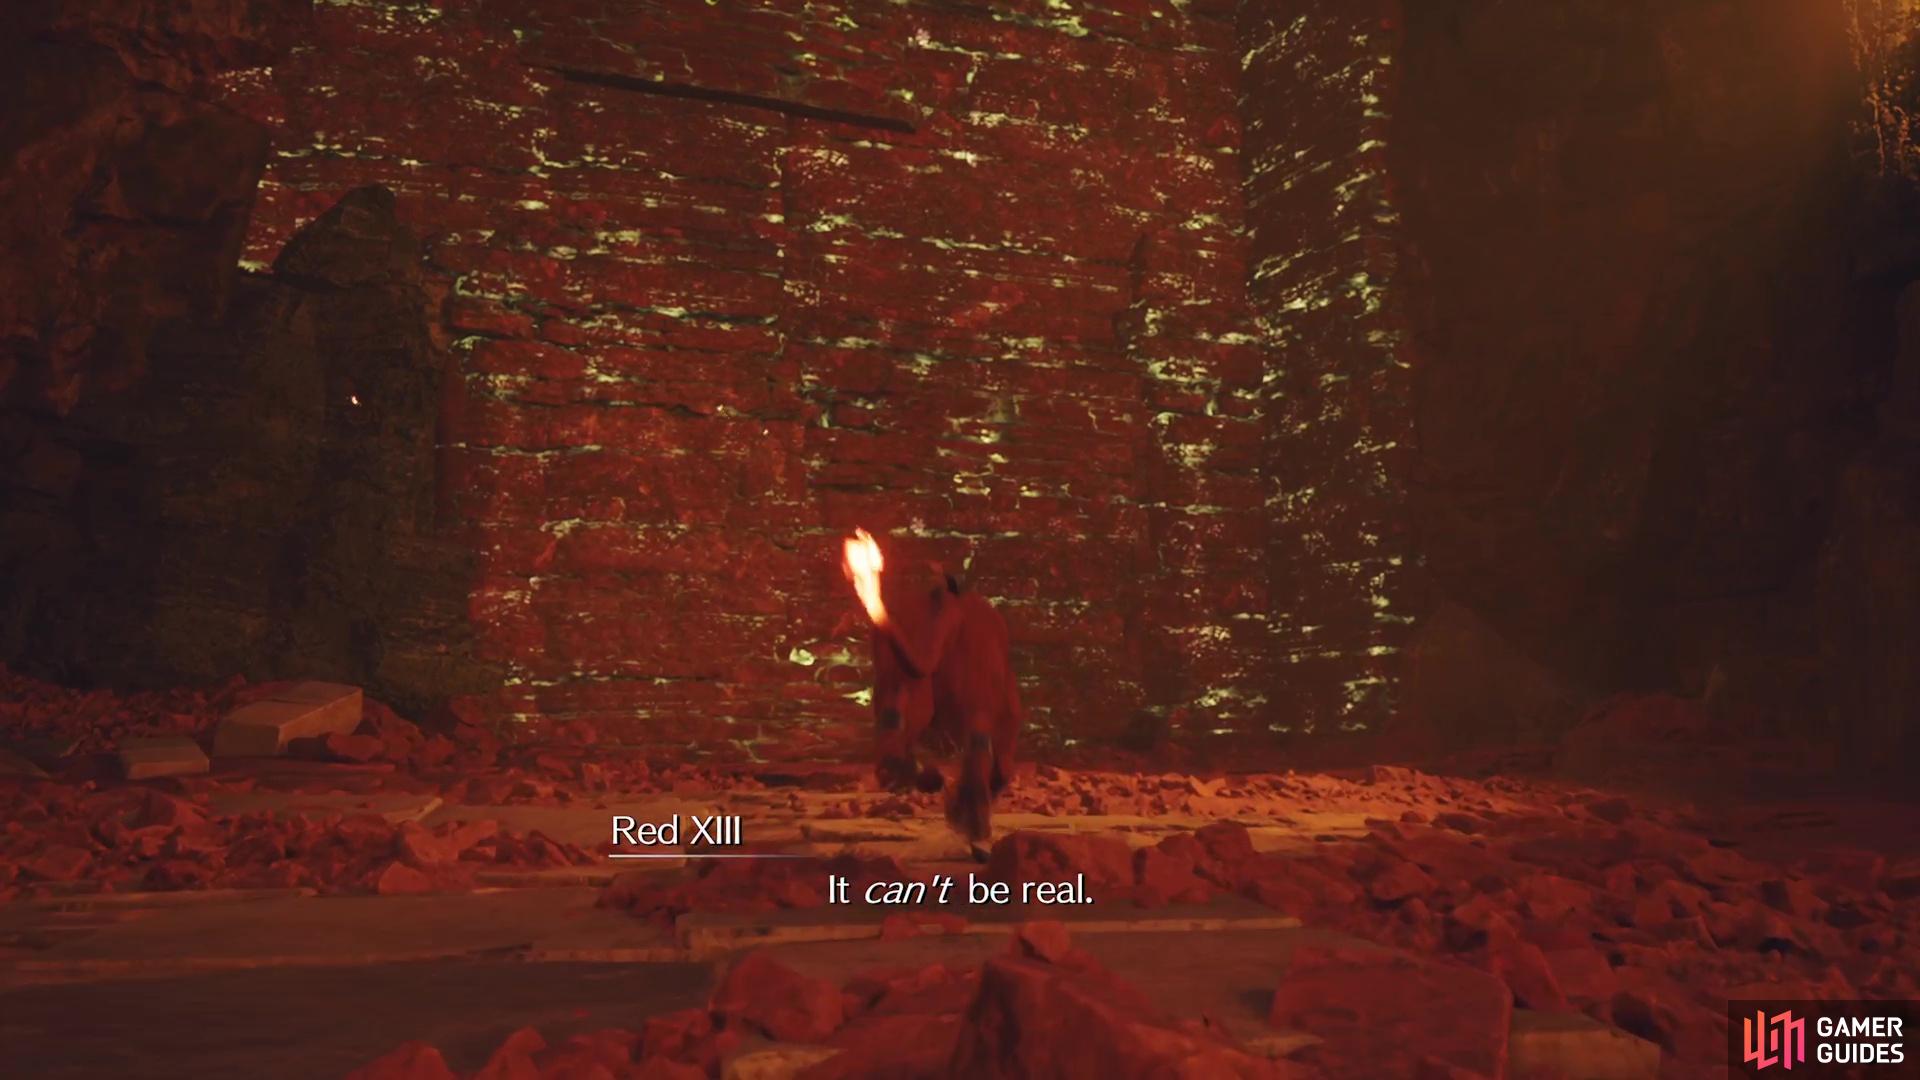
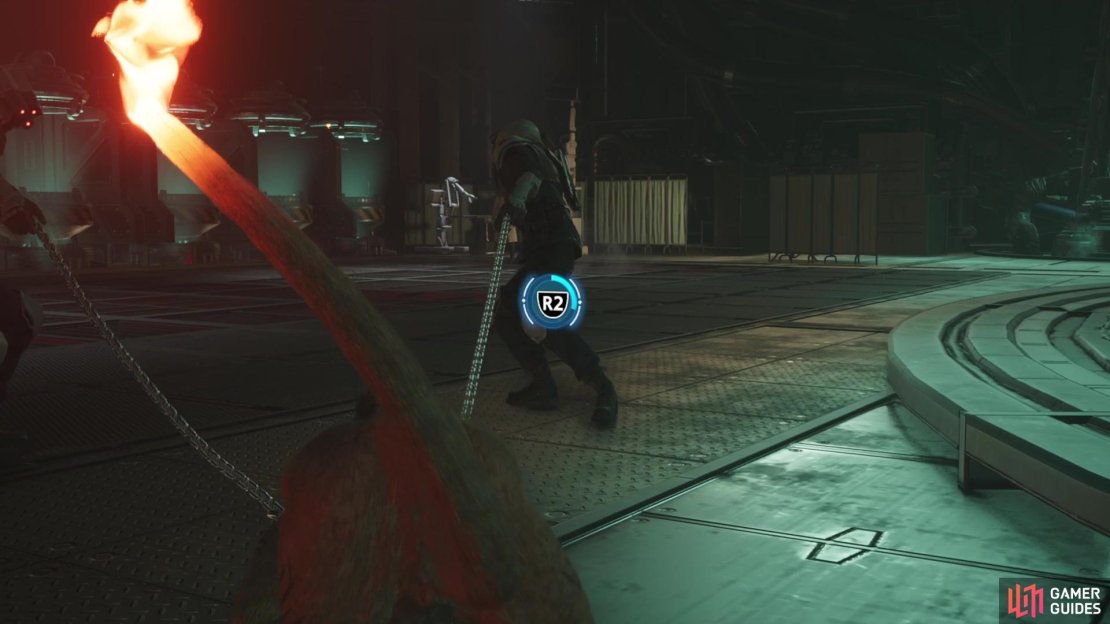
These trials are very short and don’t offer much in terms of gameplay, as they are mostly interactive cutscenes. ![]() Red XIII will be the first on the list and you basically just need to run. Shinra soldiers will be shooting at you and despite getting hit, you don’t have to worry about health or anything. The path is linear here, so just run up the walls until you reach a door, where you get transported to a laboratory. During this segment, you will be able to hold down L2 and R2 at certain points, but it’s futile. After the scene ends here, Red’s trial will be done.
Red XIII will be the first on the list and you basically just need to run. Shinra soldiers will be shooting at you and despite getting hit, you don’t have to worry about health or anything. The path is linear here, so just run up the walls until you reach a door, where you get transported to a laboratory. During this segment, you will be able to hold down L2 and R2 at certain points, but it’s futile. After the scene ends here, Red’s trial will be done.
The Trial of Tifa
Tifa’s trial will consist of the memory from ![]() Nibelheim at a certain event. You’ll see a younger Tifa just ahead, so go up the stairs and then look at the top of the water tower. There will be a short scene here, then the game will switch to another scene, where you follow Cloud through the fire. This will point you towards the reactor, so head there and go inside. Eventually, you will happen upon a body, so approach it for more scenes and the end of Tifa’s trial.
Nibelheim at a certain event. You’ll see a younger Tifa just ahead, so go up the stairs and then look at the top of the water tower. There will be a short scene here, then the game will switch to another scene, where you follow Cloud through the fire. This will point you towards the reactor, so head there and go inside. Eventually, you will happen upon a body, so approach it for more scenes and the end of Tifa’s trial.

(1 of 3) Most of the trials are simply running from one point to another.
The Trial of Yuffie
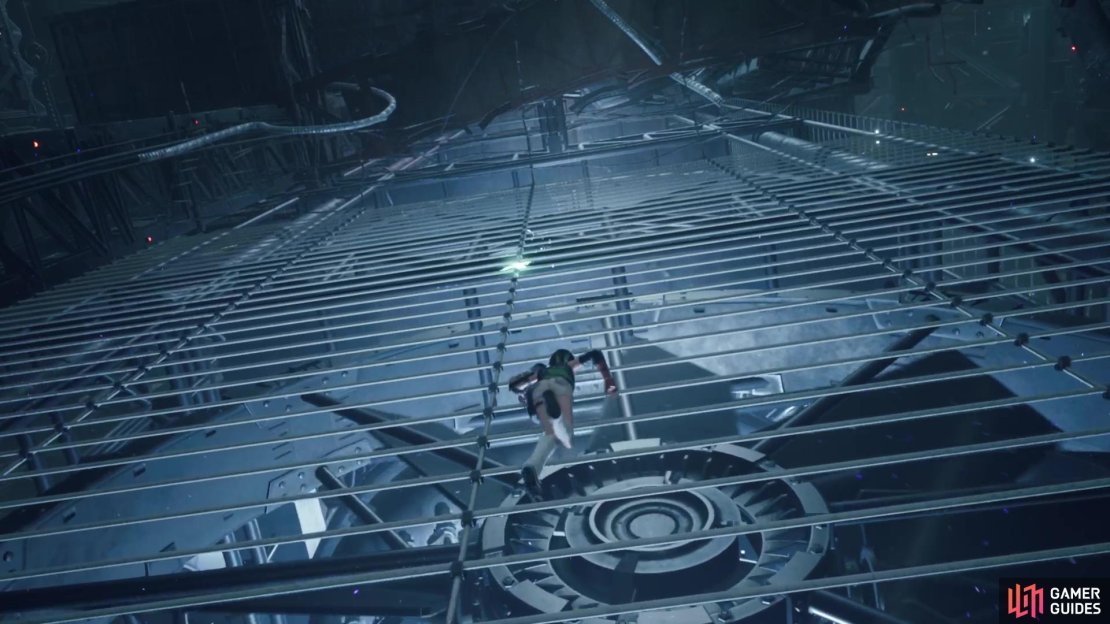
You will appear in a facility, so just walk/run down the hallway and you will fall through the floor. She will grab onto railing, which is connected to a bunch of other poles. Look up and start climbing in that direction, keeping an eye out for a green pinwheel-like object. This will spawn a projection of Sonon, who you might recognize if you’ve played the FFVII Remake DLC. Follow him to more pinwheels and you will eventually land, so head into the next room. Here, you will use your grappling hook to cross and look for the door on the other side of the large room, which is an elevator. A scene takes over here, leading to the end of the trial.
The Trial of Barret
Barret’s trial is pretty straightforward and doesn’t require a lot of input on your side. Simply walk through once you have control, until you get to the end of the path, where you meet with his wife, Myrna. After a tearful reunion, the scene will change and things aren’t as happy now. Follow the path to a large gate and use the shown button (L2) to continually hit it, knocking it down. Approach the body on the ground to finish up the trial.
The Trial of Aerith
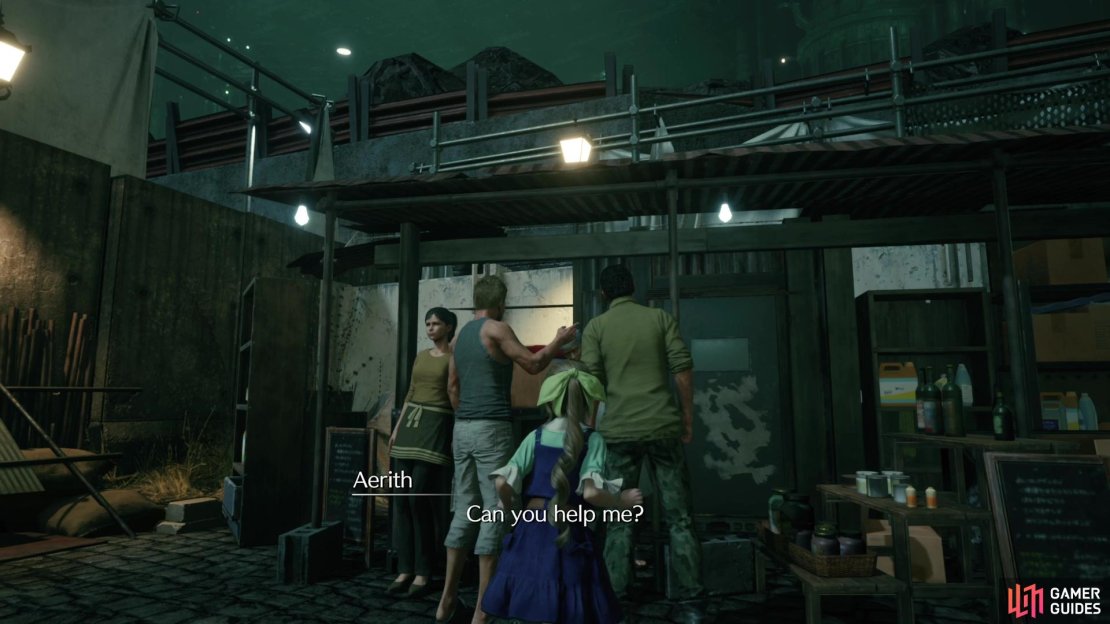
The last trial will be Aerith’s, who will appear in a train and witness her mother and younger self. Some butterflies will appear, so focus your camera on them and hold Triangle to advance the scene. Once you have done this to all butterflies, the scene will change to Midgar. You will now be walking as younger Aerith and pressing L2 will allow you to call out. Simply approach the people standing still, then hit L2 to get a very short scene. At the end of the path, there will be a large gathering of people, so do it there, too. You know you’ve done things right if you witness a scene with Elmyra and Aerith falling to the ground. After that little scene, it will be a slow walk back to her mother, with more scenes taking place at that time.

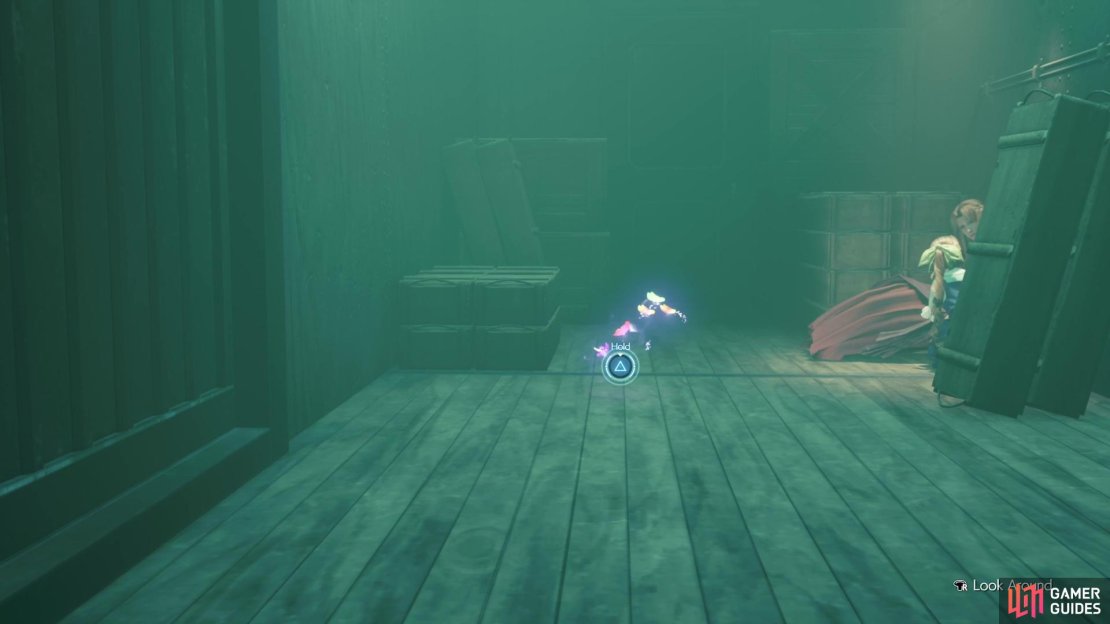
(1 of 3) Focus on the butterflies in the train for Aerith’s trial.
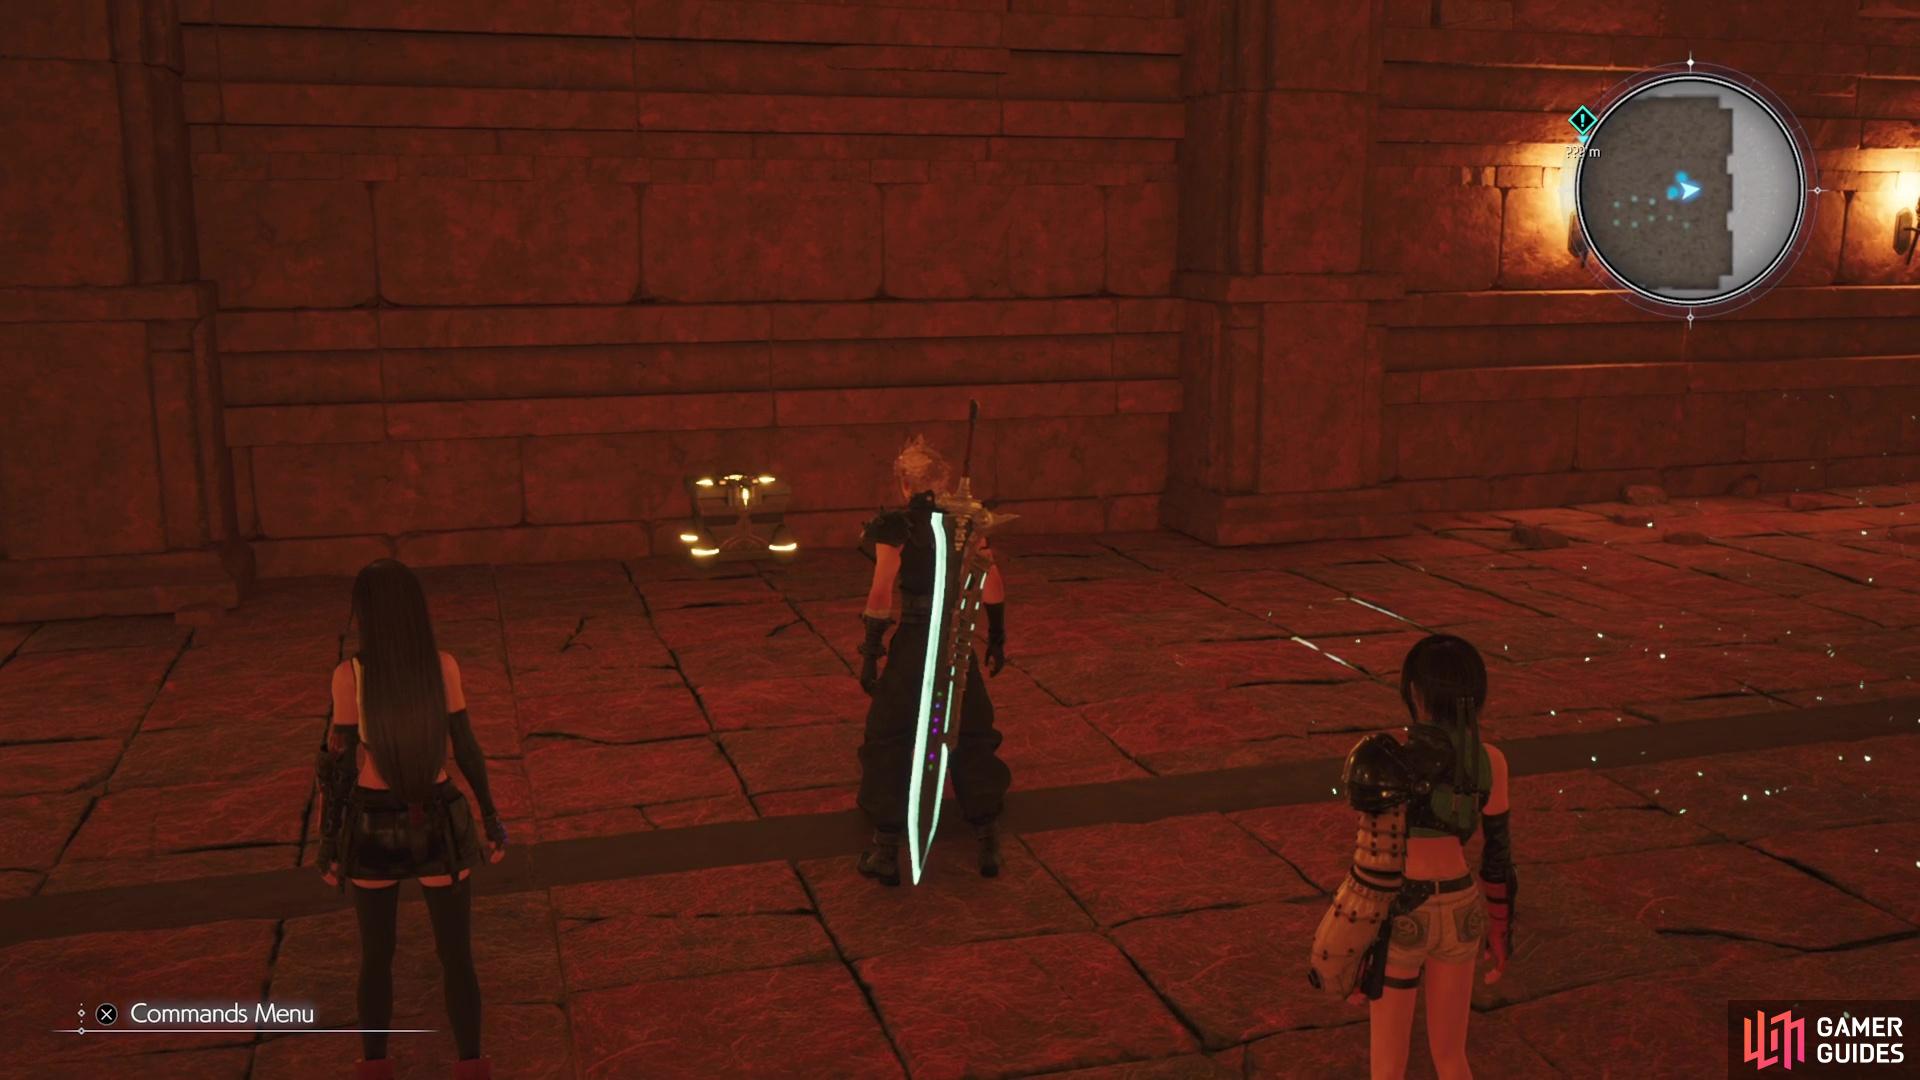
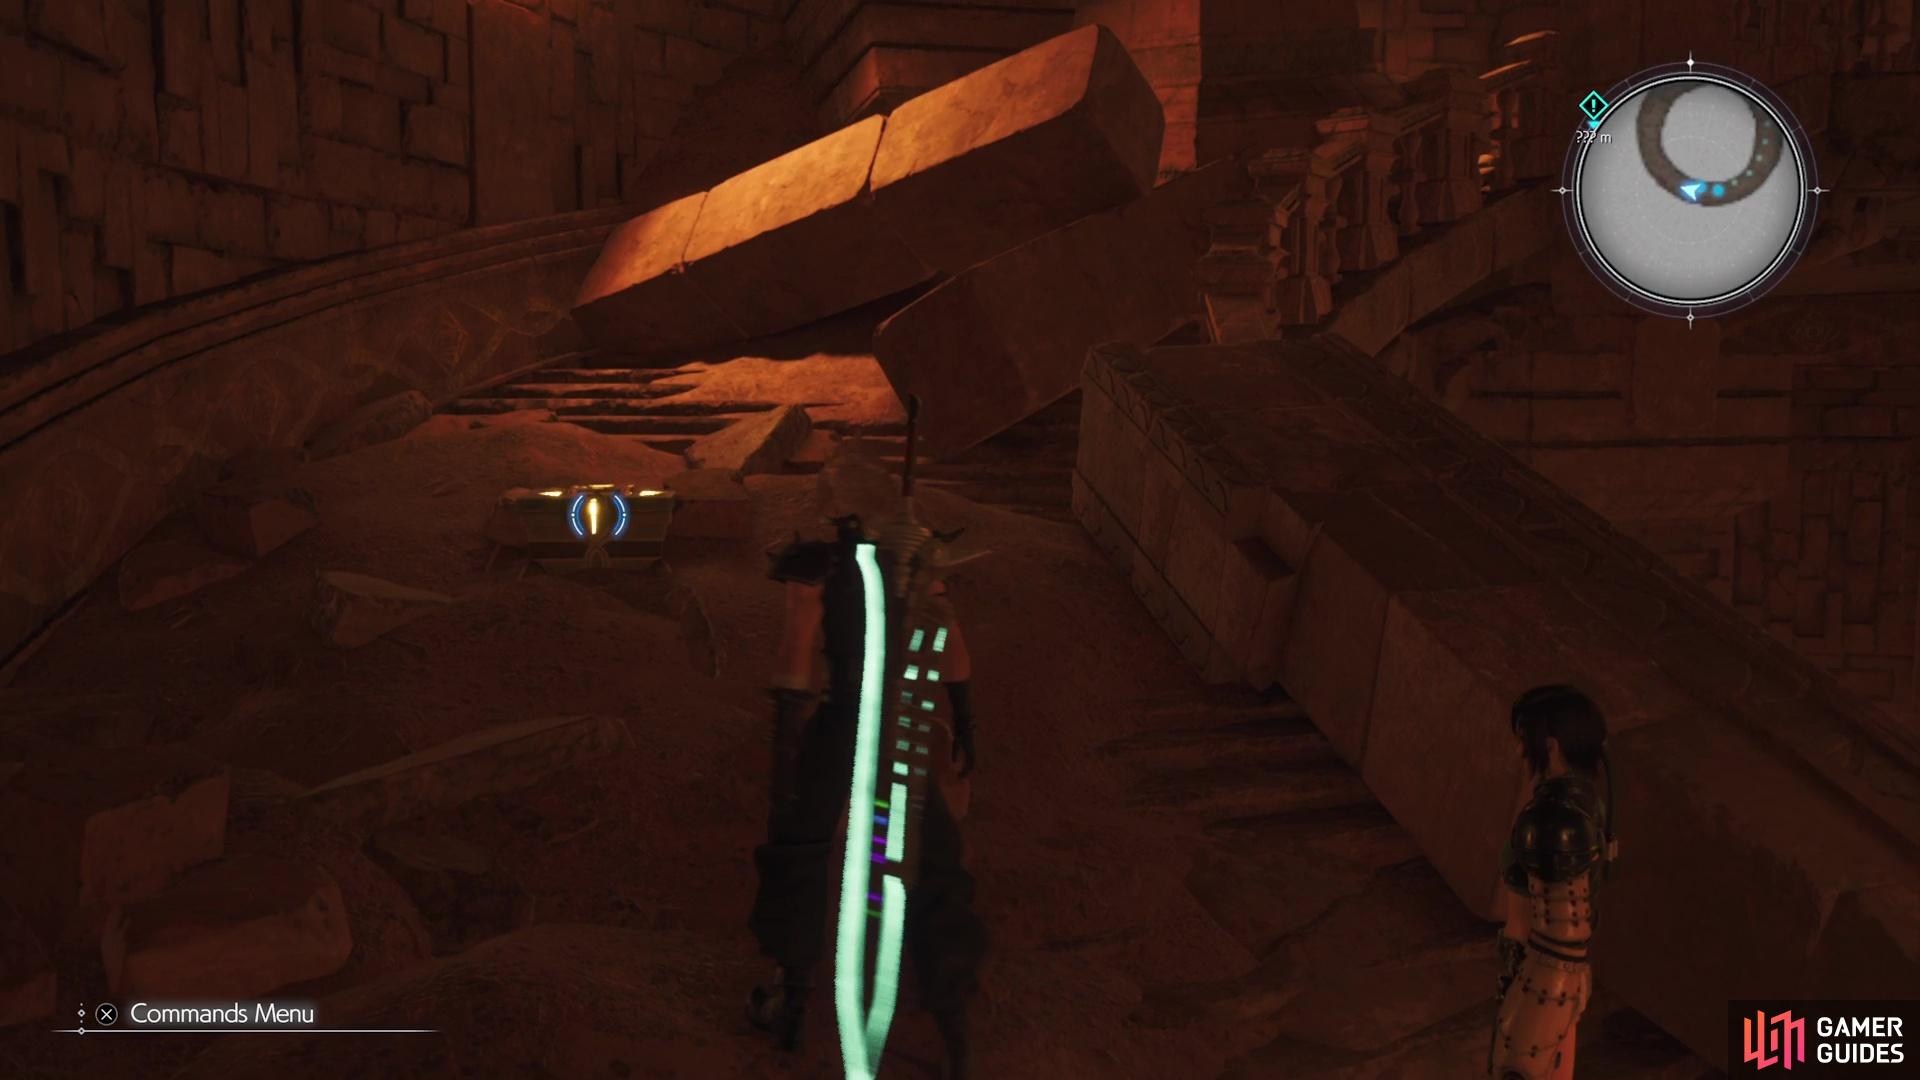
Back in the present, the party will all come out of their chambers and rejoin Cloud. When you’ve regained control, you can continue through the Hall of Resurrection by heading north. However, you can access all of the other doors in this trial area, although only one has anything of note. Straight west from the central platform, go into the unused trial chamber to find an ![]() AP Up Materia on the ground. Return to the central area and continue north now, until you pass through a door. Cloud may not have had his trial earlier, but he will finally have it now.
AP Up Materia on the ground. Return to the central area and continue north now, until you pass through a door. Cloud may not have had his trial earlier, but he will finally have it now.
The Trial of Cloud
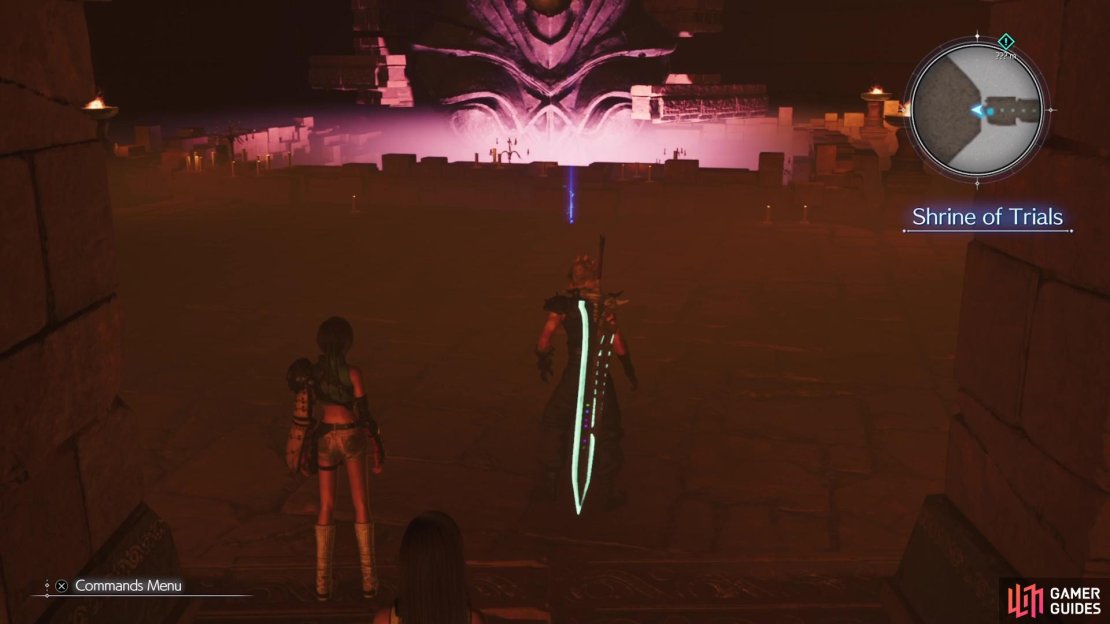
There’s not much to write here, as Cloud’s Trial is pretty much similar to the others. You’ll start off in the Midgar reactor from the beginning of Remake, then you can start moving, so follow the path until a scene triggers. From there, the game will switch over to another location, where you just go up the stairs and approach Tifa for more scenes. The trial will be over after this and you’ll be able to progress back at the ![]() Temple of the Ancients. Keep following the path until you reach the Spiral of Rebirth.
Temple of the Ancients. Keep following the path until you reach the Spiral of Rebirth.
Spiral of Rebirth
Descend the stairs until you reach a room you can enter, where you’ll fight a Panthera Protector and Ancient Dragon. The former is probably the easier of the two to handle, so go after it first, especially to prevent the ring of fire it can spawn. After that, you can easily have someone dispatch the Ancient Dragon by exploiting its weakness to wind. Following the battle, go the only way you can until you reach a fork in the path. Before exploring either of the two ways here, look on the raised section right there to find a purple chest, which contains Yuffie’s Fuma Shuriken.
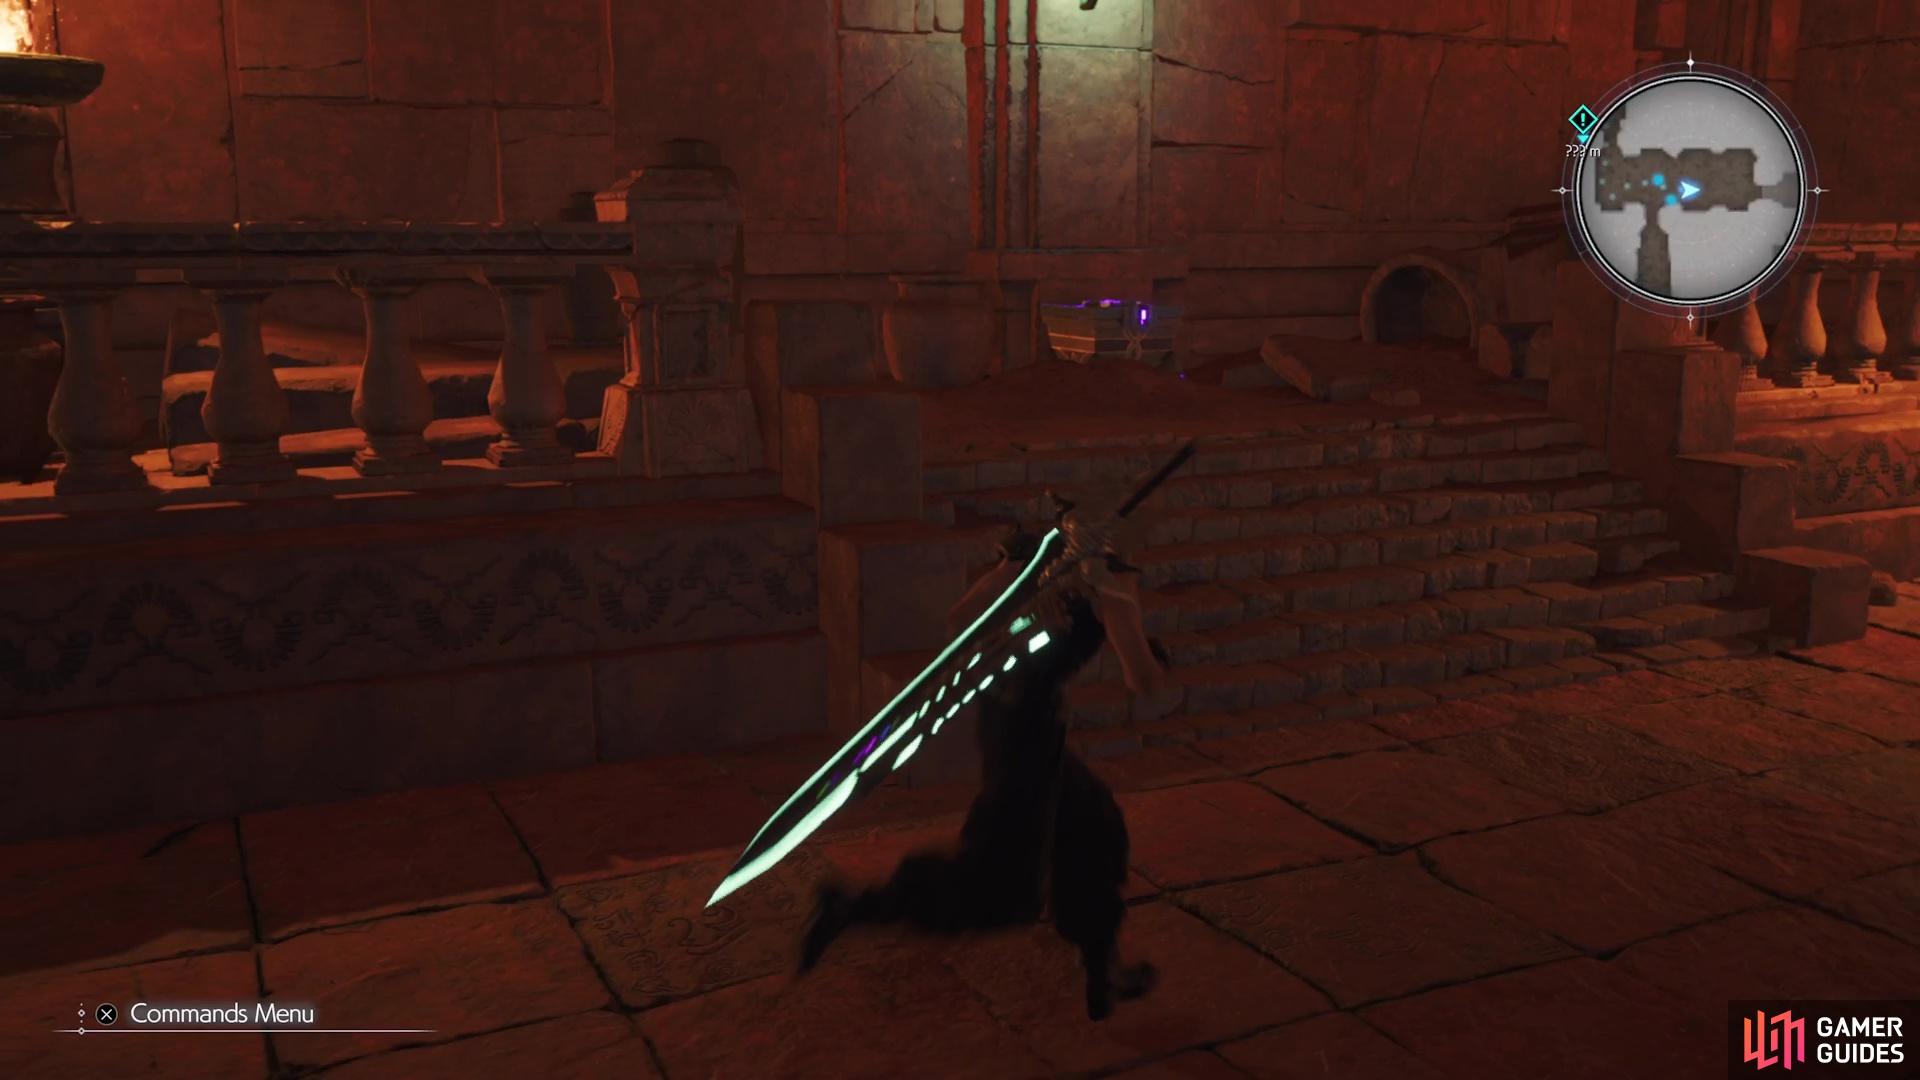

(1 of 2) At the split path, look on the raised section for this weapon chest.
At the split path, look on the raised section for this weapon chest. (left), Head south at the split first to come to this chest with a Cetran Bracer. (right)
You now can head south or east, so pick the southern path first. This will bring you to a room with a Floating Death, so clip its wings, then look opposite the entrance for another chest, with this one yielding a Cetran Bracer. This is easily the best piece of armor in the game, as it boasts great stats and eight linked materia slots. Return to the previous spot where you got the weapon and go east this time, where you will run into a new enemy, the Moss-Grown Adamantoise.
Moss-Grown Adamantoise Miniboss Guide
While not technically a boss, you should treat the Adamantoise as a threat, since it can overwhelm you. It doesn’t have much in the way of offensive abilities, as the creature will spend most of its time trying to apply various buffs, like ![]() Protect,
Protect, ![]() Shell,
Shell, ![]() Barrier and
Barrier and ![]() Manaward. The more buffs it applies, the more projectiles it seems to shoot off of its body. These energy orbs home in on your characters and can deal decent damage, so you definitely don’t want that happening. If you leave things alone, you will definitely see a lot of its ranged projectiles being spammed.
Manaward. The more buffs it applies, the more projectiles it seems to shoot off of its body. These energy orbs home in on your characters and can deal decent damage, so you definitely don’t want that happening. If you leave things alone, you will definitely see a lot of its ranged projectiles being spammed.
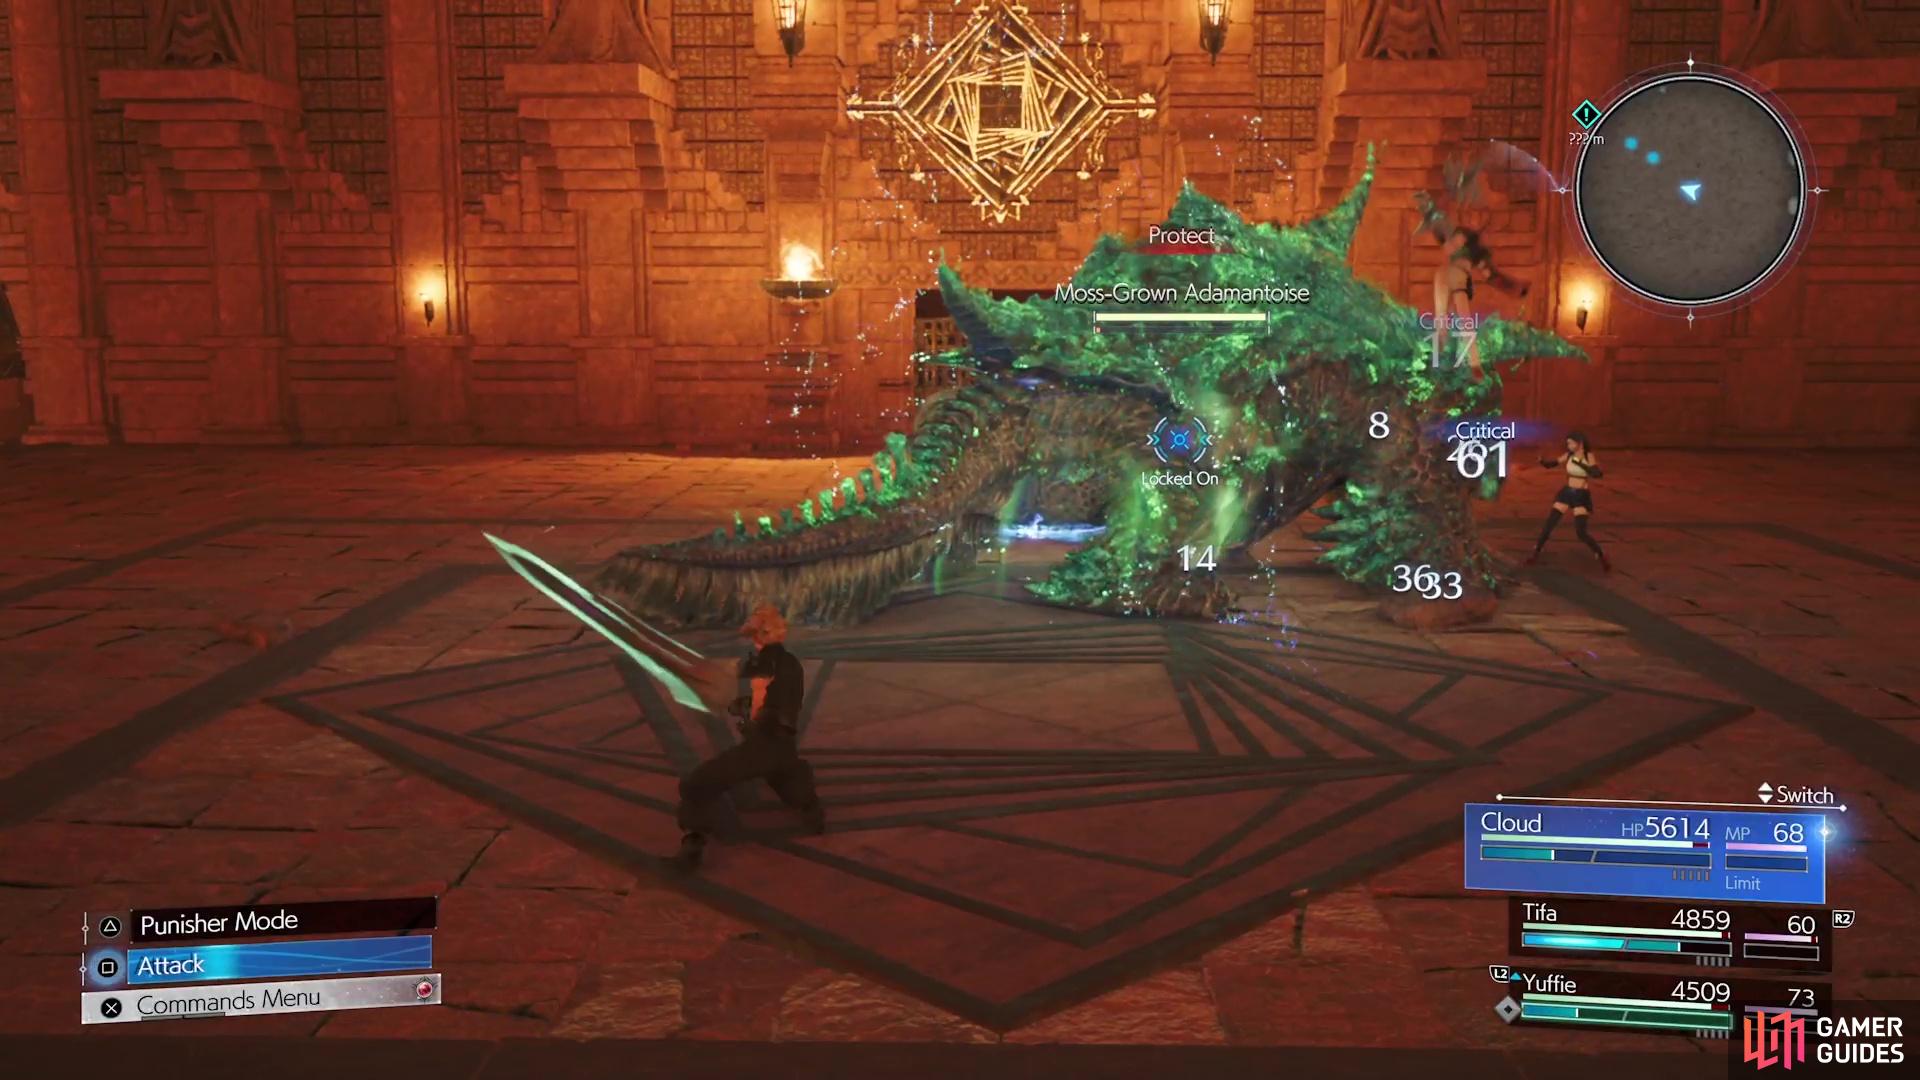


(1 of 3) The Adamantoise will try to cast various buffs on itself, like Protect.
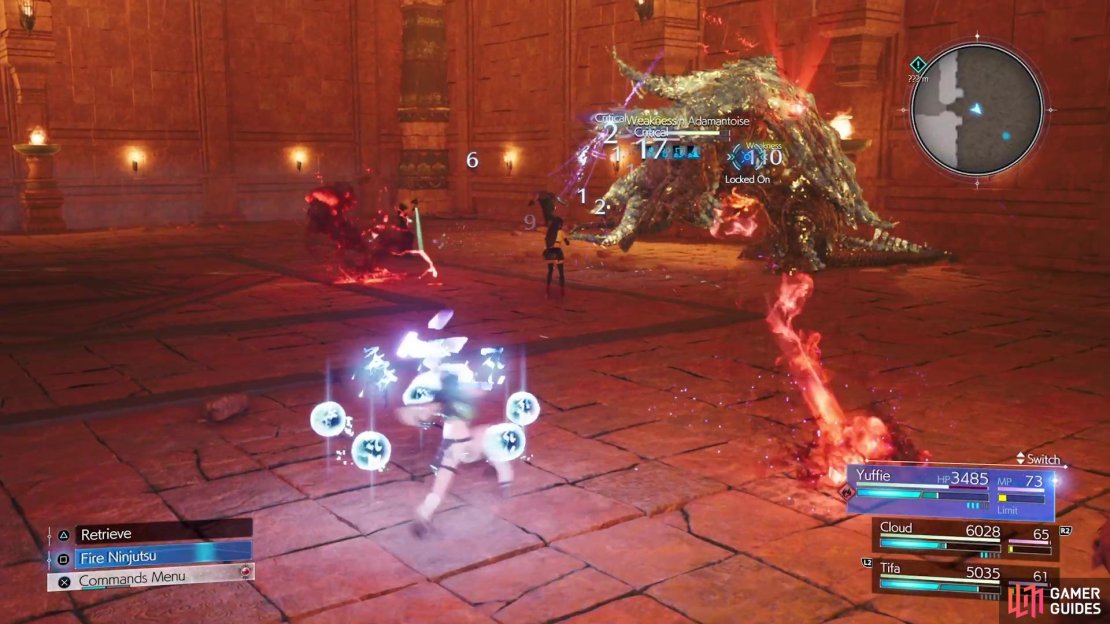
You can stop this from happening by pressuring the creature, via one of two ways. The first is by using strong abilities on unprotected areas when it uses Counter. Basically, Counter will cover the front of its body, so go to the backside and use skills like Braver and other strong ones. The other way is by using ![]() Fire-based abilities. Fire might not be enough, but Fira should do the job. Do this every so often to stop the projectile spam, while also pressuring and potentially staggering it.
Fire-based abilities. Fire might not be enough, but Fira should do the job. Do this every so often to stop the projectile spam, while also pressuring and potentially staggering it.
Note that its Enraged Charge move should be completely avoided, as it seems attacking it while doing this will hurt you. This fight will take a little while, since the Adamantoise is quite beefy. Once you’ve defeated the hulking turtle, take the exit to the east and on the raised section will be a chest with an ![]() X-Potion. Enter the stairwell beyond, but head up the stairs first to find another chest, with this one containing an
X-Potion. Enter the stairwell beyond, but head up the stairs first to find another chest, with this one containing an ![]() Elixir. Descend all the way down to the bottom and pass through the door to enter the Mural Chamber.
Elixir. Descend all the way down to the bottom and pass through the door to enter the Mural Chamber.


(1 of 2) There’s a chest with an X-Potion right after the Adamantoise fight.
There’s a chest with an X-Potion right after the Adamantoise fight. (left), On the spiraling stairs, go up first for this chest with an Elixir. (right)
Mural Chamber
The rest of the area will be linear, with no more treasures. However, there will be a few fights, so be prepared. When you have control to move, just walk the only way you can, until you enter the first fight against a Panthera Protector and Floating Death. With them gone, continue forward until you come to a large room with a rest stop. Before you have a chance to use it, though, the second battle will take place here, against another Moss-Grown Adamantoise and a Panthera Protector. Take out the latter first, then worry about the turtle second.
With them defeated, make sure of the bench and vending machine, then continue past it. The rest is just story bits and pieces, and more walking. Eventually, you will run into the next boss.
No Comments