
The ![]() Corel Region has six different fiend intel locations split between the two parts of the region. Finding all the fiends and completing their objectives can be hard. This is especially true since the Corel region has enemies that can burrow underground making them extremely difficult to land a hit on. The guide below details where to find all the fiend intel and how to defeat the fiends when you find them.
Corel Region has six different fiend intel locations split between the two parts of the region. Finding all the fiends and completing their objectives can be hard. This is especially true since the Corel region has enemies that can burrow underground making them extremely difficult to land a hit on. The guide below details where to find all the fiend intel and how to defeat the fiends when you find them.
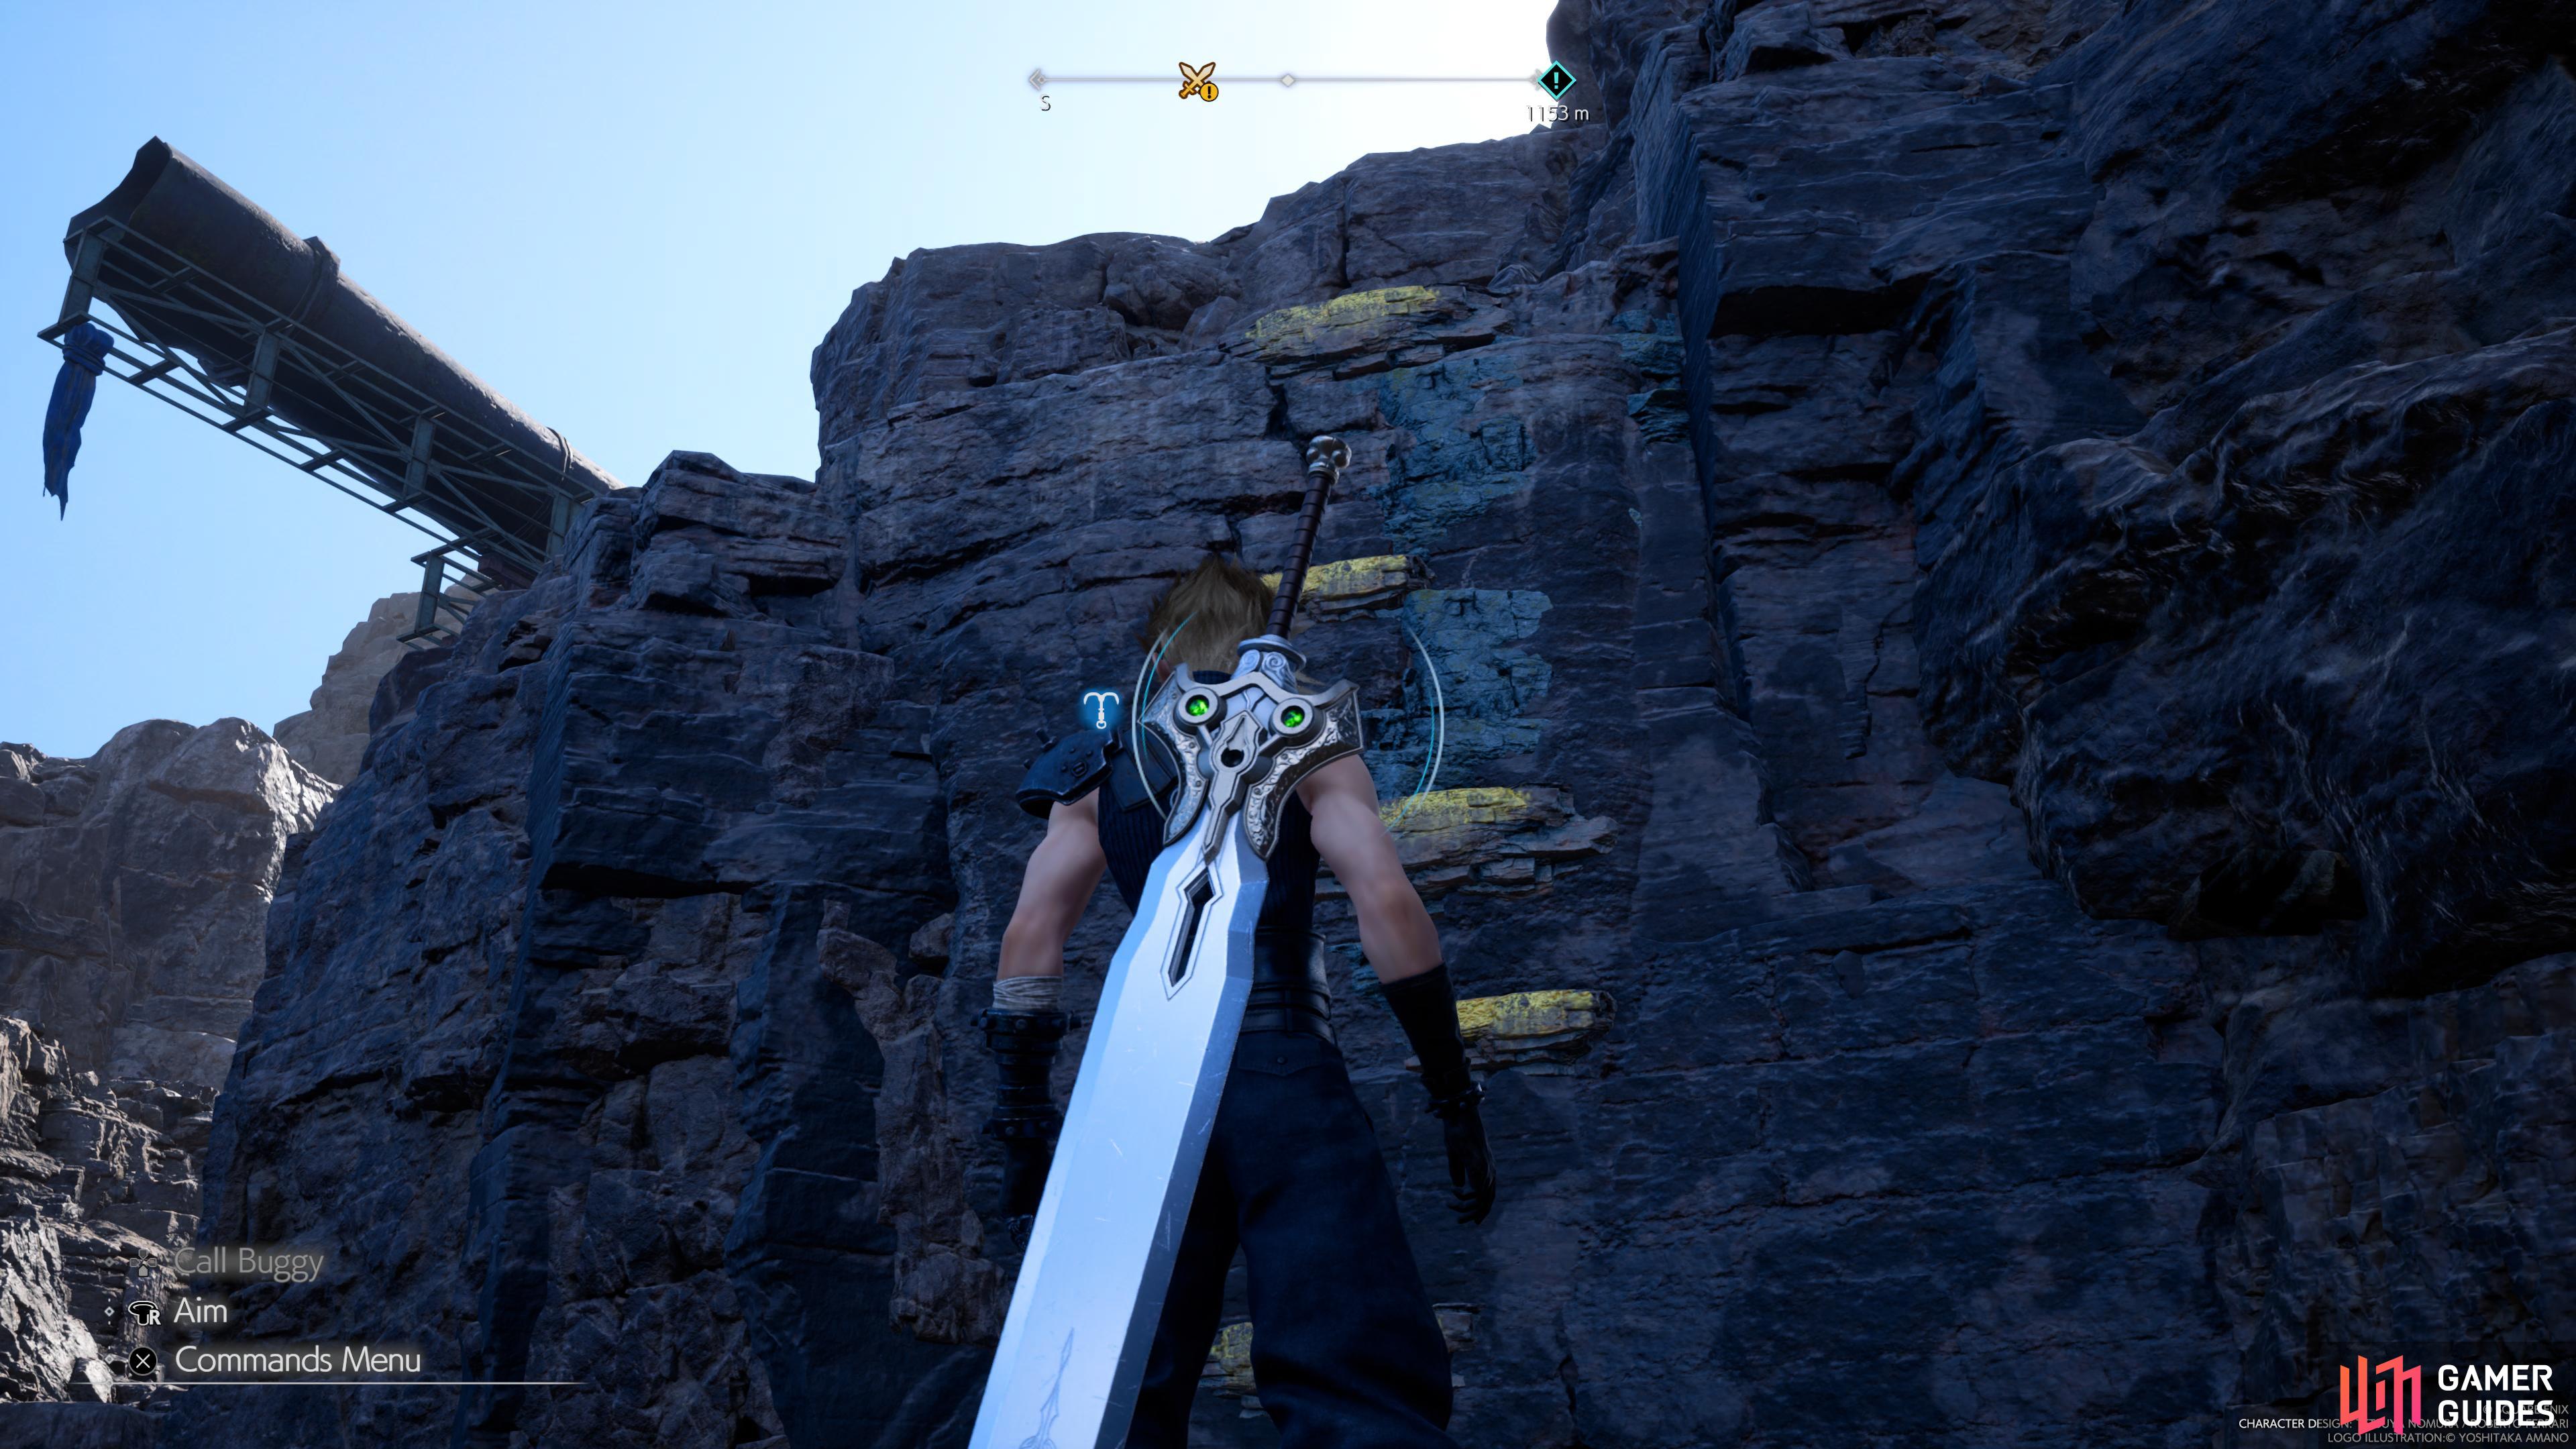
You will need to maneuver up mountains and across rivers to reach some of the fiend intel in the Corel region.
Corel Region Fiend Intel
The Corel Region is divided into two different sections, with the majority of the Fiend Intel not being available until you reach Chapter 9. To reach some of these locations, you will need to use the dune buggy or the grappling hook to make your way across the terrain. None of the enemies below are too difficult to reach, and the game lets you know what areas you need to use the dune buggy to cross and the grappling hook to reach.
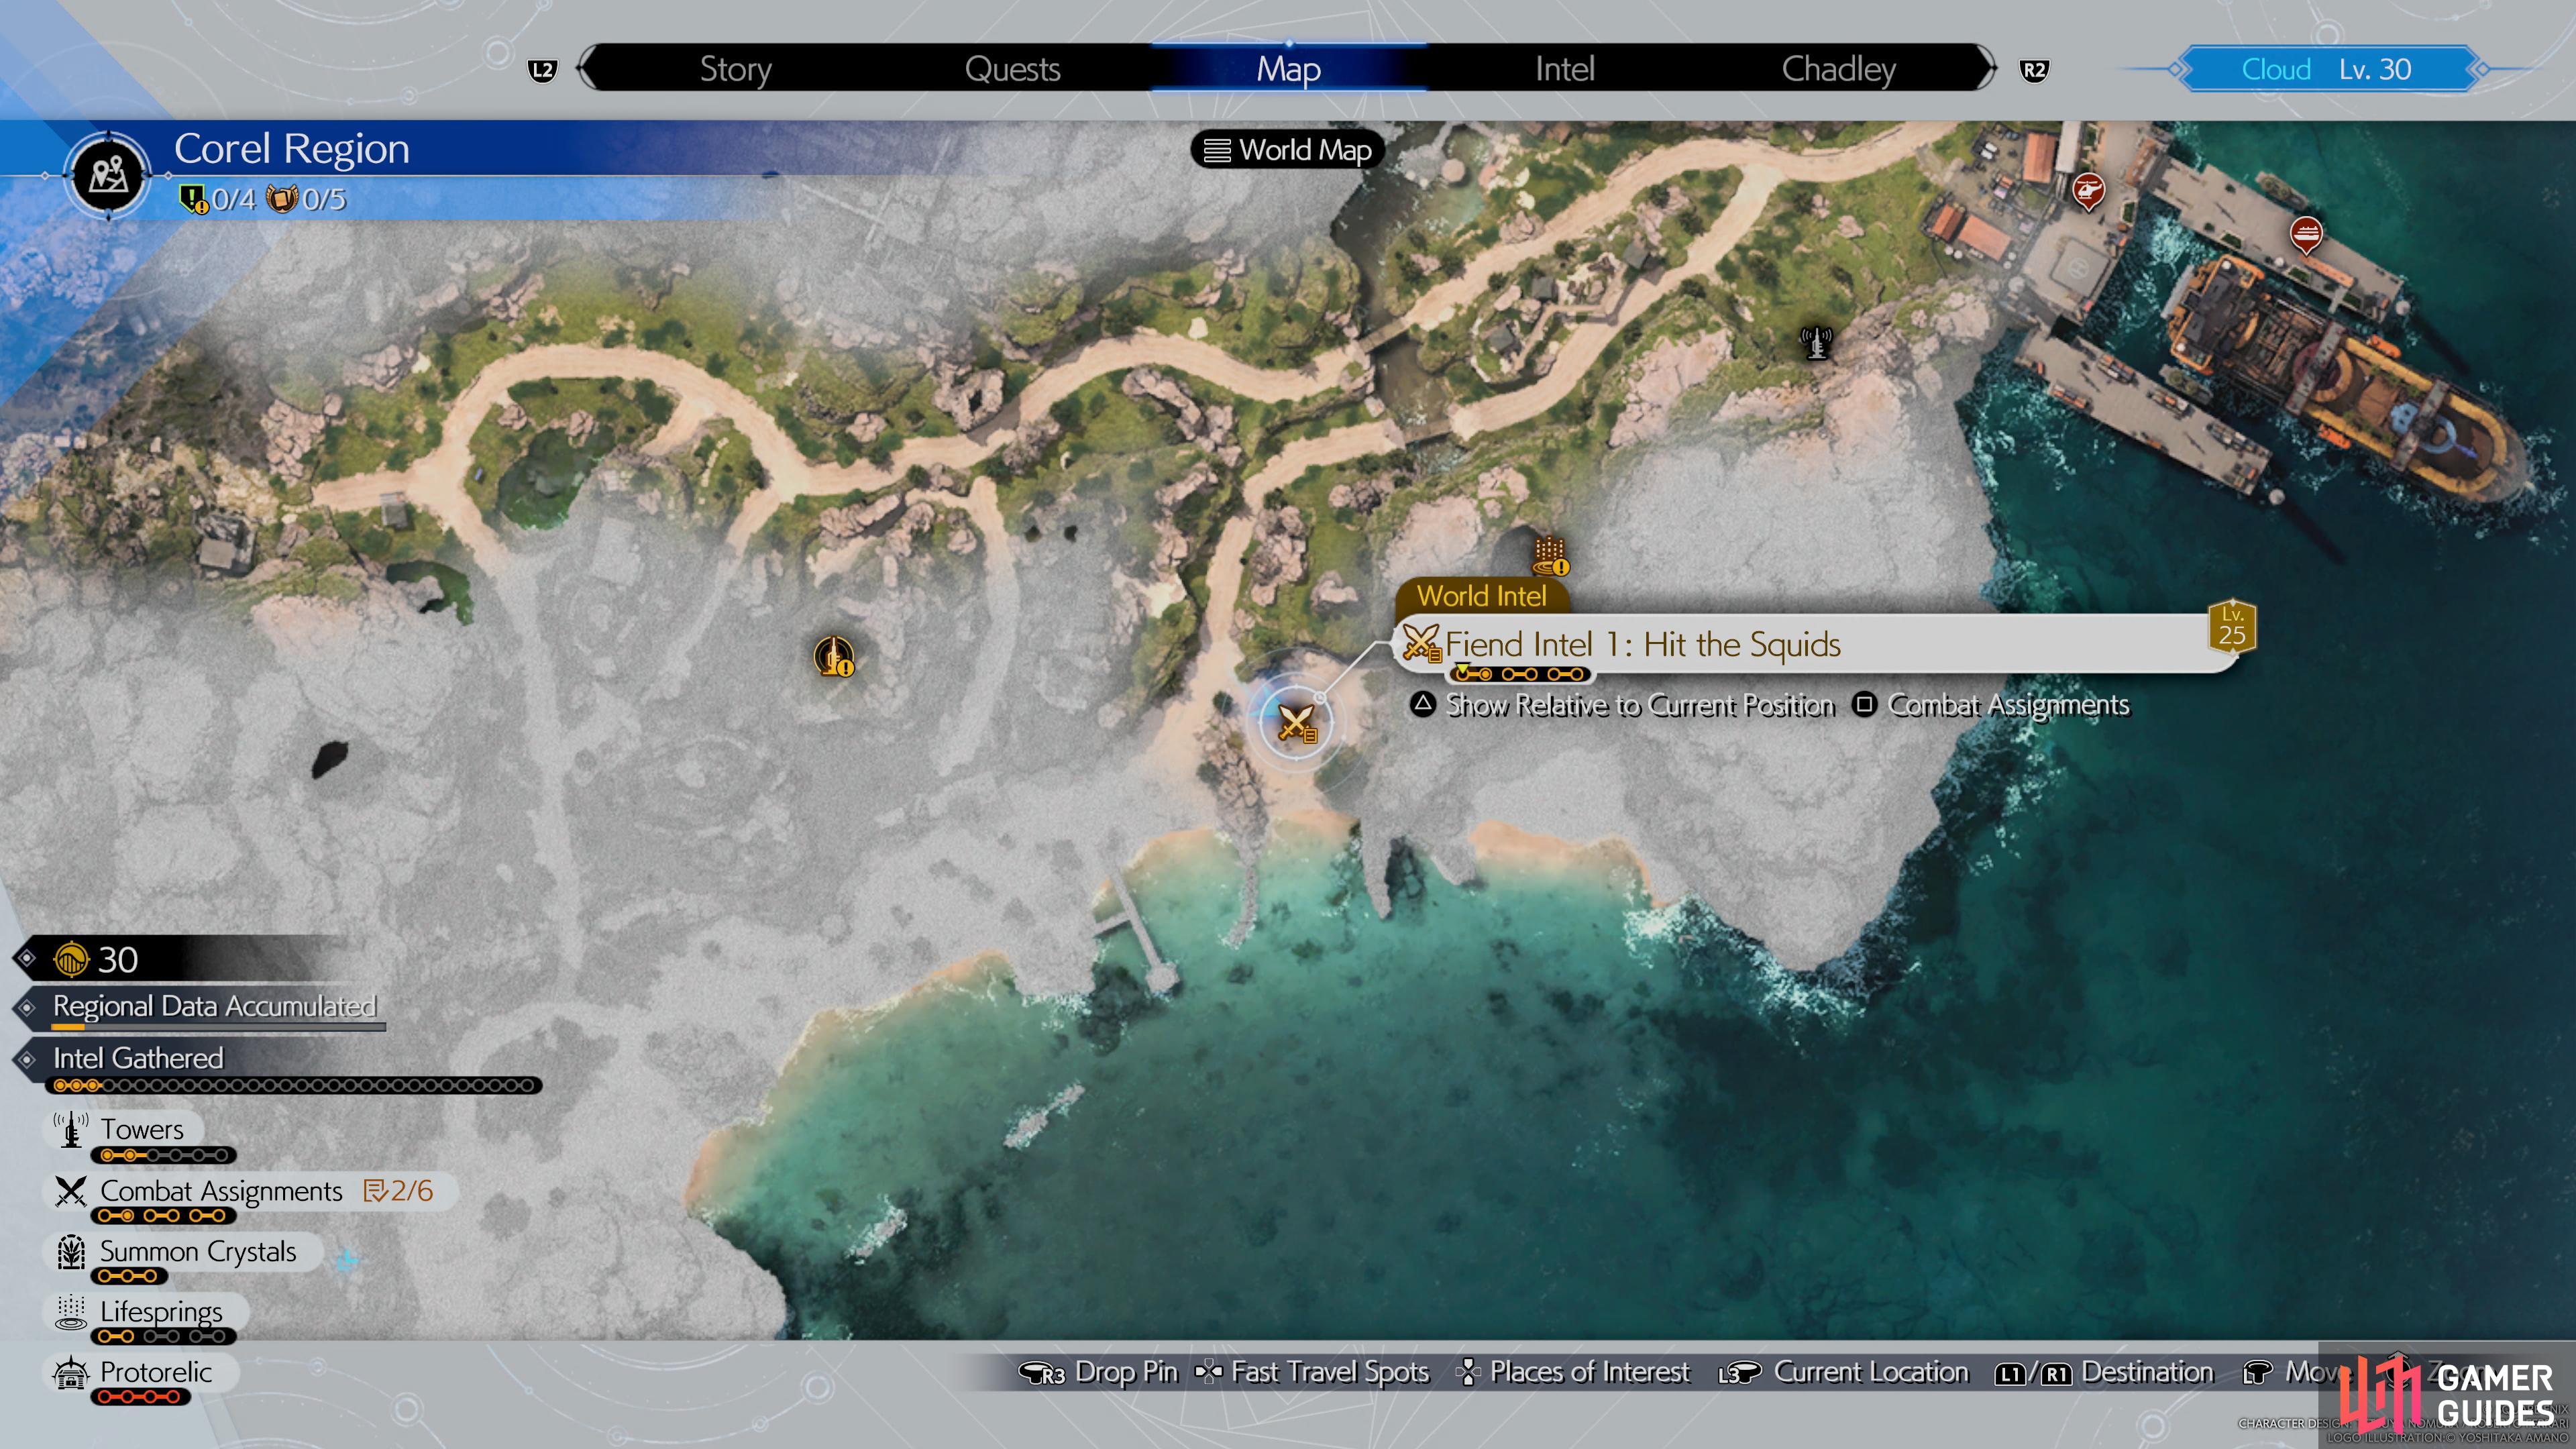
Hit the Squids – Shankhalopod Fiend Intel #1
Objectives:
- Pressure the
 Shankhalopod
 - Defeat the Shankalopod
- Defeat the Shankalopod within the time limit
The Shankhalopd is found on the beach closest to Costa Del Sol in the first half of the region. Once there, you will see the Shankalopods. These enemies aren’t all that tough, but they do have shells to hide inside of. When inside of the shell, Shankhalopods will get some extra protection. Luckily, you can use ![]() Fire to pressure them, as the shells won’t protect them from the element. Bring a
Fire to pressure them, as the shells won’t protect them from the element. Bring a ![]() Fire Materia to this fight to help you out and use Yuffie’s Wildfire to give you the upperhand. You shouldn’t have any problem bringing these enemies down within the time limit.
Fire Materia to this fight to help you out and use Yuffie’s Wildfire to give you the upperhand. You shouldn’t have any problem bringing these enemies down within the time limit.
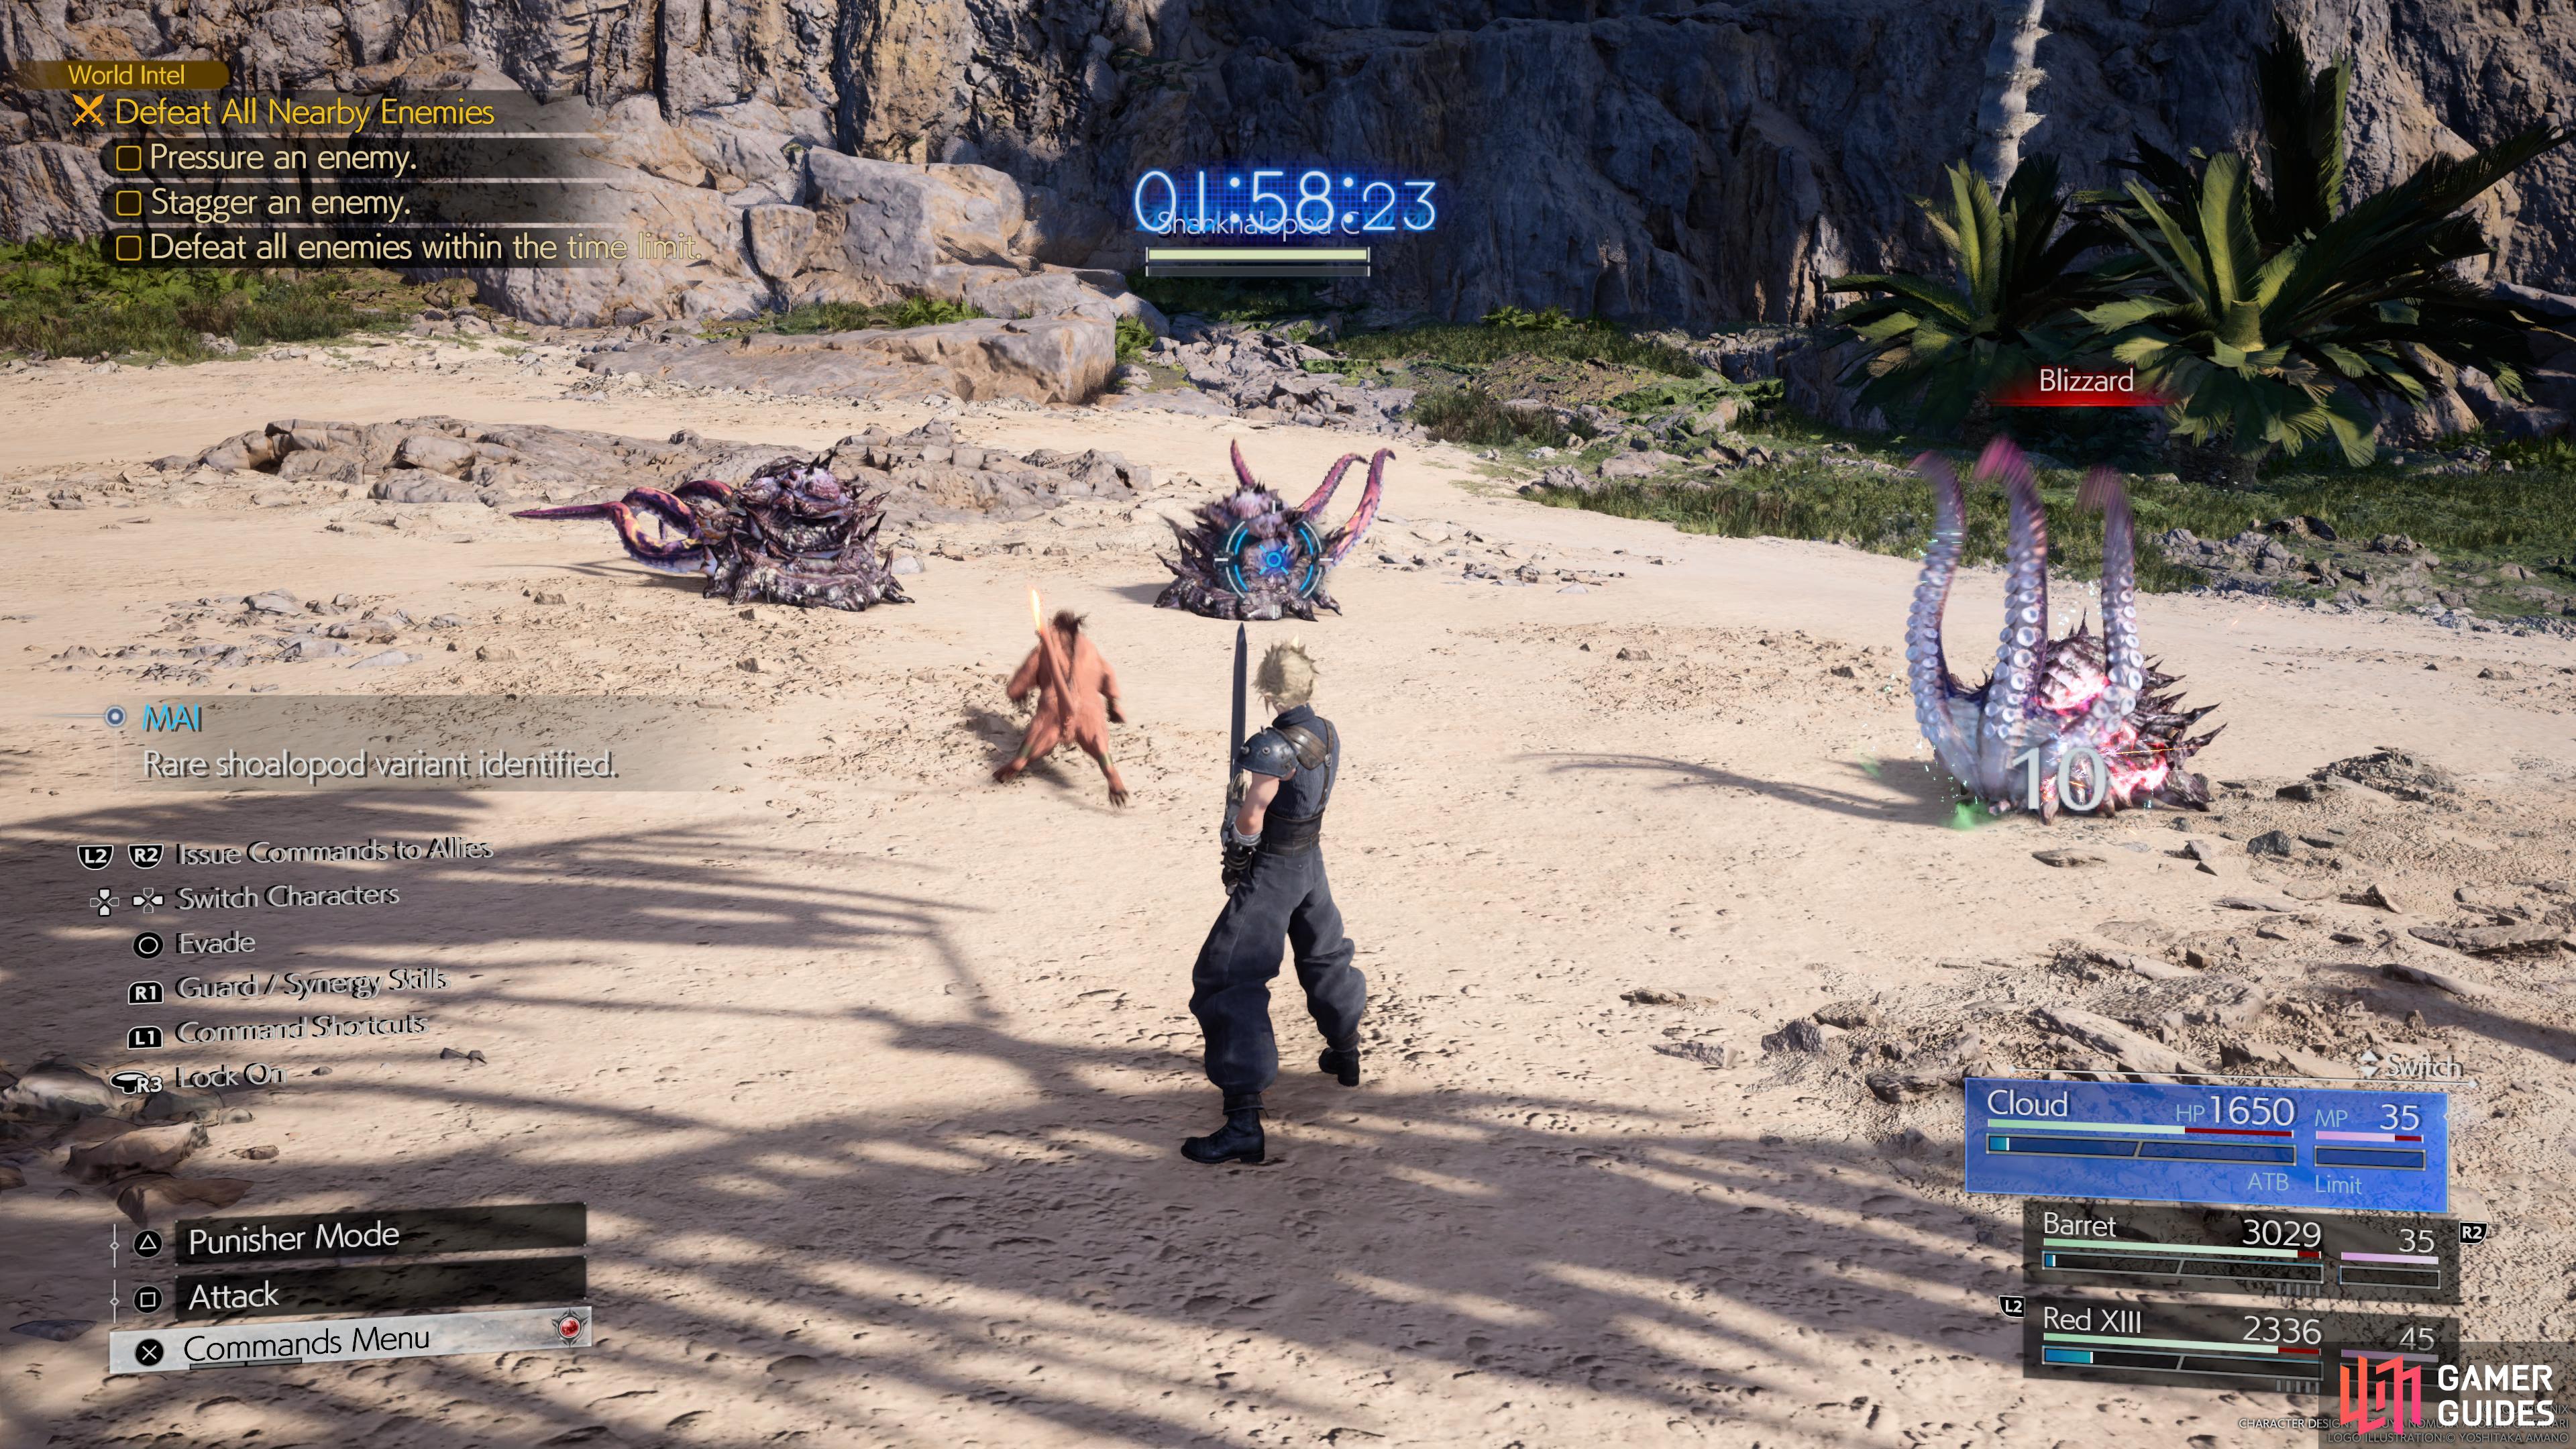
(1 of 2) Fighting the Shoalopod.
Fighting the Shoalopod. (left), Shoalopod location. (right)
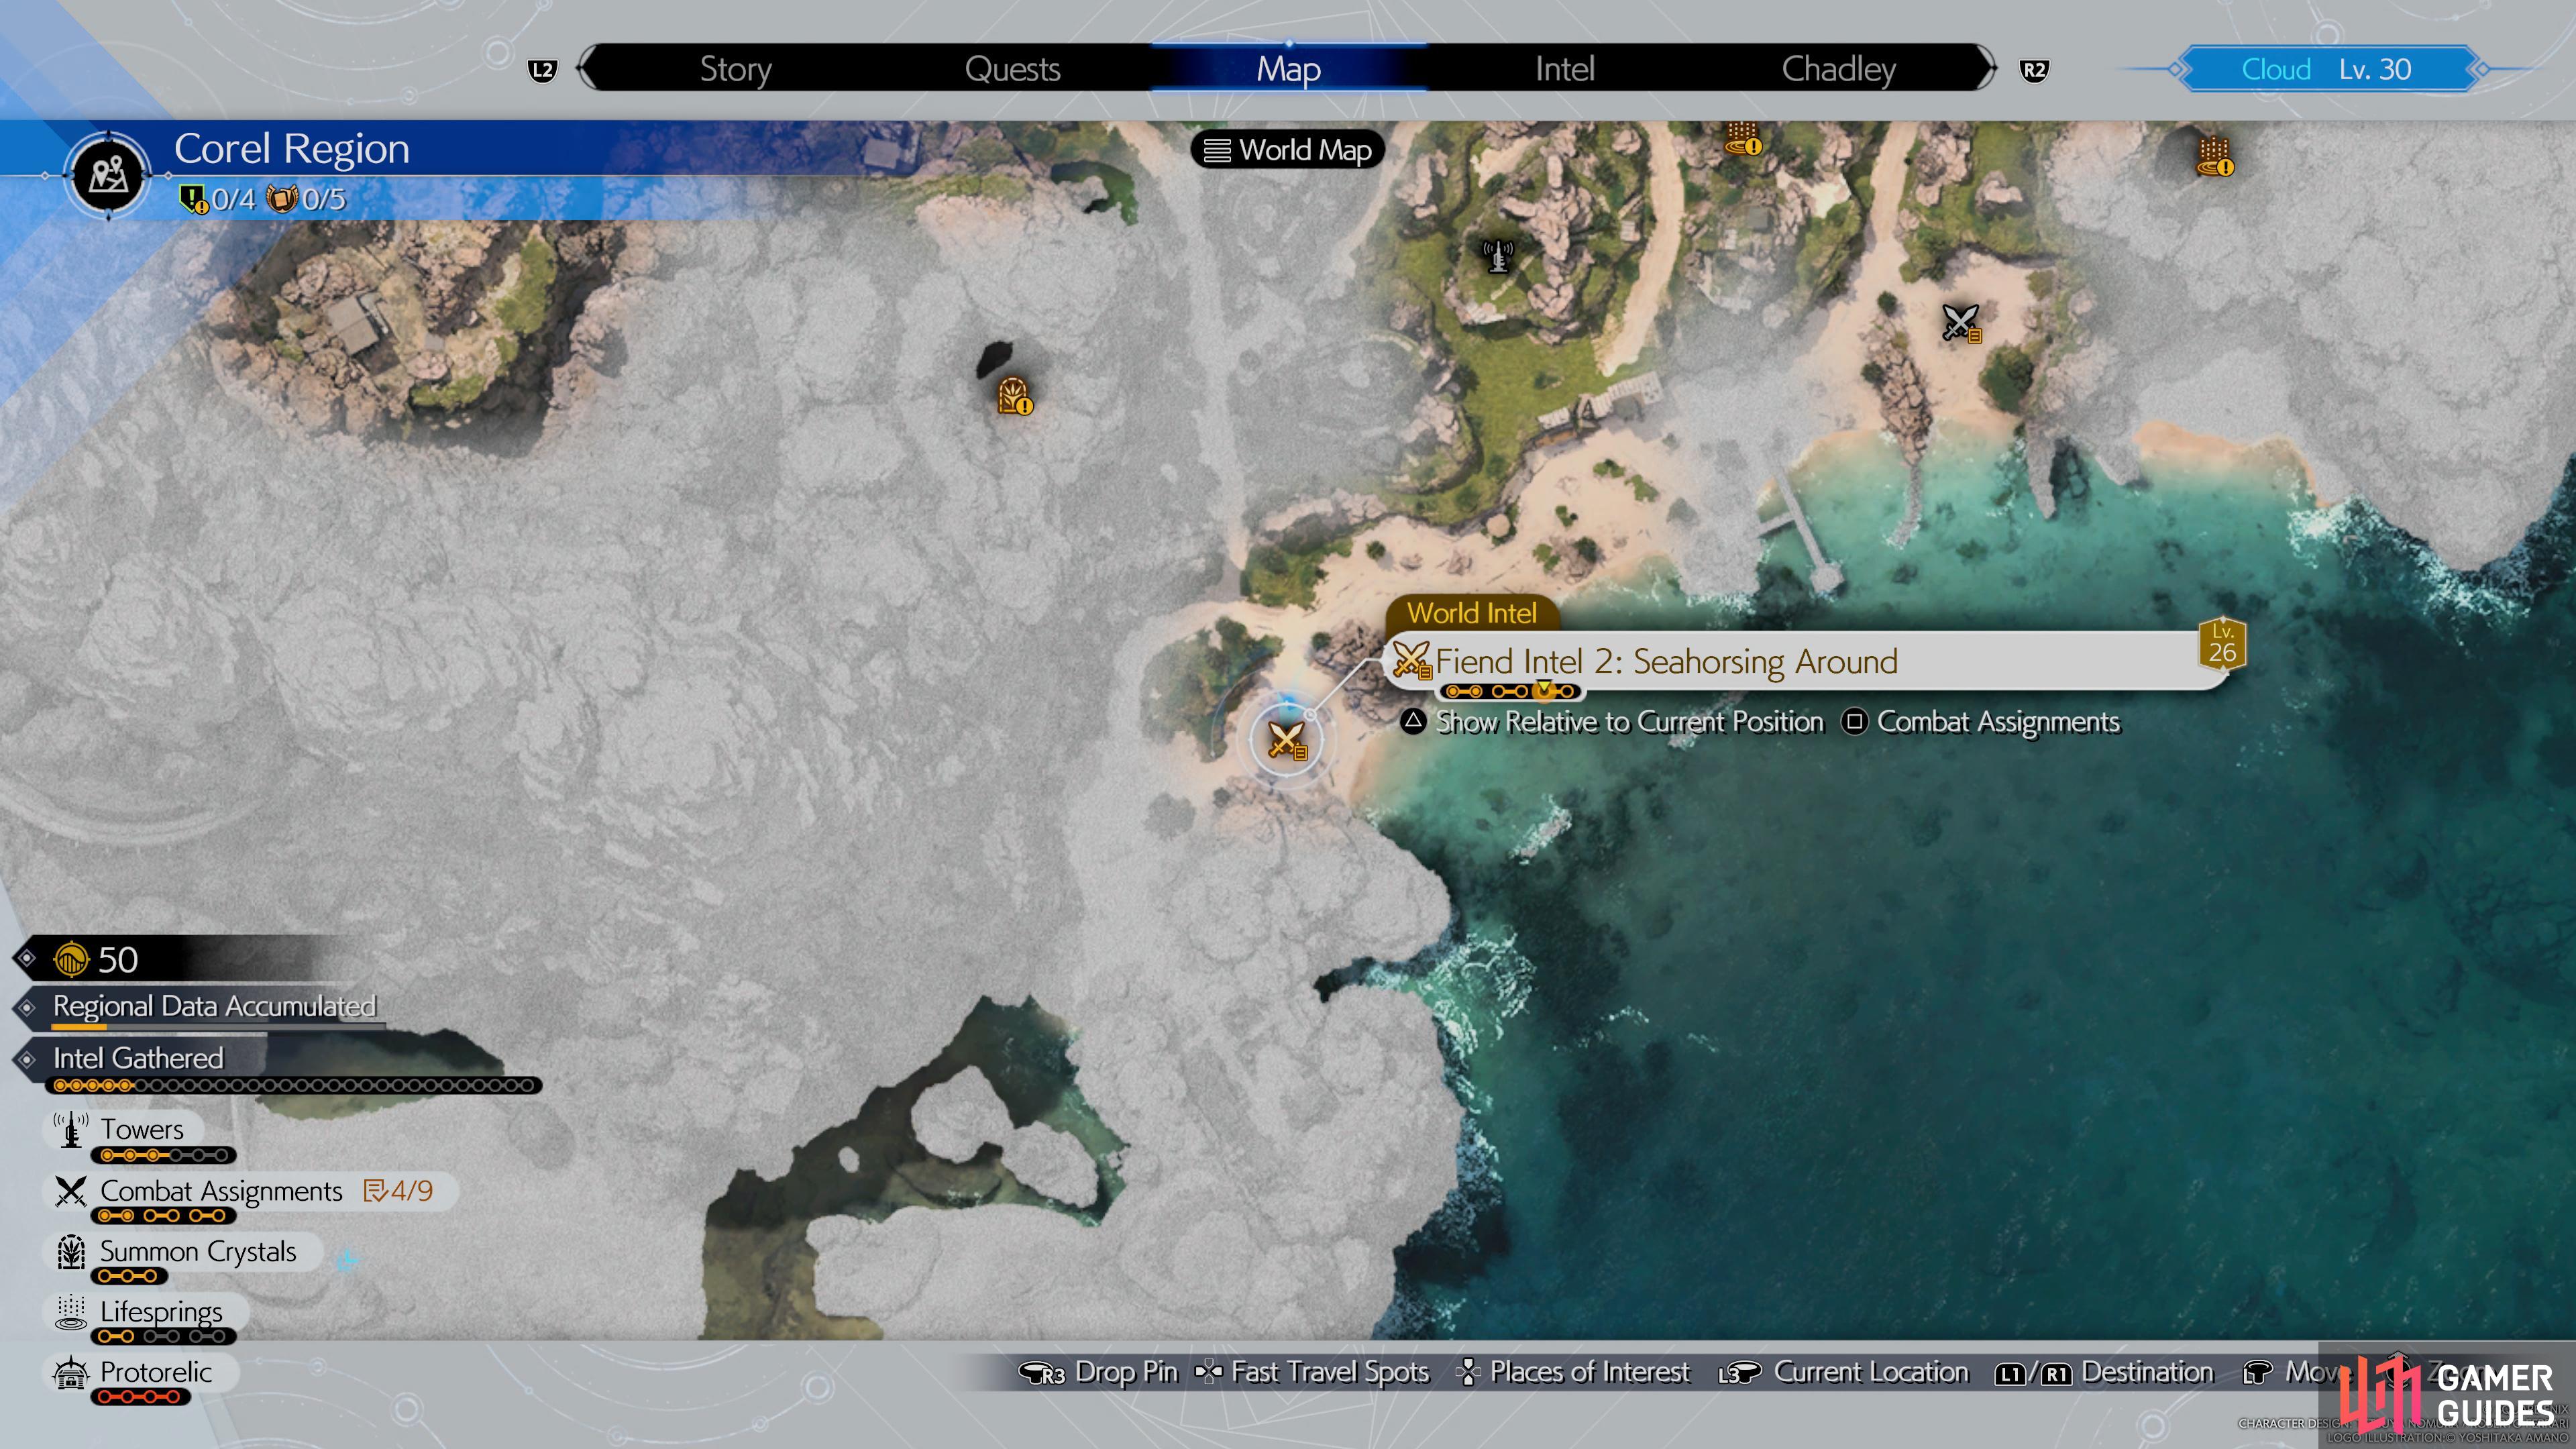
Seahorsing Around – Heliopora Terpsicolt Fiend Intel #2
Objectives:
- Pressure the
 Heliopora Terpsicolt
 - Stagger the Heliopora Terpsicolt
- Defeat the Heliopora Terpsicolt within the time limit
The Helipora Terpsicolt is found in the first half of the Corel region on the beach farthest from Costa Del Sol. This is another enemy that can easily be managed by pressuring. The Helipora Terpsicolt is weak against ![]() Ice attacks making them easy to control. Using an
Ice attacks making them easy to control. Using an ![]() Ice Materia will give you the upperhand agaisnt them, and if you want to wrap things up quick, summon Shiva to the battlefield if it’s available. As long as you’re pressuring them, you shouldn’t have a problem defeating them within the time limit.
Ice Materia will give you the upperhand agaisnt them, and if you want to wrap things up quick, summon Shiva to the battlefield if it’s available. As long as you’re pressuring them, you shouldn’t have a problem defeating them within the time limit.
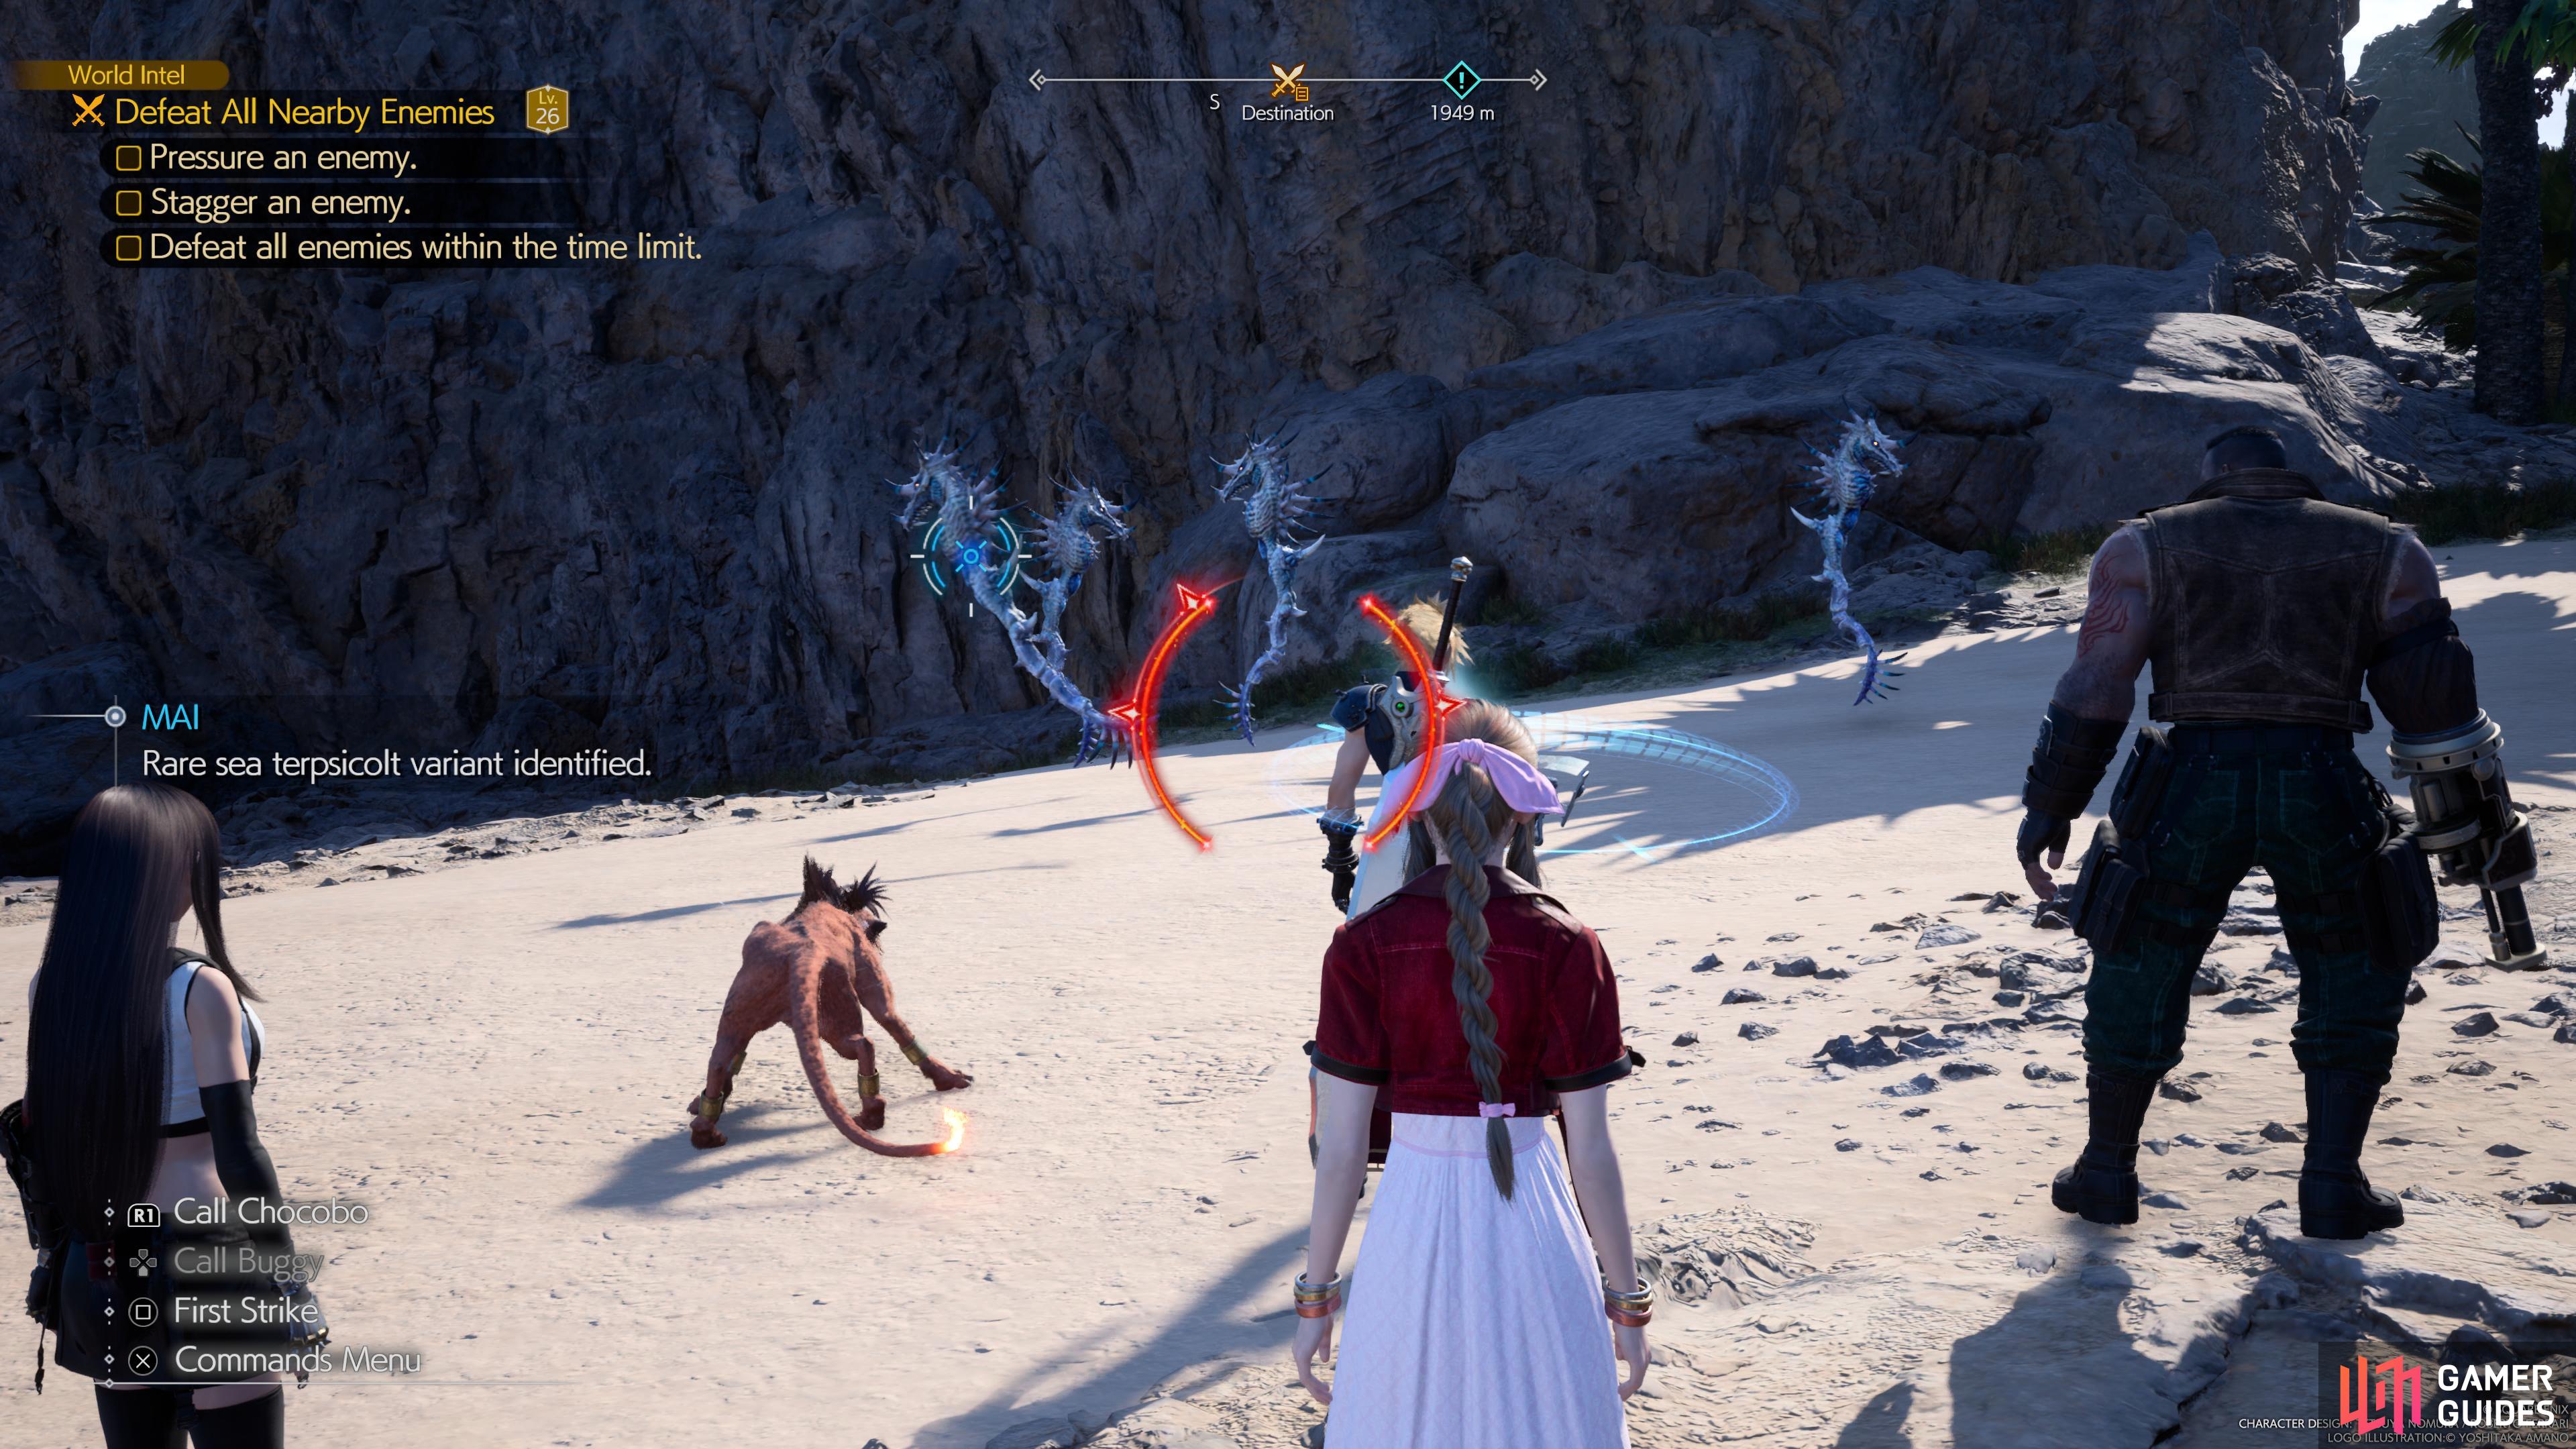
(1 of 2) Fighting the Heliopora Terpsicolt,
Fighting the Heliopora Terpsicolt, (left), Heliopora Terpsicolt location. (right)
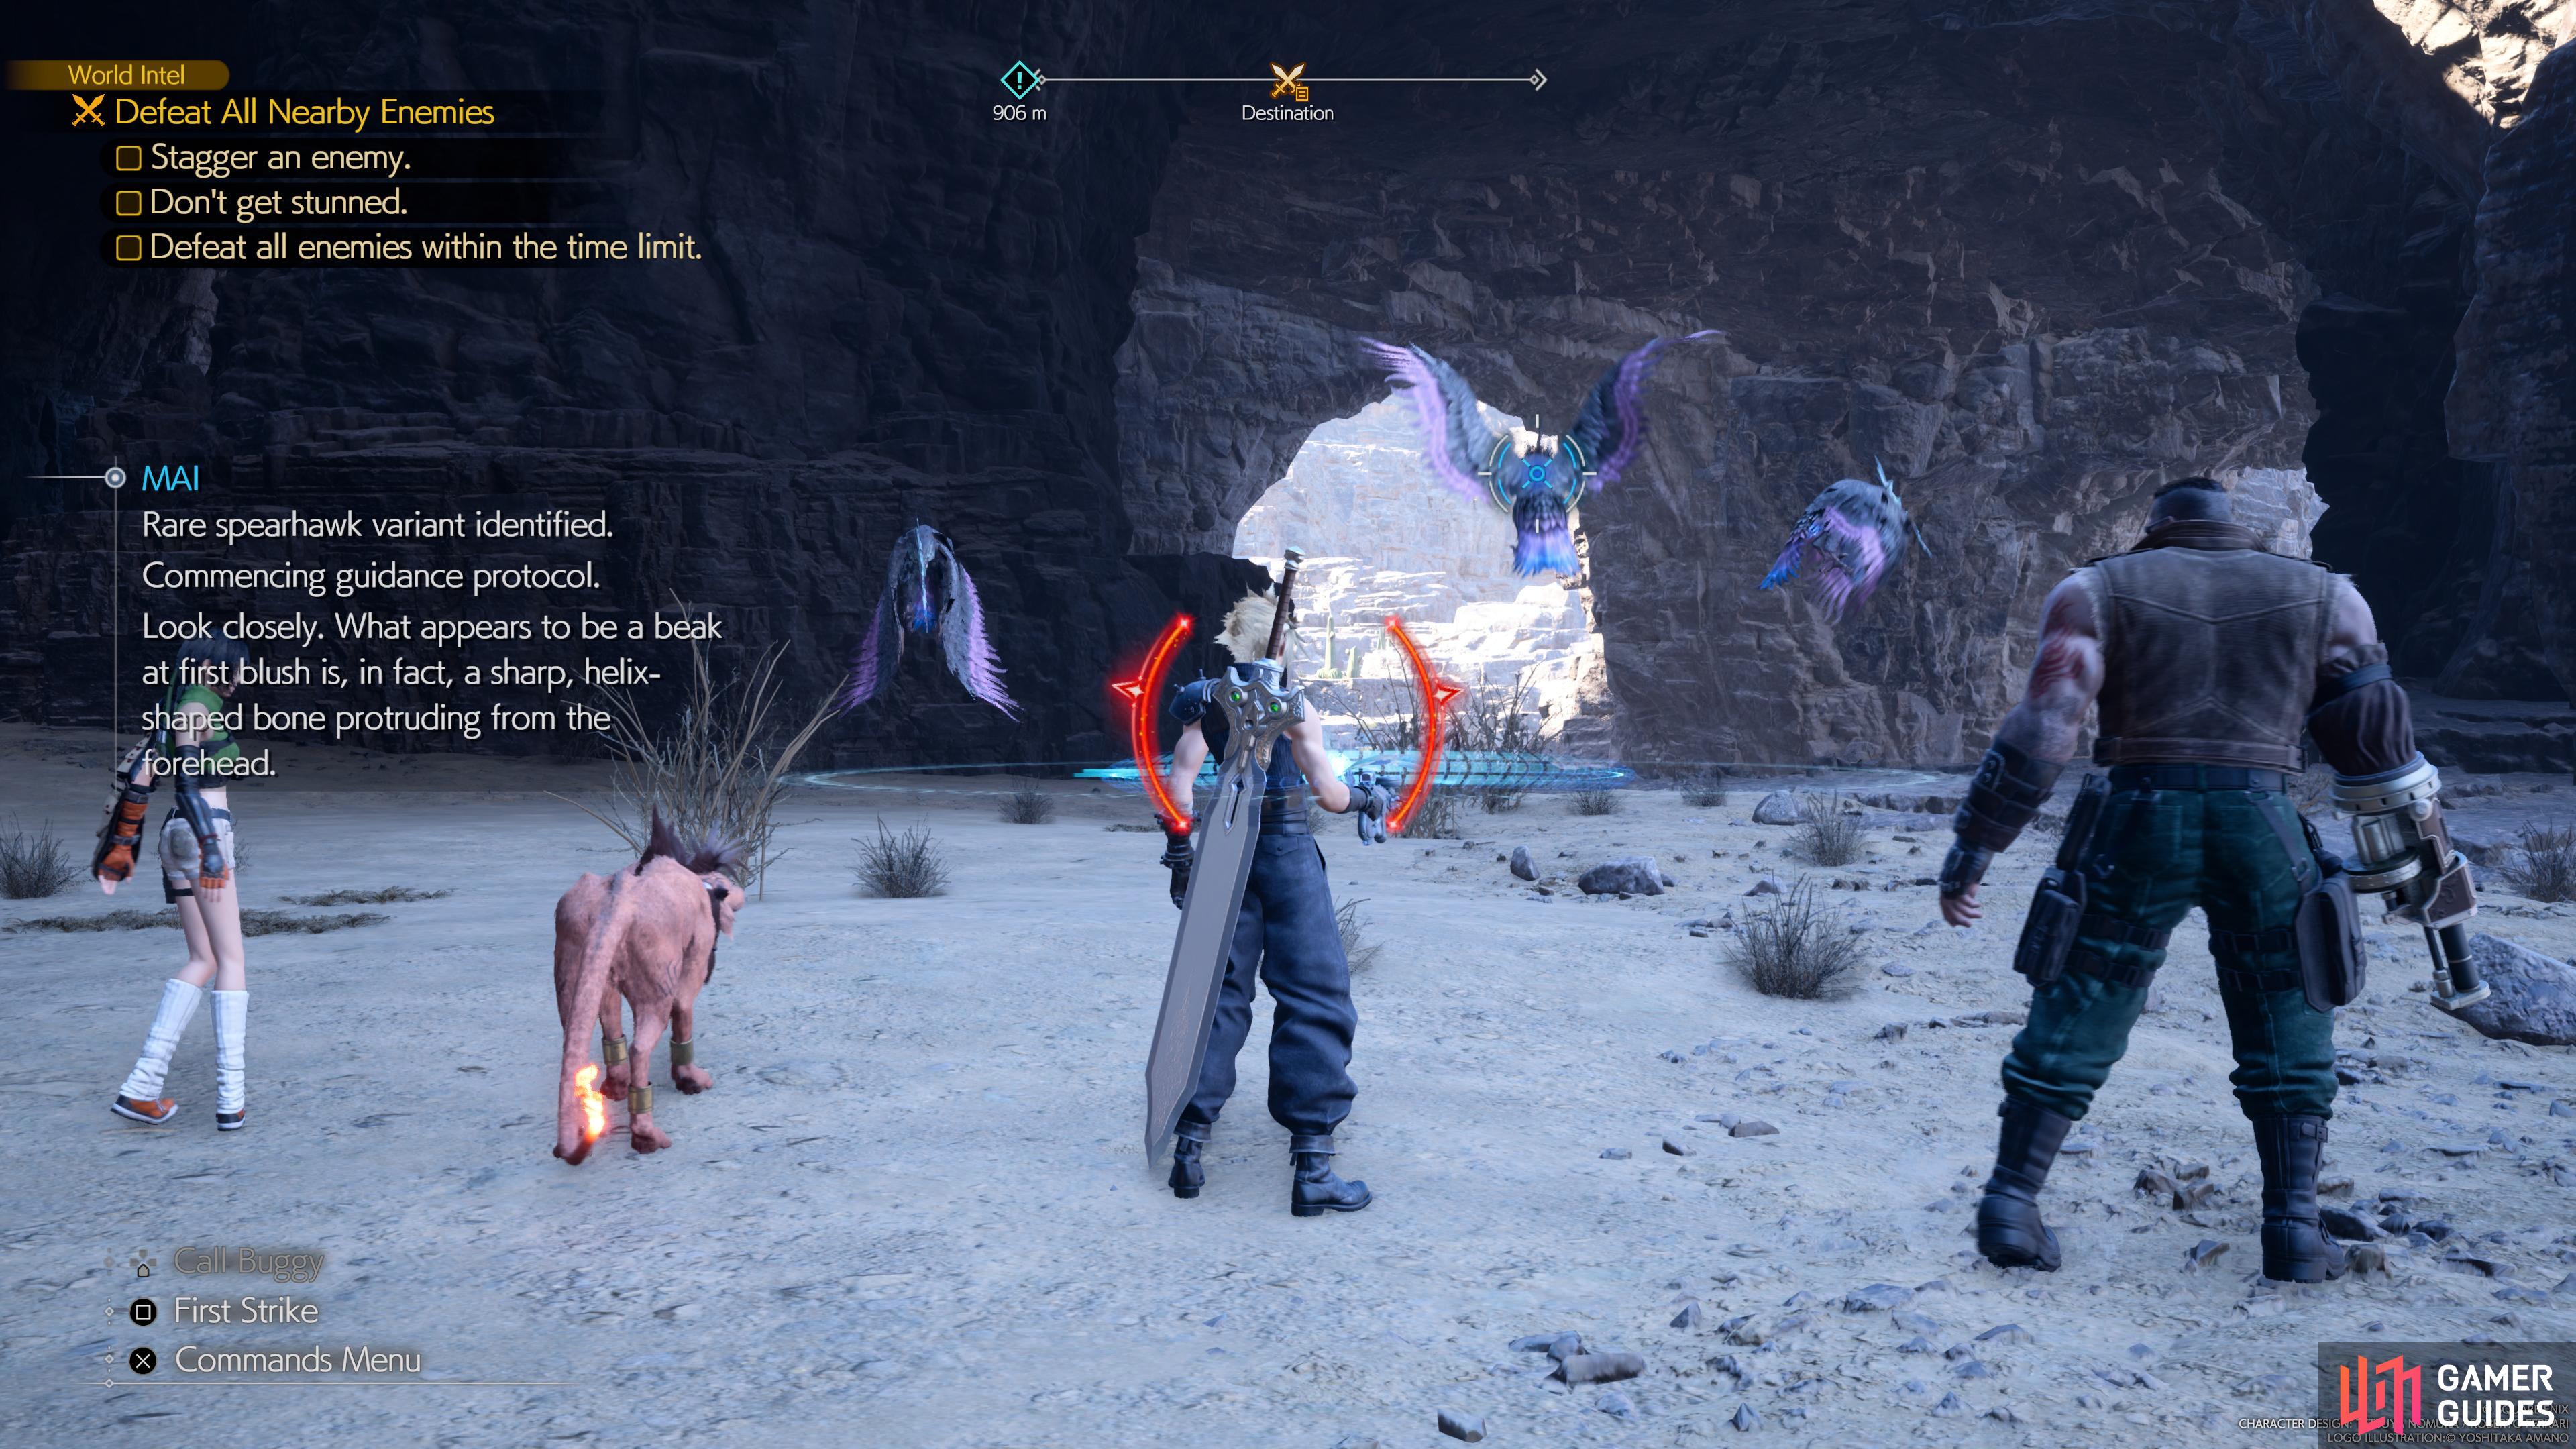
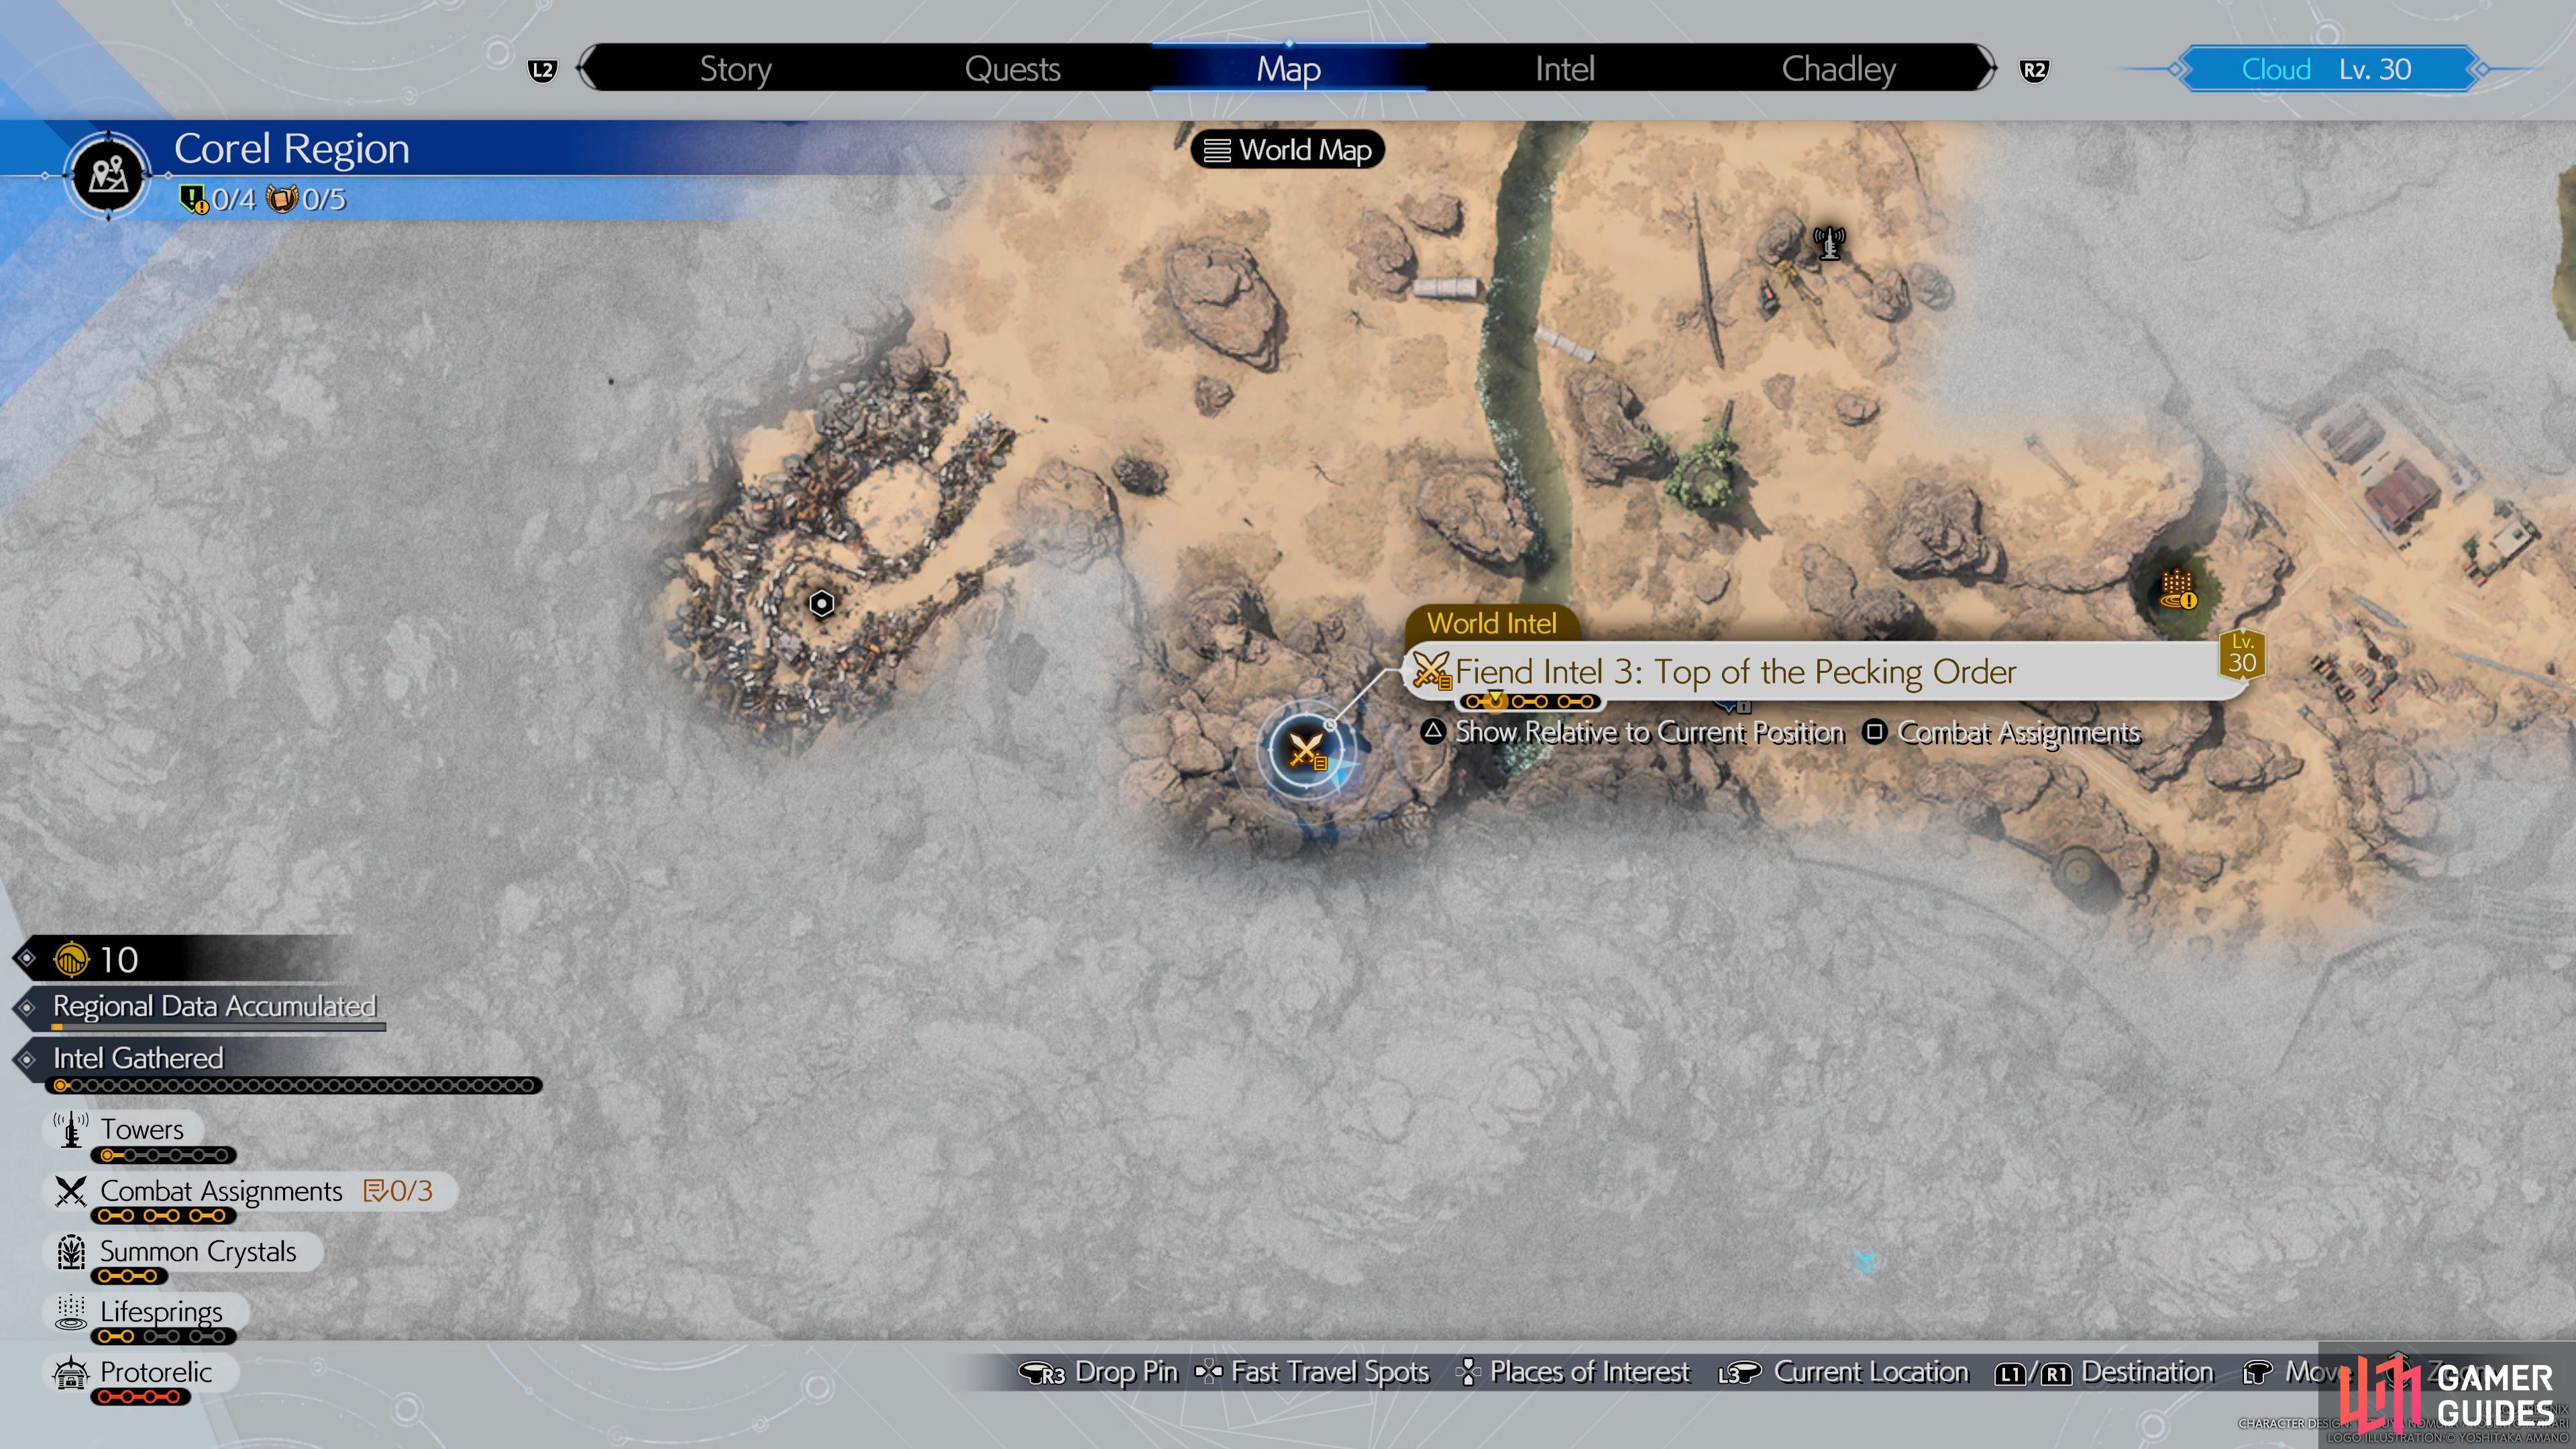
Top of the Pecking Order – Saberhawk Fiend Intel #3
Objectives:
- Stagger the
 Saberhawk
 - Don’t get staggered by the Saberhawk
- Defeat the Saberhawk within the time limit
The Saberhawk can be found in the south west area of the second part of the Corel Region. To get there, you must use the buggy to cross the water. Here, you will be fighting Saberhawks which are a flying enemy. This makes them a bit annoying, so you may find that Yuffie and Barret are good choices to bring into the fight. Yuffie and Barrett’s standard attacks can help to damage this enemy from afar, just make sure bring a Fire Materia so the pair can exploit this enemies weakness. This enemy can be pressured use Fire, so use the spell often and stay on top of them to keep from being staggered. As long as you’re using your skills, you shouldn’t have a problem taking this enemy down within a few minutes.
(1 of 2) Fighting the Saberhawk.
Fighting the Saberhawk. (left), Saberhawk location. (right)
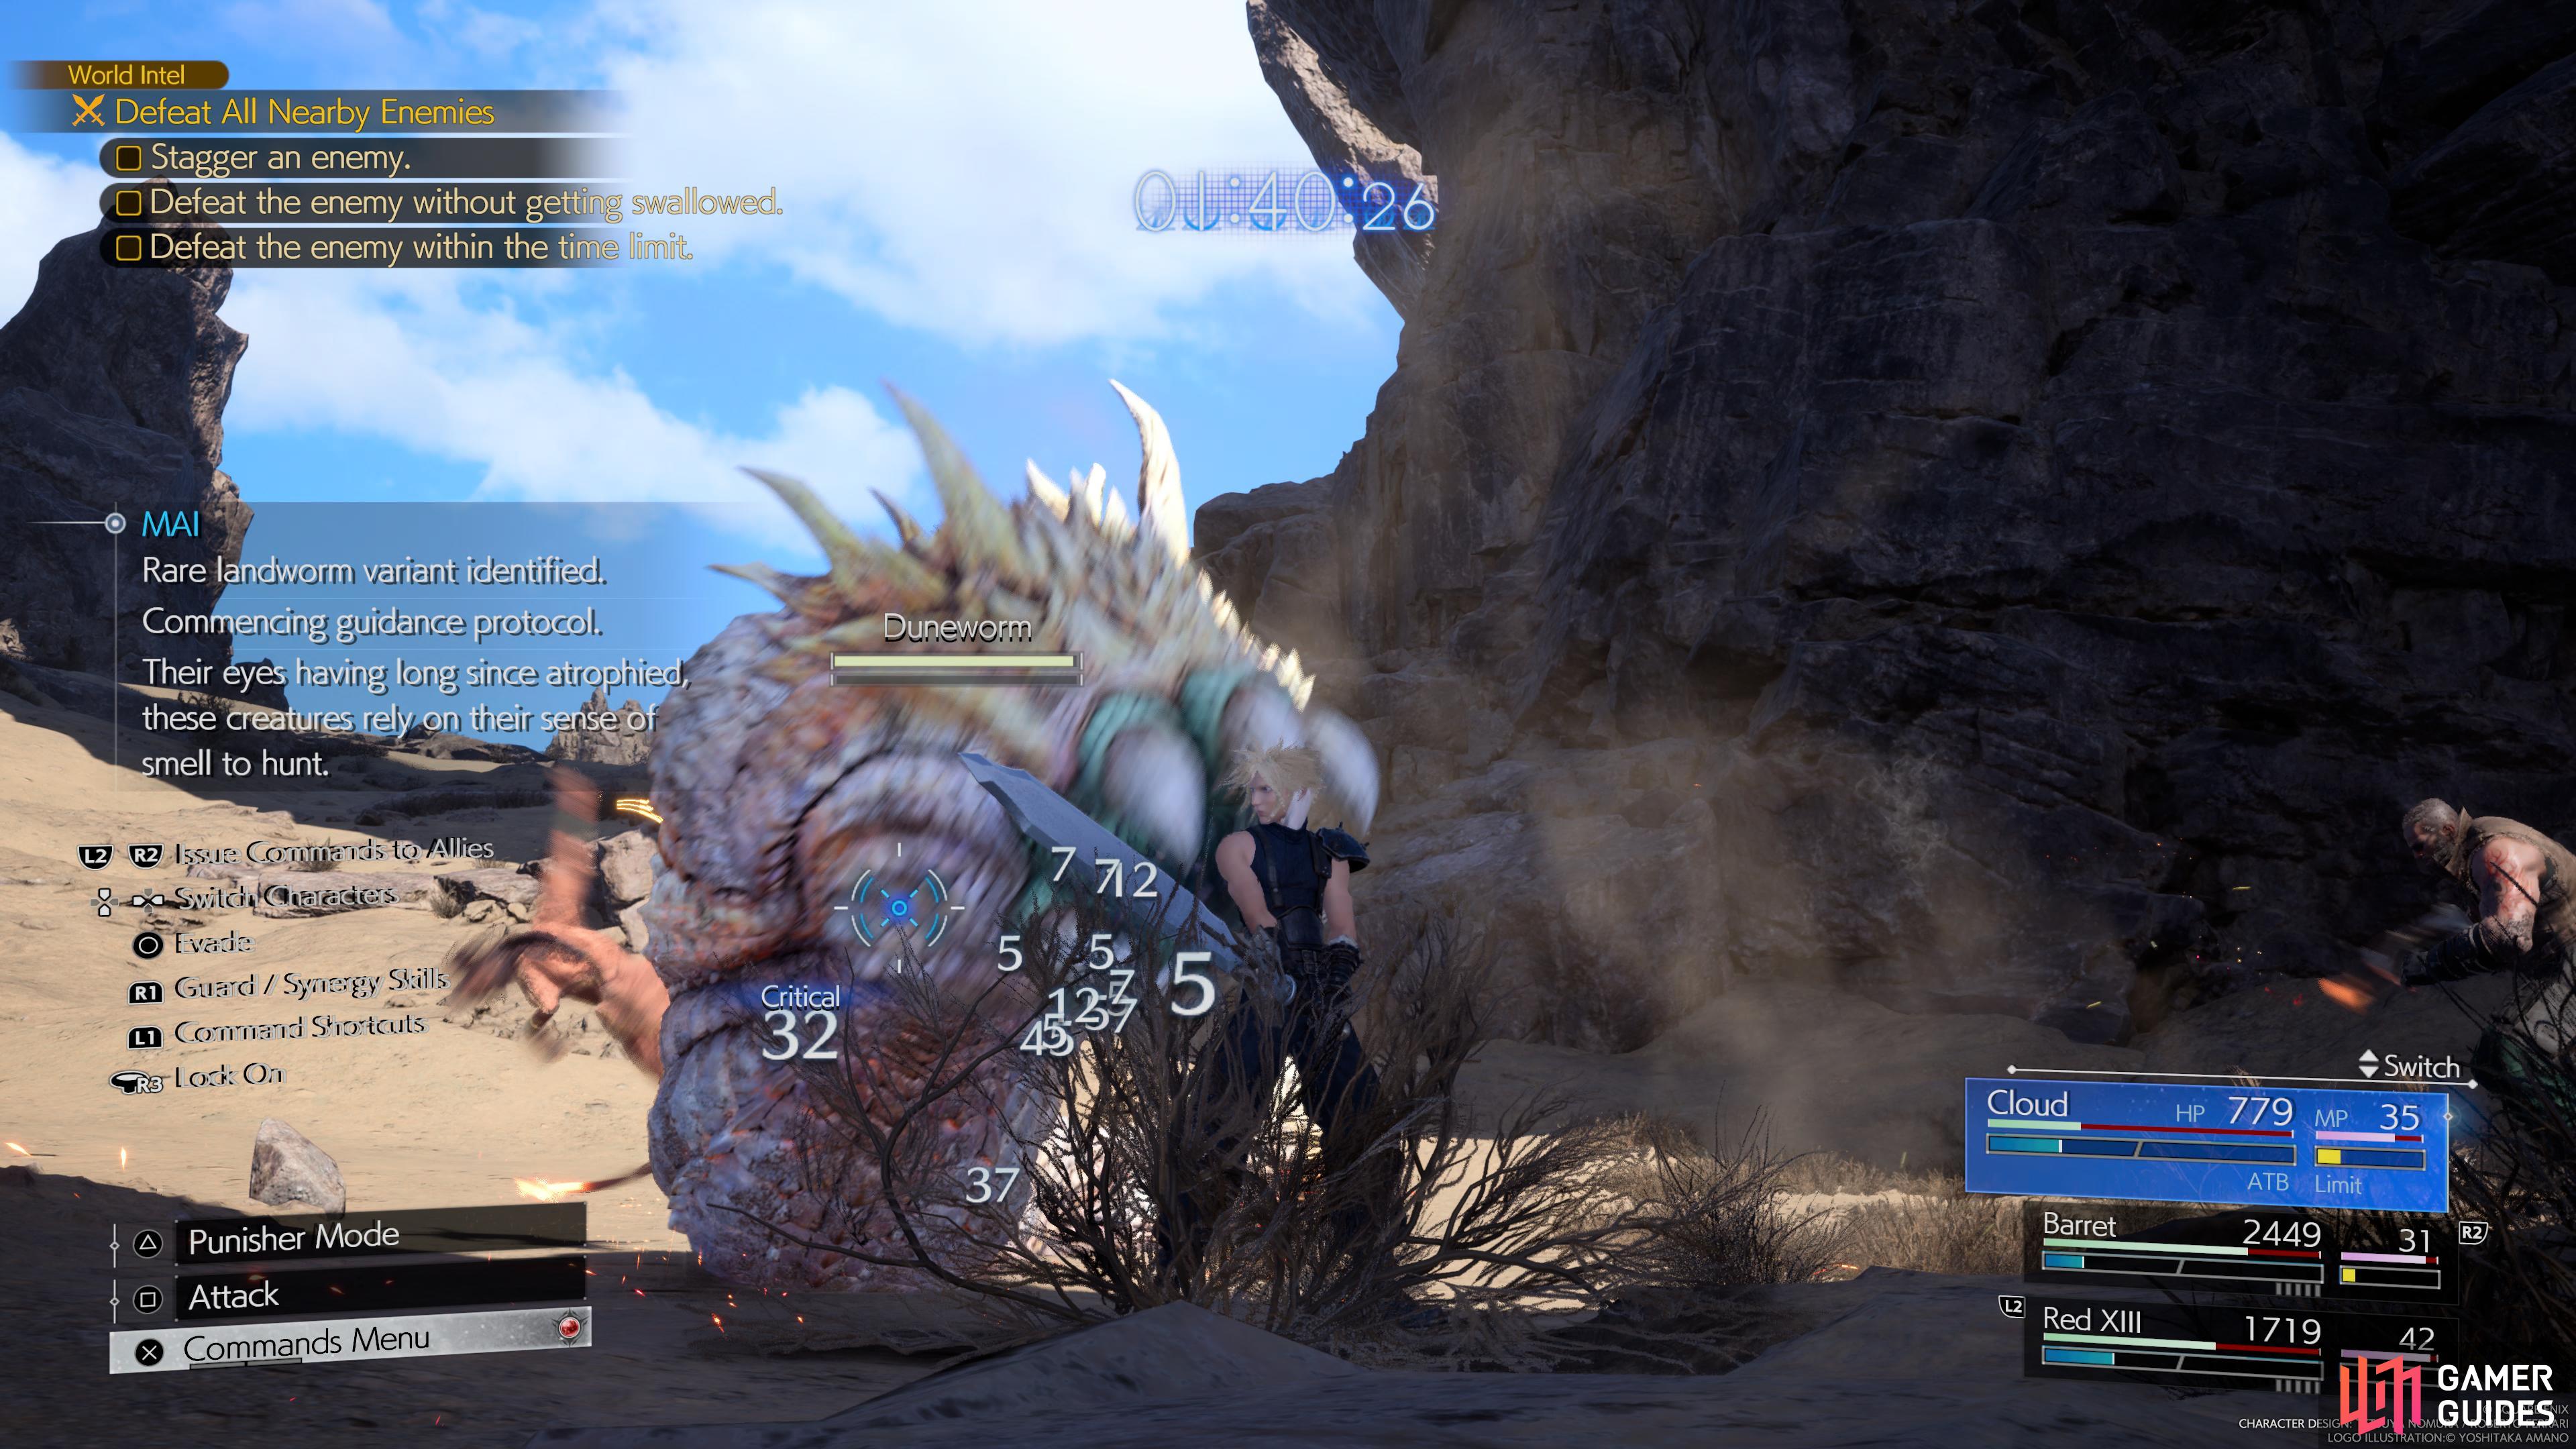
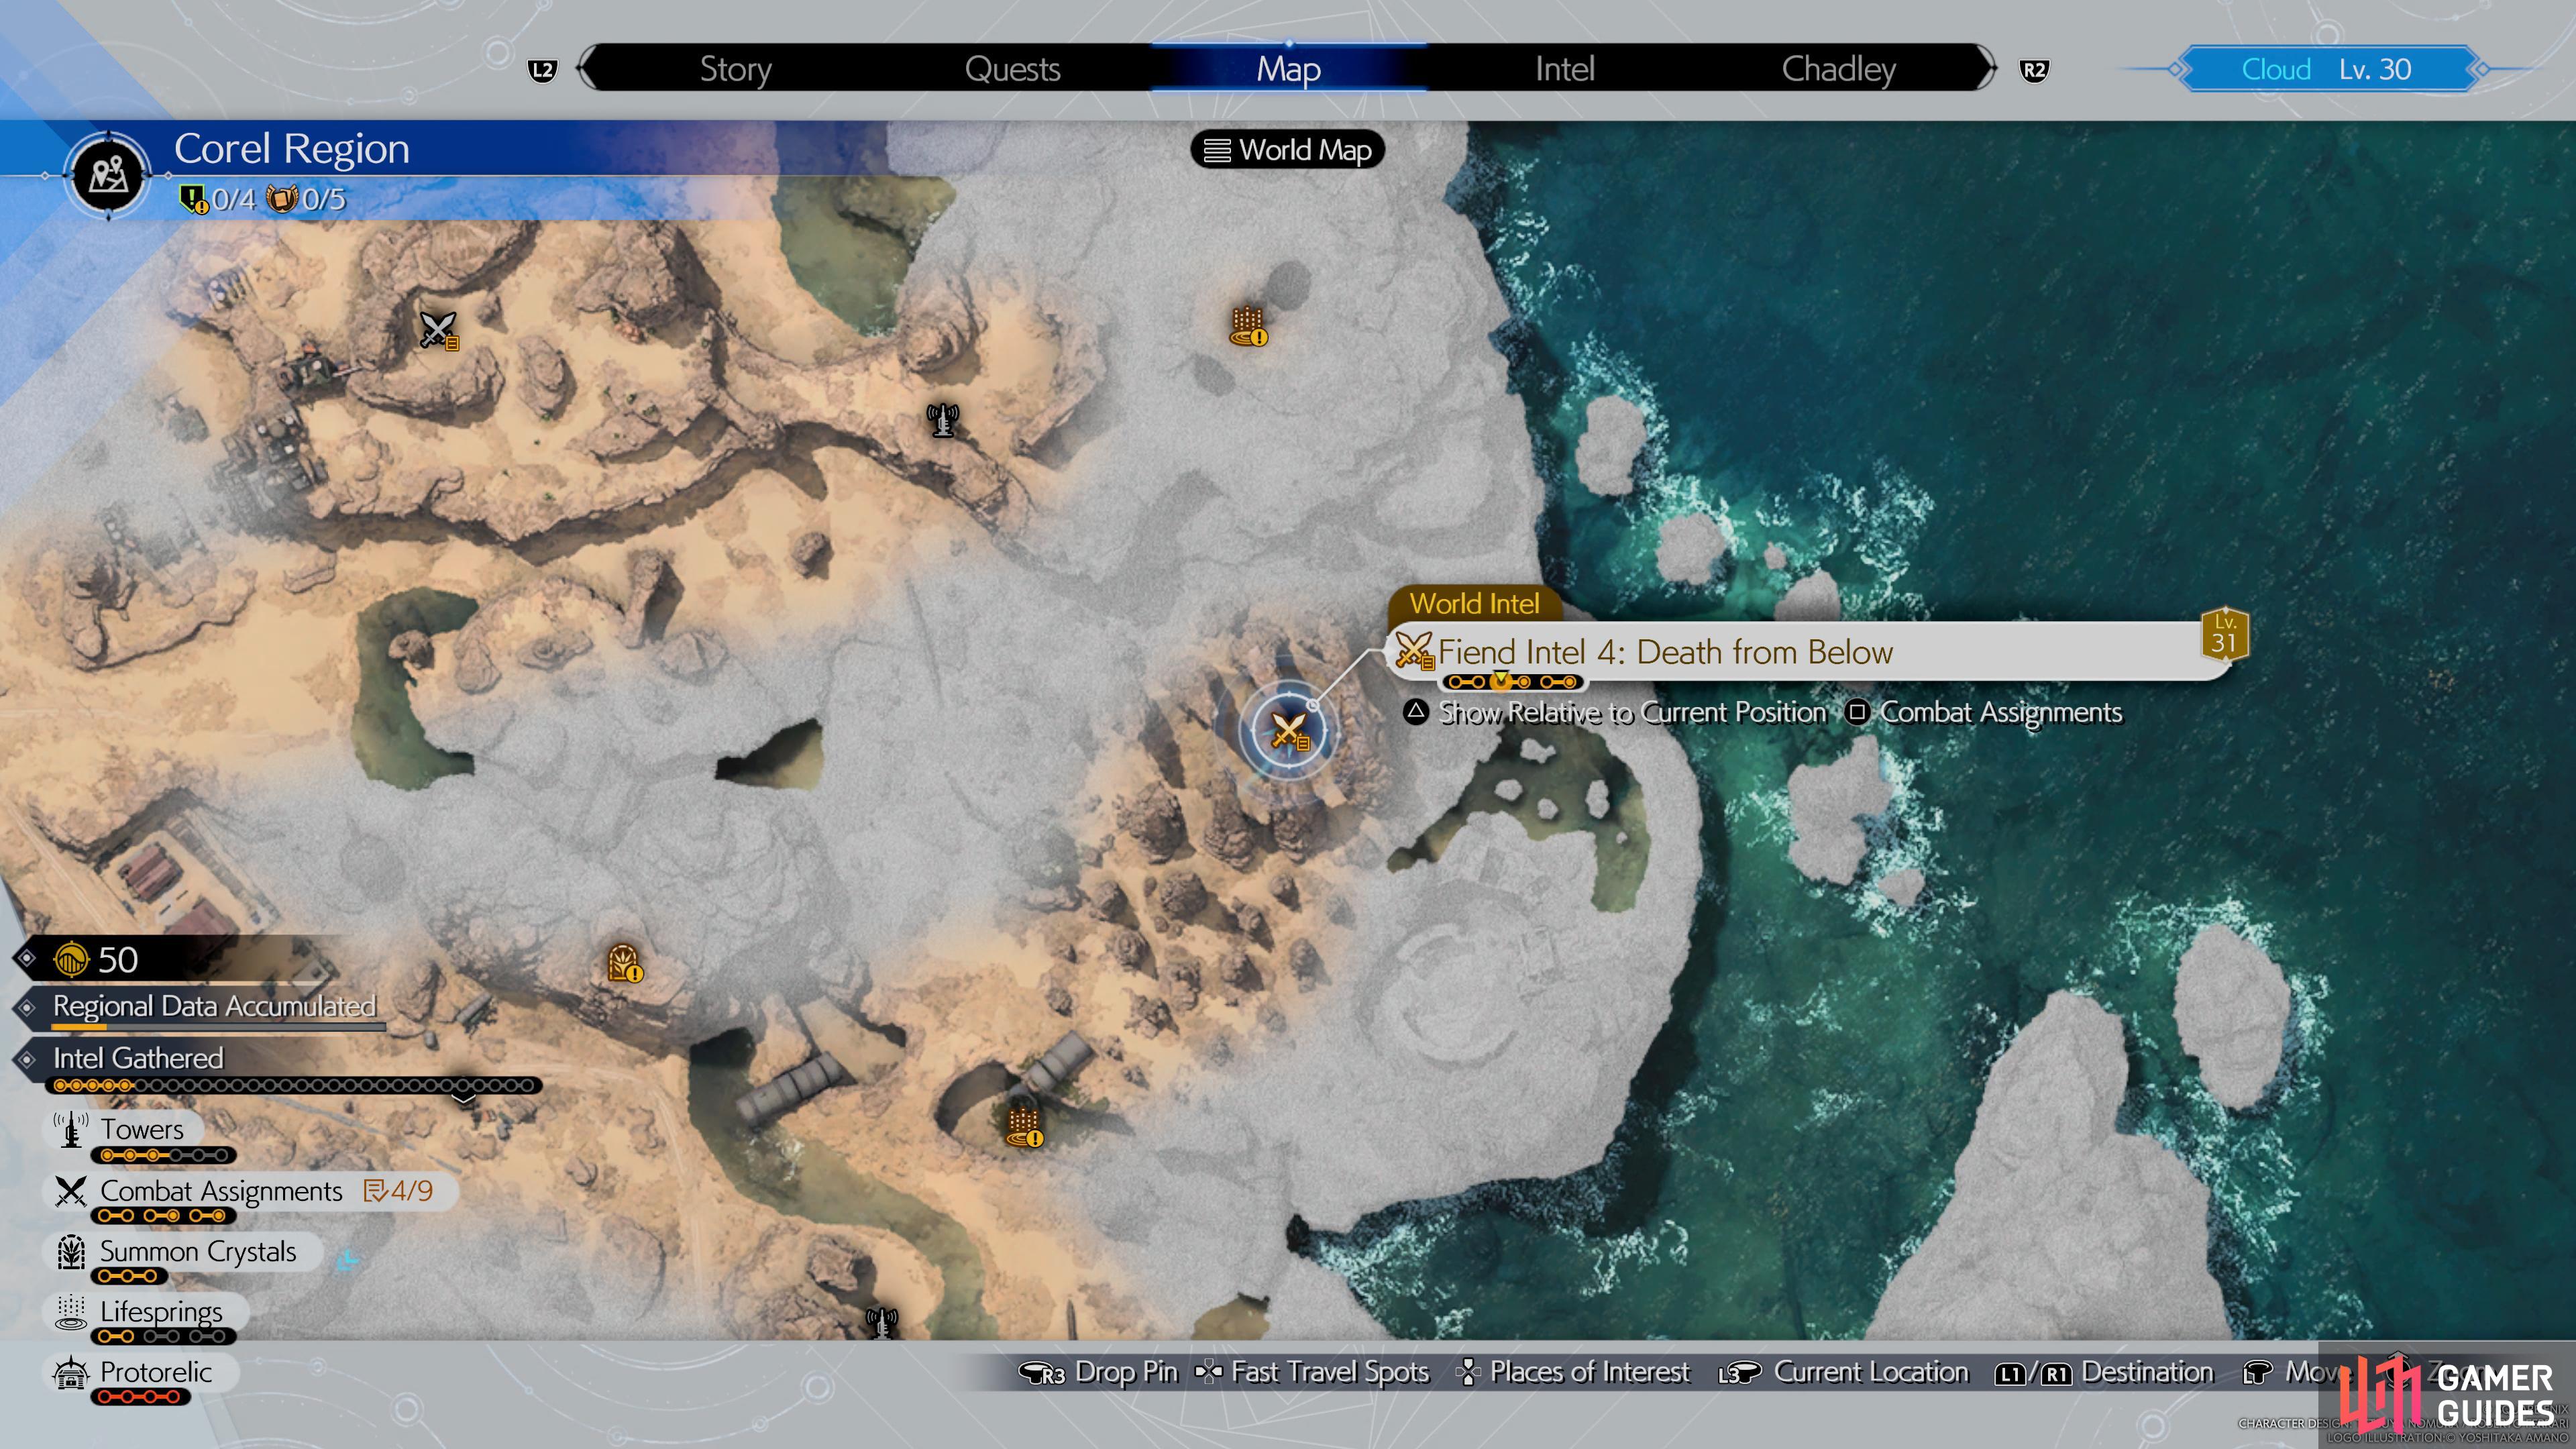
Death from Below – Duneworm Fiend Intel #4
Objectives:
- Stagger the
 Duneworm
 - Don’t let the Duneworm swallow you
- Defeat the Duneworm within the time limit
The Duneworm can be found in the eastern part of the second part of the Corel region. This enemy is tricky to defeat as it burrows in the ground under you. If the Duneworm submerges itself, don’t stop moving and dodging to avoid getting hit. You won’t be able to damage the Duneworm while it’s underground, and you will need to evade it when it pops up to make sure it doesn’t get an opening to swallow one of your party members. This enemy is also weak to Fire, so be sure to hit it when it’s out of the ground to pressure it. You can bring a Fire Materia to make this easier. Using Red XIII makes it easy to dodge as he’s quick on his feet. The faster you can stun the Duneworm, the better. By using Fire when the Duneworm is vulnerable, you can easily complete this task within the time limit.
(1 of 2) Fighting the Duneworm.
Fighting the Duneworm. (left), Duneworm_fiend_Location.jpg (right)
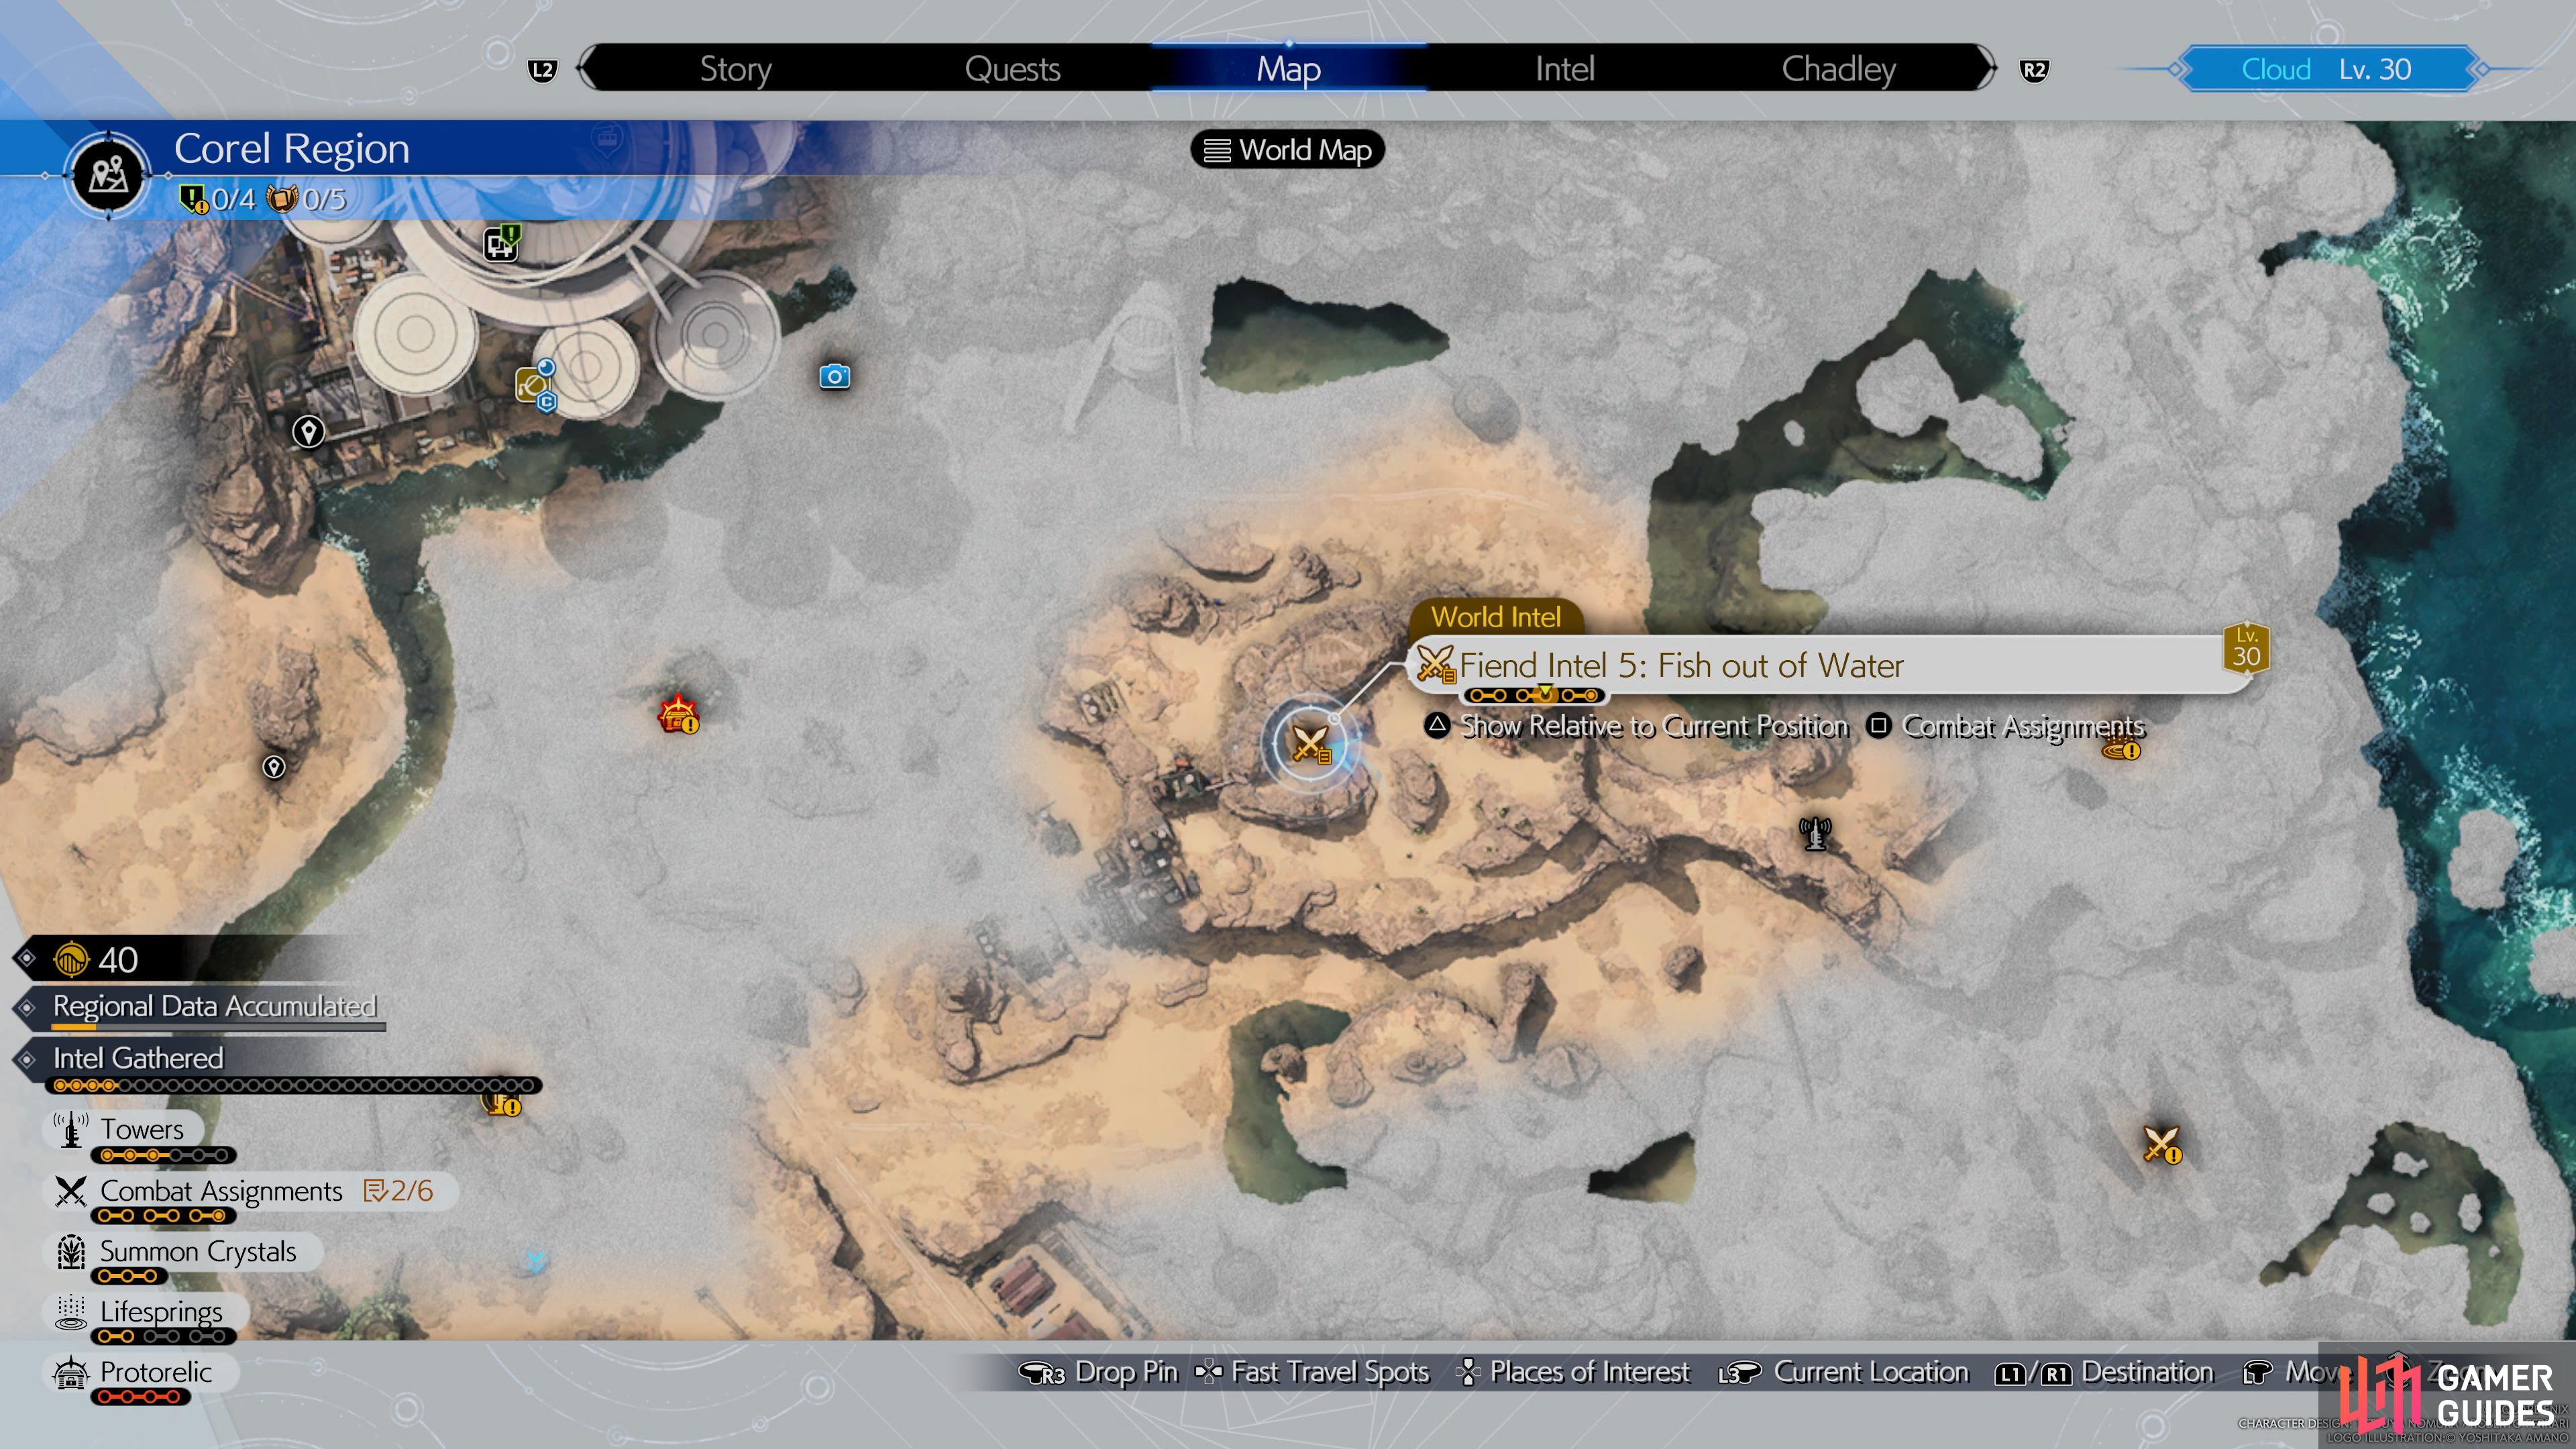
Fish out of Water – Bladefin Fiend Intel #5
Objectives:
- Pressure the
 Bladefin
 - Stagger the Bladefin
- Defeat the Bladefin within the time limit
The Bladefin is located in the second part of the Corel region across from Remnawave Tower Five. The Bladefin is another enemy that burrows in the ground, making it invulnerable to damage. You will need to time your attack for when they jump out of the ground. You can use Yuffie’s ![]() Savage Dagger to attack while immobilized from the Bladefin’s attack. They do this when attacking so you will need to be quick as to not take damage. To pressure this enemy, you just need to hit it with enough damage when it pops out of the sand or block with Cloud’s Punisher Mode. Luckily, they aren’t very strong, so it’s easy to defeat them within the time limit.
Savage Dagger to attack while immobilized from the Bladefin’s attack. They do this when attacking so you will need to be quick as to not take damage. To pressure this enemy, you just need to hit it with enough damage when it pops out of the sand or block with Cloud’s Punisher Mode. Luckily, they aren’t very strong, so it’s easy to defeat them within the time limit.
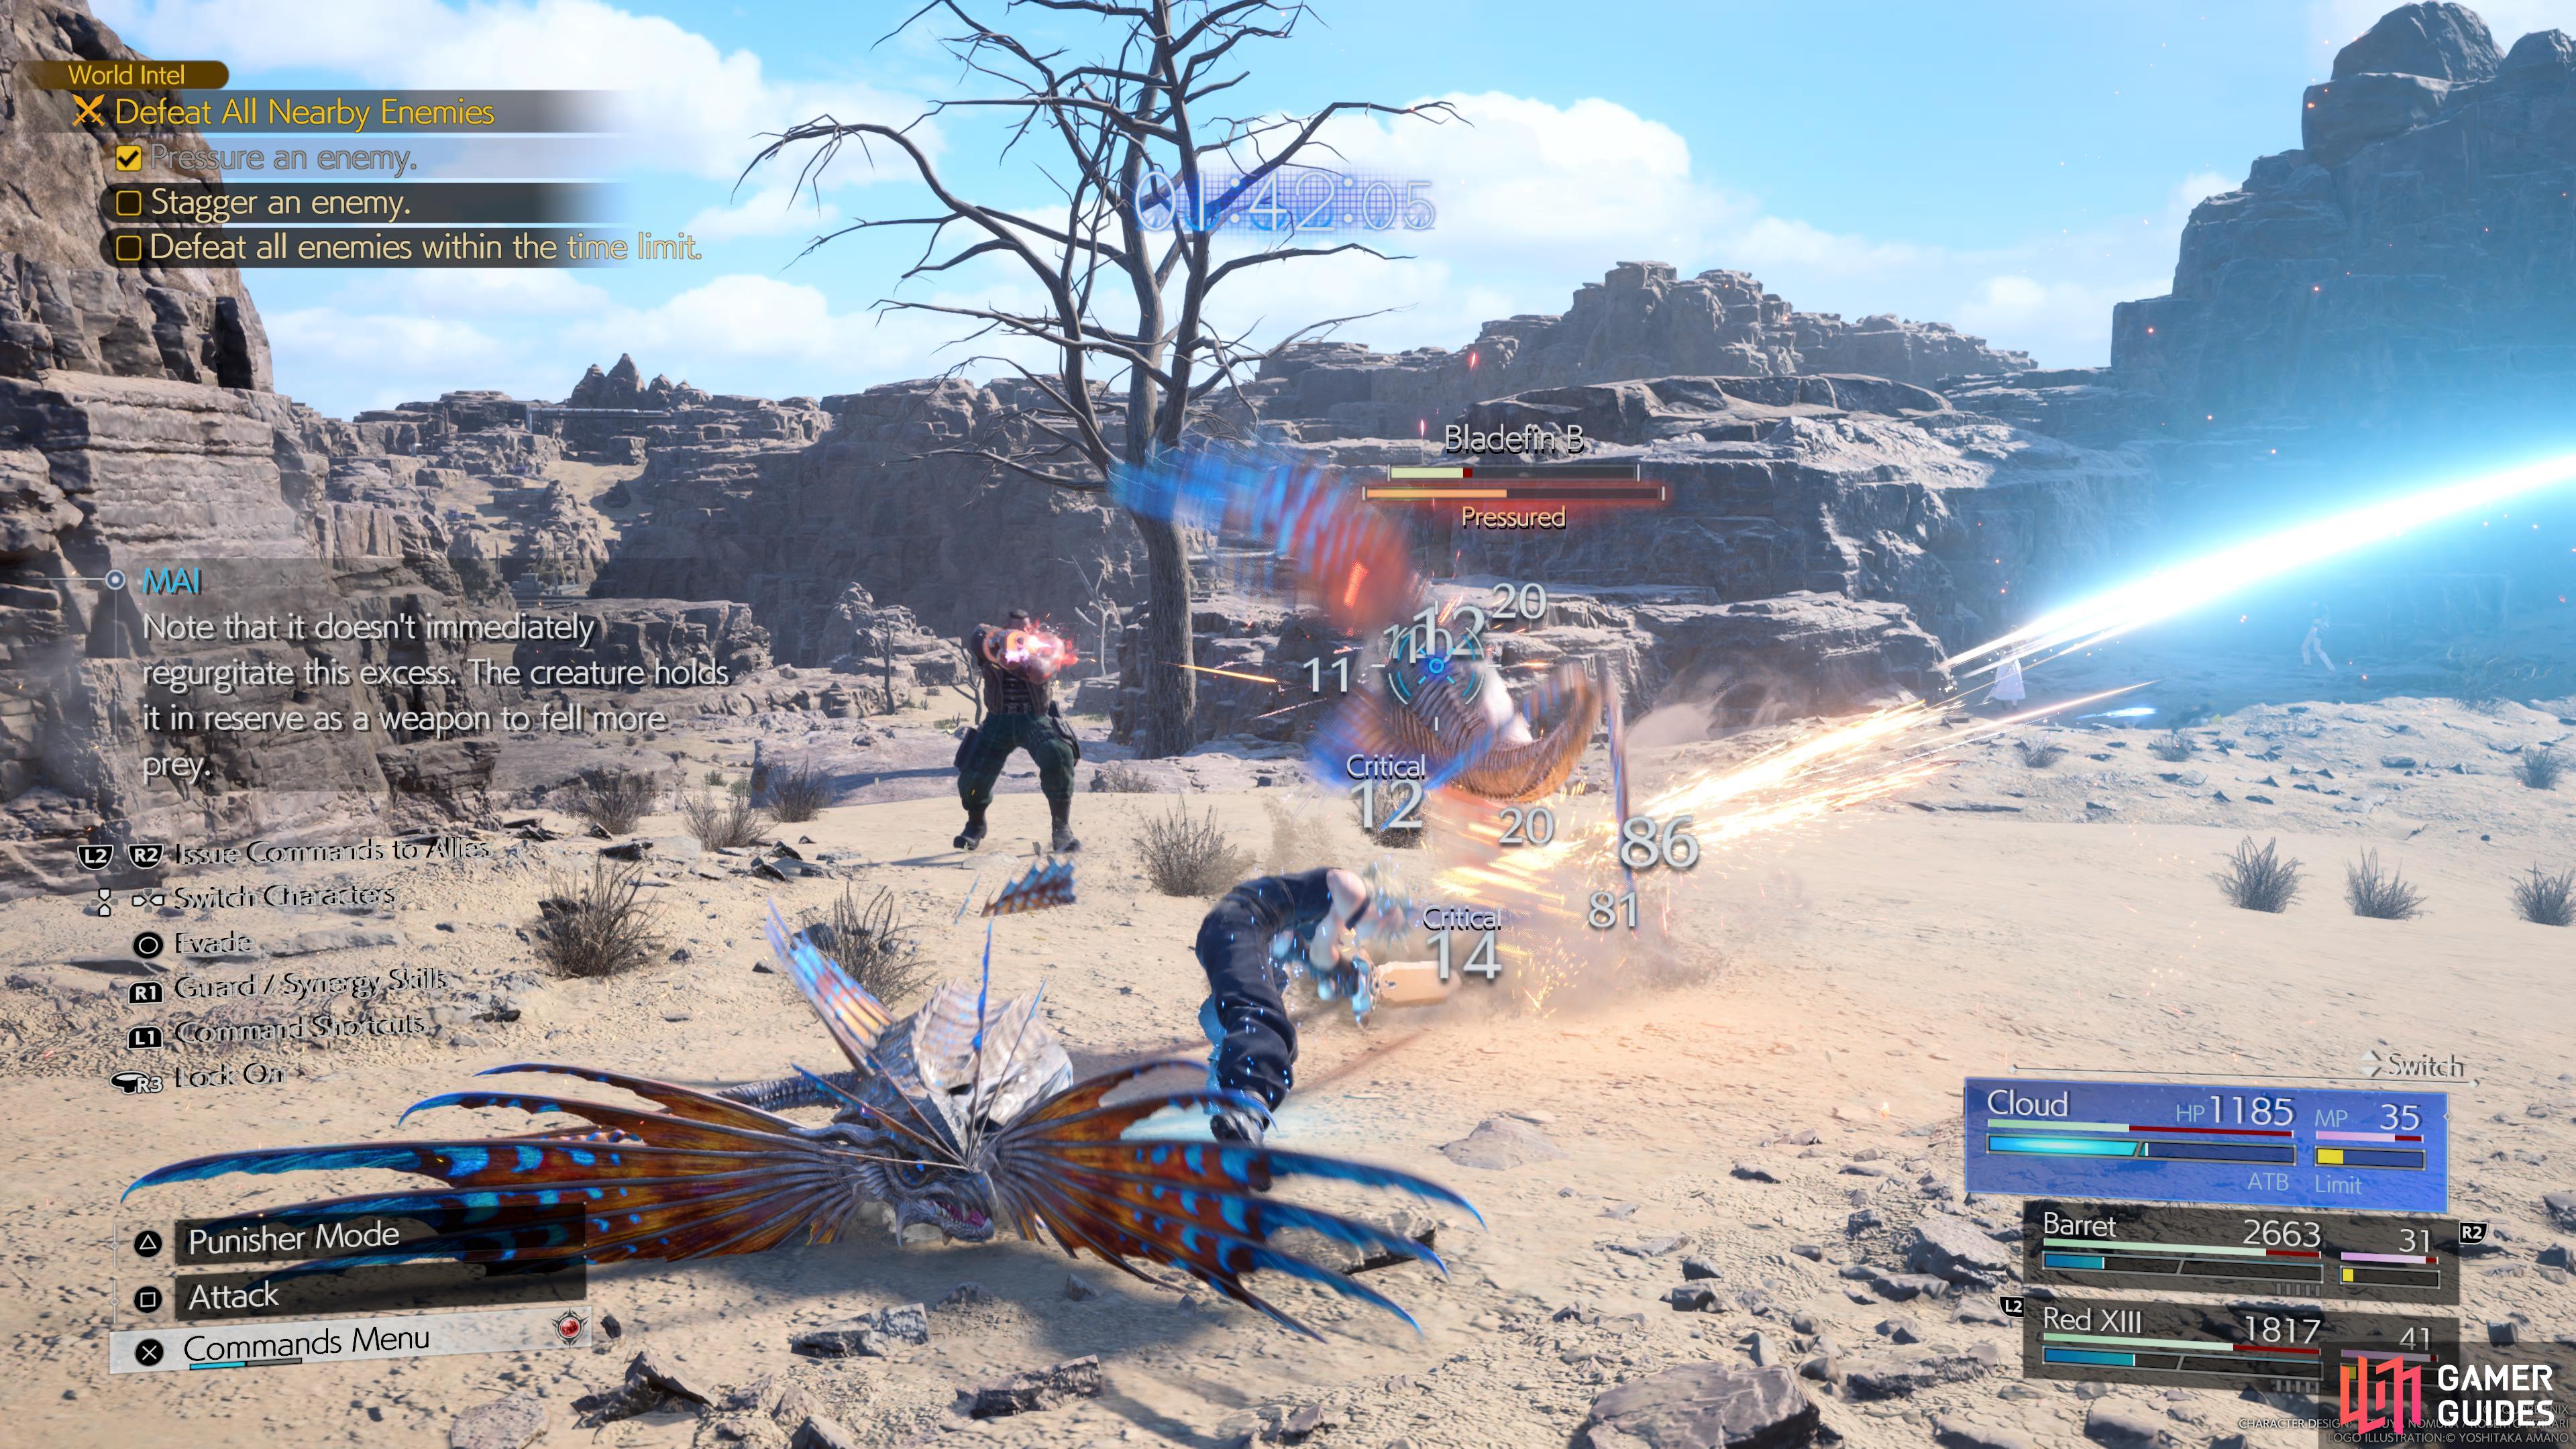
(1 of 2) Fighting the Bladefin.
Fighting the Bladefin. (left), Bladefin location. (right)
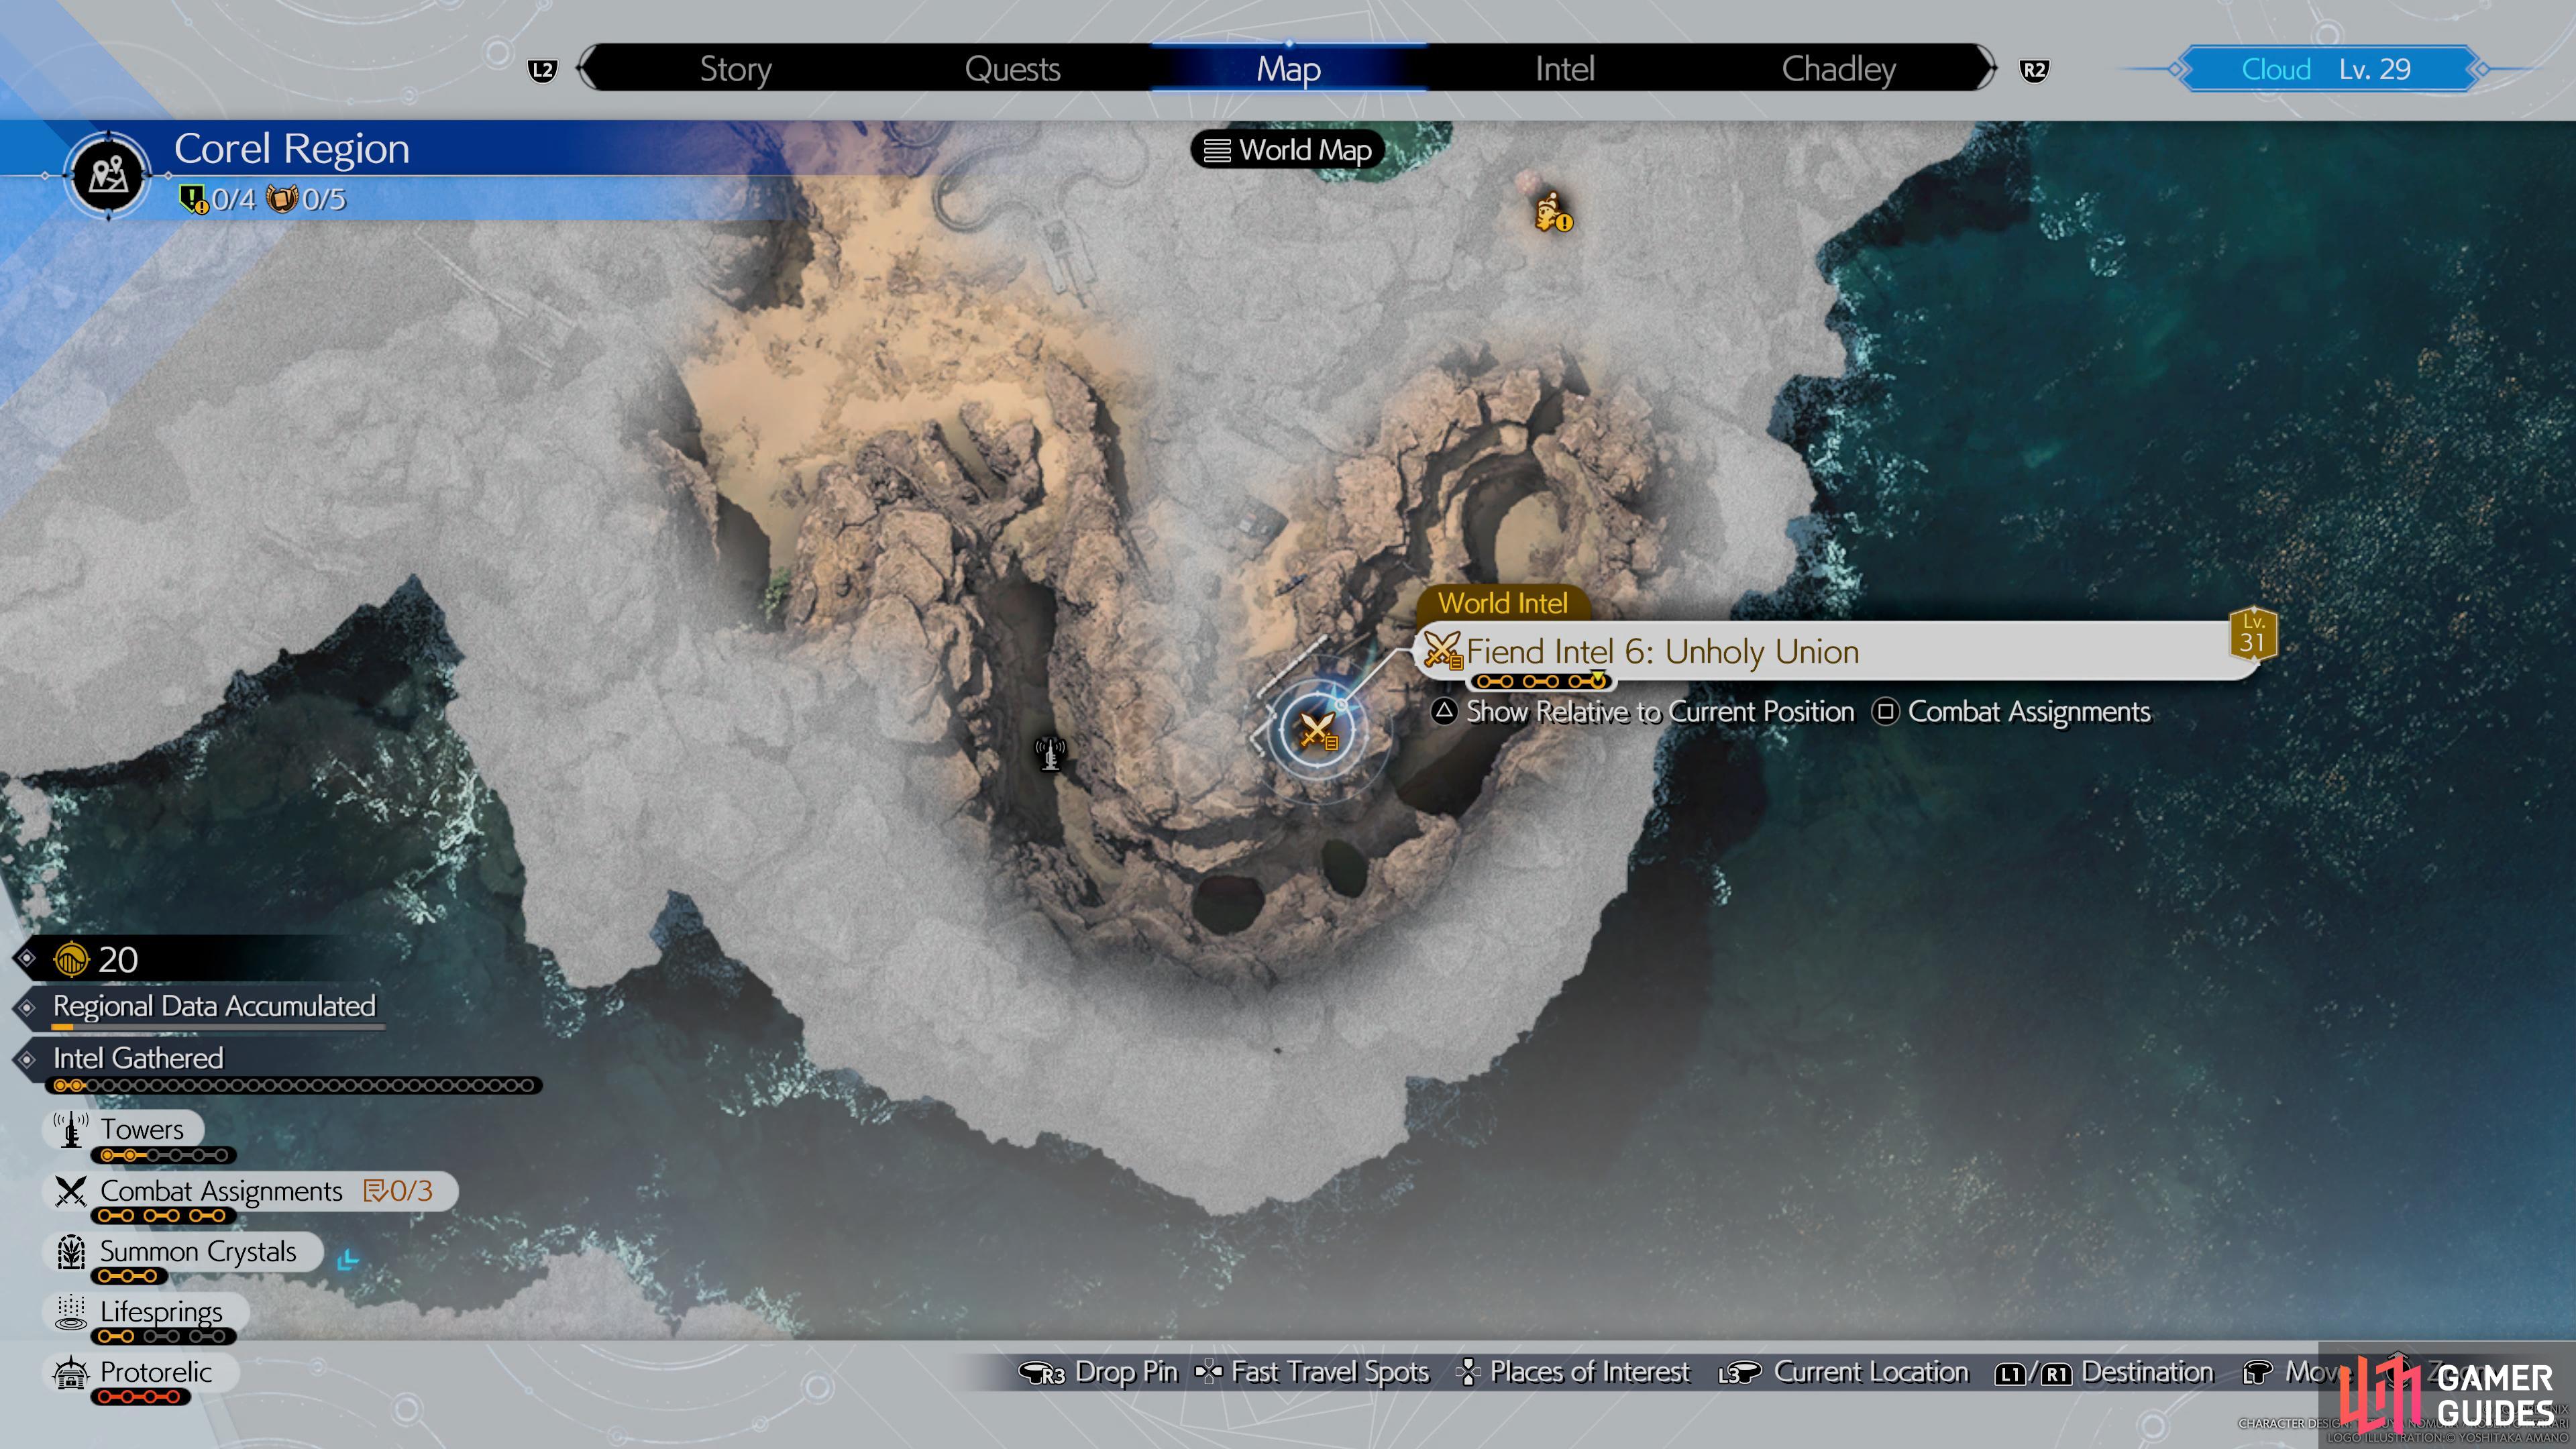
Unholy Union – Silver Chimera Fiend Intel #6
Objectives:
- Exploit the
 Silver Chimera’s weakness
 - Stagger the Silver
 Chimera
 - Defeat the Silver Chimera within the time limit
The Silver Chimera is also found in the second part of the Corel region, in the southern portion of the map. This enemy is a bit stronger than some of the other fiends you have faced, but they are weak to Fire. Use this to your advantage to weaken the enemy and beat them within the time limit. Higher tier Fire spells like Fira/Firaga will be beneficial, especially when used with a high ![]() Magic attack character like Aerith.
Magic attack character like Aerith.
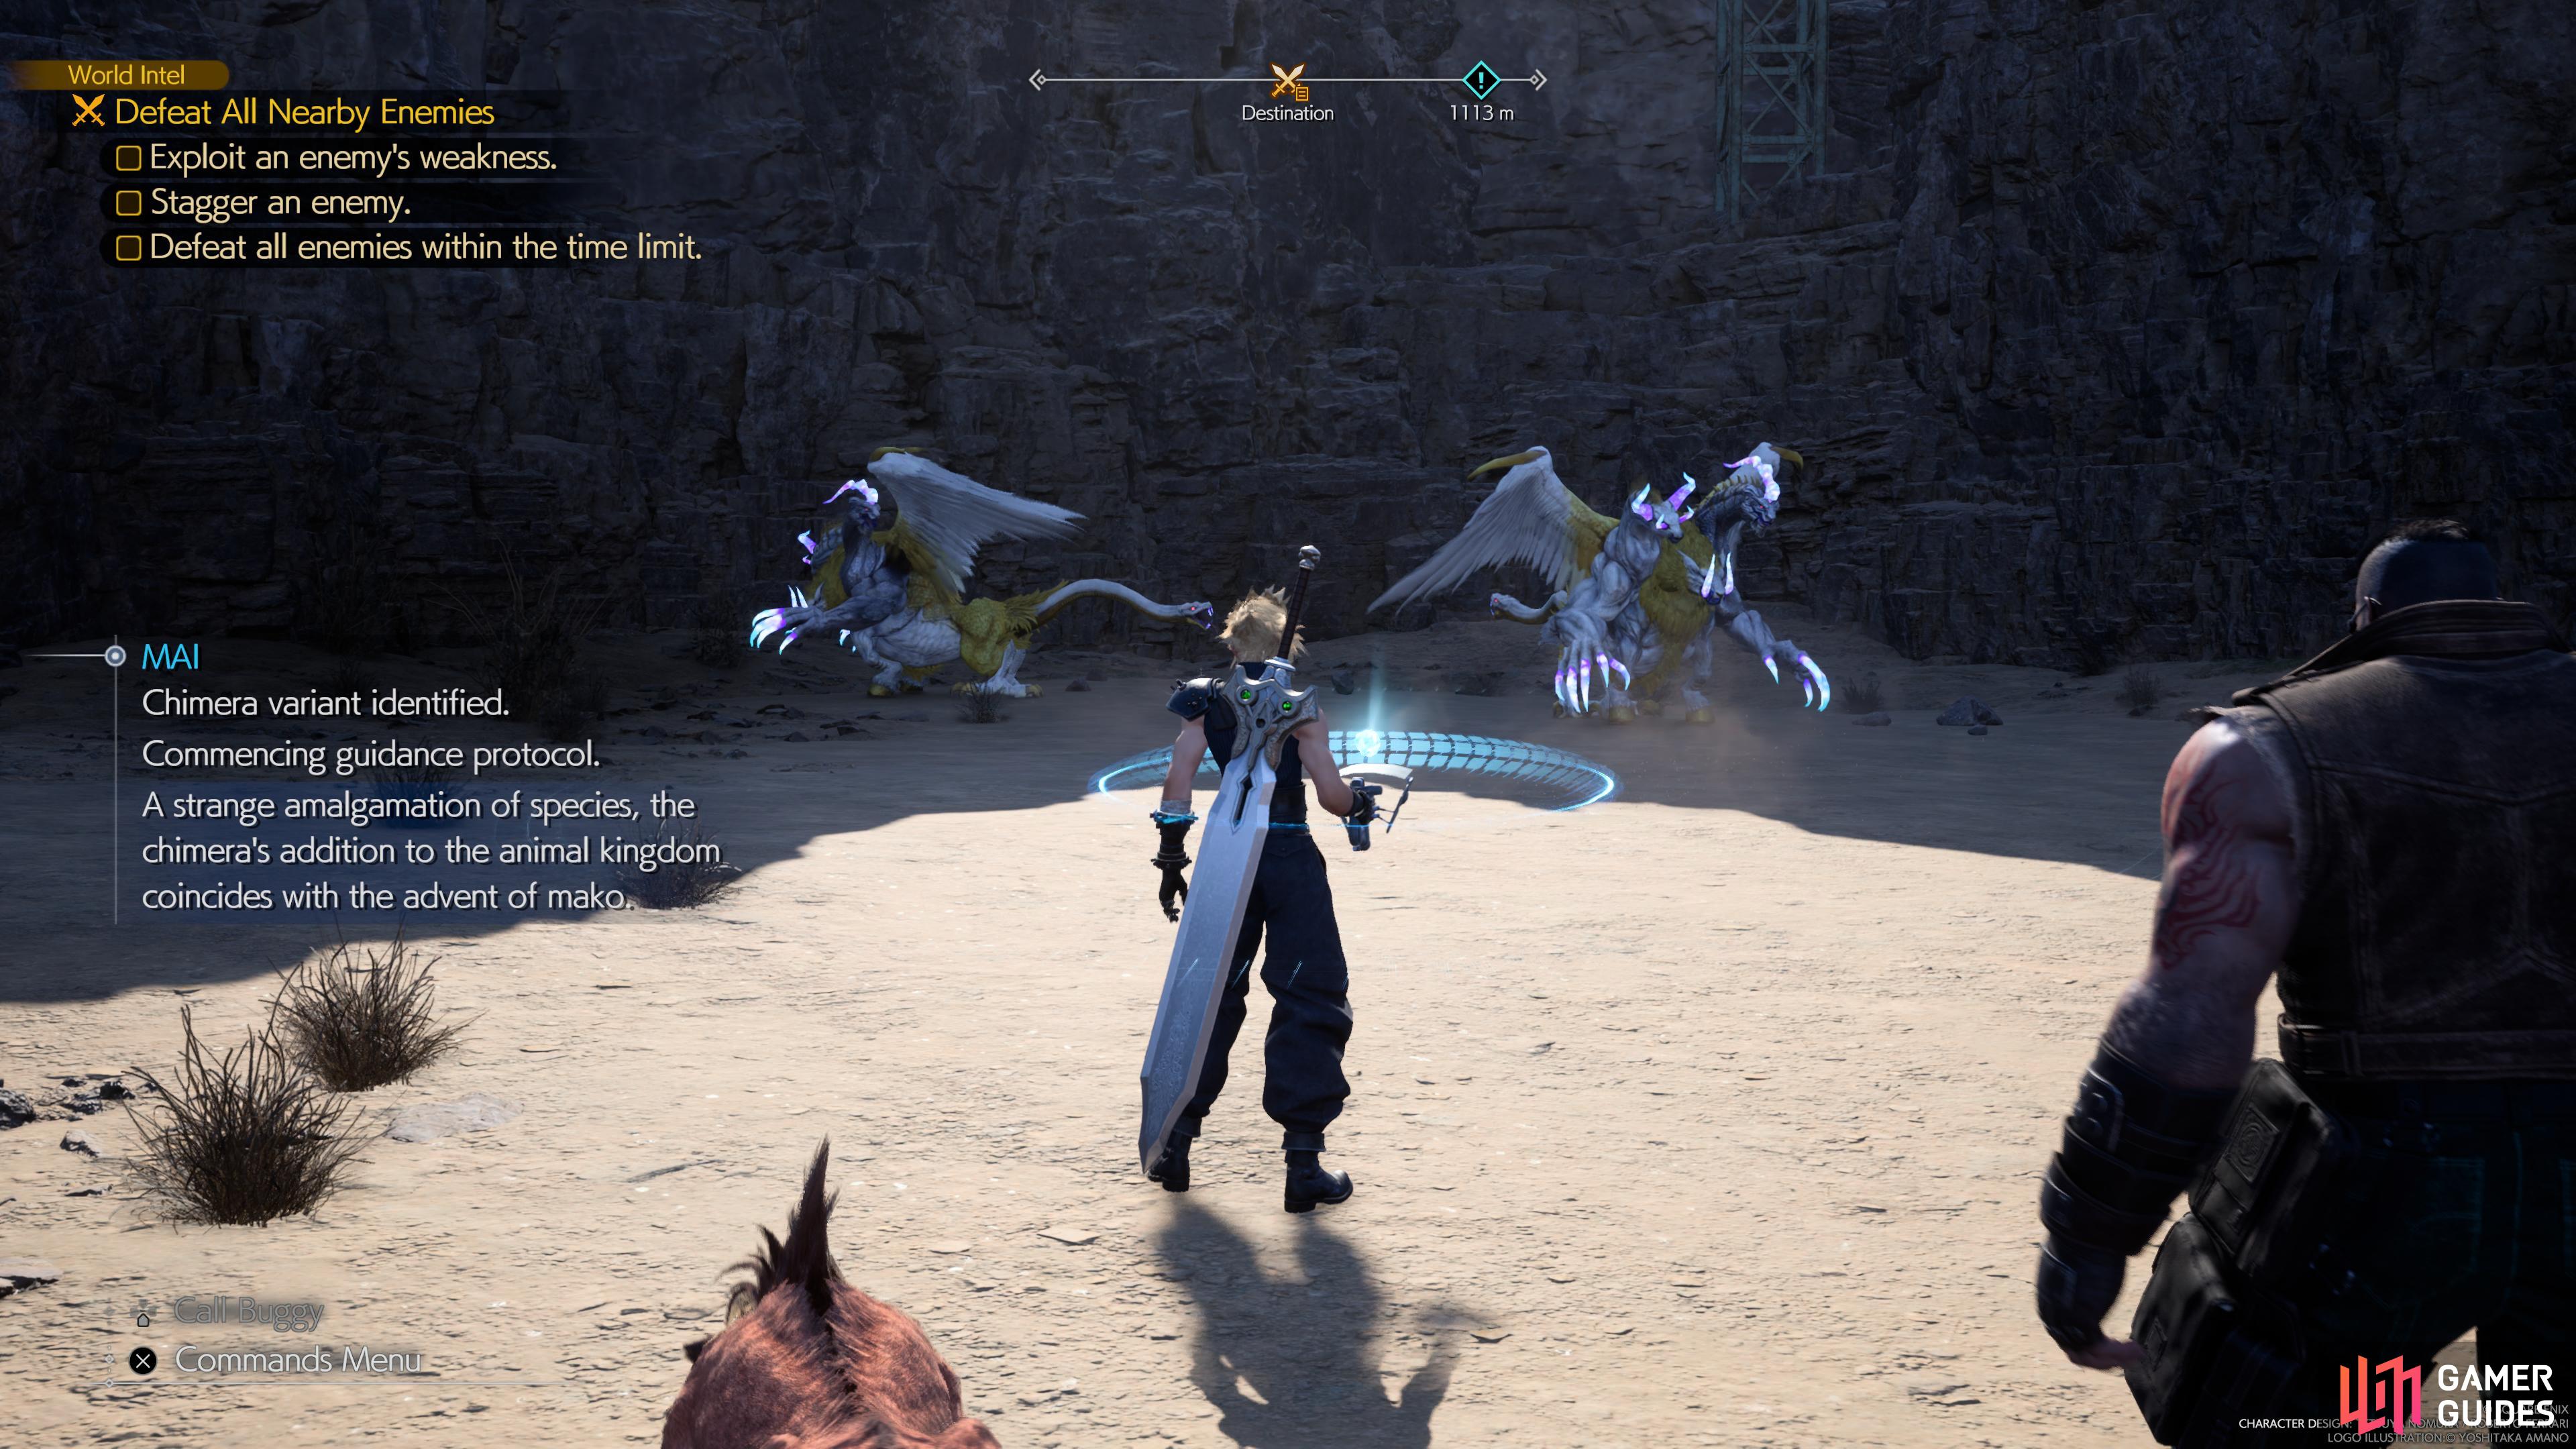
(1 of 2) Fighting the Chimera.
Fighting the Chimera. (left), Chimera location. (right)
Once you are done fighting all the fiends, you should have most of the simulations for the Corel region unlocked. Speak Chadley to take on the simulations to earn extra materia.
No Comments