
The Protorelic is a chain of quests that started in the ![]() Grasslands, and continues throughout Final Fantasy VII Rebirth. The Protorelic in the
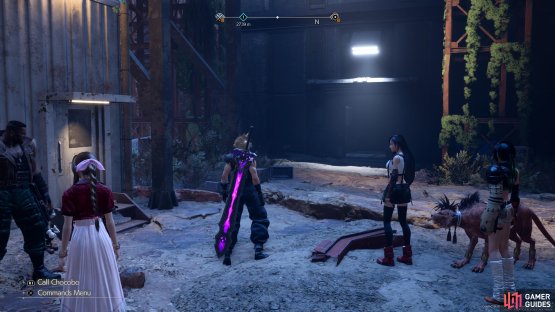
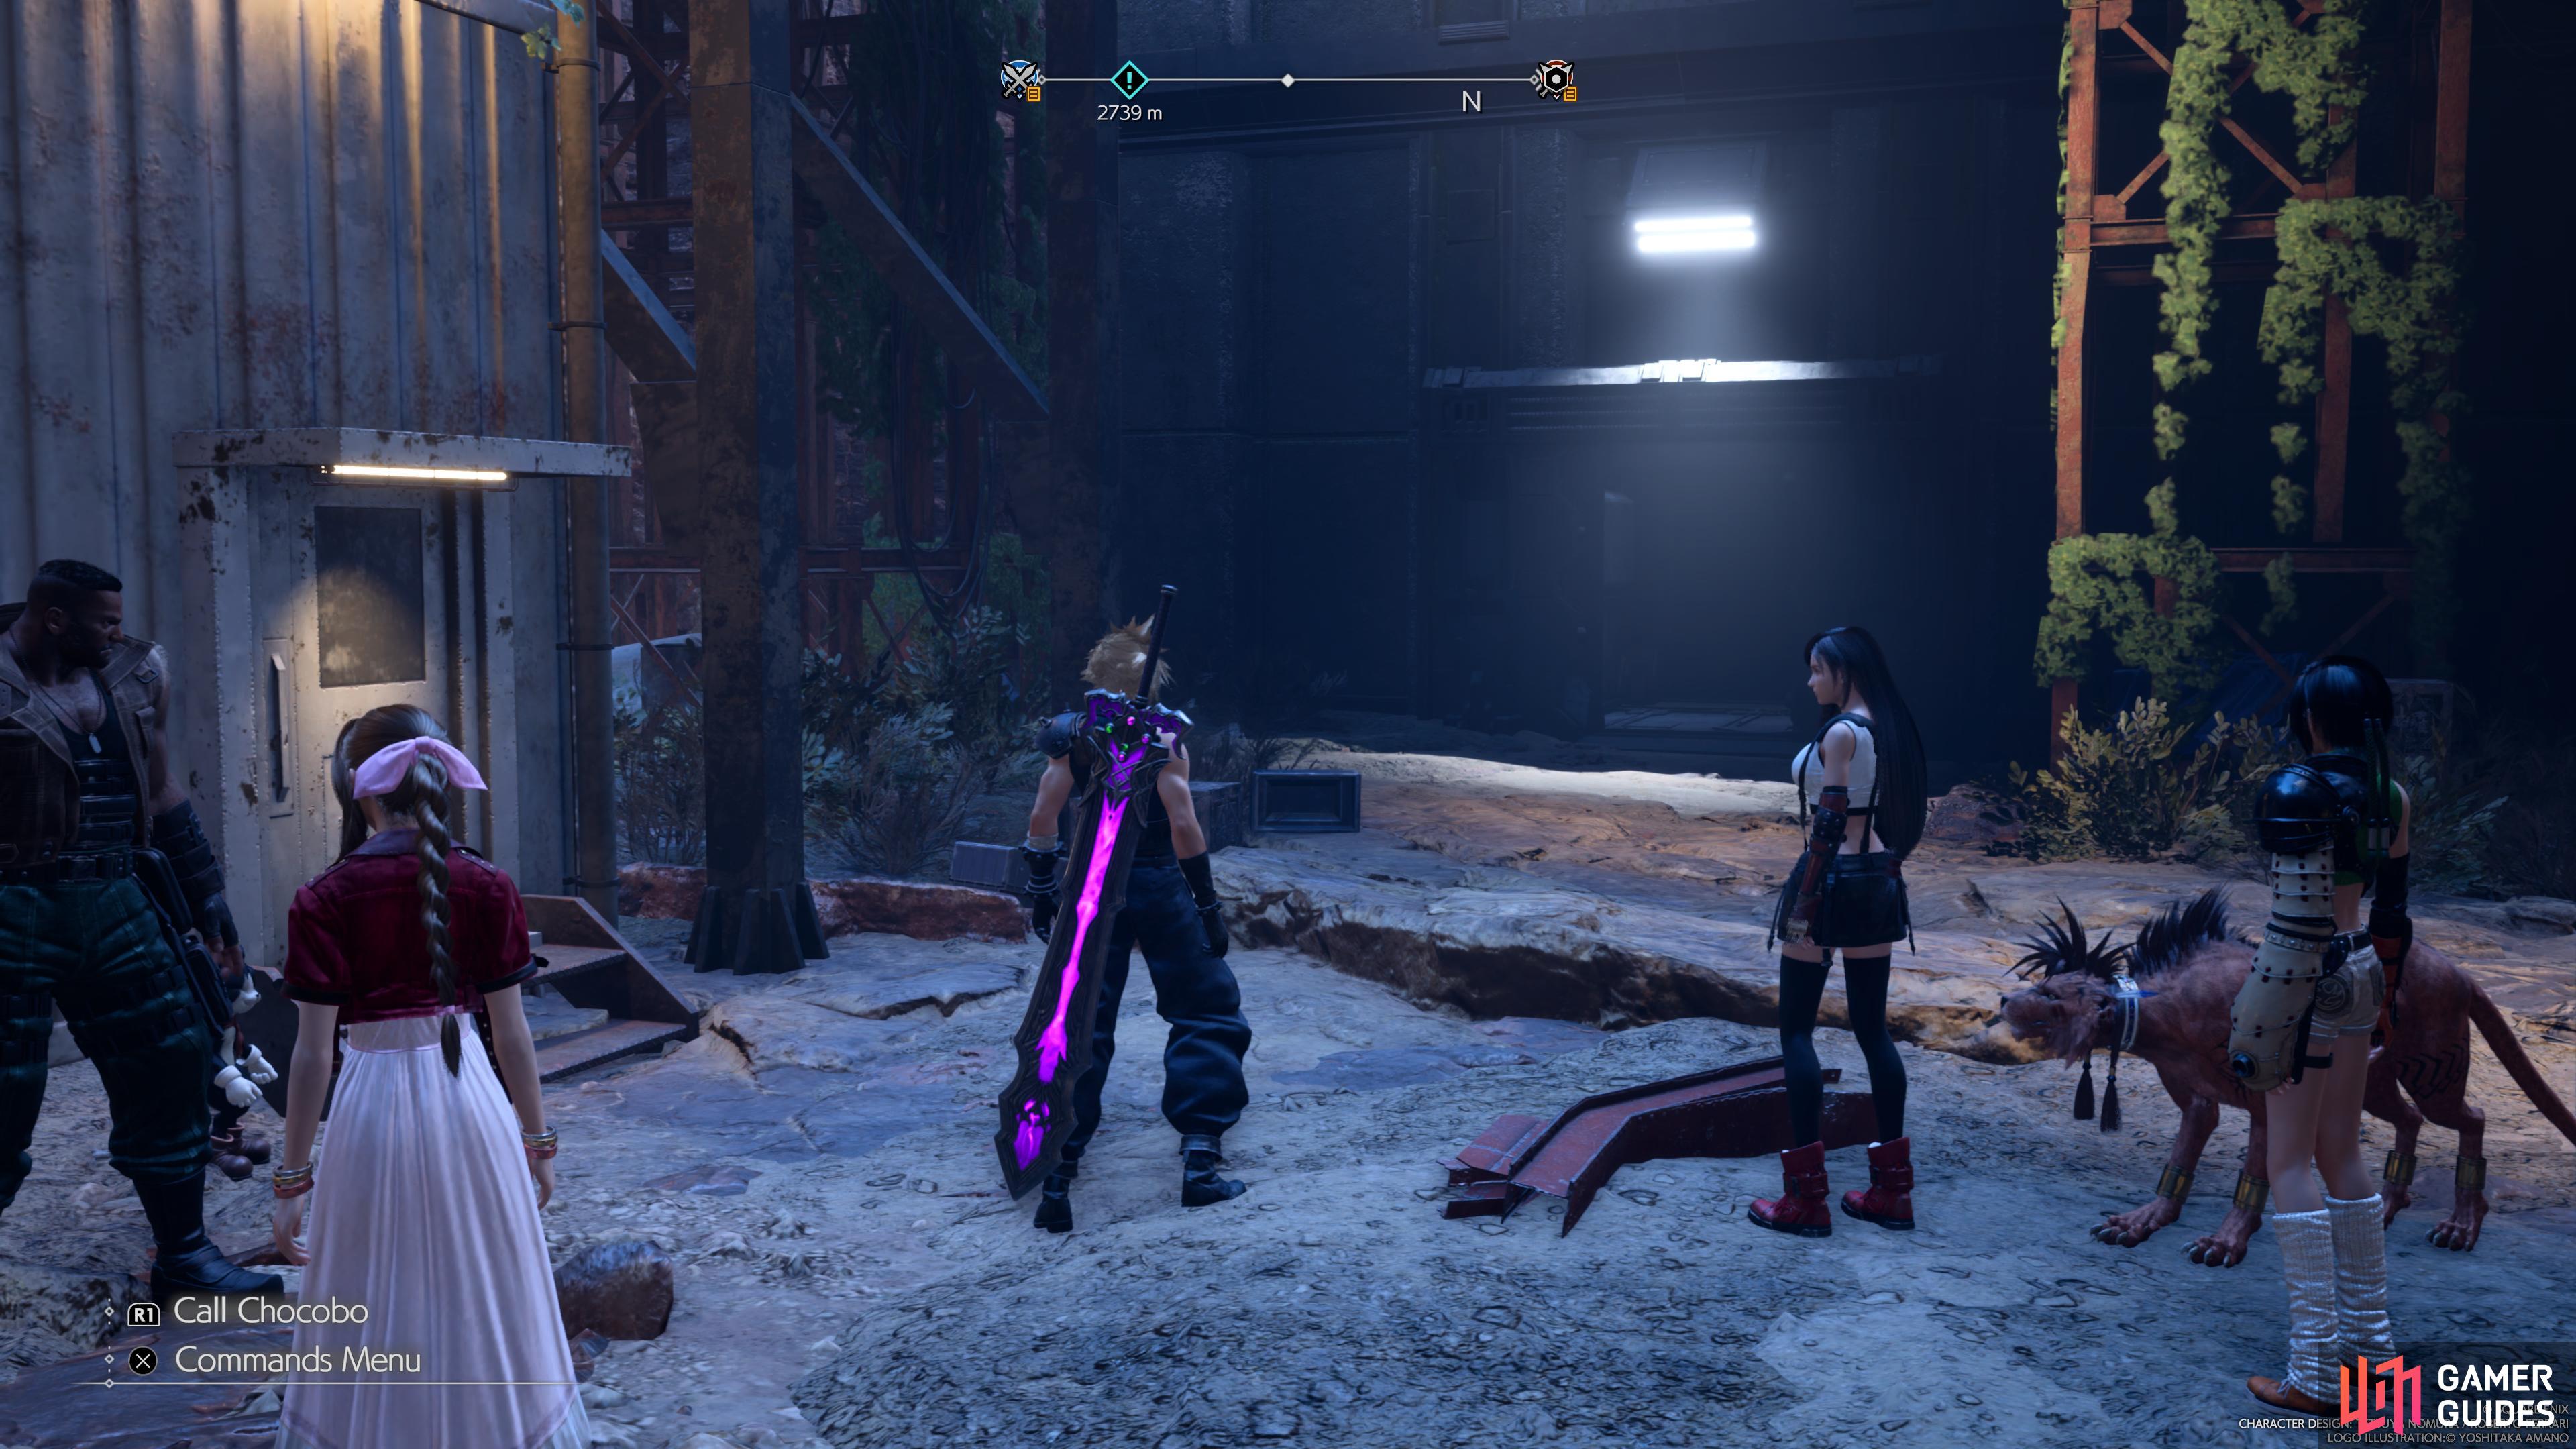
Grasslands, and continues throughout Final Fantasy VII Rebirth. The Protorelic in the ![]() Gongaga Region is one you won’t be able to do right away, as you’ll need to have access to the Chocobo which is obtained after dealing with the reactor halfway through the chapter. There is no Protorelic minigame this time around, but you’ll need to complete a series of VR Missions instead. On this page, we’ll provide you with all the locations for all the Phenomenon Intel in the Gongaga Region.
Gongaga Region is one you won’t be able to do right away, as you’ll need to have access to the Chocobo which is obtained after dealing with the reactor halfway through the chapter. There is no Protorelic minigame this time around, but you’ll need to complete a series of VR Missions instead. On this page, we’ll provide you with all the locations for all the Phenomenon Intel in the Gongaga Region.
Phenomenon Intel 1: Turks Training
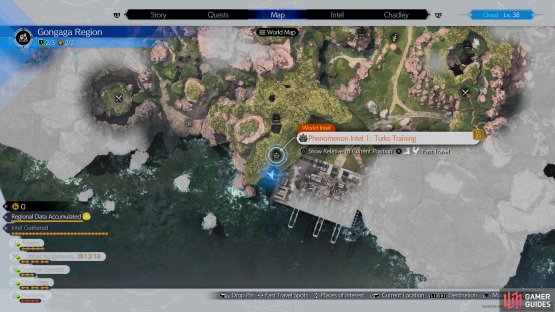
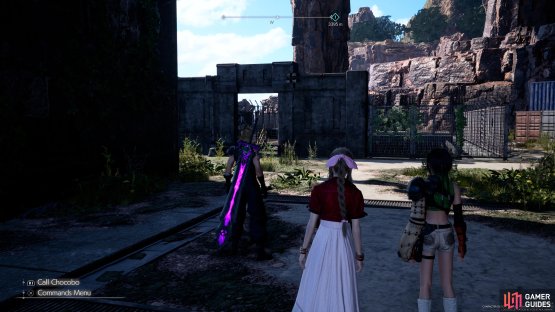
(1 of 2) Head to the southern portion of gongaga

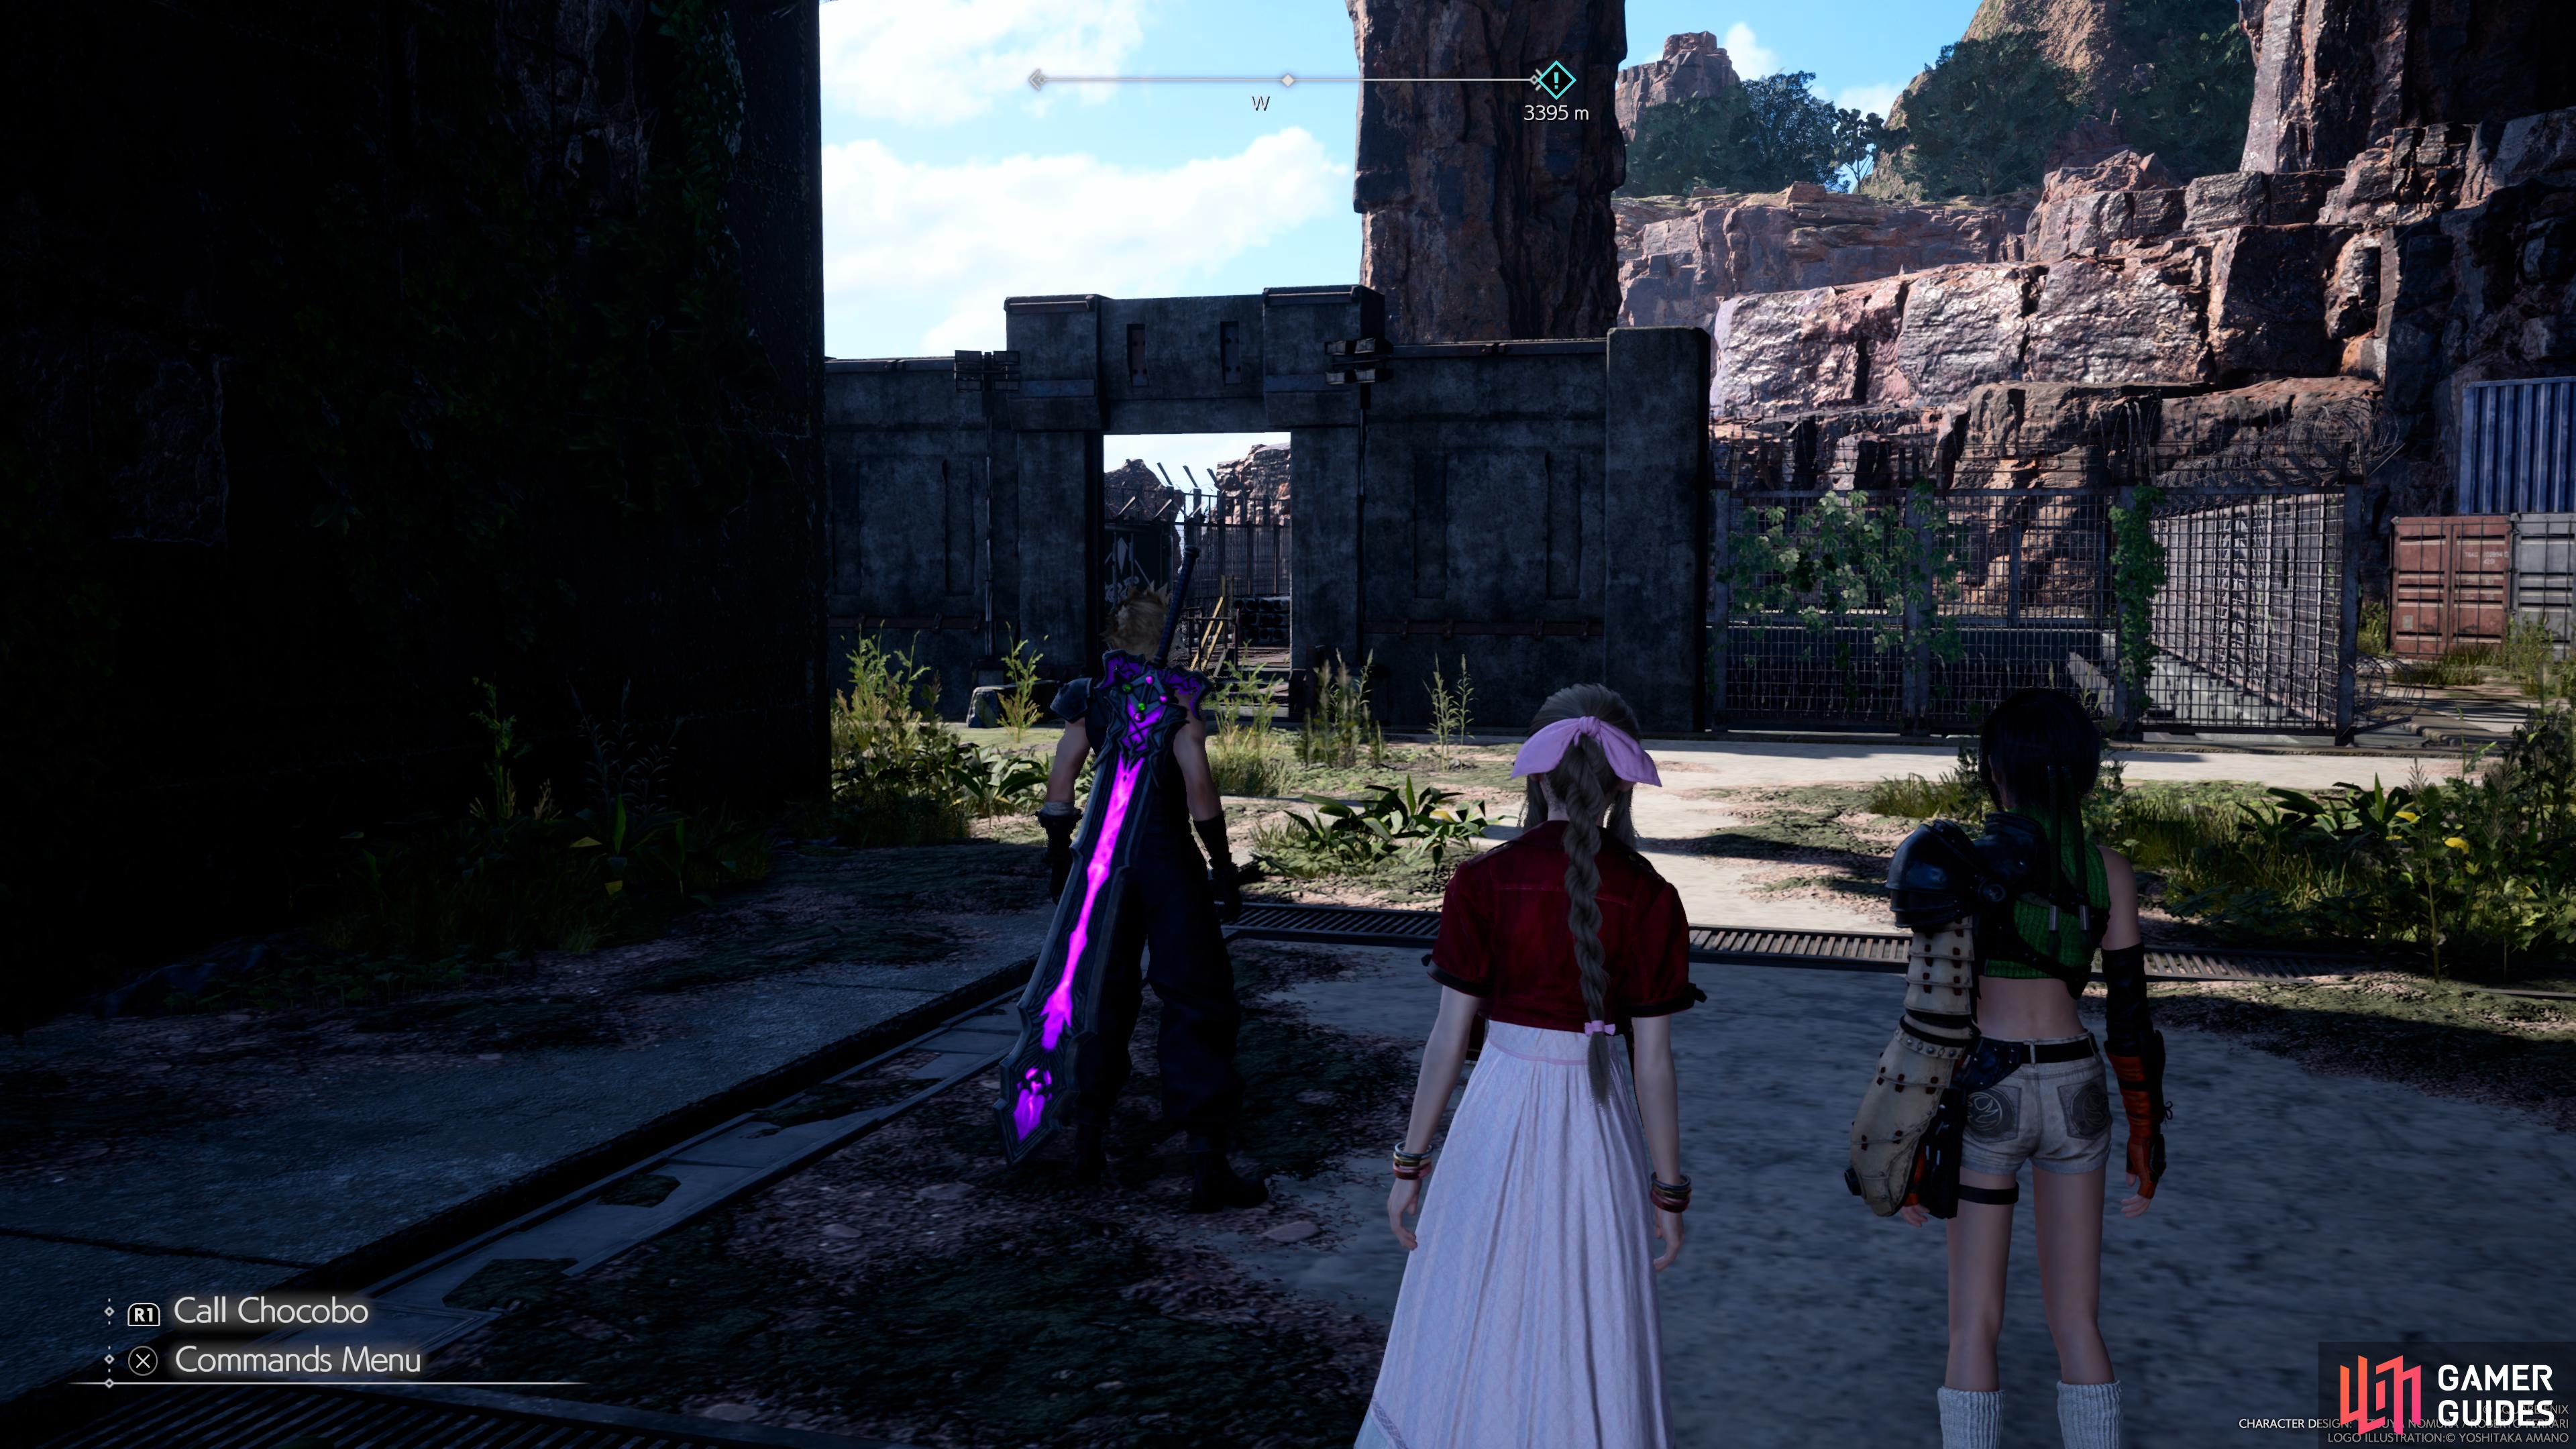
Head to the southern portion of gongaga (left), to find the first protorelic. (right)
| Round | Enemies |
|---|---|
| 1 | |
| 2 | |
| 3 | Grassland Wolves and |
The Phenomenon Intel 1: Turks Training can be found near the Cliffside Storehouse cache area which is located in the southernmost portion of the Gongaga Region. Here you’ll want to take the stairs down to the underground lab and then you’ll need to complete a VR mission which consists of three rounds.
Round 1
These enemies aren’t very difficult to deal with, but you can take them down a lot faster by using their elemental weakness against them. Grassland Wolves are weak against ![]() Ice, so you’ll want to use ice-based spells such as Blizzara to inflict heavy damage.
Ice, so you’ll want to use ice-based spells such as Blizzara to inflict heavy damage. ![]() Orcs are weak to fire so you can use fire-based spells such as Fira or Cloud’s
Orcs are weak to fire so you can use fire-based spells such as Fira or Cloud’s ![]() Firebolt Blade to make quick work of them.
Firebolt Blade to make quick work of them. ![]() Levrikons are weak to both fire and ice so you can use either element to deal with them.
Levrikons are weak to both fire and ice so you can use either element to deal with them.
Round 2
The difficulty is increased slightly in round 2 as you’ll be dealing with an ![]() Enmidunk and
Enmidunk and ![]() Aggrevrikon. These are both weak to
Aggrevrikon. These are both weak to ![]() Fire and Ice, so using the
Fire and Ice, so using the ![]() Fire and Ice Materia and pairing them up with a
Fire and Ice Materia and pairing them up with a ![]() Level Boost Materia will give you access to the stronger version of the spells which you can then spam against the enemies to deal lots of damage. However, the Enmidunk has a Charge ability so you’ll want to keep your distance by playing as either Aerith or Yuffie.
Level Boost Materia will give you access to the stronger version of the spells which you can then spam against the enemies to deal lots of damage. However, the Enmidunk has a Charge ability so you’ll want to keep your distance by playing as either Aerith or Yuffie.
Round 3
The third and final round will put you up against some Grassland Wolves and a ![]() Thunderclaw. Grassland Wolves can be taken down quickly with ice spells but the Thunderclaw might cause you some trouble as it has no elemental weakness. You can deal with the Thunderclaw by “inflicting detrimental status effects on them that will pressure them”, such as
Thunderclaw. Grassland Wolves can be taken down quickly with ice spells but the Thunderclaw might cause you some trouble as it has no elemental weakness. You can deal with the Thunderclaw by “inflicting detrimental status effects on them that will pressure them”, such as ![]() Poison and Bio etc.
Poison and Bio etc.
Phenomenon Intel 2: Dissident Destruction


(1 of 2) Head to the east of Gongaga
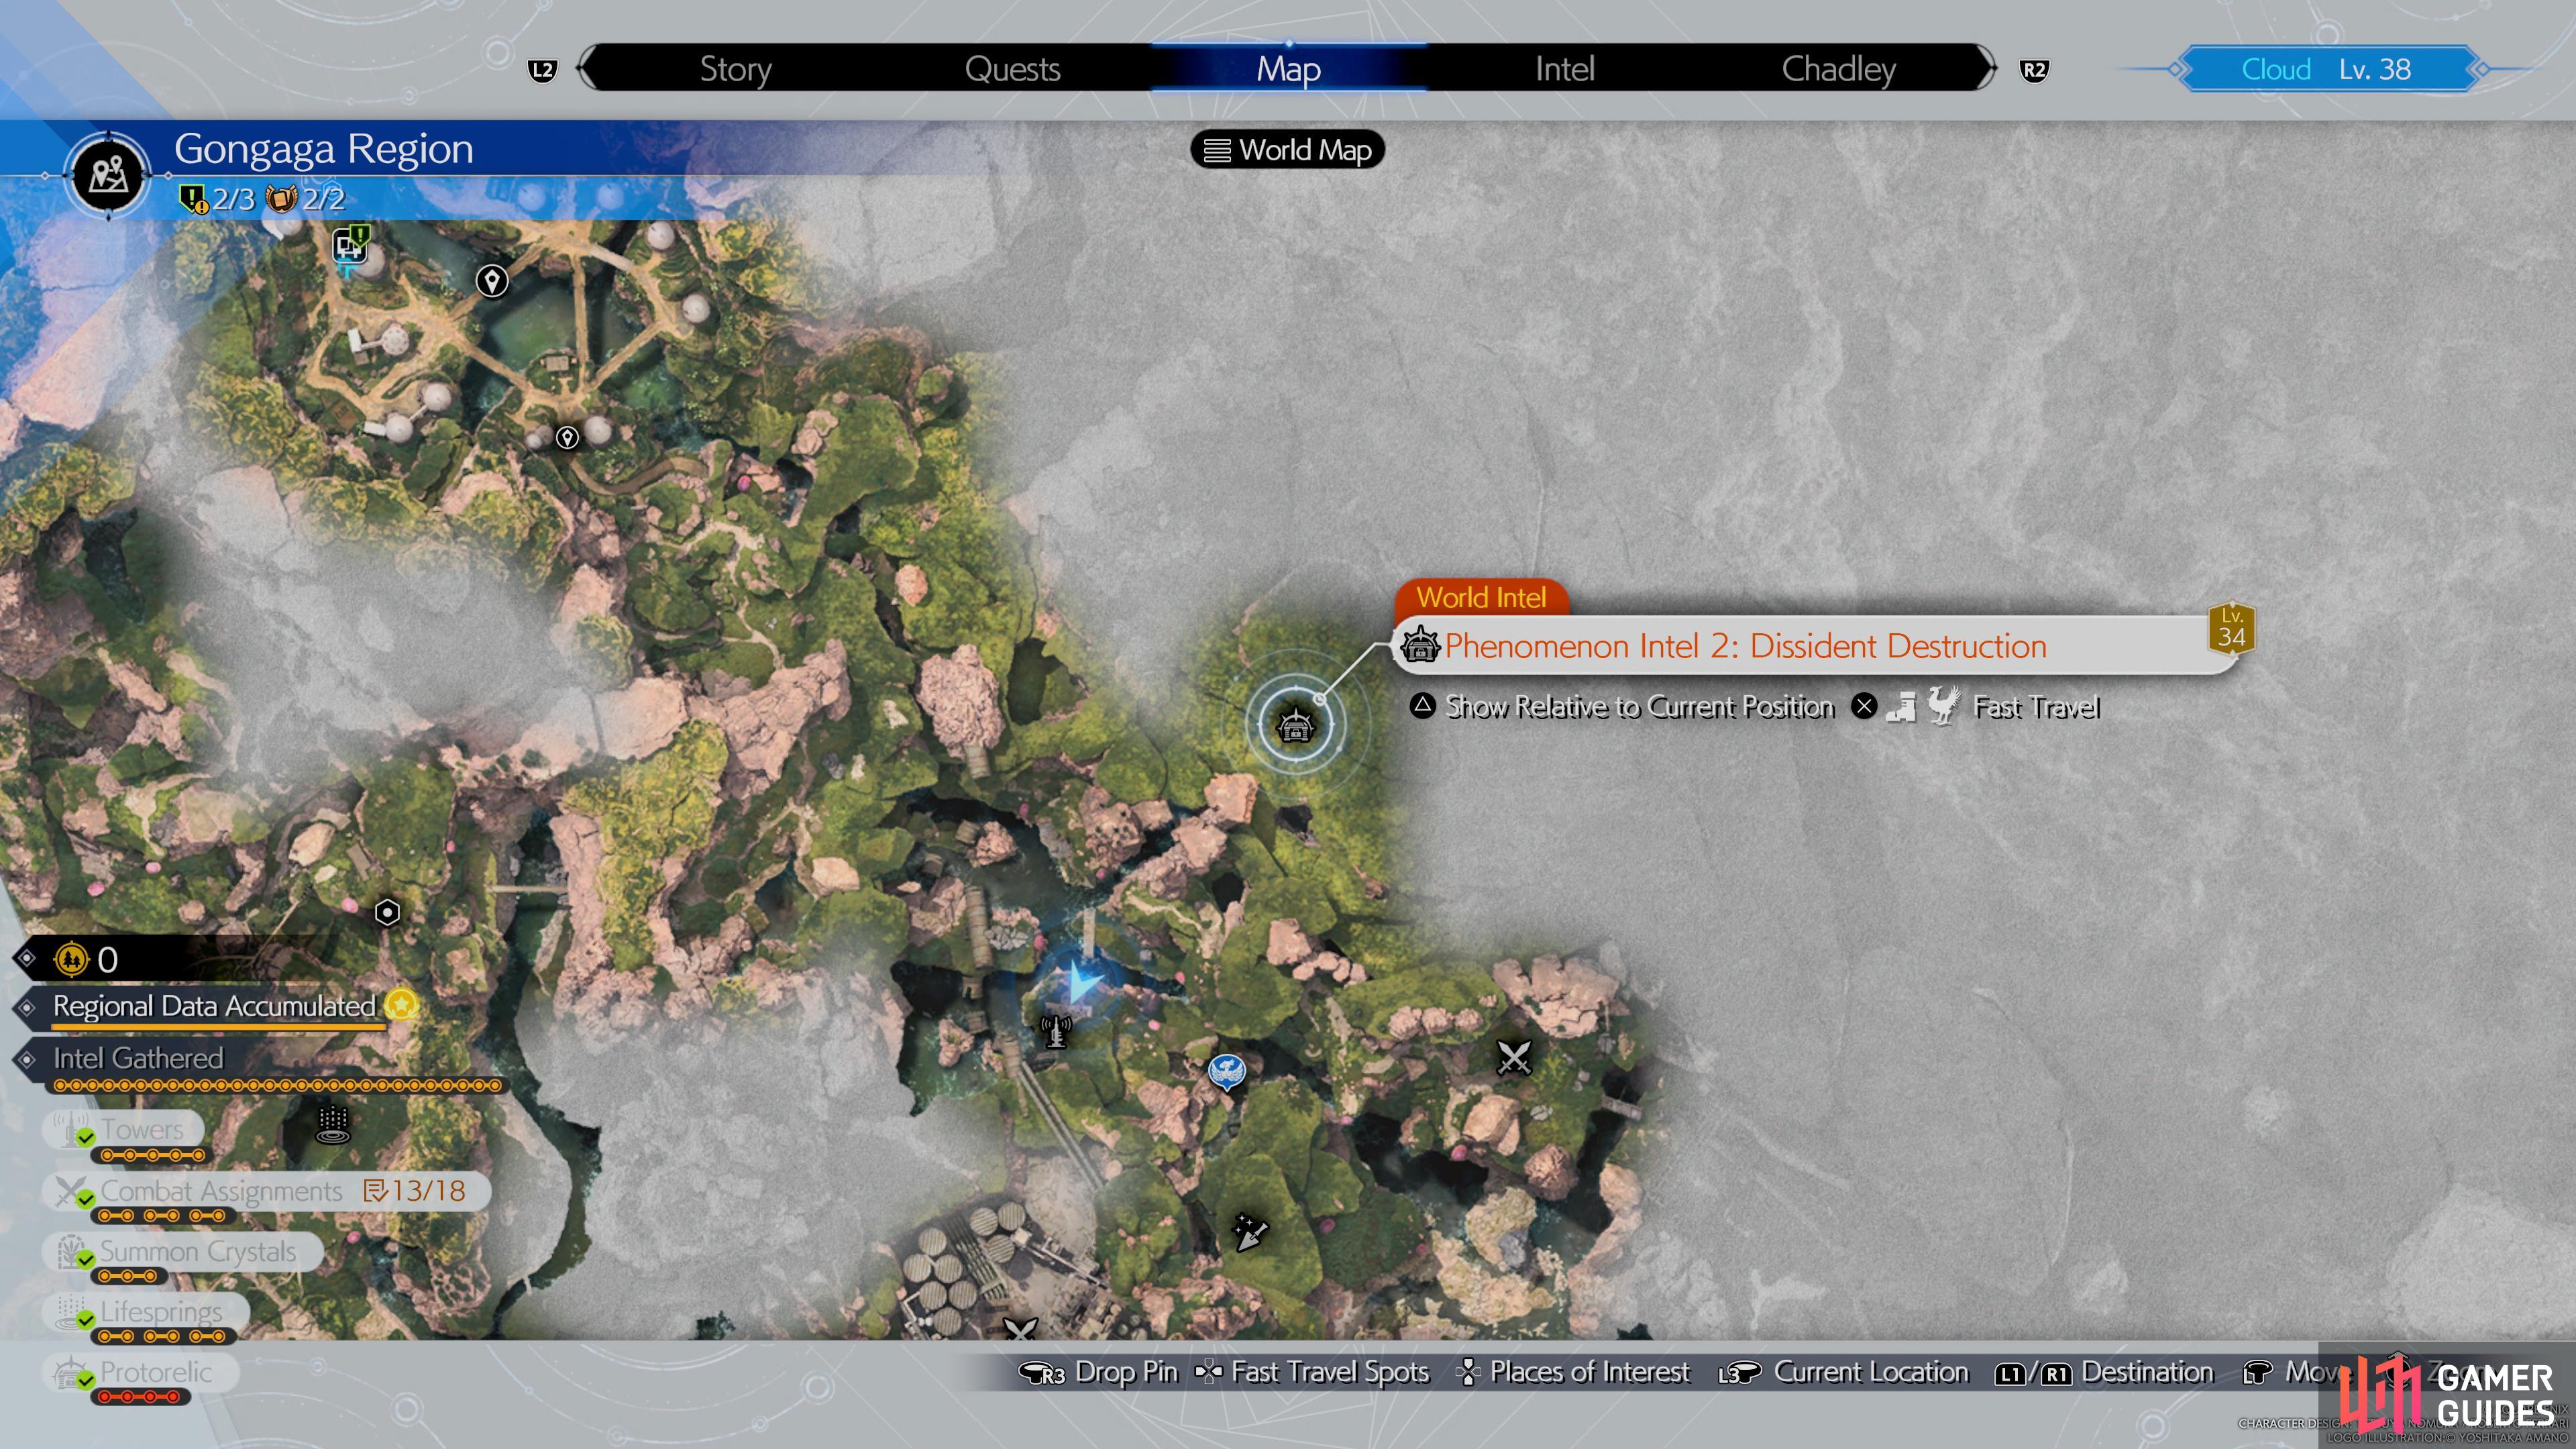
Head to the east of Gongaga (left), to find the second phenomenon intel. (right)
| Round | Enemies |
|---|---|
| 1 | |
| 2 | Slug-Ray |
| 3 | J-Unit Sweeper |
Phenomenon Intel 2: Dissident Destruction can be found to the northeast of the Old Pipeline Tower. It can be reached by jumping up to the area above via the mushroom to the north of the tower and then sliding down to the large rope to reach the second underground lab. When you arrive you’ll be given the choice of Killing, Interrogating or letting the insurgent go, but if you want Tseng to agree with you then you’ll want to go with the interrogation option.
Round 1
The first round of the Dissident Destruction Protorelic will put you up against two ![]() Deathwheels which are extremely quick so hitting them with physical attacks will be very tricky. We recommend that you use a ranged character such as Yuffie and use her ninjutsu to hit their elemental weakness which is Fire, Ice and
Deathwheels which are extremely quick so hitting them with physical attacks will be very tricky. We recommend that you use a ranged character such as Yuffie and use her ninjutsu to hit their elemental weakness which is Fire, Ice and ![]() Wind. If you see the Deathwheel perform the GOT Missile then you’ll want to constantly keep on the move otherwise you’ll get hit by multiple missiles which will heavily deplete your HP.
Wind. If you see the Deathwheel perform the GOT Missile then you’ll want to constantly keep on the move otherwise you’ll get hit by multiple missiles which will heavily deplete your HP.
Round 2
The second round will have you fight multiple Slug-Rays which can easily kill you if you get up close, so we recommend that you keep your distance and use ![]() Lightning Spells or Ninjutsu to quickly pressure them and then you can quickly jump in with Cloud and finish them off. You’ll also want to focus on taking one down at a time so you have less attacks to avoid.
Lightning Spells or Ninjutsu to quickly pressure them and then you can quickly jump in with Cloud and finish them off. You’ll also want to focus on taking one down at a time so you have less attacks to avoid.
Round 3
The final round will put you against J-Unit Sweepers and you can deal with these by hitting them with high level lightning spells such as Thundara to pressure them and then hit them with any limit breaks or synergy abilities available to deal as much damage as possible. Additionally, you’ll want to avoid getting close to the J-Unit Sweepers when it performs the Stomp attack as this is unavoidable and will deal lots of damage.
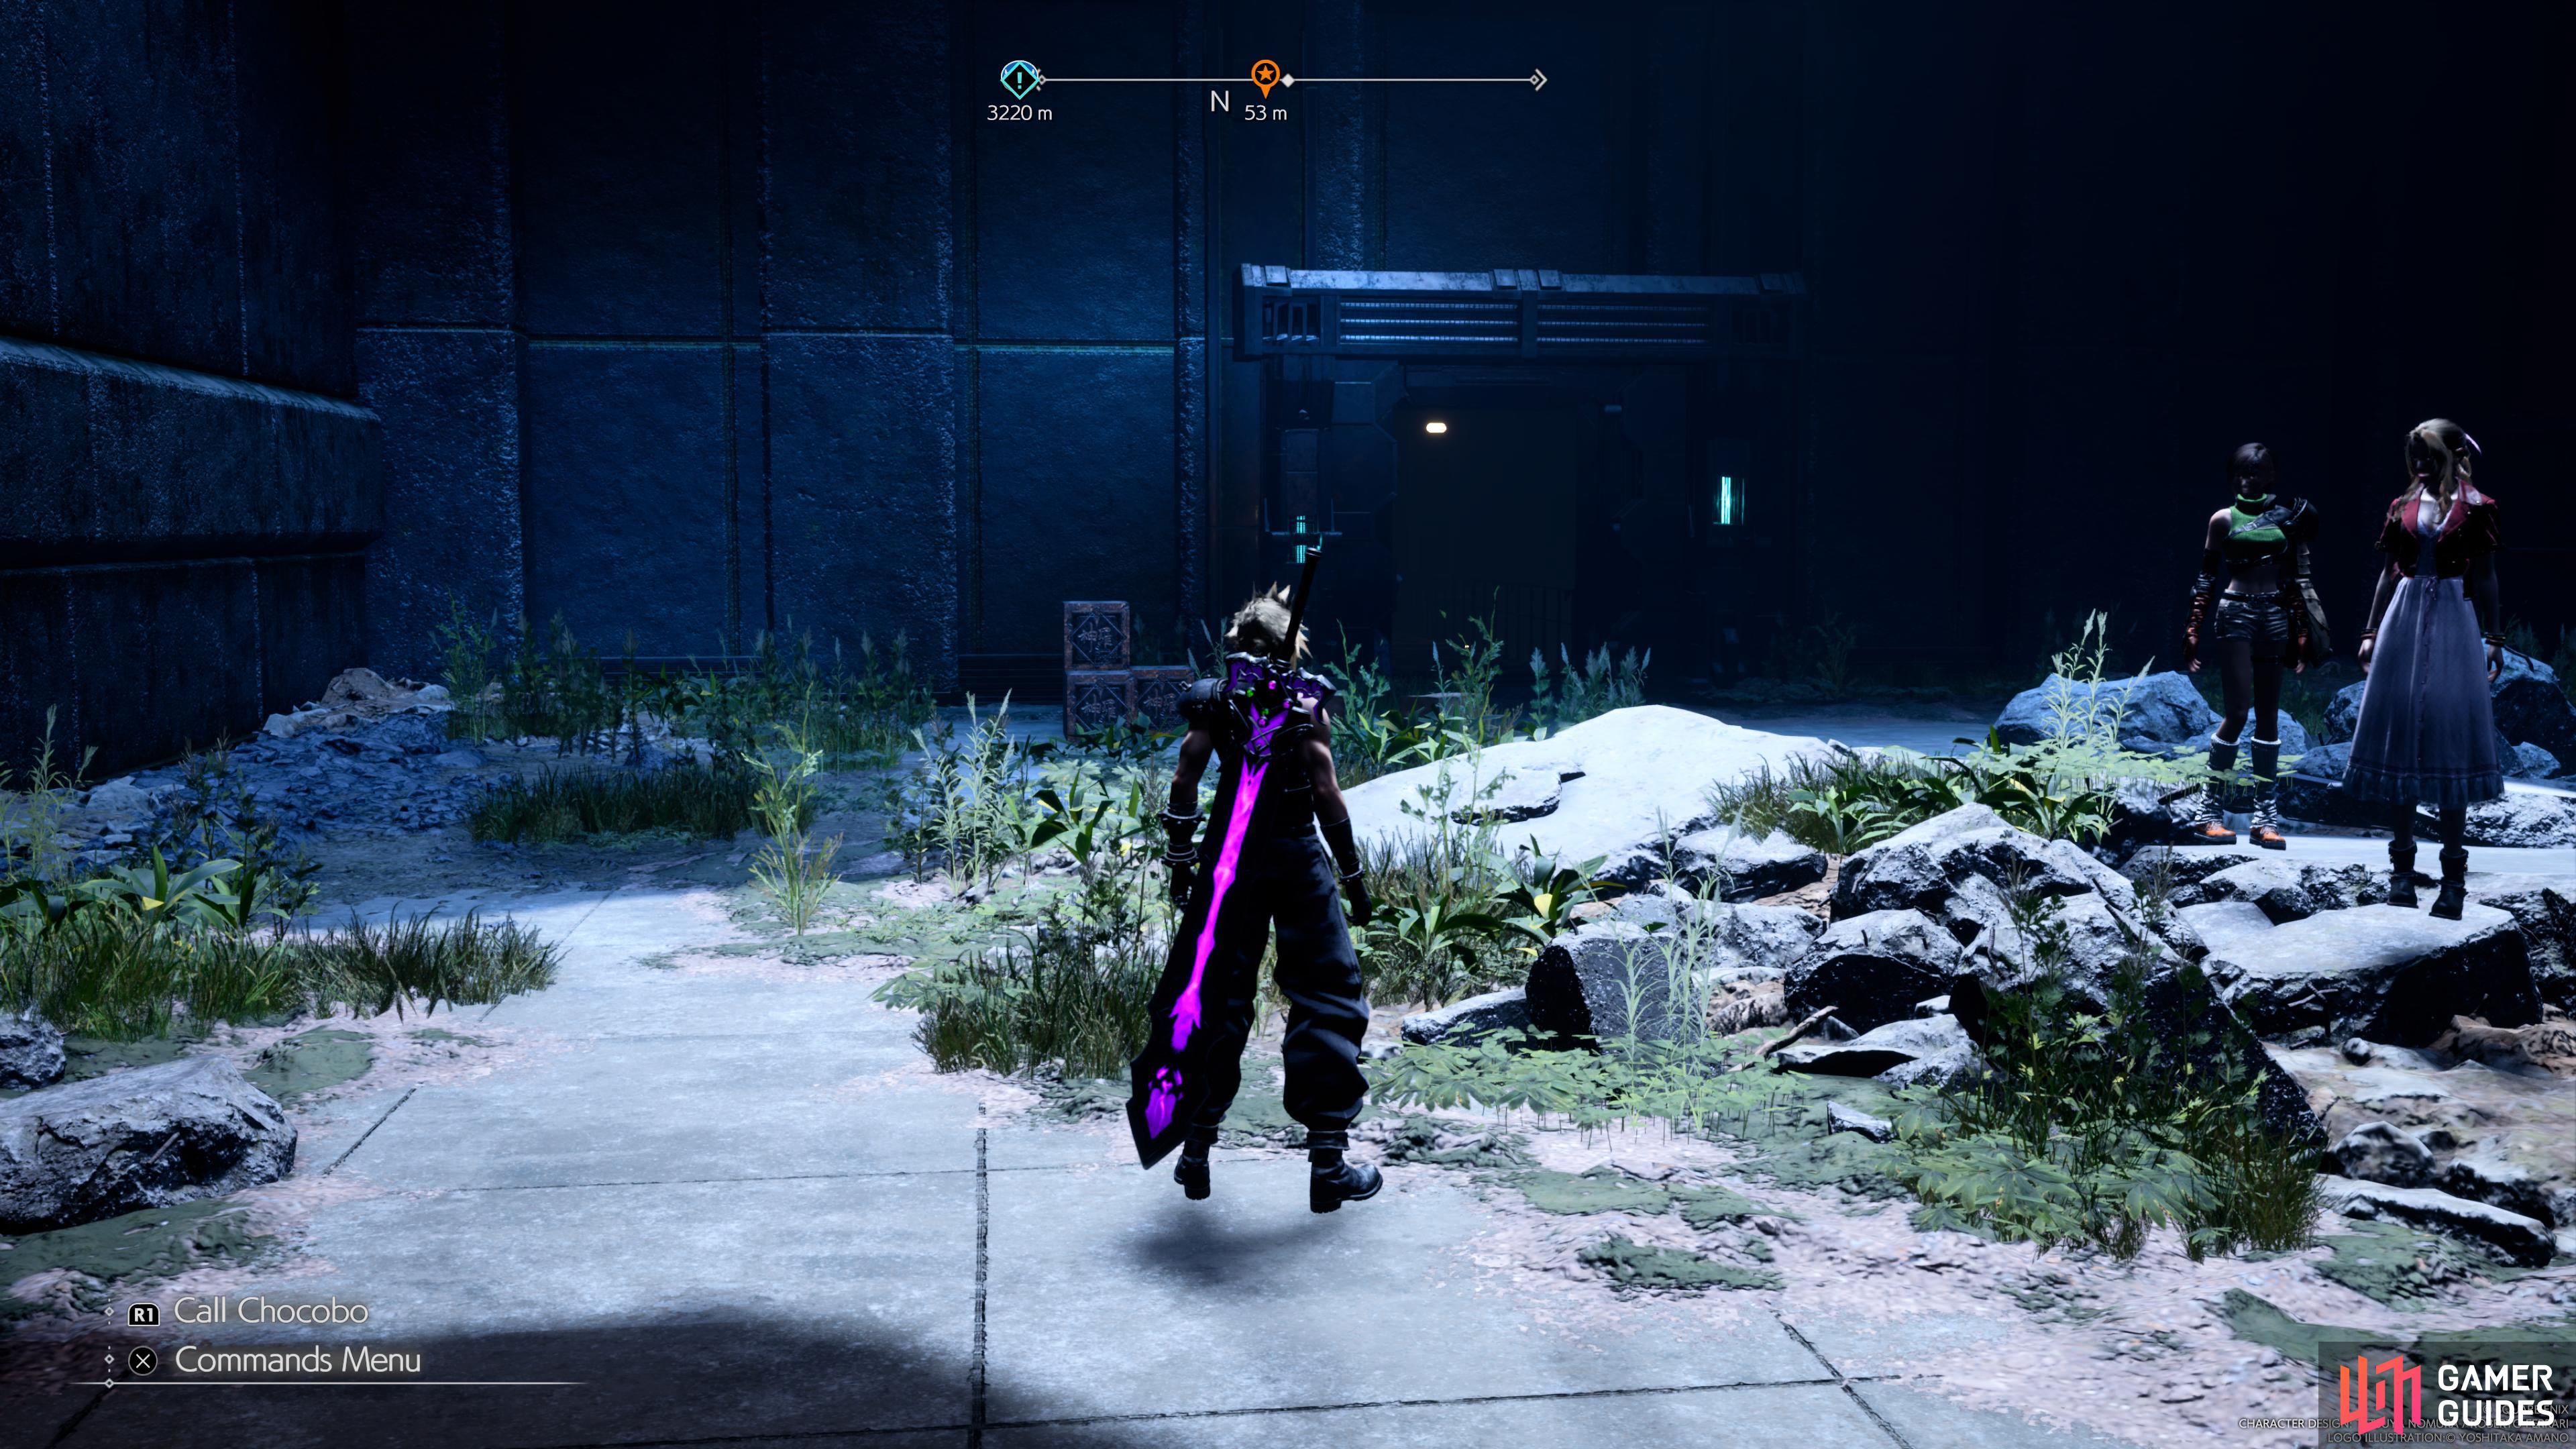
Phenomenon Intel 3: His Personal Escorts
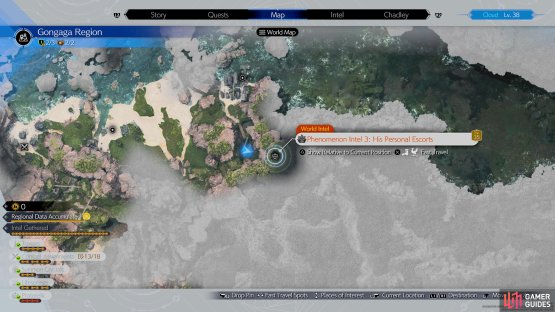
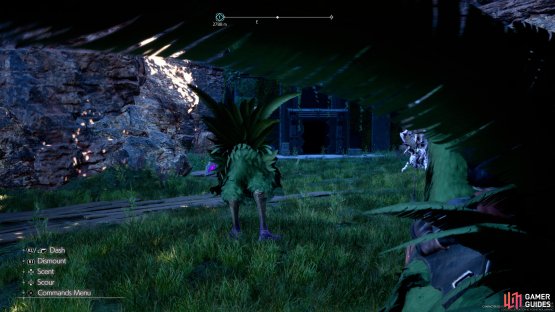
(1 of 2) Head to the northeast of Gongaga

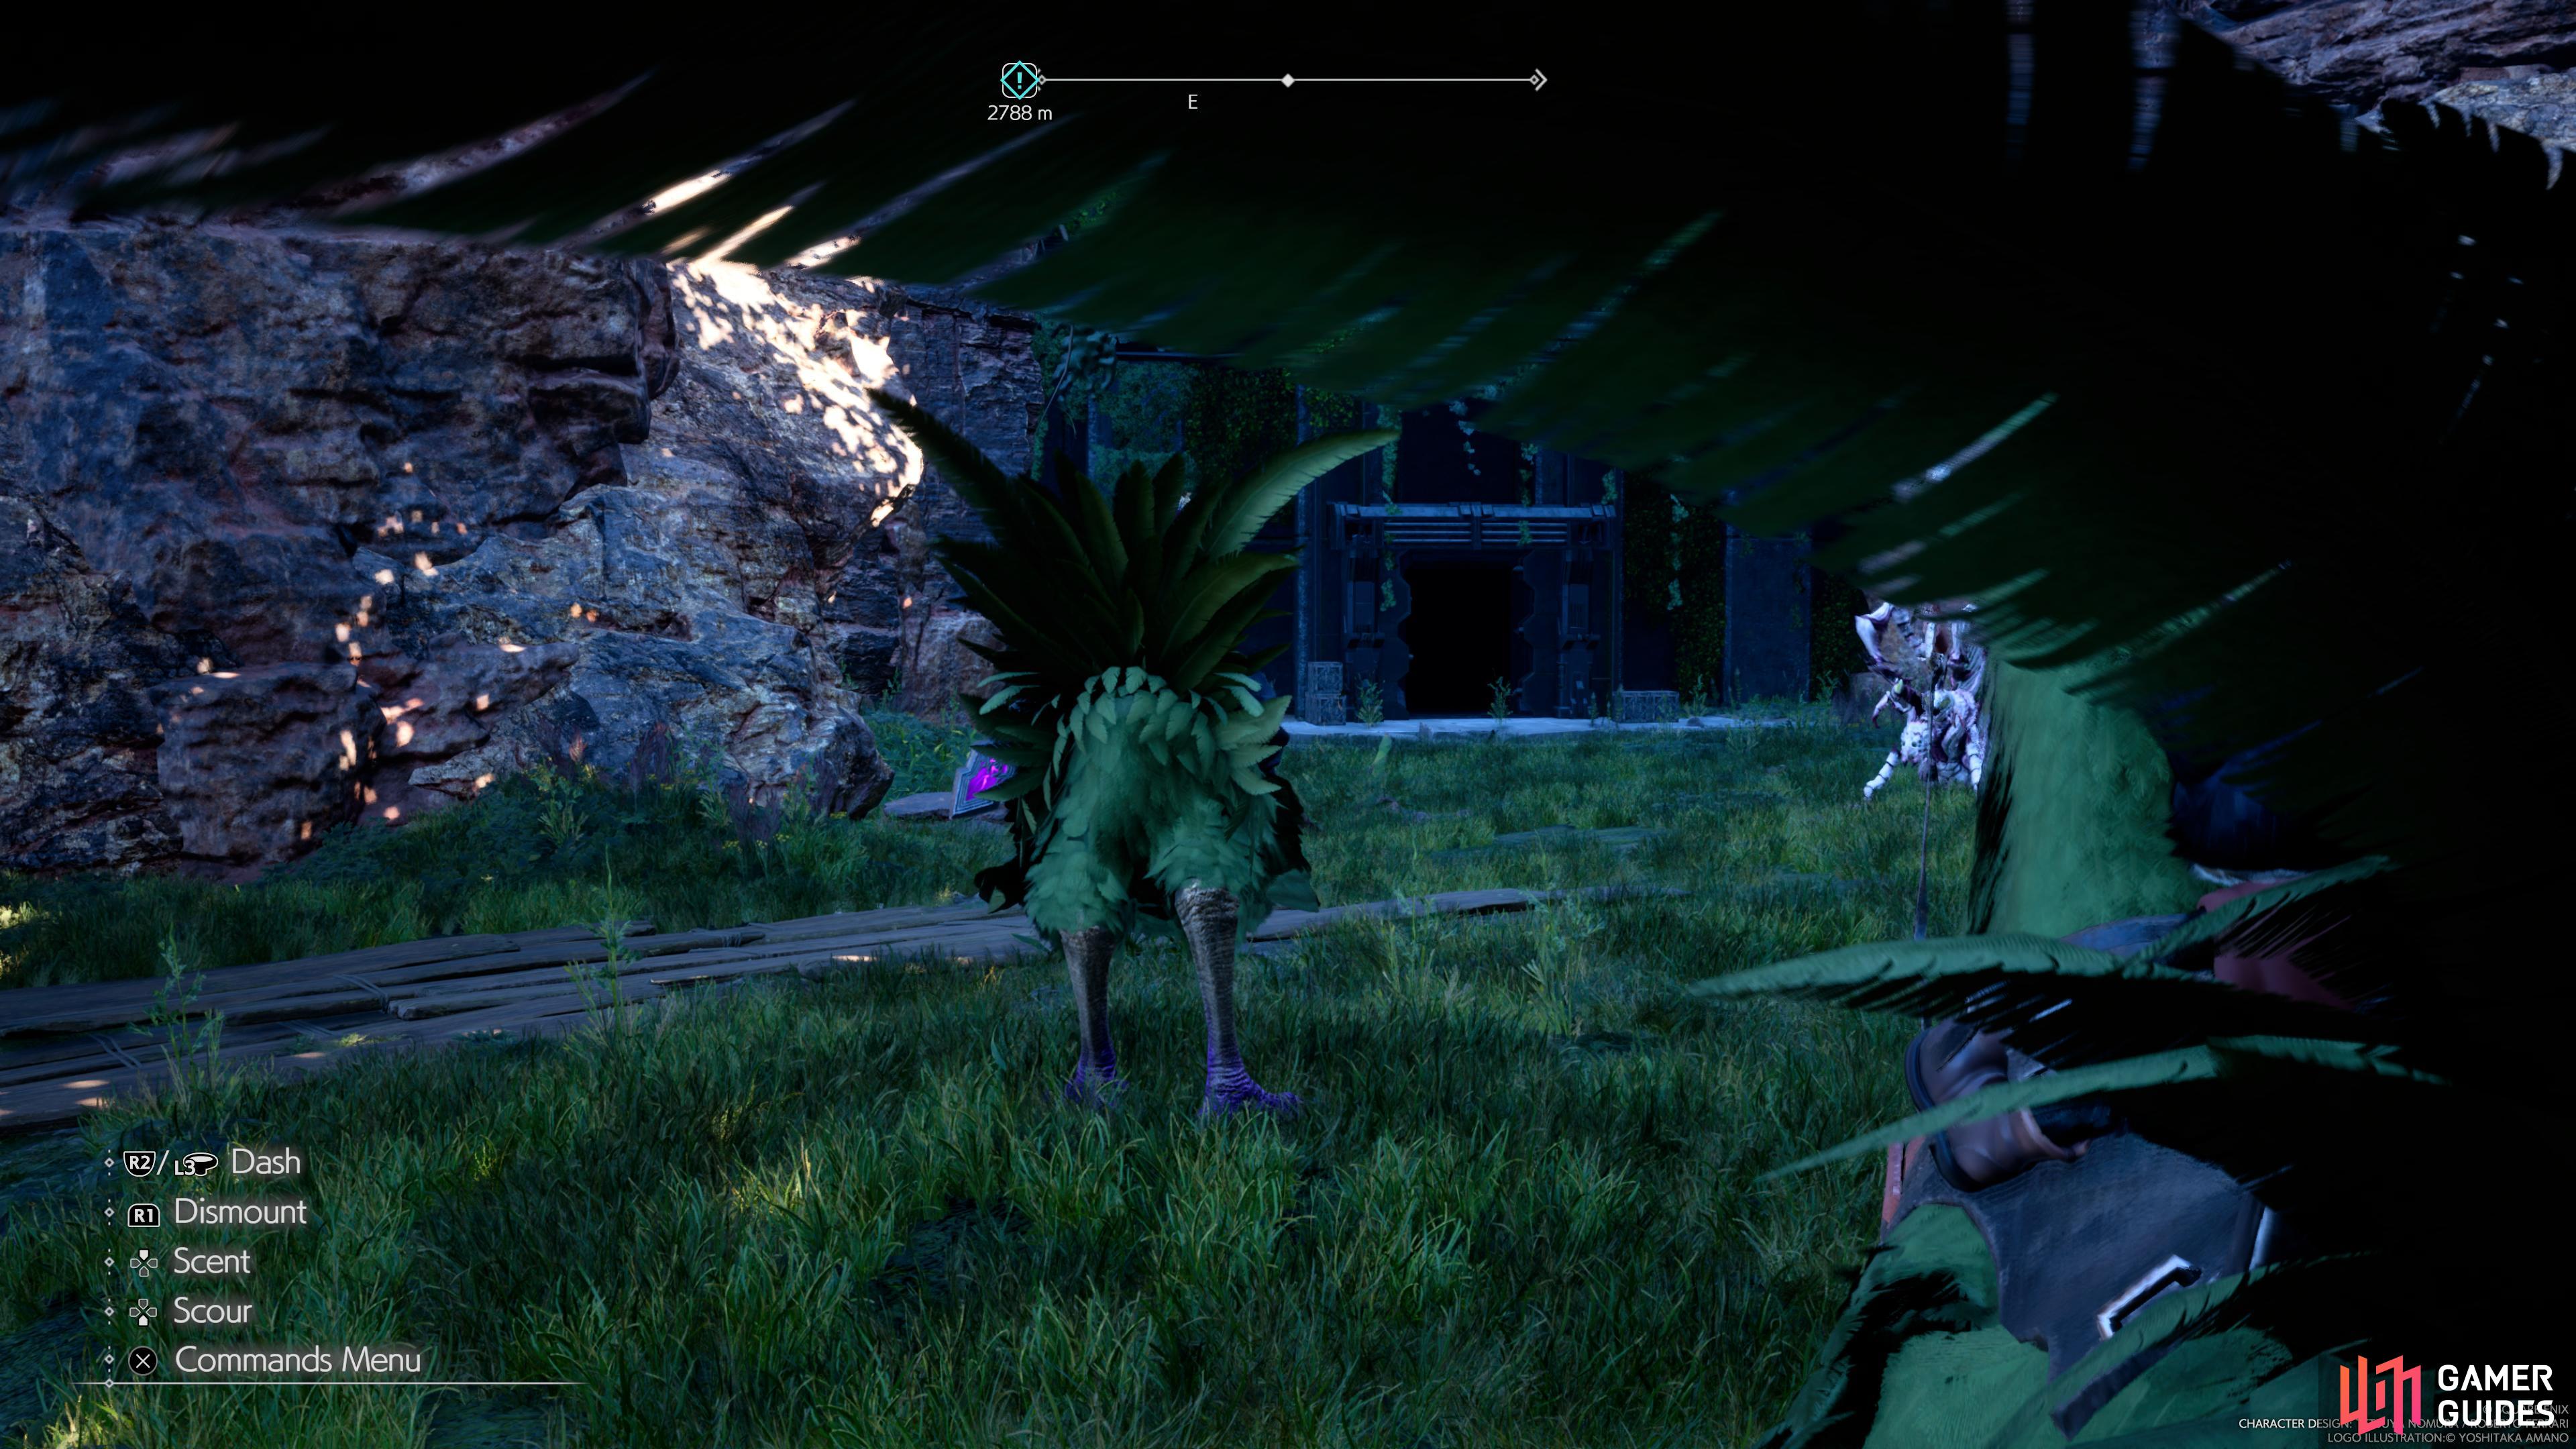
Head to the northeast of Gongaga (left), to find the third. Phenomenon Intel (right)
| Round | Enemies |
|---|---|
| 1 | |
| 2 | |
| 3 | Slug-Ray, Flametrooper |
Phenomenon Intel 3: His Personal Escorts can be found to the southeast of the Gongaga Port Fast Travel. It can be reached by following the path to the south of the port and then jumping across the gap via the mushroom.
Round 1
The first round of the Phenomenon Intel 3: His Personal Escorts will make you fight some ![]() Riot Troopers, Grenadiers, and Security Troopers. These are all weak to fire, so you can take them down relatively quickly with Cloud’s Firebolt Blade. However, Riot Troopers have shields which they can use to deflect any incoming damage from the front, so you’ll need to hit them in the back.
Riot Troopers, Grenadiers, and Security Troopers. These are all weak to fire, so you can take them down relatively quickly with Cloud’s Firebolt Blade. However, Riot Troopers have shields which they can use to deflect any incoming damage from the front, so you’ll need to hit them in the back.
Round 2
Round 2 will consist of ![]() Elite Grenadiers and Slug-Rays. We recommend that you deal with the Elite Grenadiers first as they are less lethal out of the two enemies, then you’ll want to focus on one
Elite Grenadiers and Slug-Rays. We recommend that you deal with the Elite Grenadiers first as they are less lethal out of the two enemies, then you’ll want to focus on one ![]() Slug Ray at a time. You can easily pressure them by using lighting-based spells such as Thundara and then finish them off with Cloud’s Braver attack.
Slug Ray at a time. You can easily pressure them by using lighting-based spells such as Thundara and then finish them off with Cloud’s Braver attack.
Round 3
The third round is more of a survival type round, so you’ll want to keep your distance by playing as Barret or Yuffie while hitting their elemental weakness and then make sure your health is constantly topped up until the timer reaches 0.
Phenomenon Intel 4: The Deadliest Game
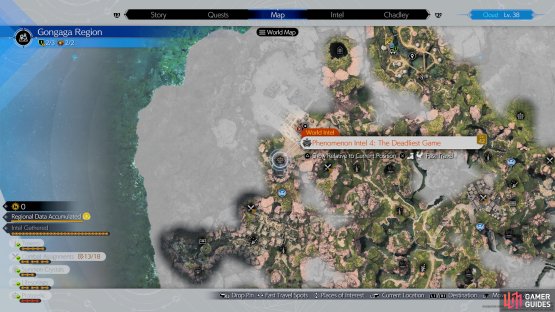
(1 of 2) Head to the west of Gongaga
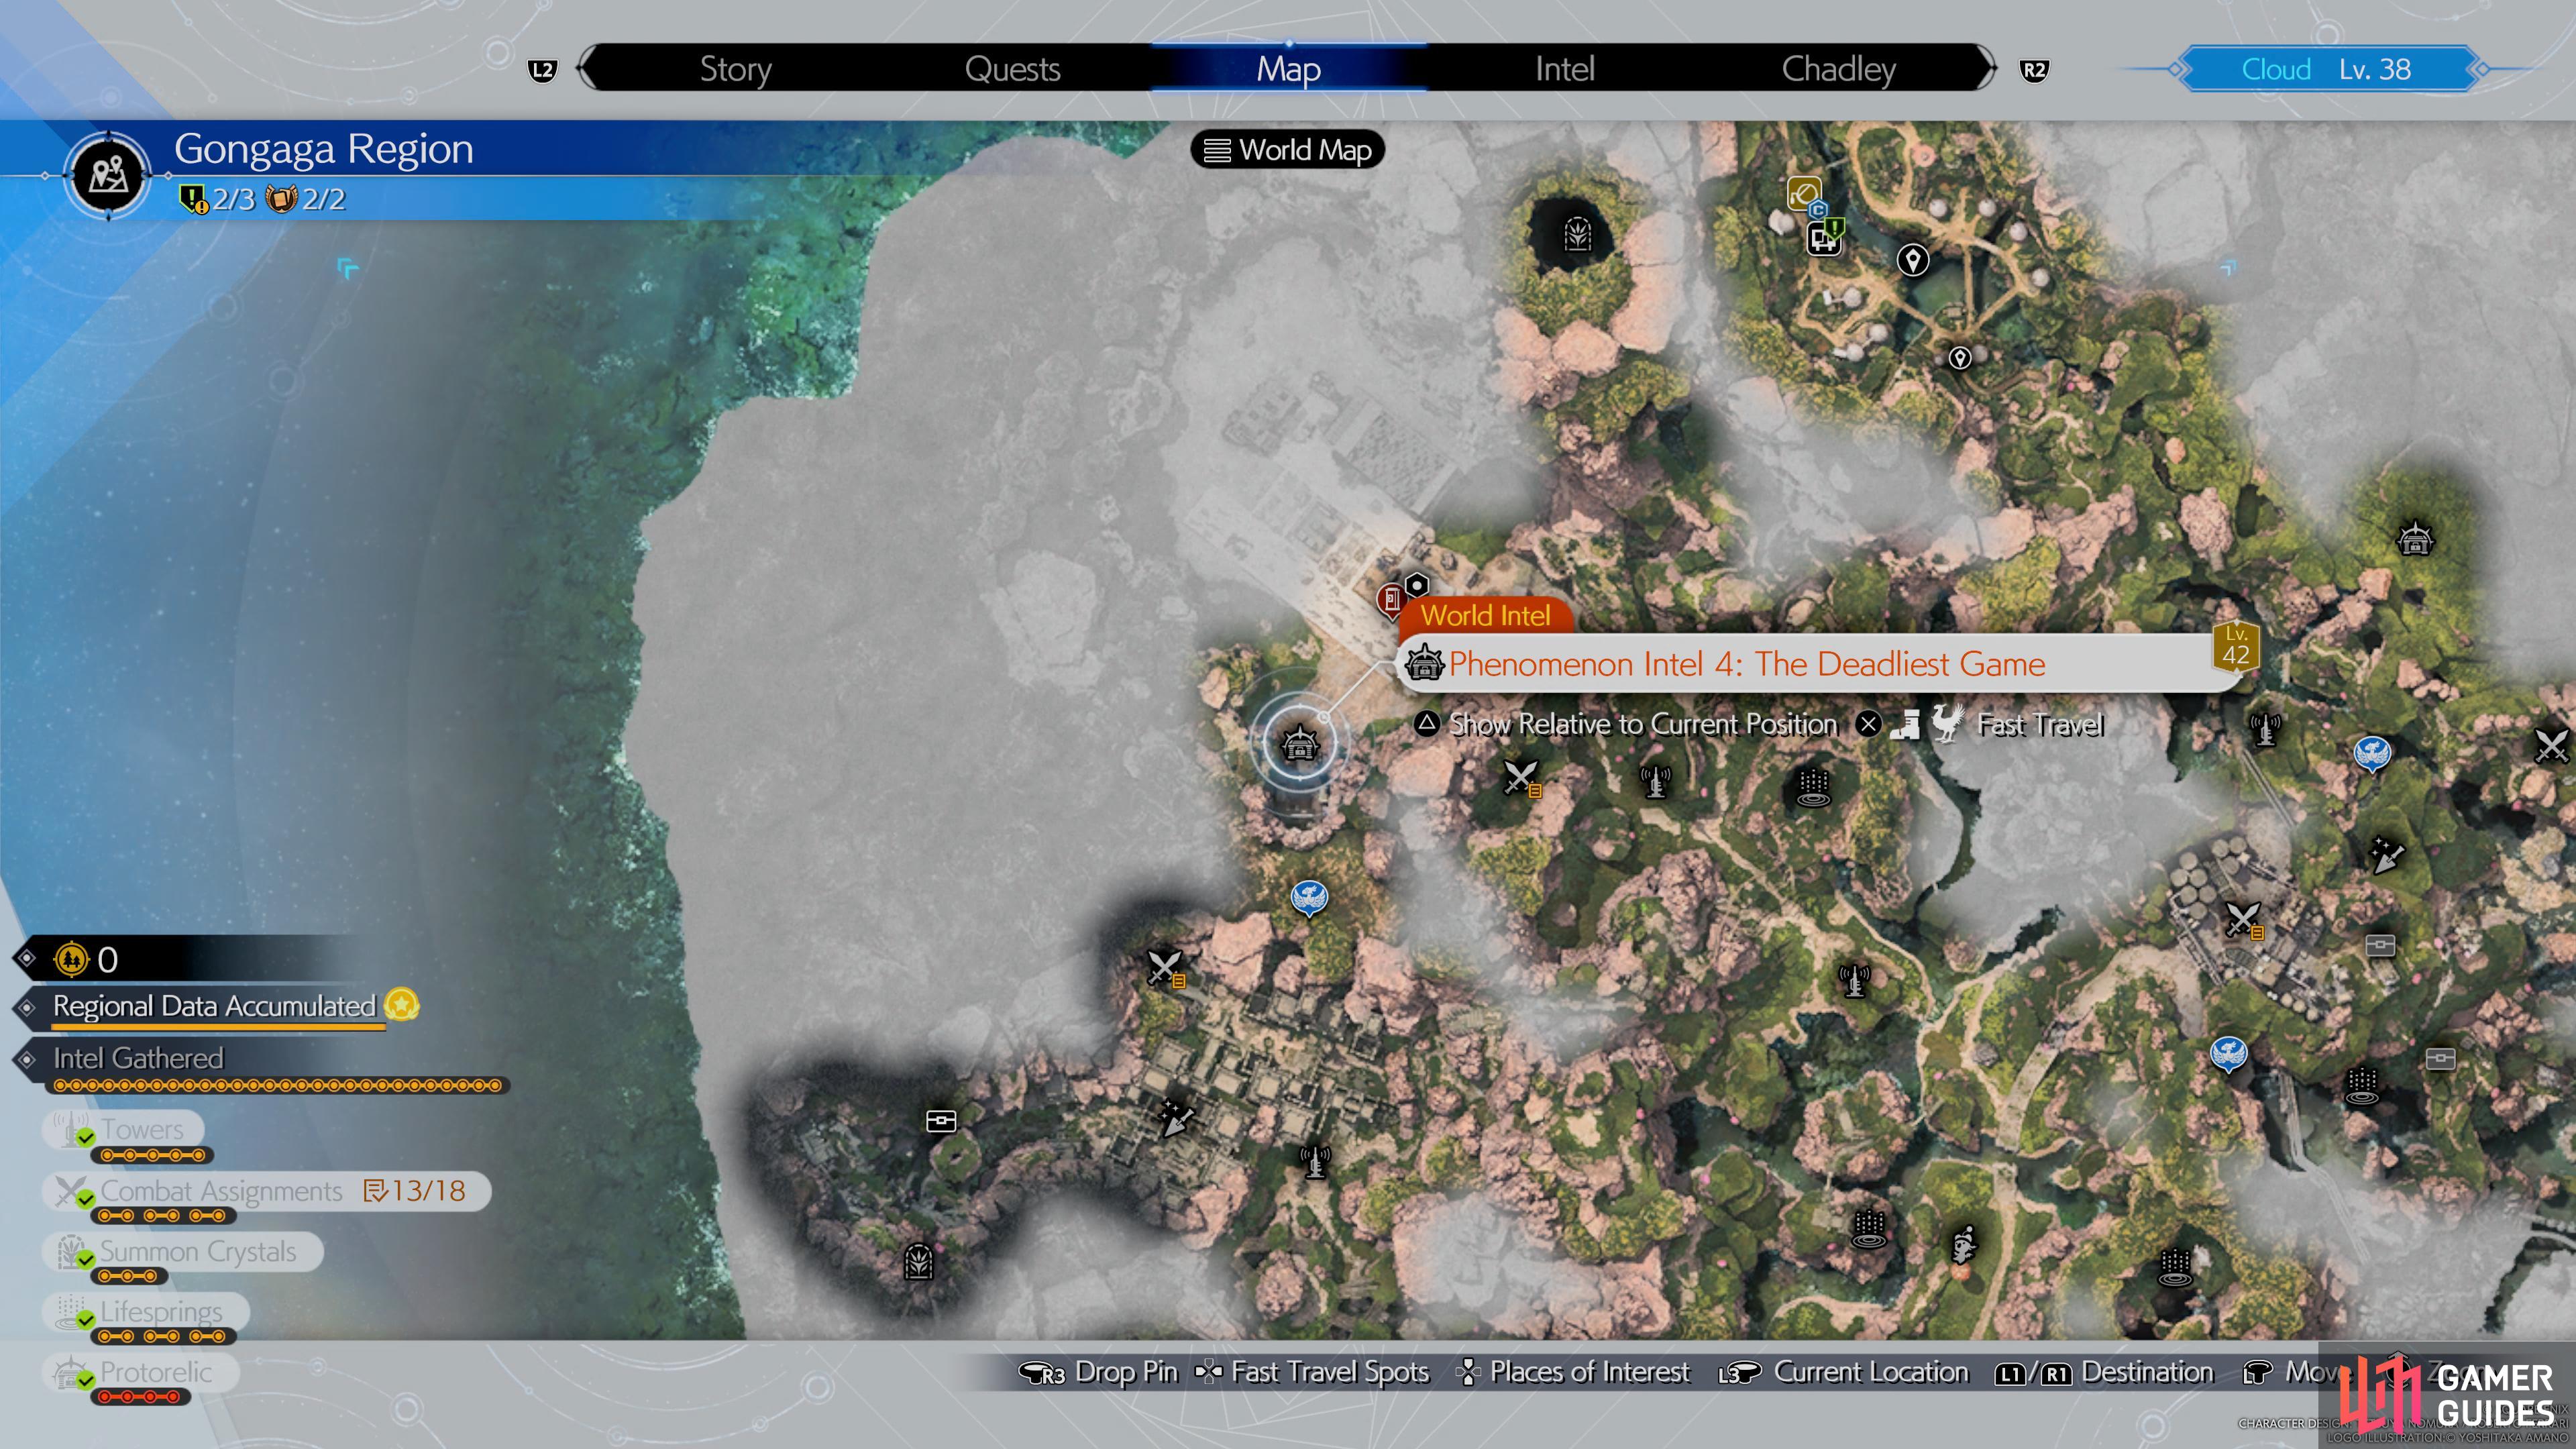
Head to the west of Gongaga (left), to find the fourth Phenomenon Intel. (right)
The Phenomenon Intel 4: The Deadliest Game can be found to the southwest of the Gongaga Airstrip. This time around you won’t have to take on three rounds of enemies, but you will have to take down ![]() Rude and
Rude and ![]() Elena instead. It can be a tricky encounter, but you can make the battle easier by following the tips in our handy Rude and Elena Boss Guide.
Elena instead. It can be a tricky encounter, but you can make the battle easier by following the tips in our handy Rude and Elena Boss Guide.
More Final Fantasy VII Rebirth Guides
If you’re looking for help in other aspects of Final Fantasy VII Rebirth, then make sure to check out the pages below:
No Comments