
The Protorelics side activity is one that will span the length of the game in Final Fantasy VII Rebirth. Unlike the ![]() Grasslands, though, the whole Protorelic chain of quests will involve a familiar minigame, if one has played the Intermission DLC for Remake. That minigame is
Grasslands, though, the whole Protorelic chain of quests will involve a familiar minigame, if one has played the Intermission DLC for Remake. That minigame is ![]() Fort Condor, although it’s slightly different in this game. This page will detail the location of each Protorelic spot, as well as give tips and tricks for each round of Fort Condor.
Fort Condor, although it’s slightly different in this game. This page will detail the location of each Protorelic spot, as well as give tips and tricks for each round of Fort Condor.
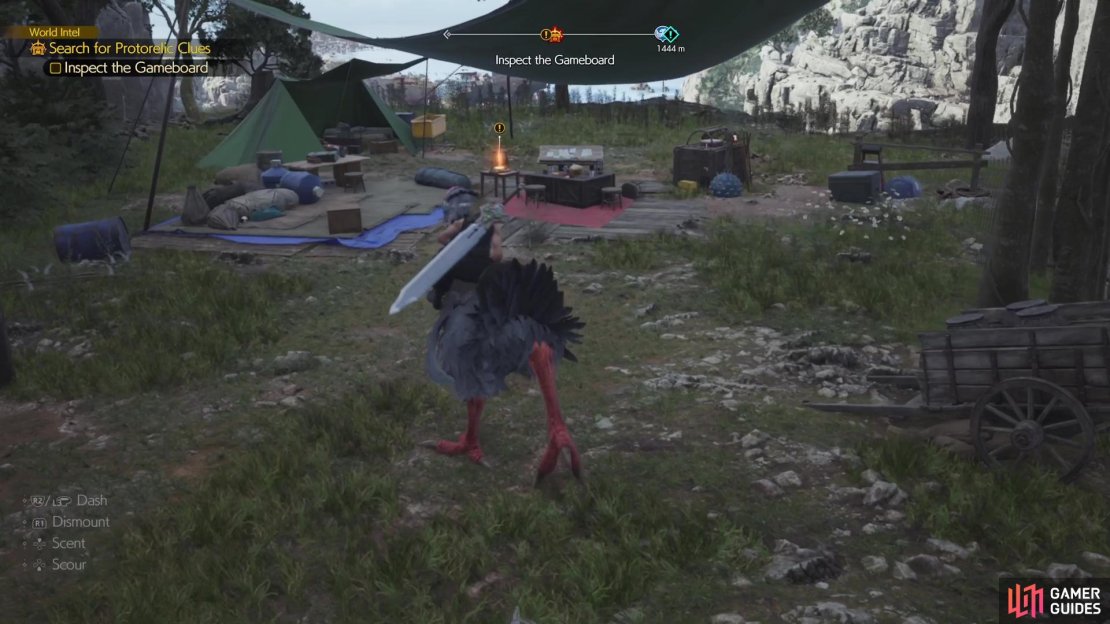
Your party gets sucked into the Fort Condor board game for the Junon Protorelic.
Unlocking the Protorelic Intel in Junon
Before you even start, you will need to do two things. The first is to unlock the Junon region’s Chocobo, which won’t take too long. The chocobo will be needed to reach some of the Protorelic spots. The second is to activate one of the towers in the region. Doing the latter will make Chadley chime in about the location of the Protorelic in this area, with the first spot being pinpointed on your map.
How to Play Fort Condor
The minigame in Rebirth plays a little differently than in Intermission. First and foremost, the minigame is contained to the various spots in Junon and you don’t get to play against random NPCs. You also won’t need to purchase anything with your gil to try and give an edge to yourself, as all units are provided to you. Your units are divided into Hero Units and Ally Units. The former are special units that you’ll eventually be able to call onto the board, while the Ally Units are your normal ones. Once you have picked a set of both types of units, you can begin playing the minigame.
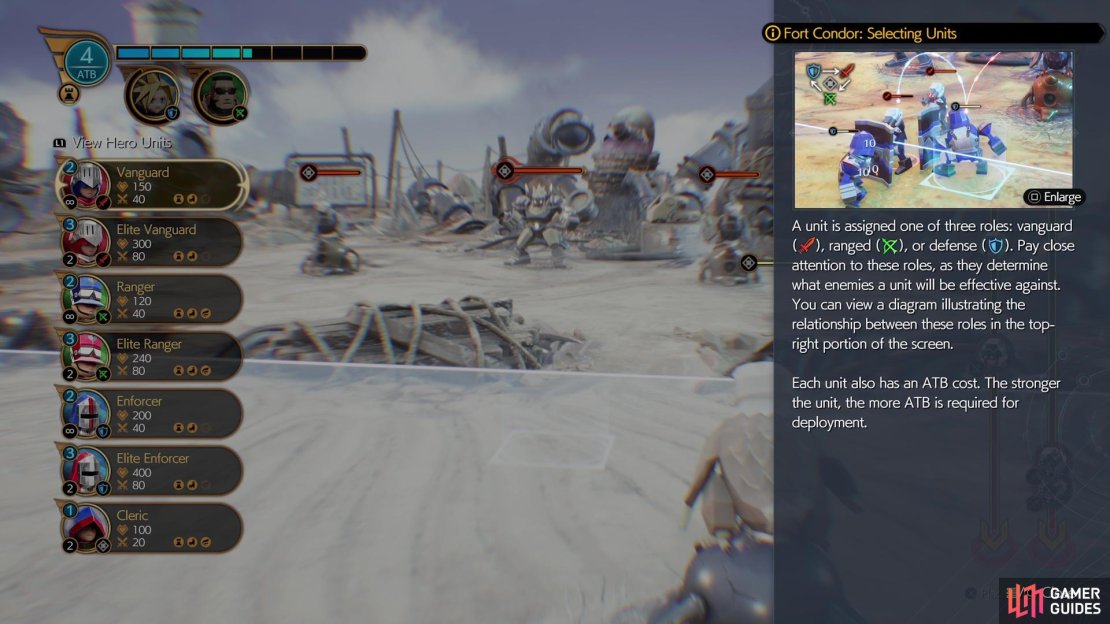
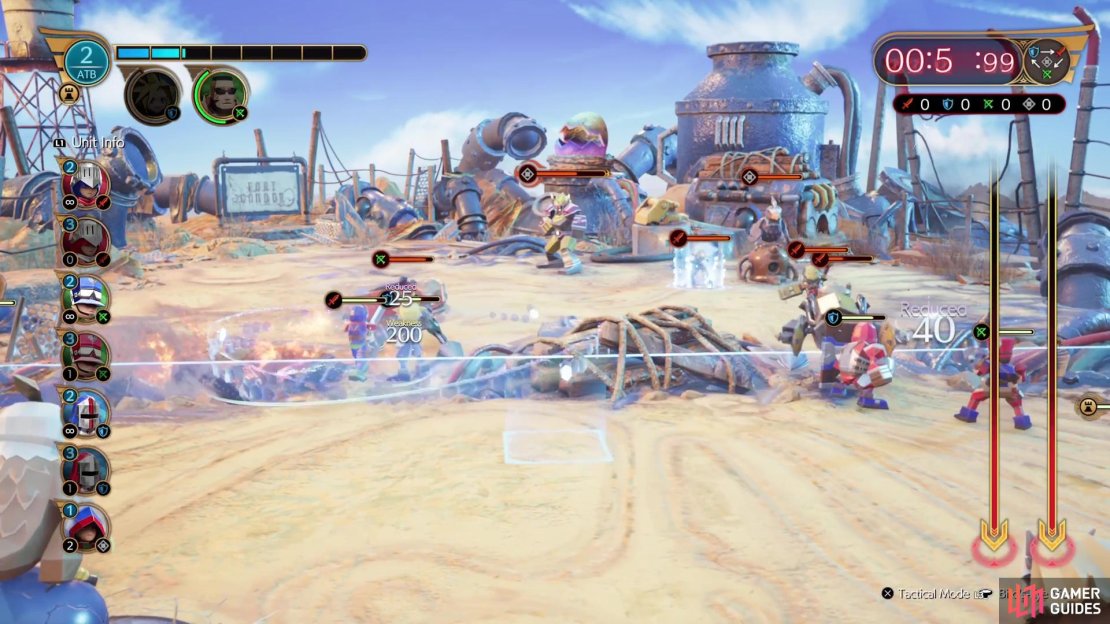
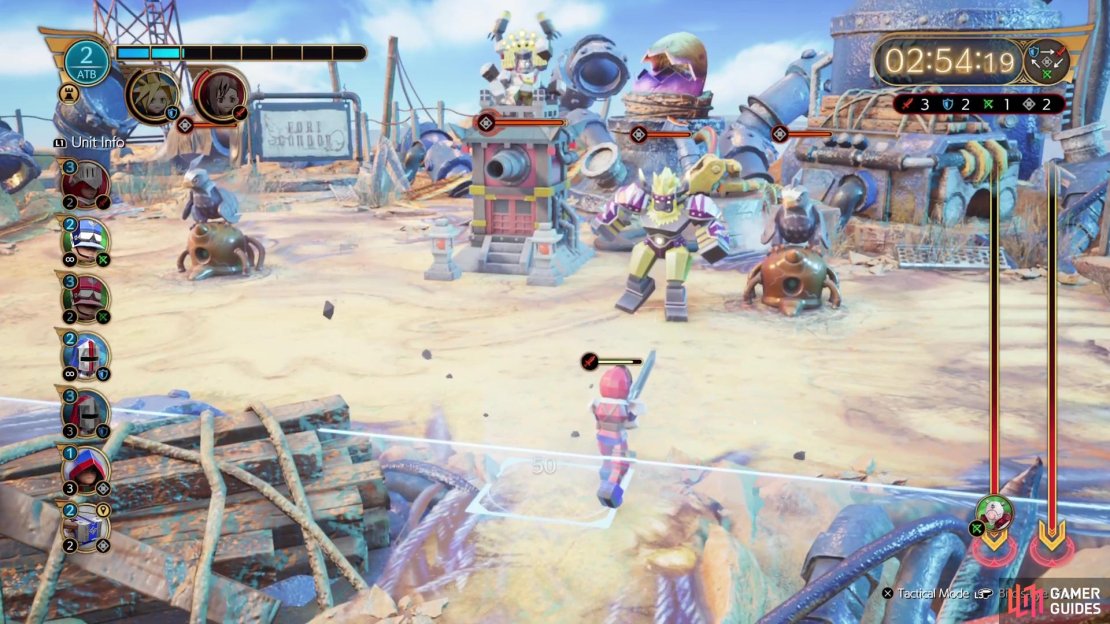
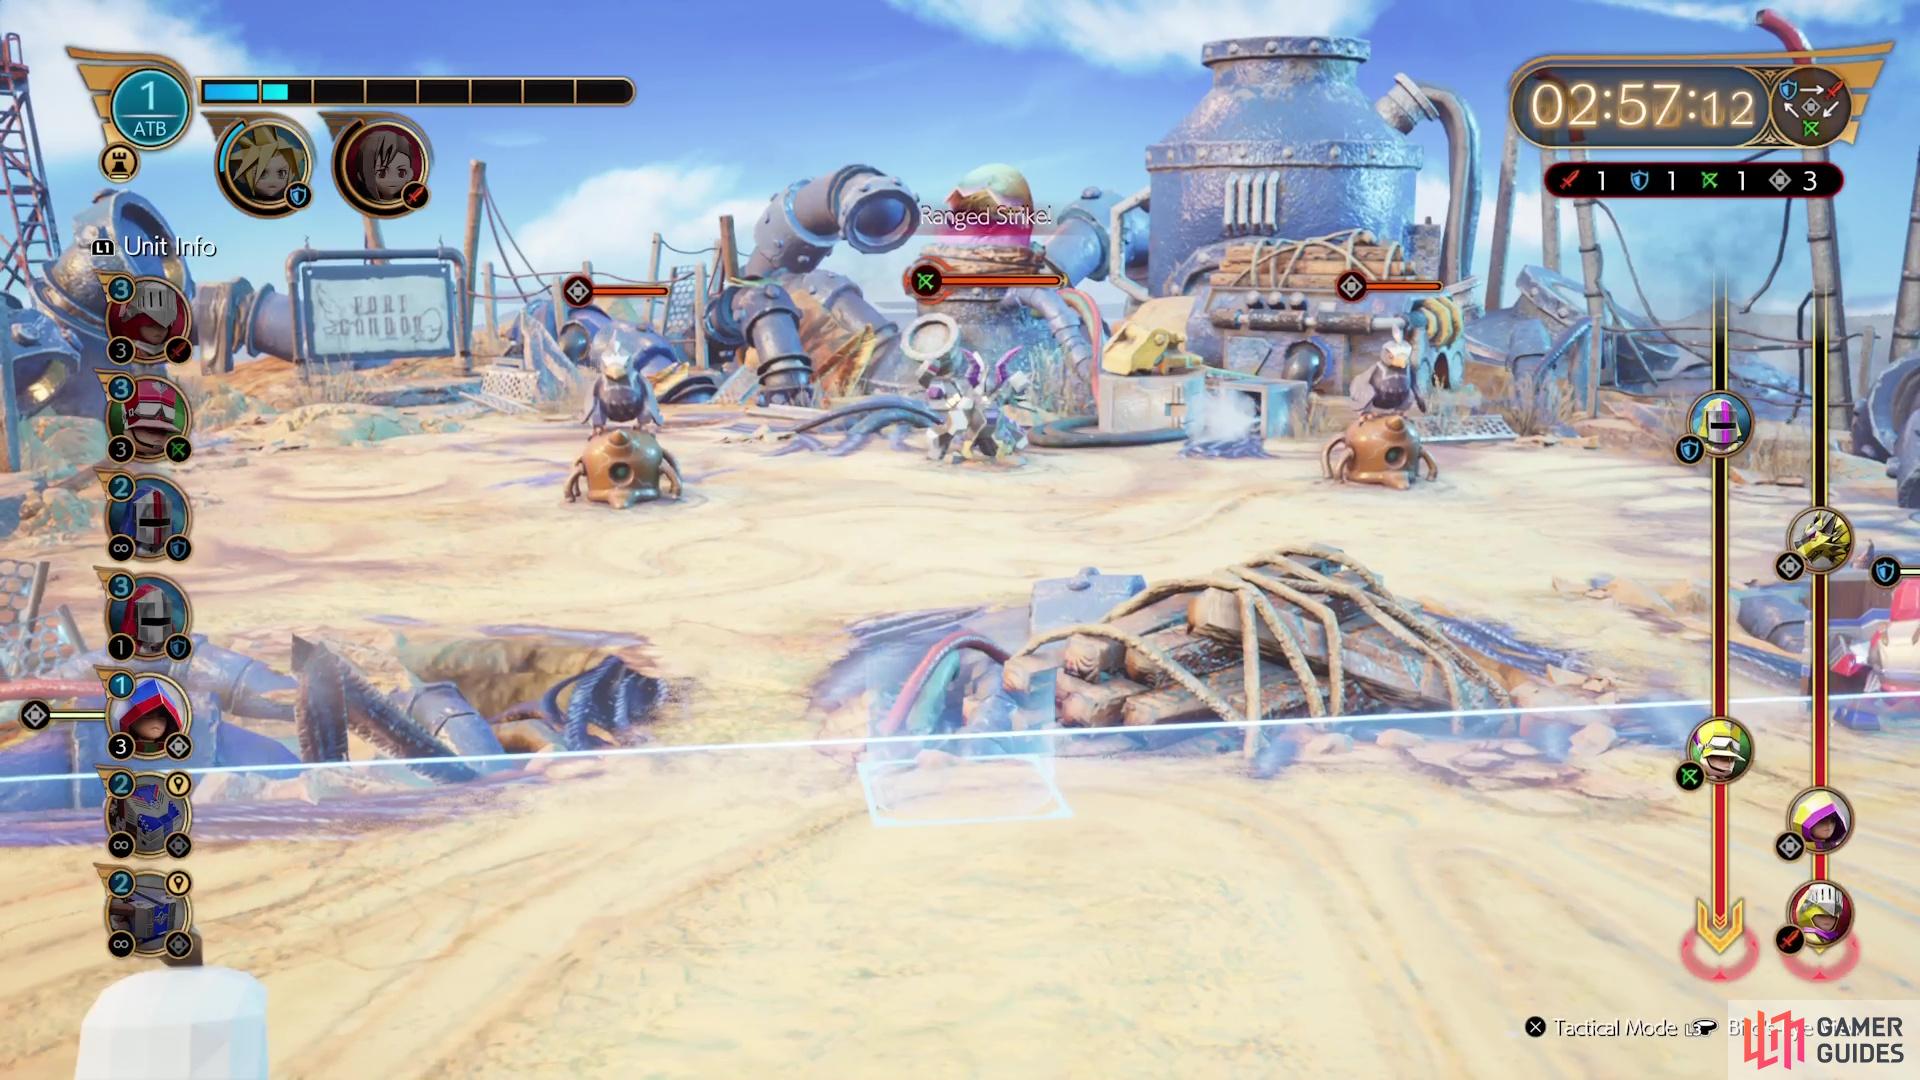
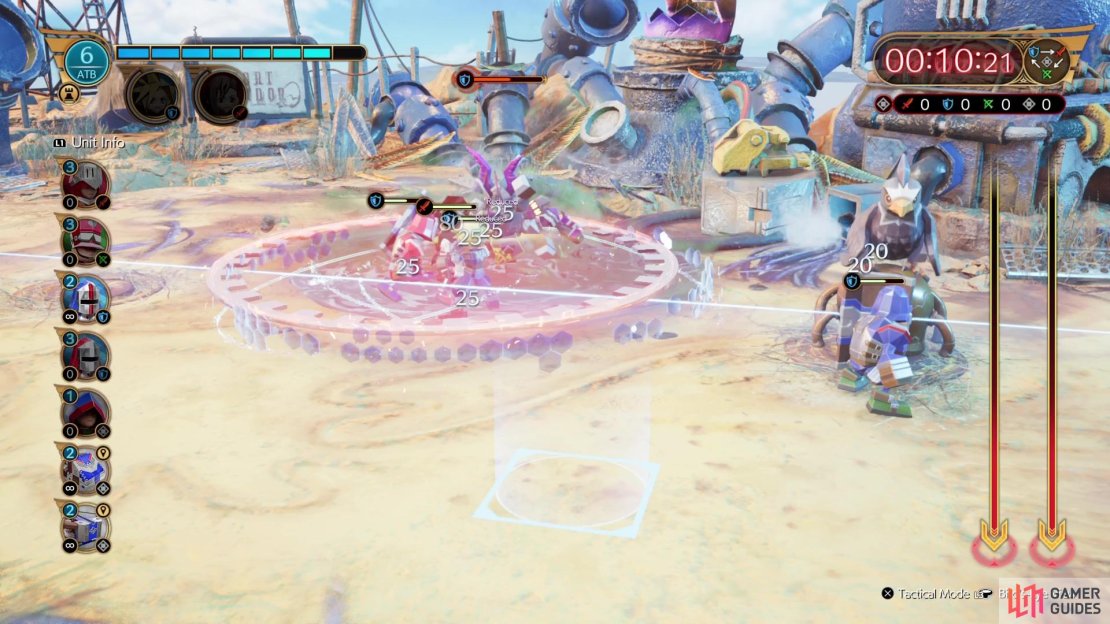
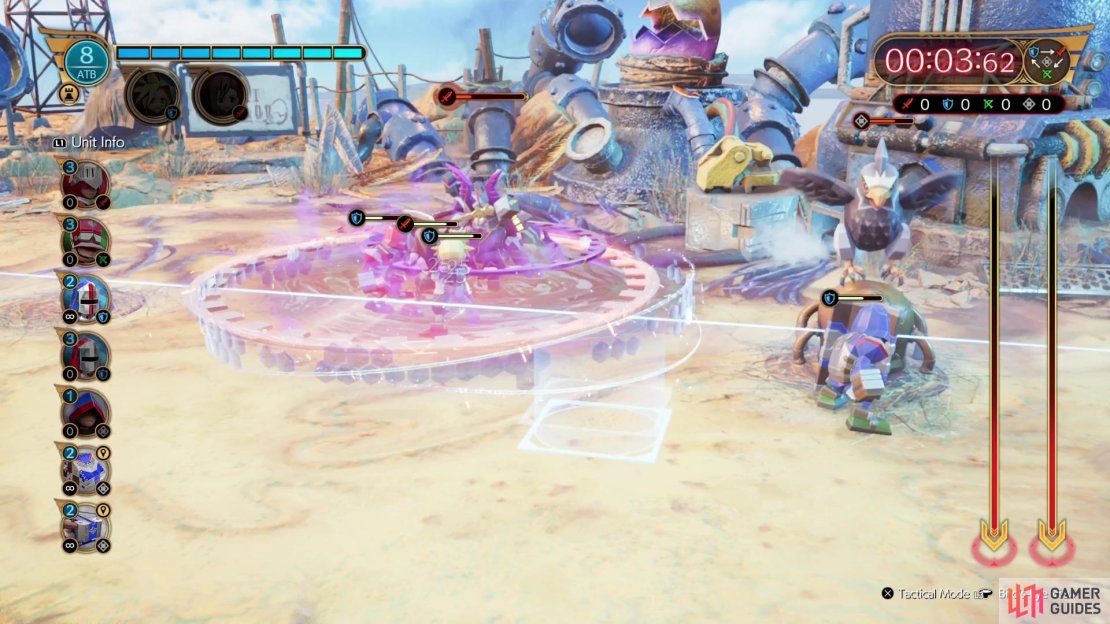
One of the first things you should know is if the timer reaches zero, then you automatically lose, no matter if the enemy HQ has just a sliver of health left. The goal of the minigame is to simply destroy the enemy Headquarters at the top of the map. In order to summon units, you will need ATB, which will gradually increase on its own, as shown in the upper left corner of the screen. Each unit will require a specific amount of ATB for summoning it, although none of them will exceed 3 ATB. The main units you summon will belong to one of three types, a Vanguard (sword icon), a Ranged (bow icon), or Defender (shield icon).

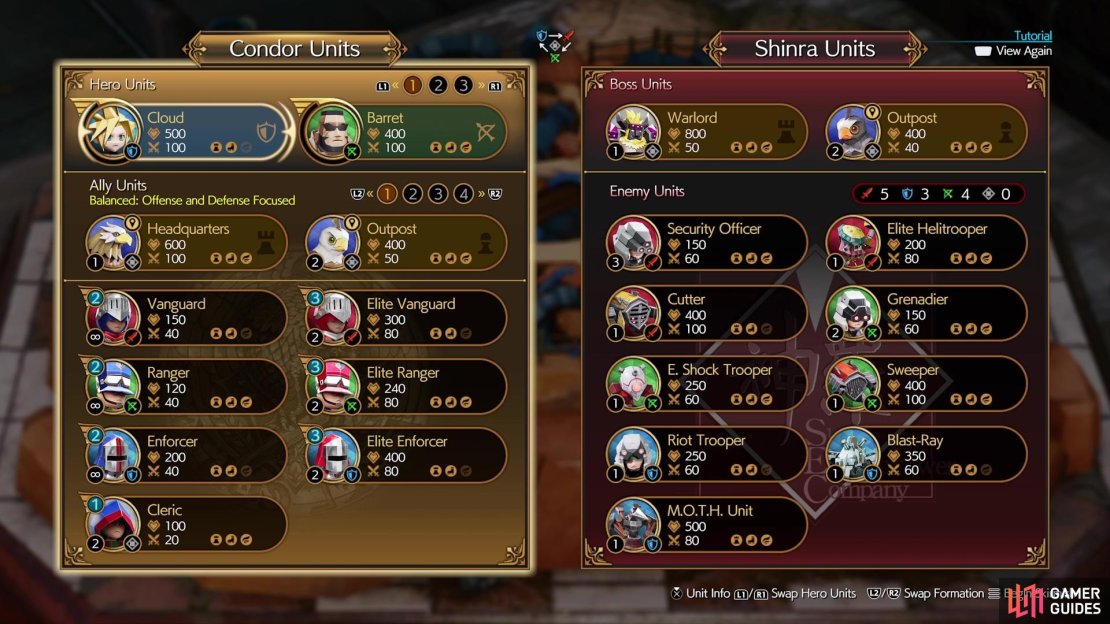
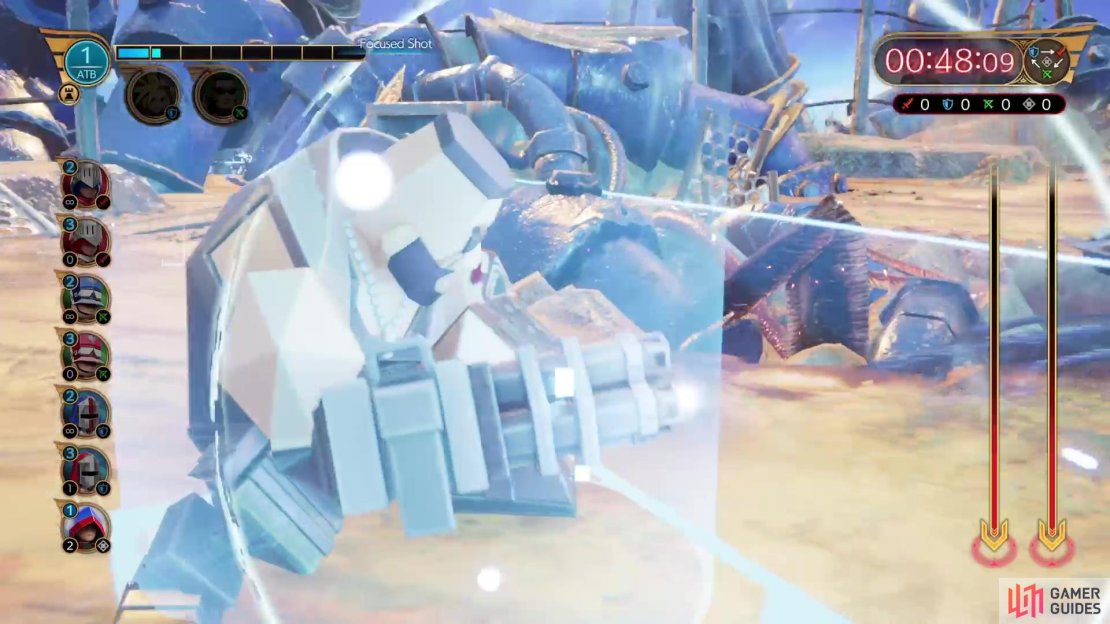
(1 of 5) Prior to each stage, you have the option to pick from groups of preset units.
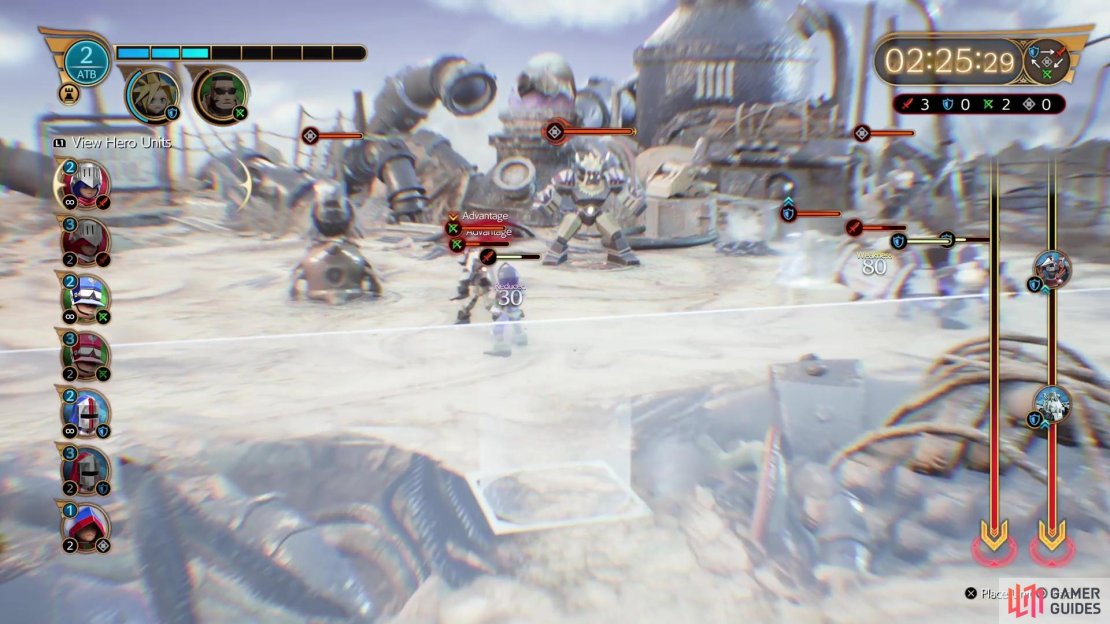
This sets up a weapon triangle system, where Vanguards are weak to Defenders, Ranged weak to Vanguards, and Defenders weak to Ranged. There are some other units that don’t fall under any of these types, marked with some grey icon; they are neither weak nor strong against the above. On the right side of the screen will be a bar that shows units approaching the bottom, which will be the enemy units. So, you will be able to tell which units the enemy will be playing during each of the games. There is no variation to this, so the computer will do the same thing every single time.
Protorelic: Fort Condor Stage 1
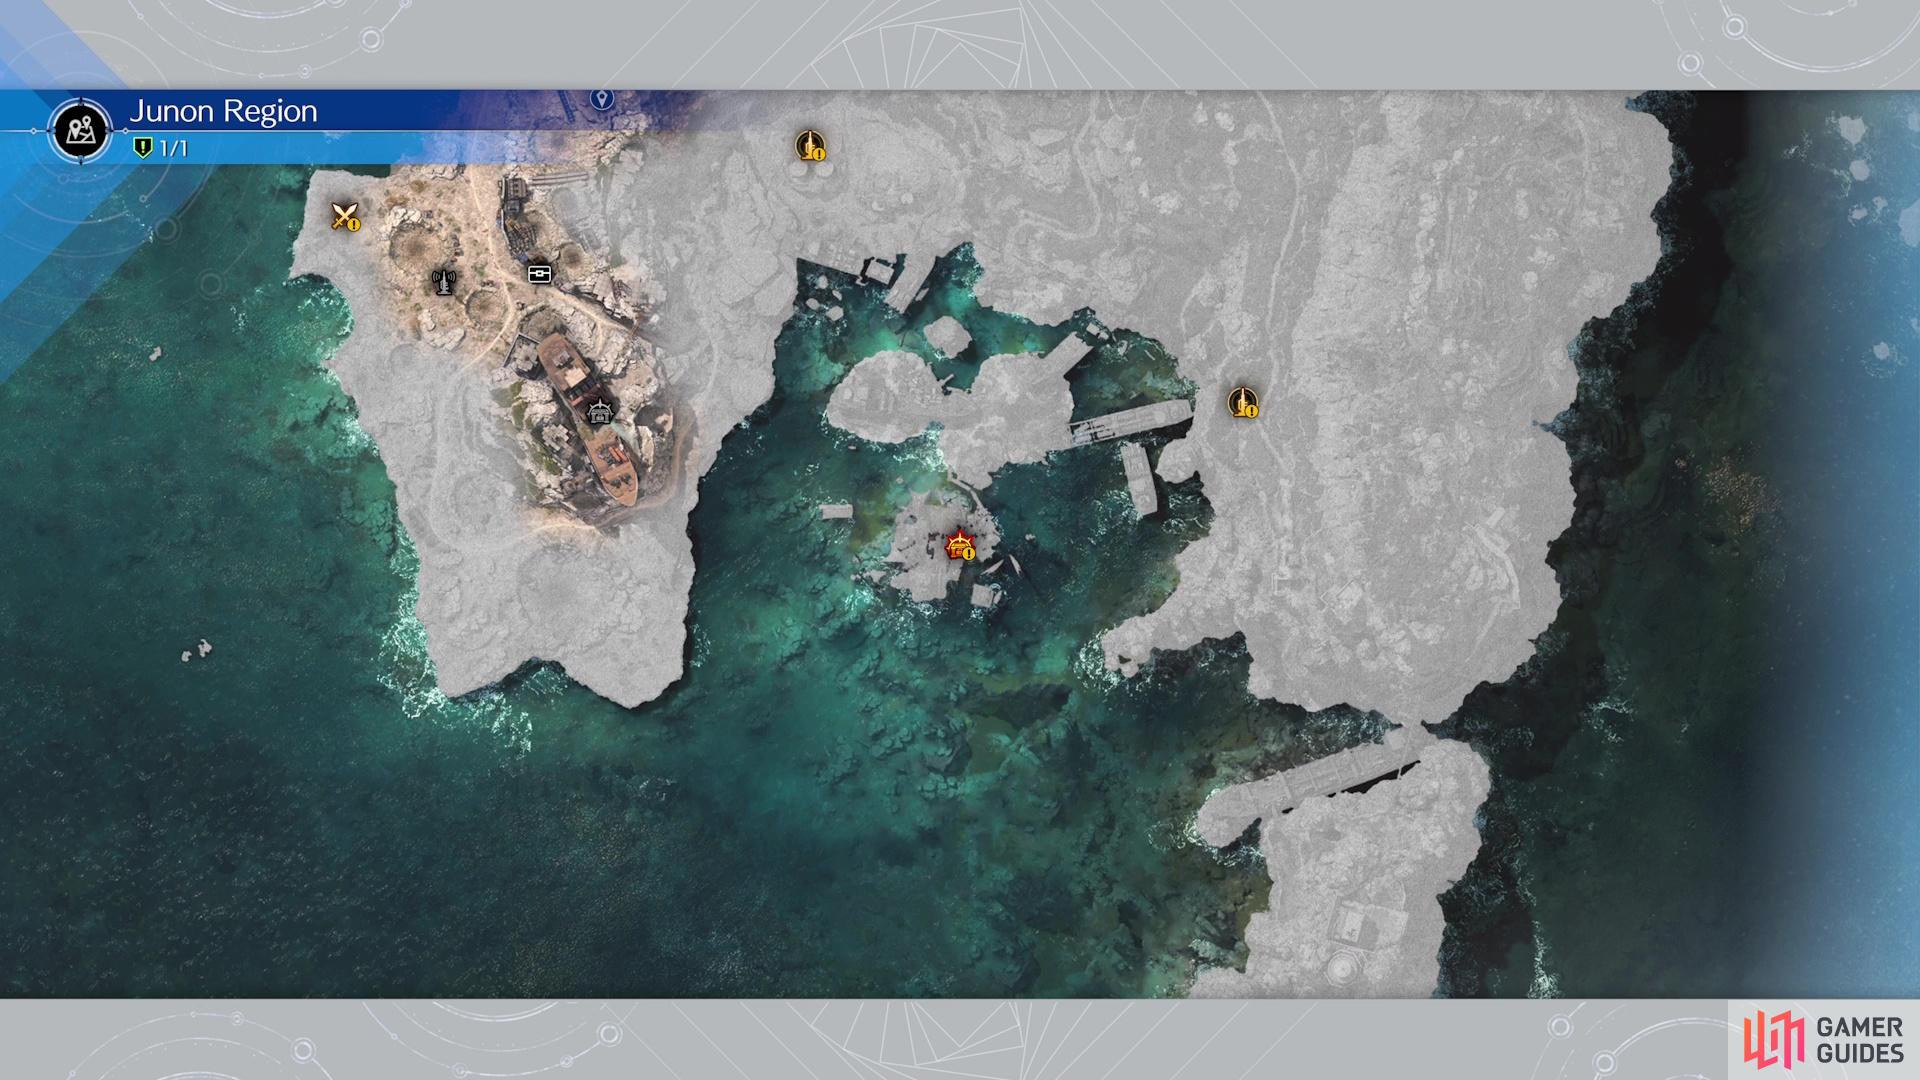
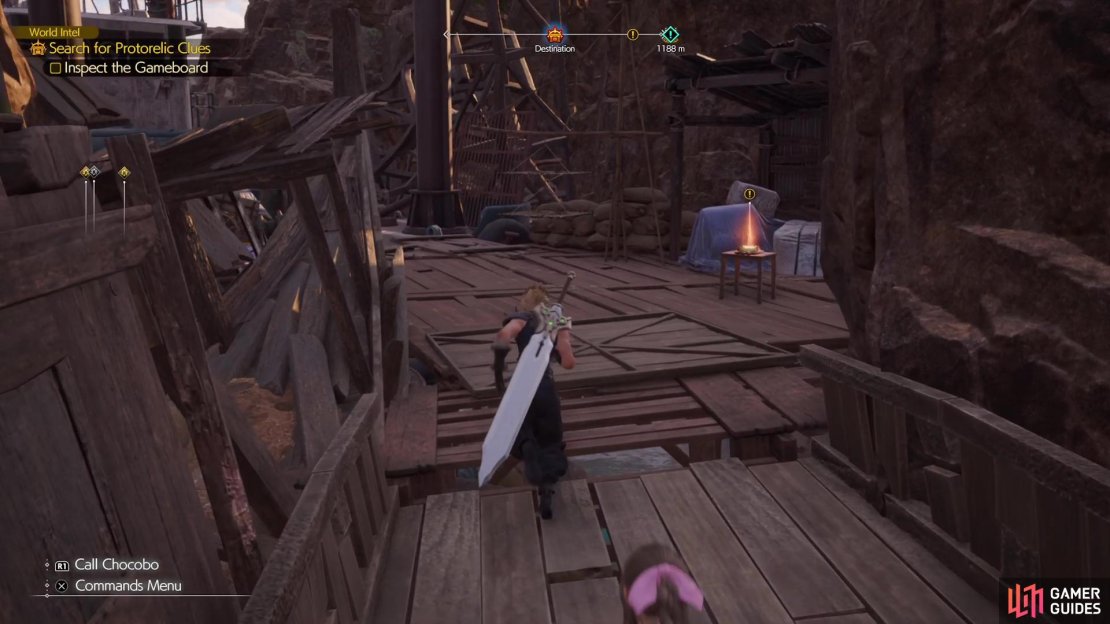
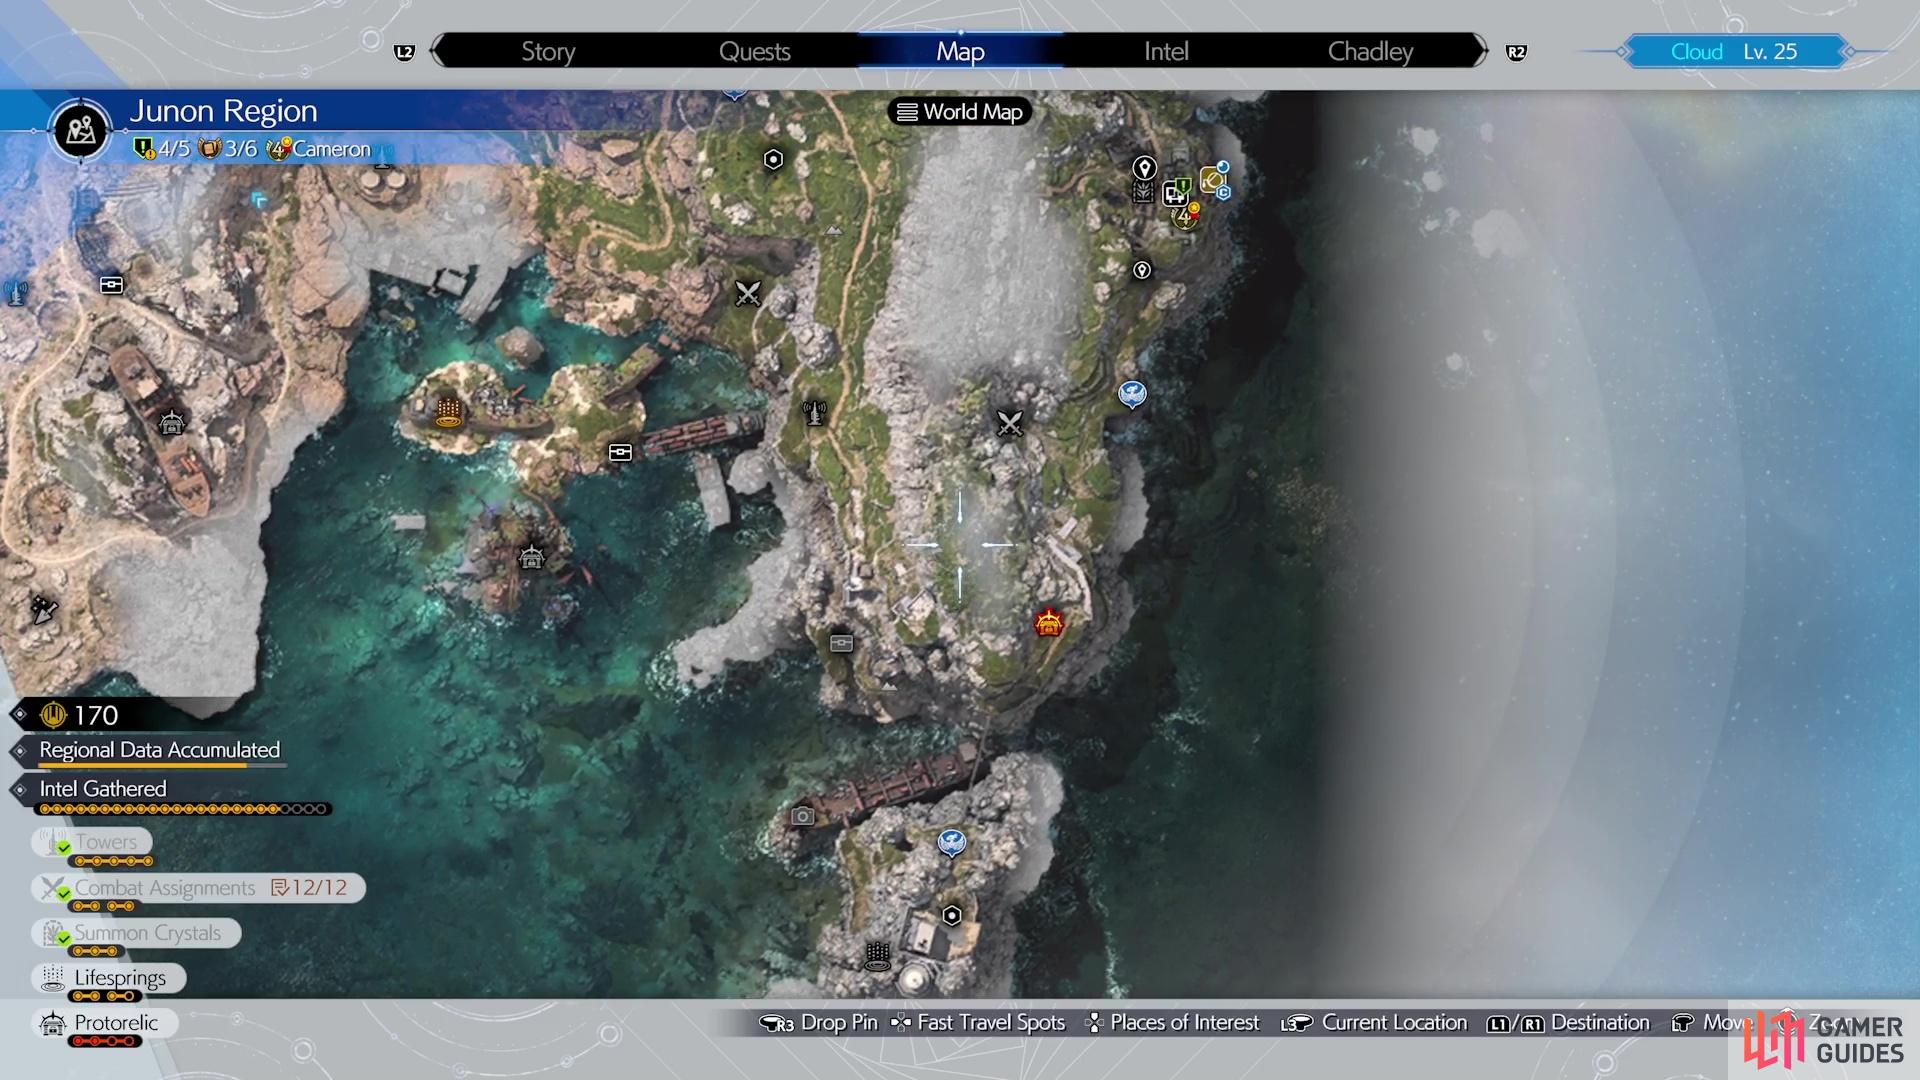
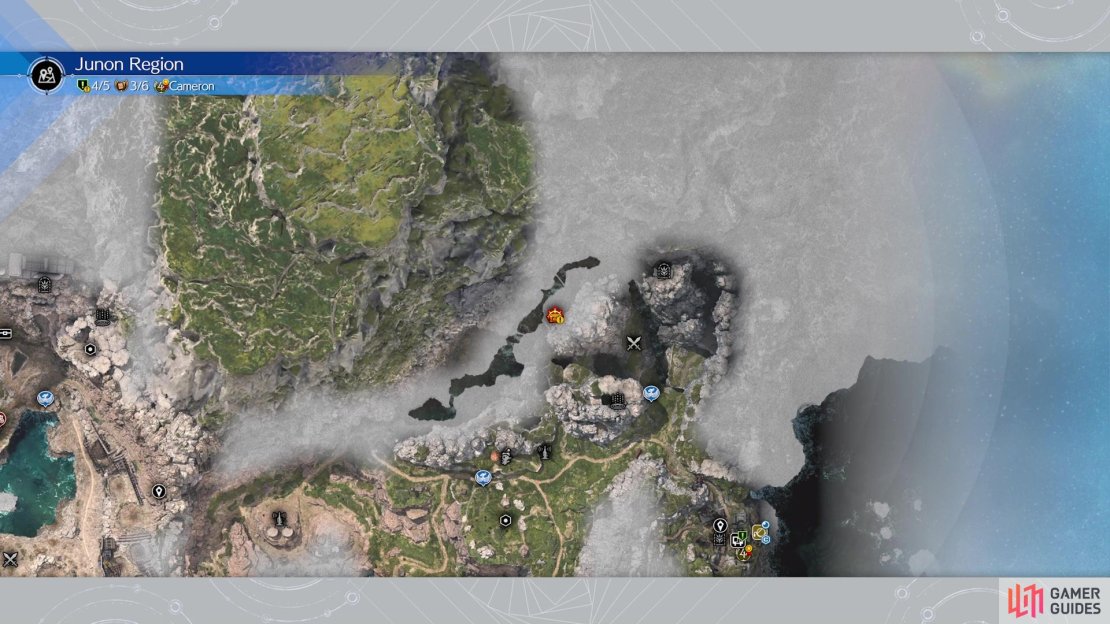
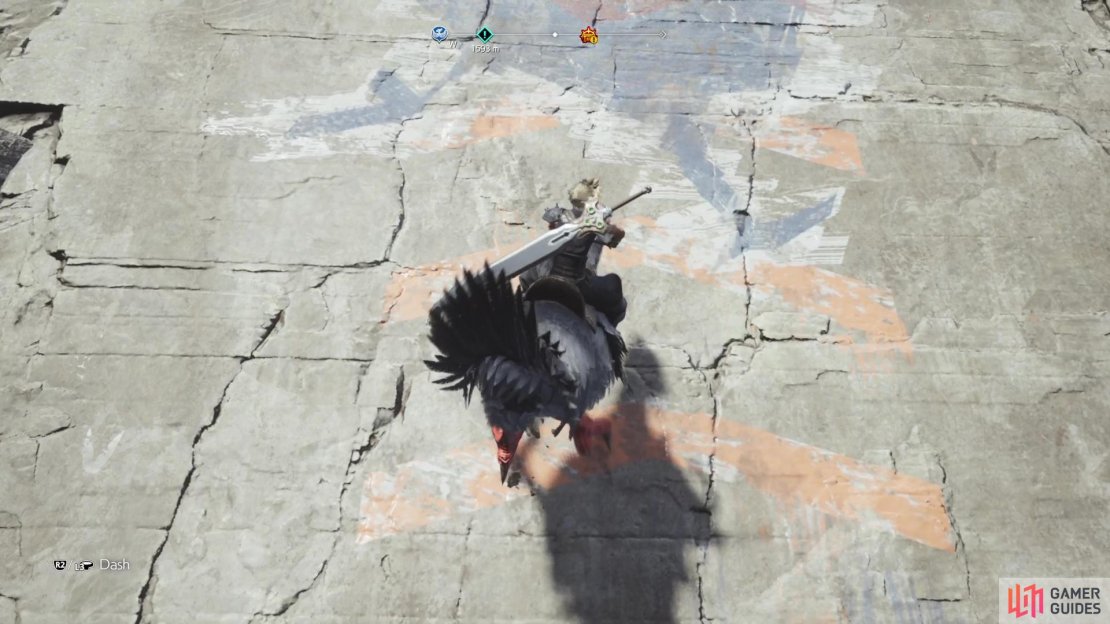
The first Protorelic location is southeast of Tower 2: Buffeted Cape Tower. From the tower, head east up the hill, then take the detour route heading south. This will bring you around the ship here and into the middle portion, where you will find the Protorelic. As the conversation carries on, your party gets sucked into the Fort Condor game and becomes a part of it.

(1 of 3) The location of the first Protorelic challenge on the map.
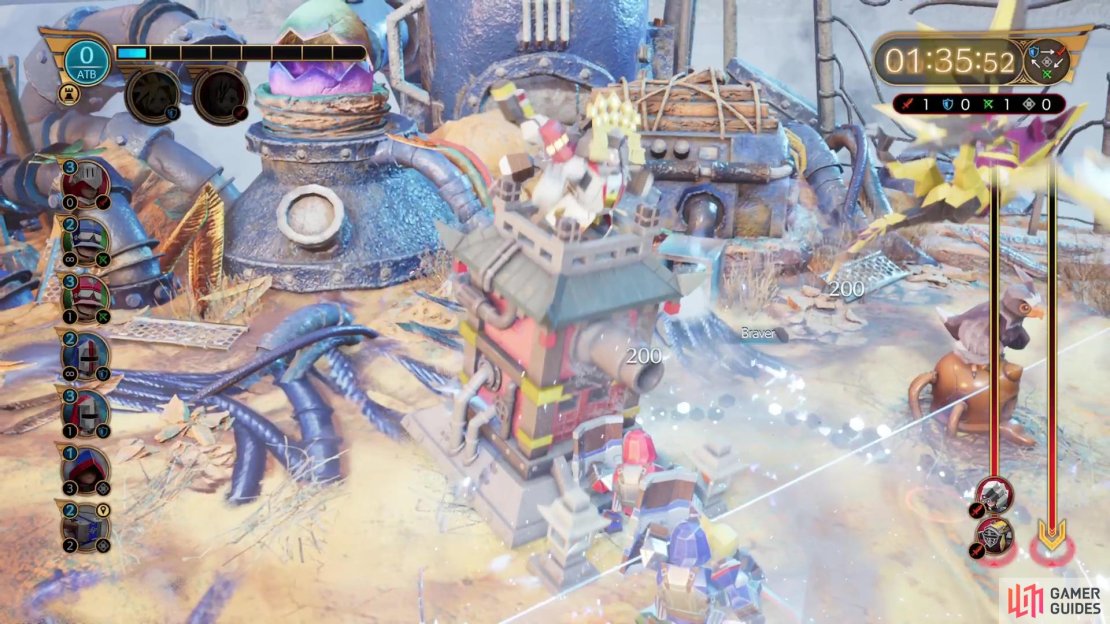
Being the first one, this one will be fairly easy to complete, so you can get away with the first option for both Hero and Ally Units. One thing to remember with the normal levels for Fort Condor is that you have unlimited troops for the non-elite units, so as long as you have the ATB, you can just continue spamming them. Keep tabs on the right side of the screen, so you know where the enemy units are coming from, which will let you plan accordingly. Also, the upper right contains the “weapon triangle” that you will be using throughout all of the stages.
The important thing to keep in mind is that all of the enemy units will be called into action when there’s only one minute remaining. If you haven’t reached the far end of the map in that time, then chances are you aren’t going to finish in time. Don’t forget that calling the same unit type as your Hero Units will gradually fill up their gauges. Once they’re full, then you’ll be able to summon them into action, knowing full well that they do a special attack immediately.
Protorelic: Fort Condor Stage 2
The second Protorelic location is found in the inlet in the southern portion of the map. This shouldn’t be all too difficult to reach, especially as it’s easy to access this area. The second round will be similar to the first, but there are some key differences. The first set of enemy units will be on the right side, with it ending with an Archfiend. These don’t have any type, so they won’t be weak to anything, but they also aren’t strong against anything, either. The Archfiend is also special, in that it’ll immediately bypass all your normal troops and go straight to your Outpost.


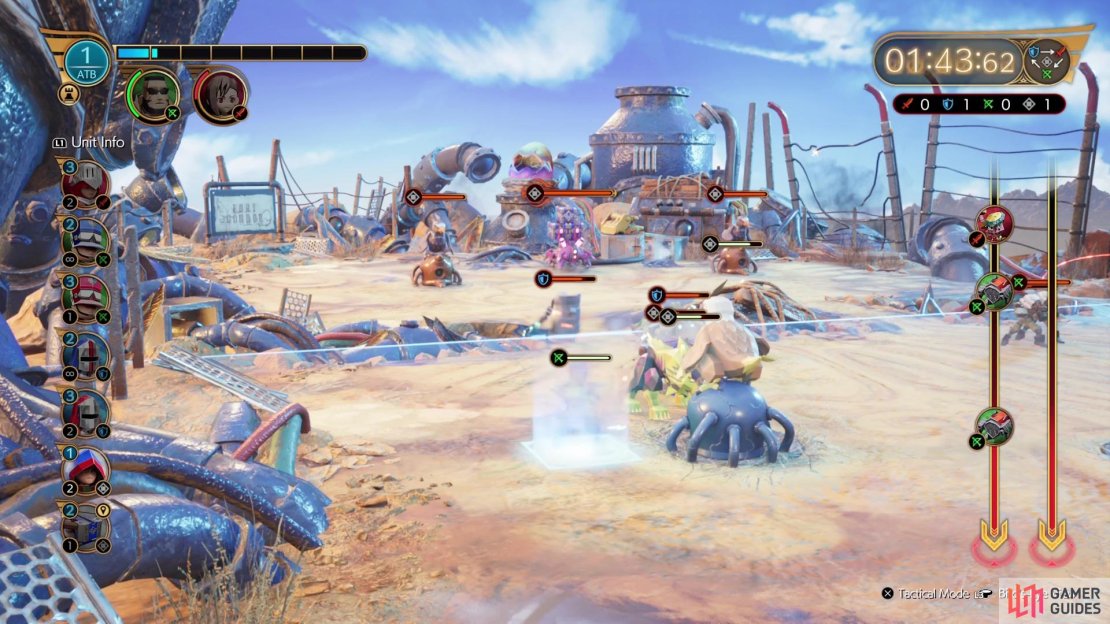

Now, the Outposts can take care of the Archfiends, so you could technically leave them alone, unless you want to minimize the damage done to them. There will be two Archfiends, one of each side, which will be used towards the end of their waves. In the final set of enemies, there will be one more new neutral enemy, the Wyvern. This flying beast isn’t weak or strong against anything, but unlike the Archfiend, it will behave normally and doesn’t have any special behavior.
Protorelic: Fort Condor Stage 3
While it is possible to reach this Protorelic as soon as it’s available, it’s much easier and more direct to wait until you have the When Words Won’t Do quest. This will open up the ![]() Crow’s Nest area on the eastern side of the map, allowing you to easily reach the Protorelic location. The difficulty for Fort Condor will start ramping up here, mostly because of the Gilgacannon Tower that is the main boss unit. There will also be a new enemy unit that debuts here, the Warlord. While not particularly strong, it is quite beefy and has a lot of health.
Crow’s Nest area on the eastern side of the map, allowing you to easily reach the Protorelic location. The difficulty for Fort Condor will start ramping up here, mostly because of the Gilgacannon Tower that is the main boss unit. There will also be a new enemy unit that debuts here, the Warlord. While not particularly strong, it is quite beefy and has a lot of health.
In fact, the Warlord will be the very first unit sent out onto the battlefield, so it might be a good idea to try and get an elite unit out to confront it. Not too long after that will be an Archfiend, then there will be a Wyvern towards the end. One of the reasons that the difficulty has increased is that the main boss can summon reinforcements outside of its initial loadout, so you’ll have more troops to deal with around the boss. The other reason this stage can prove difficult is that the boss uses Death Throes to damage all melee units around it after a certain point.


There’s nothing you can really do about Death Throes, other than try to save ATB to spam some units after the boss uses it. Additionally, you might want to save your Hero Units until you are up against the boss, so you can summon them to get that initial damage boost. If you have to use them outside of that instance to get out of danger, then feel free to do that.
Protorelic: Fort Condor Stage 4
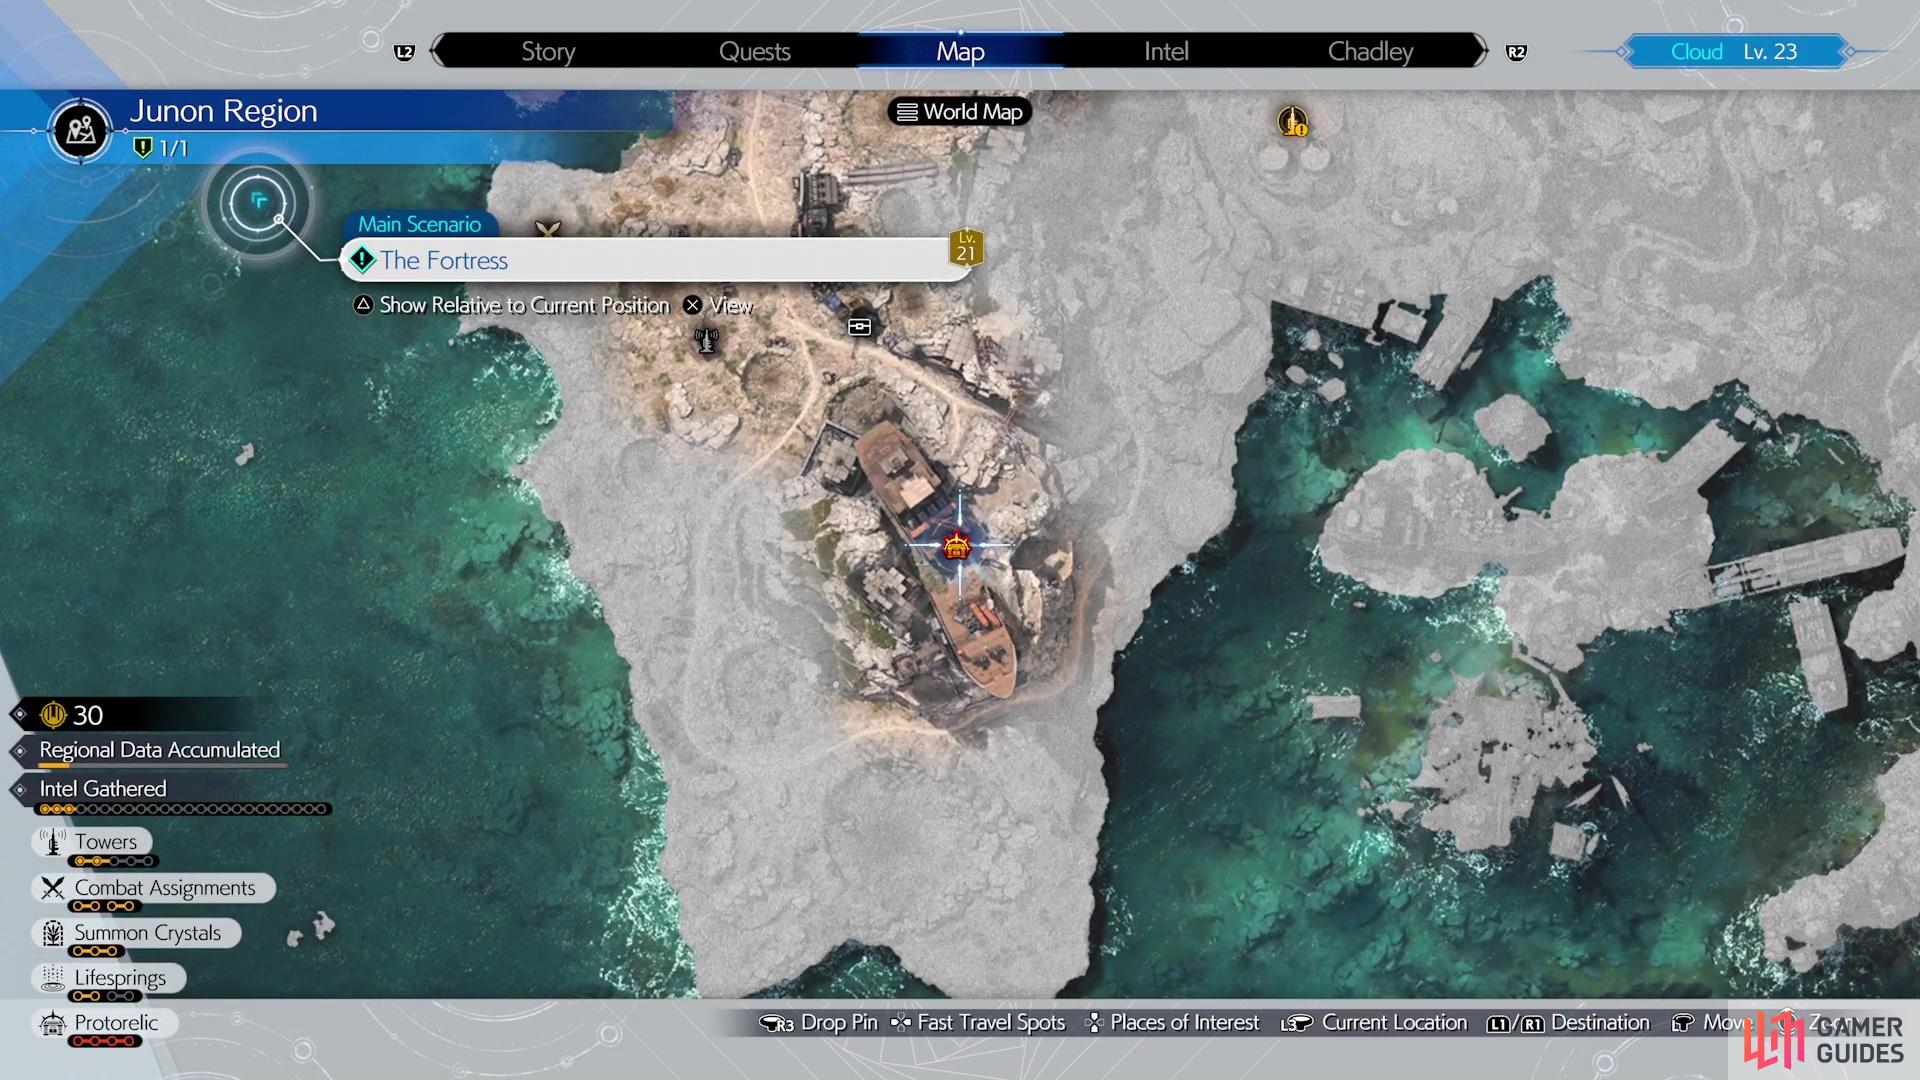
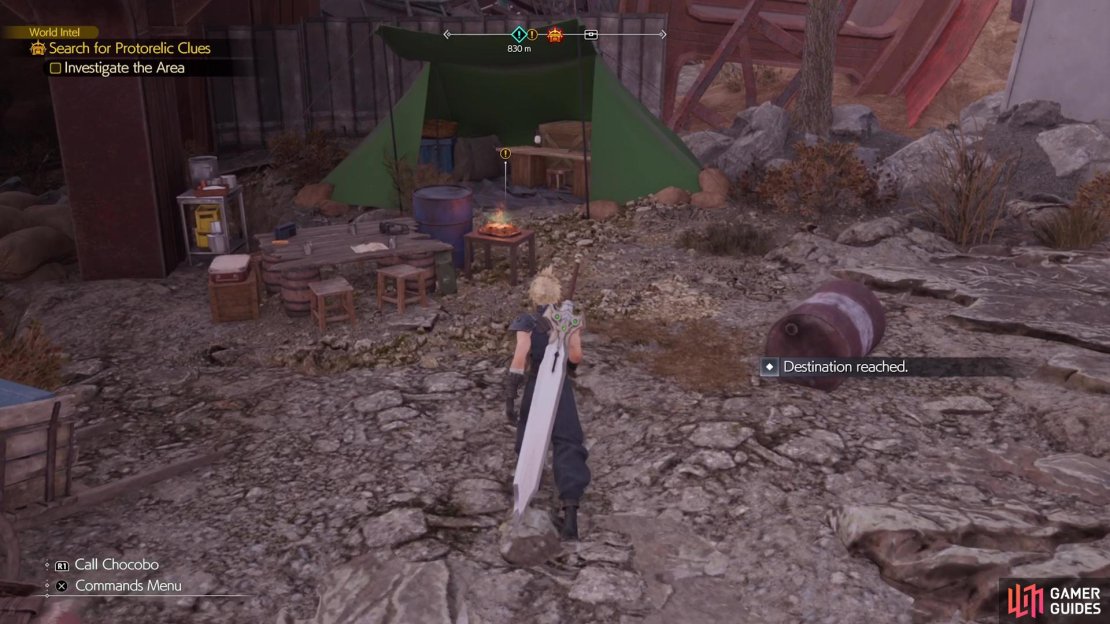
The last normal Protorelic stage for Fort Condor is found towards the northeastern corner of the map and requires the Chocobo. Just to the right of Activation Intel 4 is a path that takes you to some walls to climb with the Chocobo. The spot is located underneath some tents, so if you see a camping ground up there, then that will be where you find the fourth Protorelic location. Naturally, this is probably the most challenging of the normal stages, due to the main boss having some mechanics to it and having a whopping 1800 health.
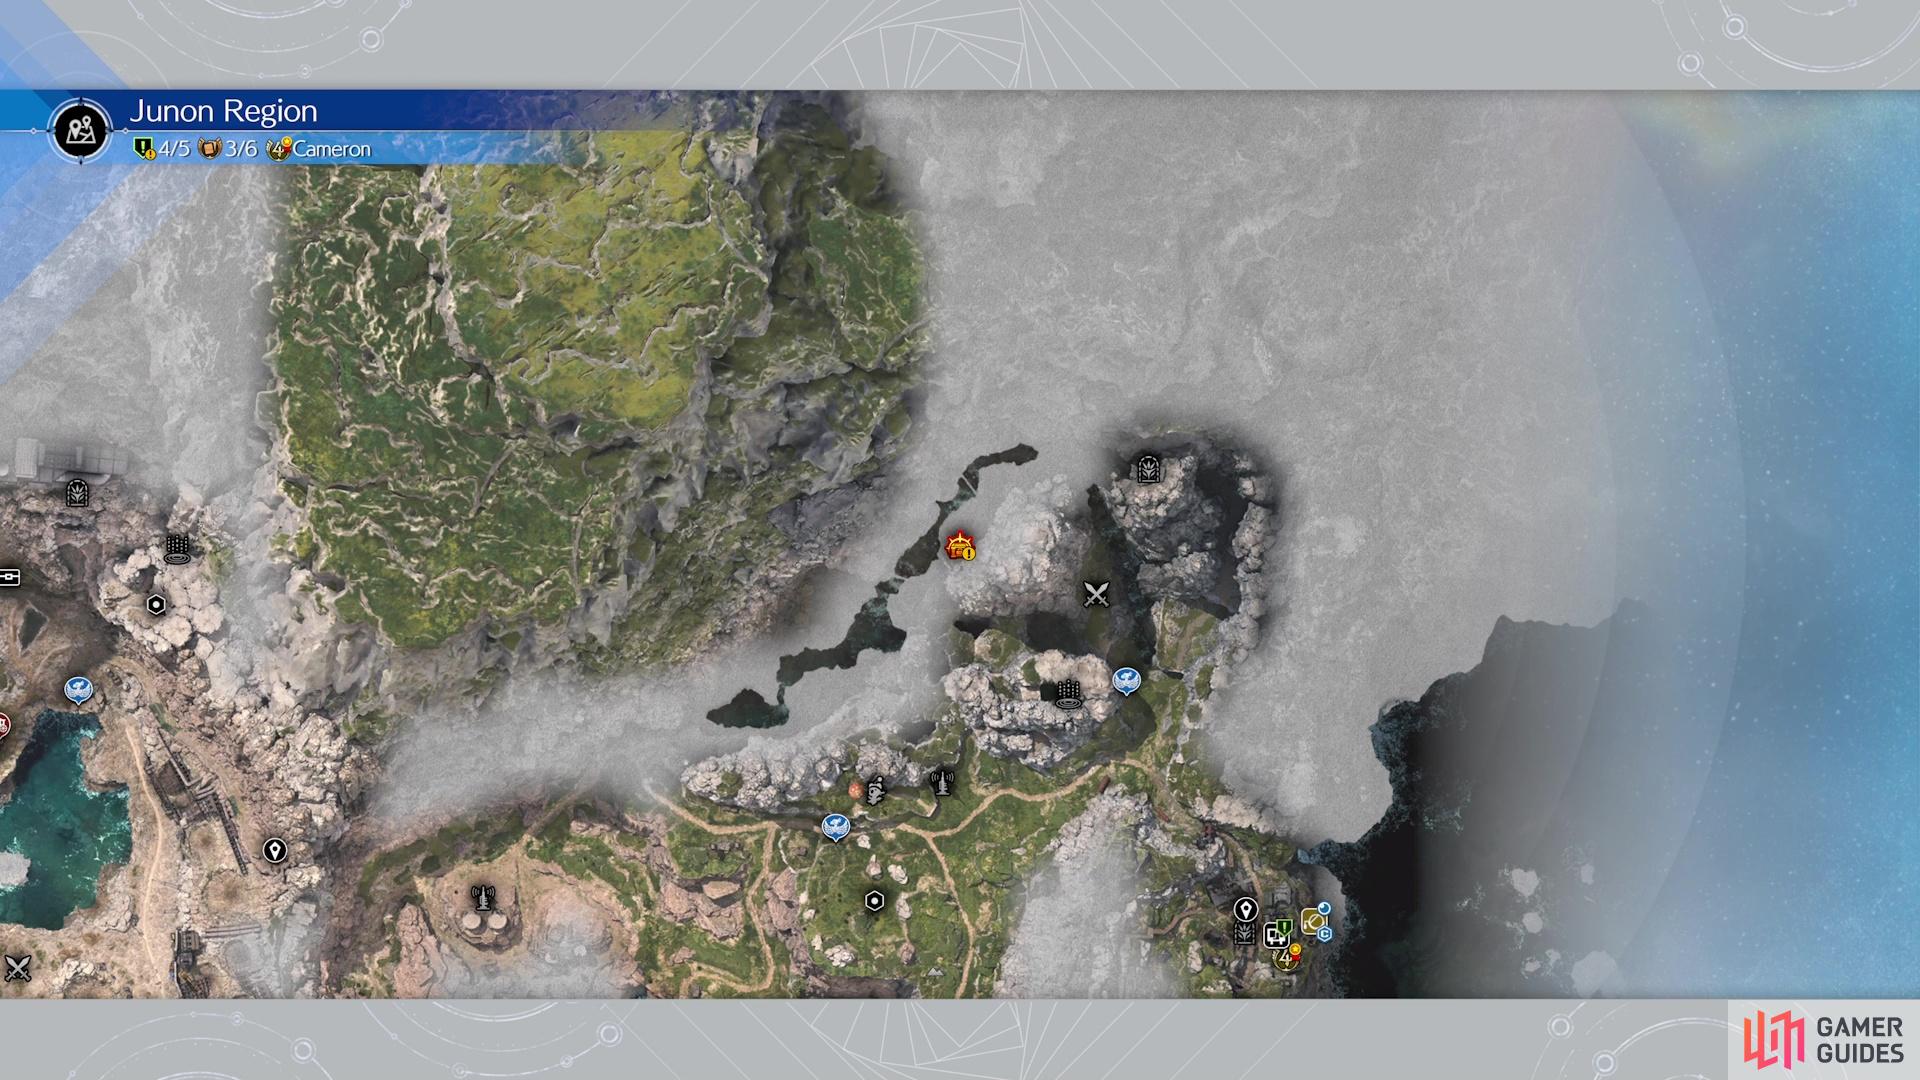
(1 of 3) The fourth Protorelic in Junon is towards the northeast.
You might want to use Cloud and Tifa for this battle, since they are the best Hero Units in terms of abilities. The enemy will have a Warlord, two Archfiends, and a Wyvern, as well as a Cleric. Thankfully, they use their Cleric very early in the battle, so you won’t need to worry about it later. The first Archfiend will come relatively early on the right side, with the Wyvern not too far behind it. So, stack the right side at first, only using the necessary troops on the left side to combat the enemies that appear there. If they gain some ground, you can start piling on some more to really push things.
The Warlord and second Archfiend will appear on the timeline with about 1:30 left on the clock, both on the left side. By this time, the right side should be close to cleared, so you can begin stockpiling the left. If you opted for a unit layout with either a Trebuchet or Ballista, then try and place them in the middle, on the bottom portion of the top half. This enables them to attack the boss and if you have troops still on the field, everyone else will be distracted. When you’re left with nothing but the boss, things will start to get tricky.


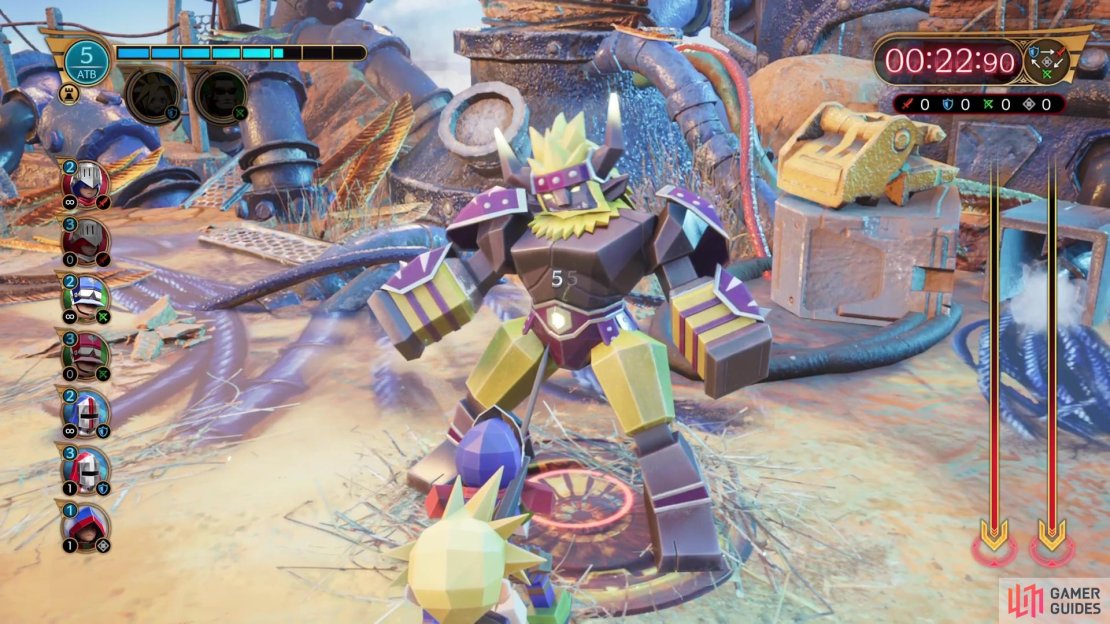
(1 of 4) The boss will switch between various types throughout the battle.
At the start, the boss will be an Archer-type, but at certain thresholds, he’ll change his type with Defensive Maneuvers, to a ![]() Defense-type. When you get him even lower, he’ll use Vanguard Assault and go to an
Defense-type. When you get him even lower, he’ll use Vanguard Assault and go to an ![]() Attack-type. He will also do what appears to be a
Attack-type. He will also do what appears to be a ![]() Stop spell at very low health (Hold It!), then a big attack that might one-shot lesser units. At this point, you should be blitzing him with as many units as possible, which should hopefully bring him down for good.
Stop spell at very low health (Hold It!), then a big attack that might one-shot lesser units. At this point, you should be blitzing him with as many units as possible, which should hopefully bring him down for good.
You will receive the Protorelic after some scenes, finishing up the ![]() Junon Region for this game-spanning quest. Additionally, Chadley will chime in and say that he has unlocked a Hard Mode for Fort Condor. While completely optional, if you wish to get the platinum trophy, you will be required to complete it. Check out the Fort Condor Hard Mode guide for more info on that!
Junon Region for this game-spanning quest. Additionally, Chadley will chime in and say that he has unlocked a Hard Mode for Fort Condor. While completely optional, if you wish to get the platinum trophy, you will be required to complete it. Check out the Fort Condor Hard Mode guide for more info on that!
No Comments