
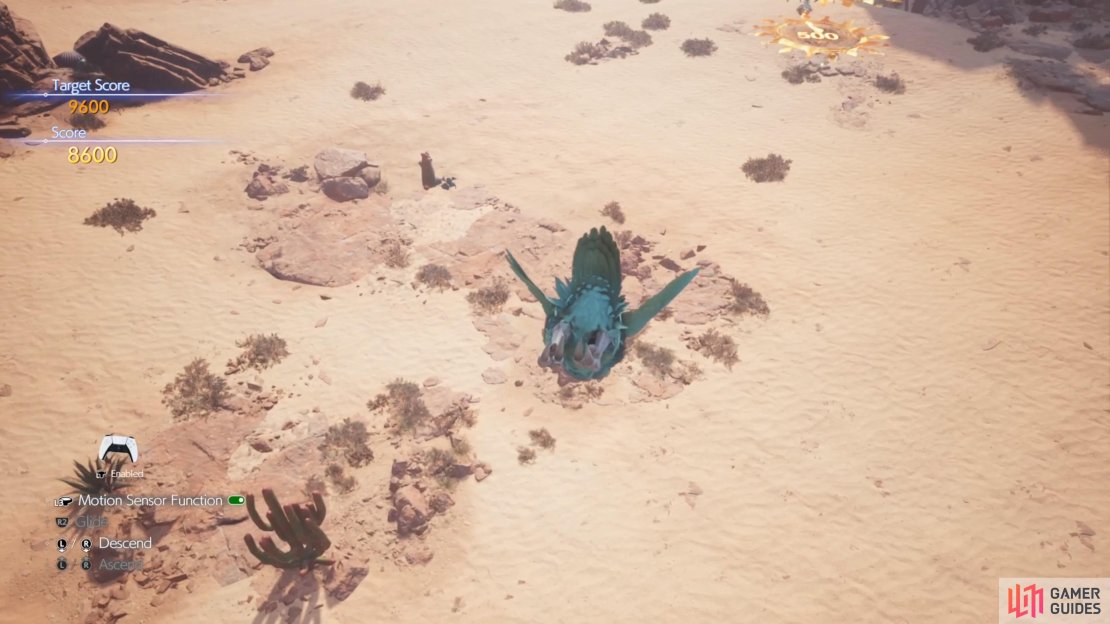
Upon arriving in the ![]() Cosmo Canyon region of the world in Final Fantasy VII Rebirth, you will want to find and catch the Chocobo for the region. Follow the path from the beginning of the region and you’ll come across the Chocobo Ranch. There will be an NPC right inside that will give you the Bonds of Trust quest, which will involve catching the Chocobo for Cosmo Canyon. In order to complete this quest, though, you will need to participate in a new minigame, Glide de Chocobo, which is essentially gliding through rings. This page will detail tips and strategies for getting all of the rewards from all three Training Courses for Glide de Chocobo.
Cosmo Canyon region of the world in Final Fantasy VII Rebirth, you will want to find and catch the Chocobo for the region. Follow the path from the beginning of the region and you’ll come across the Chocobo Ranch. There will be an NPC right inside that will give you the Bonds of Trust quest, which will involve catching the Chocobo for Cosmo Canyon. In order to complete this quest, though, you will need to participate in a new minigame, Glide de Chocobo, which is essentially gliding through rings. This page will detail tips and strategies for getting all of the rewards from all three Training Courses for Glide de Chocobo.
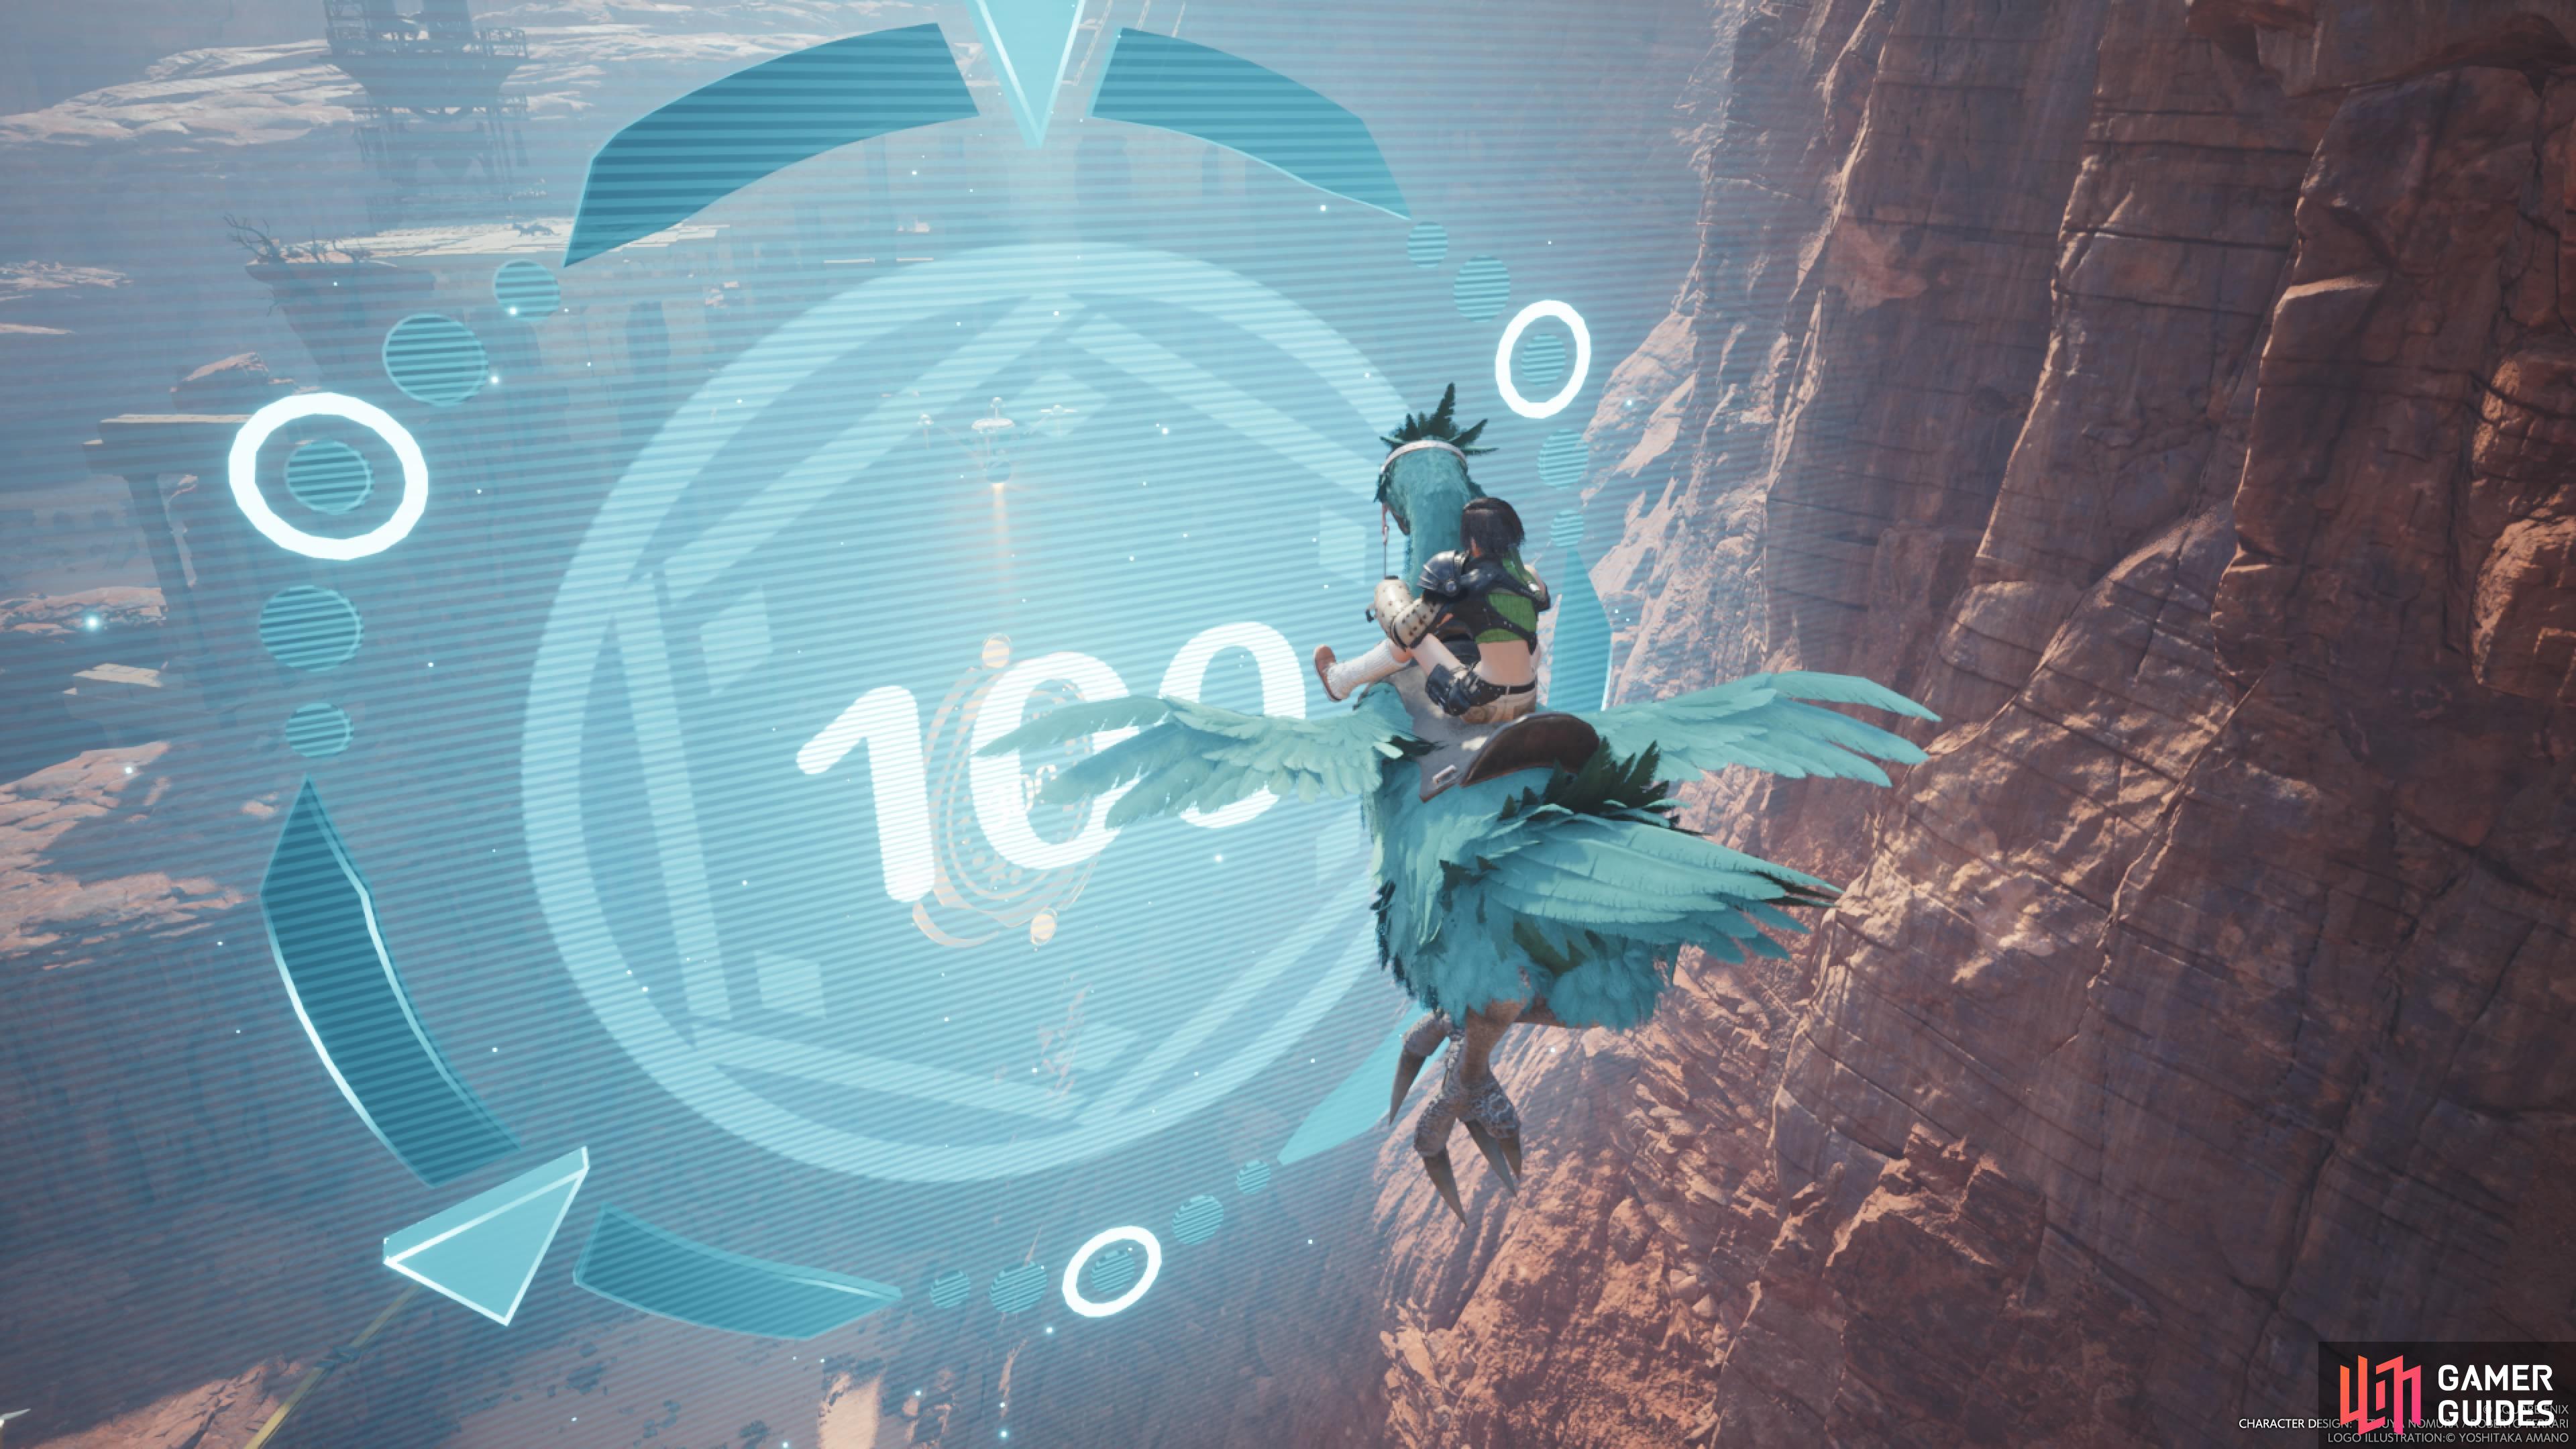
The goal of Glide de Chocobo is to fly through rings for points.
Training Course No. 1 Tips
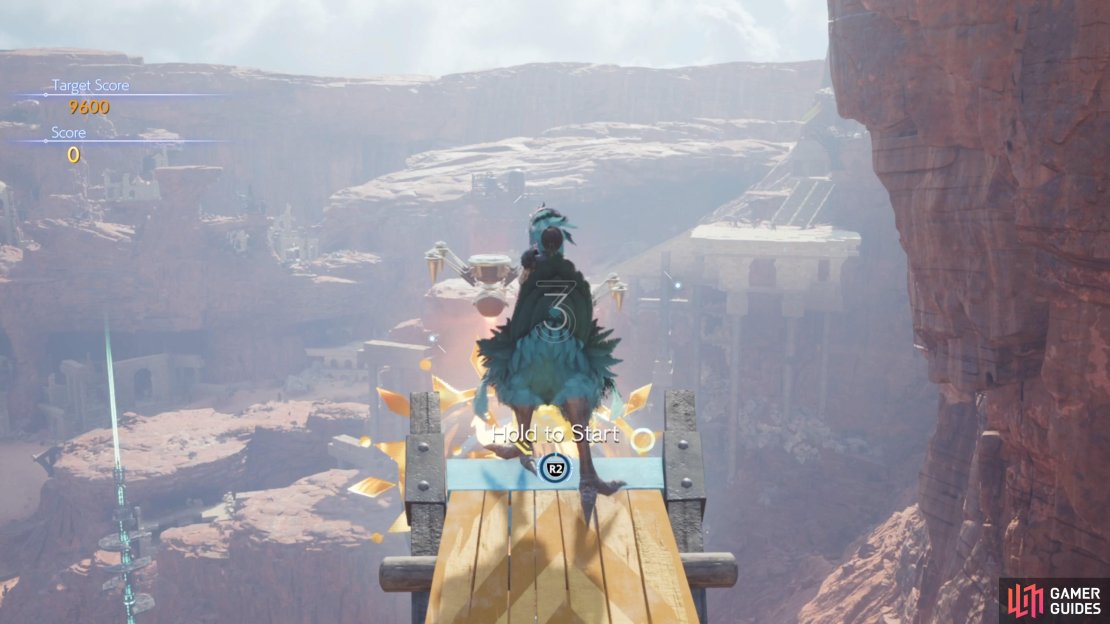
The first course is found on the path between the Airstrip and the Chocobo Ranch, so you will have to backtrack a little bit (or just fast travel to the Airstrip). It will be on the right, when you see two paths coming from the Airstrip, before the first arrow sign pointing to Cosmo Canyon. Inspect the sign to the right of the board sticking over the canyon to start the minigame.
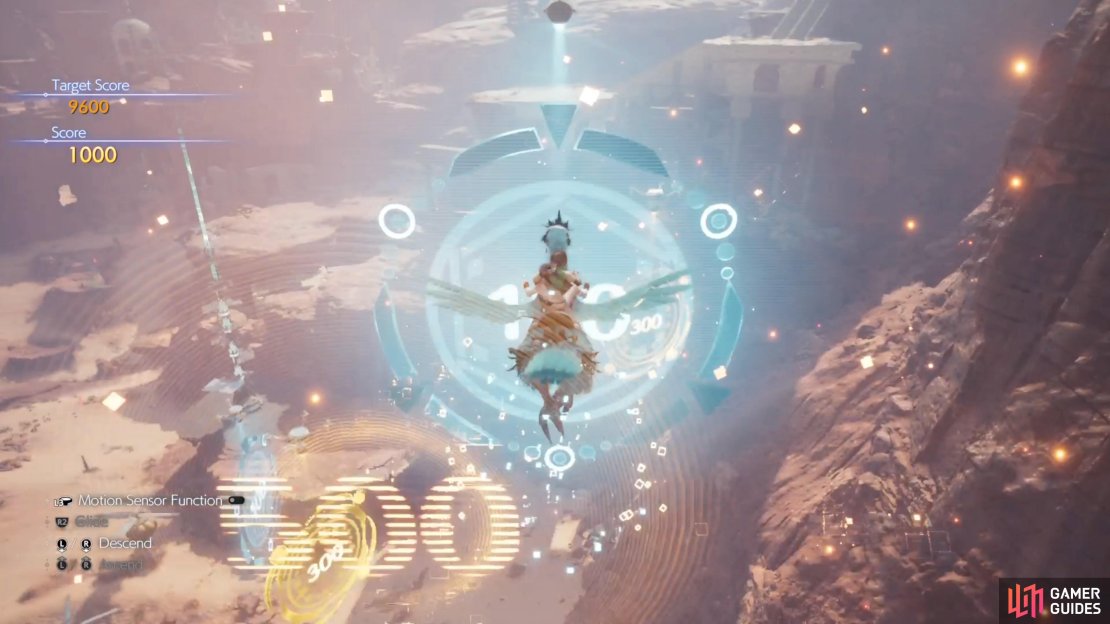
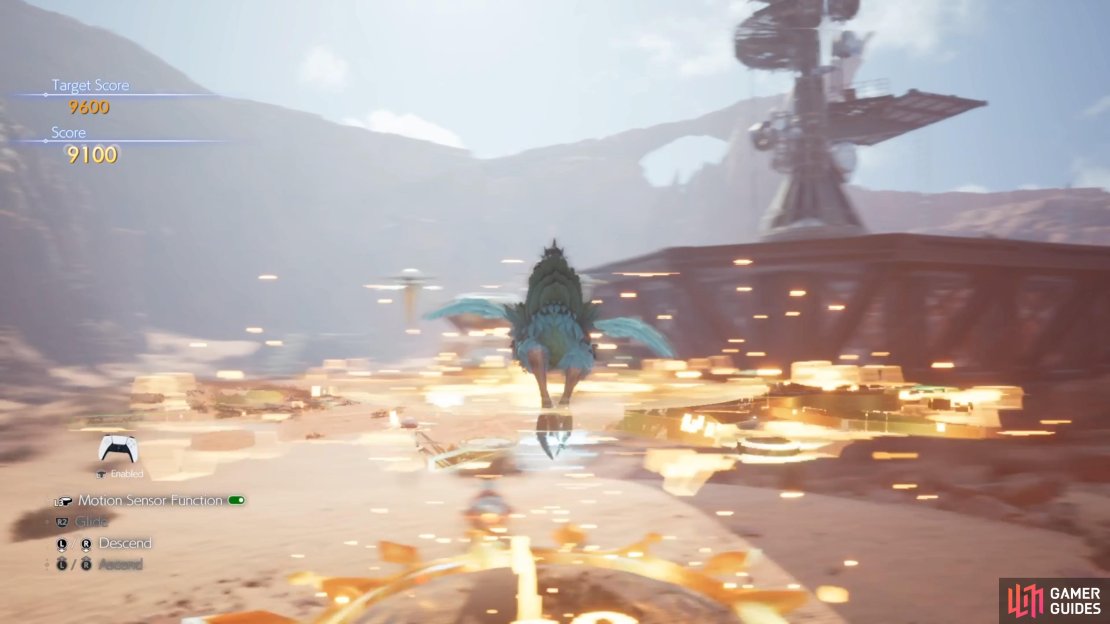
To get started, hold down the R2 button, which will start a countdown. You’ll need to continually hold down that button to continue gliding, because if you let it go, then your Chocobo will plummet to the ground. If you press either of the analog sticks in the down position, then your Chocobo will dive. After diving for a set amount of time, you can press either stick to the up position to ascend. While you shouldn’t need to do this on the first course, it’s helpful to know it, as it will be required on the second and third courses.
(1 of 4) You will need to hold down the R2 button to continue gliding.
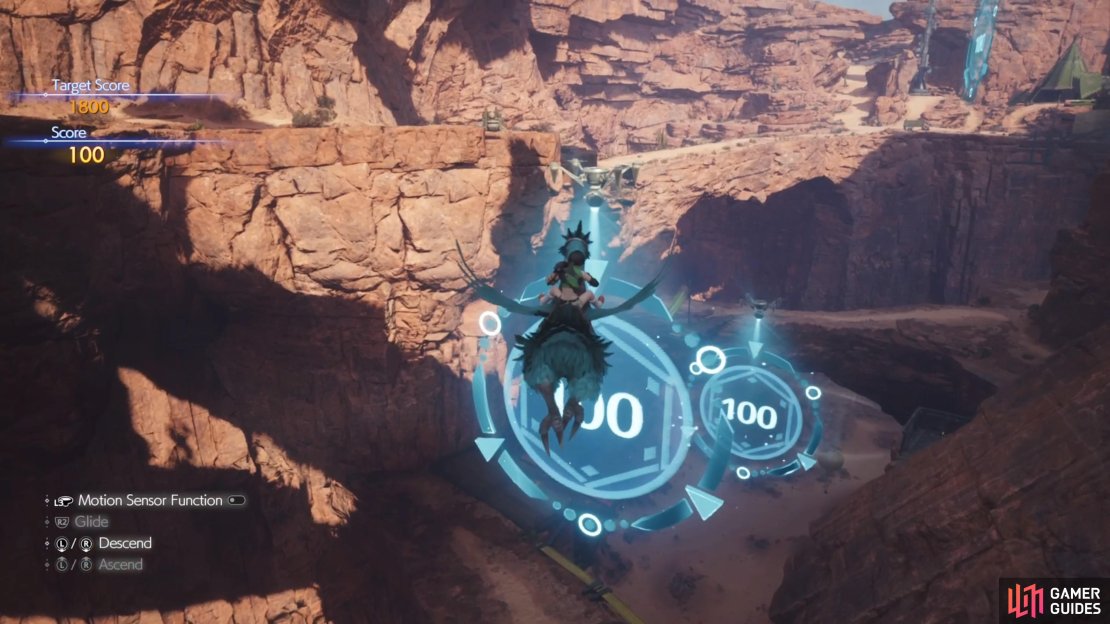
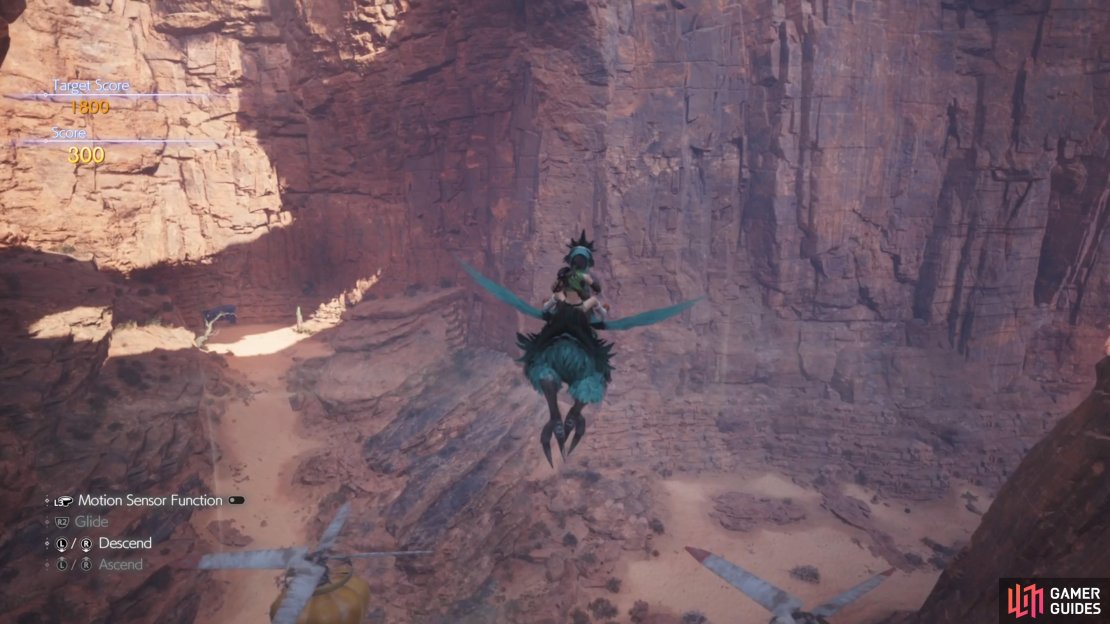
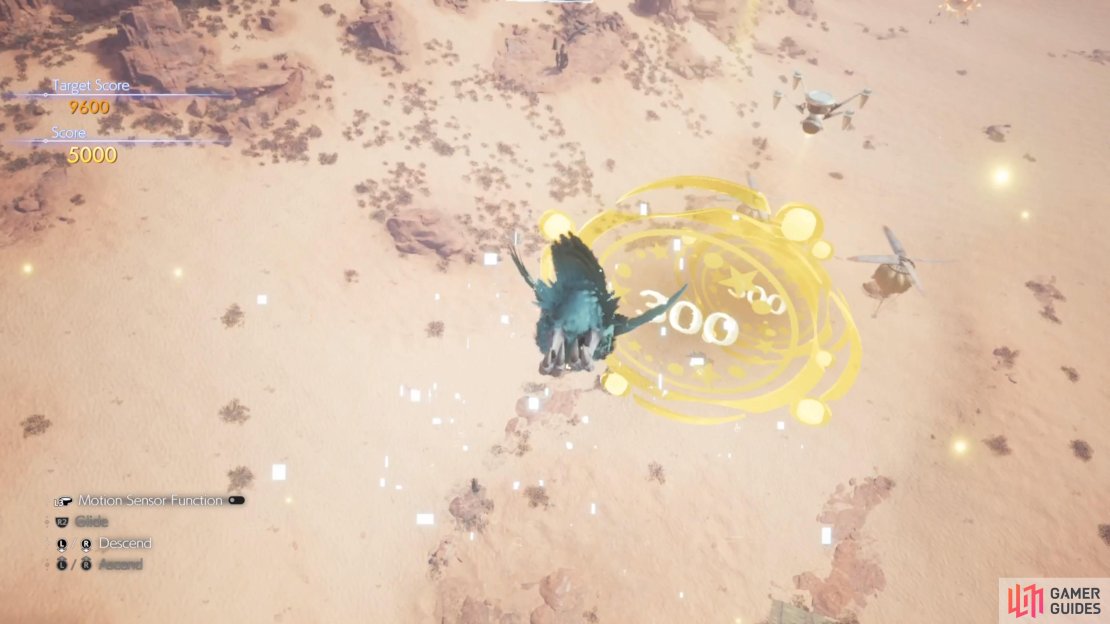
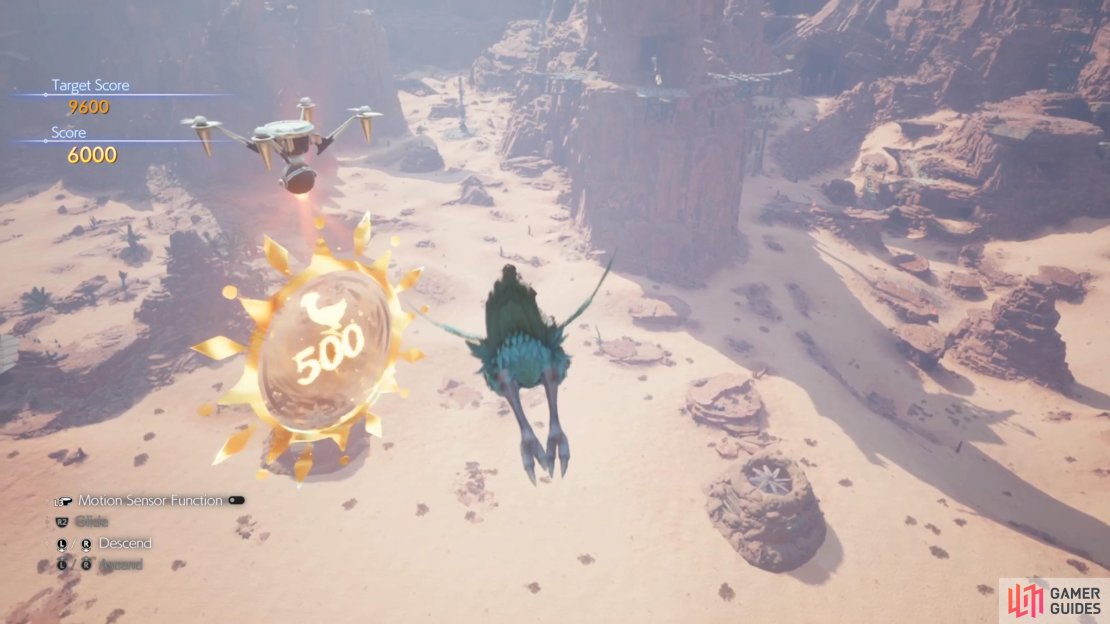
You will need to fly through all of the rings to get the best score, so if you plan on getting 100% in the game, then retry should you miss a ring. For the first course, you pretty much just need to hold down R2 and not need to do anything. After the third 100-point ring, you’ll see some propellers. These are causing an updraft and will give you a boost into the air, so you can continue with the course. The second stretch is just more gliding, until you reach another updraft.
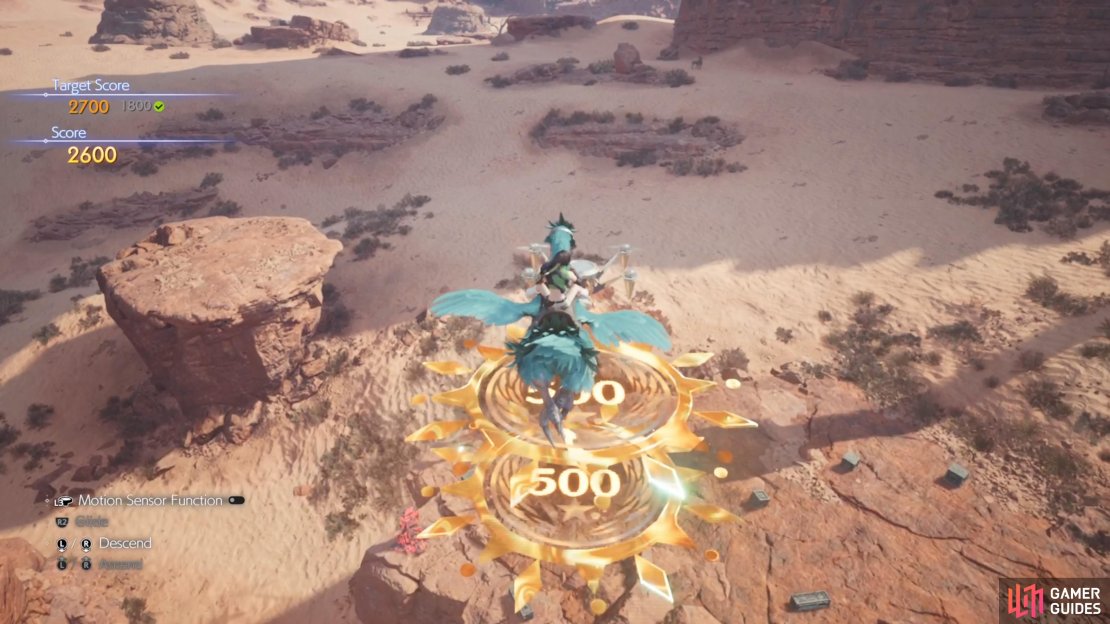
This will bring you to the final stretch, where it’s just a matter of gliding some more. Note that you might be a little high on some of the rings, so quickly let go of R2/rehold it to decrease your altitude a tiny bit. You could also press down on one of the analog sticks to do a quick little dive to get lower, too. At the very end will be two 500-point rings, on top of one another. Either let go of R2 there, or simply do a dive straight to the ground.
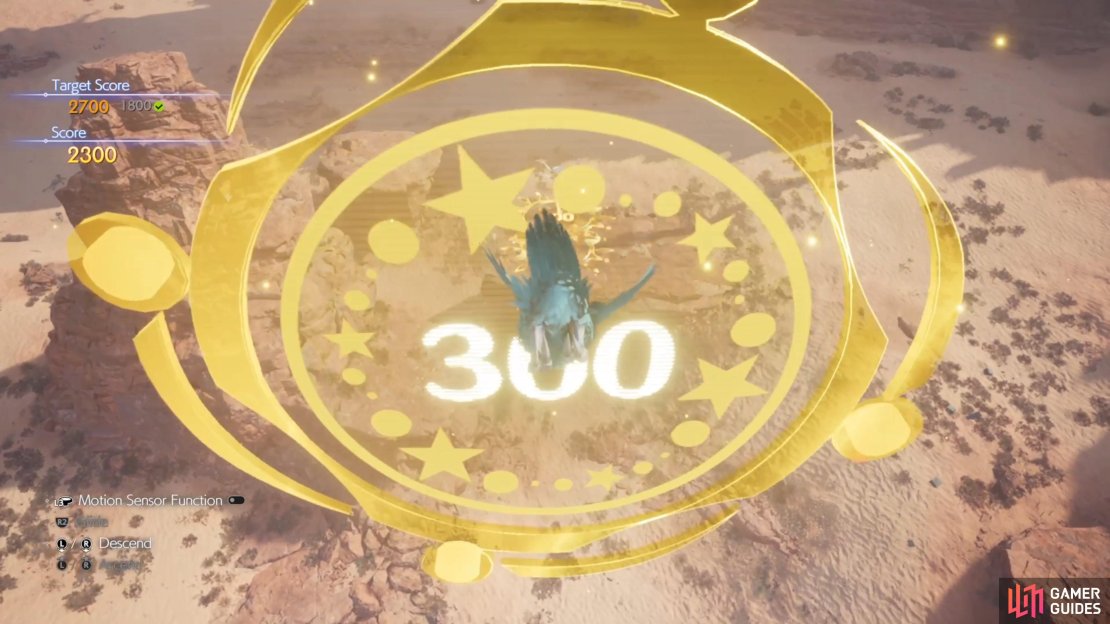
| Target Score | Reward |
|---|---|
| 1800 | |
| 2700 | |
| 3600 |
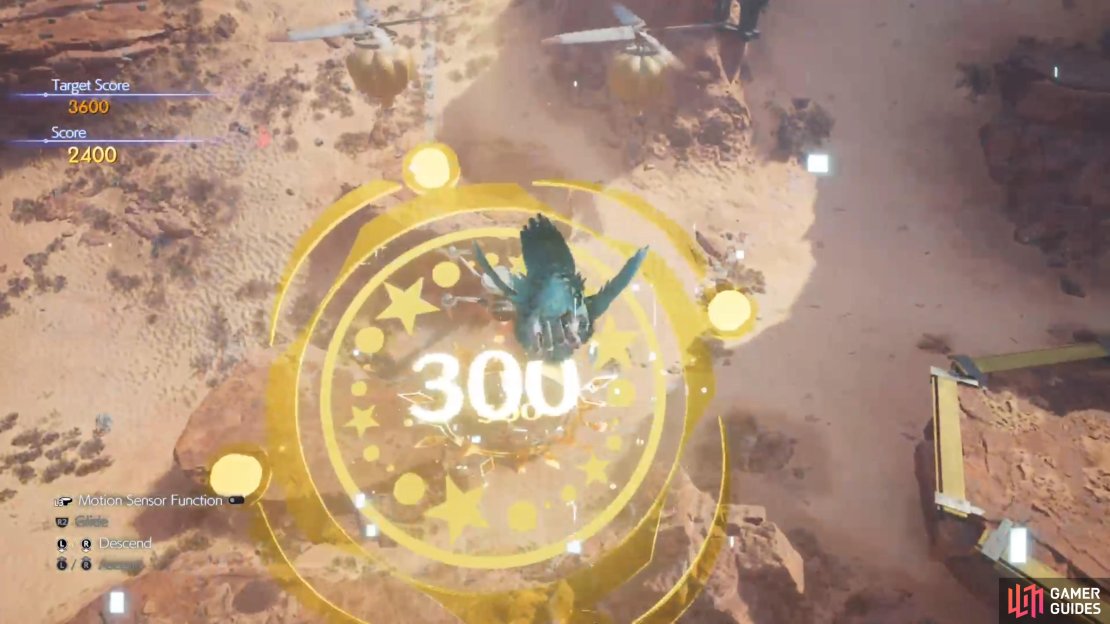
Training Course No. 2 Tips
The second training course will be located to the northeast of the Chocobo Ranch. When looking to the north, take the leftmost path up to an area with some enemies (![]() Skeeskee and
Skeeskee and ![]() Basilisk). Continue on the trail marked with the Cosmo Canyon sign, to another area with more enemies. On the southern side of this area will be Training Course No. 2.
Basilisk). Continue on the trail marked with the Cosmo Canyon sign, to another area with more enemies. On the southern side of this area will be Training Course No. 2.
This one will definitely be more challenging, as you will be required to do some dives to get all of the rings. Before starting, wait for the first 300-point ring to be almost all the way to the left before you hold down R2 to lift off. This will allow things to line up a little more nicely in the beginning section. Other than moving around a little bit in the first section, you should be more than fine just holding down R2 to glide.
(1 of 3) Course 2 will also require you to dive and ascend to get some of the rings.
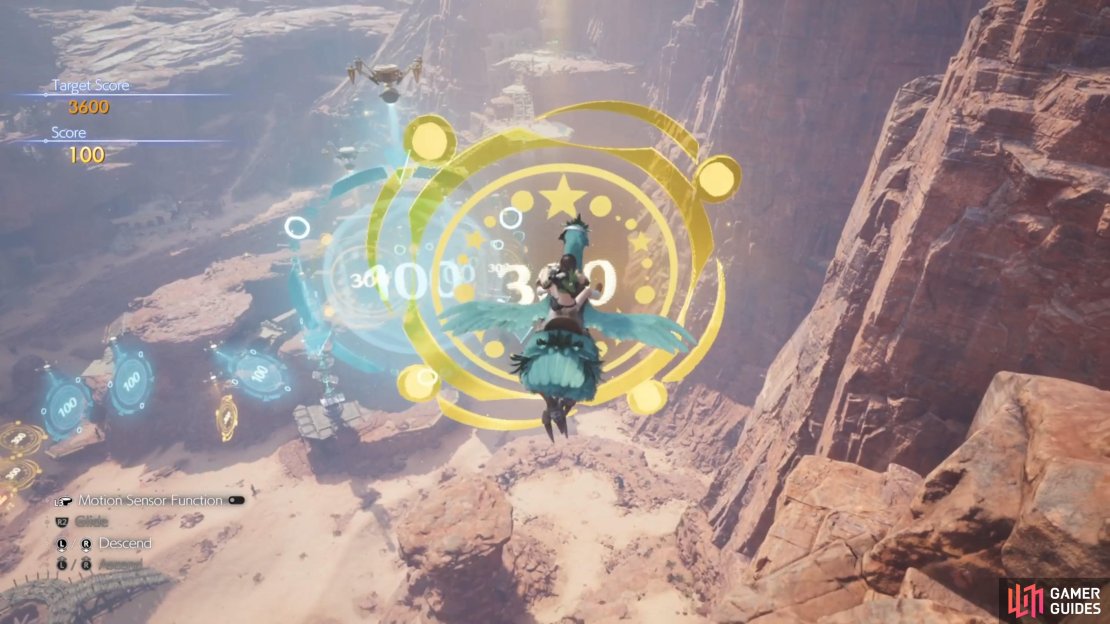
After the last 300-point ring, you’ll start turning to the left and you’ll see one of the Remnawave Towers. The ring right by this tower will be when you will be doing your first dive. Remember to hold down on either stick to dive, then when you get towards the upright ring, quickly switch to holding up on one of the sticks. If done right, you should gain some air while holding up and passing through that bottom ring. If you don’t get it on your first try, you’ll have another opportunity to do the same thing right after.
There will be an updraft right after that, bringing you to the final bit, which can be tough. When you first get boosted upwards, the first two rings are fine, but you might need to lower a bit to get the 500-point ring. As soon as you hit that ring, though, dive through the next set of rings and pull up near the bottom. The last two 500-point rings are moving, and they can be annoying to hit, but the main problem is hitting them and making the final two rings at the end. If you clip the top of the two moving 500-point rings, then you should be able to get the final two rings.
| Target Score | Reward |
|---|---|
| 3600 | |
| 5400 | |
| 7200 | Cosmoite Ore |
Training Course No. 3 Tips
For the final course, it will be right behind the Chocobo Ranch, so you just go through the main building to find it. This is the final one and it’s definitely the most challenging, especially towards the end of it. At the very beginning, you have two moving rings that will intersect with one another. You will want to wait until they cross to start holding down R2 and if done right, you float right through both of them without needing to move at all. After that is a little bit of slaloming (back and forth) to reach the other rings before the first updraft.
(1 of 3) Wait until the two rings cross each other at the start before you begin holding R2.
The second bit is just two dives after passing through 100-point rings. For the first, wait a second after going through the 100 ring before diving. The second is a little sooner than that, but it’s not much different. The second updraft will take you to some 300-point rings, although they are moving up and down. You can pass through the first normally, but you’ll have to drop down a little bit for the others. You could attempt to dive here, but you need to be careful about hitting the updraft right after them.
The final part of this course is definitely the trickiest and there are two ways of handling it. After the third updraft, you want to hit the rings in order, although you might need to drop a tiny bit to get the 500-point one. From there, you will see another 500-point one, then there’s the tricky bit.
Double Dive Strategy
One trick is to fly through the last 500-pointer, then dive right when you are about to pass through the 300-point ring. You should go through the two rings on the dive, then pull up and get the last 300-pointer. As soon as you do, you do another dive while moving to the right and pull up at the last second. If done right, you should be able to glide and get the last two flat rings. The only slight problem is that sometimes you might not get enough height for the final two rings.
(1 of 3) The final stretch of the third course can be annoying, as you have to make minor adjustments.
Backtrack Strategy
This strategy involves flying back to the final updraft right before the final required dive. You should be able to just glide right back to the updraft, then turn while getting the boost, so you’re heading in the right direction. If you fly straight to that one 300-pointer, then you can do a bigger dive through it and the subsequent rings. Note that there is a chance that you will gain too much height and go over the final 300-pointer, though. If you stop short of doing that, then you might not get enough height on the final two rings.
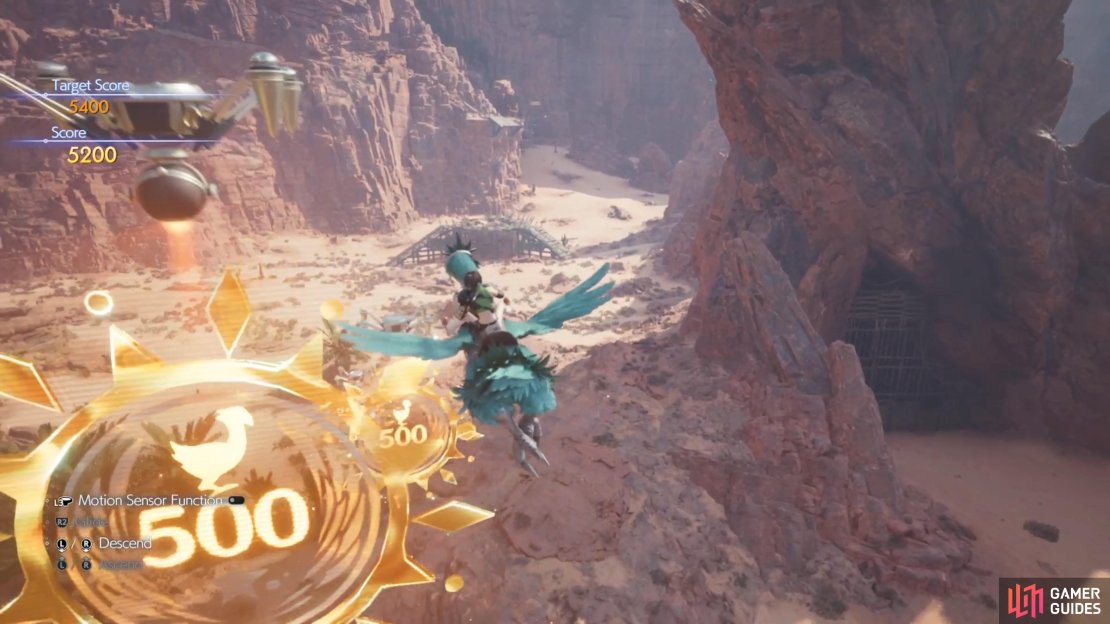
| Target Score | Reward |
|---|---|
| 4800 | |
| 7200 | |
| 9600 |
No Comments