
Once you pay a visit to the ![]() Gold Saucer in Final Fantasy VII Rebirth, you will unlock even more minigames, which includes the Battle Square. Unlike in the original, where the game imposed restrictions on you via a roulette, the Musclehead Colosseum will just be straight up battles. The Easy Ranked challenges are split into two groups, Two-Person Bouts (can only use two characters) and Six-Person Bouts (two groups of three characters each). Note that you might not be able to do every challenge right away, as some of the tougher ones include enemies up to level 40. This page will give strategies for each of the Easy Ranked fights in the Musclehead Colosseum.
Gold Saucer in Final Fantasy VII Rebirth, you will unlock even more minigames, which includes the Battle Square. Unlike in the original, where the game imposed restrictions on you via a roulette, the Musclehead Colosseum will just be straight up battles. The Easy Ranked challenges are split into two groups, Two-Person Bouts (can only use two characters) and Six-Person Bouts (two groups of three characters each). Note that you might not be able to do every challenge right away, as some of the tougher ones include enemies up to level 40. This page will give strategies for each of the Easy Ranked fights in the Musclehead Colosseum.
You’ll be able to participate in Musclehead Colosseum once you unlock the Gold Saucer.
Each of these bouts will be two rounds and you need to finish both in order to complete the challenge. For the Two-Person Bouts, you will receive a heal in between each round (50% HP and MP). For the Six-Person Bouts, you choose two teams of three characters each, with one party fighting the first round and the other participating in the second round.
Two-Person Bout: The Zoomies
- Recommended Level: 28
- First-Time Reward:
 Mega-Potion x5, GP x50
The very first challenge has a difficult opening fight for the first round, pitting you against four ![]() Lavalisks and four
Lavalisks and four ![]() Velociwings. The Lavalisks will basically tank some hits before countering with an attack of their own, either with Flame Whorl or Feverish Rush. The Velociwings shouldn’t be too bad, although their Charge move can be a problem as you’re trying to do something else. Having two characters with fast dodges is probably the best option here, so someone like Cloud, Tifa,
Velociwings. The Lavalisks will basically tank some hits before countering with an attack of their own, either with Flame Whorl or Feverish Rush. The Velociwings shouldn’t be too bad, although their Charge move can be a problem as you’re trying to do something else. Having two characters with fast dodges is probably the best option here, so someone like Cloud, Tifa, ![]() Red XIII, or Yuffie should be the main options.
Red XIII, or Yuffie should be the main options.
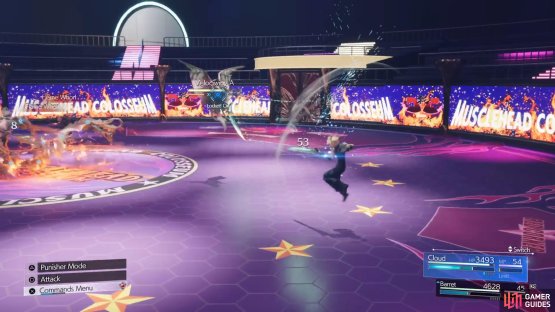

(1 of 2) Go after the Velociwings first, as they are easier to kill.
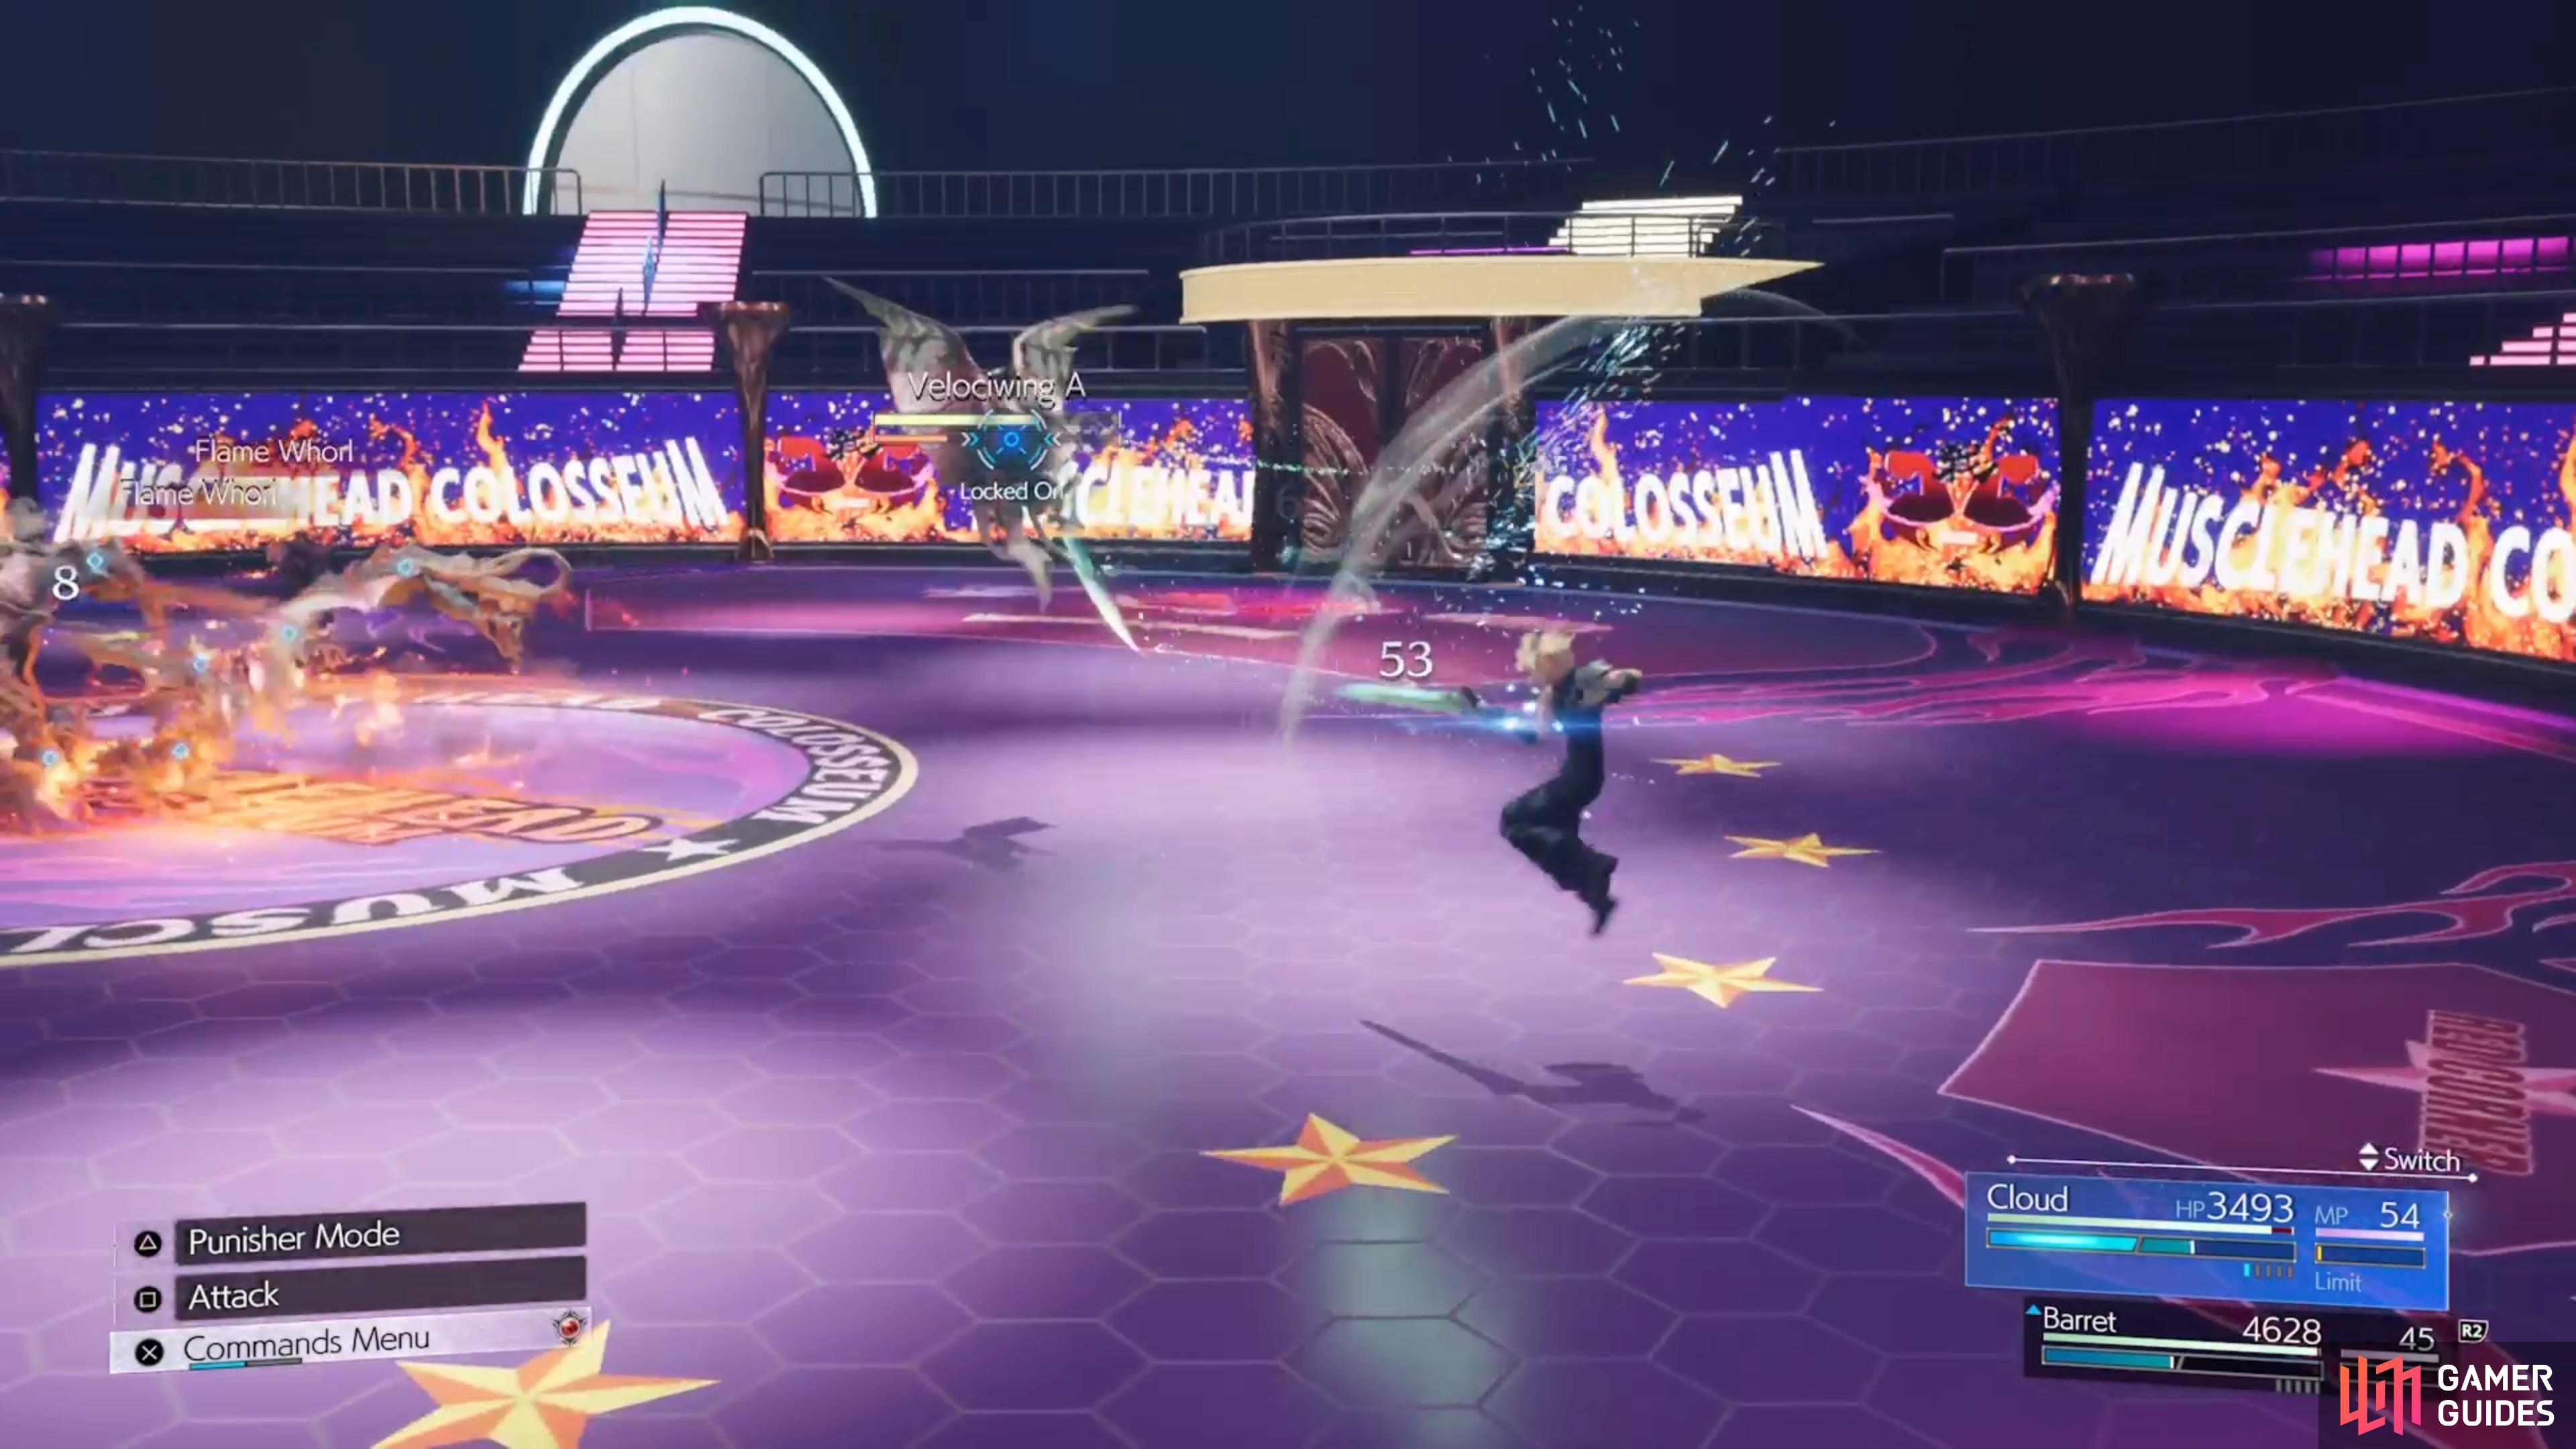
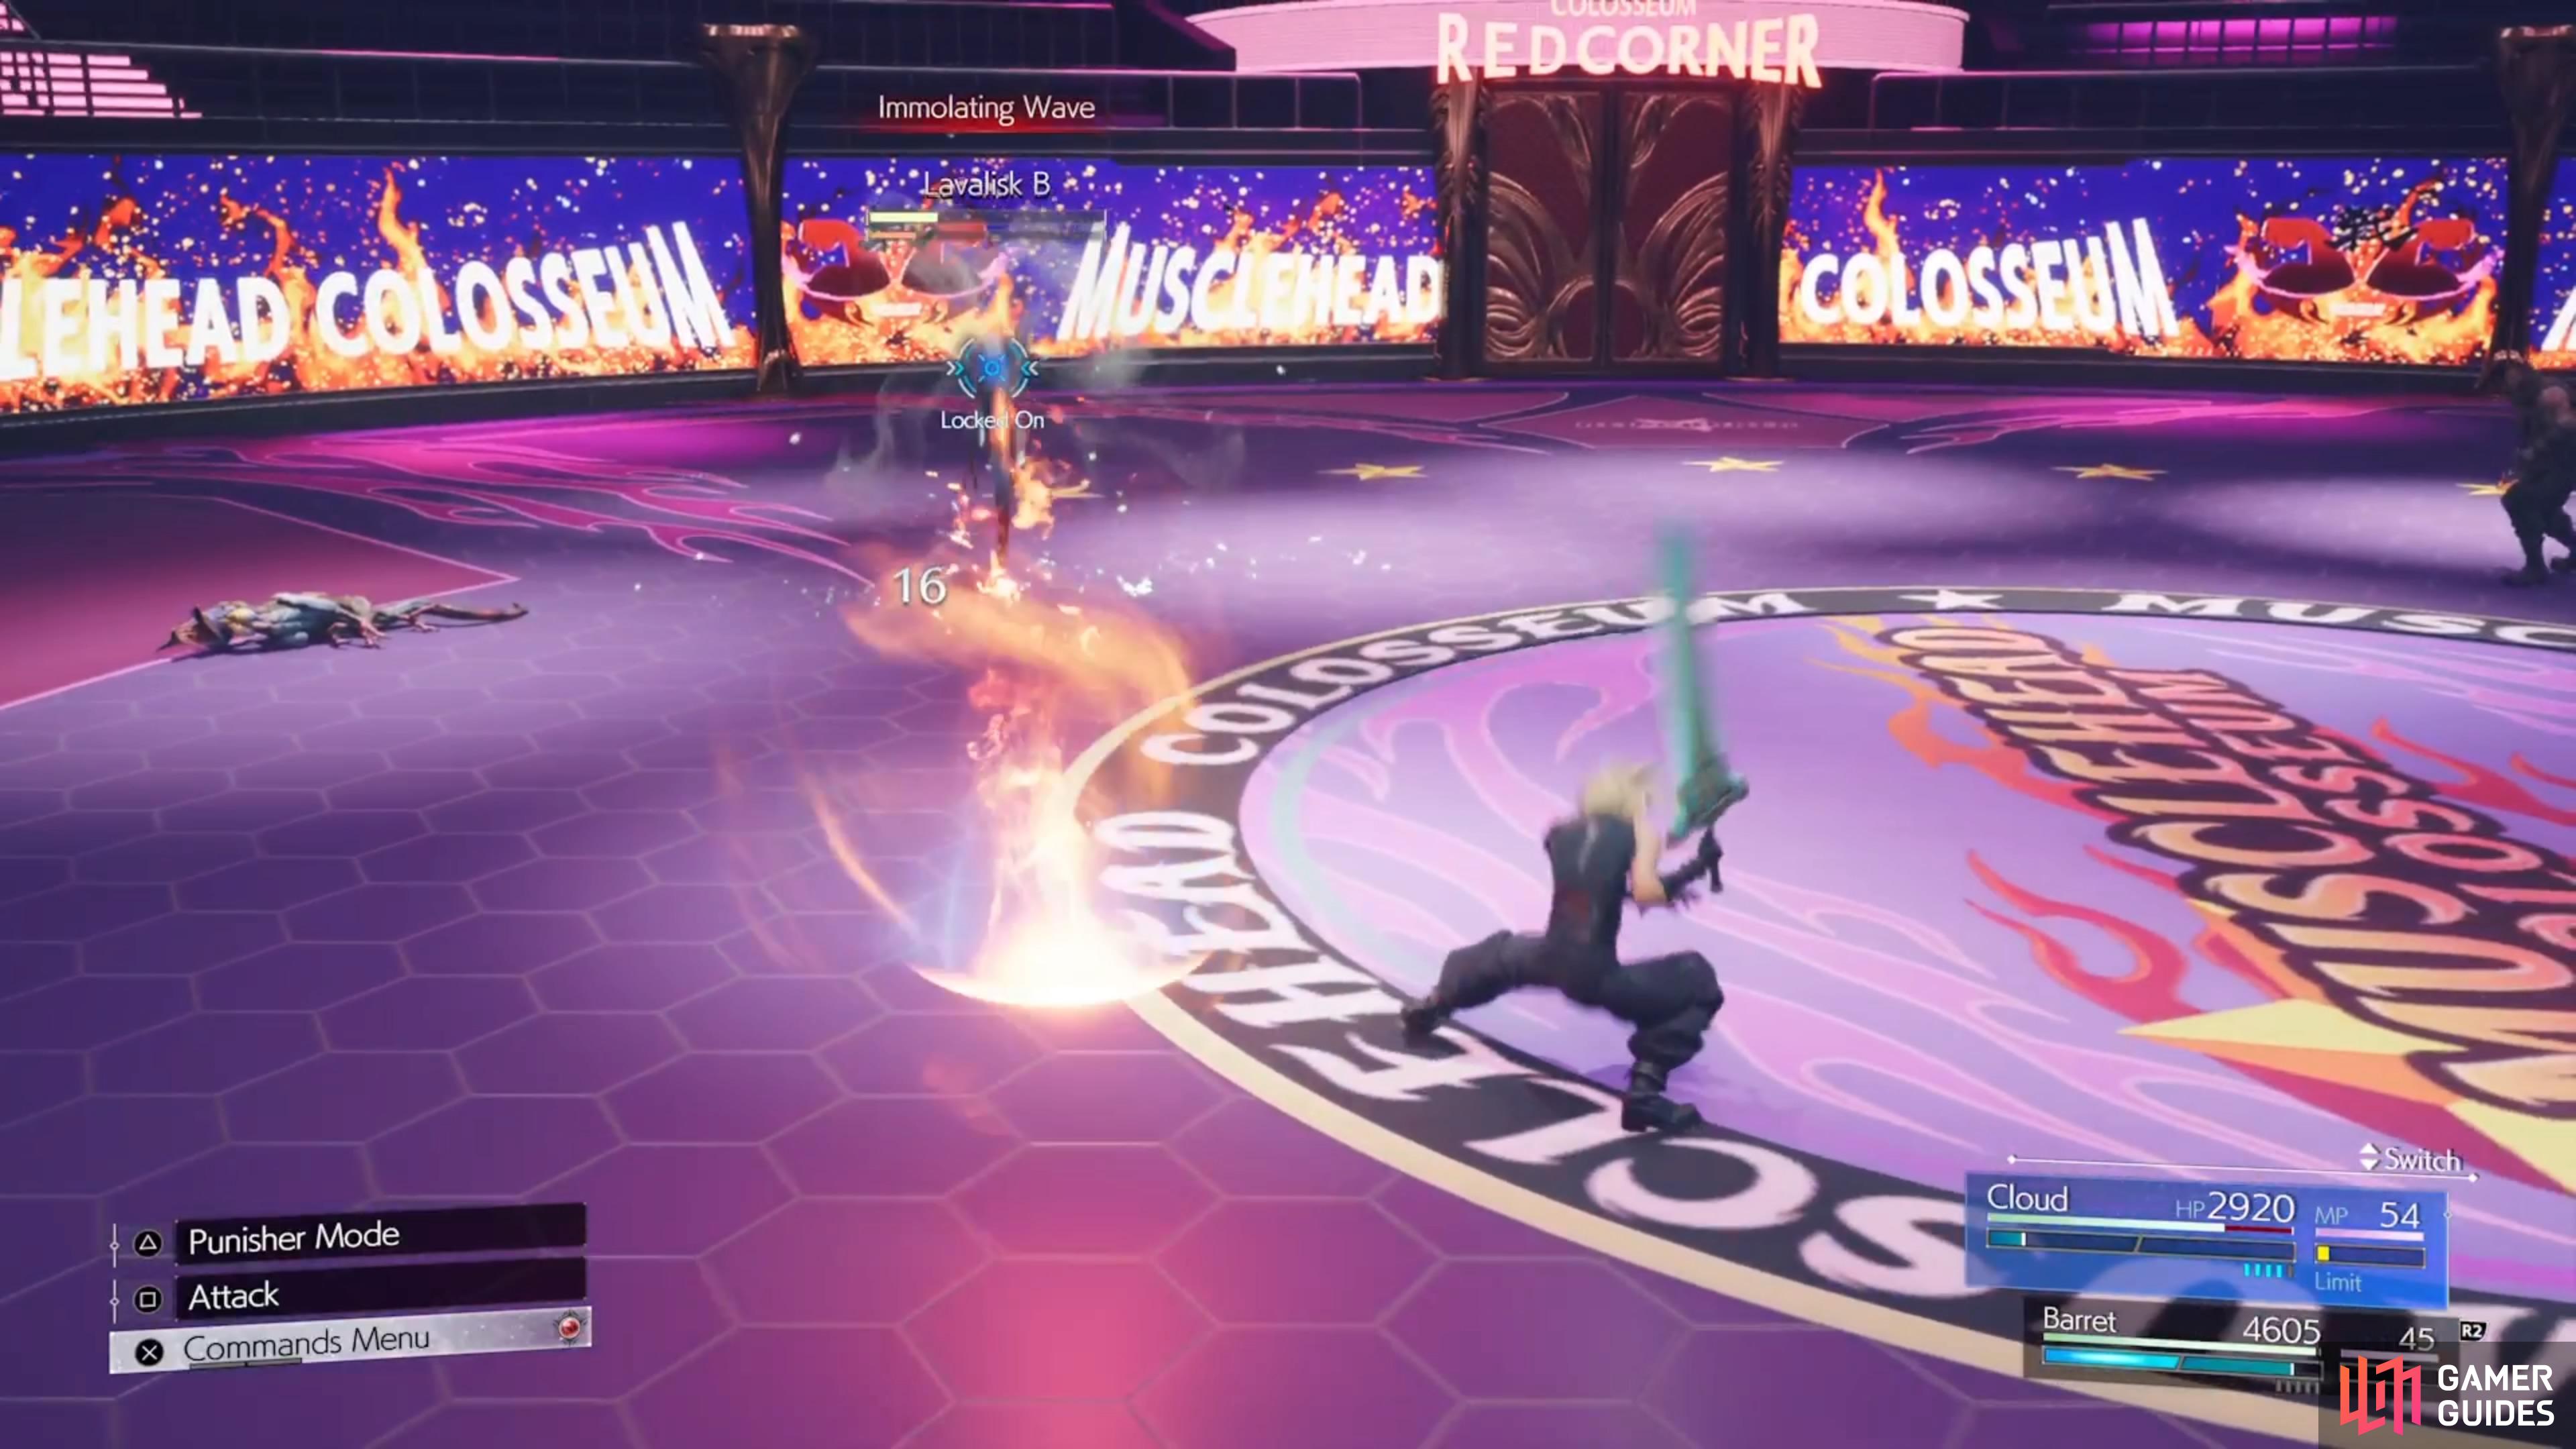
Go after the Velociwings first, as they are easier to kill. (left), Don’t go too aggressive on the Lavalisks, since they will always counter after a few hits. (right)
Lavalisks are weak to ice, while the Velociwings are weak to wind. Take down the latter first, then you can concentrate on the Lavalisks. Cloud’s Triple Slash is a good move towards the beginning of the battle since you’re guaranteed to hit more than one enemy. The second round will be against two J-Unit Sweepers, which are a lot less trouble than the first round. Use Thunder attacks on them to pressure them, which makes short work of them.
Two-Person Bout: Devil-May-Care Desperados
- Recommended Level: 28
- First-Time Reward: Secrets of the Ninja Vol. III, GP x60
After that first bout, the second one is much easier and neither round should really give you much trouble. The first round is against eight ![]() Bandits, although there are two types of them. The basic Bandit should go down without much of a fight, but the other ones are a little sturdier and can tank through some of your attacks. However, they’re all weak to fire, so you should be pegging them with that element to make short work of them.
Bandits, although there are two types of them. The basic Bandit should go down without much of a fight, but the other ones are a little sturdier and can tank through some of your attacks. However, they’re all weak to fire, so you should be pegging them with that element to make short work of them.
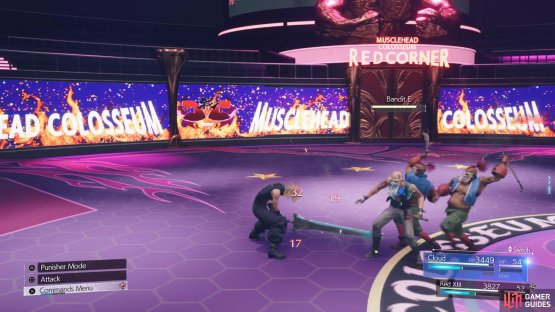

(1 of 2) The Bandits with hair are a little tankier than their other brethren.

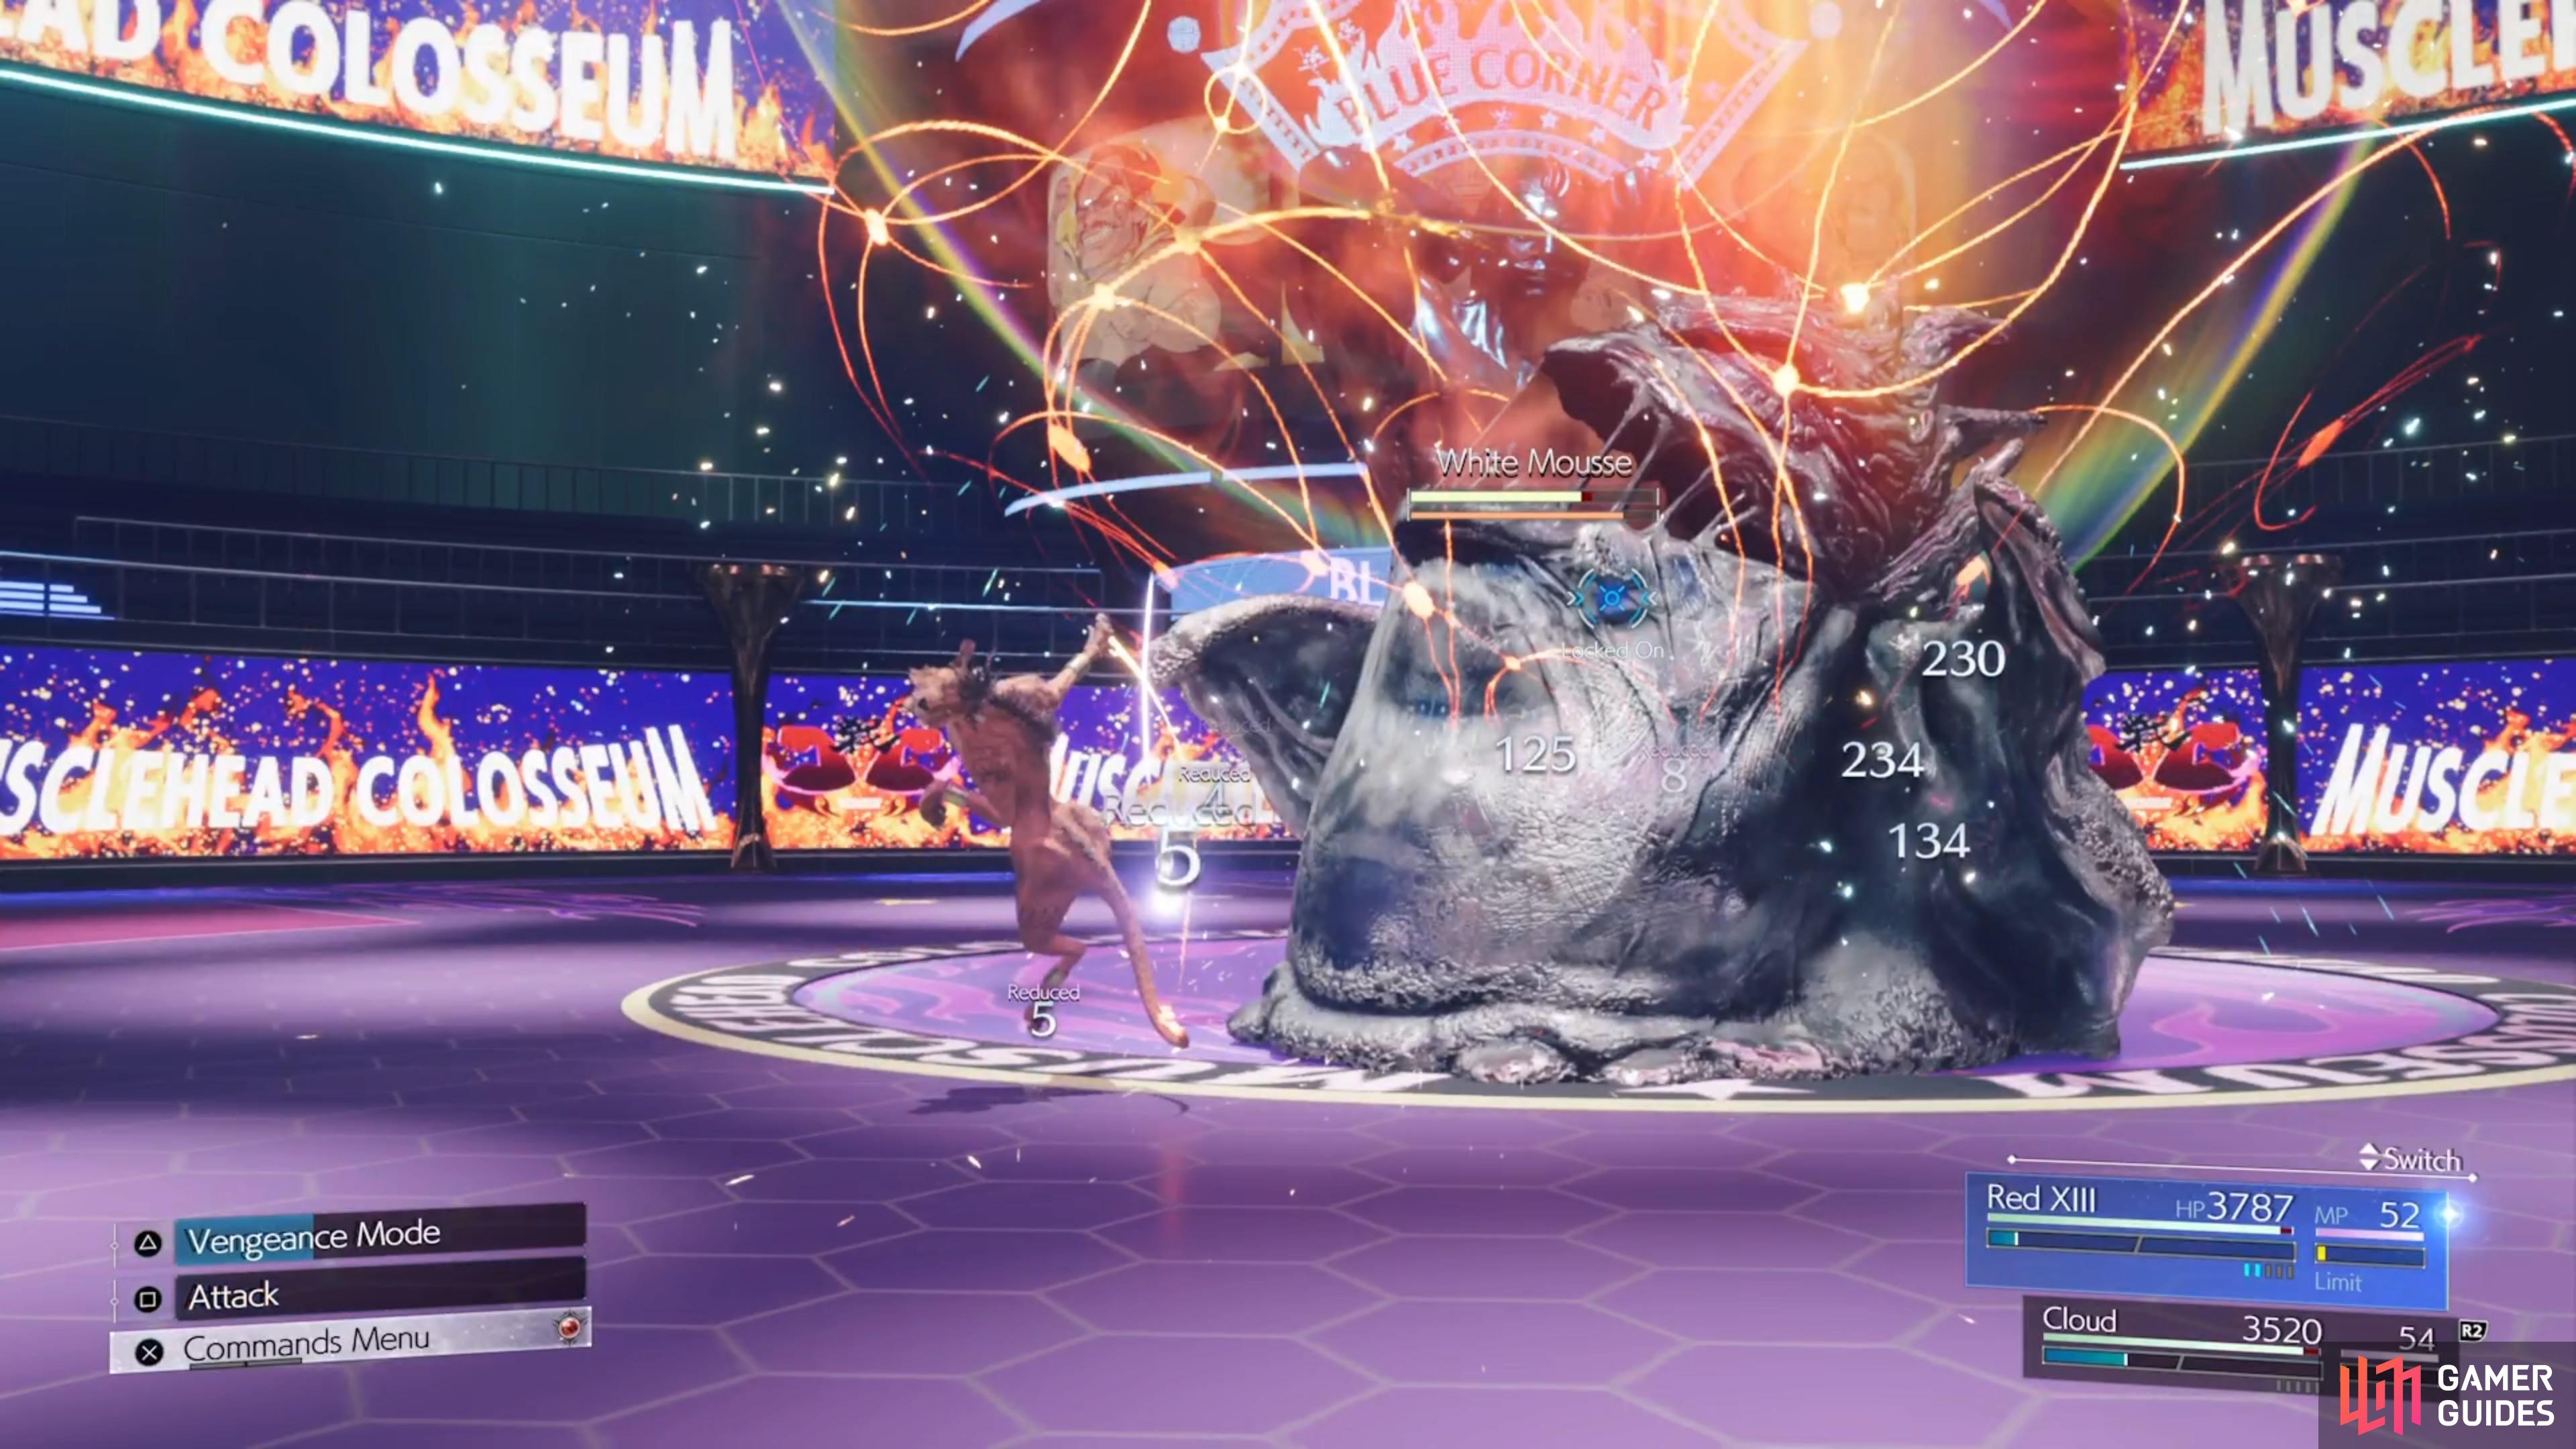
The Bandits with hair are a little tankier than their other brethren. (left), Red XIII’s Stardust Ray works wonders against the White Mousse. (right)
The second round will be against a single ![]() White Mousse, an enemy that will be resistant to physical attacks. Normally, you would use an elemental attack spell to pressure it for a short time, but the White Mousse would become resistant to that element afterwards. However, Barret’s
White Mousse, an enemy that will be resistant to physical attacks. Normally, you would use an elemental attack spell to pressure it for a short time, but the White Mousse would become resistant to that element afterwards. However, Barret’s ![]() Bonus Rounds and Red XIII’s
Bonus Rounds and Red XIII’s ![]() Stardust Ray are both very powerful against this creature. In fact, both of those characters are also great for the first round.
Stardust Ray are both very powerful against this creature. In fact, both of those characters are also great for the first round.
Two-Person Bout: Exemplary Exterminators
- Recommended Level: 39
- First-Time Reward:
 Hi-Ether x2, GP x70
A big step up in difficulty, you will likely have to wait until later in the game to finish this one. The ![]() Junon Flametroopers are annoying and will constantly pressure you with their flamethrowers, while the Daemonic Entities can stun you with their Howl move. If you can get behind the latter, they will flinch from your attacks, but the quickest way to handle them is with Blizzard spells, as they are weak to it, and it will pressure them. For the Flametroopers, pelt them with fire magic or try to attack them from behind.
Junon Flametroopers are annoying and will constantly pressure you with their flamethrowers, while the Daemonic Entities can stun you with their Howl move. If you can get behind the latter, they will flinch from your attacks, but the quickest way to handle them is with Blizzard spells, as they are weak to it, and it will pressure them. For the Flametroopers, pelt them with fire magic or try to attack them from behind.
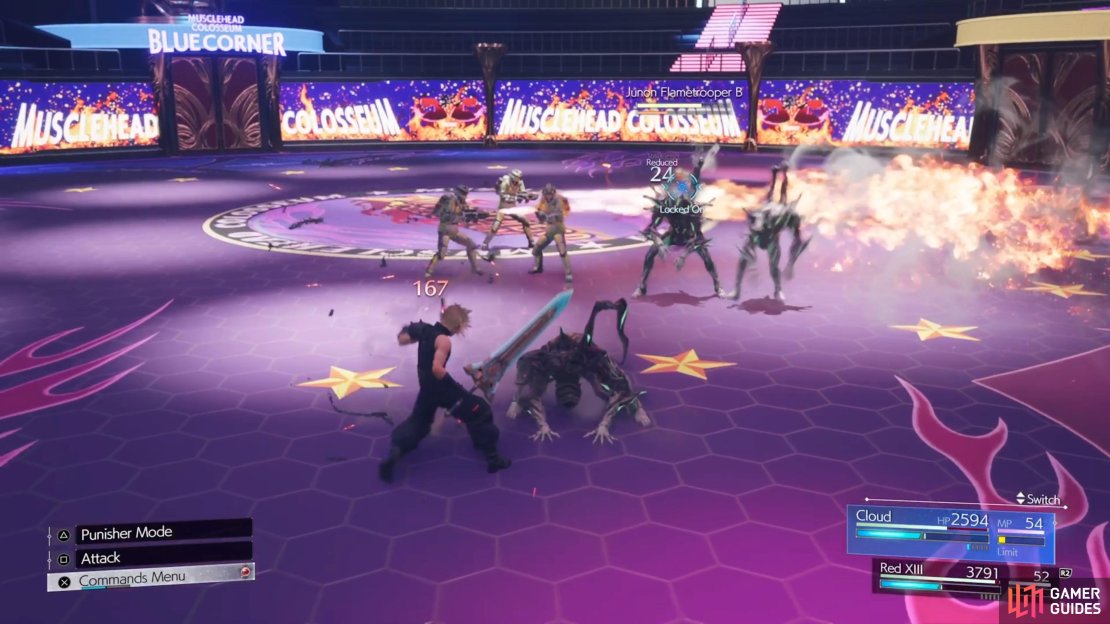
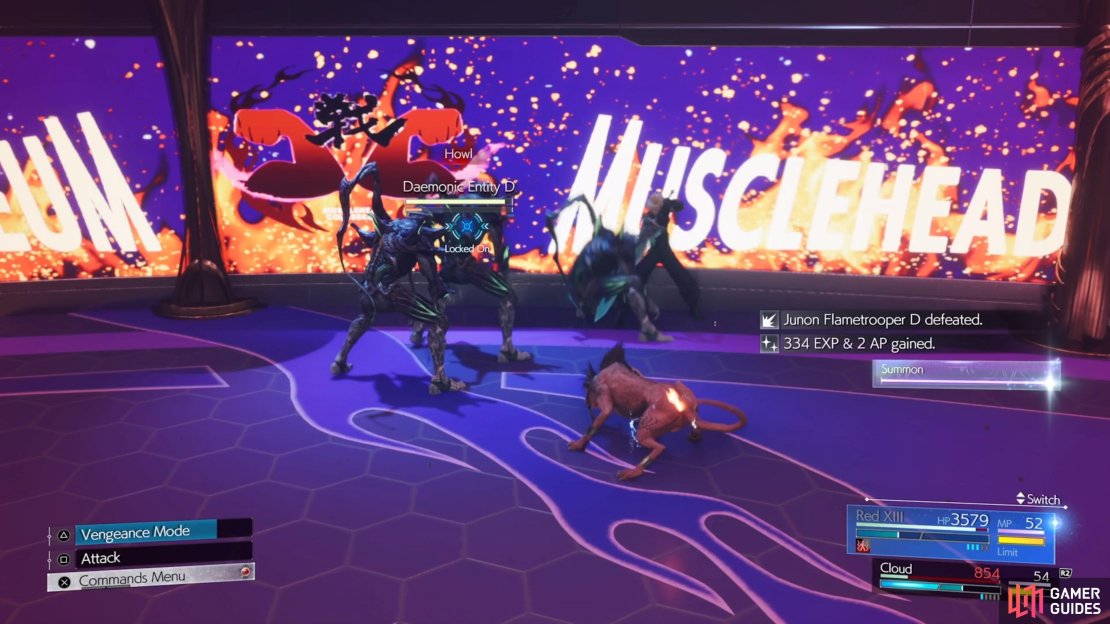

(1 of 5) It’s easy to get overwhelmed against the Flametroopers and Daemonic Entities.
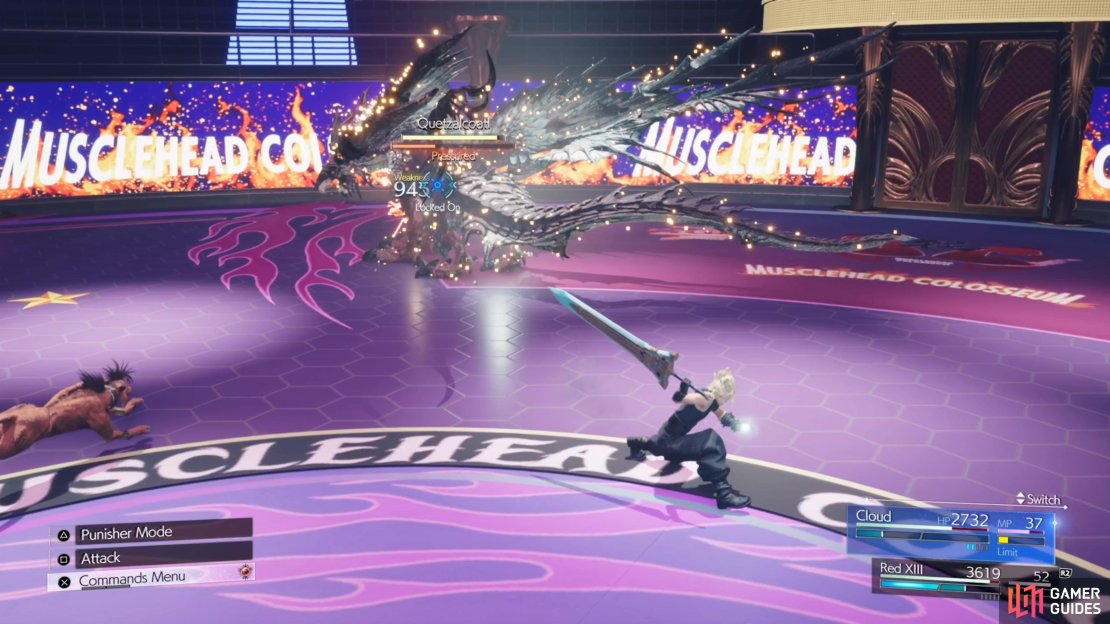
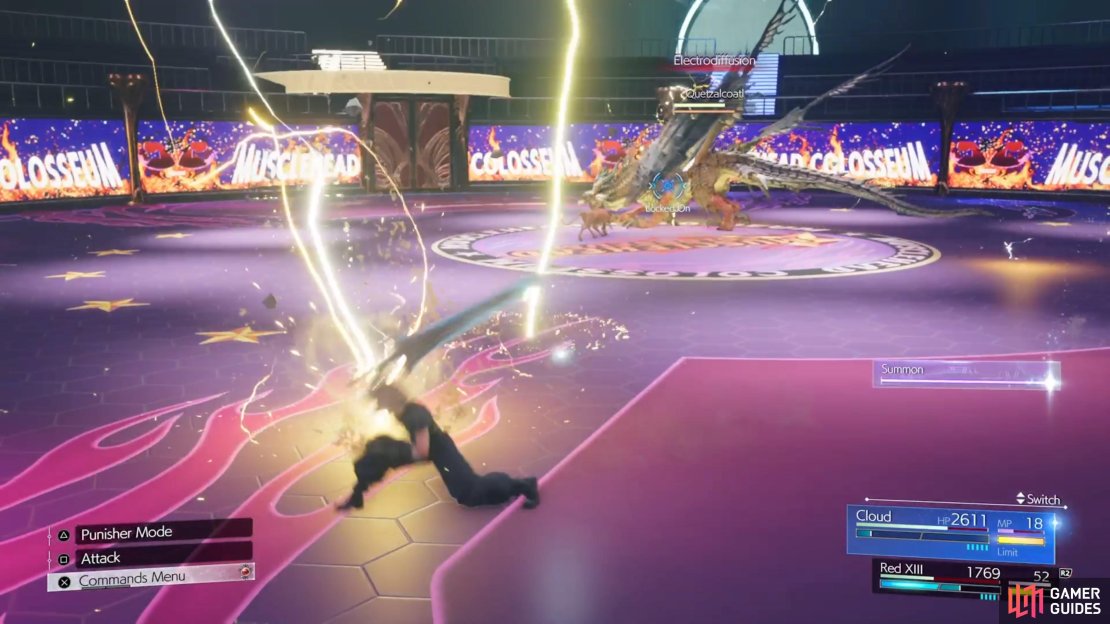
The second round will be against ![]() Quetzalcoatl, who you are probably familiar with at this point. However, don’t let that lead to complacency, as it can inflict a good bit of damage and you only have two characters. Try to exploit its weakness of ice to pressure it, and hopefully you can get it staggered. The longer this battle goes on, the more of a chance that Quetzalcoatl will become more challenging. Just be wary of when it uses Electrify, as that means it could use its bigger attacks that make it go from the ground to the air, and vice versa.
Quetzalcoatl, who you are probably familiar with at this point. However, don’t let that lead to complacency, as it can inflict a good bit of damage and you only have two characters. Try to exploit its weakness of ice to pressure it, and hopefully you can get it staggered. The longer this battle goes on, the more of a chance that Quetzalcoatl will become more challenging. Just be wary of when it uses Electrify, as that means it could use its bigger attacks that make it go from the ground to the air, and vice versa.
Two-Person Bout: Ghoulish Delights
- Recommended Level: 40
- First-Time Reward: Tale of the Red Warrior Vol. IV, GP x70
The first round will be against some ![]() Crawlers and
Crawlers and ![]() Grasslands Wolves, who are honestly pretty easy. For the wolves, block their spinning attack to pressure them and you shouldn’t have any trouble at all. The second round will pit you against a
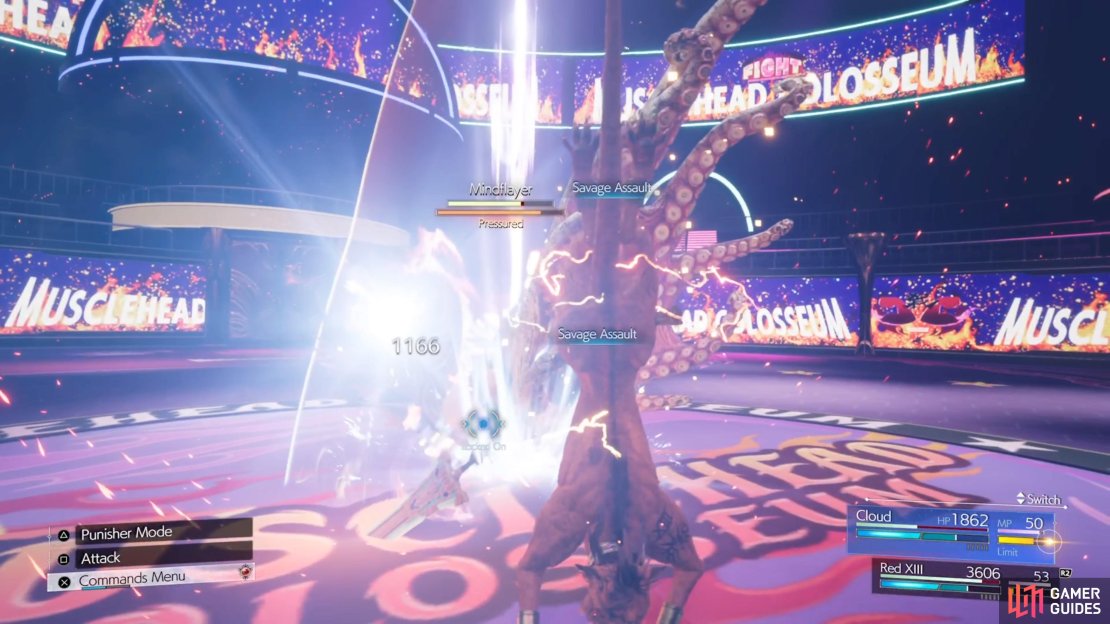
Grasslands Wolves, who are honestly pretty easy. For the wolves, block their spinning attack to pressure them and you shouldn’t have any trouble at all. The second round will pit you against a ![]() Mindflayer, who can be a challenging battle. Astral Apprehension spawns a bunch of lightning bolts near it, so back away from it whenever it does that. Also, be aware of Eldritch Horror and Sinister Seizure, as both are unblockable.
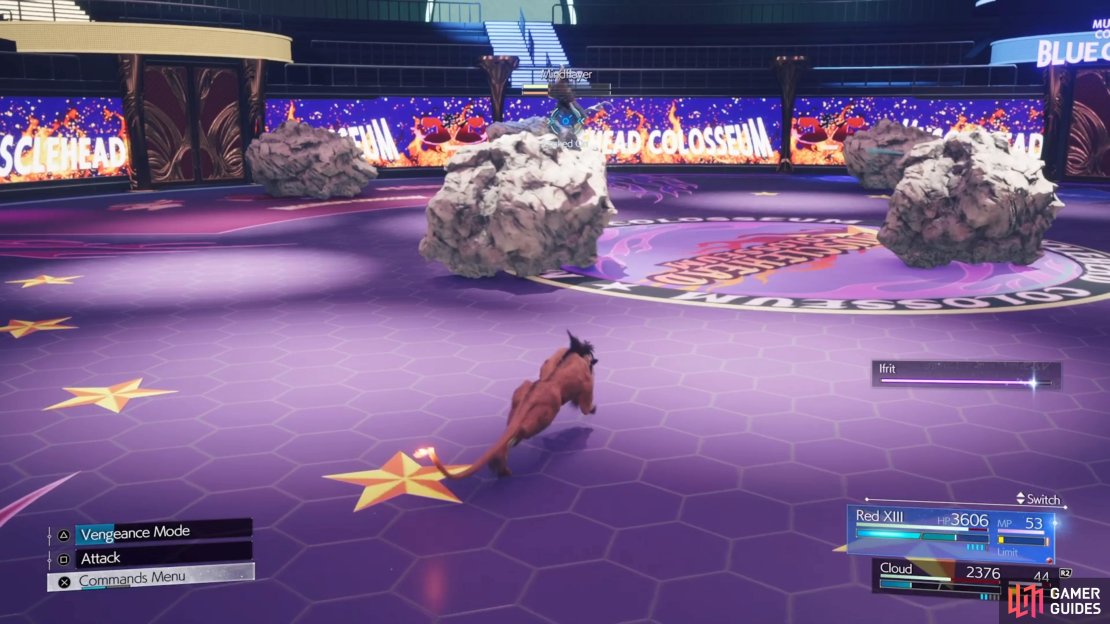
Mindflayer, who can be a challenging battle. Astral Apprehension spawns a bunch of lightning bolts near it, so back away from it whenever it does that. Also, be aware of Eldritch Horror and Sinister Seizure, as both are unblockable.
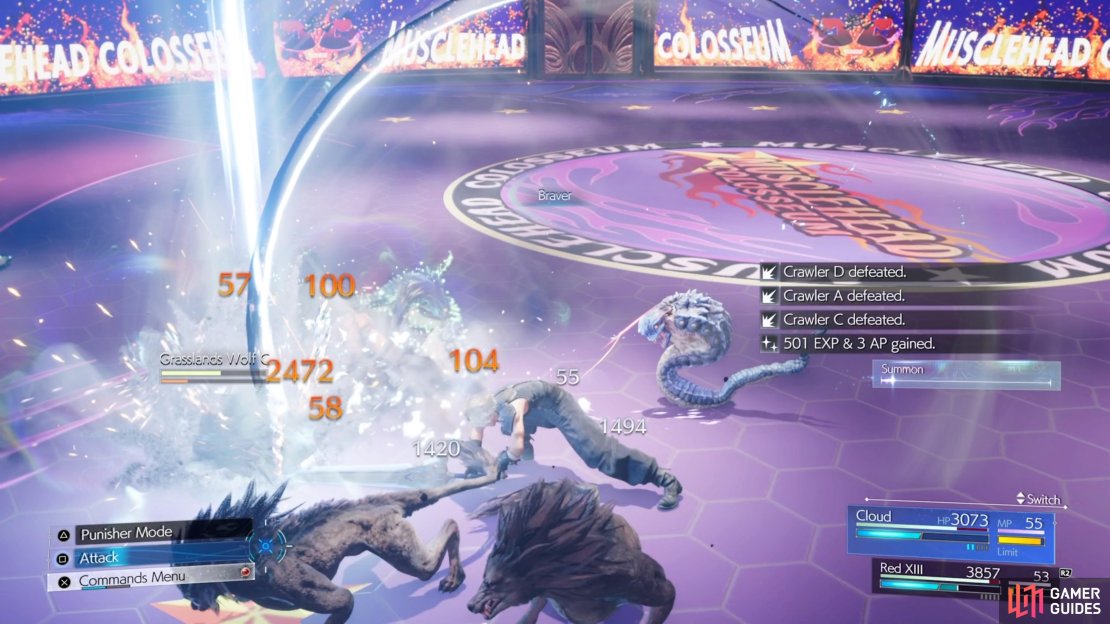

(1 of 4) The first round of the last Two-Person set shouldn’t give you any trouble.
The biggest worry with the Mindflayer will be when it uses Telekinesis to drop large boulders in the arena. This means that its next attack will likely be Psychotic Break, which will deal huge damage if you don’t hide behind the boulders. The Mindflayer doesn’t have any weaknesses, but you can pressure it if you use Synergy Abilities. So, the best thing to do is simply spam abilities that give you synergy, allowing you to essentially use those attacks. Remember that using the same Synergy Ability will require more synergy, so keep spamming normal abilities and spells.
No Comments