
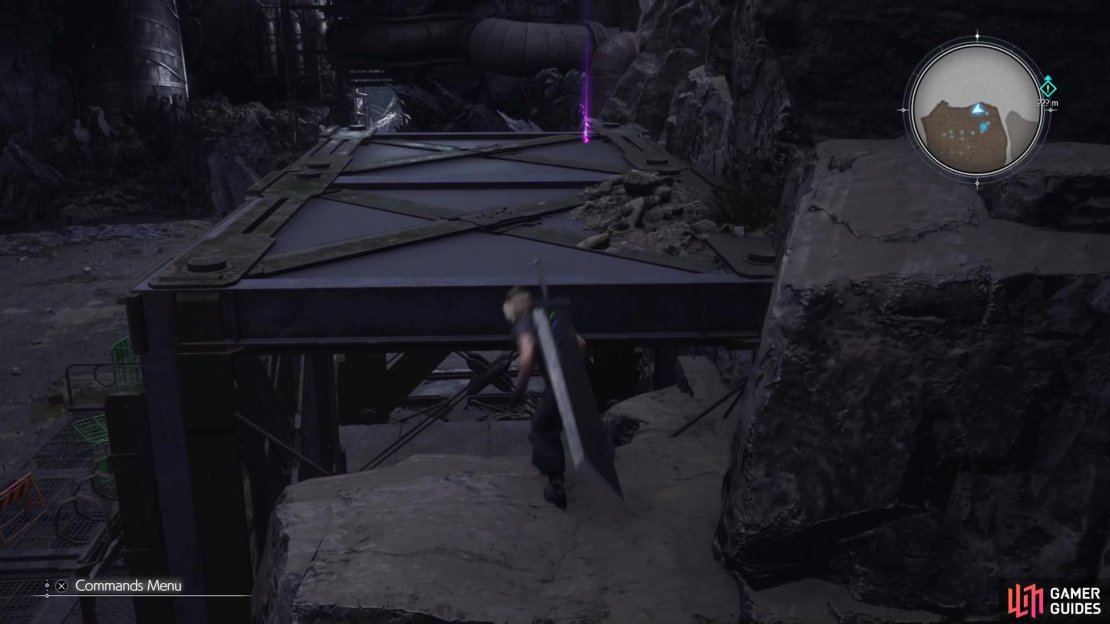
Cloud and company have finally climbed ![]() Mt. Nibel, but they find out the bridge leading to the reactor is down, so they’ll need to cut through a Shinra Facility. You’ll first arrive at the outskirts after passing through a narrow corridor that Tifa points out as a detour. Upon reaching the front door of the facility, step back and allow Sephiroth to use the panel to open the doors.
Mt. Nibel, but they find out the bridge leading to the reactor is down, so they’ll need to cut through a Shinra Facility. You’ll first arrive at the outskirts after passing through a narrow corridor that Tifa points out as a detour. Upon reaching the front door of the facility, step back and allow Sephiroth to use the panel to open the doors.
Mako Measurement Facility
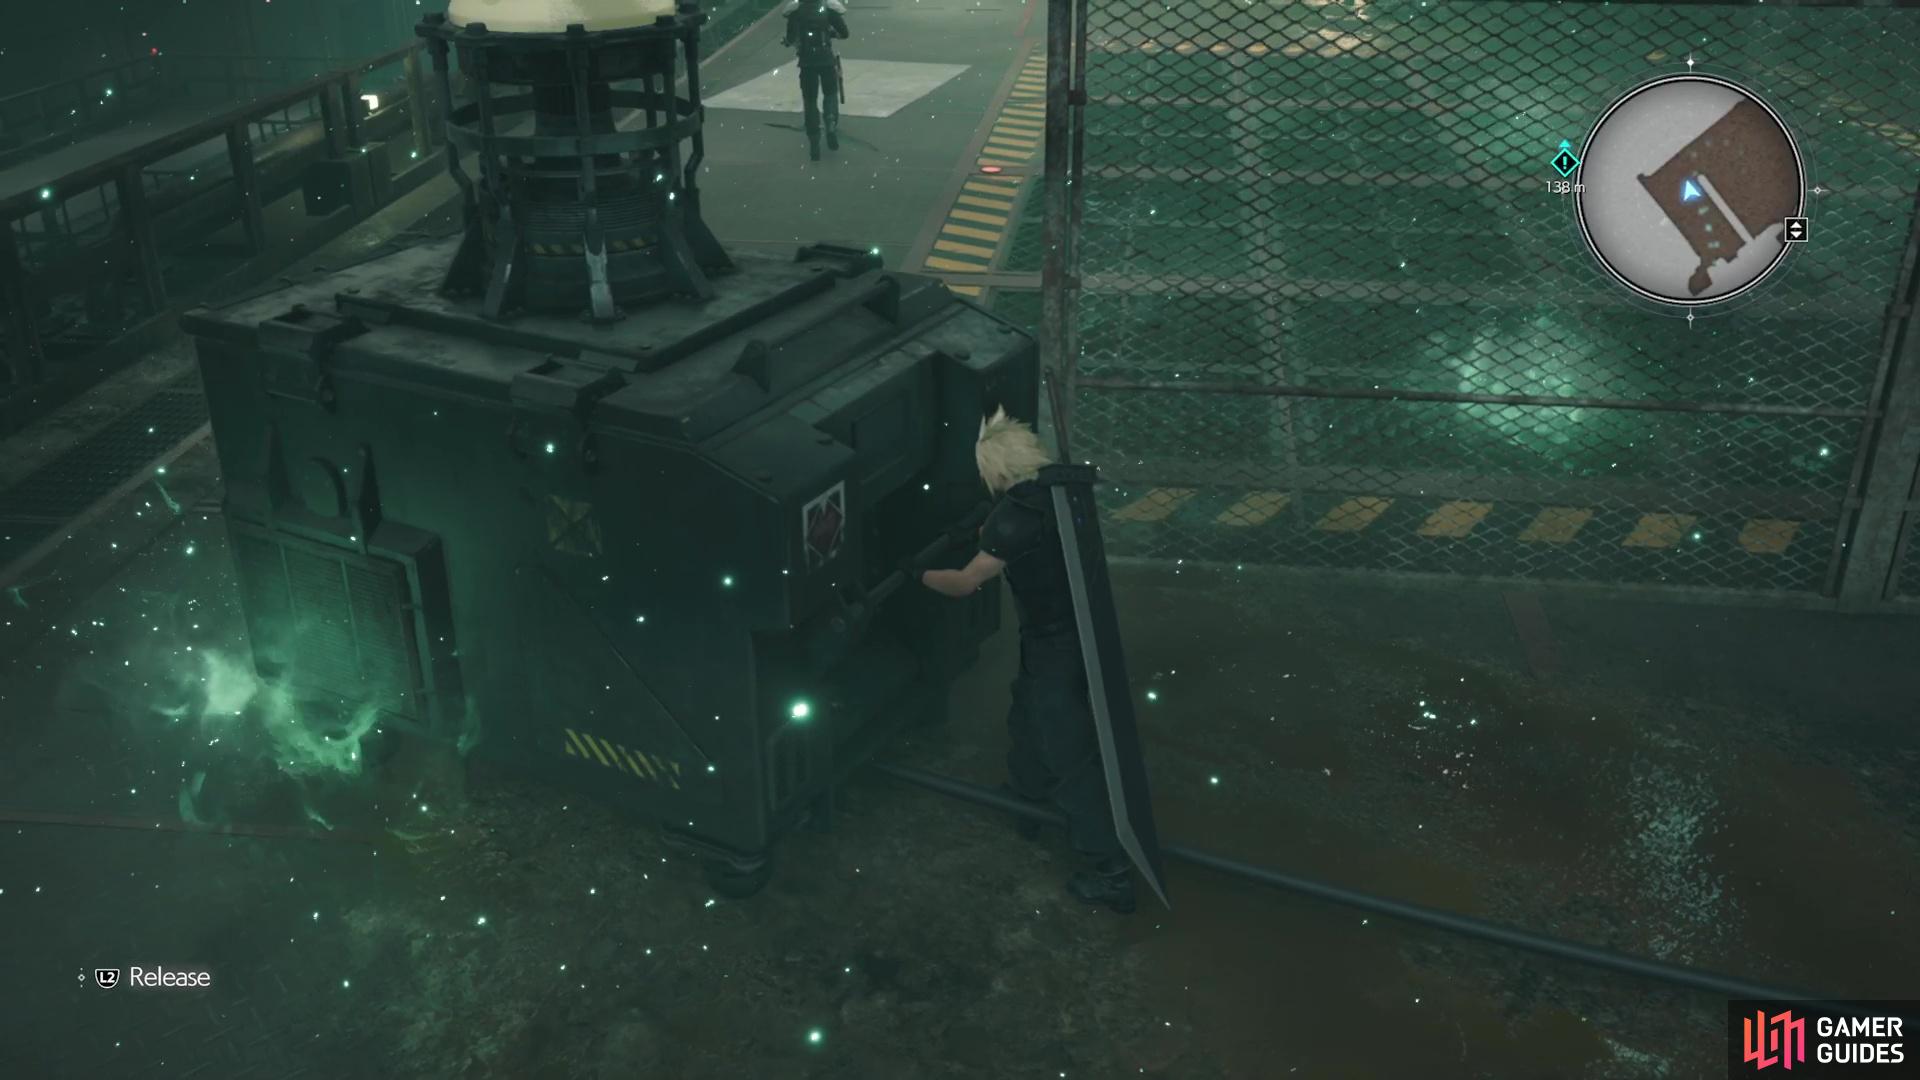
Upon stepping inside, feel free to break the Shinra boxes, then go up the stairs. To your right, at the top of the stairs, will be a ![]() Level Boost Materia sitting on some kind of shelf. This Materia will boost the level of a linked Materia, so it could do something like give access to Cura if your
Level Boost Materia sitting on some kind of shelf. This Materia will boost the level of a linked Materia, so it could do something like give access to Cura if your ![]() Healing Materia is only level one. Link it to something, then use the elevator nearby to go up a floor. Here, you will encounter a new enemy, the
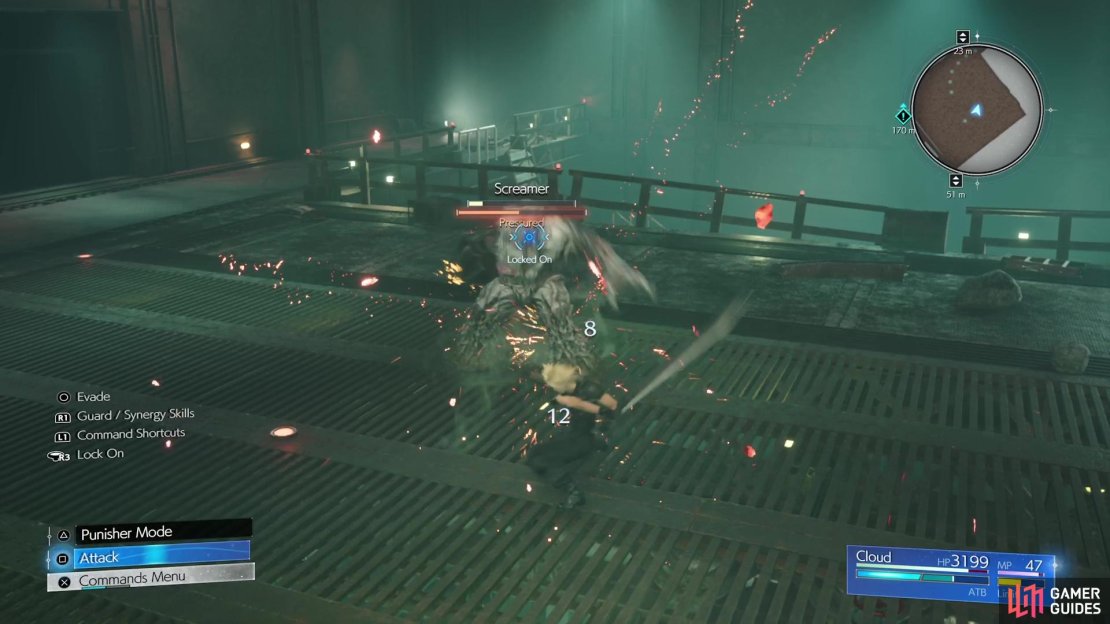
Healing Materia is only level one. Link it to something, then use the elevator nearby to go up a floor. Here, you will encounter a new enemy, the ![]() Screamer.
Screamer.
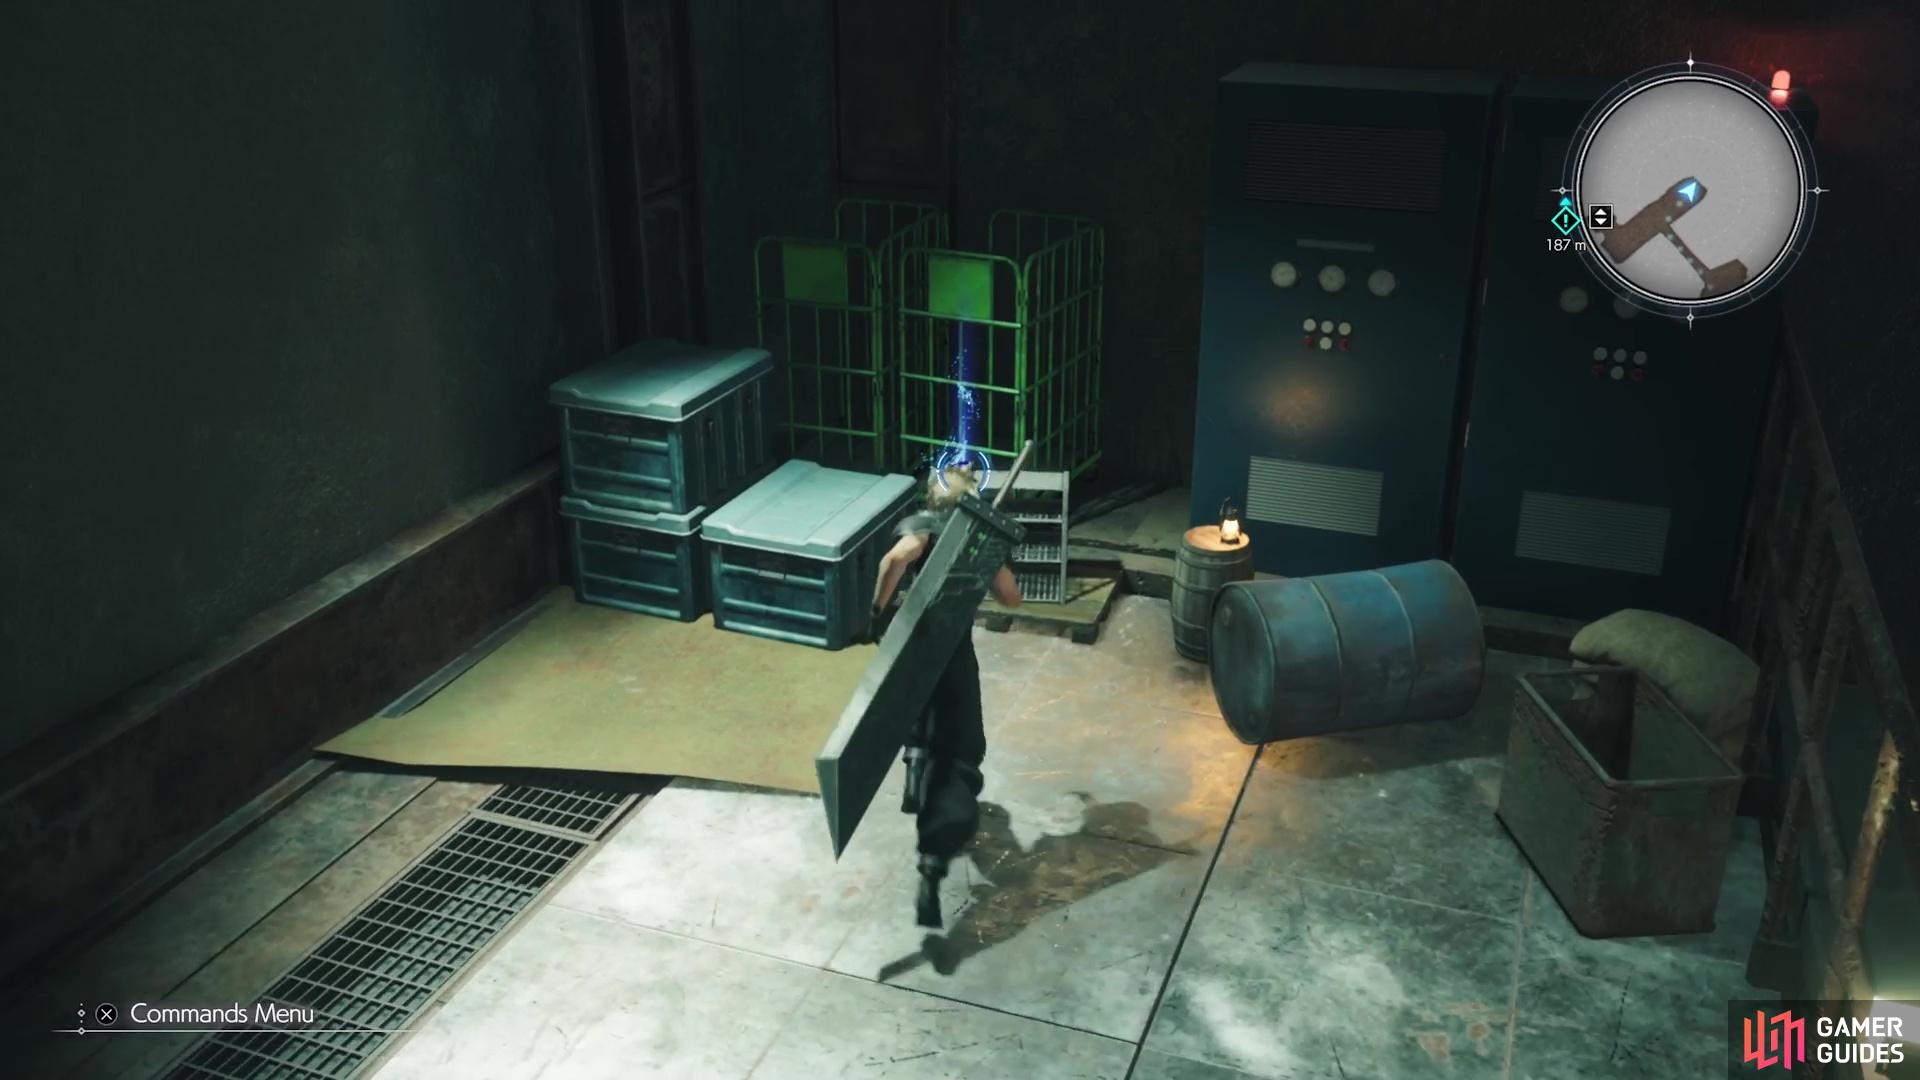
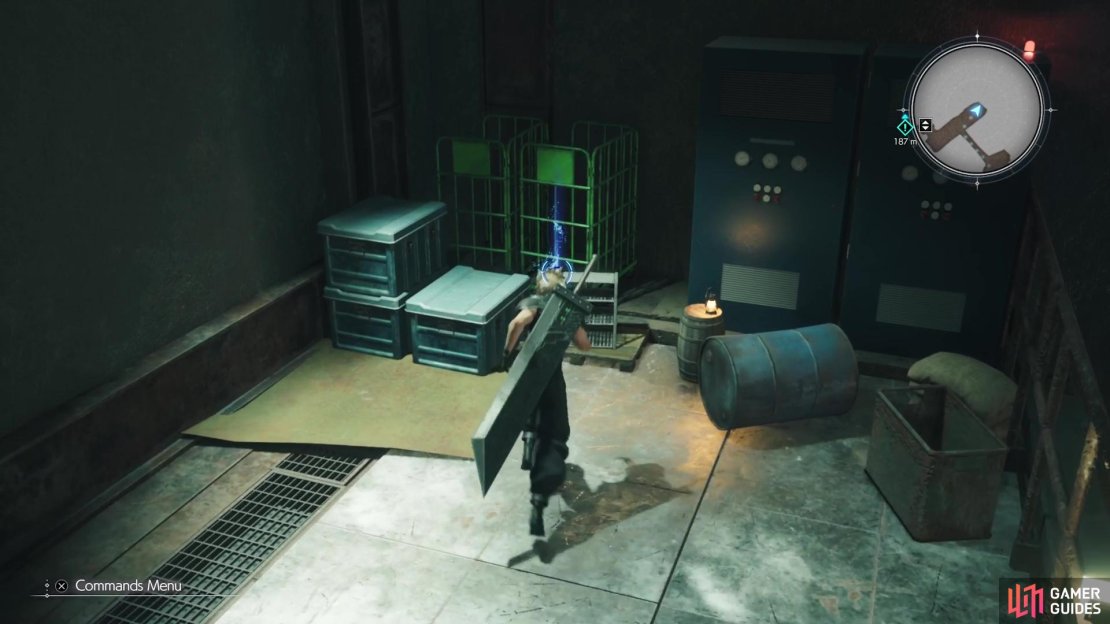
(1 of 5) You can find the Level Boost Materia close to the entrance of the facility.
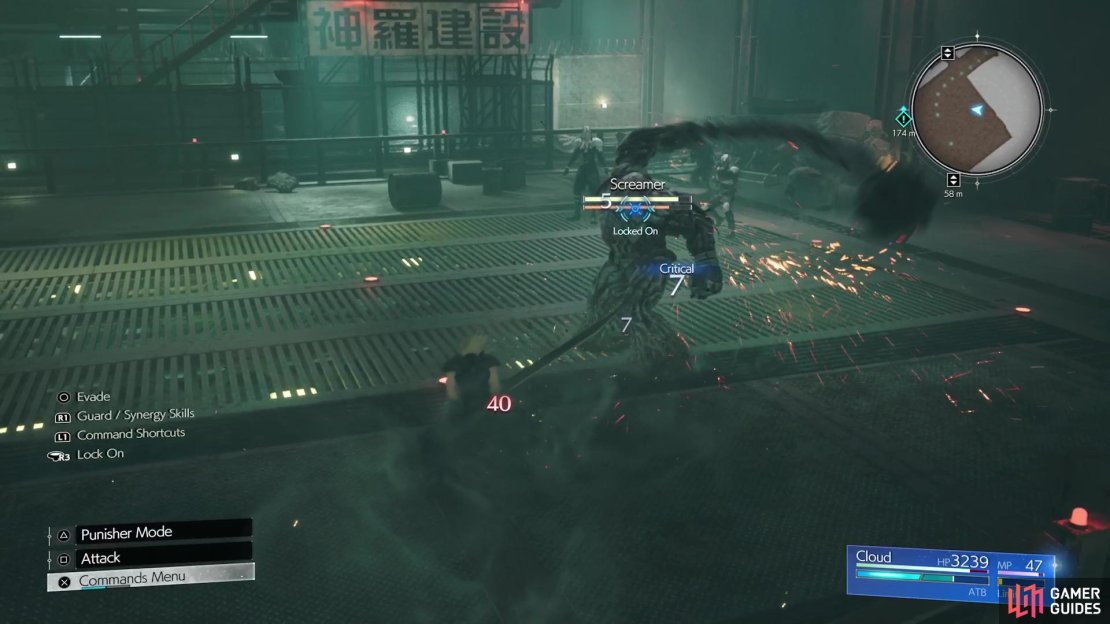
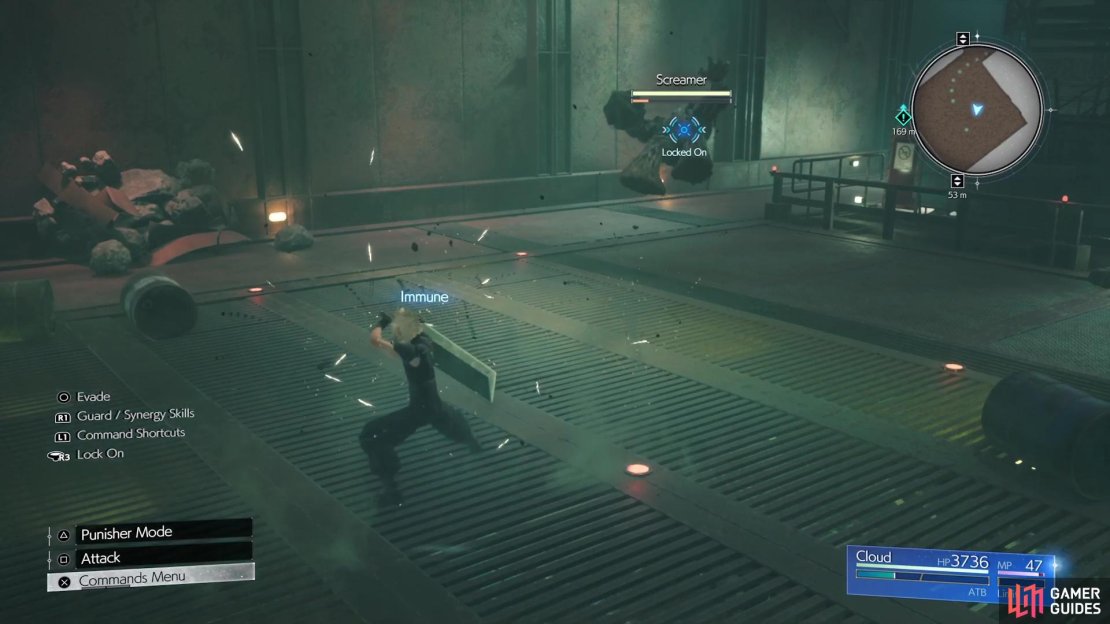
This creature is armed with a mace at the end of their arm, which they will use to swing around to hit their foes. You won’t be able to get close while they’re swinging the mace, so you’ll have to use ranged attacks, like their weakness of fire or Cloud’s blade beams. If you perfect block their mace while it’s swinging, or even during an attack, then the Screamer will get knocked to the ground for a few seconds. Keep taking shots at the creature until you stagger it, then use Braver to do big damage. Continue this until the Screamer is defeated.
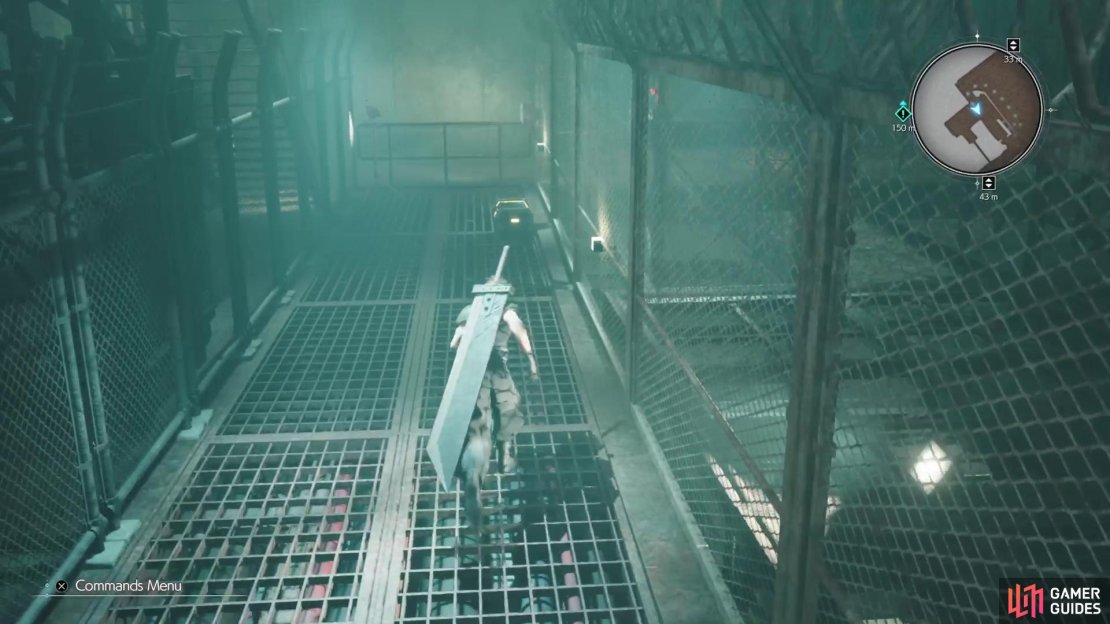
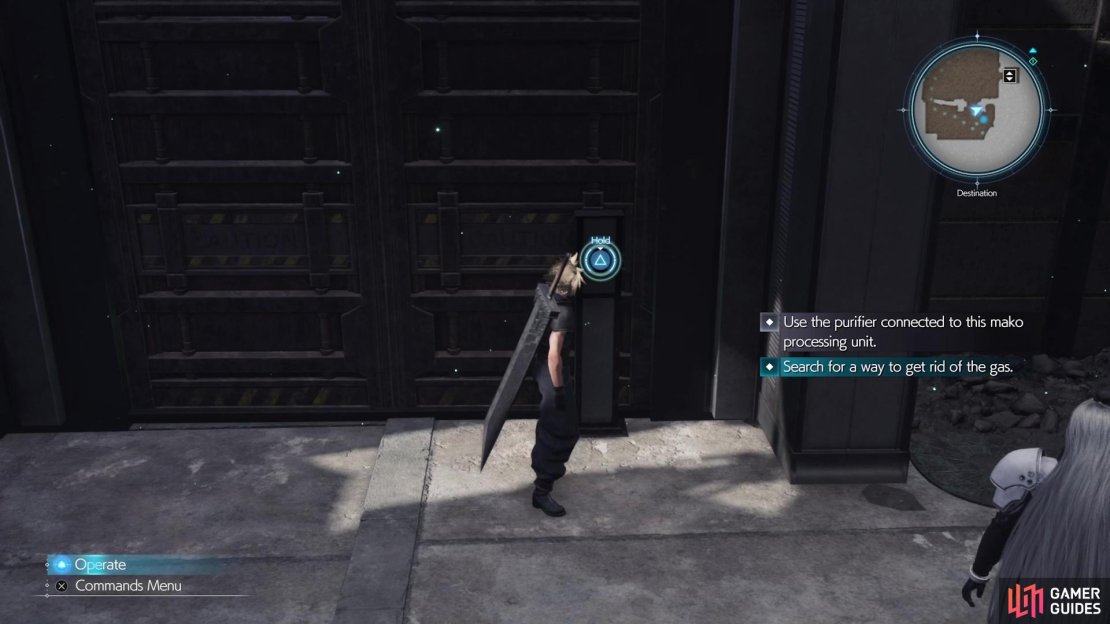
Hop over the nearby railing once the battle is over, then go behind the stairs to find a chest, so open it for an ![]() Ether. Take the stairs now and follow the path until you reach another locked door with a control panel in front of it. This door won’t open, since there are pockets of mako around the area. There is a large machine on one side here, so head over to it and follow the connected wire to a machine on the wall. Interact with this to turn the machine on (press
Ether. Take the stairs now and follow the path until you reach another locked door with a control panel in front of it. This door won’t open, since there are pockets of mako around the area. There is a large machine on one side here, so head over to it and follow the connected wire to a machine on the wall. Interact with this to turn the machine on (press  when it appears), then return to the first one.

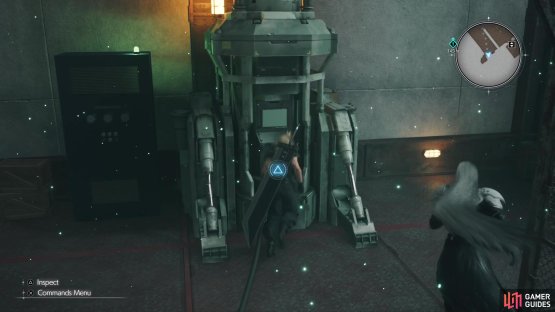
(1 of 2) Turn on the mako purifier machine first
Turn on the mako purifier machine first (left), then you can push around the device to collect the mako pockets on the ground. (right)
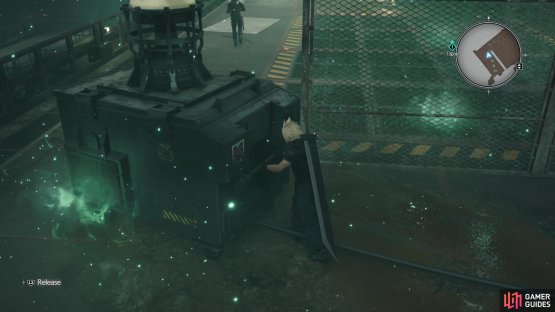
Use  to grab hold of the contraption and move it around to the pockets of mako on the ground. The machine is a purifier, so you are just cleaning up the leftover mako, so use it to get the three bits of mako that will, in turn, open up the elevator for use. Take it to the next area, where you just keep going until you’re crossing a bridge. As you’re doing this, the bridge will break and everyone will plummet to the waters below.
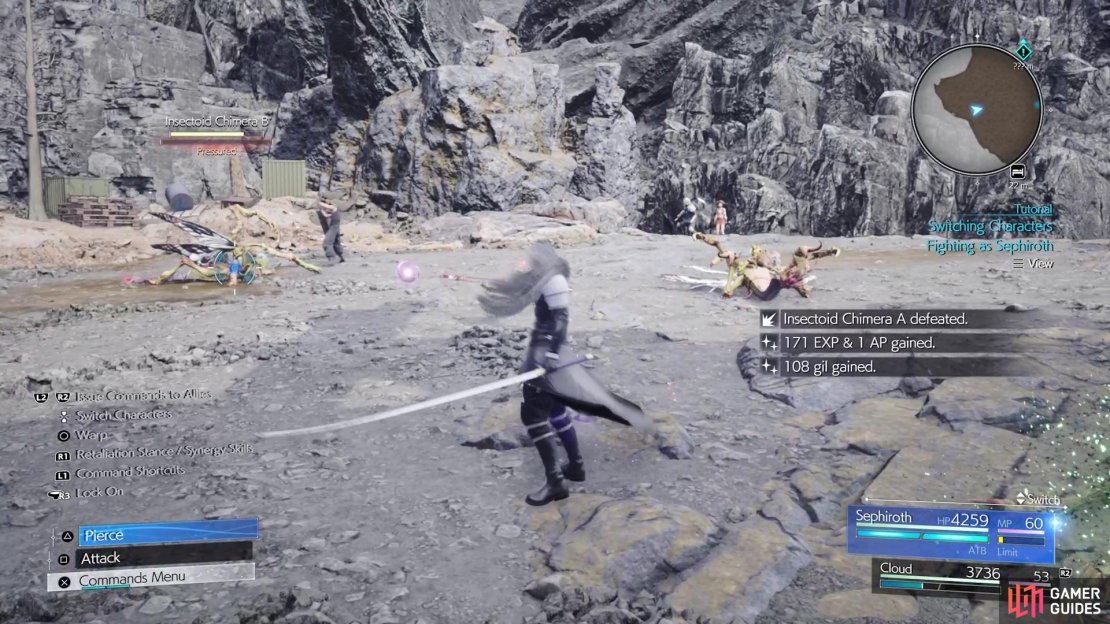
When the scenes have ended, Sephiroth will join your party as a playable character. You had a small taste of him at the very beginning of Chapter 1, but you’ll receive a more in-depth tutorial on his playstyle now.
Sephiroth Battle Tutorial
Well, you will get that tutorial in a little bit, but first you will need to climb the wall ahead of you. Approach the yellow-colored ledge and Cloud should automatically grab it. From there, just push the left stick in the direction of the next handhold to continue climbing. At the top, you’ll be introduced to a Rest ![]() Stop, which were a thing in Remake. These will fully restore both your HP and MP upon using them, so make it a habit to do just that.
Stop, which were a thing in Remake. These will fully restore both your HP and MP upon using them, so make it a habit to do just that.
Right next to the bench will be a ![]() HP Up Materia, which increases your max HP whenever you equip it. Some enemies will be lurking nearby, which will be your first chance to use Sephiroth in a full capacity. Like with Cloud, the
HP Up Materia, which increases your max HP whenever you equip it. Some enemies will be lurking nearby, which will be your first chance to use Sephiroth in a full capacity. Like with Cloud, the  button will perform a combo with Sephiroth’s Masamune. If you hold the button down, though, he will unleash a projectile. Landing a certain number of attacks will allow you to perform branching finishers with the button, like Pierce or Sword Dance.


(1 of 4) A HP Up Materia will be on the ground, right next to the Rest Spot.
If you press  , then Sephiroth will enter Retaliation Stance. While in this stance, press at the right time to parry an incoming attack. You should be controlling Sephiroth right out of the gate in this battle and he can make short work of the enemies here, without needing to do much. After the battle is over, you will see that Sephiroth is the current party leader, meaning he will be the main character you control from the beginning of fights. If you wish to change this, go to Combat Settings in the menu, highlight Cloud and then press to change the party leader to him.
Gnipahellir Ravine
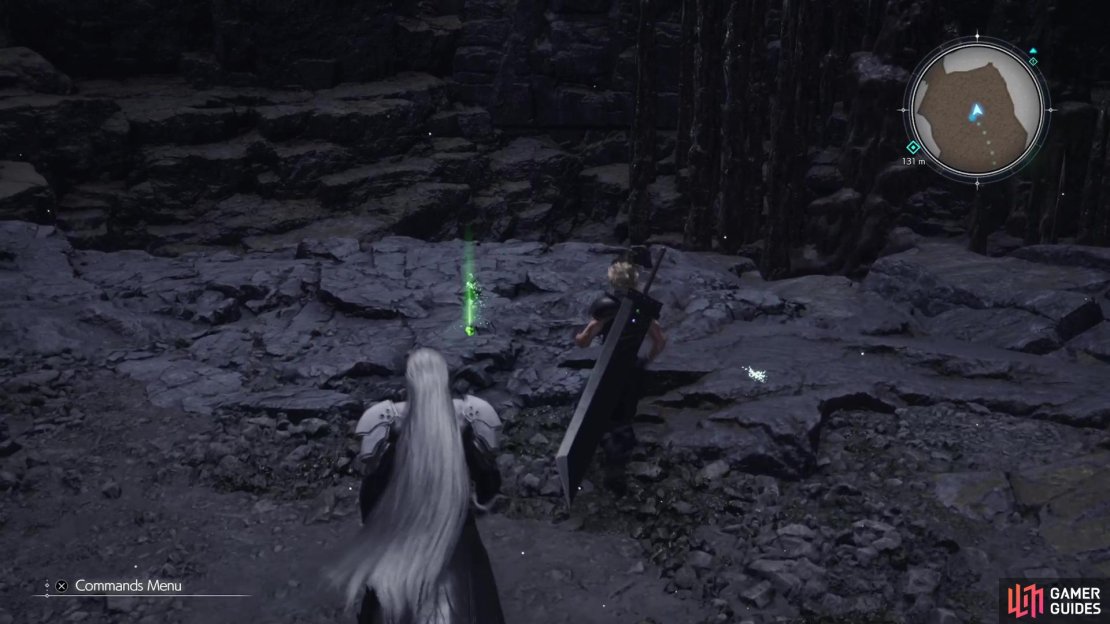
There’s nothing else in this immediate area, so head into the cave to be confronted by two enemies. Dispatch them, then check out the northern end of this initial section, where you will find an ![]() Empowerment Materia sitting on the ground. Head to the western side and drop down the ledges, with a scene occurring when you approach the mako spring. Once the scene is over, continue north of the mako spring to face another Screamer, who will be accompanied by a
Empowerment Materia sitting on the ground. Head to the western side and drop down the ledges, with a scene occurring when you approach the mako spring. Once the scene is over, continue north of the mako spring to face another Screamer, who will be accompanied by a ![]() Velociwing. As you soldier on, you will come across another new enemy, the
Velociwing. As you soldier on, you will come across another new enemy, the ![]() Twin Brain.
Twin Brain.

(1 of 3) Upon entering the ravine, go north for an Empowerment Materia.
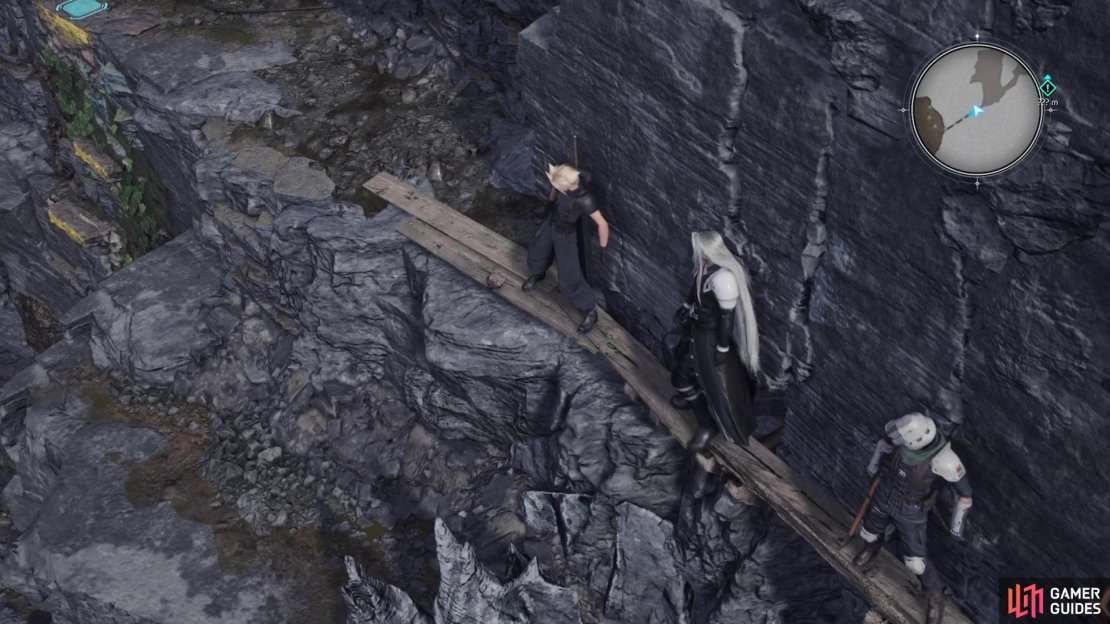
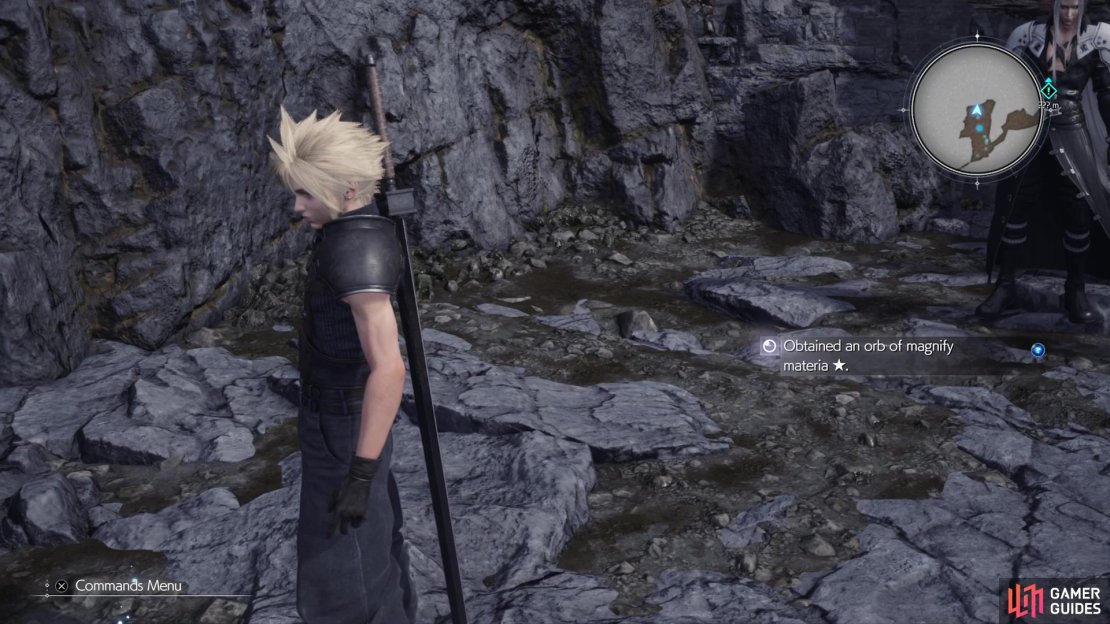
The only thing you’ll need to watch out for with the Twin Brain is its Screech attack, which can stun you. Continue climbing after that battle, where you’ll reach a cliffside with some more enemies. When they have been defeated, shimmy along the thin wooden ledge to get across the chasm. You will see another set of climbable ledges here, so take them down to a spot with a ![]() Magnify Materia. Climb back up and enter the next area, where a
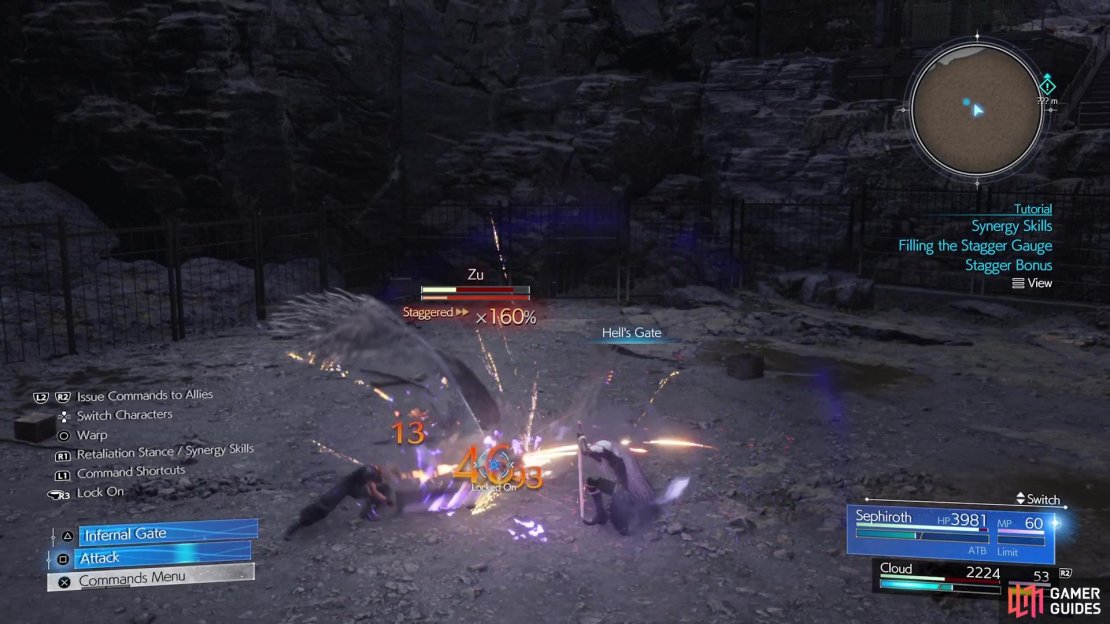
Magnify Materia. Climb back up and enter the next area, where a ![]() Zu will swoop down to attack you.
Zu will swoop down to attack you.
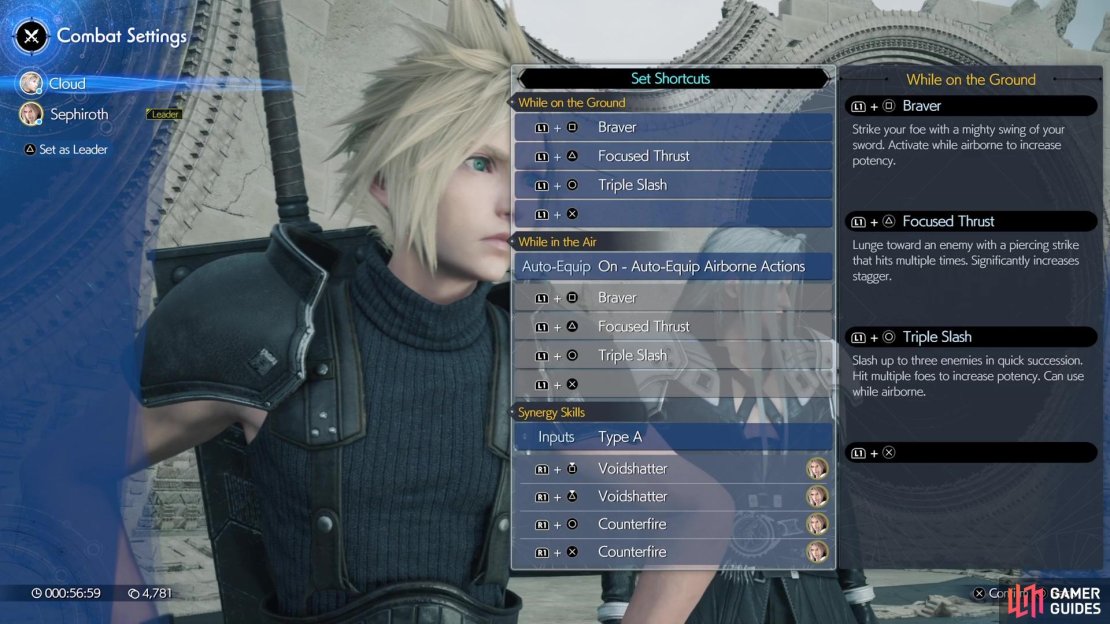
The game will introduce Synergy Skills here, which are done by holding , then pressing one of the face buttons. Voidshatter is assigned to / and requires you to charge the skill by holding one of those buttons. Counterfire is assigned to the other two buttons, causing Cloud to take a defensive stance and counter after being attacked. It’s important to remember that Synergy Skills do not take up ATB gauges, so you can use them as many times as you want without worry.
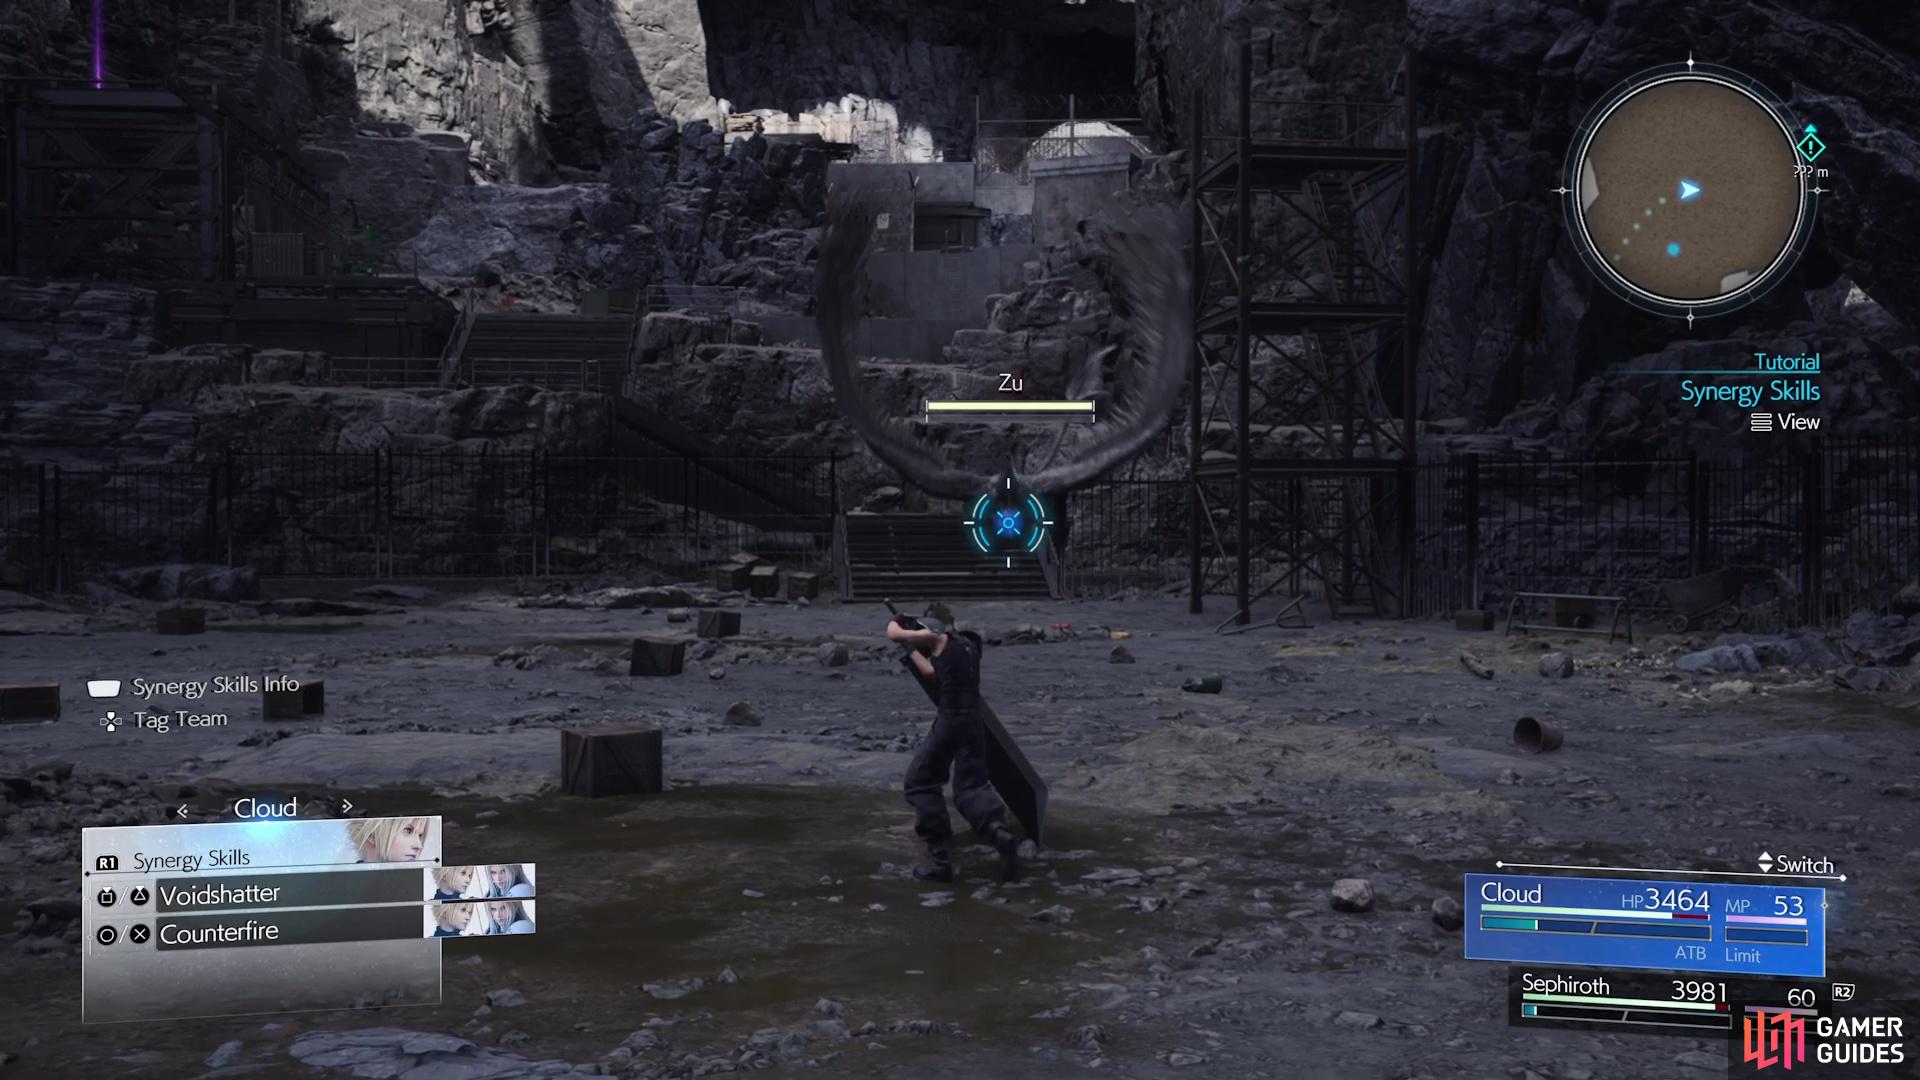
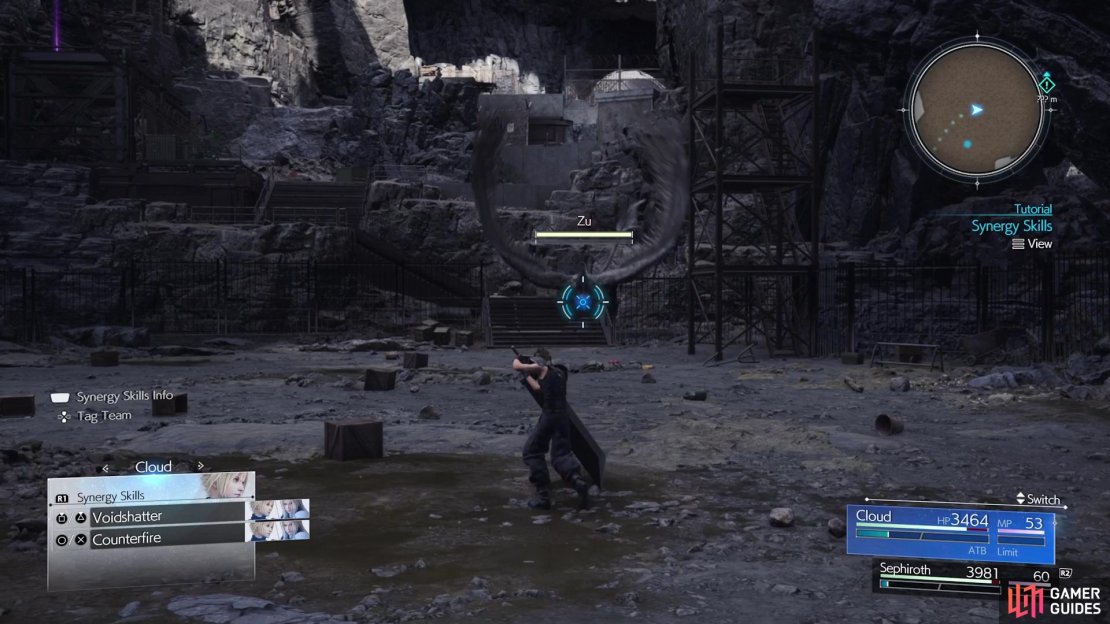
(1 of 3) Hold down R1 to bring up an option for Synergy Skills.
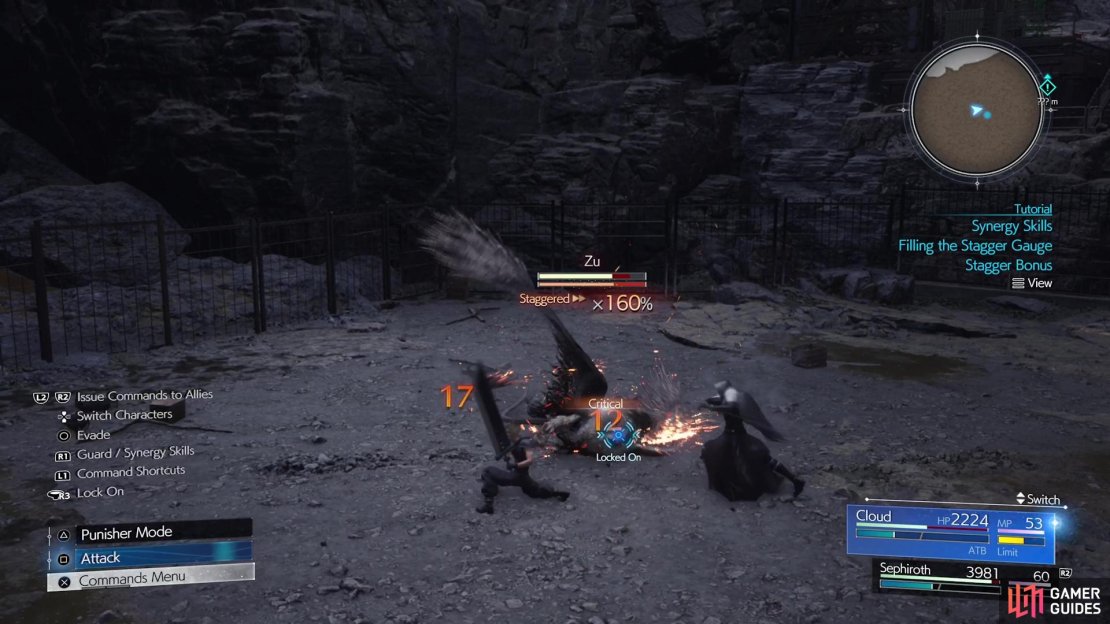
You will also be taught about Pressuring and Staggering foes here. Each foe in the game has its own method for pressuring them, although there are a lot that just require you to do enough damage or hit them with their weakness. While pressured, their stagger bar will fill up more rapidly than usual, although there are certain abilities that can help with that, like Cloud’s ![]() Focused Thrust. Staggering a foe will make them completely defenseless, where they also take more damage than usual.
Focused Thrust. Staggering a foe will make them completely defenseless, where they also take more damage than usual.
Once you’ve beaten the Zu, go up the nearby stairs, then climb up the rocks and onto the metal structure to find the ![]() Precision Defense Focus Materia. After looting that, continue the ascent to the top of the area, defeat the enemies blocking the ladder, then climb the ladder. Look for some stairs off to the left side, so go up them to find an
Precision Defense Focus Materia. After looting that, continue the ascent to the top of the area, defeat the enemies blocking the ladder, then climb the ladder. Look for some stairs off to the left side, so go up them to find an ![]() Auto-Cast Materia on top of some objects. Ascend the next ladder in the area to find another mako gas purifier puzzle waiting for you.
Auto-Cast Materia on top of some objects. Ascend the next ladder in the area to find another mako gas purifier puzzle waiting for you.
Second Mako Gas Purifier Puzzle
The second puzzle is pretty much the same as the first one, although there’s a little kink in the plan. Go around the broken fence to find the purifier, but before grabbing hold of it, look for the switch by the closed door. Hold the Triangle button to activate the switch and open the gate, then grab the purifier. Push it past the broken gate to collect the mako right there, then bring it back to the initial area, where you will be pushing the device through the now opened gate/door.

(1 of 5) The Precision Defense Focus Materia is found on this metal structure after climbing some stairs.
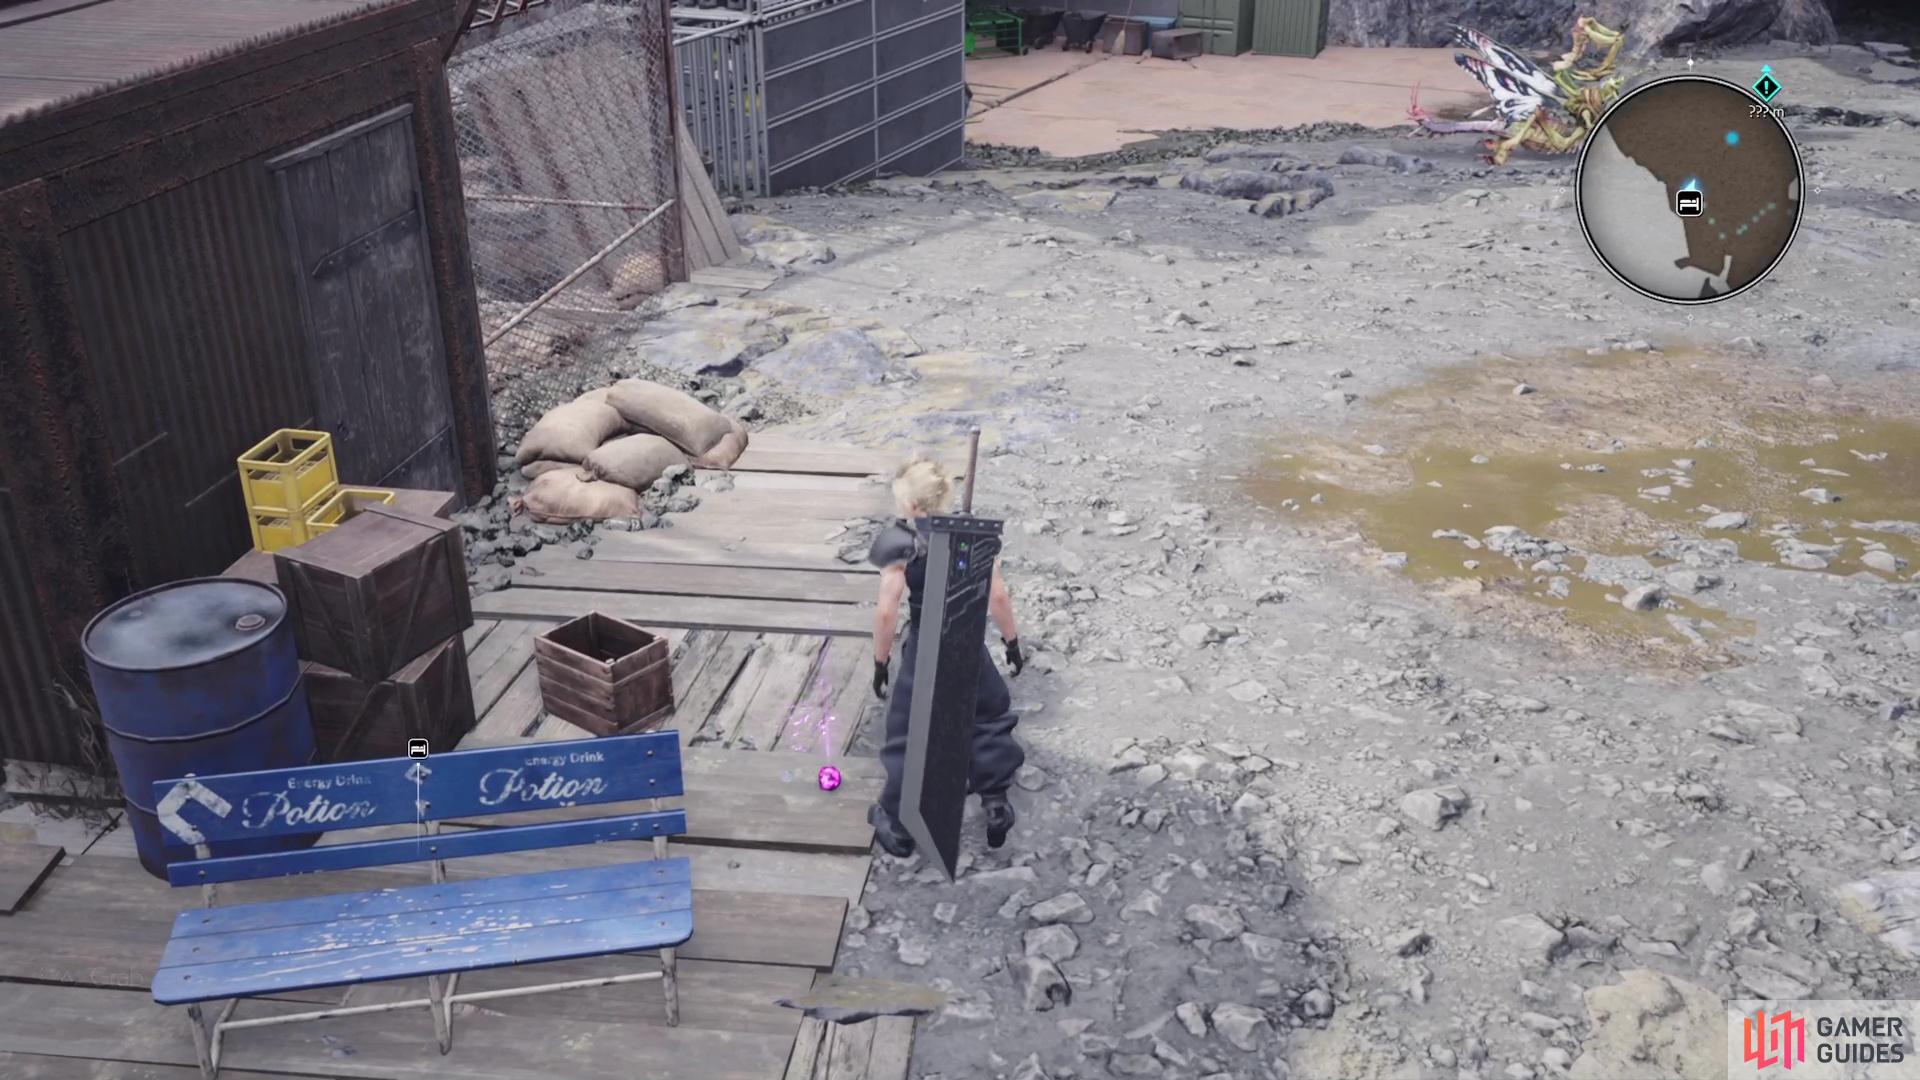
From there, you can grab the last two pockets of mako, opening the elevator for use. Take it to a new area, where you will find a Rest Spot. Right before that bench, you can drop down to open a chest, which contains an ![]() Elixir. Rest on the bench to restore your HP/MP, then go through the door just beyond to find the boss waiting for you, the
Elixir. Rest on the bench to restore your HP/MP, then go through the door just beyond to find the boss waiting for you, the ![]() Materia Guardian.
Materia Guardian.
No Comments