
You will find a variety of minigames in Final Fantasy VII Rebirth, some of which are tied to the game-long Protorelic quest. One minigame that is part of the Protorelic quest is Gears and Gambits, found in the ![]() Cosmo Canyon Region. You will unlock this after completing the main story portion in
Cosmo Canyon Region. You will unlock this after completing the main story portion in ![]() Cosmo Canyon, so it will be available at the end of Chapter 10. It has some similarities to
Cosmo Canyon, so it will be available at the end of Chapter 10. It has some similarities to ![]() Fort Condor, in that, you need to defeat the big enemy within the time limit.
Fort Condor, in that, you need to defeat the big enemy within the time limit.
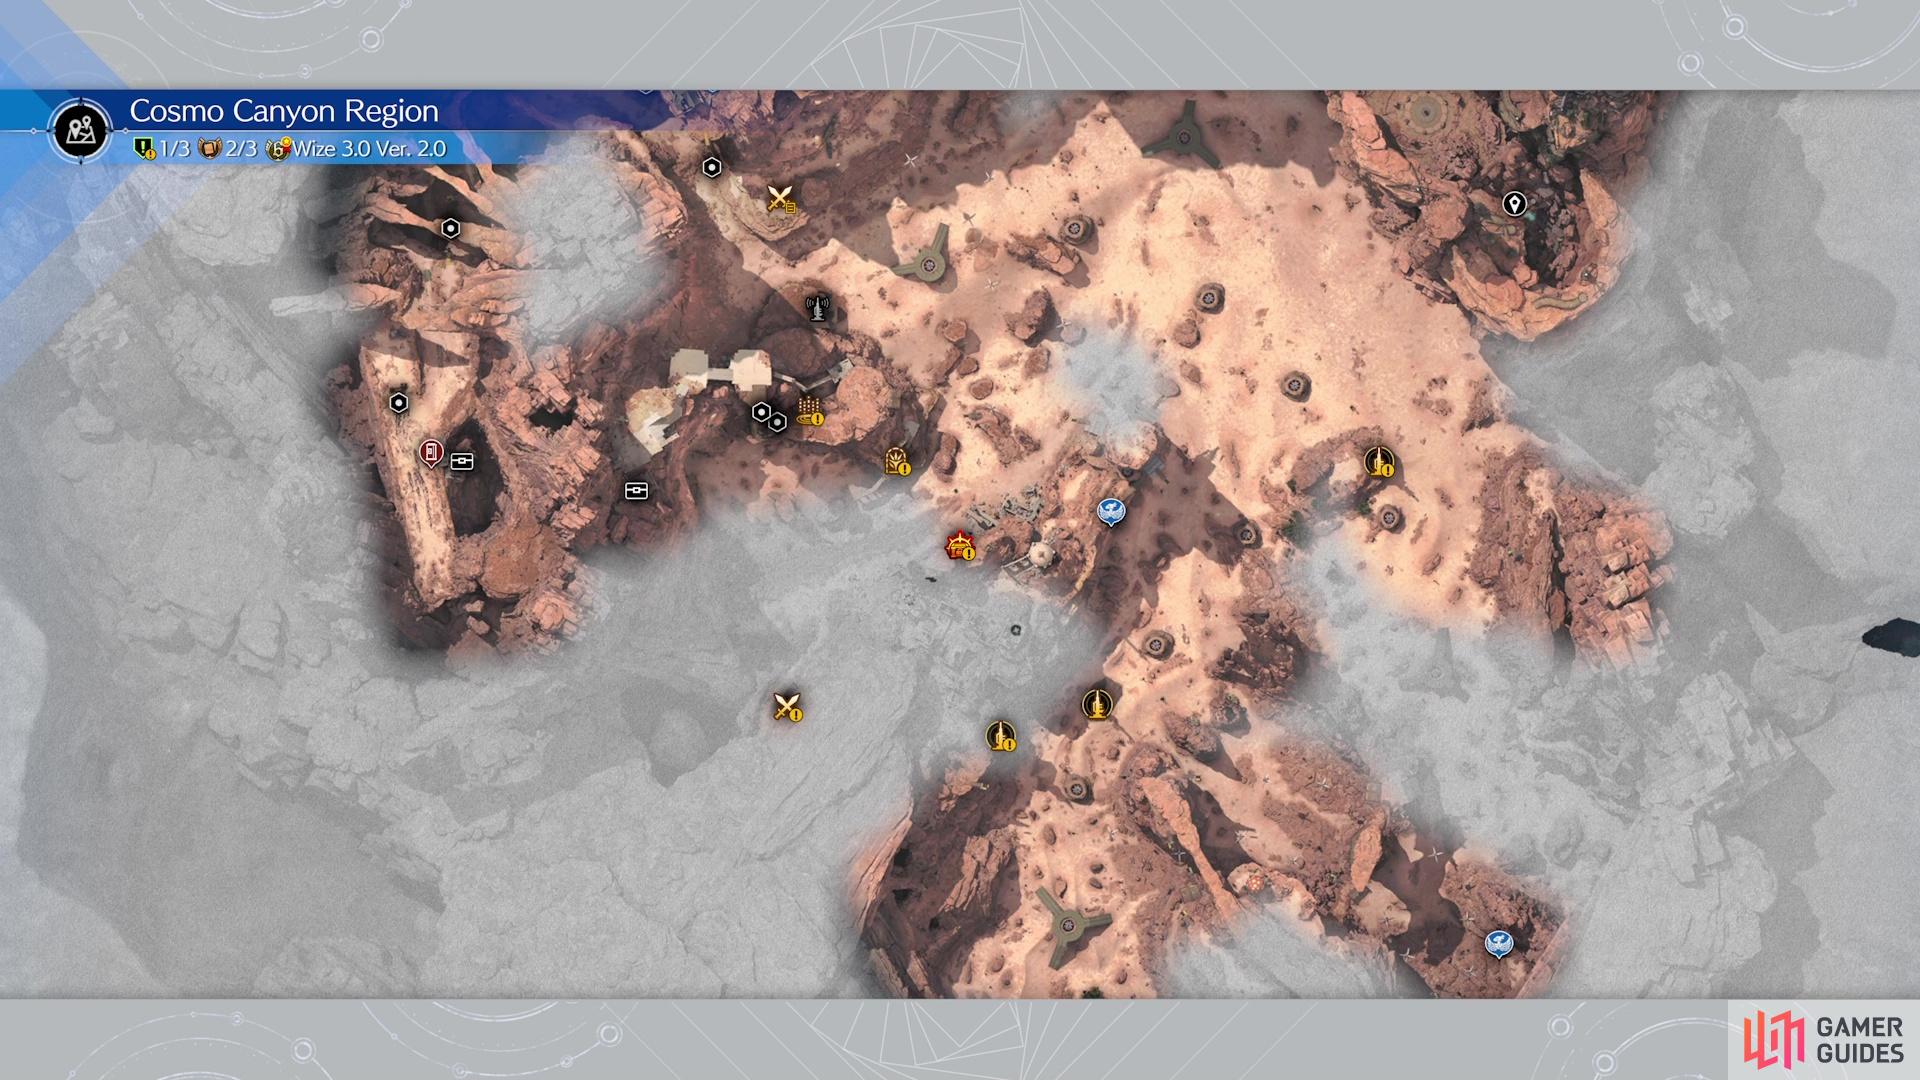
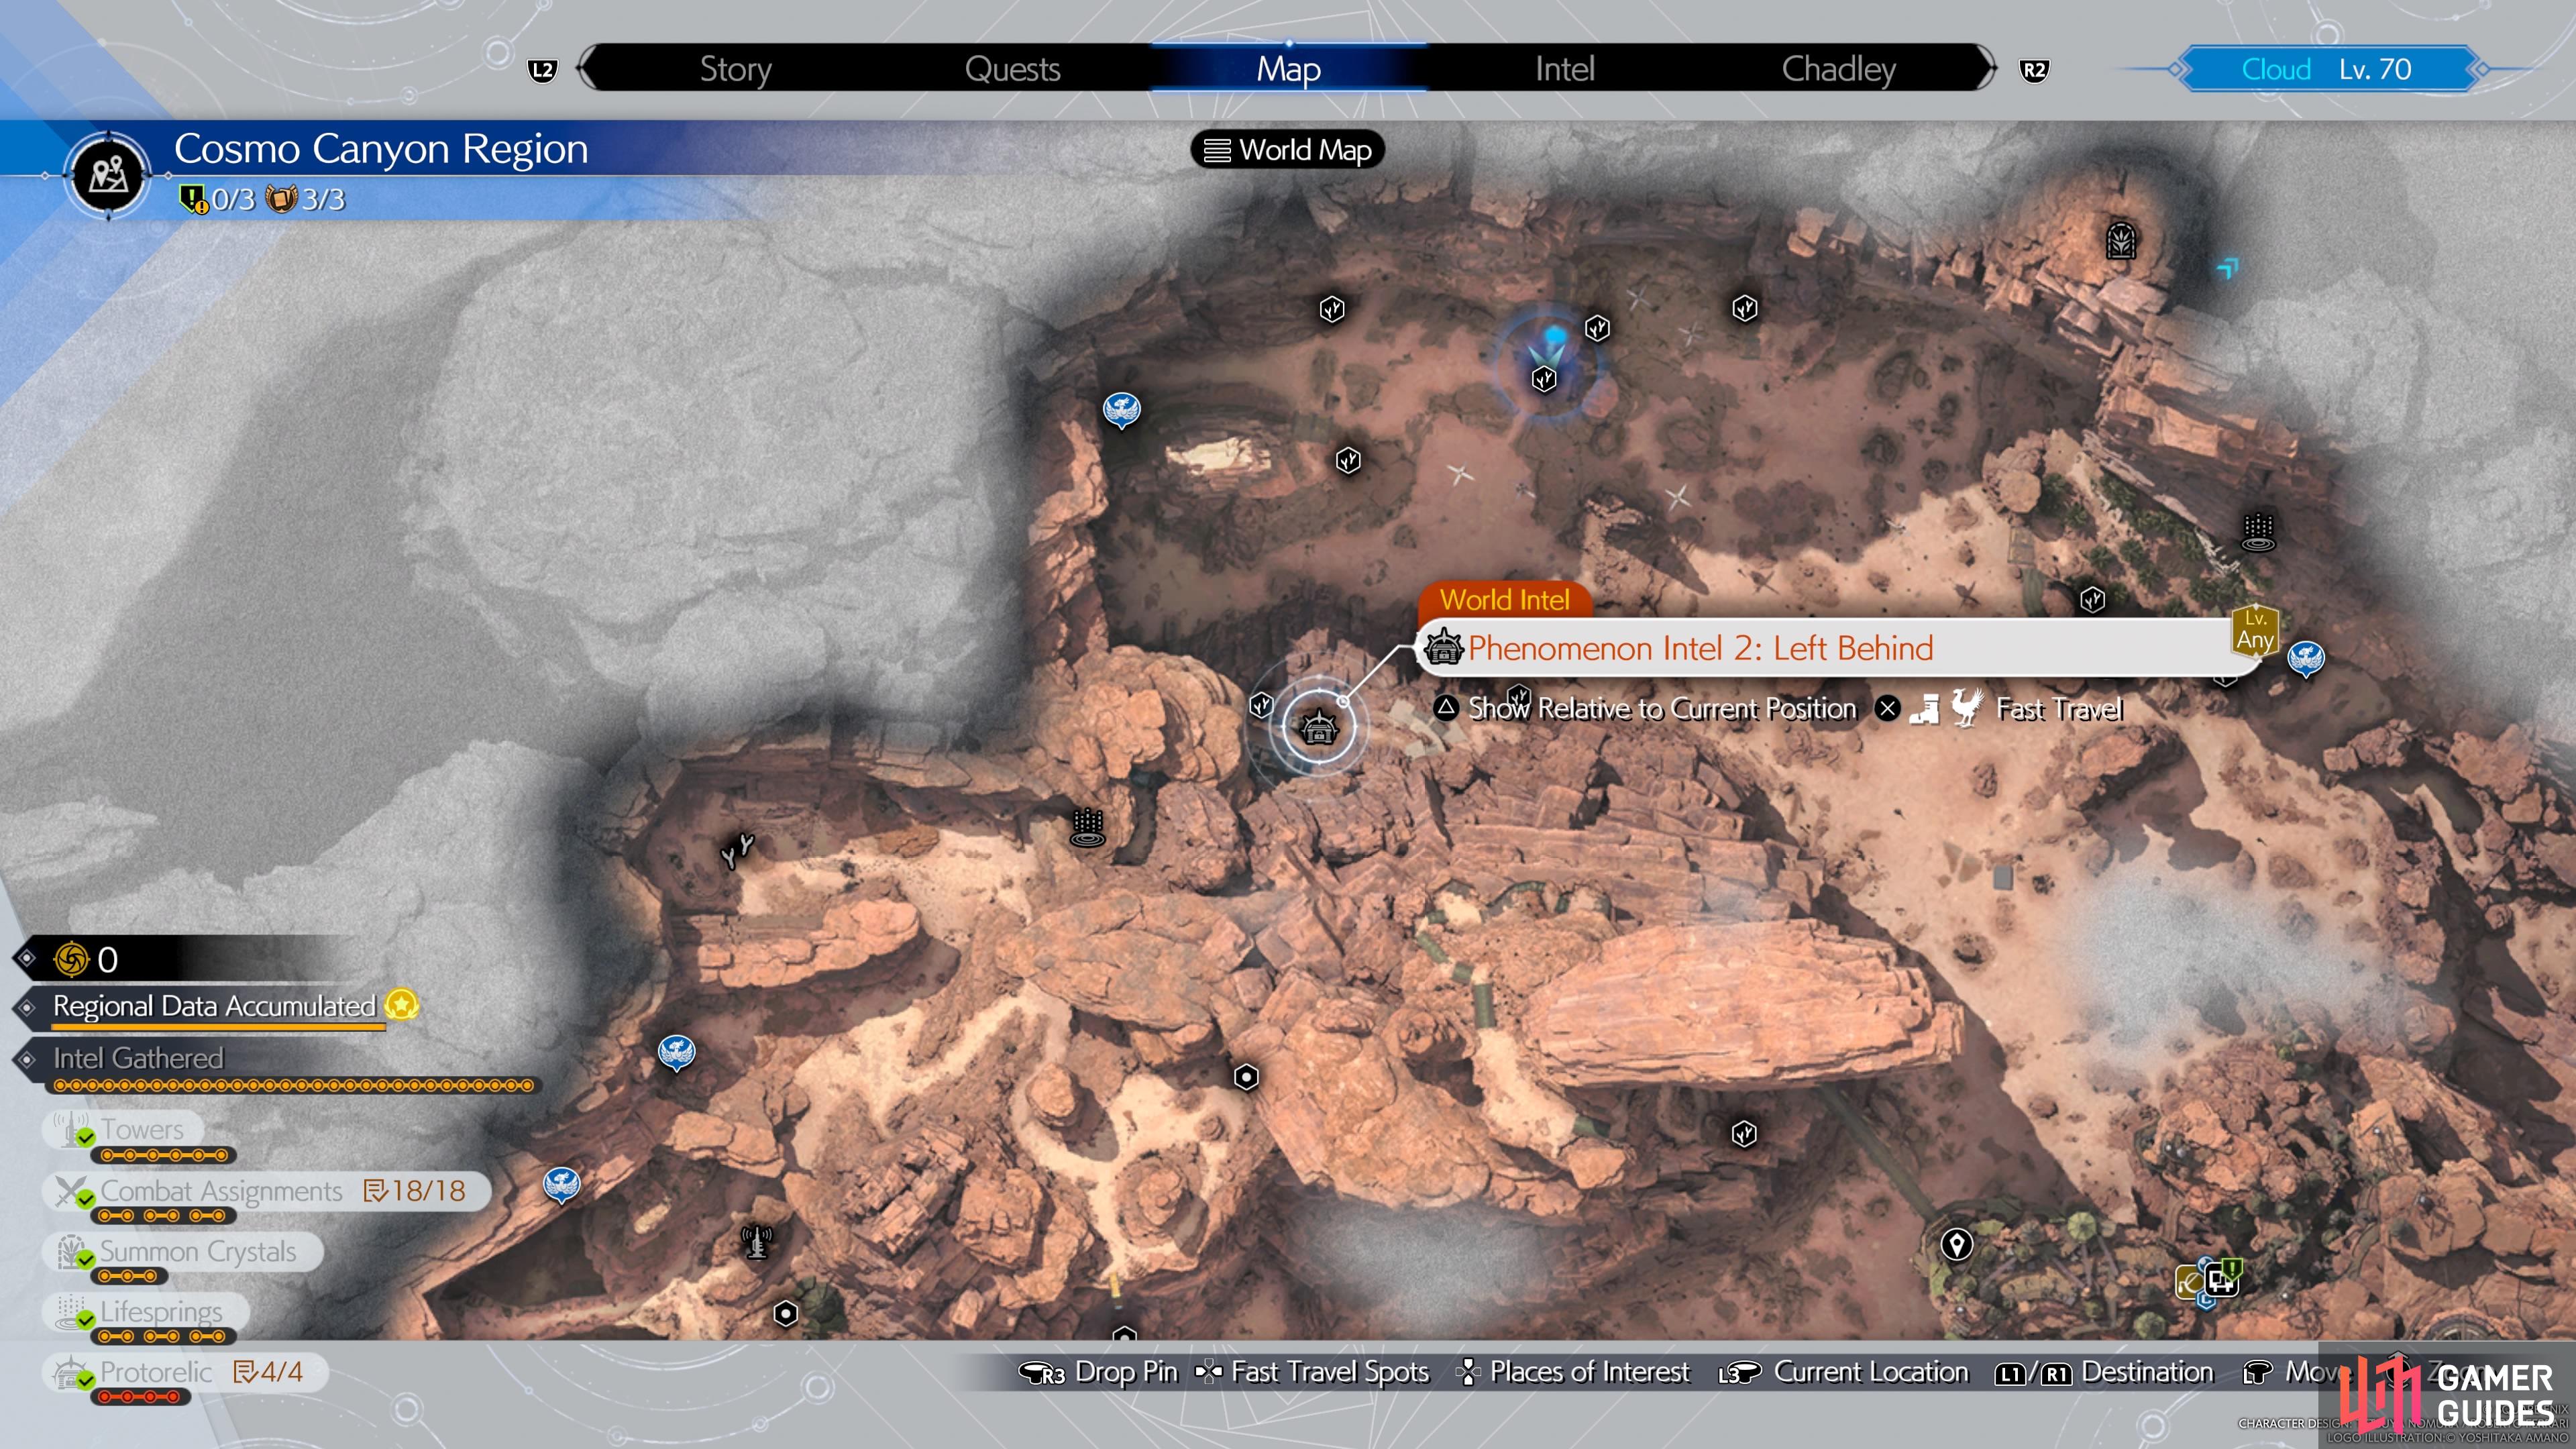
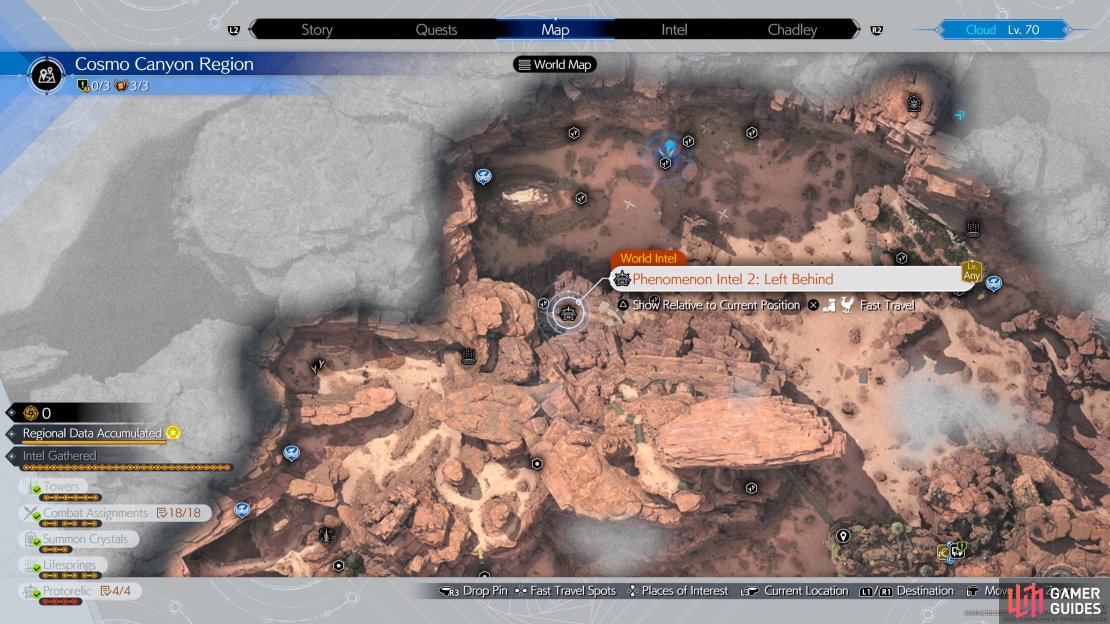
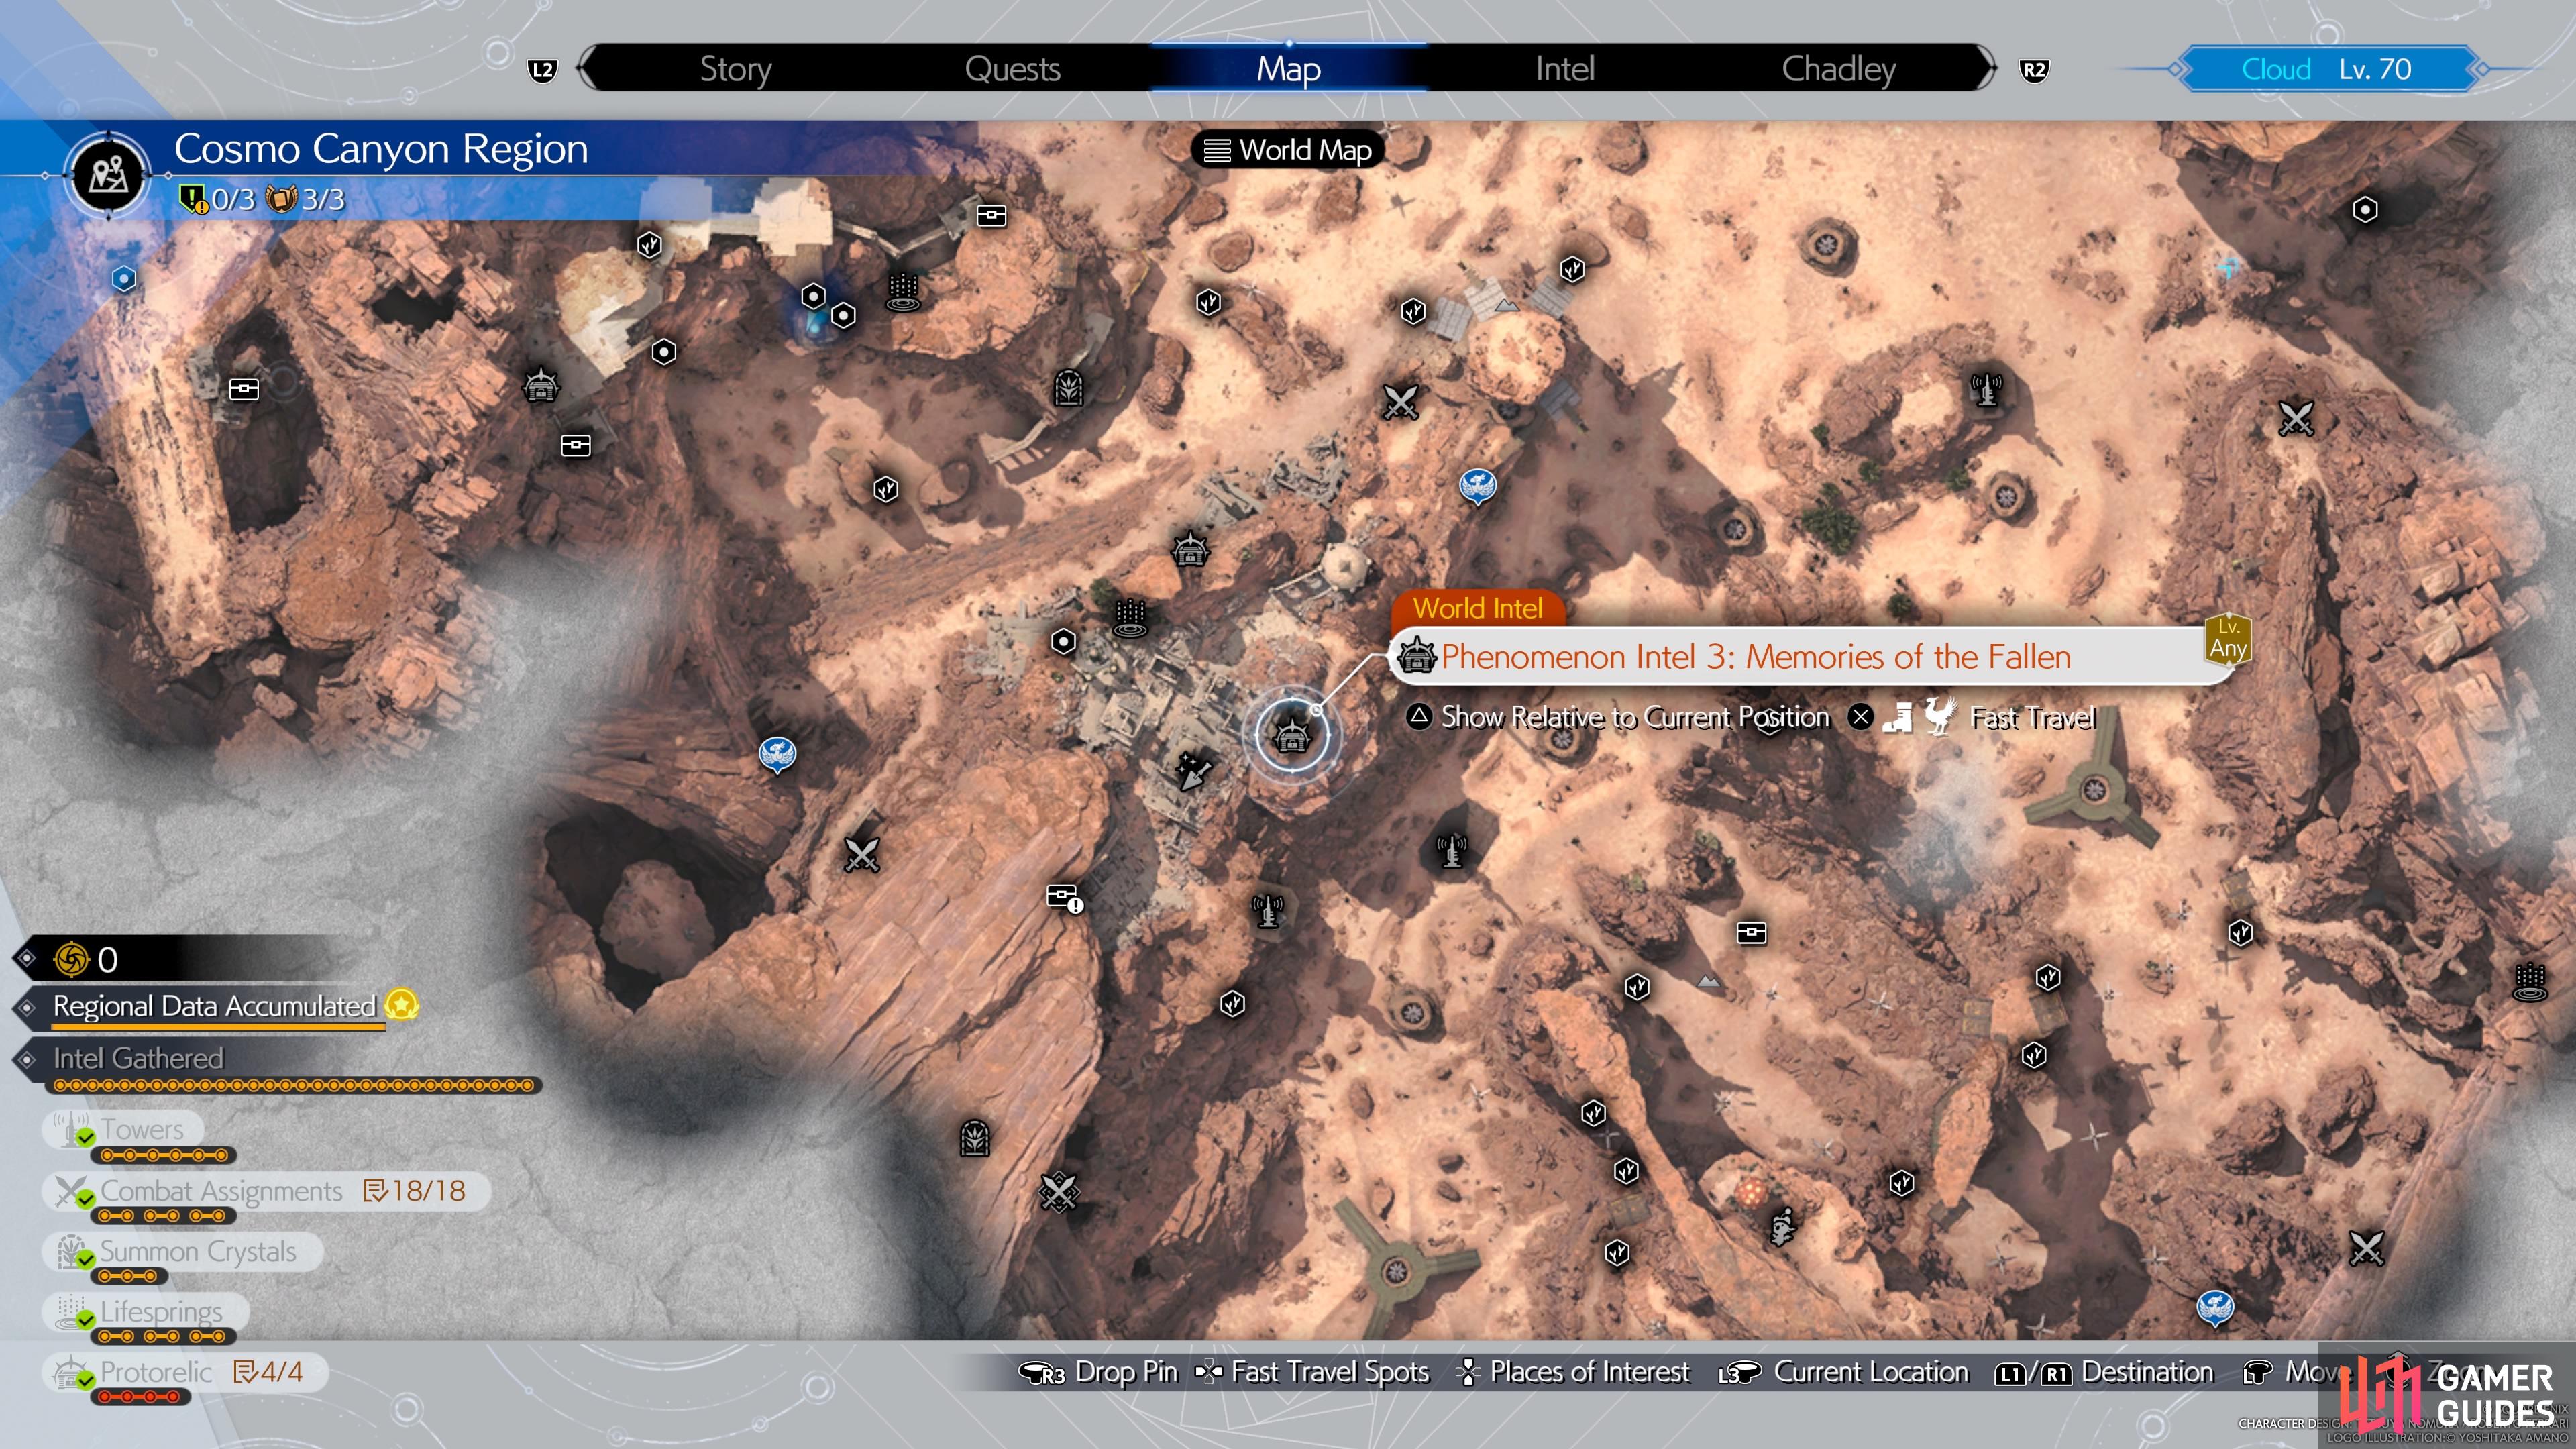
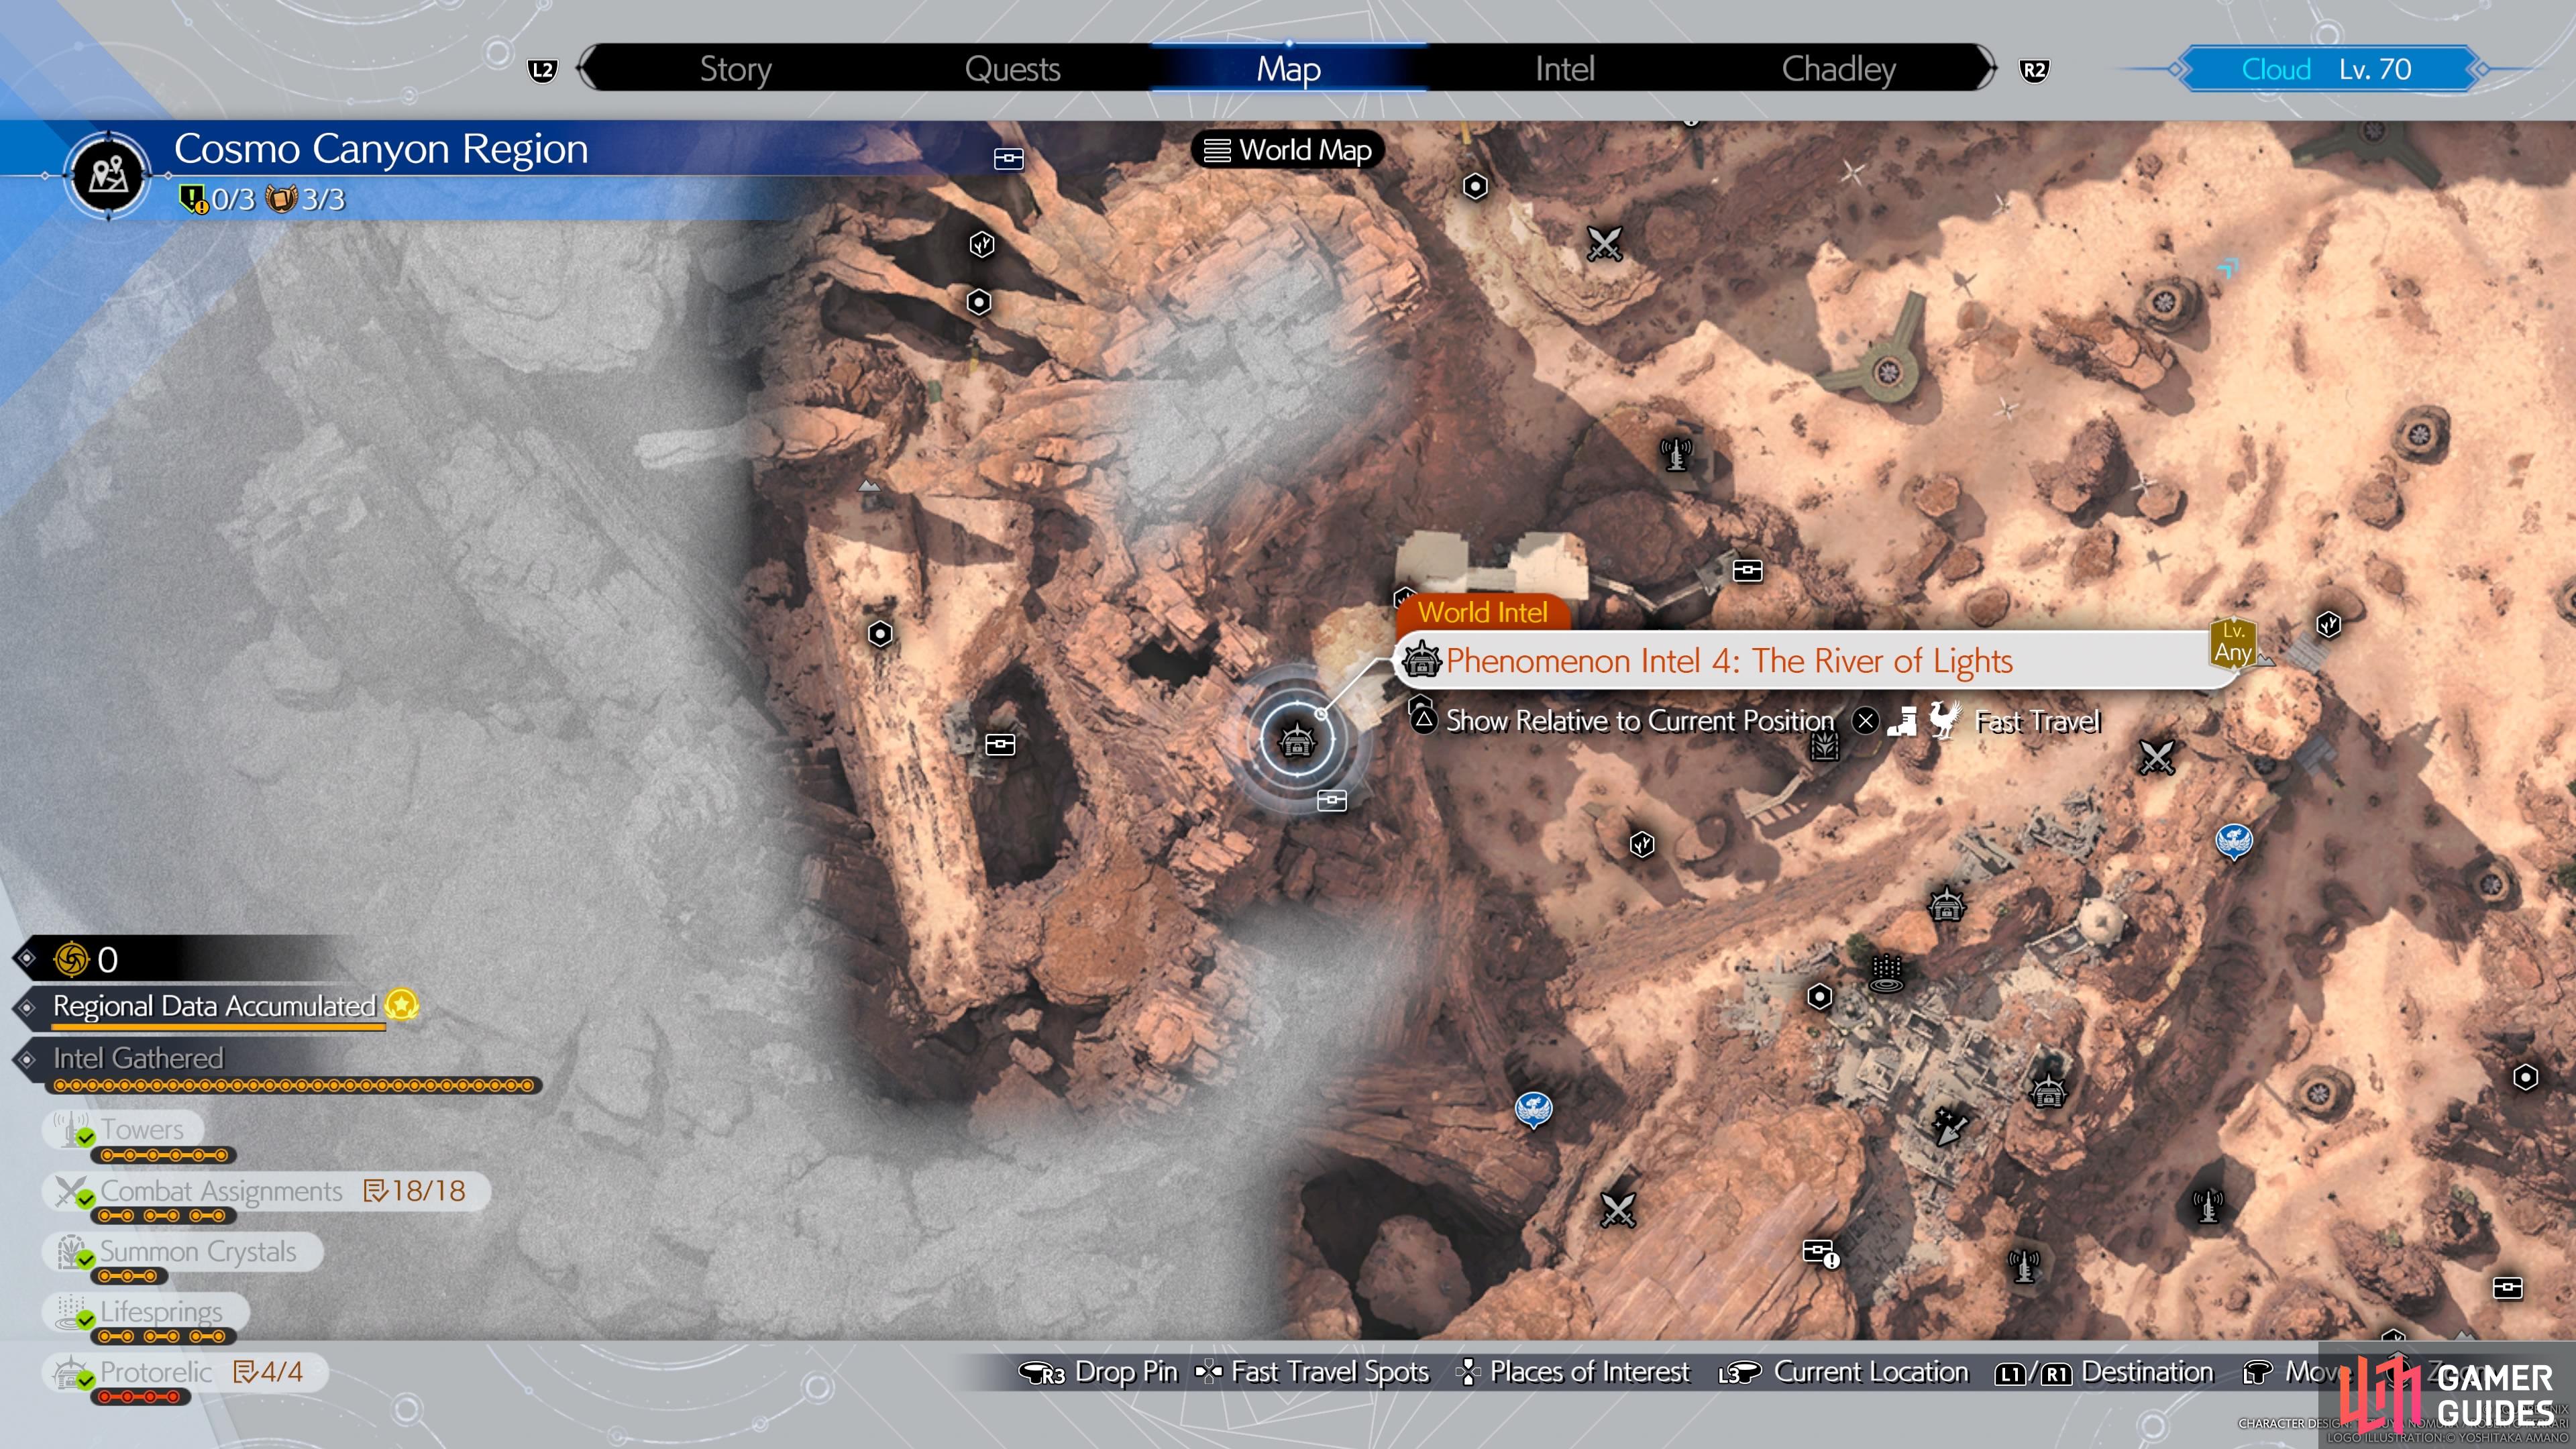
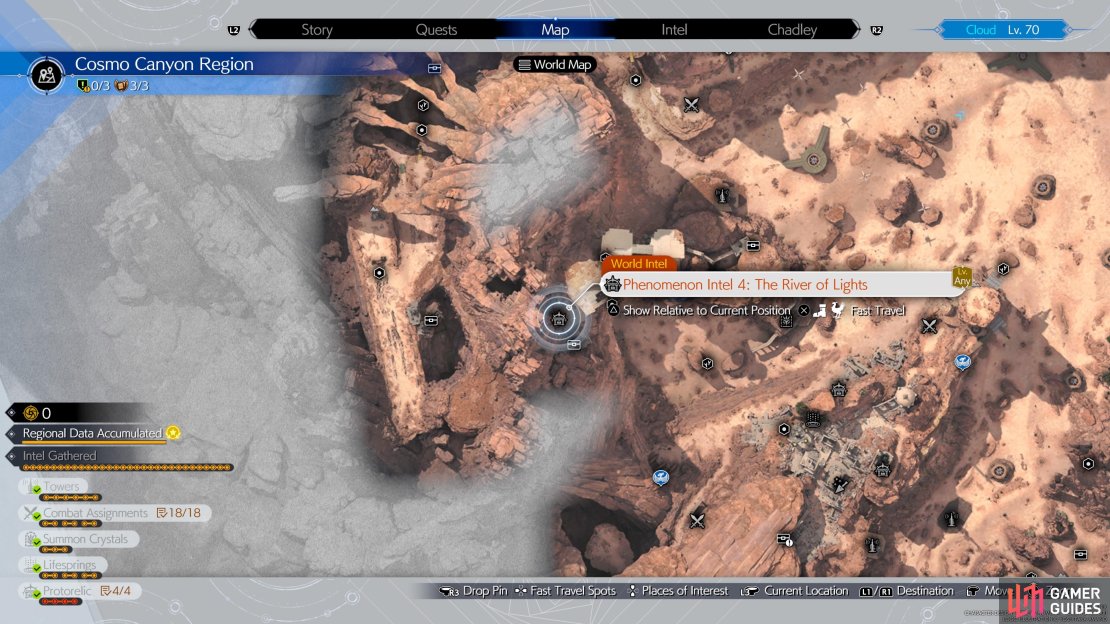
The location of the first Gears and Gambits stage on the map.
Gears and Gambits 1 Location
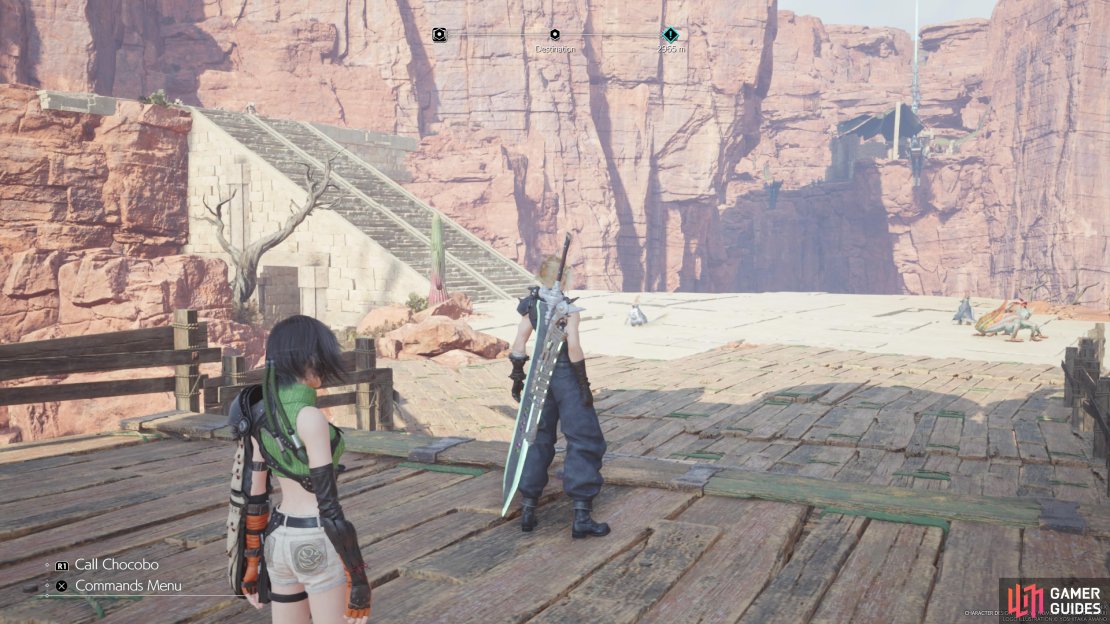
The first location will be near the central formation on the map, on the northern side of it. Head to that area and you should see some ruins embedded in the rocky cliffside. Go up the stairs and look for some NPCs, who you should be familiar with if you’ve played the DLC for Remake. Approach them for some scenes, then you’ll finally be able to play the minigame. In this one, you program robots with gambits and actions, in the hope of them reaching the center and vanquishing the enemy leader.
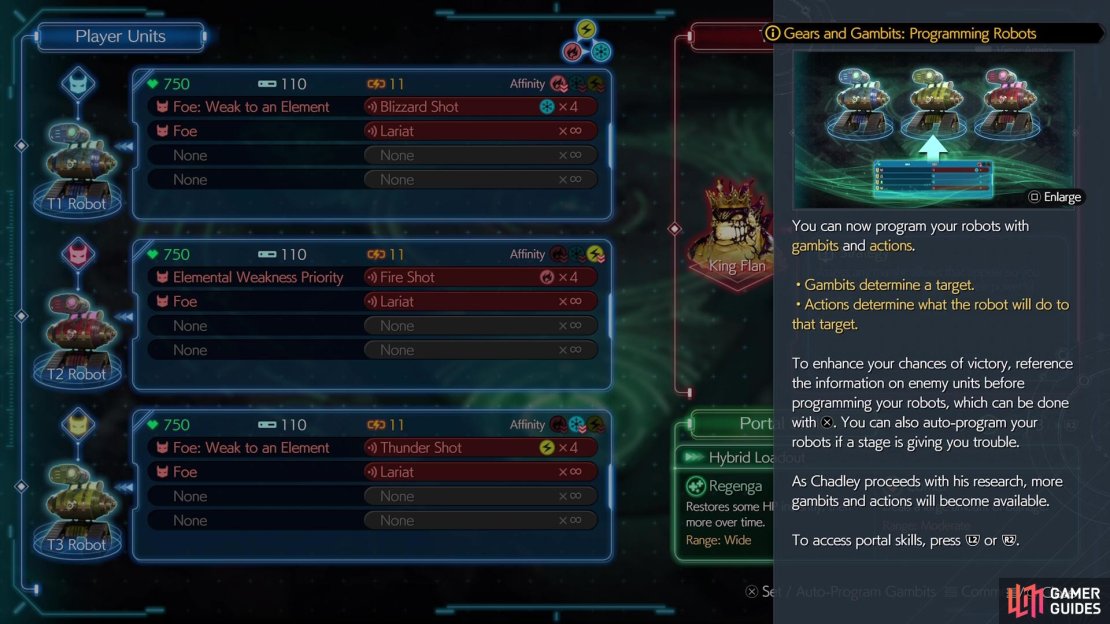
For the normal version, you should really need to change the default gambits/actions, so don’t worry too much about them. Similar to Fort Condor, there is a tri-system in place for strengths and weaknesses, except it uses elements (fire, ice and lightning). The gambits and actions you equip on a robot will not only determine its element, but also the amount of ATB needed to summon them. There’s not much you can do with the first stage, so just use the default loadout and begin the battle.

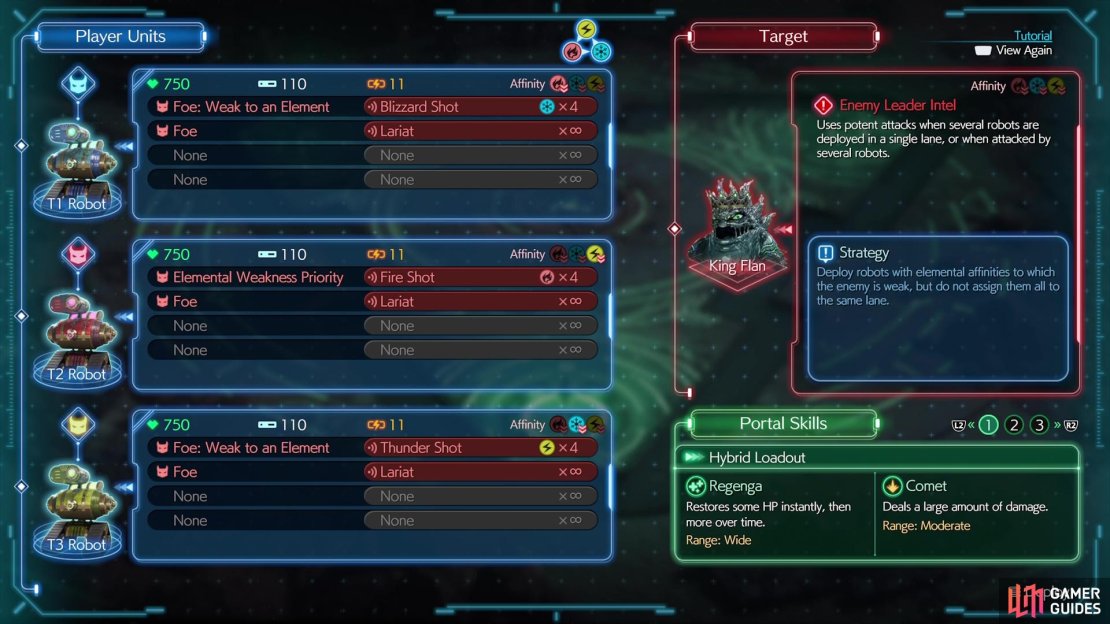
(1 of 3) You will be able to assign your Gambits and Actions prior to starting a stage.
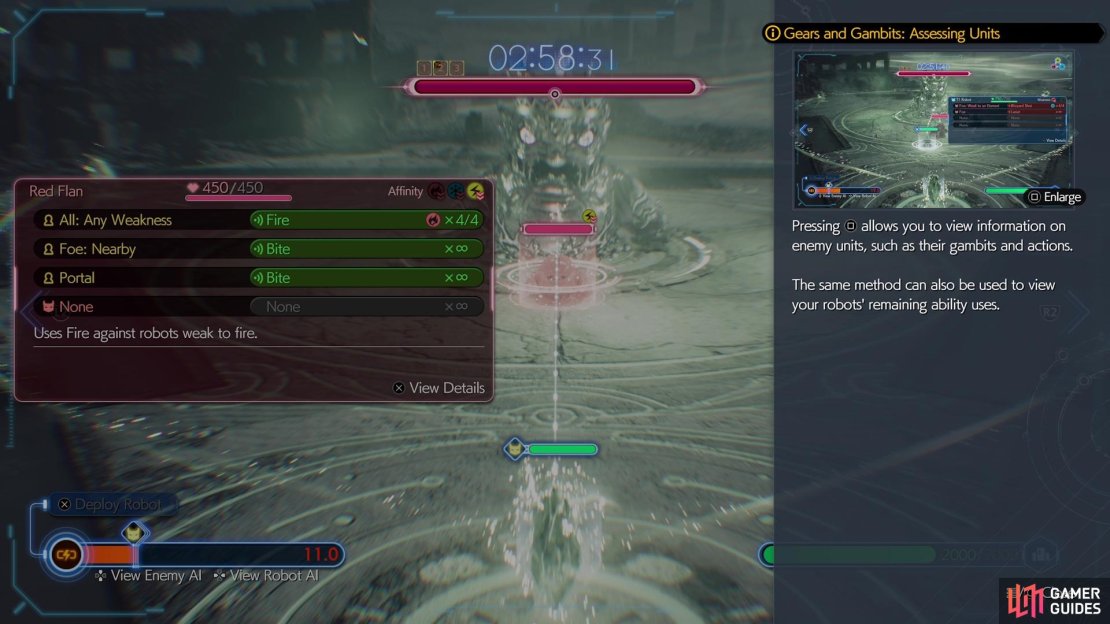
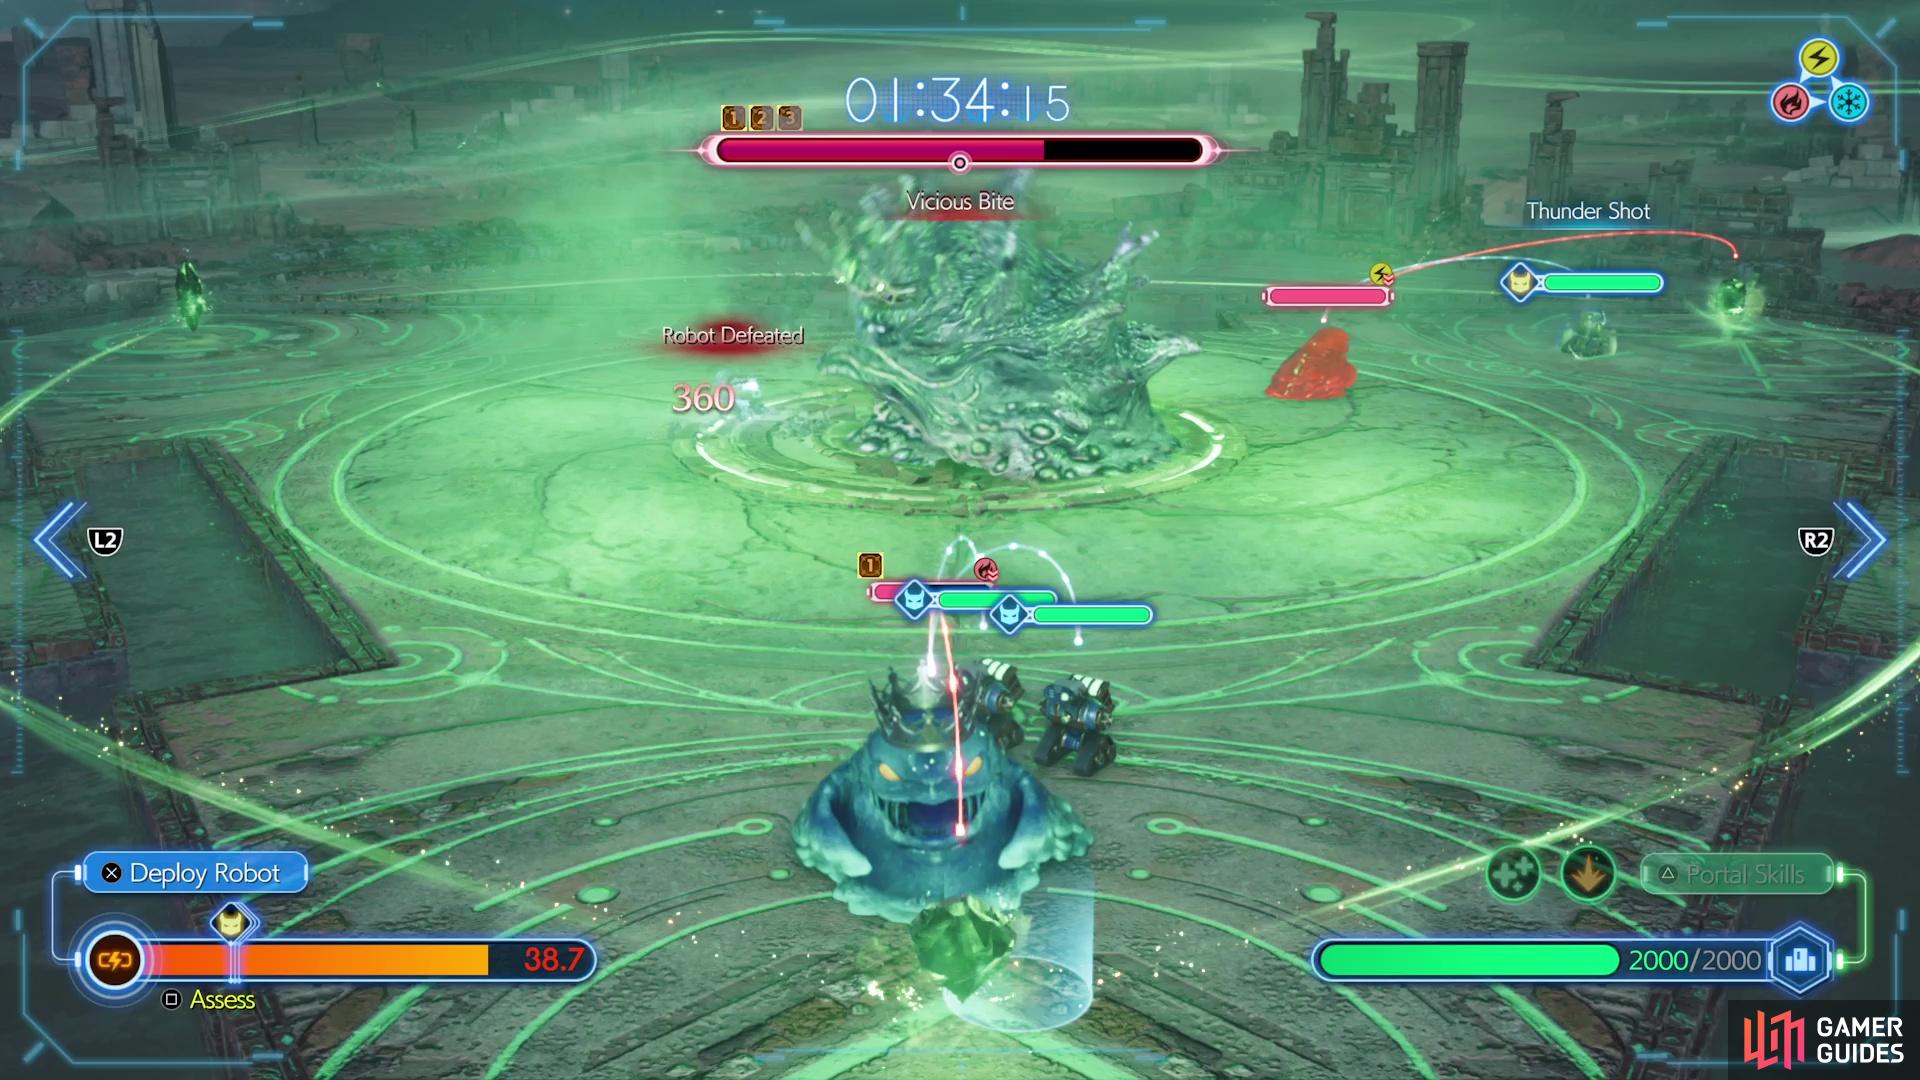
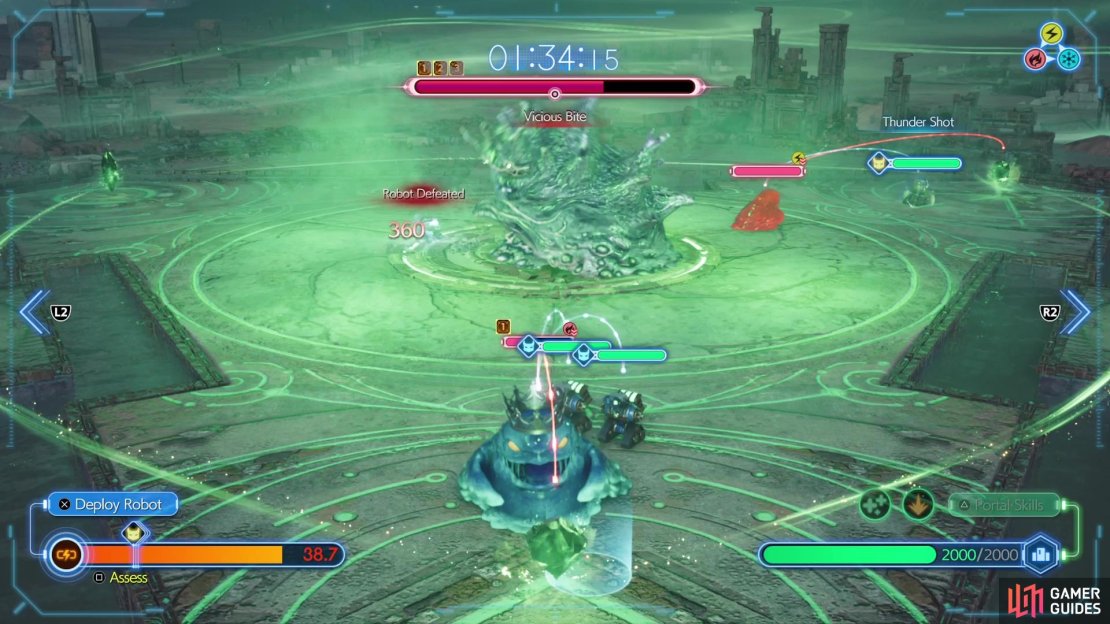
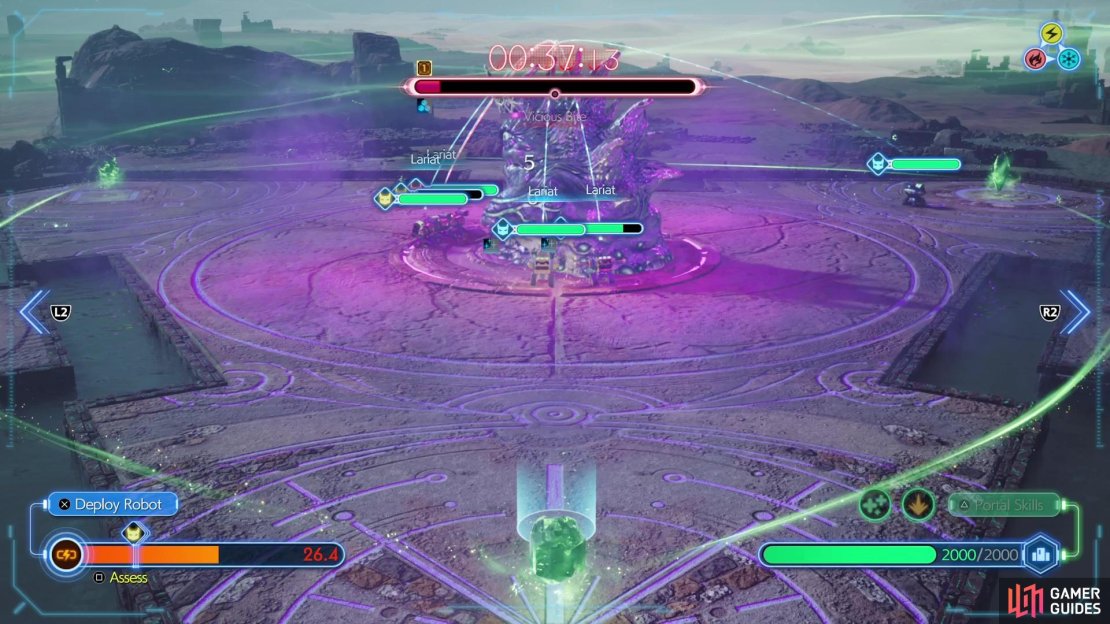
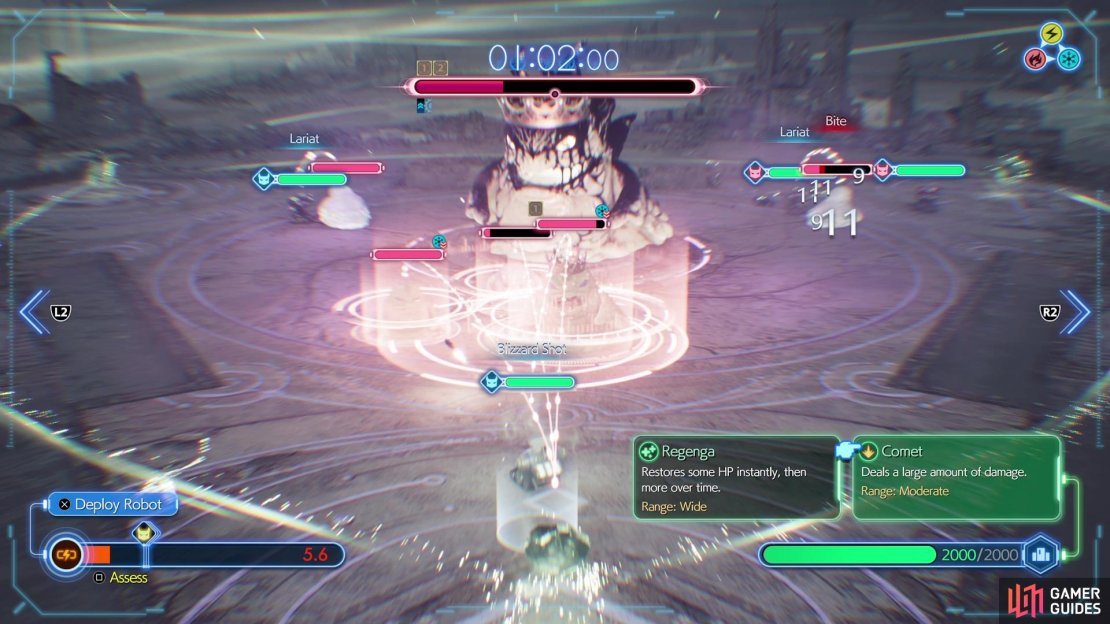
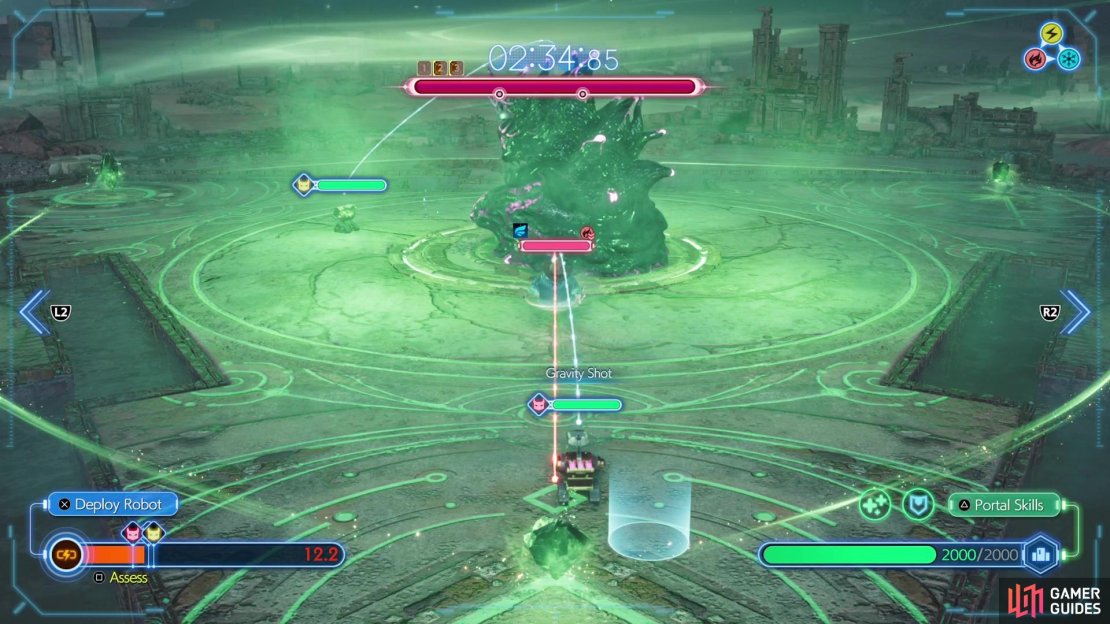
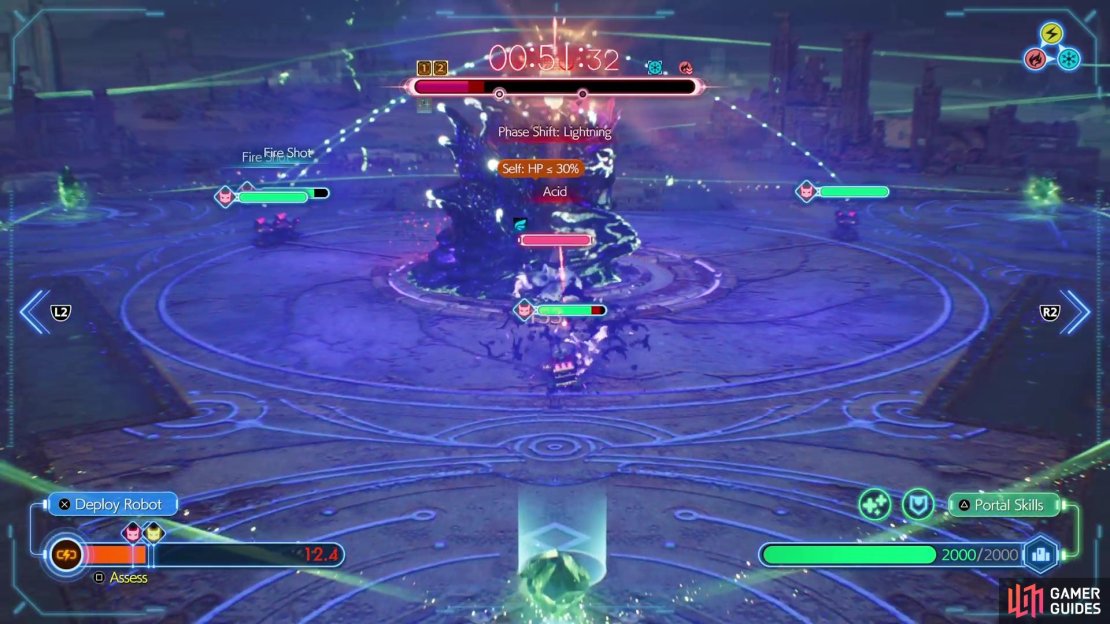
As mentioned, the enemy leader is in the center and you will have three lanes in which to deploy your robots. Of course, the enemy will also send out units along those lanes, in the attempt to go after your crystals on the outer edges. All of these crystals share the same life, which is displayed in the bottom right. Pressing the Square button will allow you to view both your robots’ AI, as well as the enemy’s AI. The basics of the minigame is to send out your own robots, preferably those with attacks the enemy is weak against, in the hopes of getting to the central figure.
The last quick thing to talk about here are Portal Skills. These are assigned to the Triangle button and are basically used in case of emergencies, as you only get one use out of each of them. For the most part, the first 90 seconds or so is straightforward, as you simply want to focus on exploiting elemental weaknesses. Eventually, the enemy will spawn a bigger ![]() Flan here, which will actually ignore your own units and go straight after your crystal. Always try to down them as quickly as possible, since you don’t want them to damage your crystals too much.
Flan here, which will actually ignore your own units and go straight after your crystal. Always try to down them as quickly as possible, since you don’t want them to damage your crystals too much.
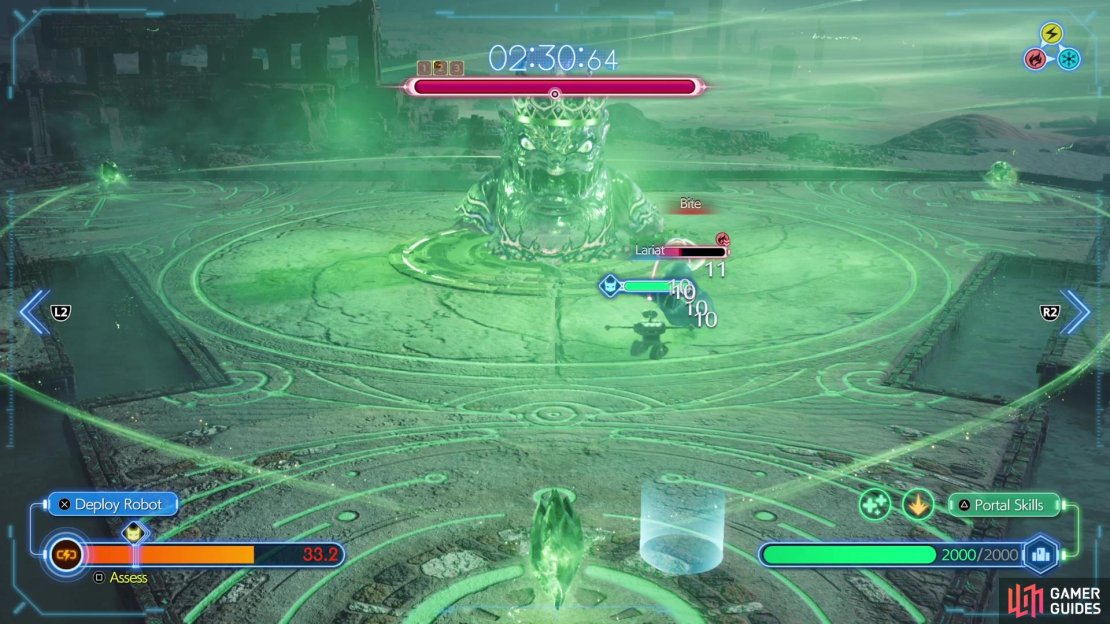
The last thing you need to keep track of is the enemy leader in the middle, or rather, its health bar. You should see a small dot at the halfway point on its health bar, which indicates a phase change. Sometimes, this might change its elemental affinity, while most of the time it will use some annoying buff or attack. It’s a good idea to always check the leader’s gambits to see what it can use and try to avoid triggering those attacks, if possible. It might take one or two extra tries to get the hang of things, but you will eventually down the leader and complete the first stage of this minigame.
Gears and Gambits 2 Location
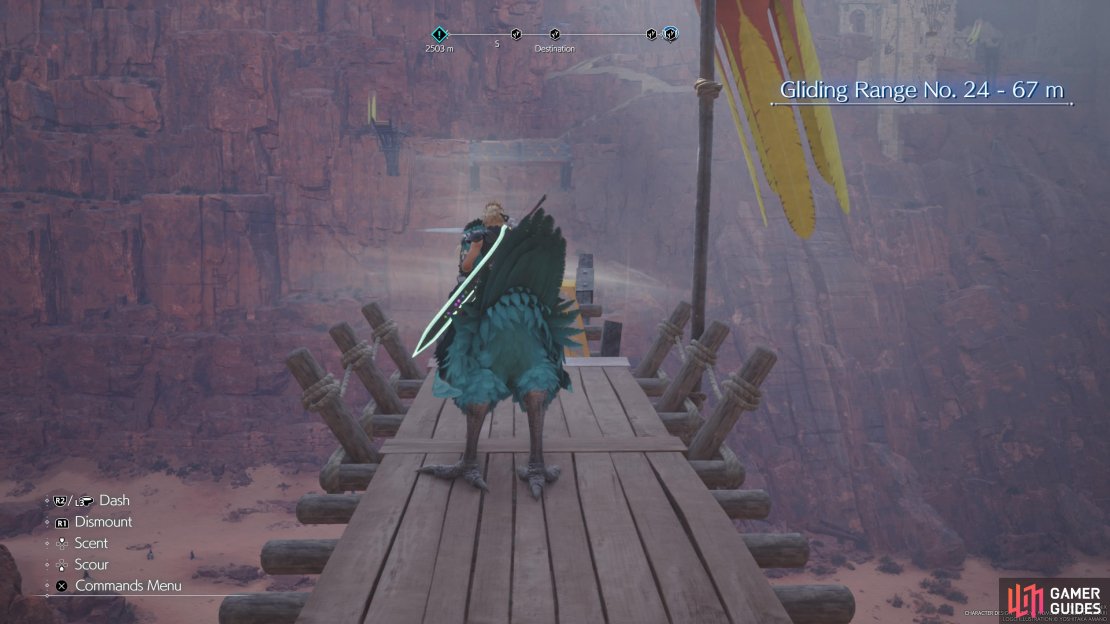
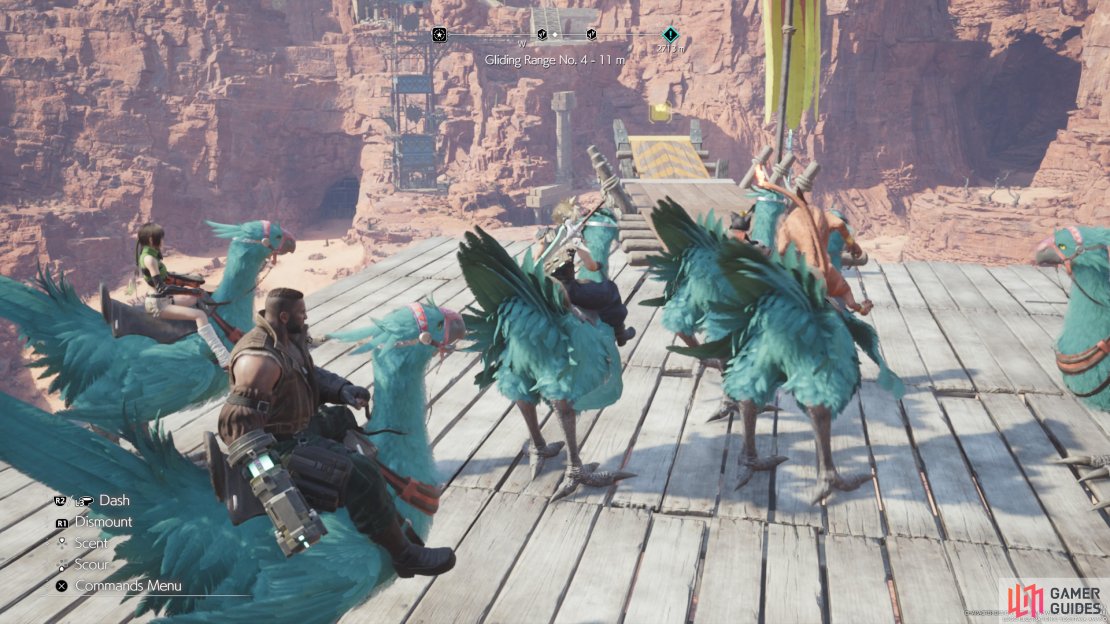
The second location will be in the northern end of the Cosmo Canyon Region, but getting to it can be a little tricky. Go north of the map location and look for a hill you can climb, which should lead to two Gliding Ranges. The one you want is Gliding Range No. 24 - 67m, which should take you to the south and right to a spot with the ruins that houses the second Gears and Gambits minigame.
The second stage is where you can start customizing your robots. As mentioned above, all robots need a Gambit, then an Action, in order for them to function correctly. Also, the higher up the Gambit is located, the more priority that is given to it, so if you want a heal to go out quickly, place it above everything else. You can use the basic loadout, then add something like Self HP < 50% = Cure Shot/![]() Regen Shot, or just Self =
Regen Shot, or just Self = ![]() Bravery Shot. The other actions can be left alone here, as they are more than enough for the second stage.
Bravery Shot. The other actions can be left alone here, as they are more than enough for the second stage.

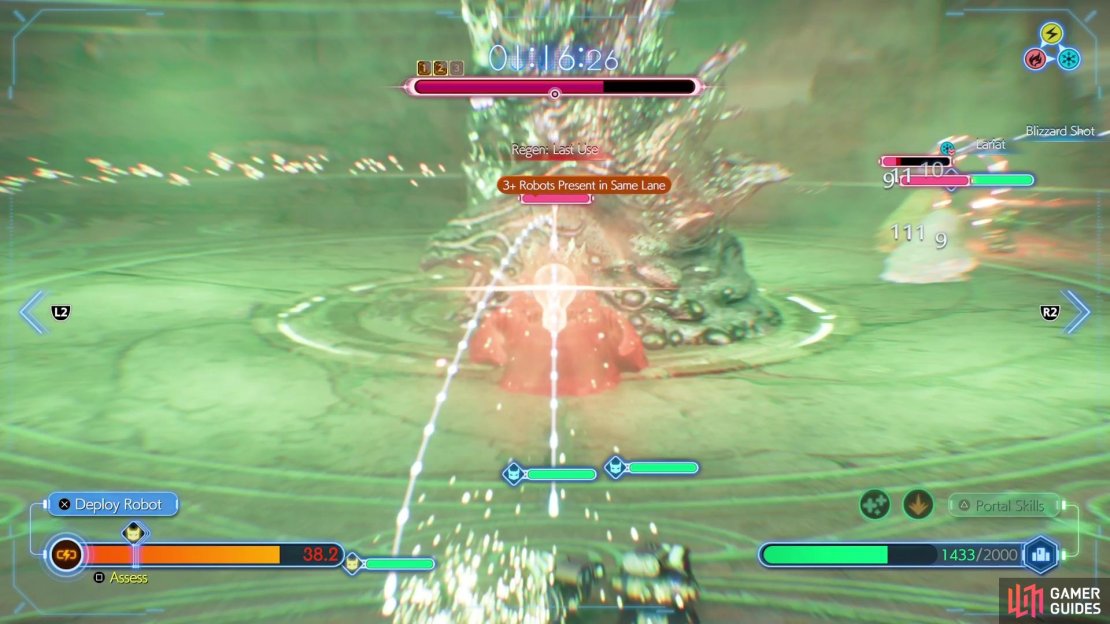
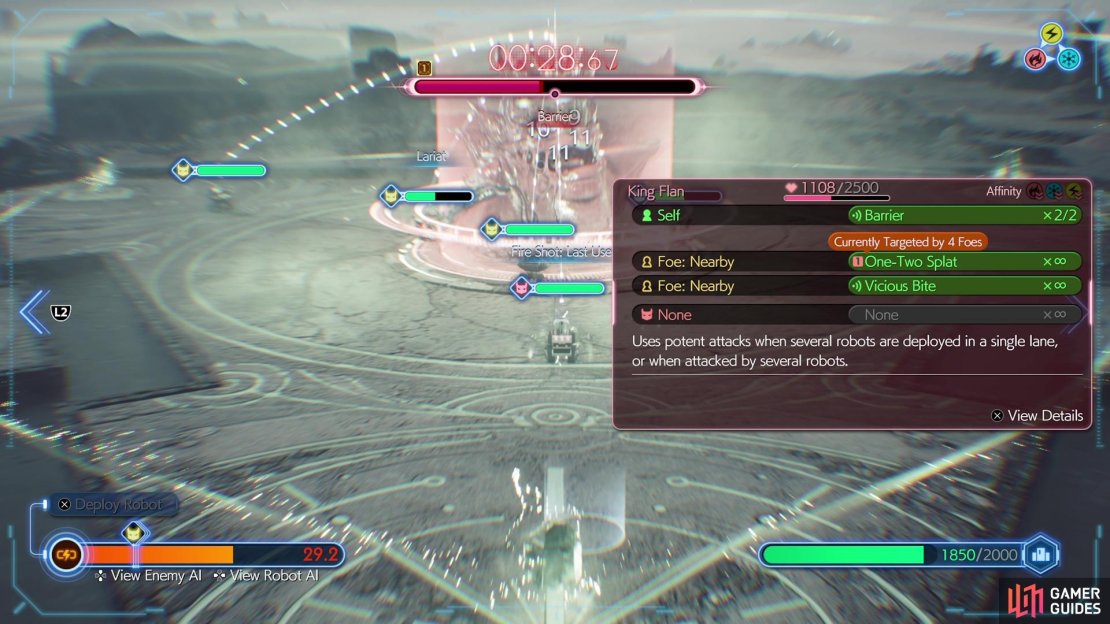
When tackling the actual stage, try to avoid having four or more robots in a single lane, as that will trigger the King Flan to cast Bravery on itself. When it’s targeted by 5 foes, then it will use Mighty Splat on the targets all around it. Once you get it to 50% health, it will summon some reinforcements and change phases. Things might get a little hectic at first with the reinforcements, so it might be a good idea to use one of your Portal Skills to cut down on them. Note that the King Flan can also use ![]() Haste twice at this point. All other abilities are attacks, so nothing will be out of the ordinary. Other than the above, the battle is pretty much straightforward and has no other surprises for you.
Haste twice at this point. All other abilities are attacks, so nothing will be out of the ordinary. Other than the above, the battle is pretty much straightforward and has no other surprises for you.
Gears and Gambits 3 Location
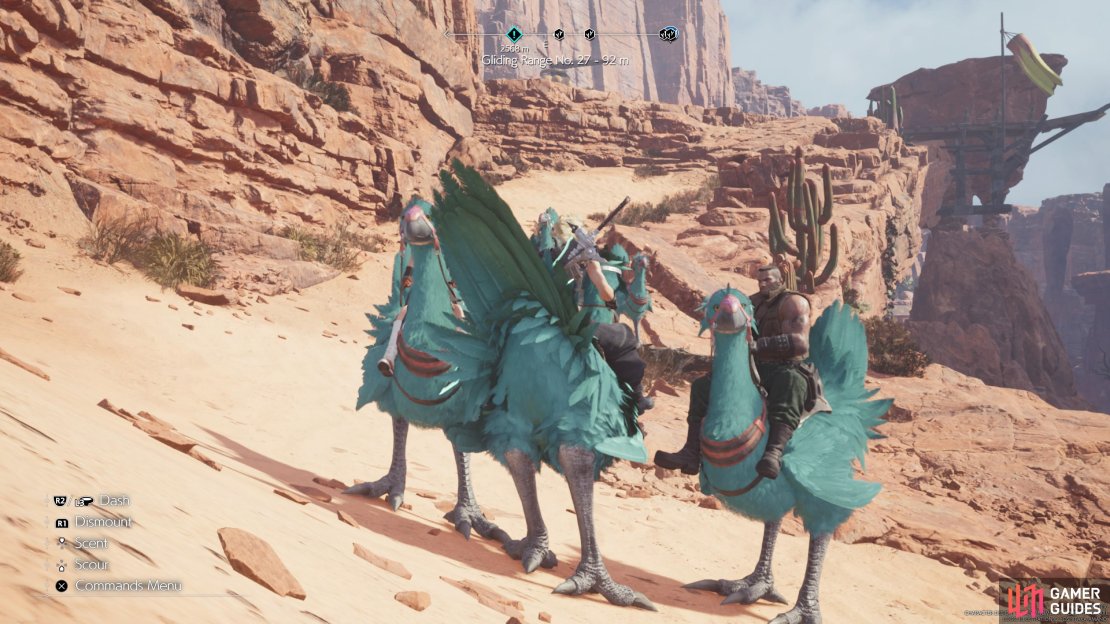
You will find the third location on the central formation that is jutting into the main area. Once again, getting to it can be a little tricky, as you need to utilize the Gliding Ranges. Start off by going to Activation Intel 4, then heading straight south of there. Keep going past the large updraft with ramps and you should see a hill to start climbing in the southeastern corner of this area. Use Gliding Range No. 6 here, then follow the path until you eventually reach a split after the next glide. Ignore the two in front of you and head up the stairs to a third Gliding Range (No. 13).
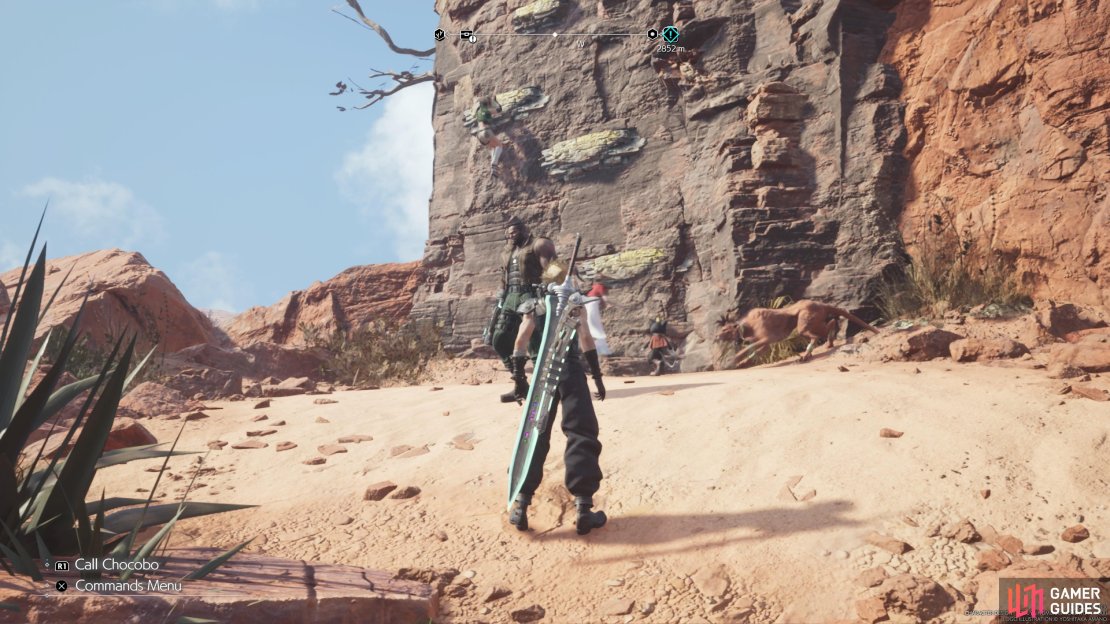
Continue following the gliding ranges until you see a lot of different paths ahead of you. There will be another gliding range not too far ahead, but ignore that and continue upwards and past some enemies. You’re looking for Gliding Range No. 14, which will take you across the canyon and to Activation Intel 6. From there, travel north until you see a trail to the east, which will take you around to a climbable wall. Go up it and you will be right there at the font for the third Gears and Gambit location.

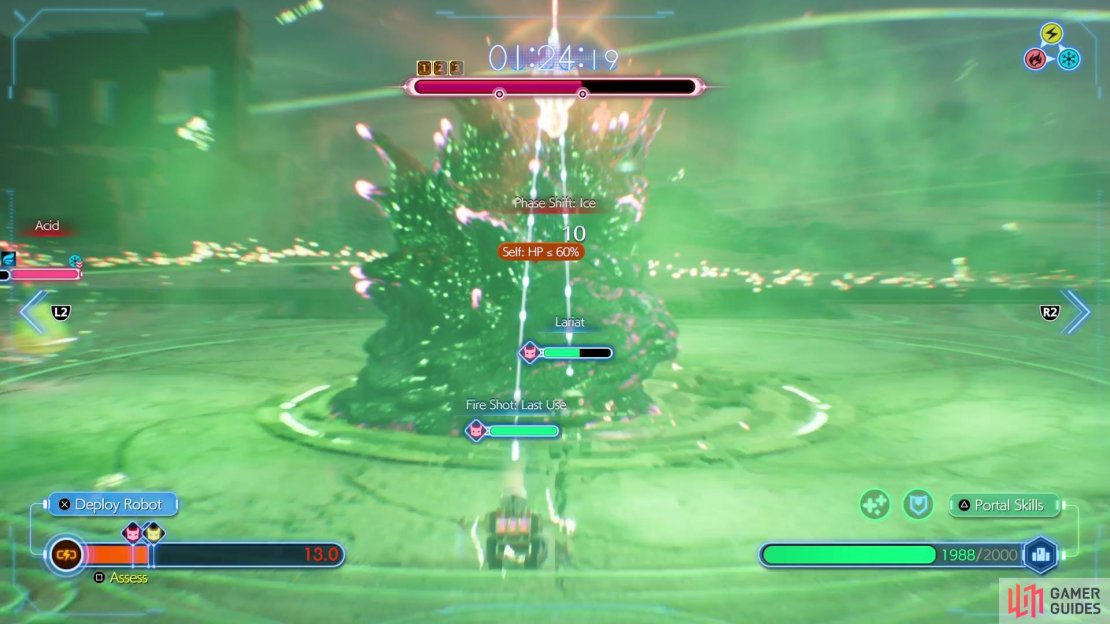
You will gain an additional slot for Gambits/Actions once you start this stage. The King Flan will have a few new tricks up its proverbial sleeves with this stage, starting with its phase changes. While it starts out neutral at the beginning, it will change its affinity to ice once it reaches 60% HP. You will also want to avoid having 4+ robots in a single lane during the first phase, as the boss will use ![]() Barrier. The second phase has Regen, but not much else, other than the weakness to fire, of course. The third phase will switch over to an ice weakness, where it will automatically use Barrier without any other prerequisites.
Barrier. The second phase has Regen, but not much else, other than the weakness to fire, of course. The third phase will switch over to an ice weakness, where it will automatically use Barrier without any other prerequisites.
This stage will also introduce flying enemies, which might require you to set up Gambits for using either Missile or Gravity Shot, the latter of which will bring them to the ground. Other than that, the rest of the enemies aren’t anything special, although the difficulty will be ramped up some with this stage, especially compared to the first two. You don’t need too much in terms of Gambits here, though, as you can use the ones from Stage 2 and just add in the Missile/Gravity Shot.
Gears and Gambits 4 Location
Thankfully, as soon as you finish the third stage, you won’t have to go too far to reach the fourth one. Head north of the third one, until you get to the northern edge and find two gliding ranges. Take Gliding Range No. 21 across the large gap, where you’ll see a tower in the short distance. This is actually an elevator, so get on it and use it to reach a set of ruins. Take the stairs all the way to the top, where the fourth and final stage will be there.
Chadley will unlock one final modification for your robots, which are advanced actions, denoted by a plus sign. Basically, when you select them, you will have to set an additional condition in order for the action to be used. As an example, you can set up Shock so your robot uses it after defeating one foe. When you start out, the King Flan will have access to all three elements, so it will likely be using nothing but these until it runs out or you reach the second phase. Speaking of that, King Flan will change its affinity to lightning for the second phase, then fire for the final phase.
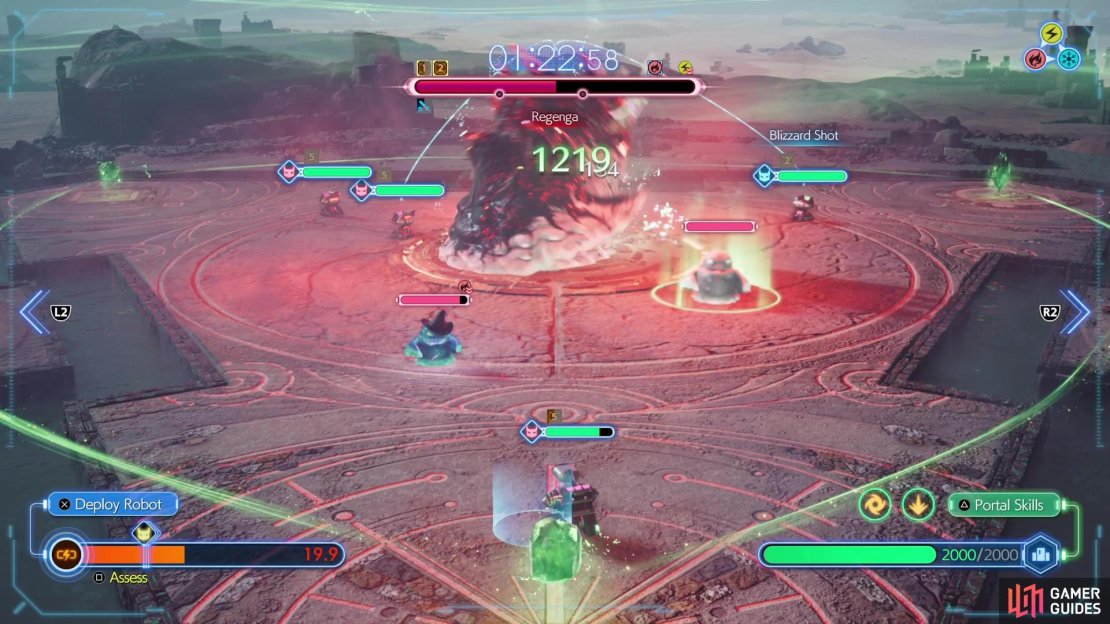
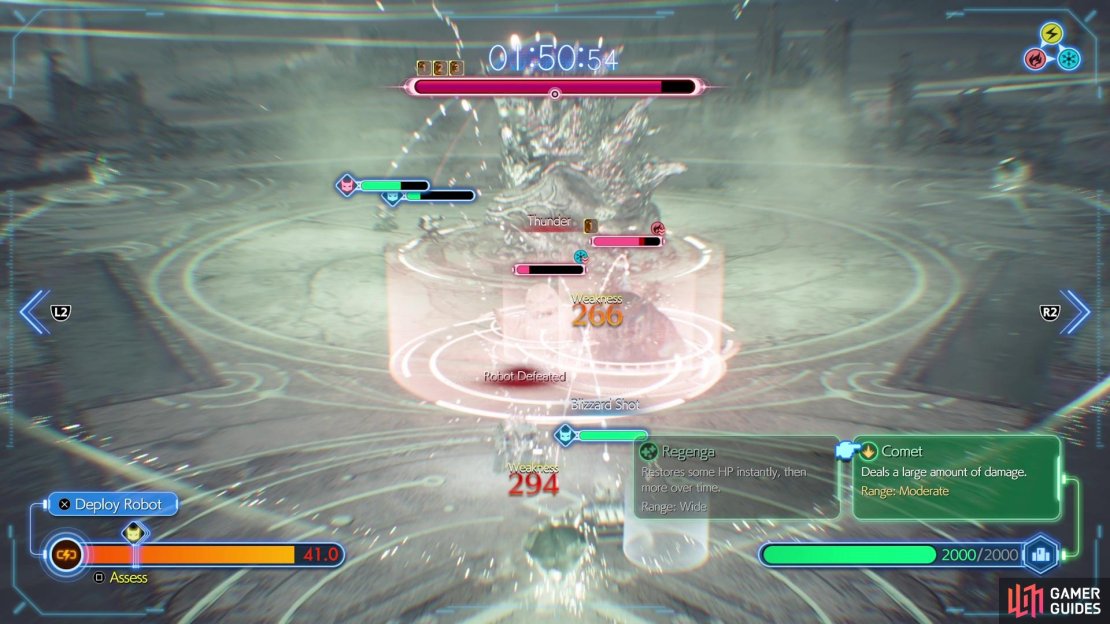
The final phase will definitely be a challenge, as it will begin that by using Regenga, so it will regain health and regen some after that, too. The worst part is that it will be able to use that twice, without needing any prerequisite. That Regenga is pretty much why this stage is the most challenging, as otherwise, it’s pretty basic and like the others. You’ll probably want to be more aggressive here in summoning your own robots to whittle down the boss’ health.
Once you’ve defeated the King Flan, though, you will be done with Gears and Gambits on normal. The Protorelic for Cosmo Canyon will be yours, but you will also unlock a Hard Mode for Gears and Gambits, which is even more challenging. For more details on that, check out the Gears and Gambits Hard Mode page.
No Comments