
From Whence Life Flows is a side quest that takes place in chapter 10 of Final Fantasy VII Rebirth. It’ll require you to investigate a variety of lifesprings around the ![]() Cosmo Canyon region. On this page, we’ll navigate you through the necessary steps to finding all five lifesprings.
Cosmo Canyon region. On this page, we’ll navigate you through the necessary steps to finding all five lifesprings.
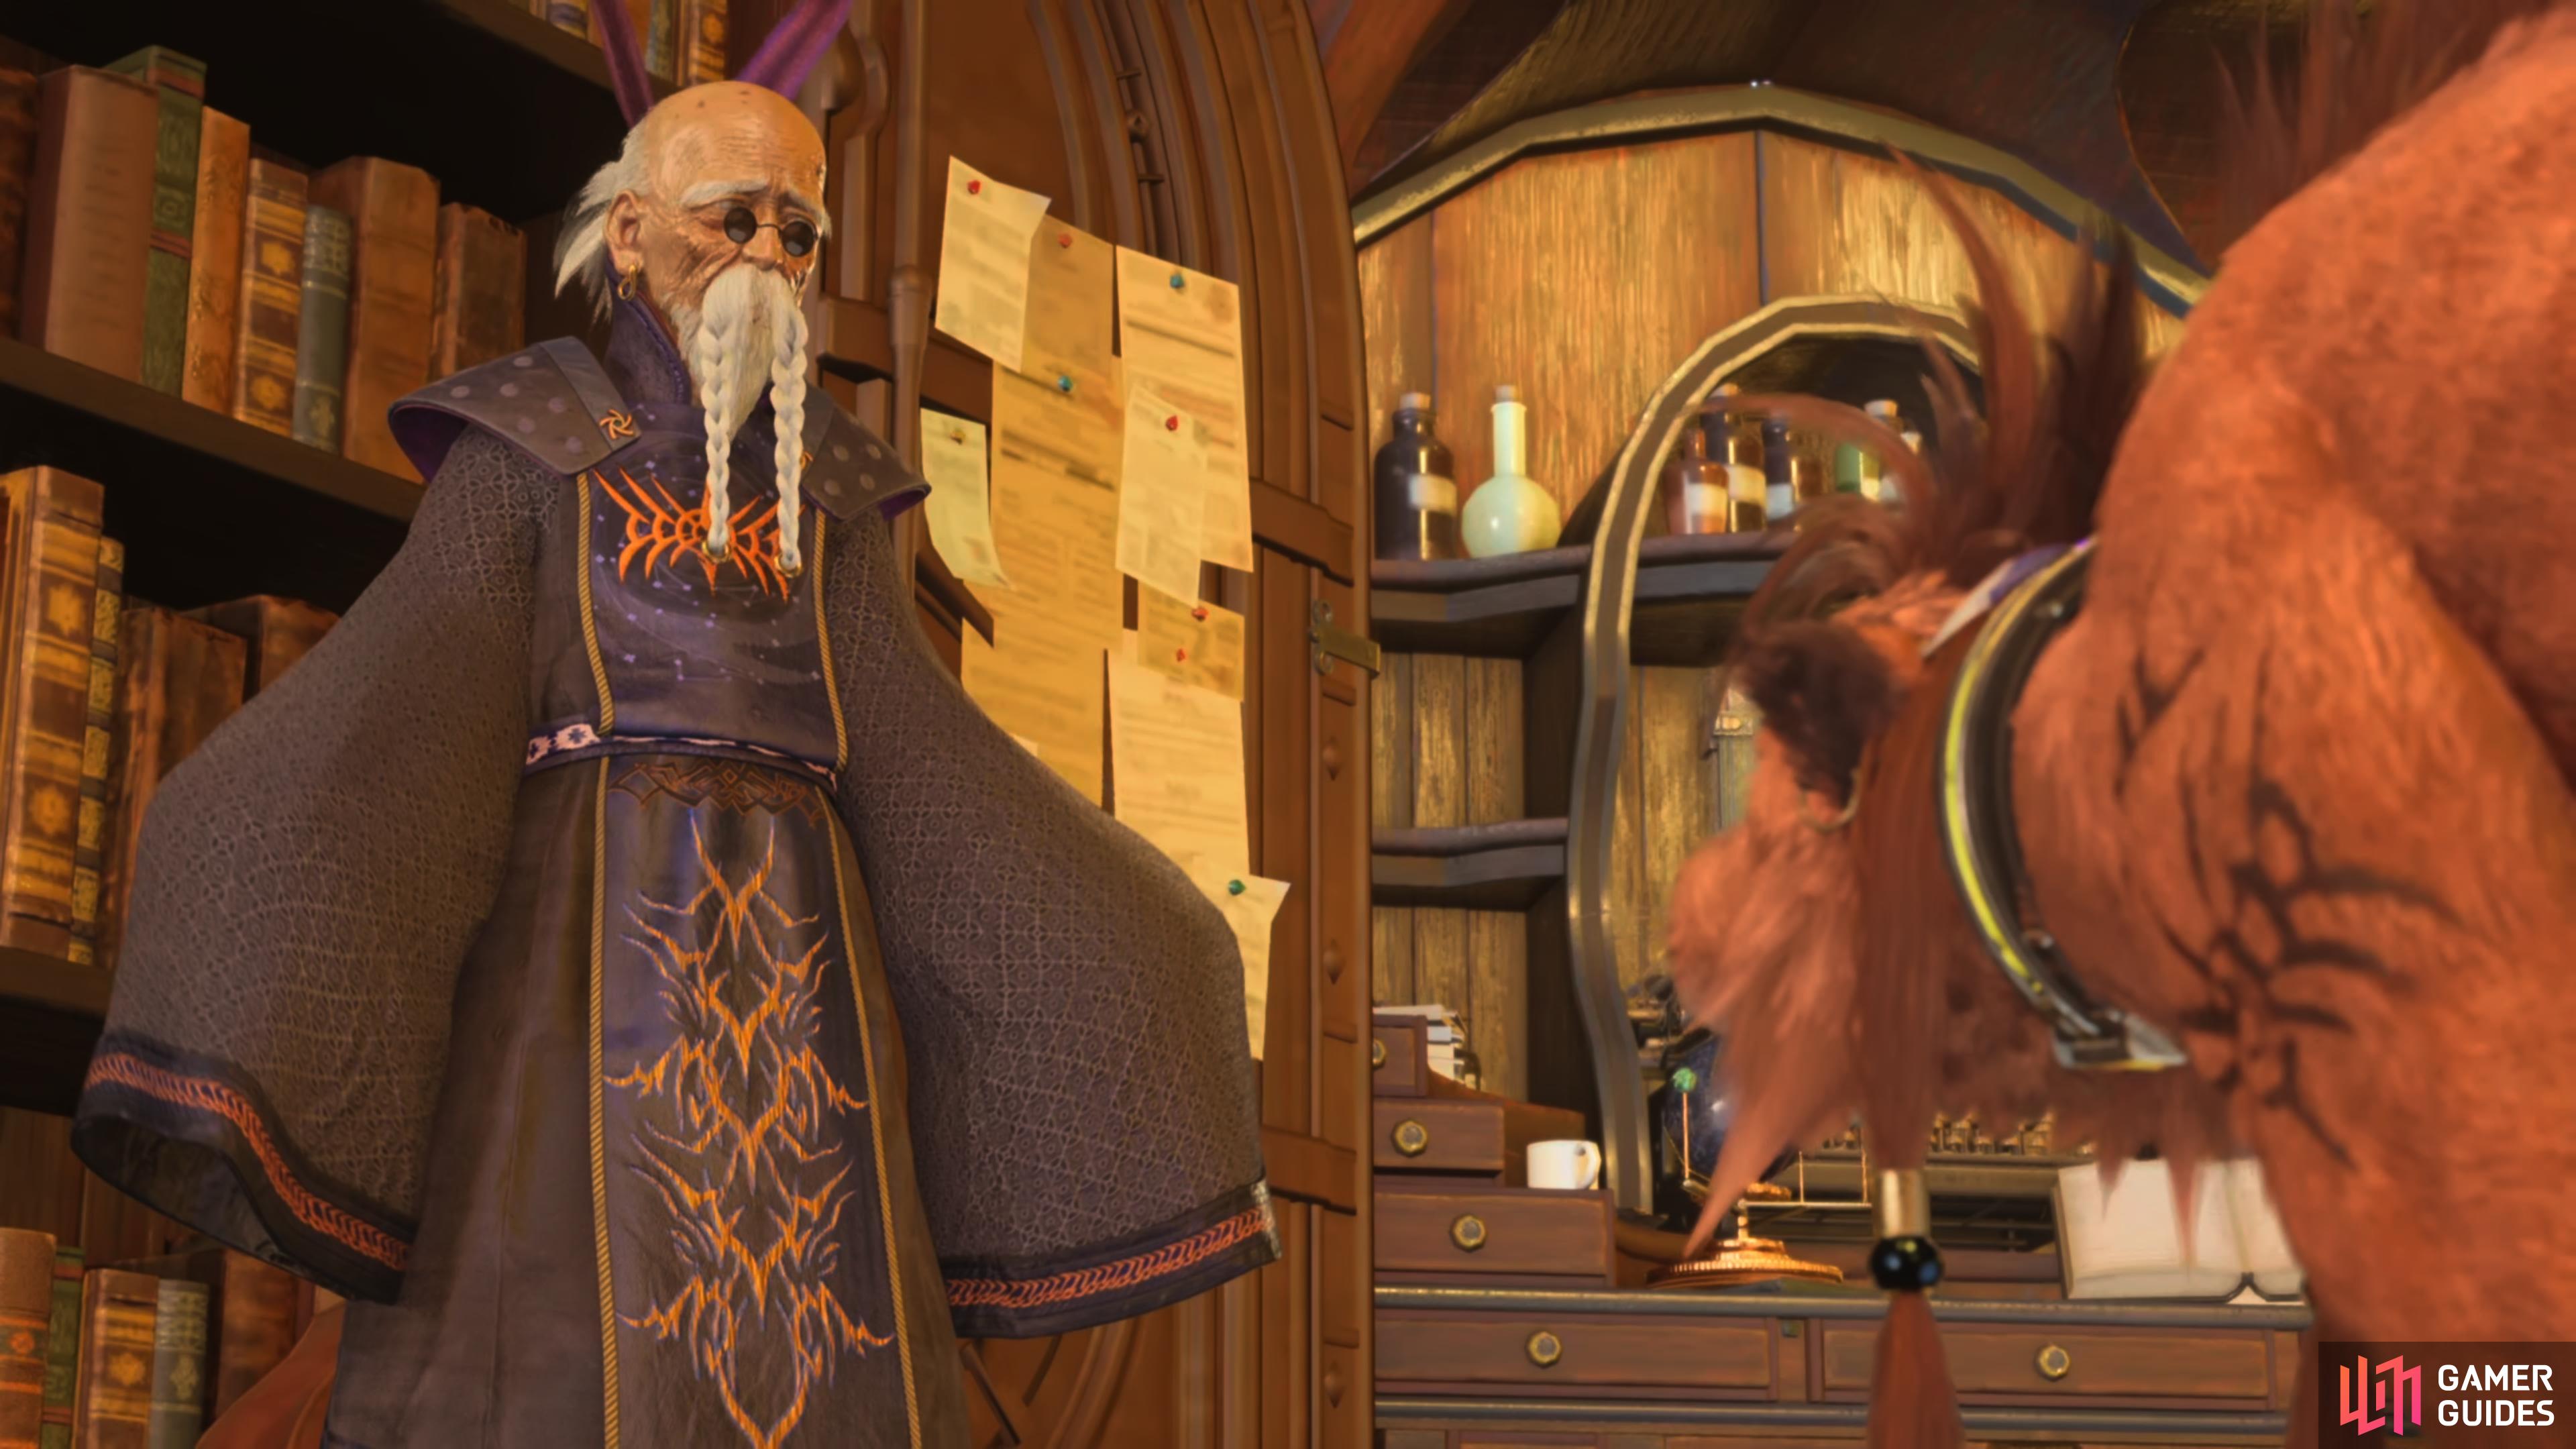
Bugenhagen needs help analysing lifepsrings.
It’s been entirely too long since I’ve done some old-fashioned fieldwork, and I’d like to correct that. Unfortunately, I seem to have misplaced my tools. Drop by and lend a hand, won’t you?
Starting From Whence Life Flows Side Quest
The From Whence Life Flows quest can be unlocked via the noticeboard, which is located in Cosmo Canyon towards the end of chapter 10. Accept the quest and fast travel over to the Cosmo Observatory and speak with Bugenhagen, then he’ll want you to track down and survey some nearby lifesprings. Unfortunately, the map that was provided isn’t overly helpful so we’ve done the hard work of tracking them for you and you can find their locations below:
Measure the Mako Frequency
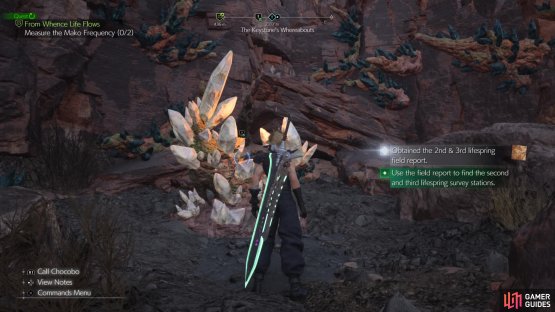
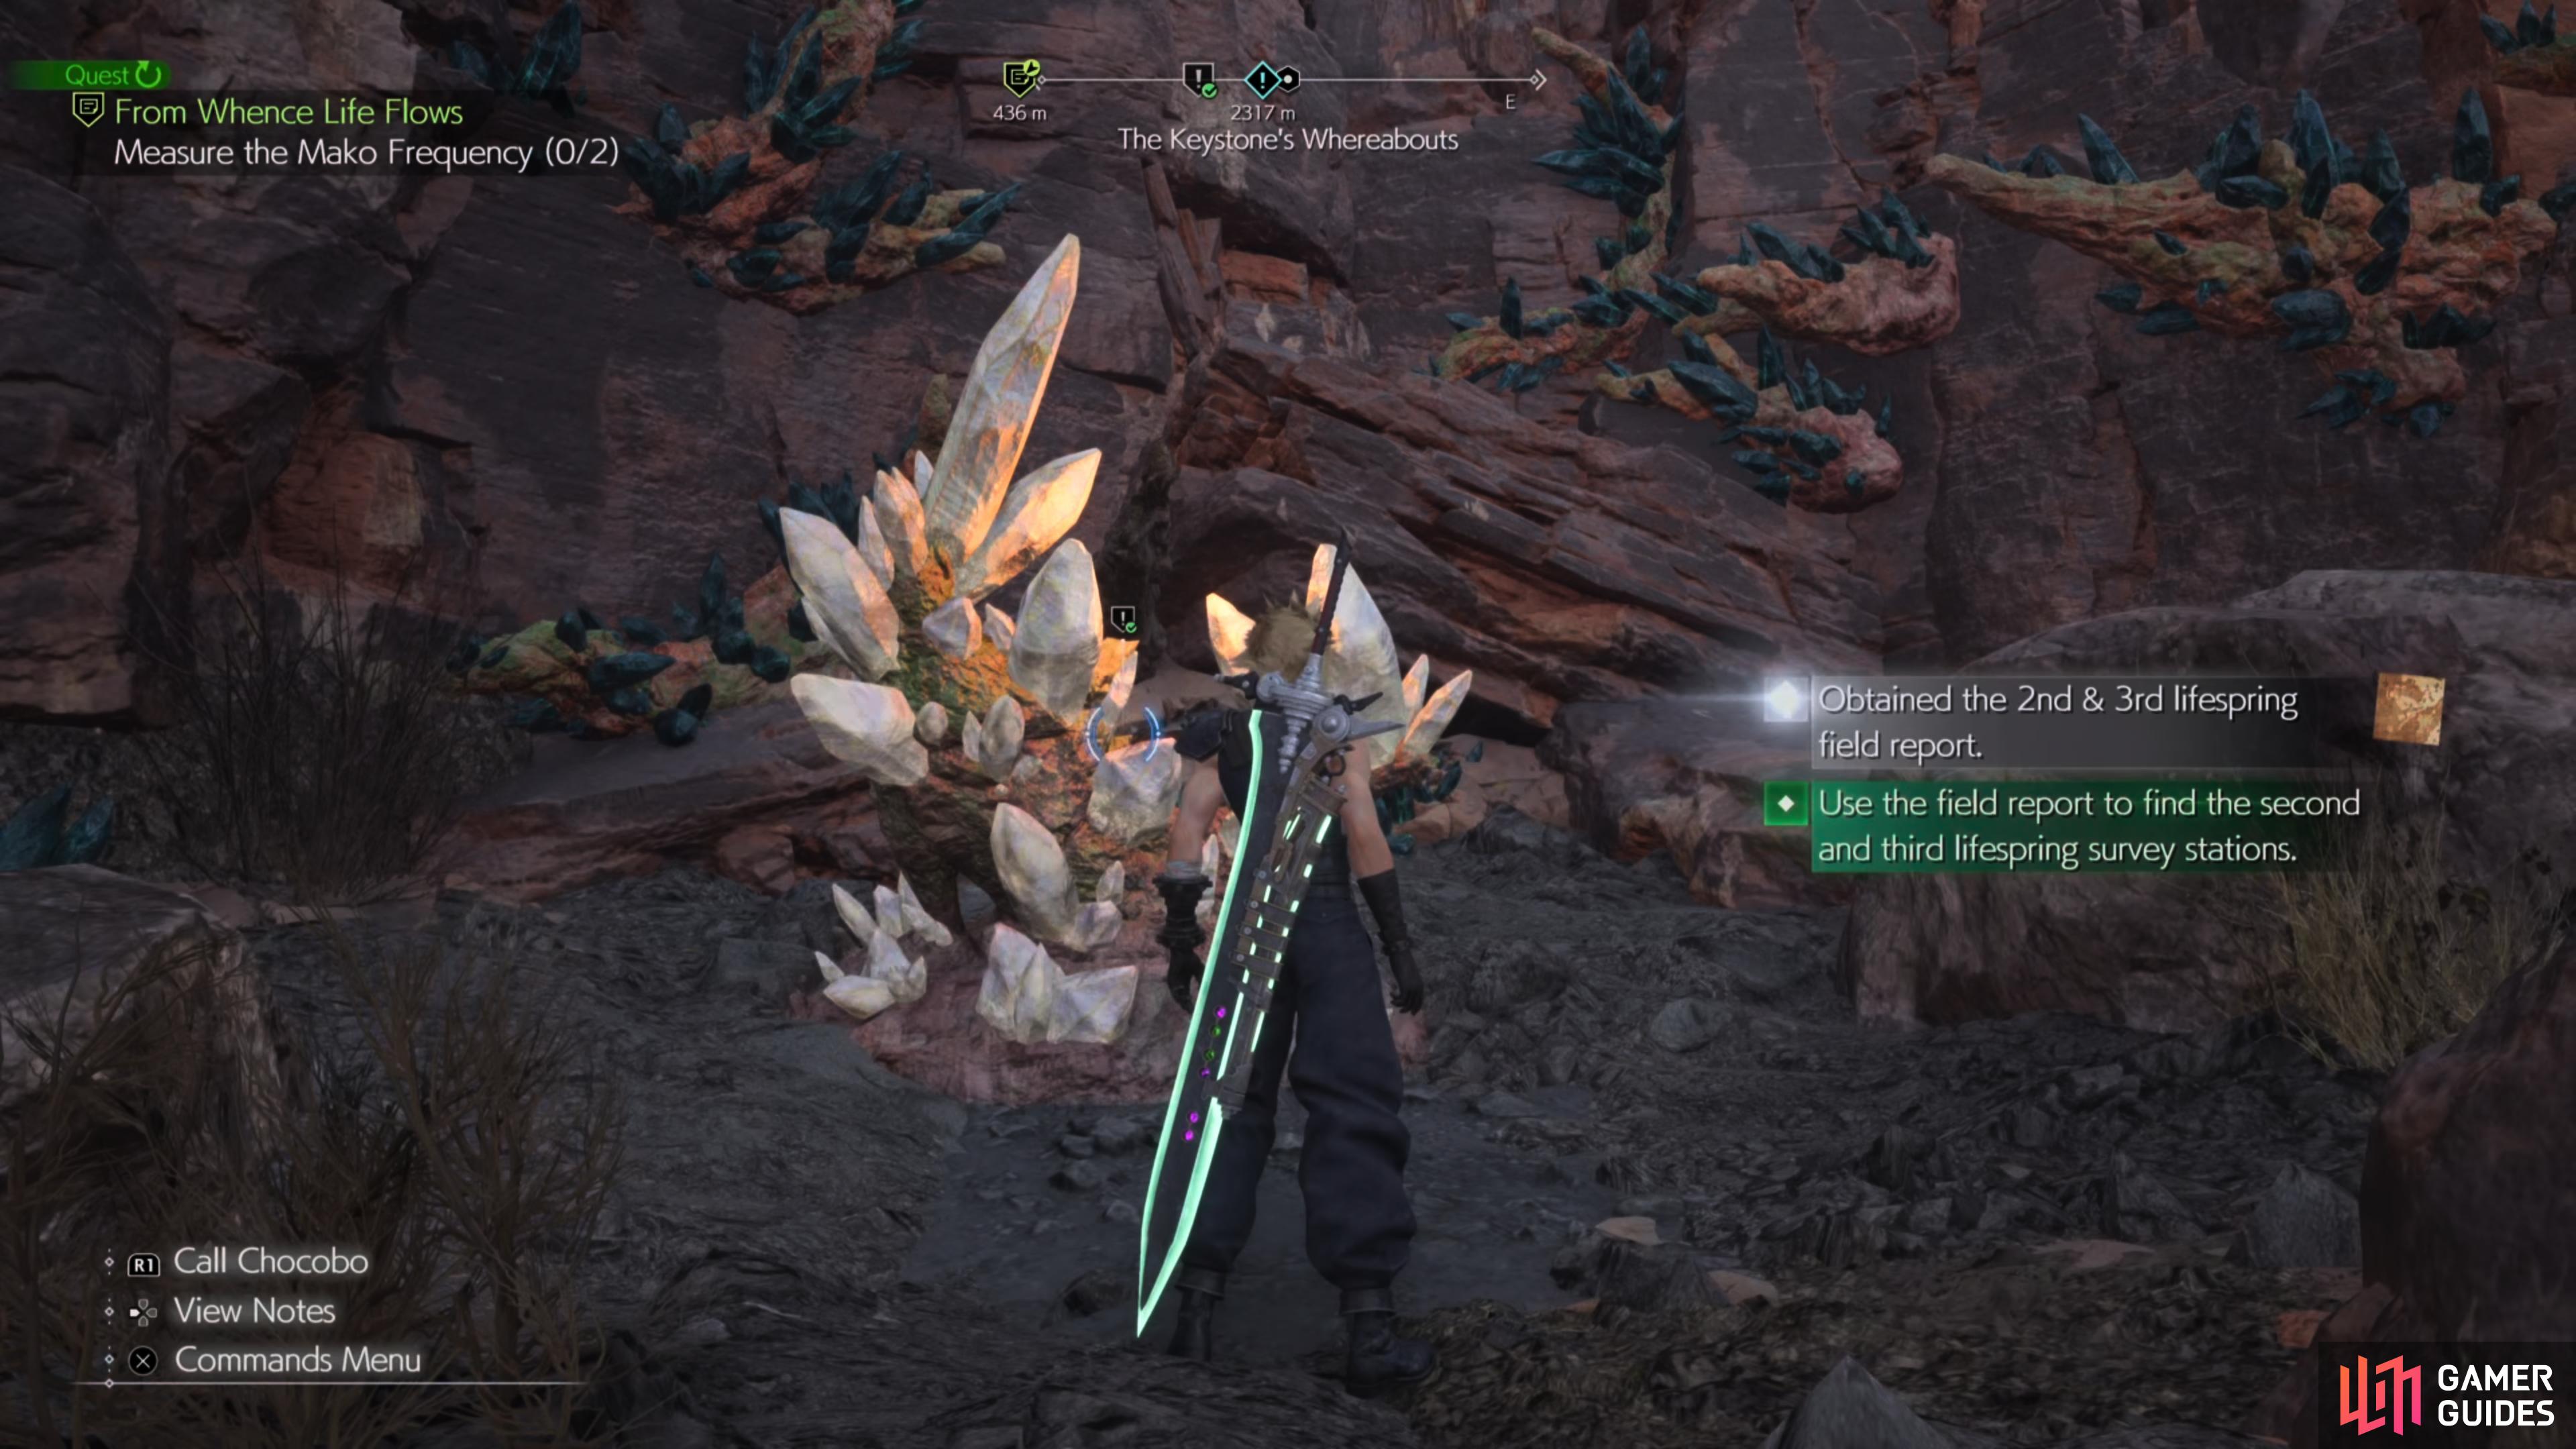
You’ll need to scan five lifesprings around Cosmo Canyon in order to get a proper reading of the Mako Frequency.
Lifespring Location #1
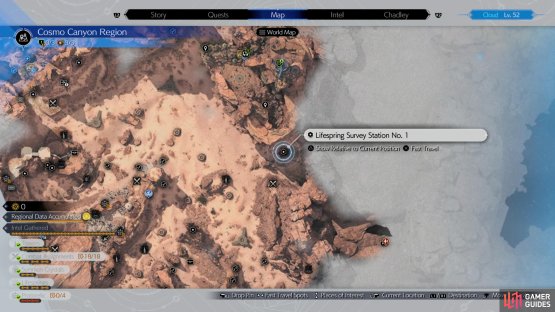
(1 of 2) Head to this location on the map
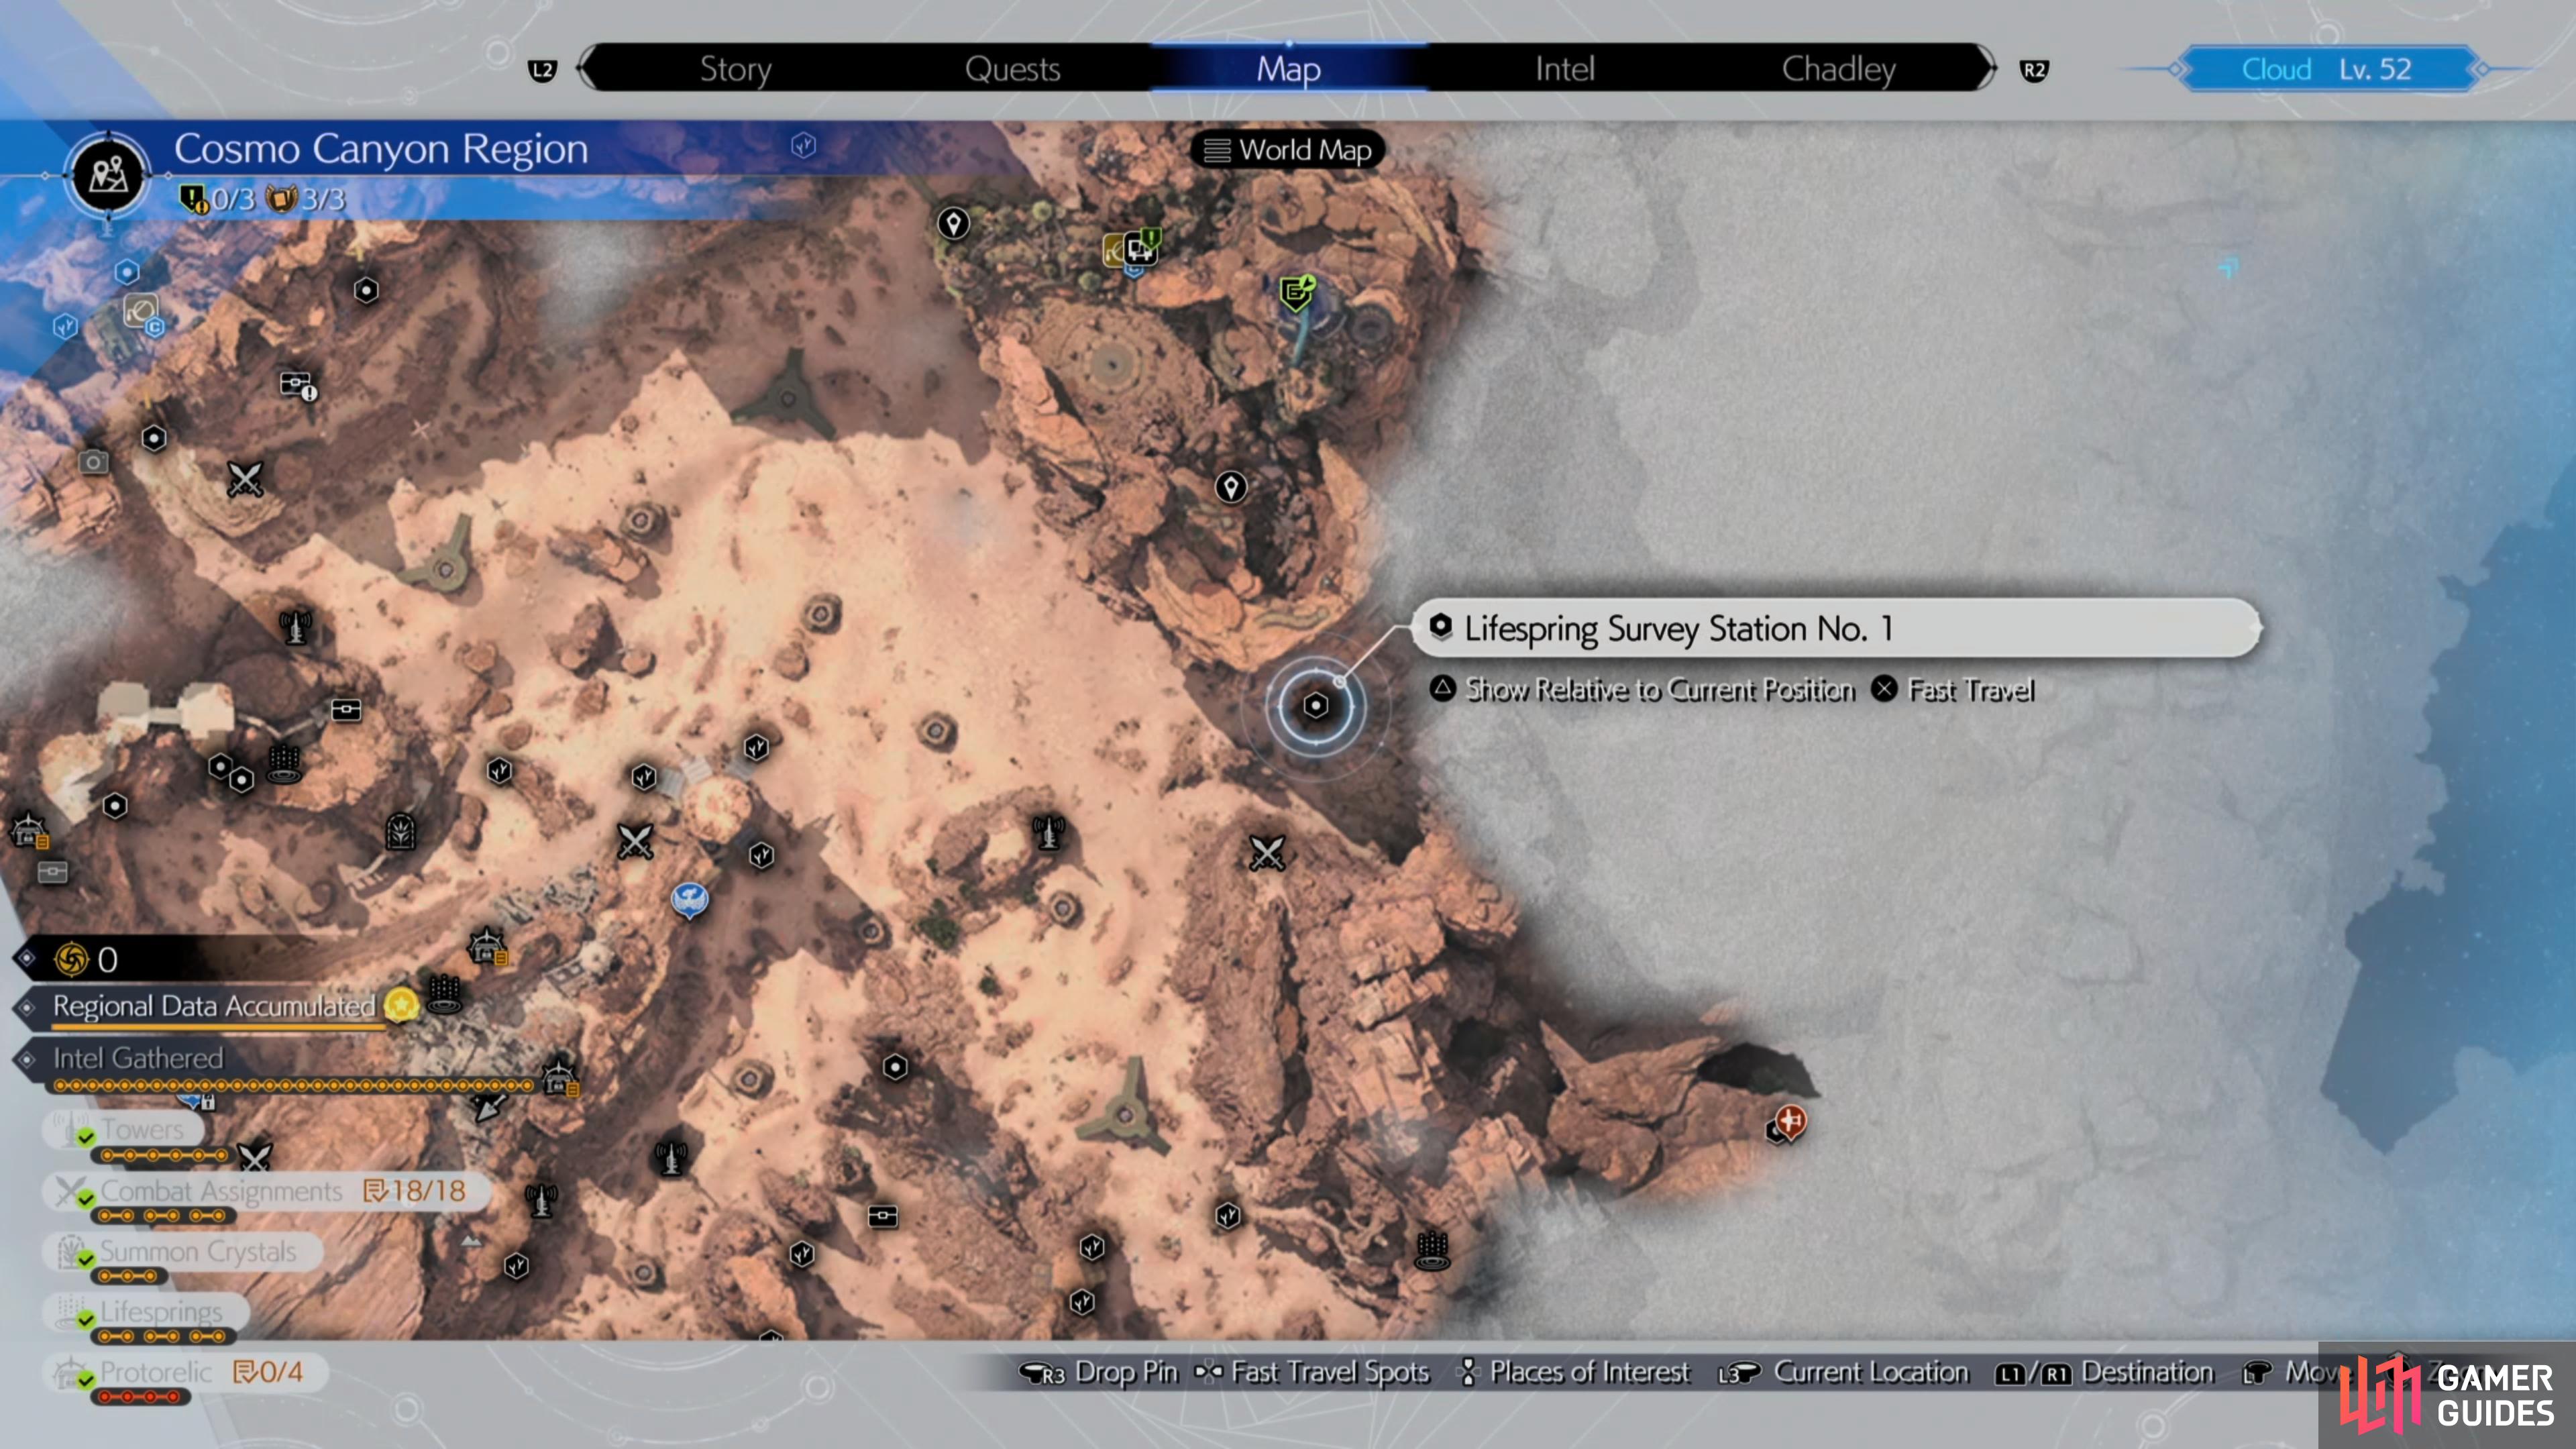
Head to this location on the map (left), to find the first lifespring. (right)
The first Lifespring can be found by heading towards the wooden gate to the northeast of the Dried Oasis Tower. Interact with the gate to discover it’s locked and then Bugenhagen will appear and let you through.
Lifespring Location #2
The second lifespring can be found to the southeast of the Crimson Earth Tower. It can be easily reached by fast traveling to the Phenomenon Intel 1: Avalanche HQ and heading up the nearby stairs to the right. You’ll need to deal with four ![]() Skeeskee’s before you can unlock the gate and these can be taken down by dodging their Fury Bomber attack to pressure them and then follow up with Focused Strike or
Skeeskee’s before you can unlock the gate and these can be taken down by dodging their Fury Bomber attack to pressure them and then follow up with Focused Strike or ![]() Focused Thrust to stagger them.
Focused Thrust to stagger them.

(1 of 2) Head to this location on the map


Head to this location on the map (left), and take down the Skeeskee (right)
At this stage, you’ll want to try and deal as much damage as possible before they can get back up and this can be done by using strong offensive attacks, such as ![]() Infinity’s End (Cloud) or Maximum Fury (Barret). If you get hit by the
Infinity’s End (Cloud) or Maximum Fury (Barret). If you get hit by the ![]() Fury status effect then you’ll want to play a little bit more defensively, as the damage taken will be increased by 50%.
Fury status effect then you’ll want to play a little bit more defensively, as the damage taken will be increased by 50%.
Lifespring Location #3
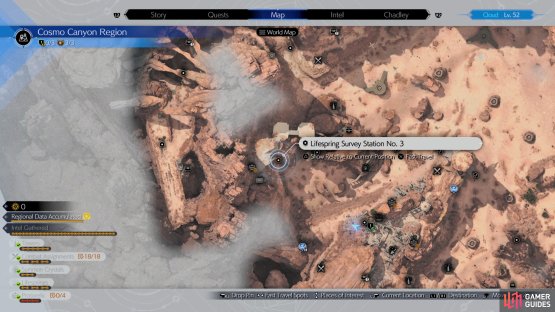
(1 of 2) Head to this location on the map

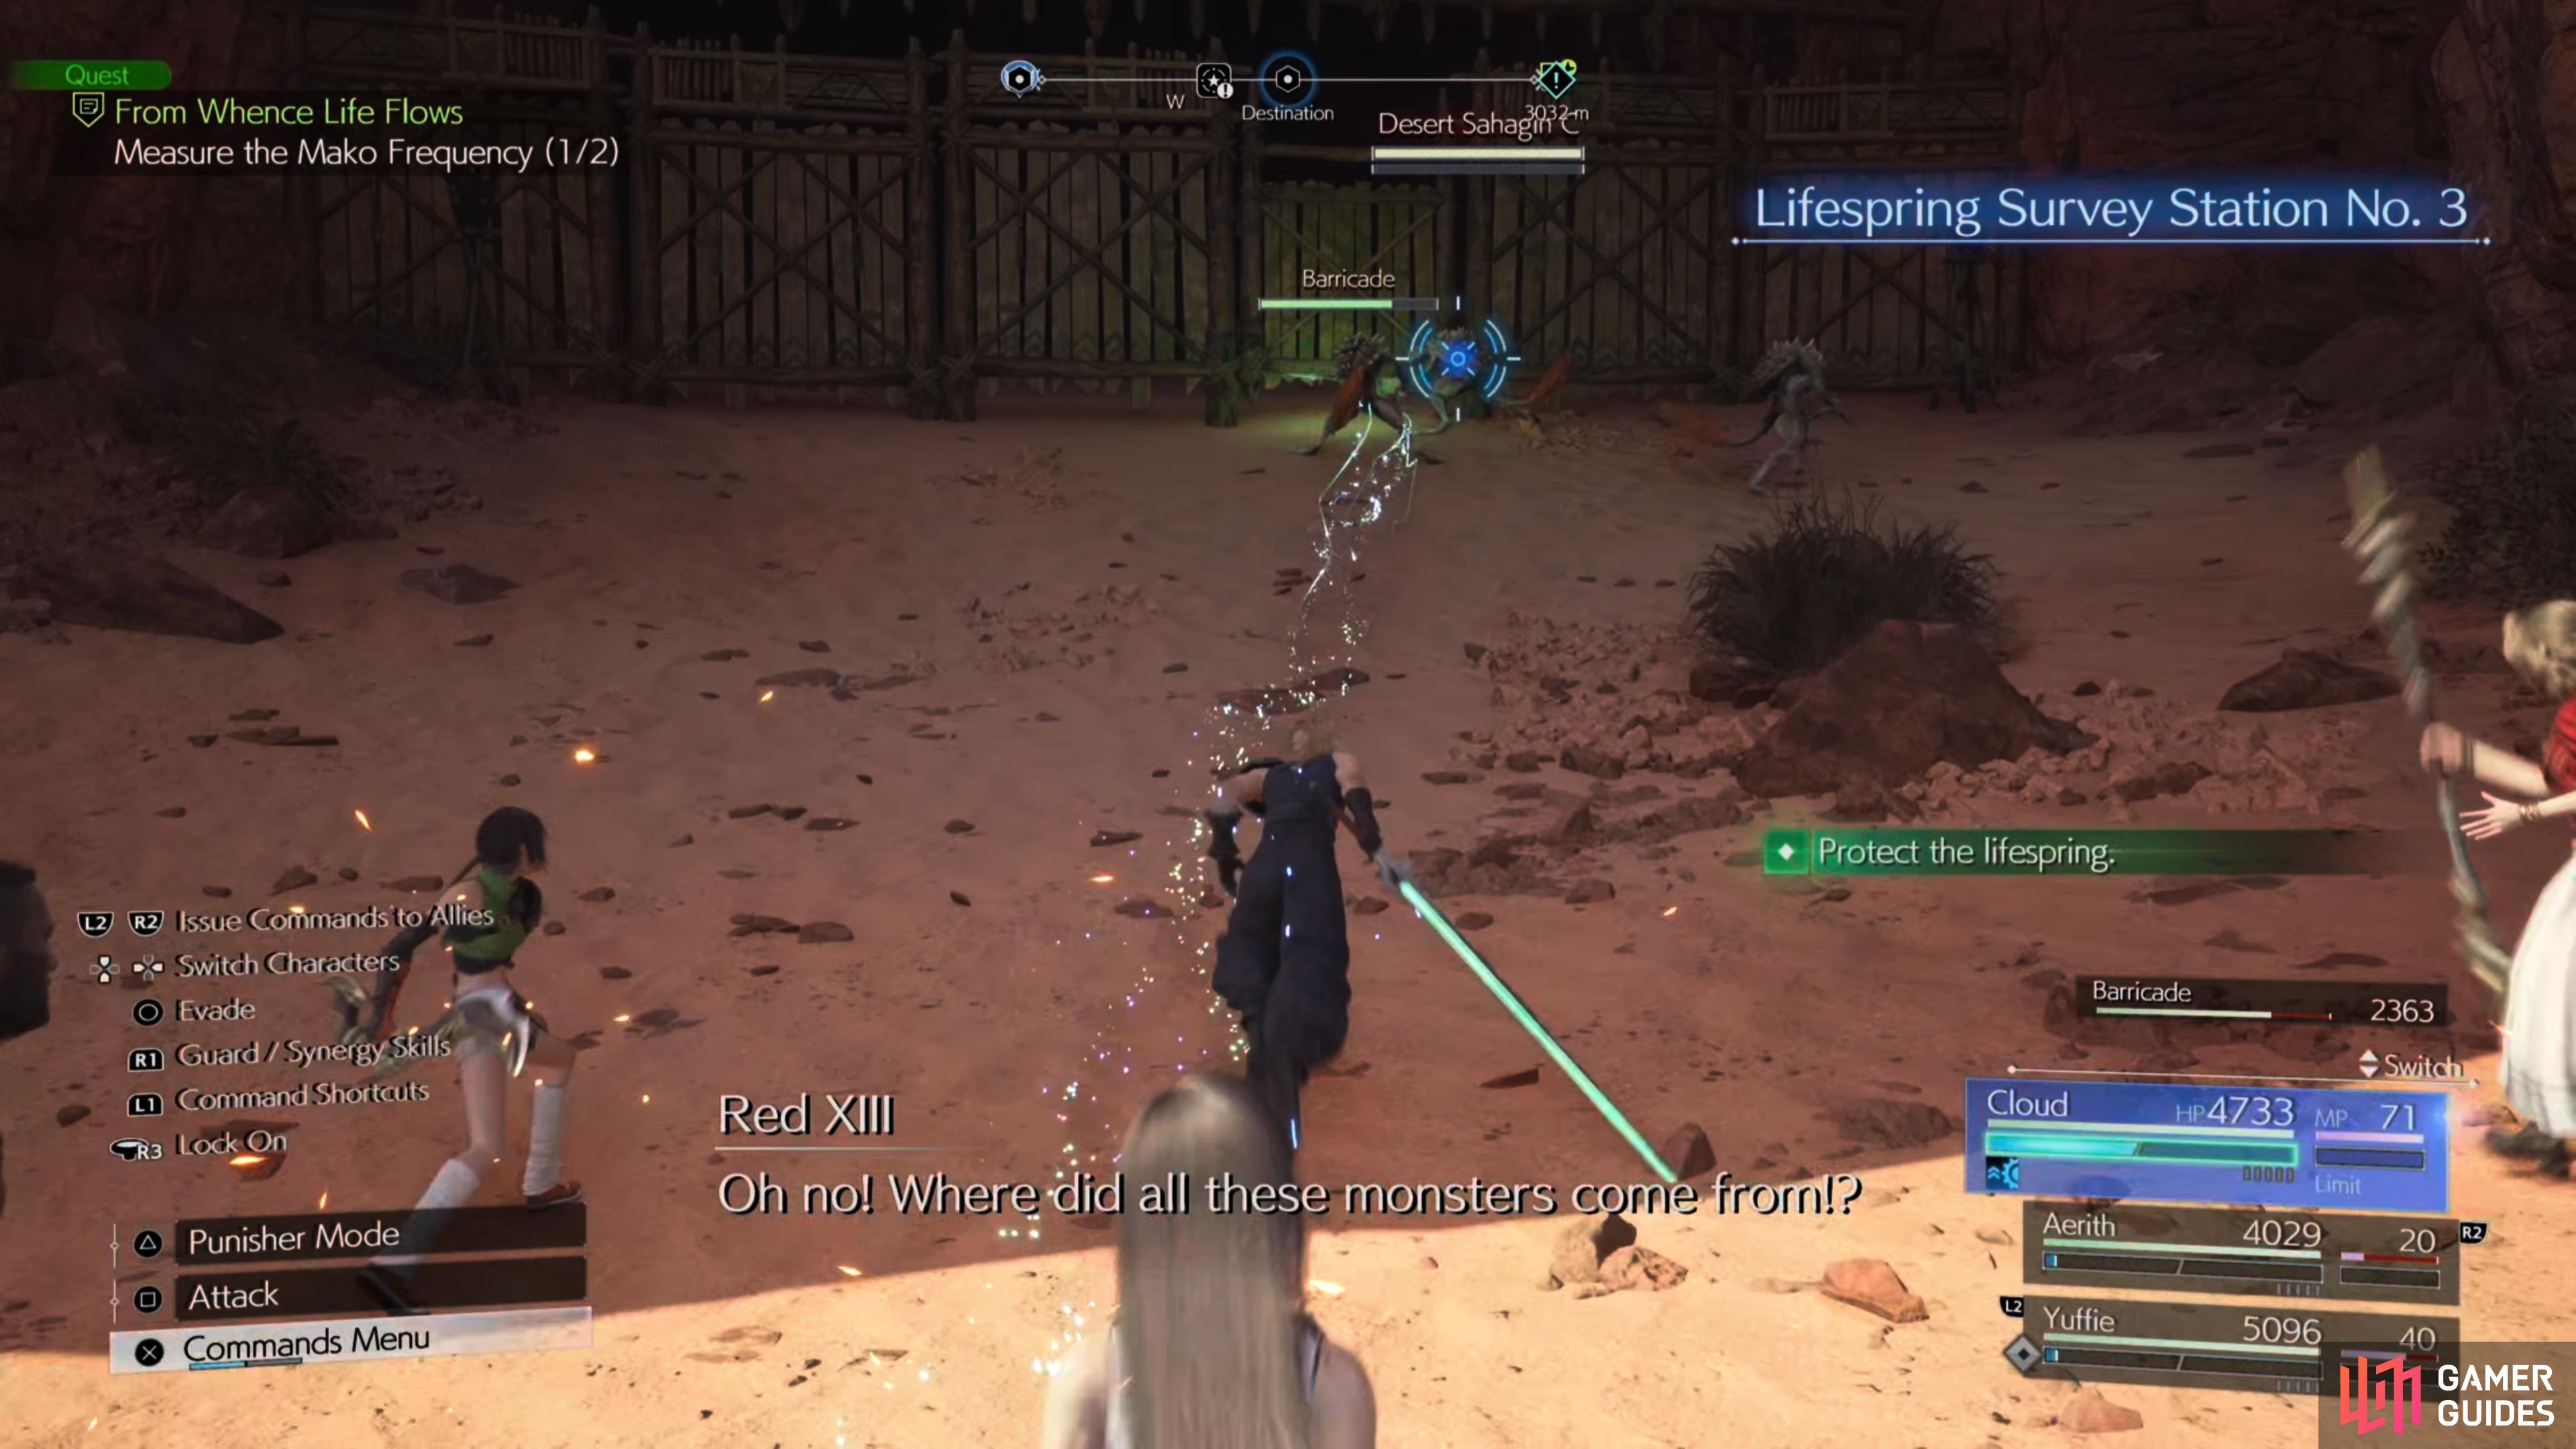
Head to this location on the map (left), and take down the Sahagin (right)
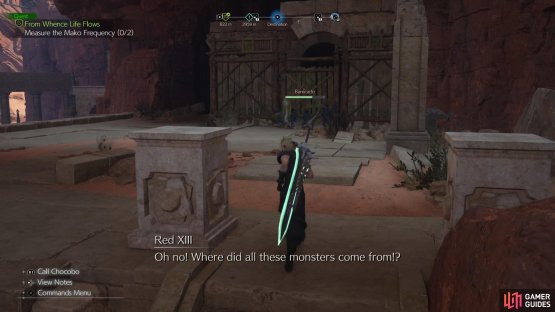
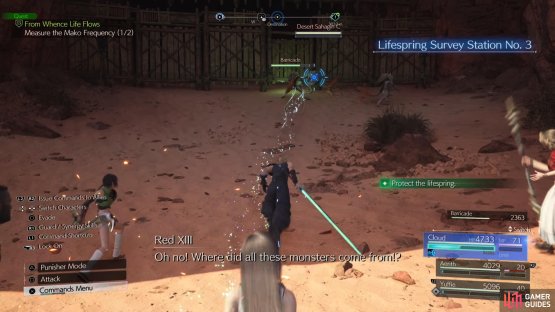
The third lifespring can be found to the southwest of the Crimson Earth Tower. It can be reached by fast traveling to the Phenomenon Intel 1: Avalanche HQ and heading west. This time around you’ll need to deal with three Sahagin and this can be done by exploiting their elemental weakness, so you’ll want to switch over to Aerith and use Blizzaga against them.
Lifespring Location #4
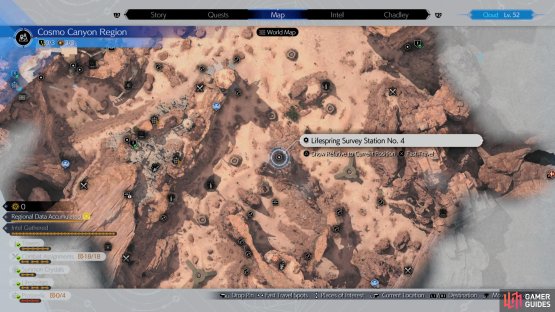
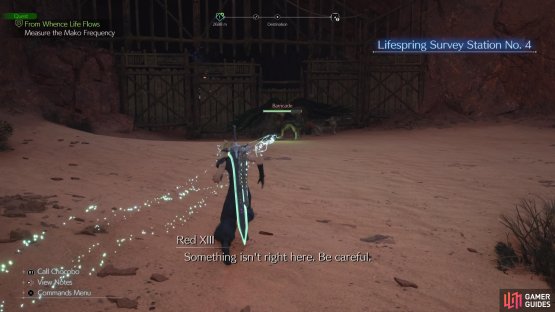
(1 of 2) Head to this location on the map
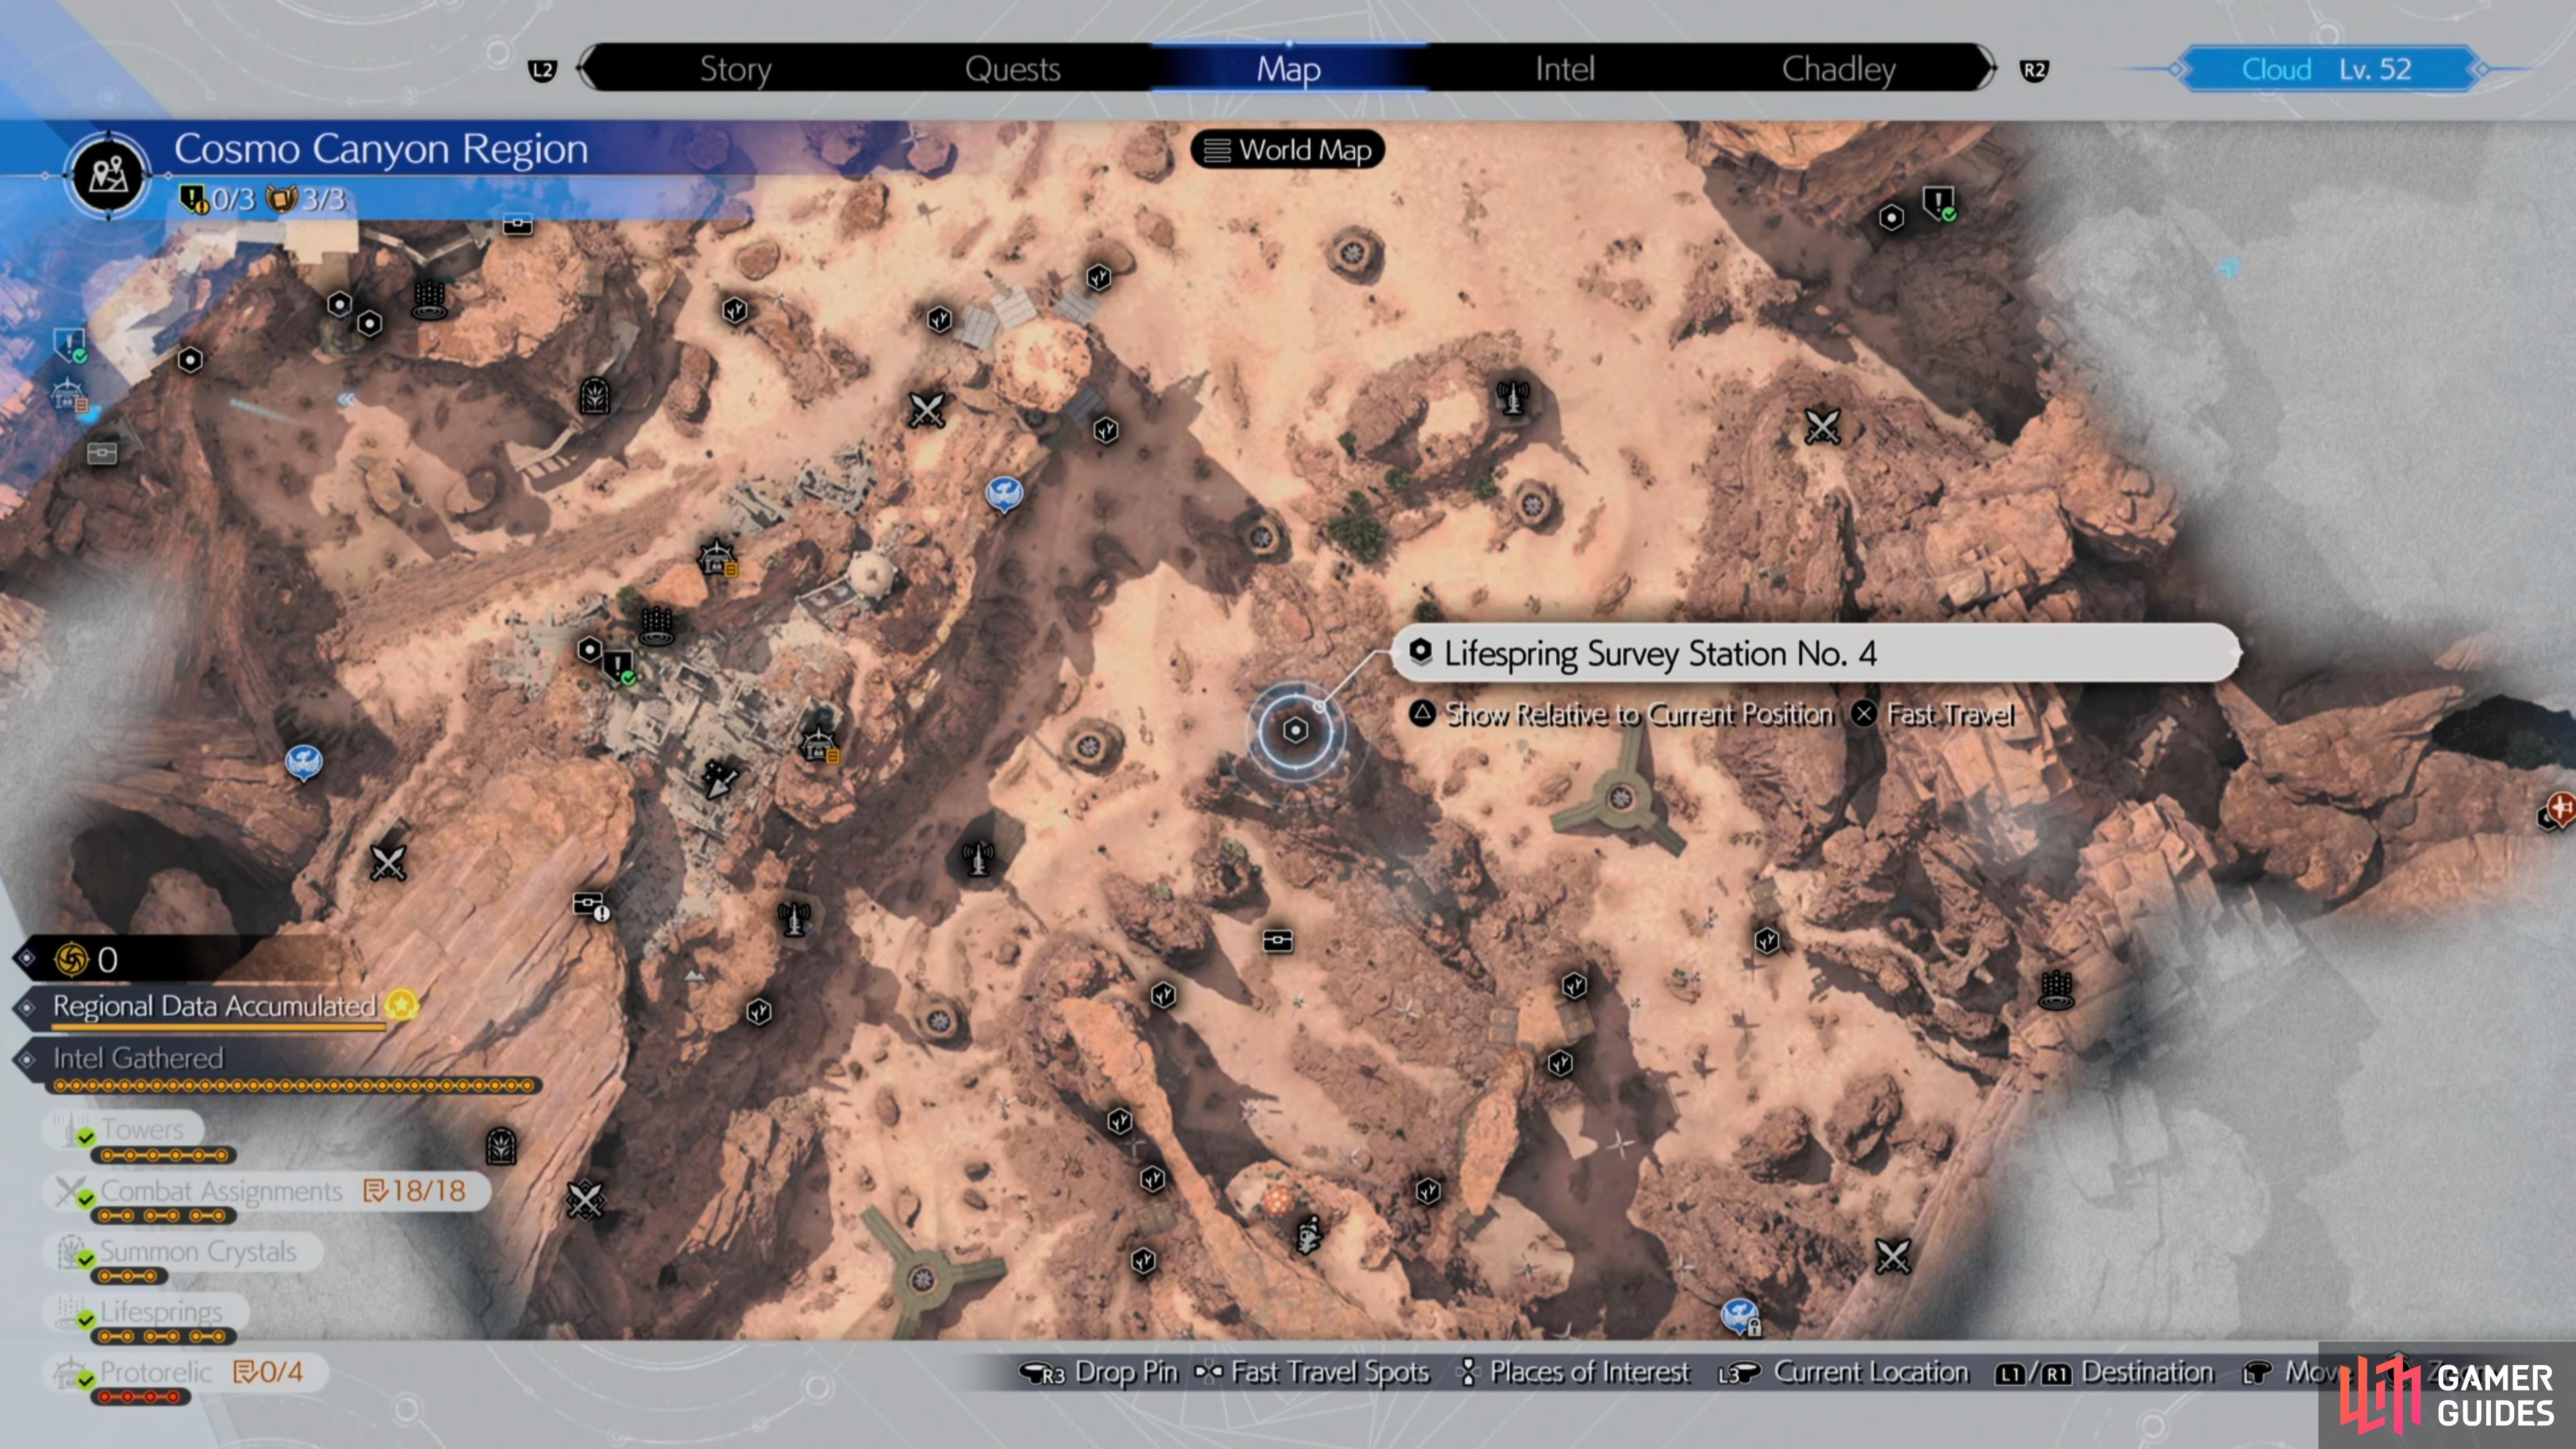

Head to this location on the map (left), and take down the Griffon and Sahagins. (right)
The fourth lifespring can be found to the northeast of the Gliding Range Tower. Here you’ll need to deal with two Sahagin’s and a ![]() Griffon. You can deal with the Sahagins by using the same strategy you used at the previous lifespring. As for the Griffon, you’ll want to chip away at its health from a distance by using lightning-based spells and then eventually it’ll pressure itself allowing you to then switch to Cloud and stagger it. If anyone gets caught by the restrain attack, then you’ll want to keep attacking the Griffon otherwise their HP will gradually deplete.
Griffon. You can deal with the Sahagins by using the same strategy you used at the previous lifespring. As for the Griffon, you’ll want to chip away at its health from a distance by using lightning-based spells and then eventually it’ll pressure itself allowing you to then switch to Cloud and stagger it. If anyone gets caught by the restrain attack, then you’ll want to keep attacking the Griffon otherwise their HP will gradually deplete.
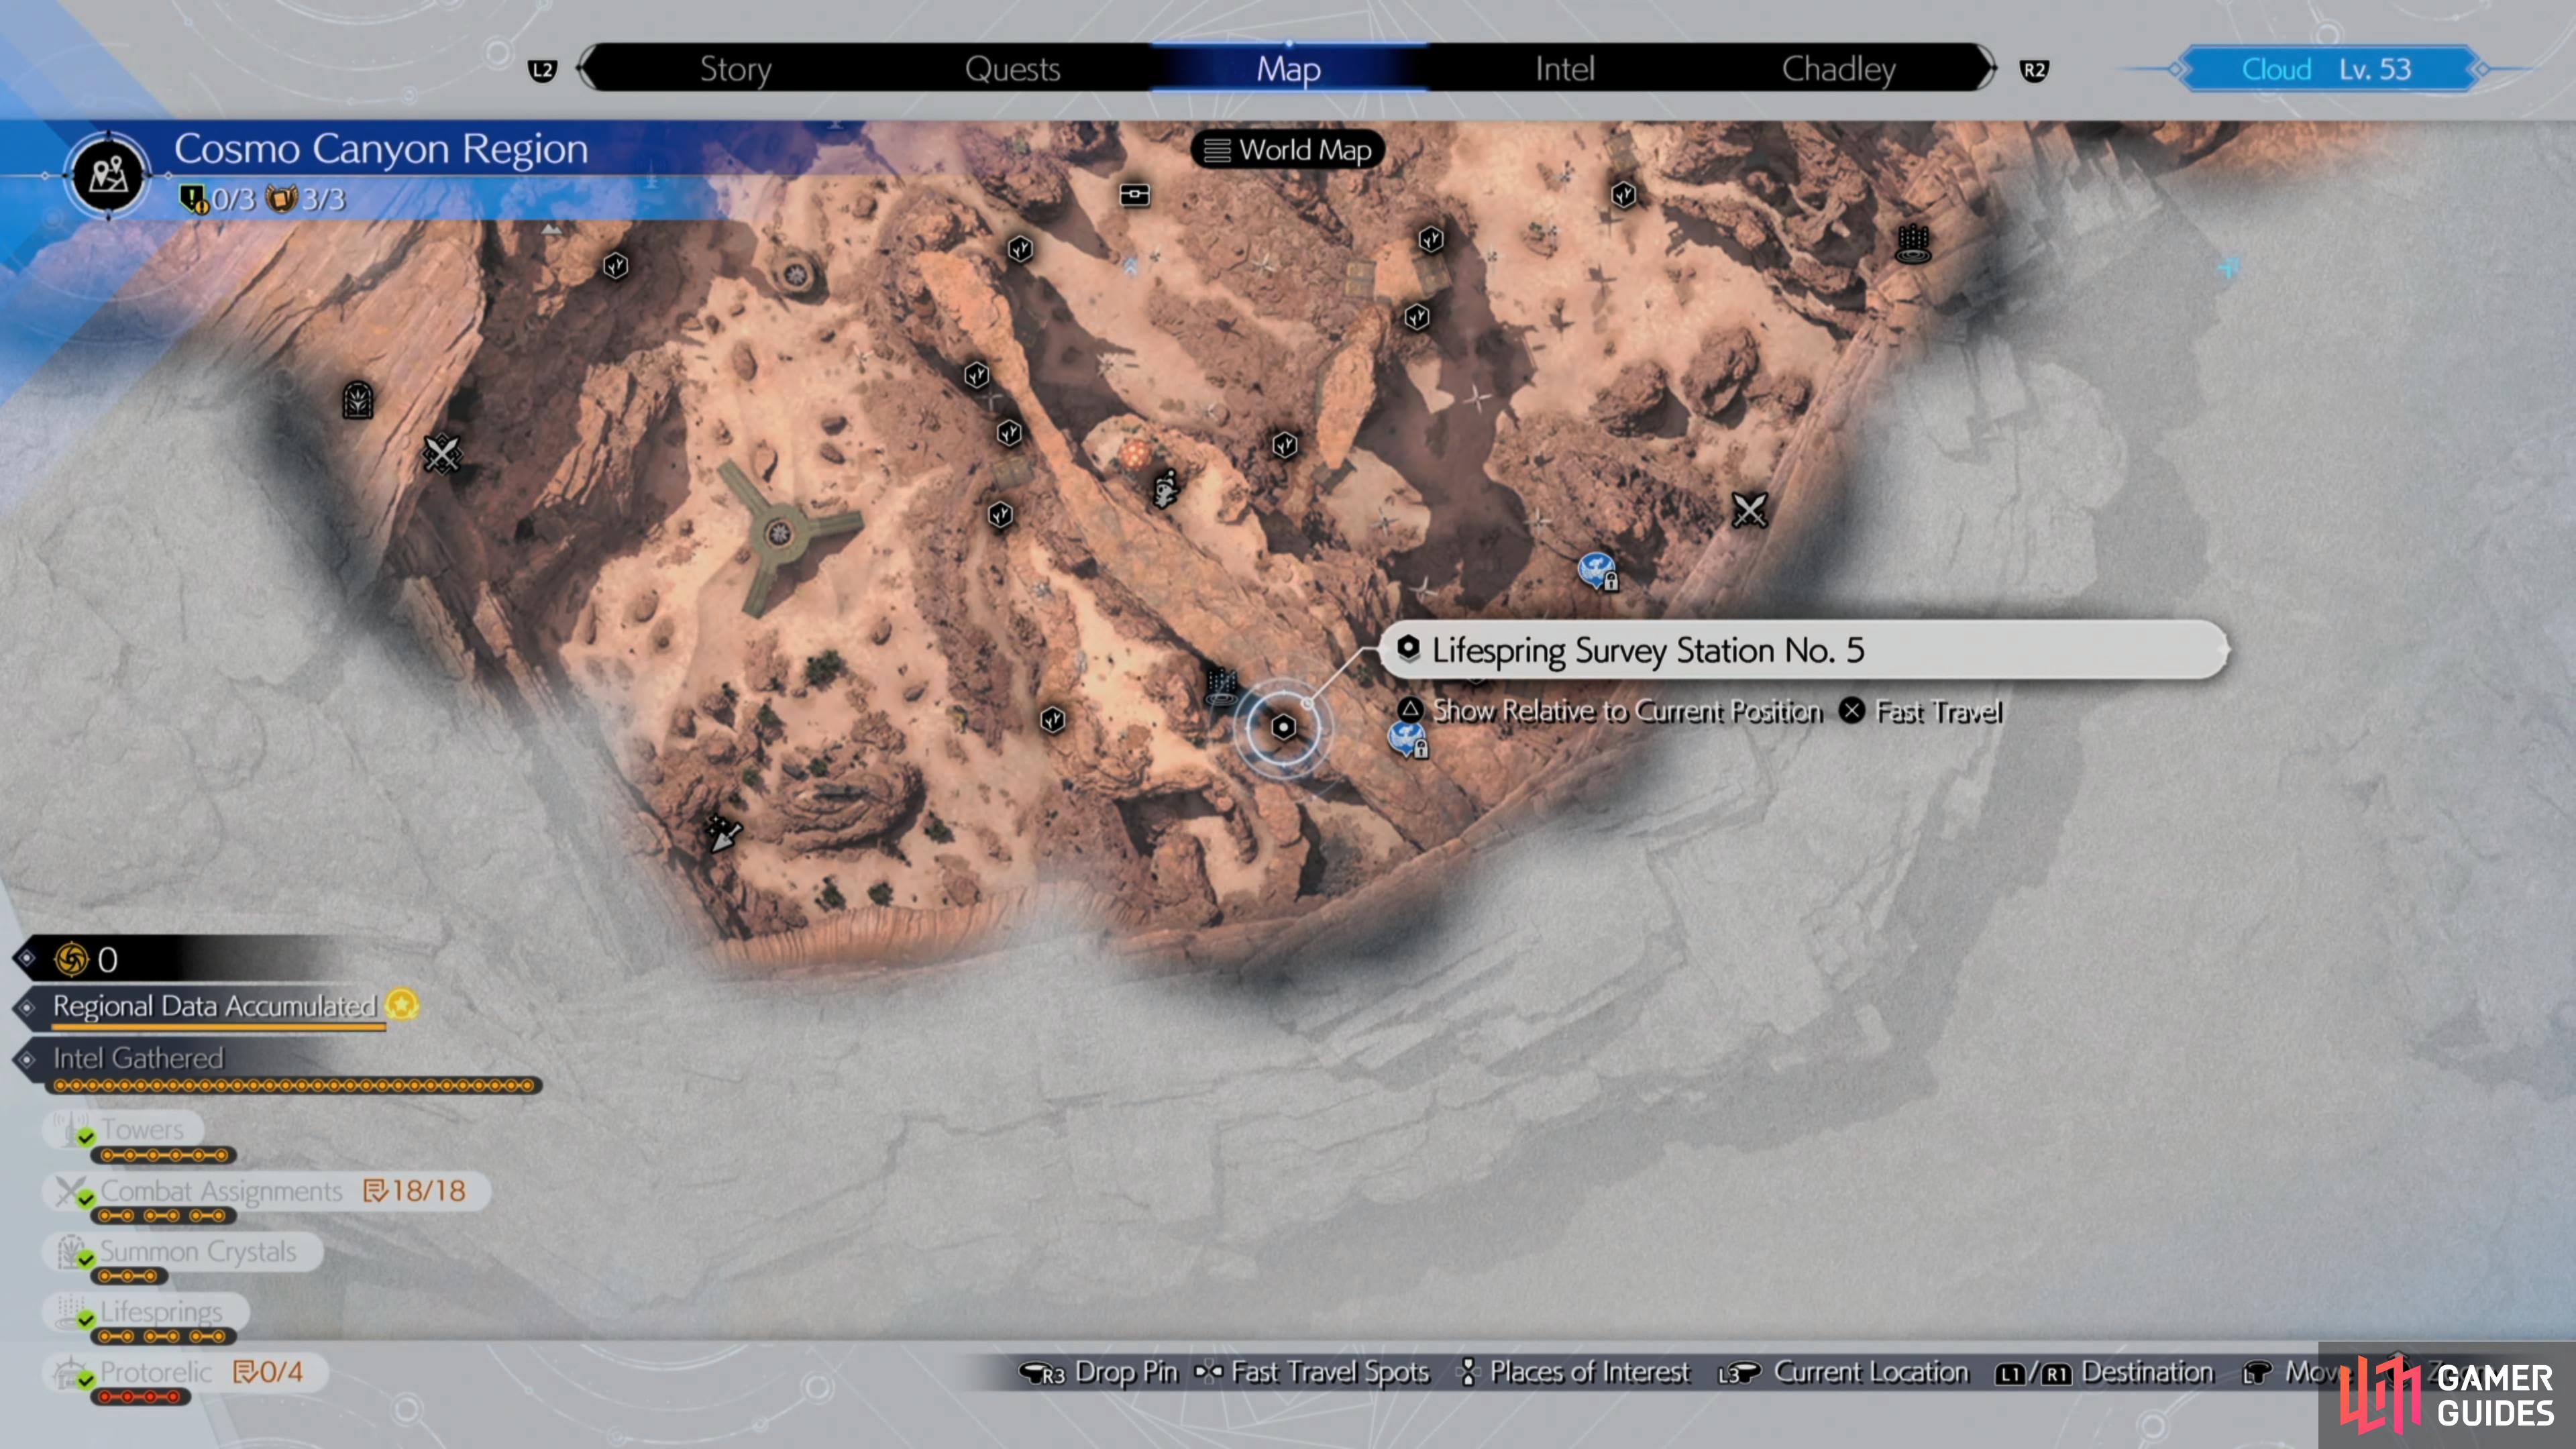
Lifespring Location #5
The fifth lifespring can be found to the southeast of the Highland Moogle Intel and it’s by far the trickiest one to reach as you’ll need to scale the cliffs by using the Gliding Ranges. You can reach this by using Gliding Range No. 6 - 61 m and Gliding Range No. 11 - 72 m and then head up the stairs and use Gliding Range No 13 - 88 m to cross the large gap. Finally, use Gliding Range No 6 - 61m and work your way up the hill to find the final lifespring tucked away in the corner.
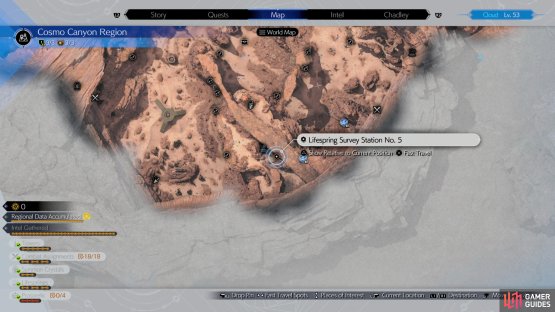
(1 of 2) Head to this location on the map
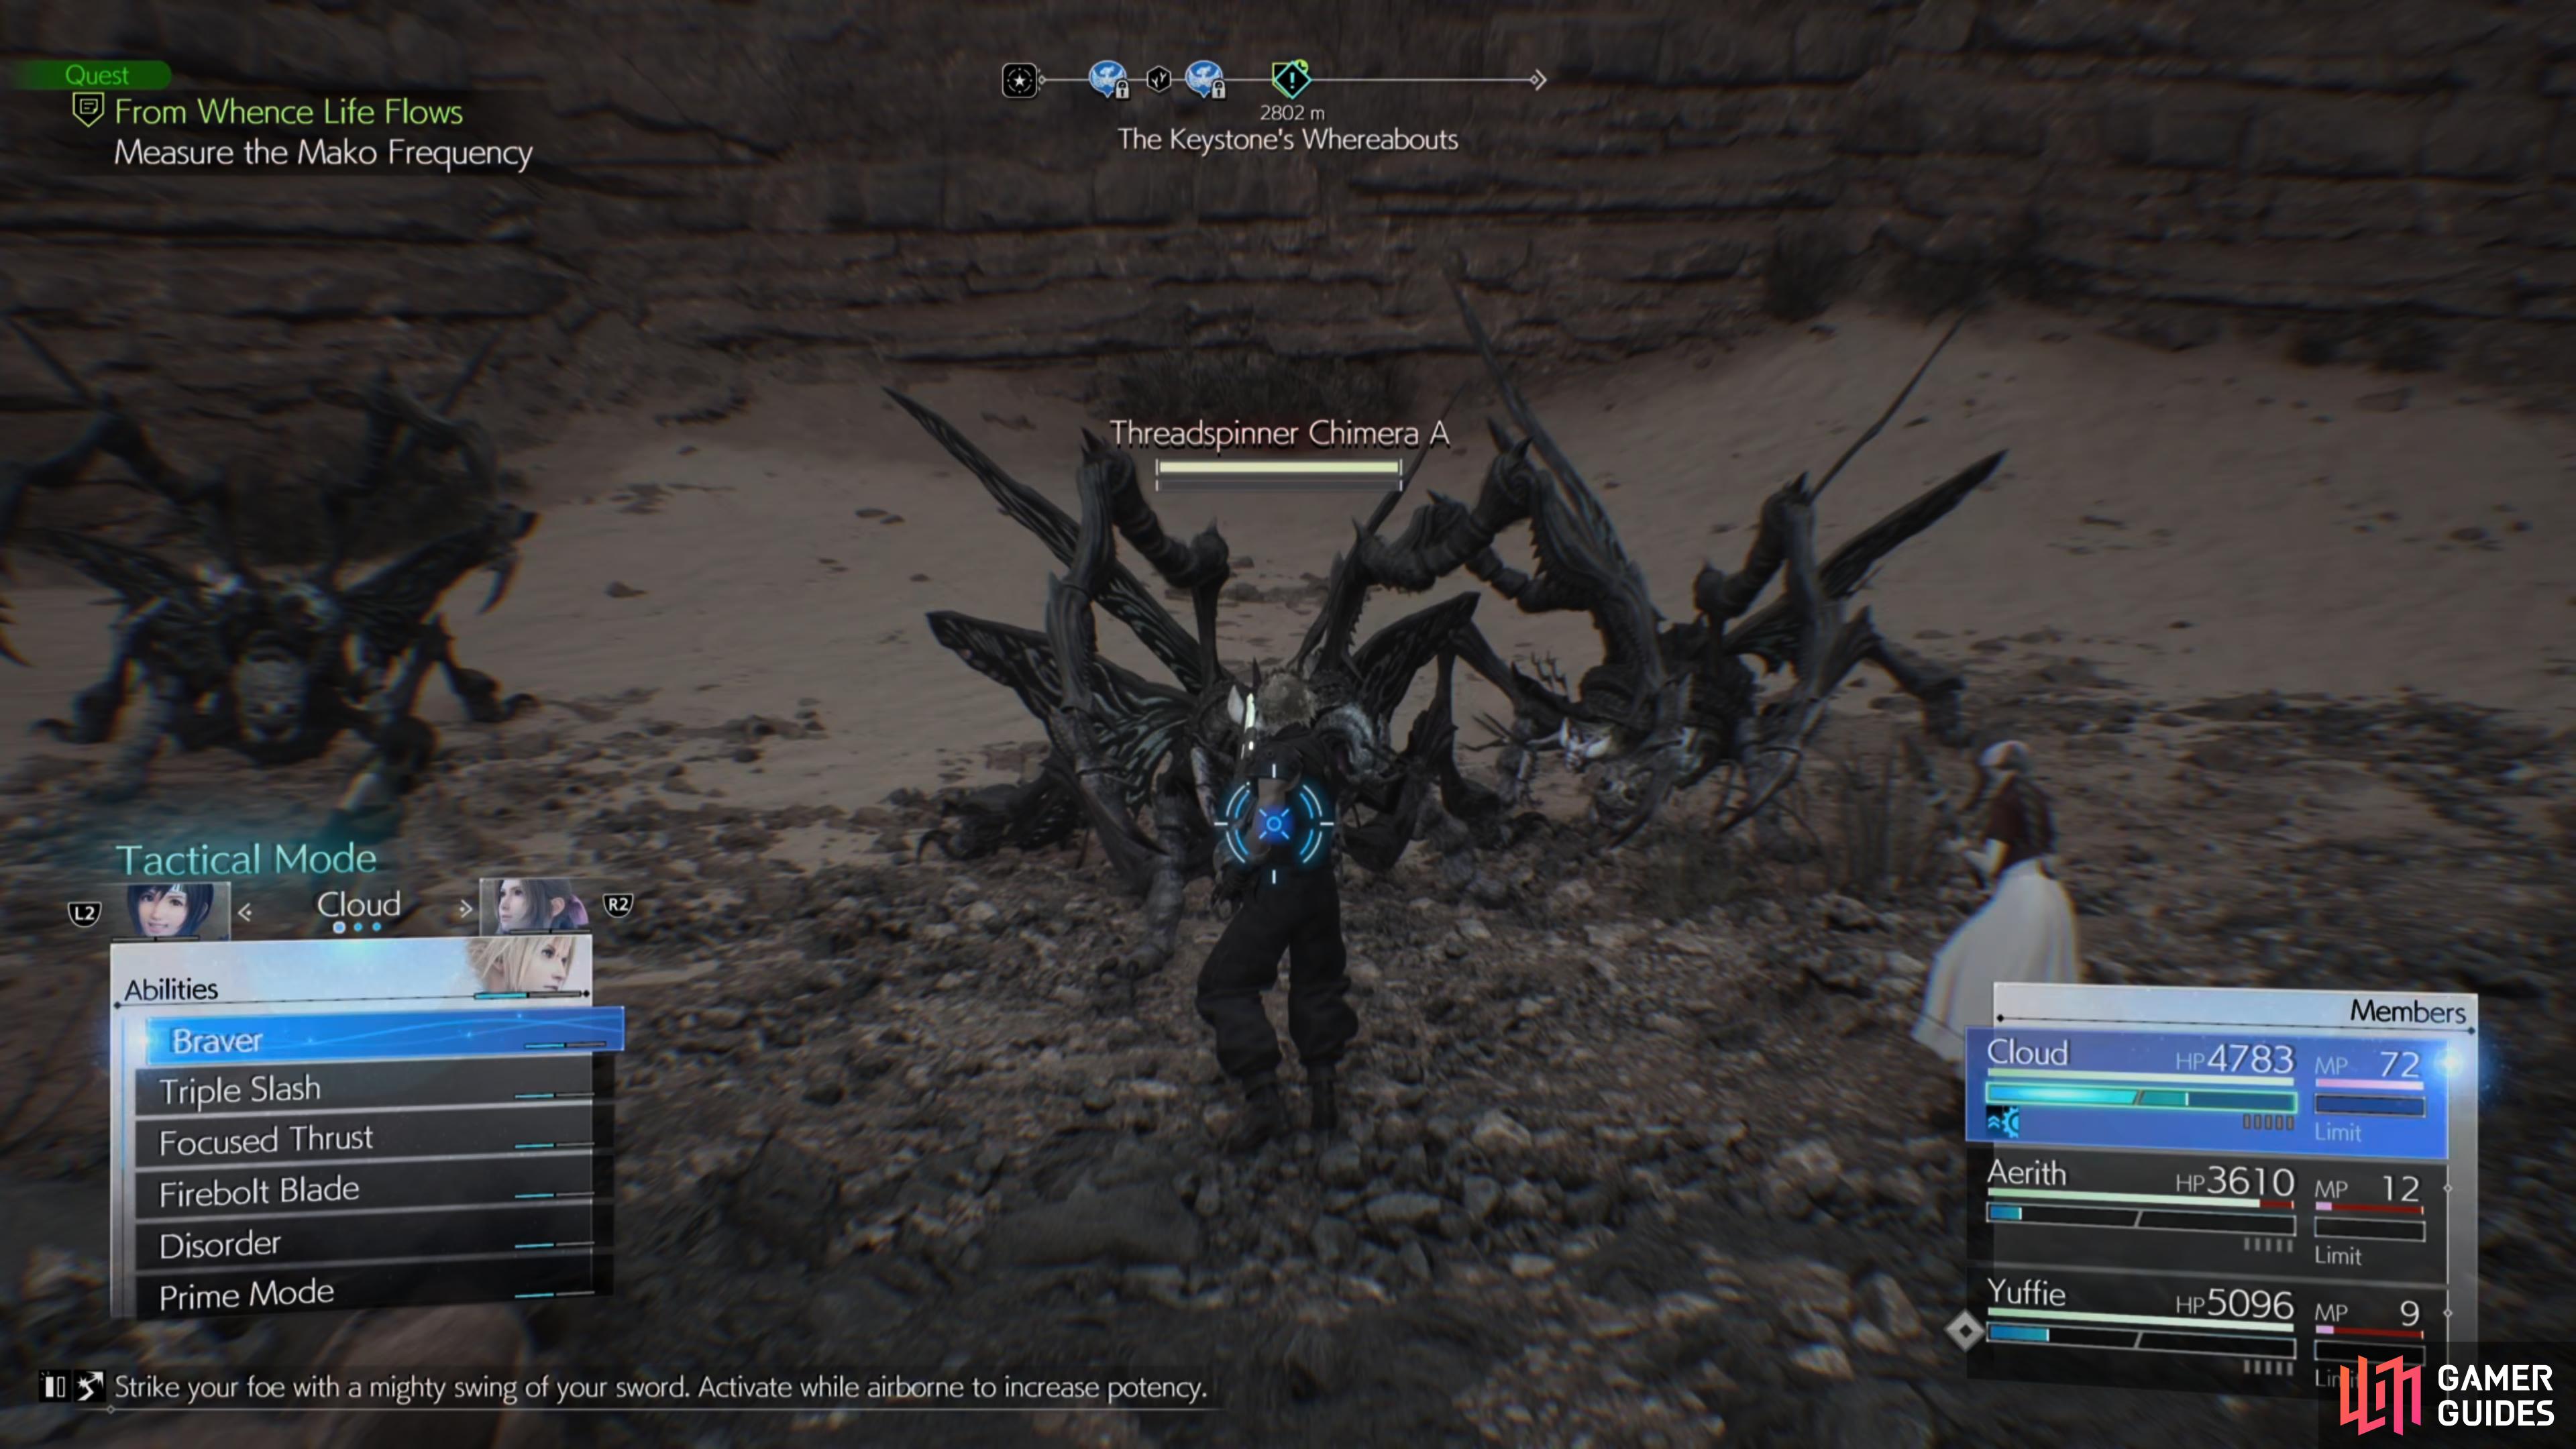
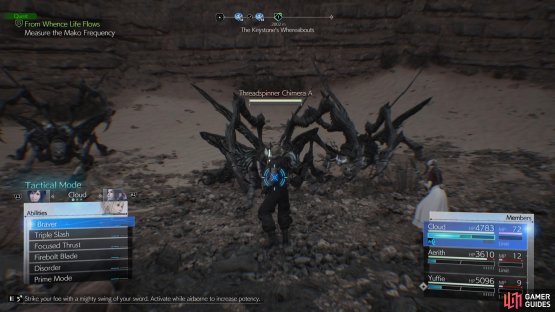
Head to this location on the map (left), and take down the hreadspinner Chimeras (right)
Three Threadspinner ![]() Chimeras will need to be dealt with before you can fully survey the lifespring and you can do this by focusing on one at a time and striking them with ice-based spells from a distance. If you are struggling to generate enough ATB to use Blizzaga, then you can spam the Spellbound Blast Synergy Skill (Aerith + Yuffie) to build it up quickly. Once the enemies have been dealt with, a short scene will play out and the quest will come to a close.
Chimeras will need to be dealt with before you can fully survey the lifespring and you can do this by focusing on one at a time and striking them with ice-based spells from a distance. If you are struggling to generate enough ATB to use Blizzaga, then you can spam the Spellbound Blast Synergy Skill (Aerith + Yuffie) to build it up quickly. Once the enemies have been dealt with, a short scene will play out and the quest will come to a close.
More Final Fantasy VII Rebirth Guides
Rebirth has a large variety of side quests on offer and some of them can be rather tricky, so be sure to check out the links below for tips on how to complete them!
No Comments