
After surviving the perilous ocean crossing from Junon you’ll arrive in Costa del Sol; a new chapter of the game to play and a new region of the world to explore. Unfortunately, the Corel region is a serious departure from the norm when it comes to open world areas, being split into numerous contiguous parts which you’ll explore over four chapters. Suffice it to say, it’ll take a lot of story progress before you have access to enough of the Corel region to Assess the 25 enemies Chadley requires to unlock Biological Intel: At Any Cost. This page will explain in detail the quirks of the ![]() Corel Region, how to access the southern half of the Corel Region, and list all enemy Assess locations in the Corel Region.
Corel Region, how to access the southern half of the Corel Region, and list all enemy Assess locations in the Corel Region.
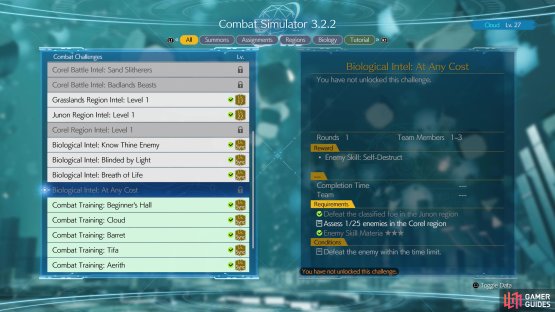

(1 of 2) When you reach the Corel region you’ll unlock Biological Intel: At Any Cost,

When you reach the Corel region you’ll unlock Biological Intel: At Any Cost, (left), but the Corel region is split into a few distinct parts with unique flora and fauna - you won’t be able to Assess 25 enemies until Chapter 9. (right)
Where to Find All 25 Enemies in the Corel Region
The Corel Region is split into several distinct parts, as follows:
| Area | Chapter |
|---|---|
| Costa del Sol | 6 |
| Northern Corel | 7 |
| Mt. Corel (including the Coal Mines) | 7 |
| 7 | |
| 8 | |
| The Dustbowl (aka Corel Prison) | 8 |
| Southern Corel | 9 |
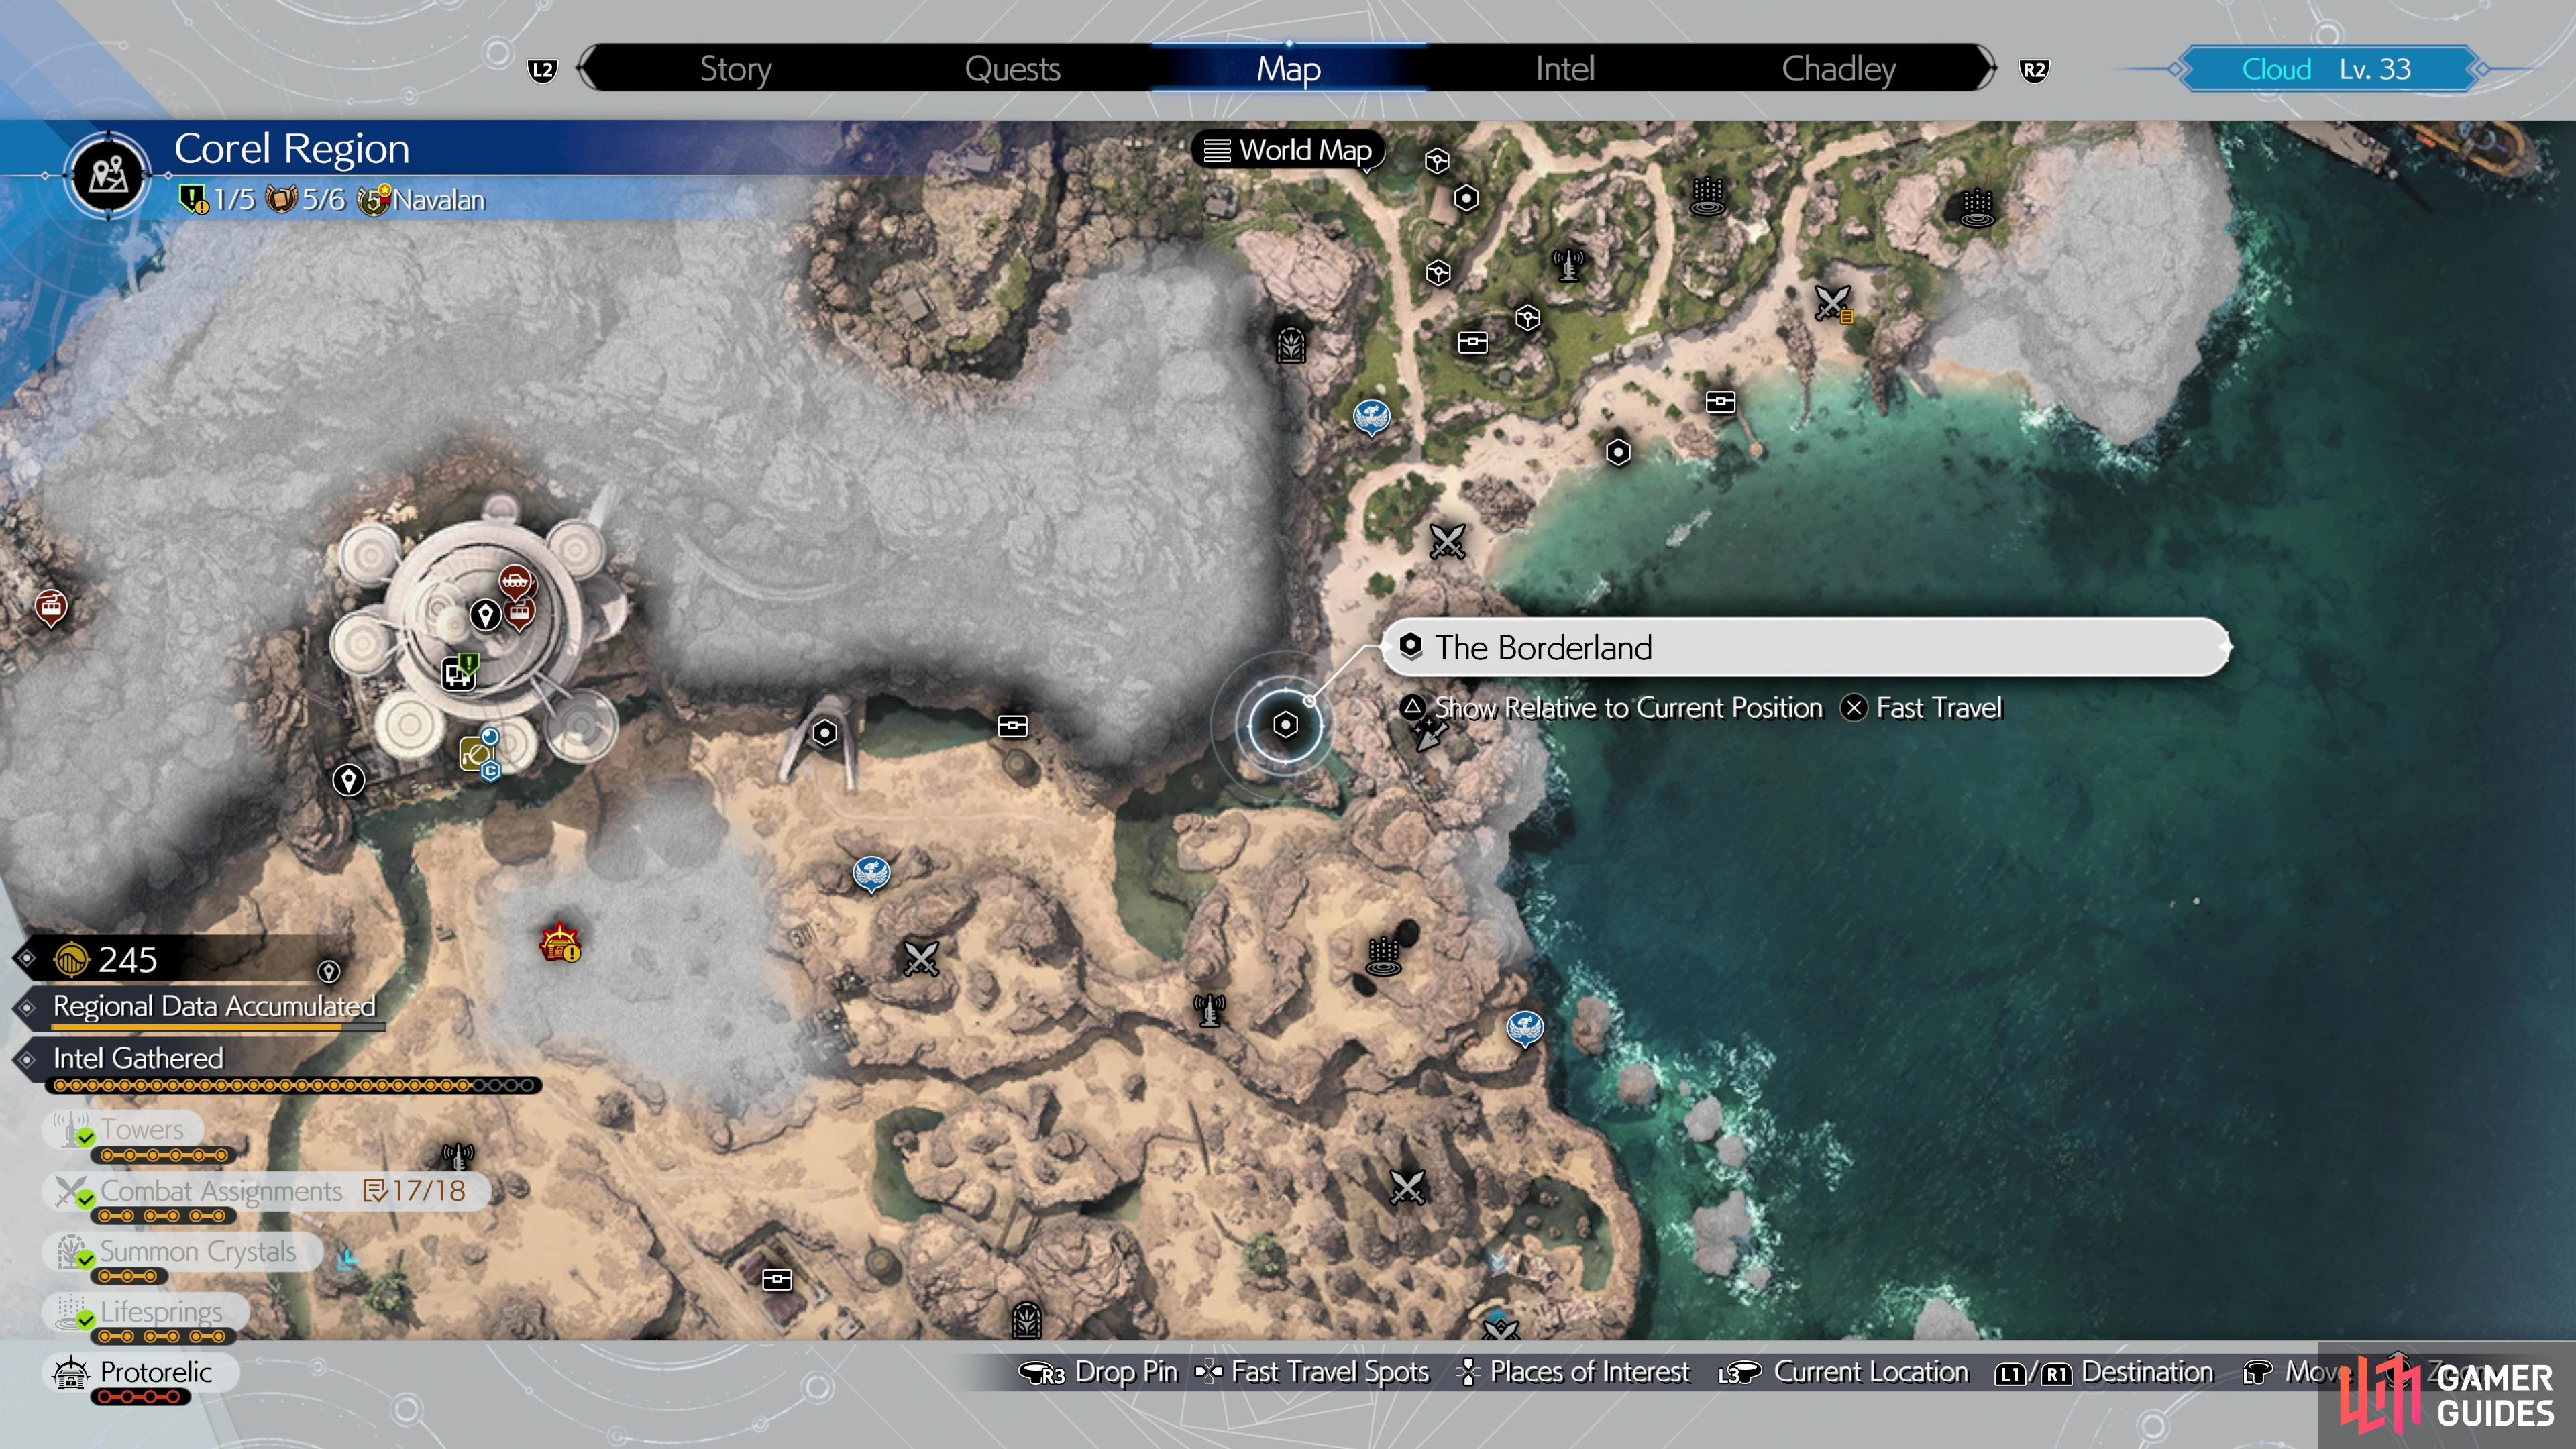
You’ll land in Costa del Sol in Chapter 6 and there’s not much in the way of combat in this chapter. One boss fight to be precise, and it doesn’t count towards the Corel region’s total. Complete Chapter 6 and you’ll start Chapter 7, where you’ll be free to explore the environs around Costa del Sol and finally start making progress on Assessing the enemies in this region. Northern Corel - the tropical regions running southwest from Costa del Sol, are visually distinct from the rest of the Corel region and have their own unique fauna. That said, this only accounts for a portion of the enemies in the Corel region, and since you can’t get across the waters that connect Northern Corel and Southern Corel (marked on the map as “The Borderland”), you’ve no choice but to advance the story and pass through Mt. Corel.
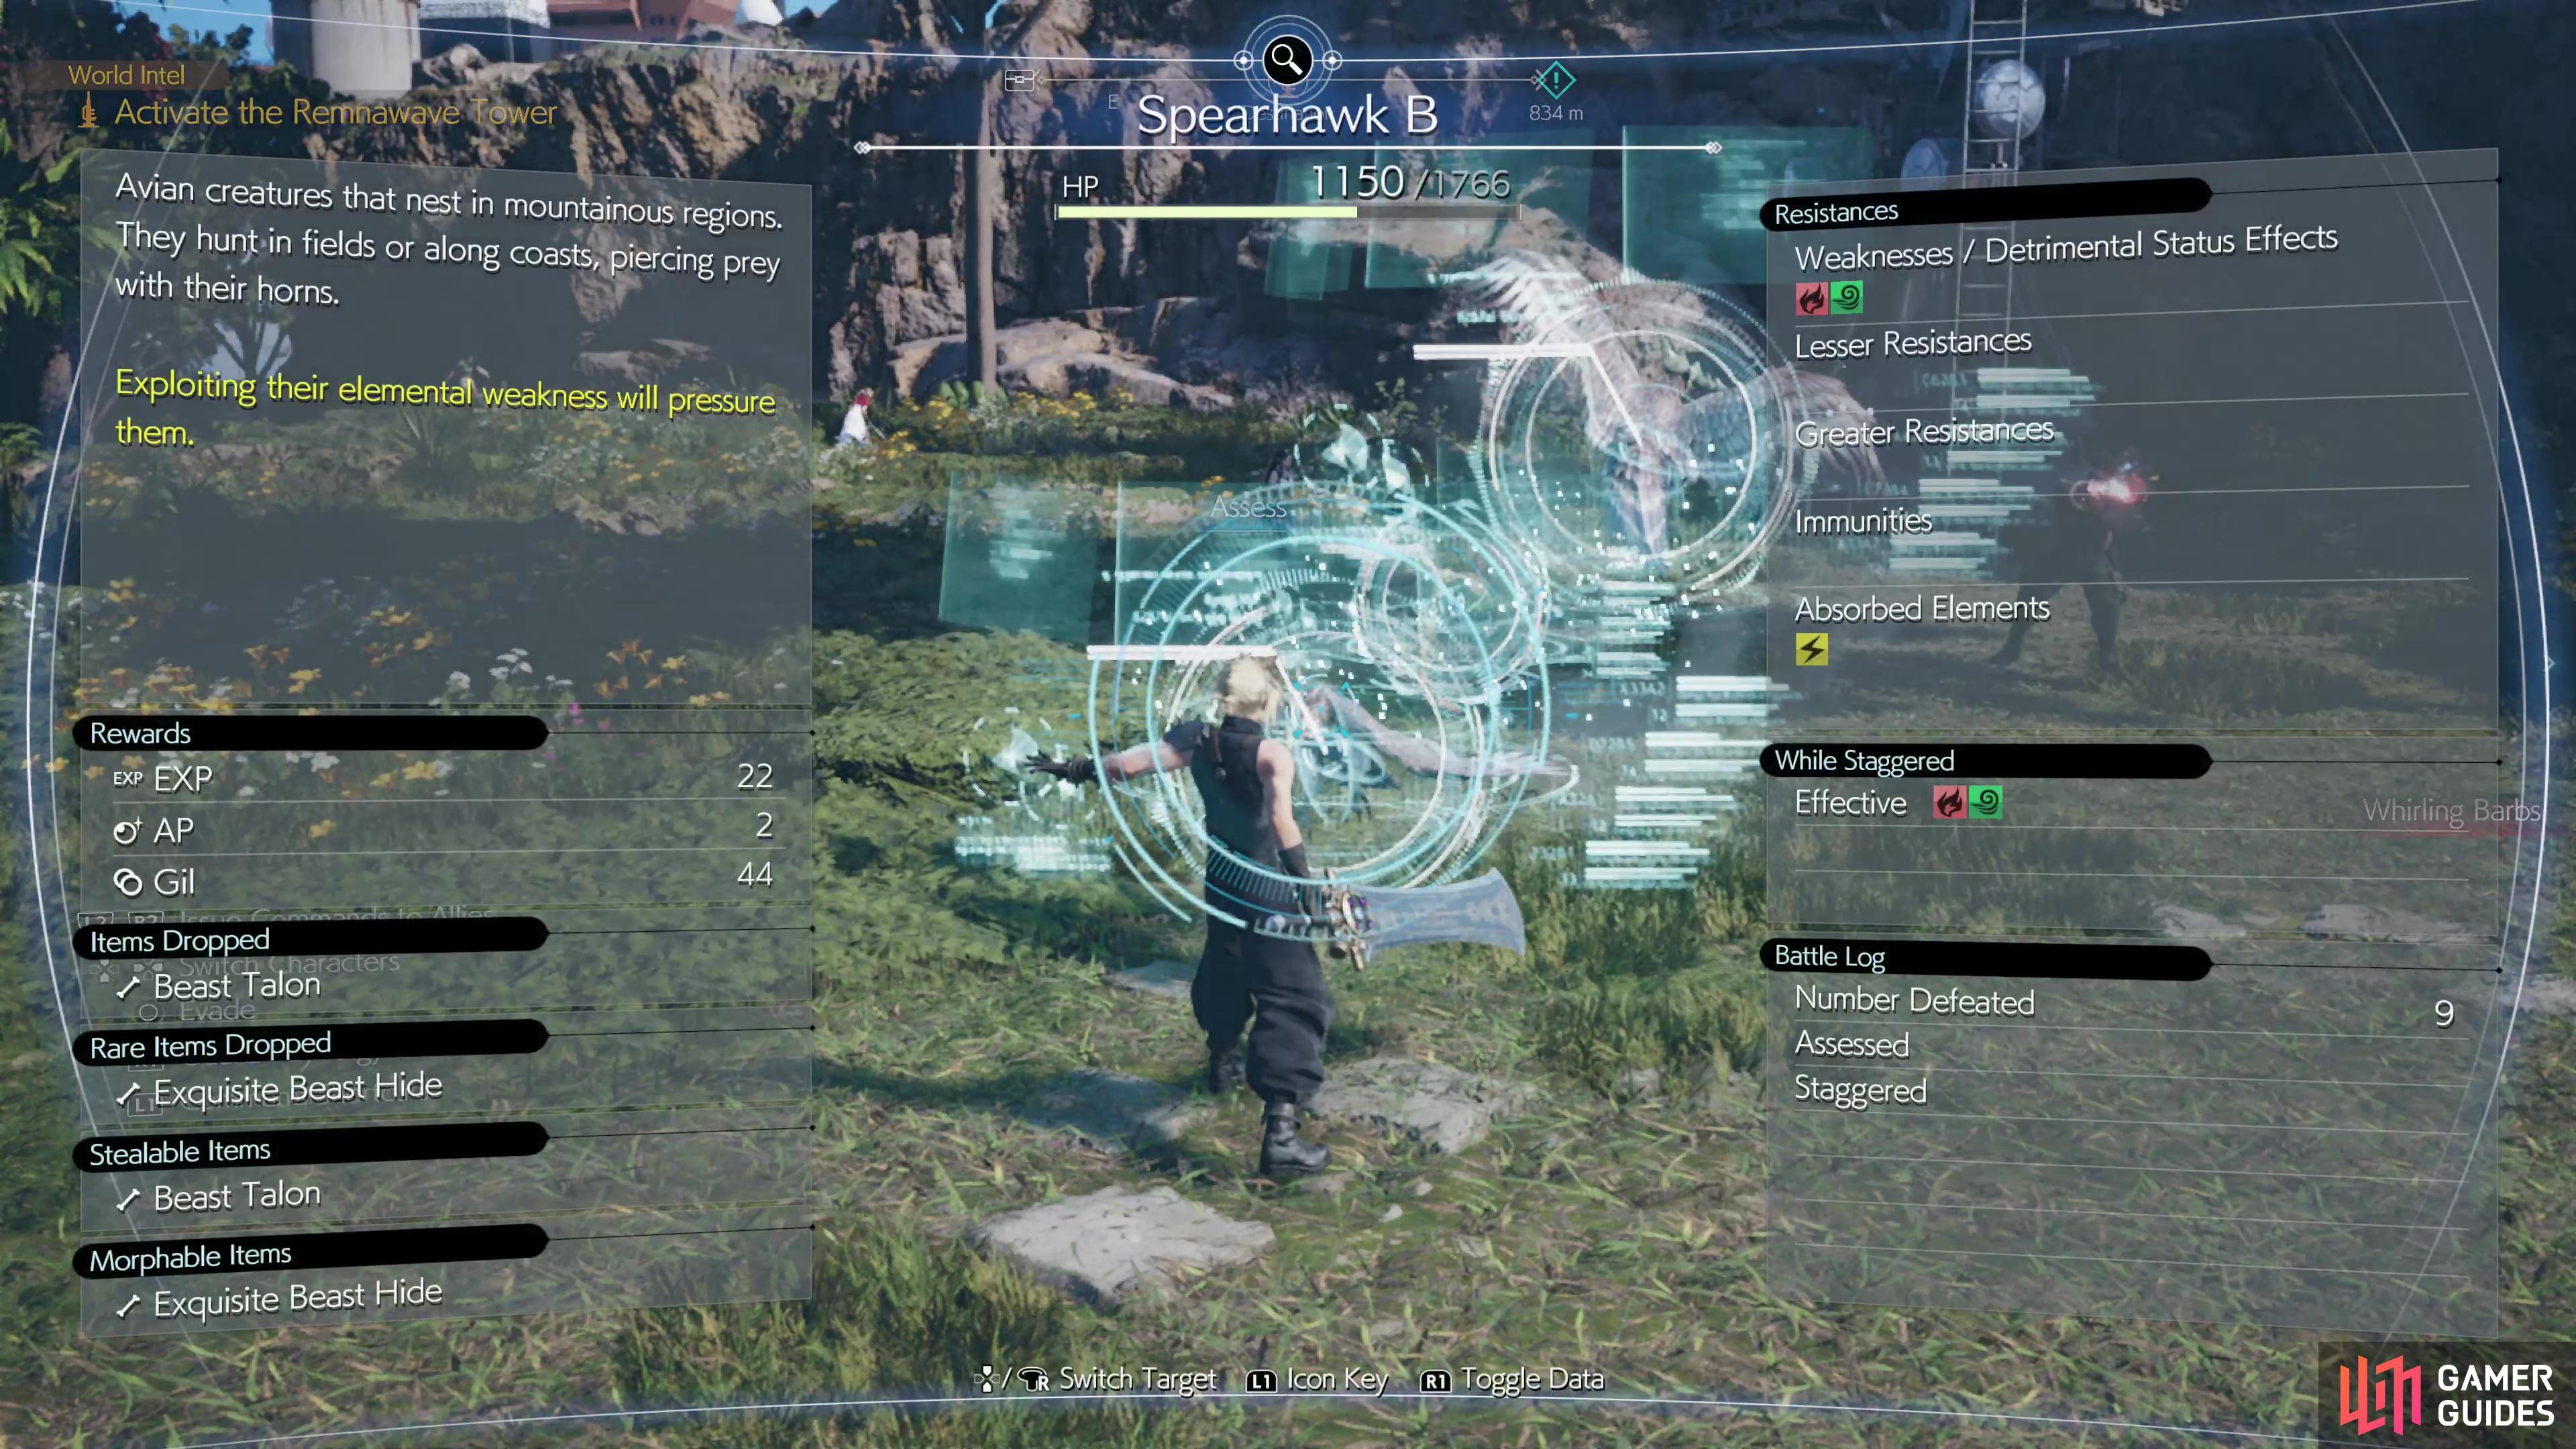
You’ll be able to explore Northern Corel, where you can scan the first few normal enemies and a few rare variants.
Northern Corel Enemy Assess List
| Number | Enemy | Note |
|---|---|---|
| 47 | Side Quest | |
| 40 | – | |
| 106 | – | |
| 44 | Fiend Intel | |
| 109 | Fiend Intel | |
| 43 | – | |
| 105 | Fiend Intel | |
| 104 | – | |
| 108 | – |
Mt. Corel itself is split into three distinct parts - the exterior mountain ascent on the Costa del Sol side, the Coal Mines, then the train tracks running to ![]() North Corel. You’ll be forced to play as different characters during these parts, so while their Enemy Intel entries are differentiated, they certainly will feel distinct as you play through these areas.
North Corel. You’ll be forced to play as different characters during these parts, so while their Enemy Intel entries are differentiated, they certainly will feel distinct as you play through these areas.
There’s a good bit of overlap between the Mt. Corel ascent enemies and the Coal Mines enemies (![]() Bloatfloat and
Bloatfloat and ![]() Sandhog Pie appear in both areas), but the
Sandhog Pie appear in both areas), but the ![]() Bomb and
Bomb and ![]() Bagnadrana enemies are both somewhat rare, so do yourself a favor and make sure to scan them, lest you have to hunt them down later. The boss of the mountain ascent area doesn’t count towards your Corel Region totals, but the boss at the end of the Coal Mines,
Bagnadrana enemies are both somewhat rare, so do yourself a favor and make sure to scan them, lest you have to hunt them down later. The boss of the mountain ascent area doesn’t count towards your Corel Region totals, but the boss at the end of the Coal Mines, ![]() Gigatrice, does. The tracks leading to North Corel don’t have any new enemies on them.
Gigatrice, does. The tracks leading to North Corel don’t have any new enemies on them.

In the Coal Mines you can find a Bomb, a fairly rare “normal” enemy that you should try to scan.
Mt Corel and Coal Mines Enemy Assess List
| Number | Enemy | Note |
|---|---|---|
| 114 | – | |
| 57 | – | |
| 42 | – | |
| 116 | – | |
| 212 | Boss | |
| 111 | – | |
| 45 | – |
If you thought the previous areas were messy, none of that compares to the silliness of Southern Corel. North Corel (the city you’ll reach crossing Mt. Corel) is technically the first part of the Southern Corel area. You can exit out into the desert beyond via a gate, but you can’t explore it yet, due to, of course, branch-filled waters that impeded your progress back in Northern Corel. That being the case you’ll have to enter the ![]() Gold Saucer and advance the story if you want to get at any new enemies. You can scan some foes in the Battle Square if you’re a masochist, but there’s not much in the way of new enemies in either of these two places.
Gold Saucer and advance the story if you want to get at any new enemies. You can scan some foes in the Battle Square if you’re a masochist, but there’s not much in the way of new enemies in either of these two places.
Once you’re unceremoniously tossed into The Dustbowl you’ll finally have a chance to score some new Enemy Intel entries, although you’ll be stuck playing as Cloud, so this is another odd segment. Try to get all the greens for Piko, but especially be sure to talk to the bartender at the Bail Jumper bar to get the ![]() Cliffside Key, which will allow you to reach a series of fiends, including the otherwise terminally rare Deathclaw. The enemies you’ll fight in the Beast Battleground, on the other hand, either do not count as being part of the Corel Region (
Cliffside Key, which will allow you to reach a series of fiends, including the otherwise terminally rare Deathclaw. The enemies you’ll fight in the Beast Battleground, on the other hand, either do not count as being part of the Corel Region (![]() Test 0) or are from other regions… save for the Bagnadrana you can fight here.
Test 0) or are from other regions… save for the Bagnadrana you can fight here.
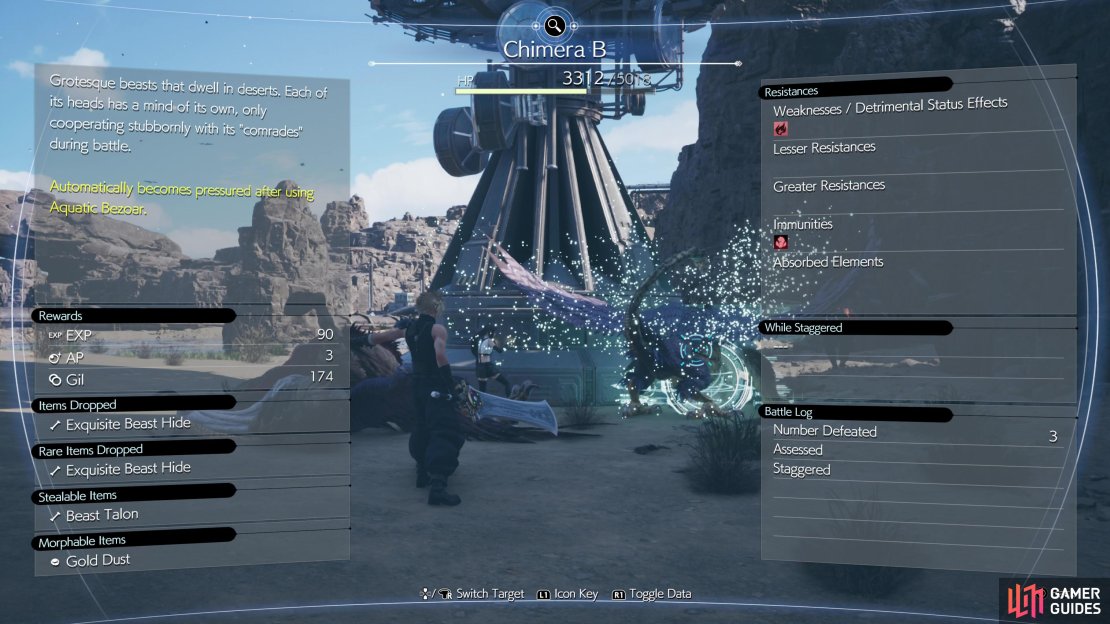
The Dustbowl is otherwise not terribly lucrative for Assess fodder, but after a few minigames you’ll be out in the desert that constitutes most of Southern Corel, where more Enemy Intel lurks in the form of ![]() Chimeras,
Chimeras, ![]() Cyclone Drakes and
Cyclone Drakes and ![]() Sandspitters. You’ve only got access to a limited part of this area, and none of these scans are missable (although the upcoming bosses do not count as Corel Region enemies), so there’s no reason not to just continue the story. Once you complete the chapter, you’ll finally be able to explore the entirety of Southern Corel, where around half of the enemies you need to Assess can be found.
Sandspitters. You’ve only got access to a limited part of this area, and none of these scans are missable (although the upcoming bosses do not count as Corel Region enemies), so there’s no reason not to just continue the story. Once you complete the chapter, you’ll finally be able to explore the entirety of Southern Corel, where around half of the enemies you need to Assess can be found.
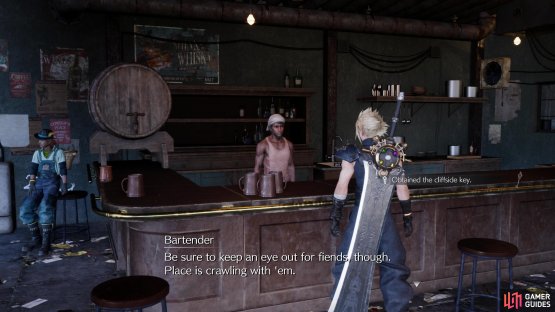
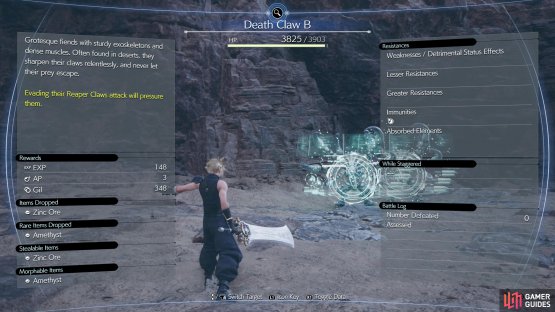
(1 of 2) After the events in the Gold Saucer you’ll find yourself in The Dustbowl. Talk to the bartender at the Bail Jumper bar to get the Cliffside Key,


After the events in the Gold Saucer you’ll find yourself in The Dustbowl. Talk to the bartender at the Bail Jumper bar to get the Cliffside Key, (left), which will allow you to fight and Assess the Deathclaw enemy, among others. (right)
Southern Corel Enemy Assess List
| Number | Enemy | Note |
|---|---|---|
| 124 | Fiend Intel | |
| 174 | – | |
| 172 | – | |
| 125 | – | |
| 38 | – | |
| 117 | – | |
| 121 | Fiend Intel | |
| 120 | – | |
| 123 | – | |
| 126 | Fiend Intel | |
| 50 | Confidential Intel | |
| 52 | Confidential Intel |

(1 of 4) Reach Chapter 9 and you’ll be able to freely explore Southern Corel, where many of the enemies you can Assess dwell.
Rare and Missable Enemy Assess in the Corel Region
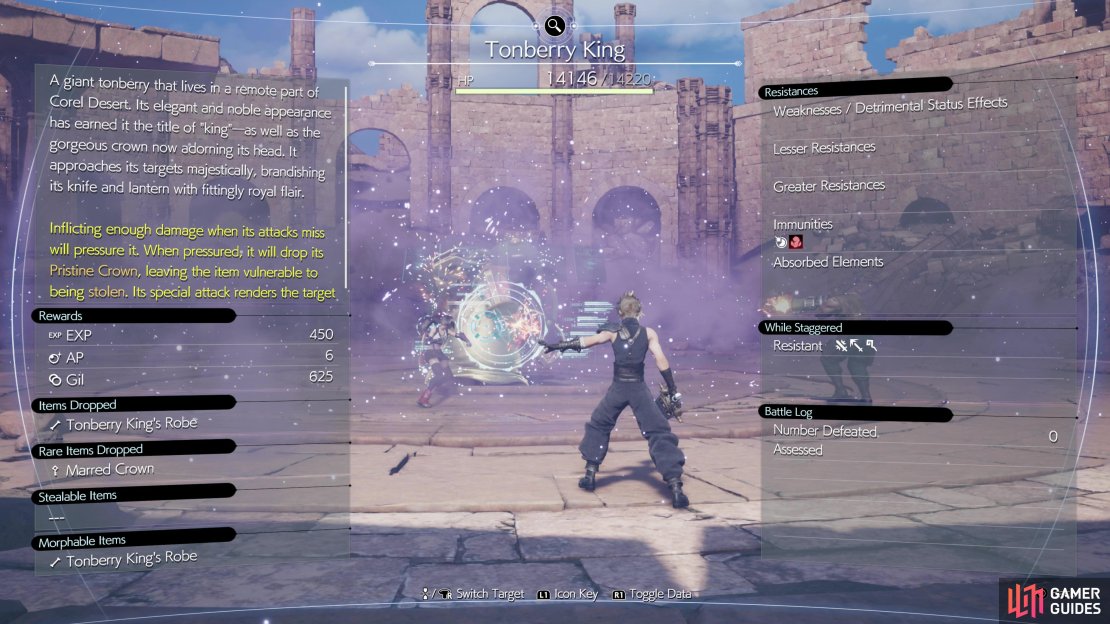
The normal enemies in the Corel Region account for around 18 scans you can make, while the rare variants you can find at various Fiend Intel sites account for another five. These are, of course, repeatable, so there are at least 23 enemies that shouldn’t pose any problem for you to find. The Bomb and Deathclaw are both quite rare, but if you get them you’ll be at 25. Failing that, ![]() Tonberry and
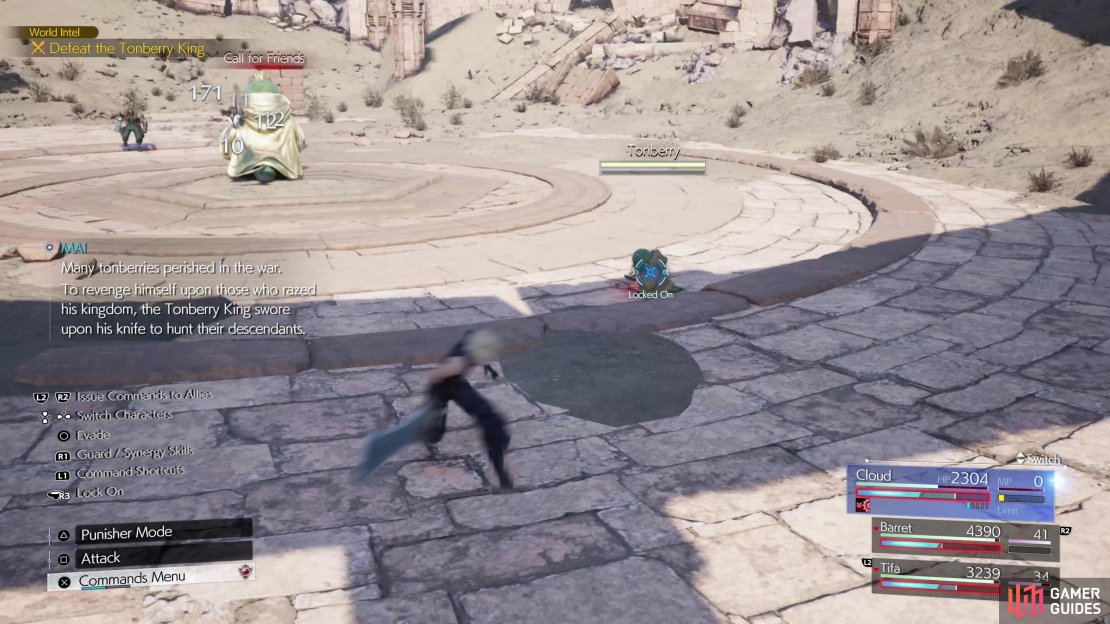
Tonberry and ![]() Tonberry King will get you two more scans if you complete the Confidential Intel in the Southern Corel region. This is also repeatable and hence unmissable, but you’ll need to complete Expedition Intel events to unlock it. Gigatrice and some quest enemies like the
Tonberry King will get you two more scans if you complete the Confidential Intel in the Southern Corel region. This is also repeatable and hence unmissable, but you’ll need to complete Expedition Intel events to unlock it. Gigatrice and some quest enemies like the ![]() Barnaclaw may be missable, but you shouldn’t technically need them to hit the magic number of 25 enemies Assessed.
Barnaclaw may be missable, but you shouldn’t technically need them to hit the magic number of 25 enemies Assessed.
Again, keep ![]() Assess Materia equipped (or use
Assess Materia equipped (or use ![]() Assess Materia Earrings) and be sure to swap it out as your party composition changes. This is a long stretch of game spanning many hours and you’ll need to be diligent if you want to avoid missing anything and creating more busywork for yourself, later. You won’t be able to complete these scans until Chapter 9.
Assess Materia Earrings) and be sure to swap it out as your party composition changes. This is a long stretch of game spanning many hours and you’ll need to be diligent if you want to avoid missing anything and creating more busywork for yourself, later. You won’t be able to complete these scans until Chapter 9.
No Comments