
Lament of the Damned is a side quest that takes place in chapter 12 of Final Fantasy VII Rebirth. It’ll require you to hunt down a suspicious sound in the Shinra Manor which then results in you having to participate in a series of challenges. On this page, we’ll navigate you through the necessary steps to completing all preliminary trials and defeating Dranabarga.

The Lament of the Damned will become available in chapter 12.
Tell me you’ve heard it too. The woman in the manor, weeping, or wailing or… I don’t know. I don’t want to know, really-can’t bring myself to even go into the manor these days. But someone needs to get to the bottom of this…or i’ll never be able to sleep again.
How to Start the Lament of the Damned Side Quest - FFVII Rebirth
The Lament of the Damned Side Quest can be unlocked via the noticeboard, which is located in ![]() Nibelheim at the start of Chapter 12. However, you’ll need to complete various Combat Simulator Challenges within Shinra Manor, so we recommend that you’re at least level 44 before tackling this. If you’re underleveled, then spend some time completing the World Intel Activities around the various regions and make sure you’ve got the best weapons equipped for your party.
Nibelheim at the start of Chapter 12. However, you’ll need to complete various Combat Simulator Challenges within Shinra Manor, so we recommend that you’re at least level 44 before tackling this. If you’re underleveled, then spend some time completing the World Intel Activities around the various regions and make sure you’ve got the best weapons equipped for your party.
| Character | Weapons |
|---|---|
| Cloud | Igneous Saber |
| Aerith | |
| Yuffie | Crystalline Cross |
| Barret | |
| Tifa | Crystal Gloves |
| Mystic Collar |
Investigate the Lower Levels
Once you’ve accepted the Lament of the Damned Side Quest, enter the Town Hall and speak with the supervisor, then fast travel over to Shira Manor and take the elevator down to the Mako Research Facility - Sub Basement. Follow Vincent and use the next lift up ahead to proceed deeper into the basement and then take a stroll through the tunnel until you reach the Combat Simulator. Interact with it and you’ll need to complete a series of challenges, such as the Preliminary Trial, Aerial Specimens, Ruthless Specimens, Comparable Specimens, and Bioselected Specimens before you can continue the side quest.
Preliminary Trial: Aeriel Specimens
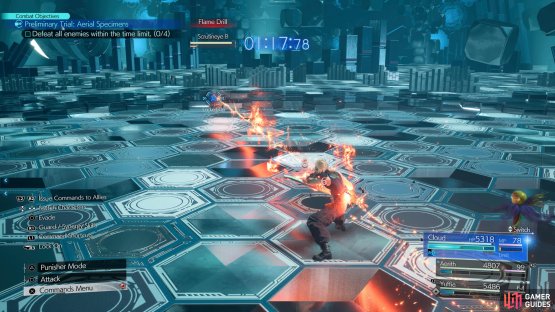
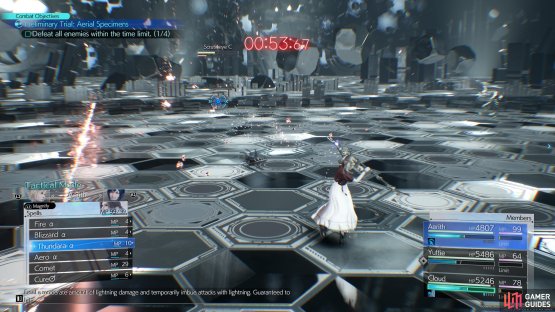
(1 of 2) Wait for the Scrutineye to perform an attack
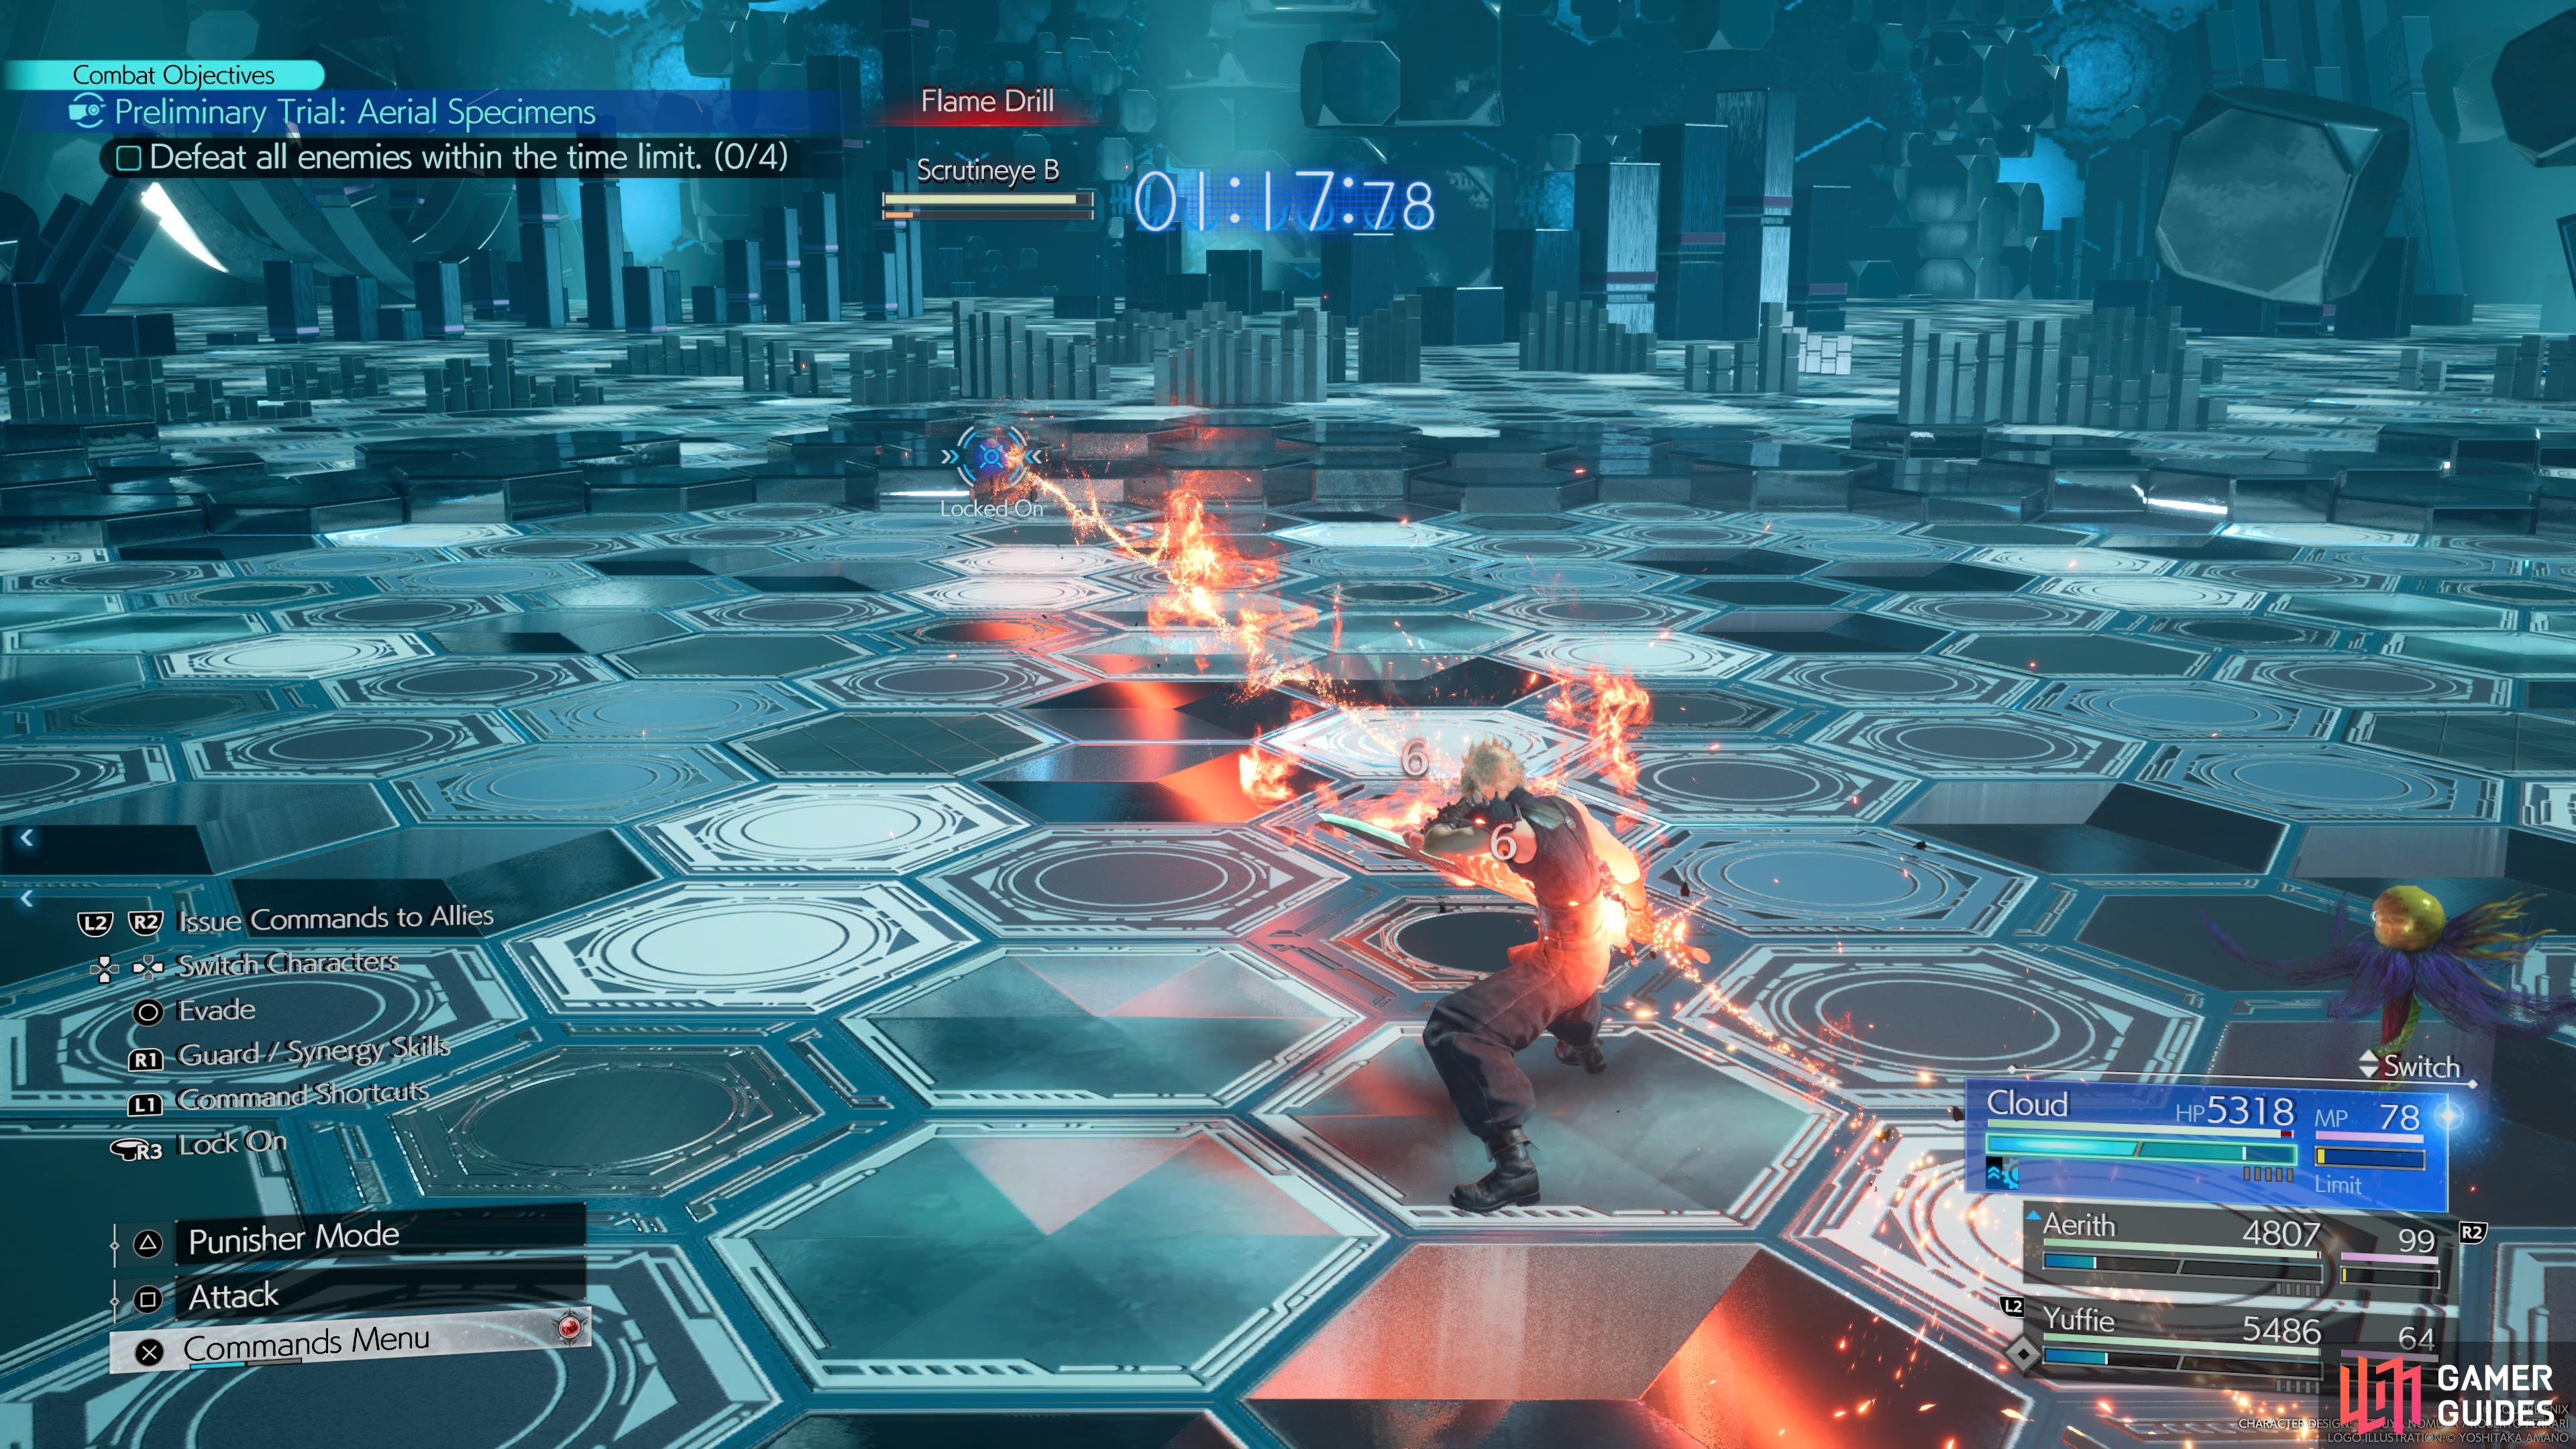

Wait for the Scrutineye to perform an attack (left), and then you can damage them. (right)
The Preliminary Trial: Aeriel Specimens will consist of only one round and you’ll be fighting four ![]() Scrutineyes, so it doesn’t really matter who you bring along. These shouldn’t cause you too much of a problem as they don’t have much HP (Health), but you can only attack them while they charge up an attack themselves, so wait until you see them use Fira, Blizzara, or Flame Drill. Scrutineye is weak to
Scrutineyes, so it doesn’t really matter who you bring along. These shouldn’t cause you too much of a problem as they don’t have much HP (Health), but you can only attack them while they charge up an attack themselves, so wait until you see them use Fira, Blizzara, or Flame Drill. Scrutineye is weak to ![]() Lightning, so you can damage them easily by using Thundaga against them.
Lightning, so you can damage them easily by using Thundaga against them.
Preliminary Trial: Ruthless Specimens

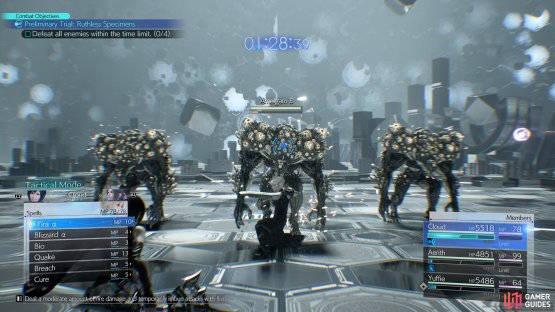
(1 of 2) If you pressure the Adjudicator with magic based attacks then you’ll need to switch to physical.
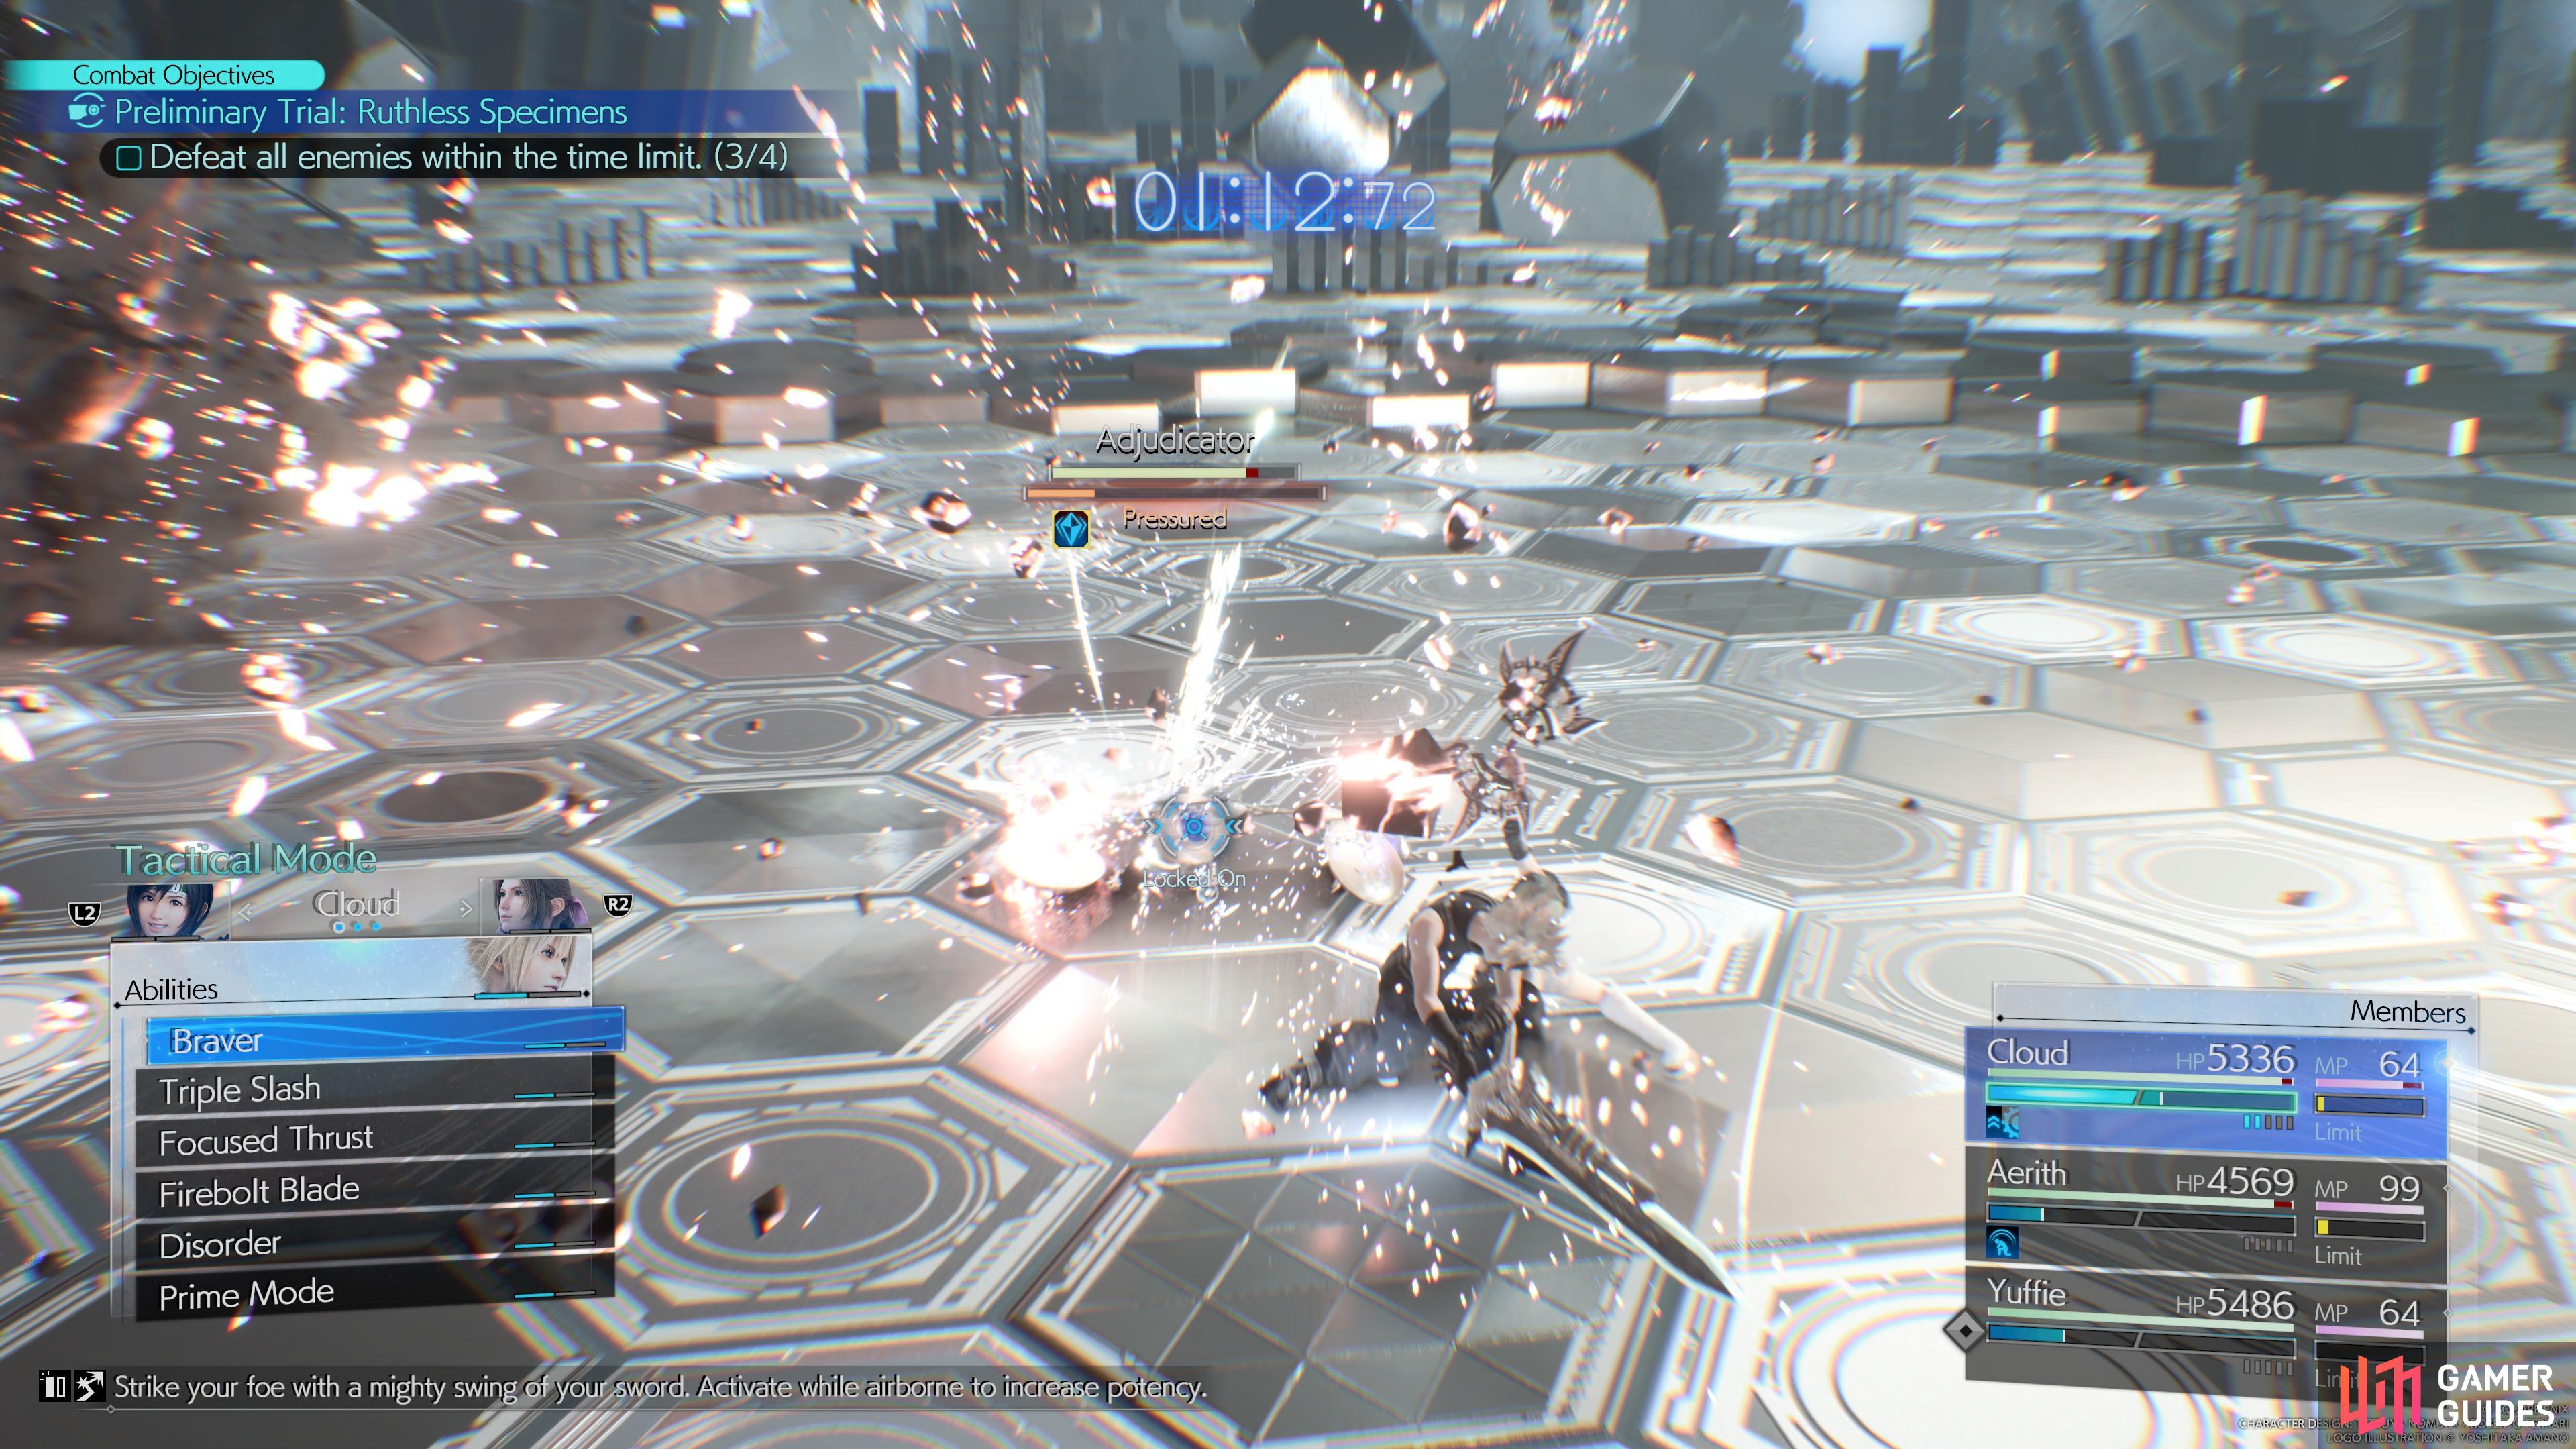

If you pressure the Adjudicator with magic based attacks then you’ll need to switch to physical. (left), Make sure the Amalgam are on fire when they die. (right)
The Preliminary Trial: Ruthless Specimens will step up the difficulty slightly as you’ll be fighting two ![]() Amalgam and an Adjudicator. Amalgams can revive themselves multiple times unless they die while burning, so you’ll want to strike with fire-based attacks, such as
Amalgam and an Adjudicator. Amalgams can revive themselves multiple times unless they die while burning, so you’ll want to strike with fire-based attacks, such as ![]() Firebolt Blade or Firaga. Adjudicators can become immune to physical or magical based attacks when they’re pressured, so if you pressure it via magic attacks then you’ll need to use physical attacks to stagger it and vice versa.
Firebolt Blade or Firaga. Adjudicators can become immune to physical or magical based attacks when they’re pressured, so if you pressure it via magic attacks then you’ll need to use physical attacks to stagger it and vice versa.
We recommend that you pressure the Adjudicator with Lightning Based Spells and then switch over to Cloud and use ![]() Focused Thrust to stagger it. At this stage, use any strong weapon abilities to finish it off, such as
Focused Thrust to stagger it. At this stage, use any strong weapon abilities to finish it off, such as ![]() Infinity’s End.
Infinity’s End.
Preliminary Trial: Comparable Specimens
The Preliminary Trial: Comparable Specimens becomes a bit more challenging as you’ll be facing two Necrotic Entities and a Yin & Yang while also needing to stagger your opponent three times before killing them. We recommend that you ignore Yin & Yang until you’ve completed the sub-objective and you can do this by waiting for the ![]() Necrotic Entity to use Onslaught and then quickly evade to pressure it. Alternatively, you can attack it when it’s using the Subastral
Necrotic Entity to use Onslaught and then quickly evade to pressure it. Alternatively, you can attack it when it’s using the Subastral ![]() Fury attack.
Fury attack.


(1 of 2) Dodge the Onslaught Attack to pressure the enemy

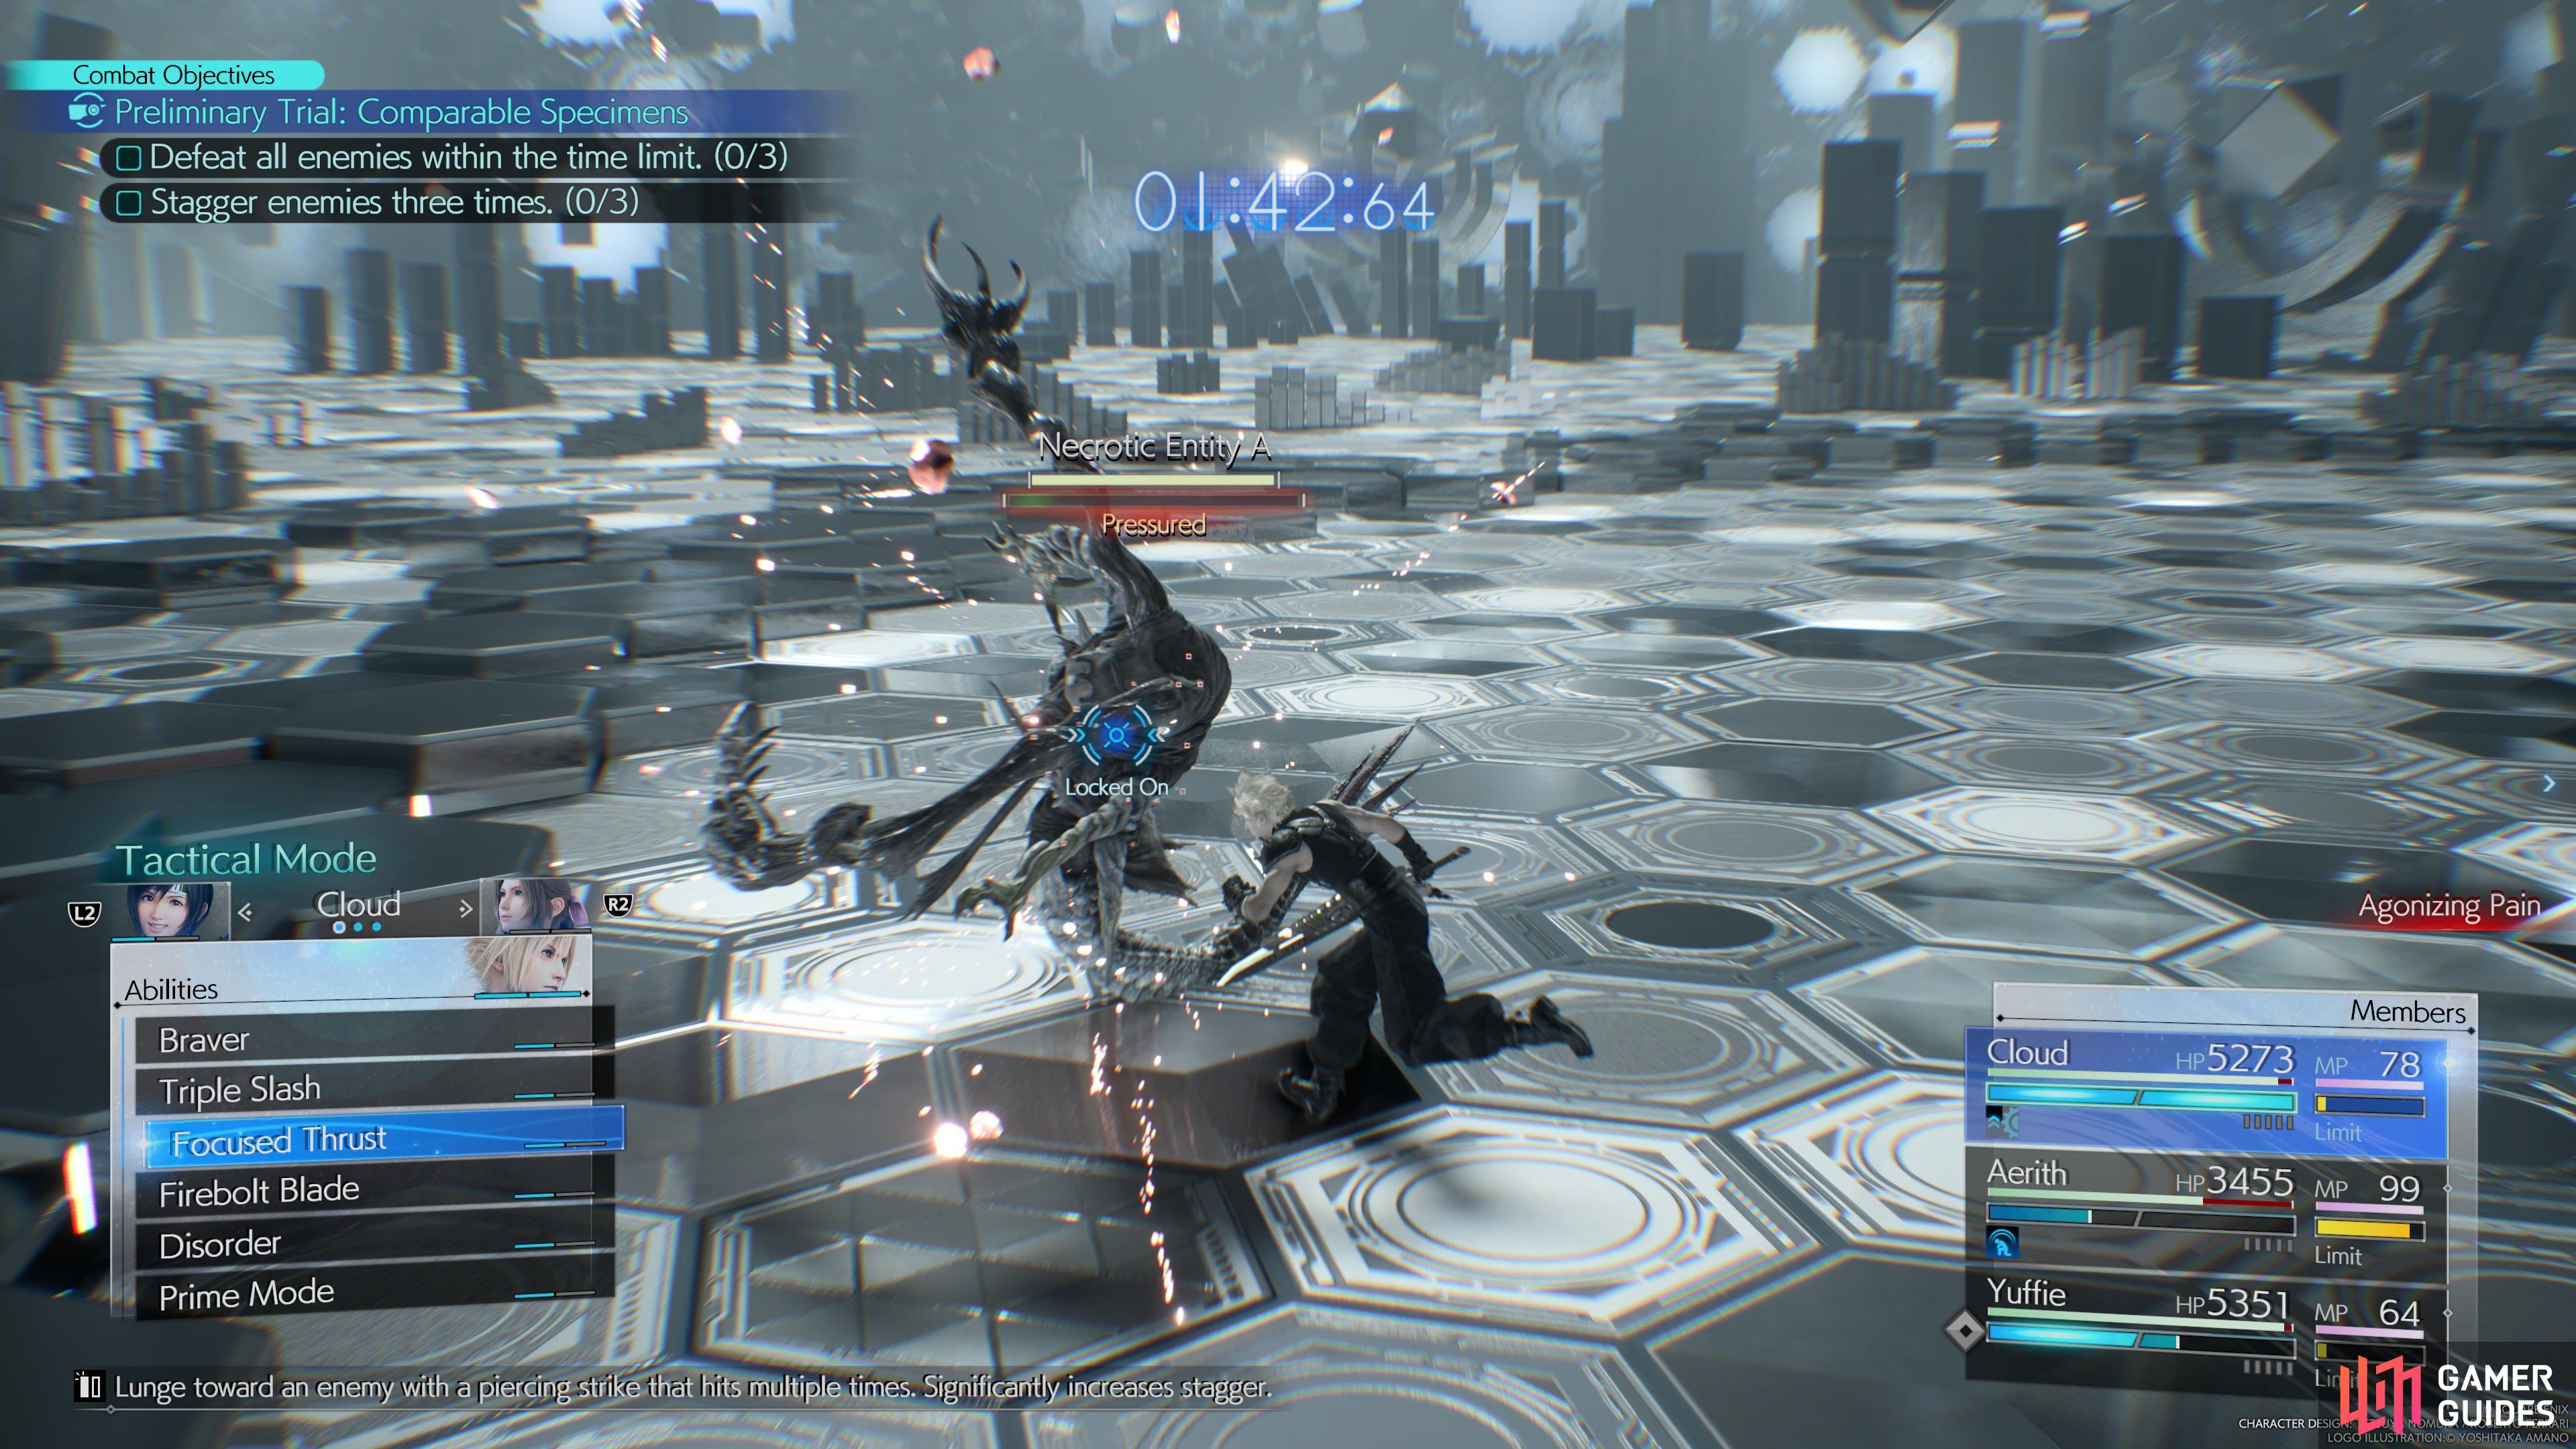
Dodge the Onslaught Attack to pressure the enemy (left), and then use focused thrust to stagger them. (right)
However you decide to pressure this enemy, follow it up with any of the focused attacks to stagger it. With the sub-objective completed, you’ll need to shift your focus and take down Yin & Yang. The best way to take down this fiend quickly is by spamming high-level fire spells, such as Firaga while playing as Aerith. Throughout the battle, the head that controls the body will change and the attacks it can use will be different as a result, this means you’ll need to be on high alert to ensure you can dodge them.
Preliminary Trial: Bioselected Specimens
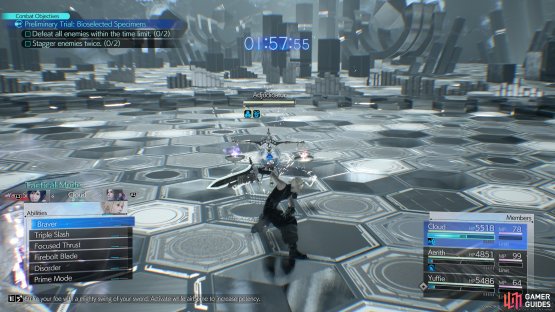

(1 of 2) Use physical attacks to pressure the enemy
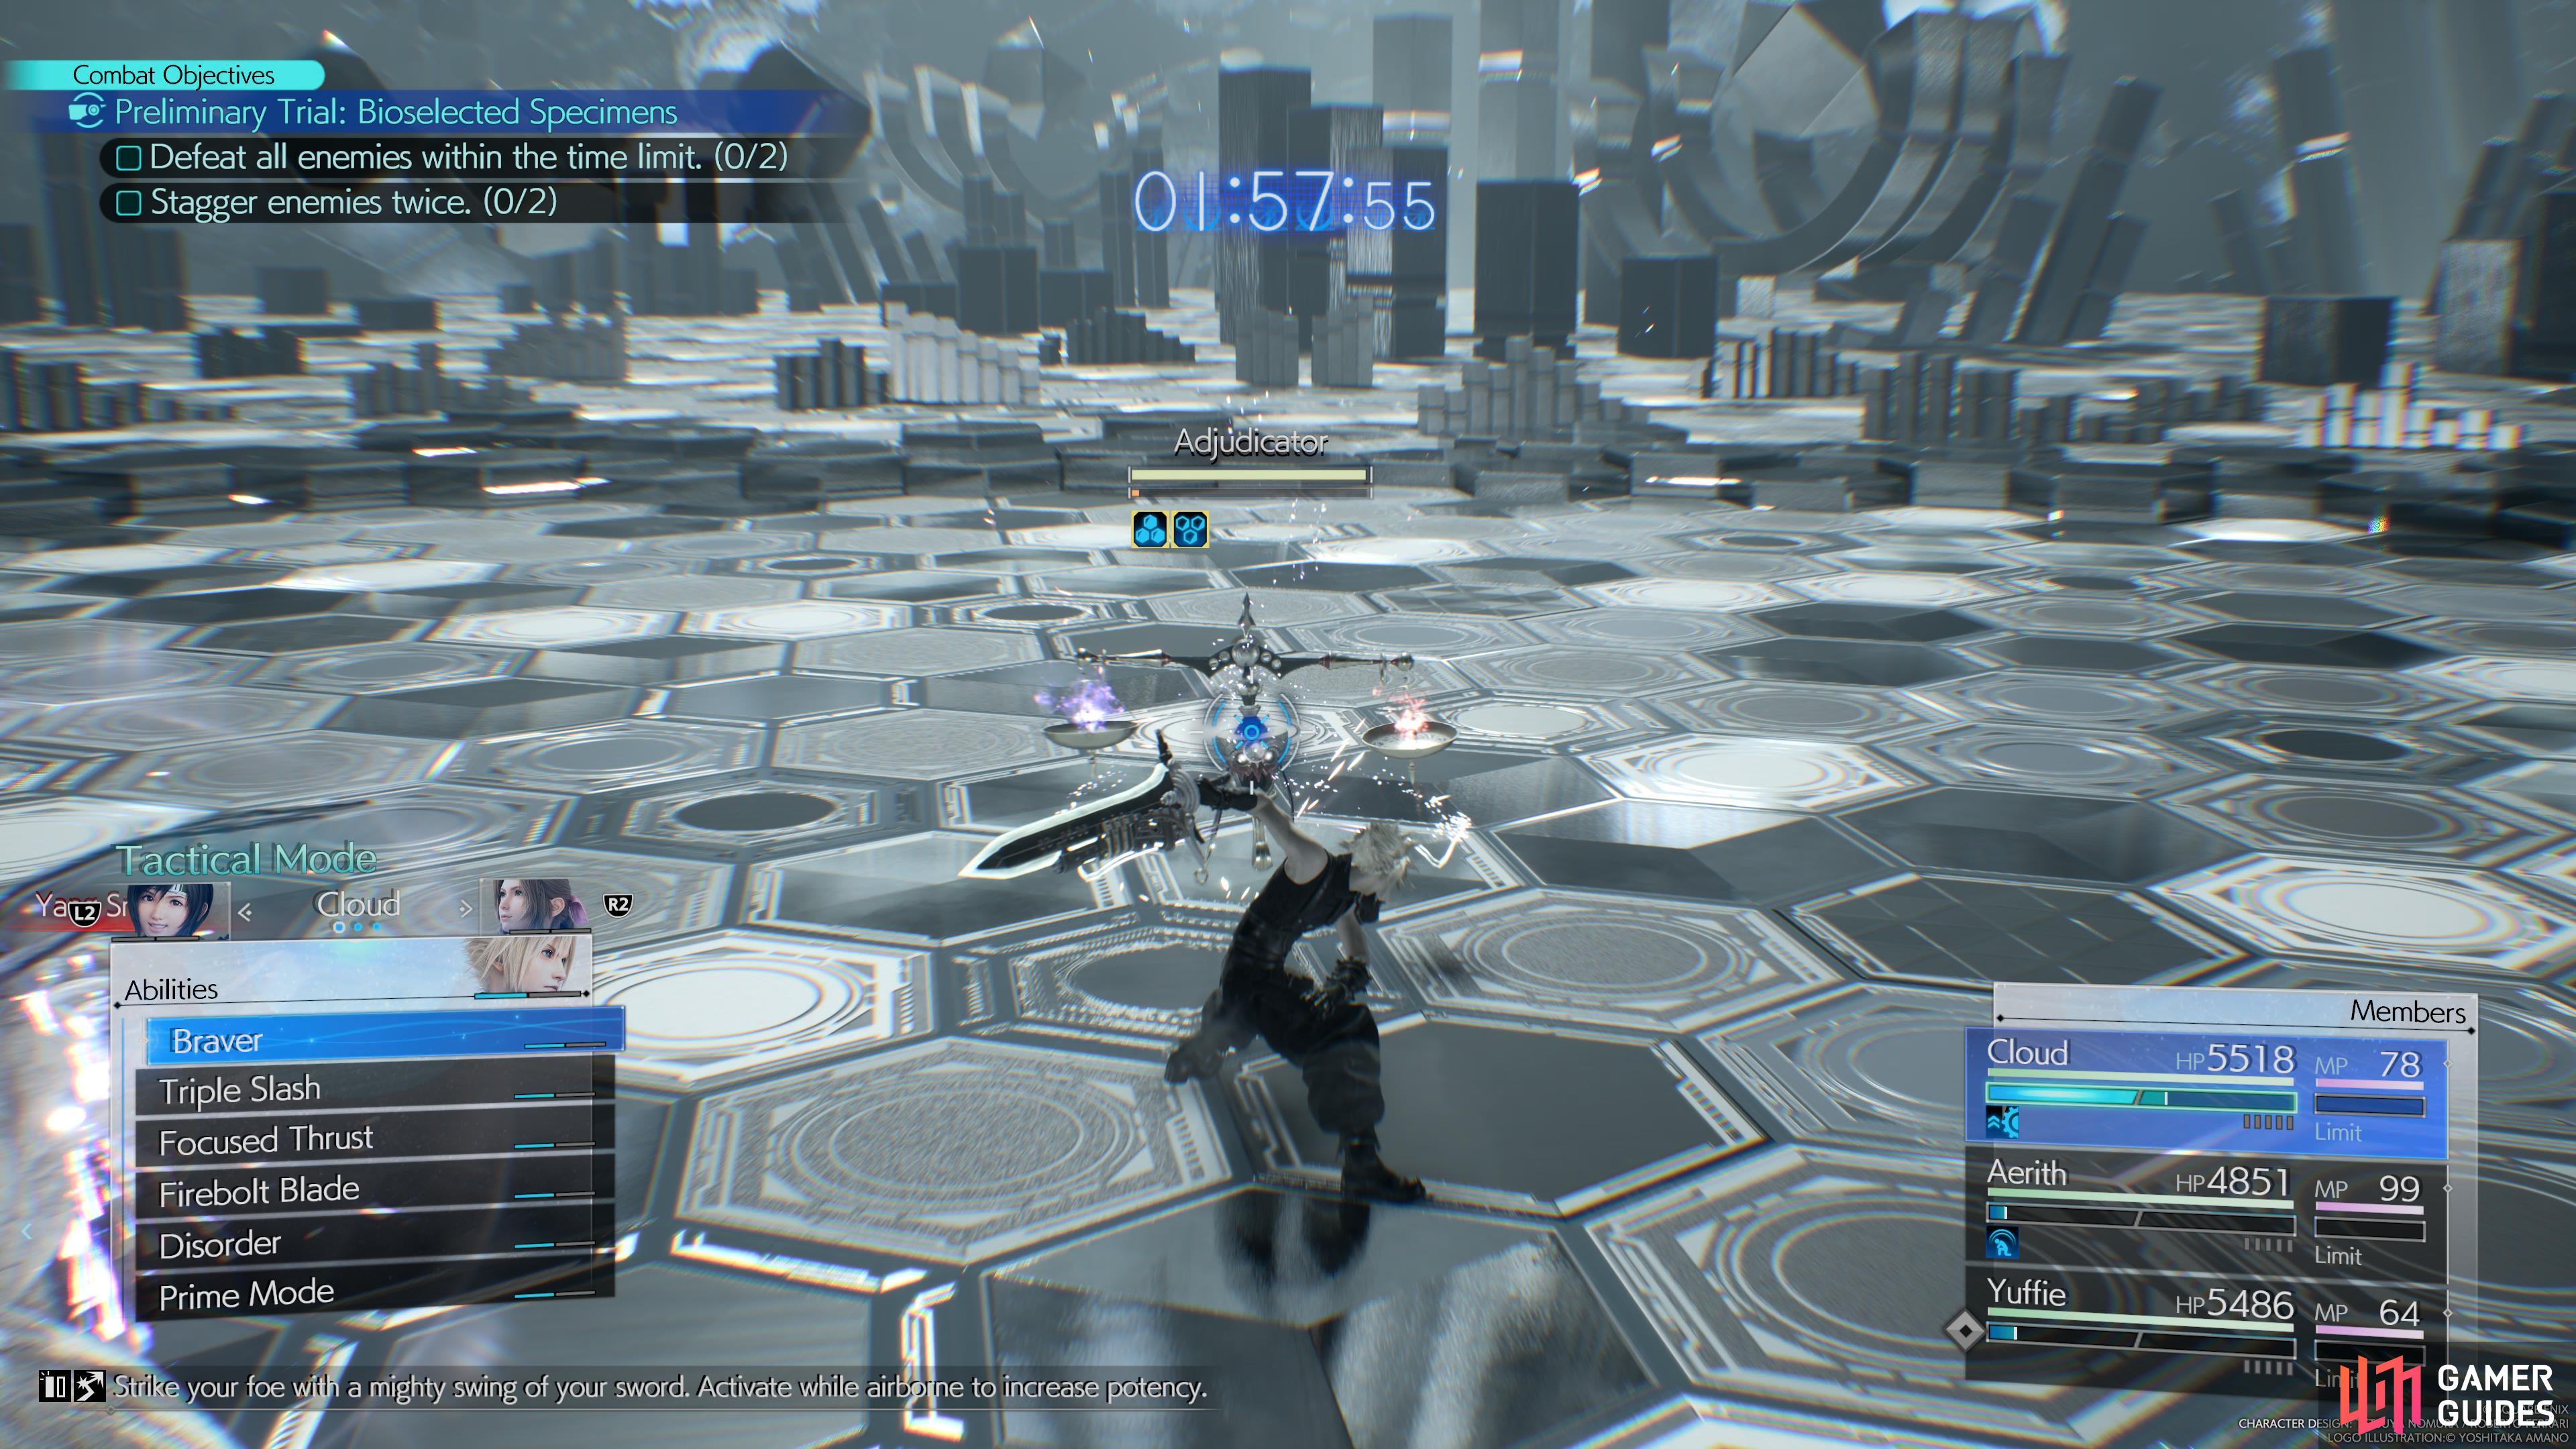
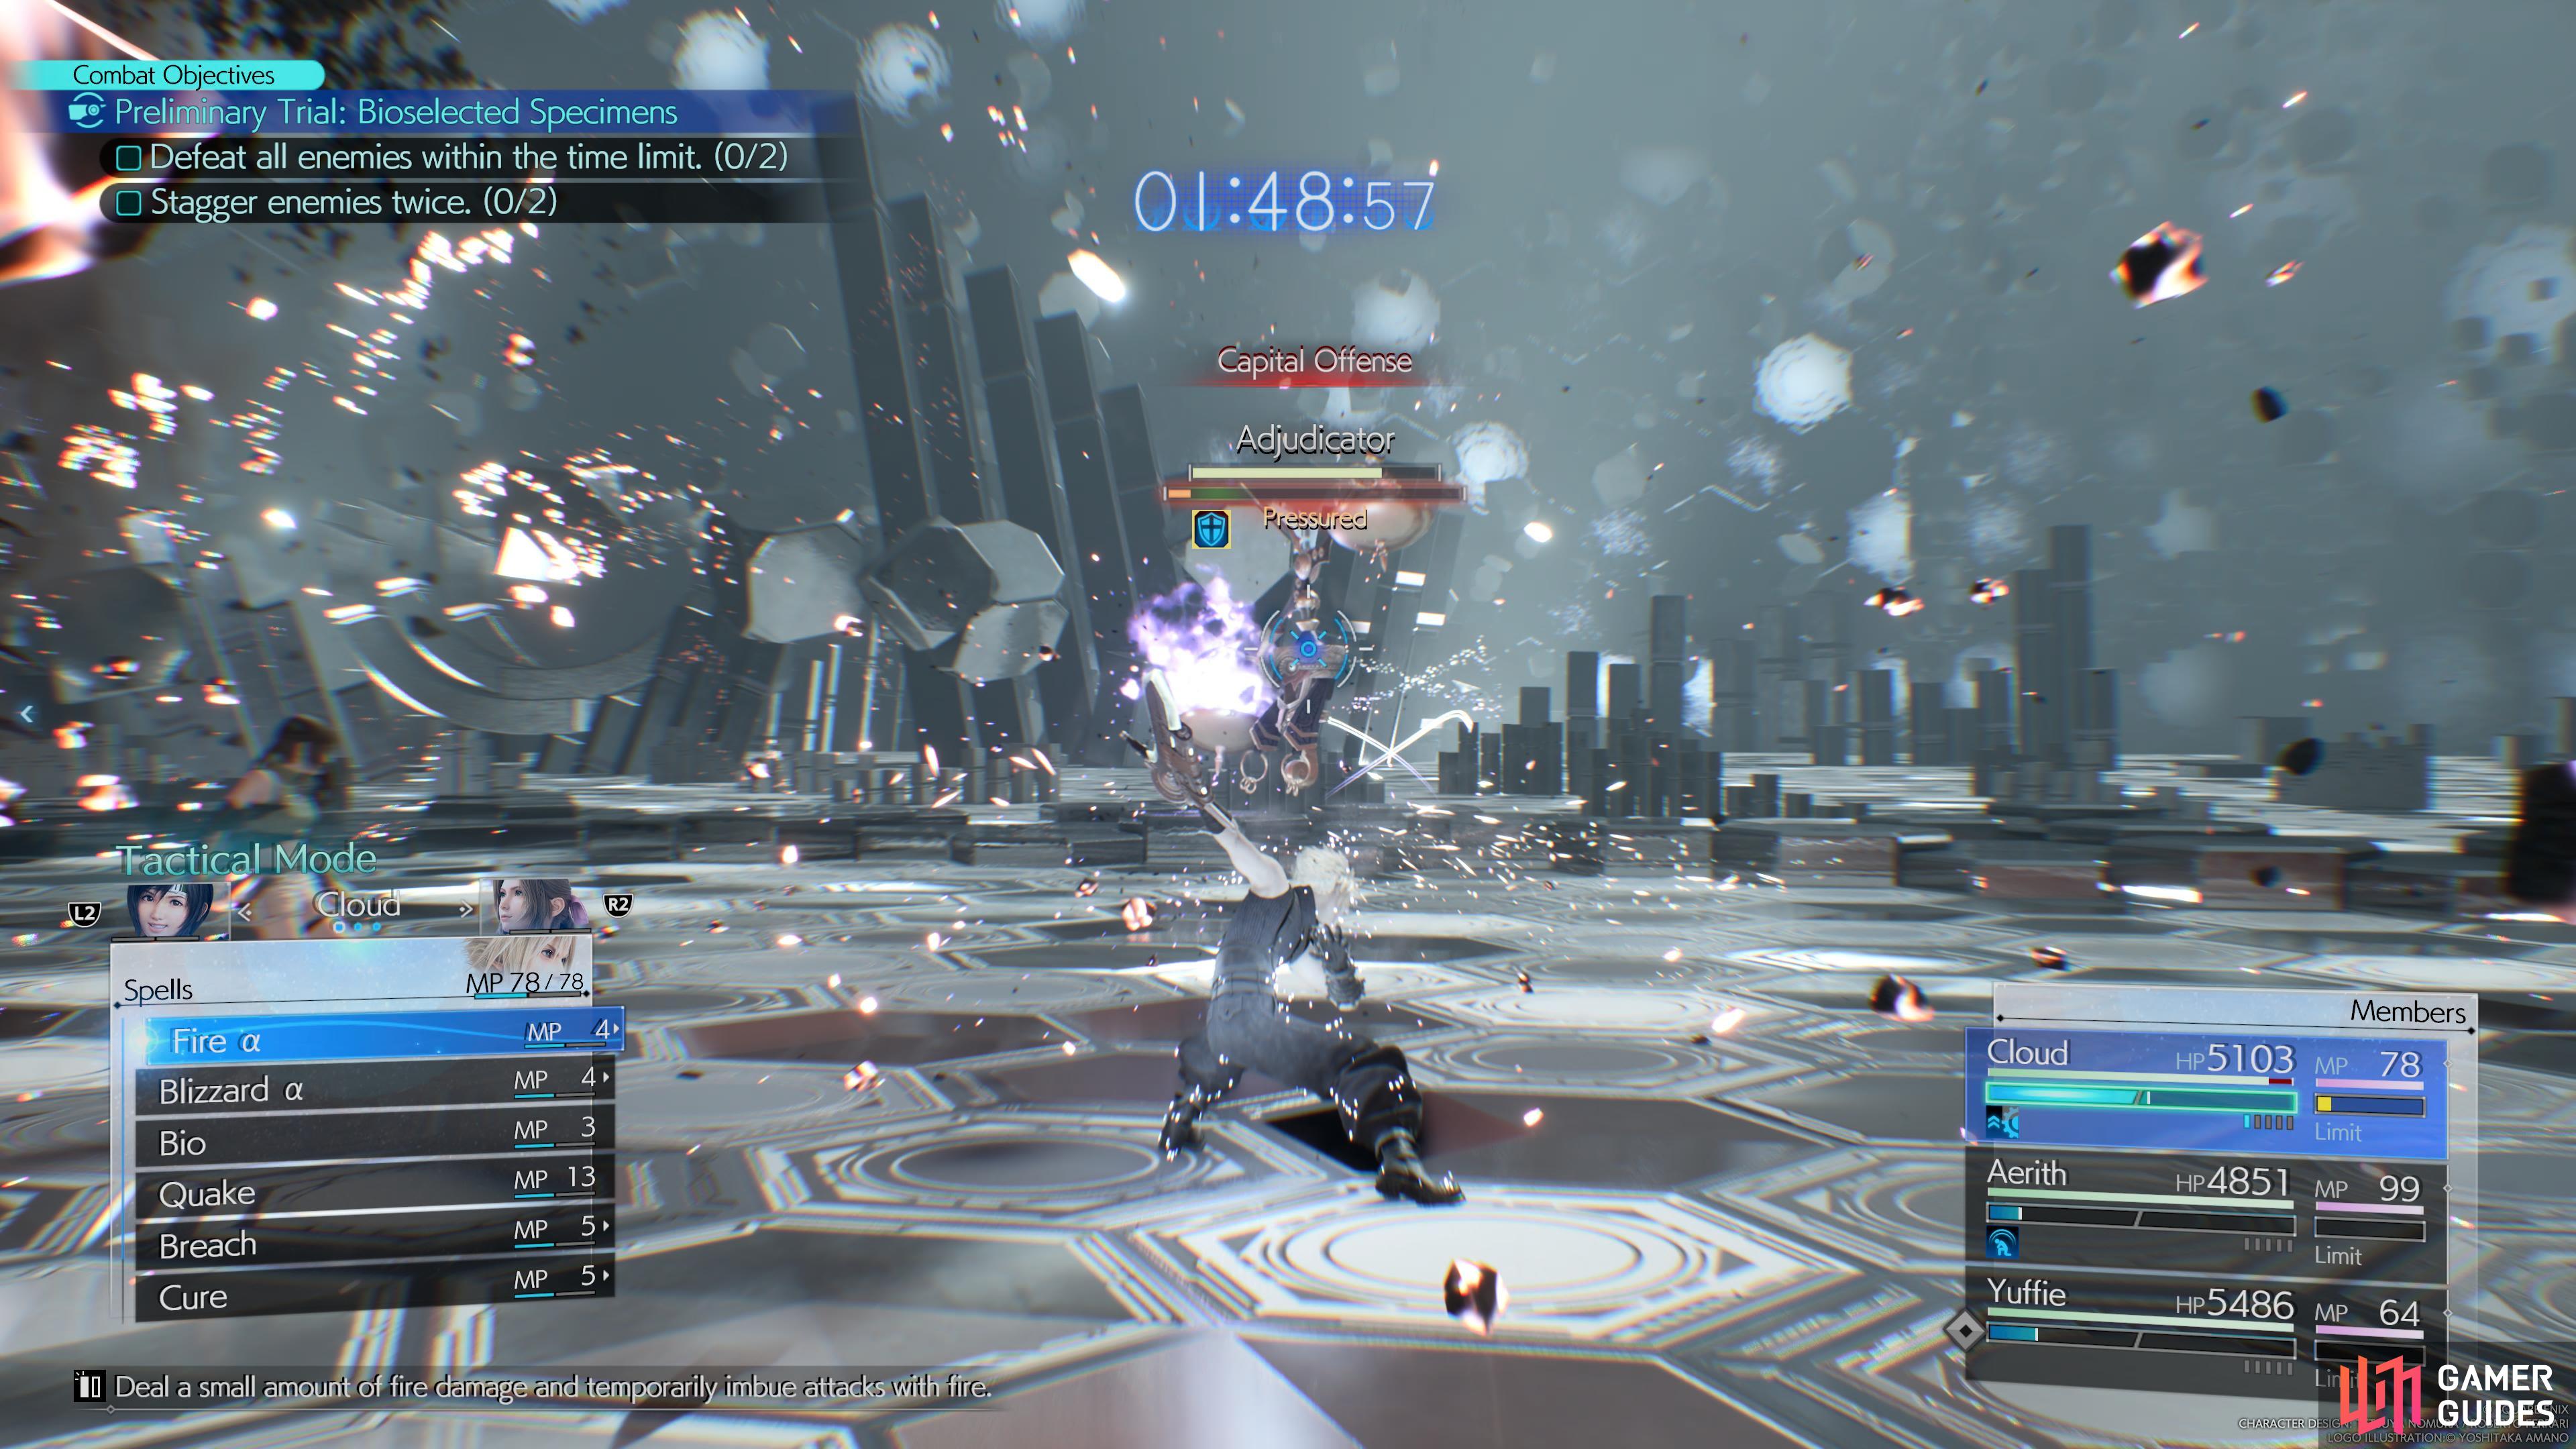
Use physical attacks to pressure the enemy (left), and then switch to Magic to stagger it. (right)
The Preliminary Trial: Bioselected Specimens will require you to stagger an enemy two times while fighting both Yin & Yang and an Adjudicator. We recommend that you focus on doing the sub-objective on the Adjudicator as it’s a lot easier and then focus on taking down the Yin & Yang using the same strategy in the previous challenge.
How to Defeat the Dranabarga
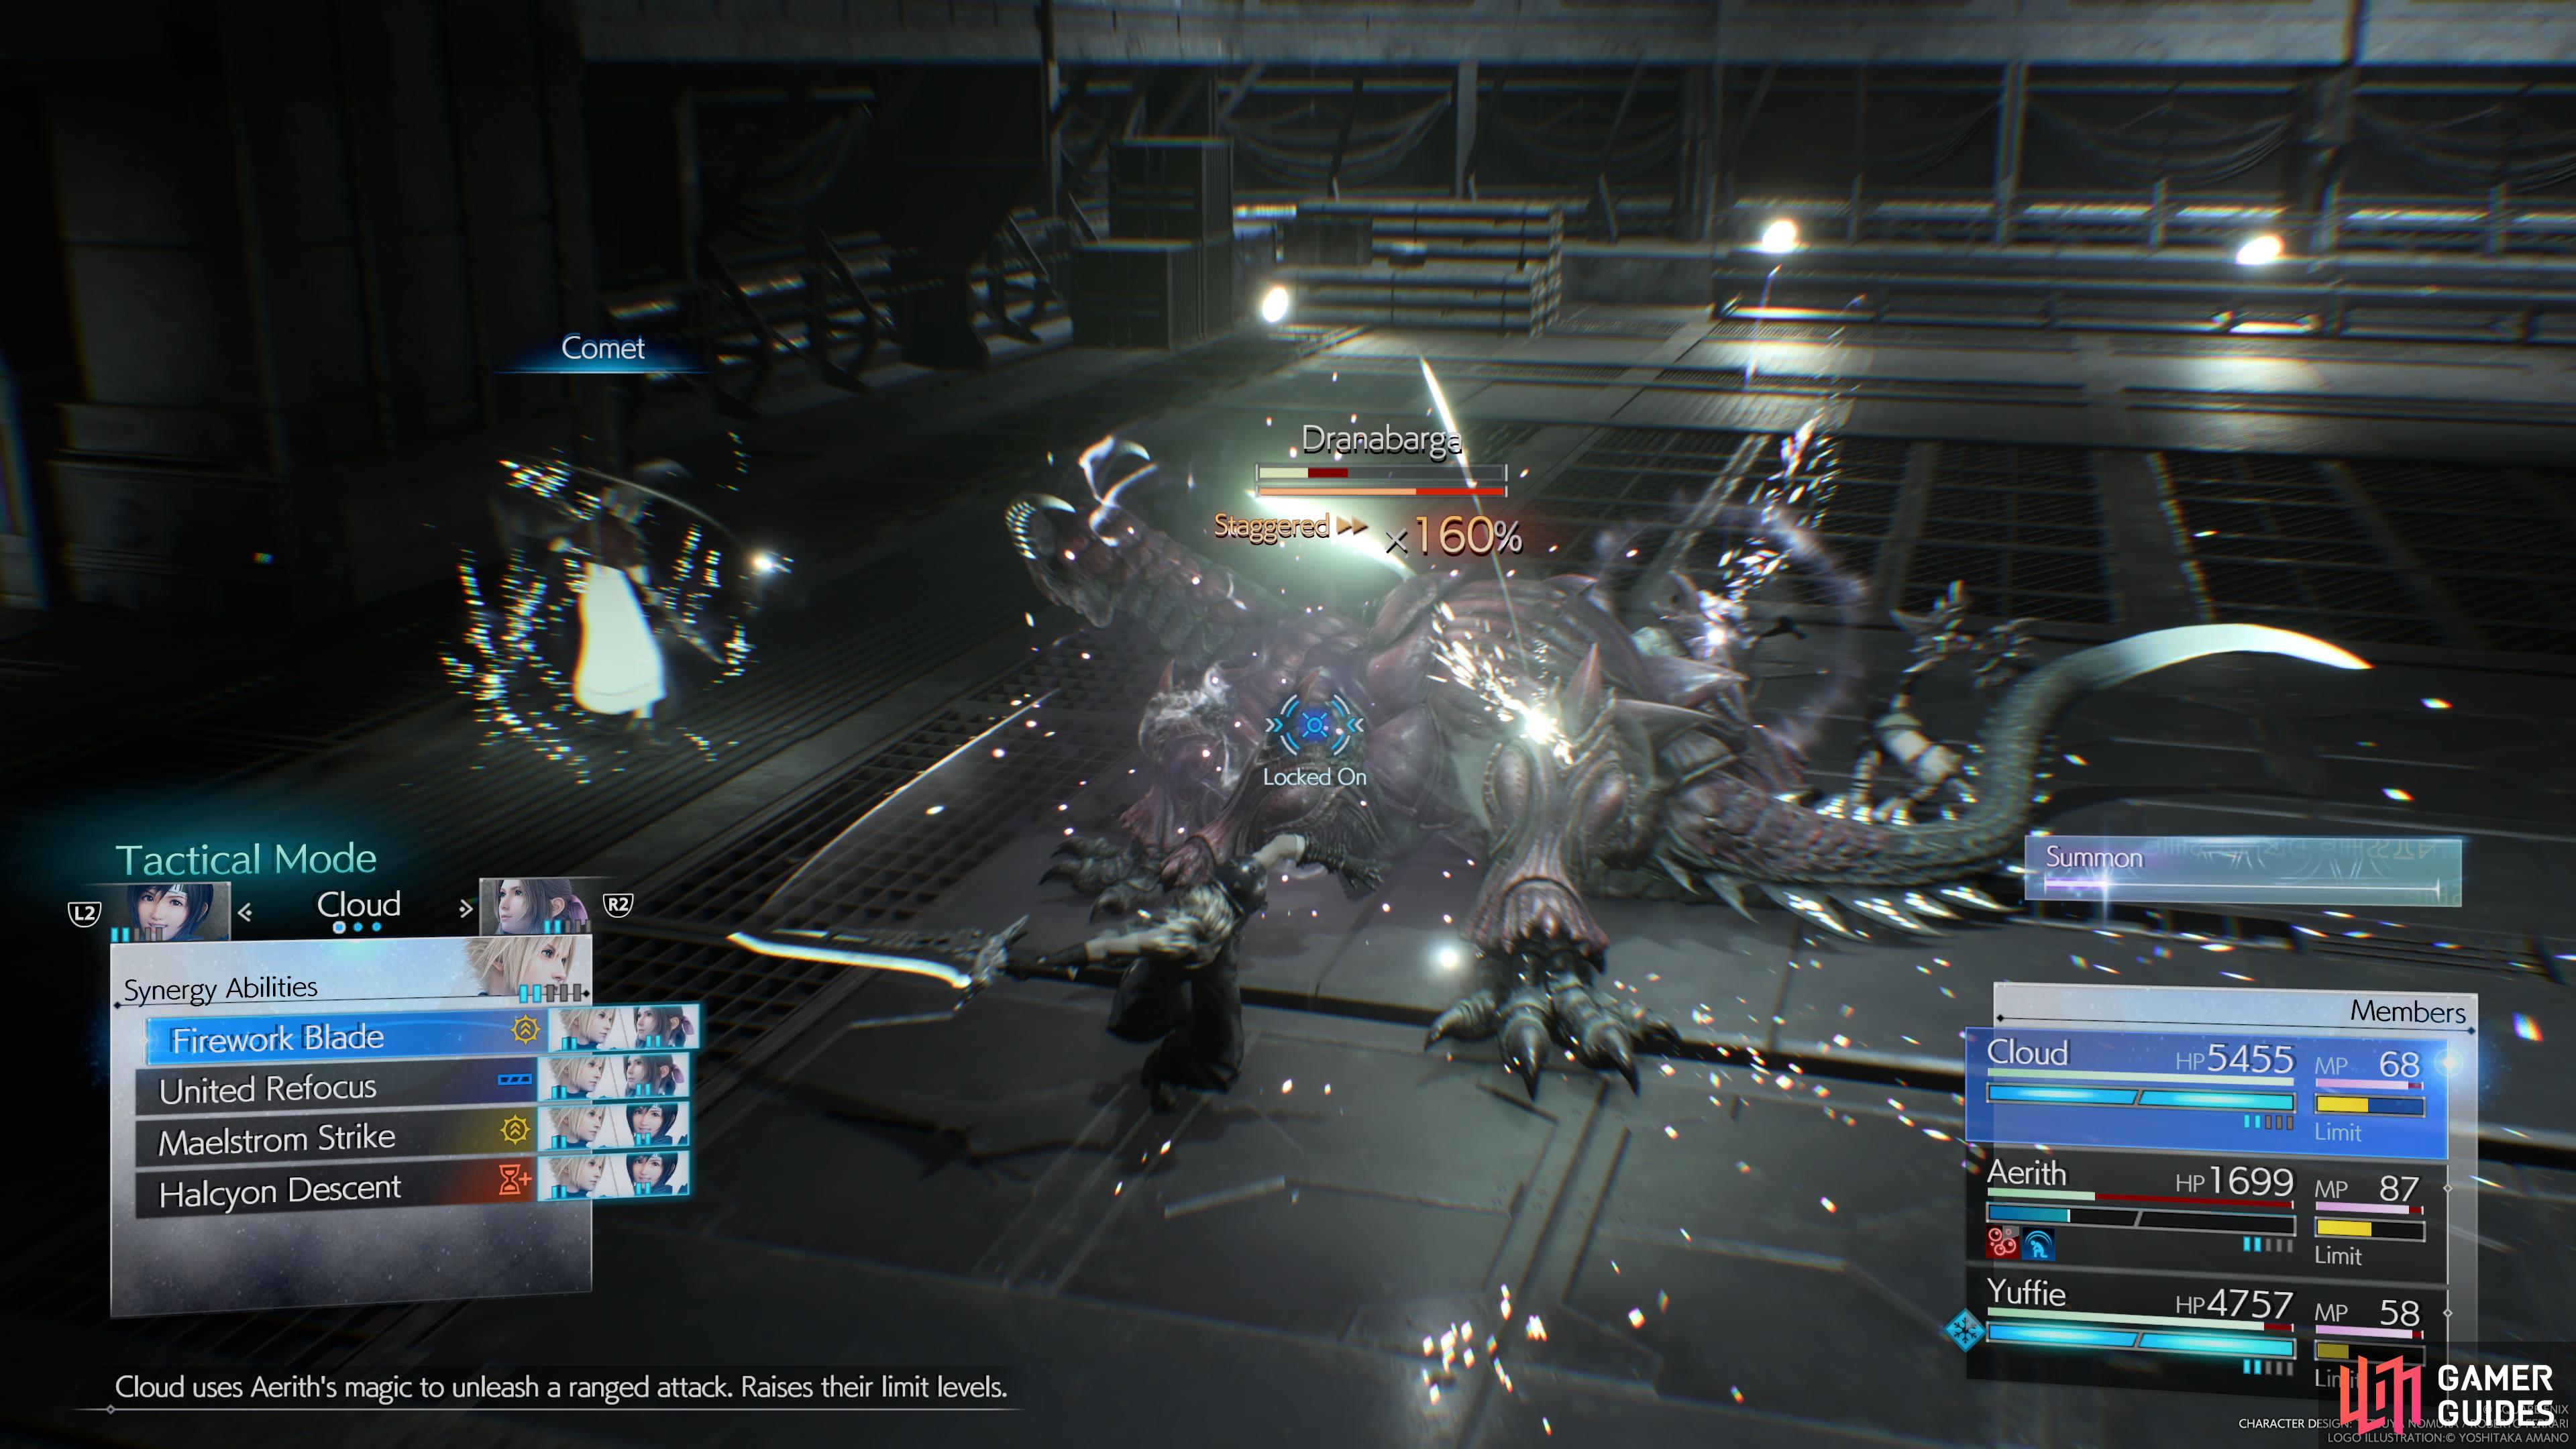
Continue through the second half of the tunnel once you’ve completed all of the preliminary trials and then the one and only Professor Hojo will have one more challenge for you to tackle. You’ll want to enter this battle with Cloud, Yuffie, and Aerith and then use the Spellbound Blast Synergy Skills to deal tons of damage and generate ATB, this will allow you to have Aerith use Blizzaga to massively increase the pressure gauge. Use Focused ![]() Attacks to stagger it and then use any available limit breaks or Synergy Abilities to deal as much damage as possible during this time.
Attacks to stagger it and then use any available limit breaks or Synergy Abilities to deal as much damage as possible during this time.
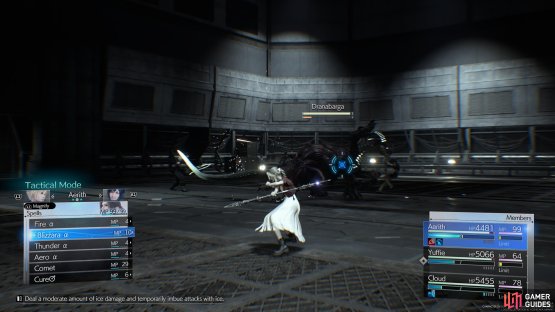

(1 of 2) Use Blizzaga on the Dranabarga to pressure it
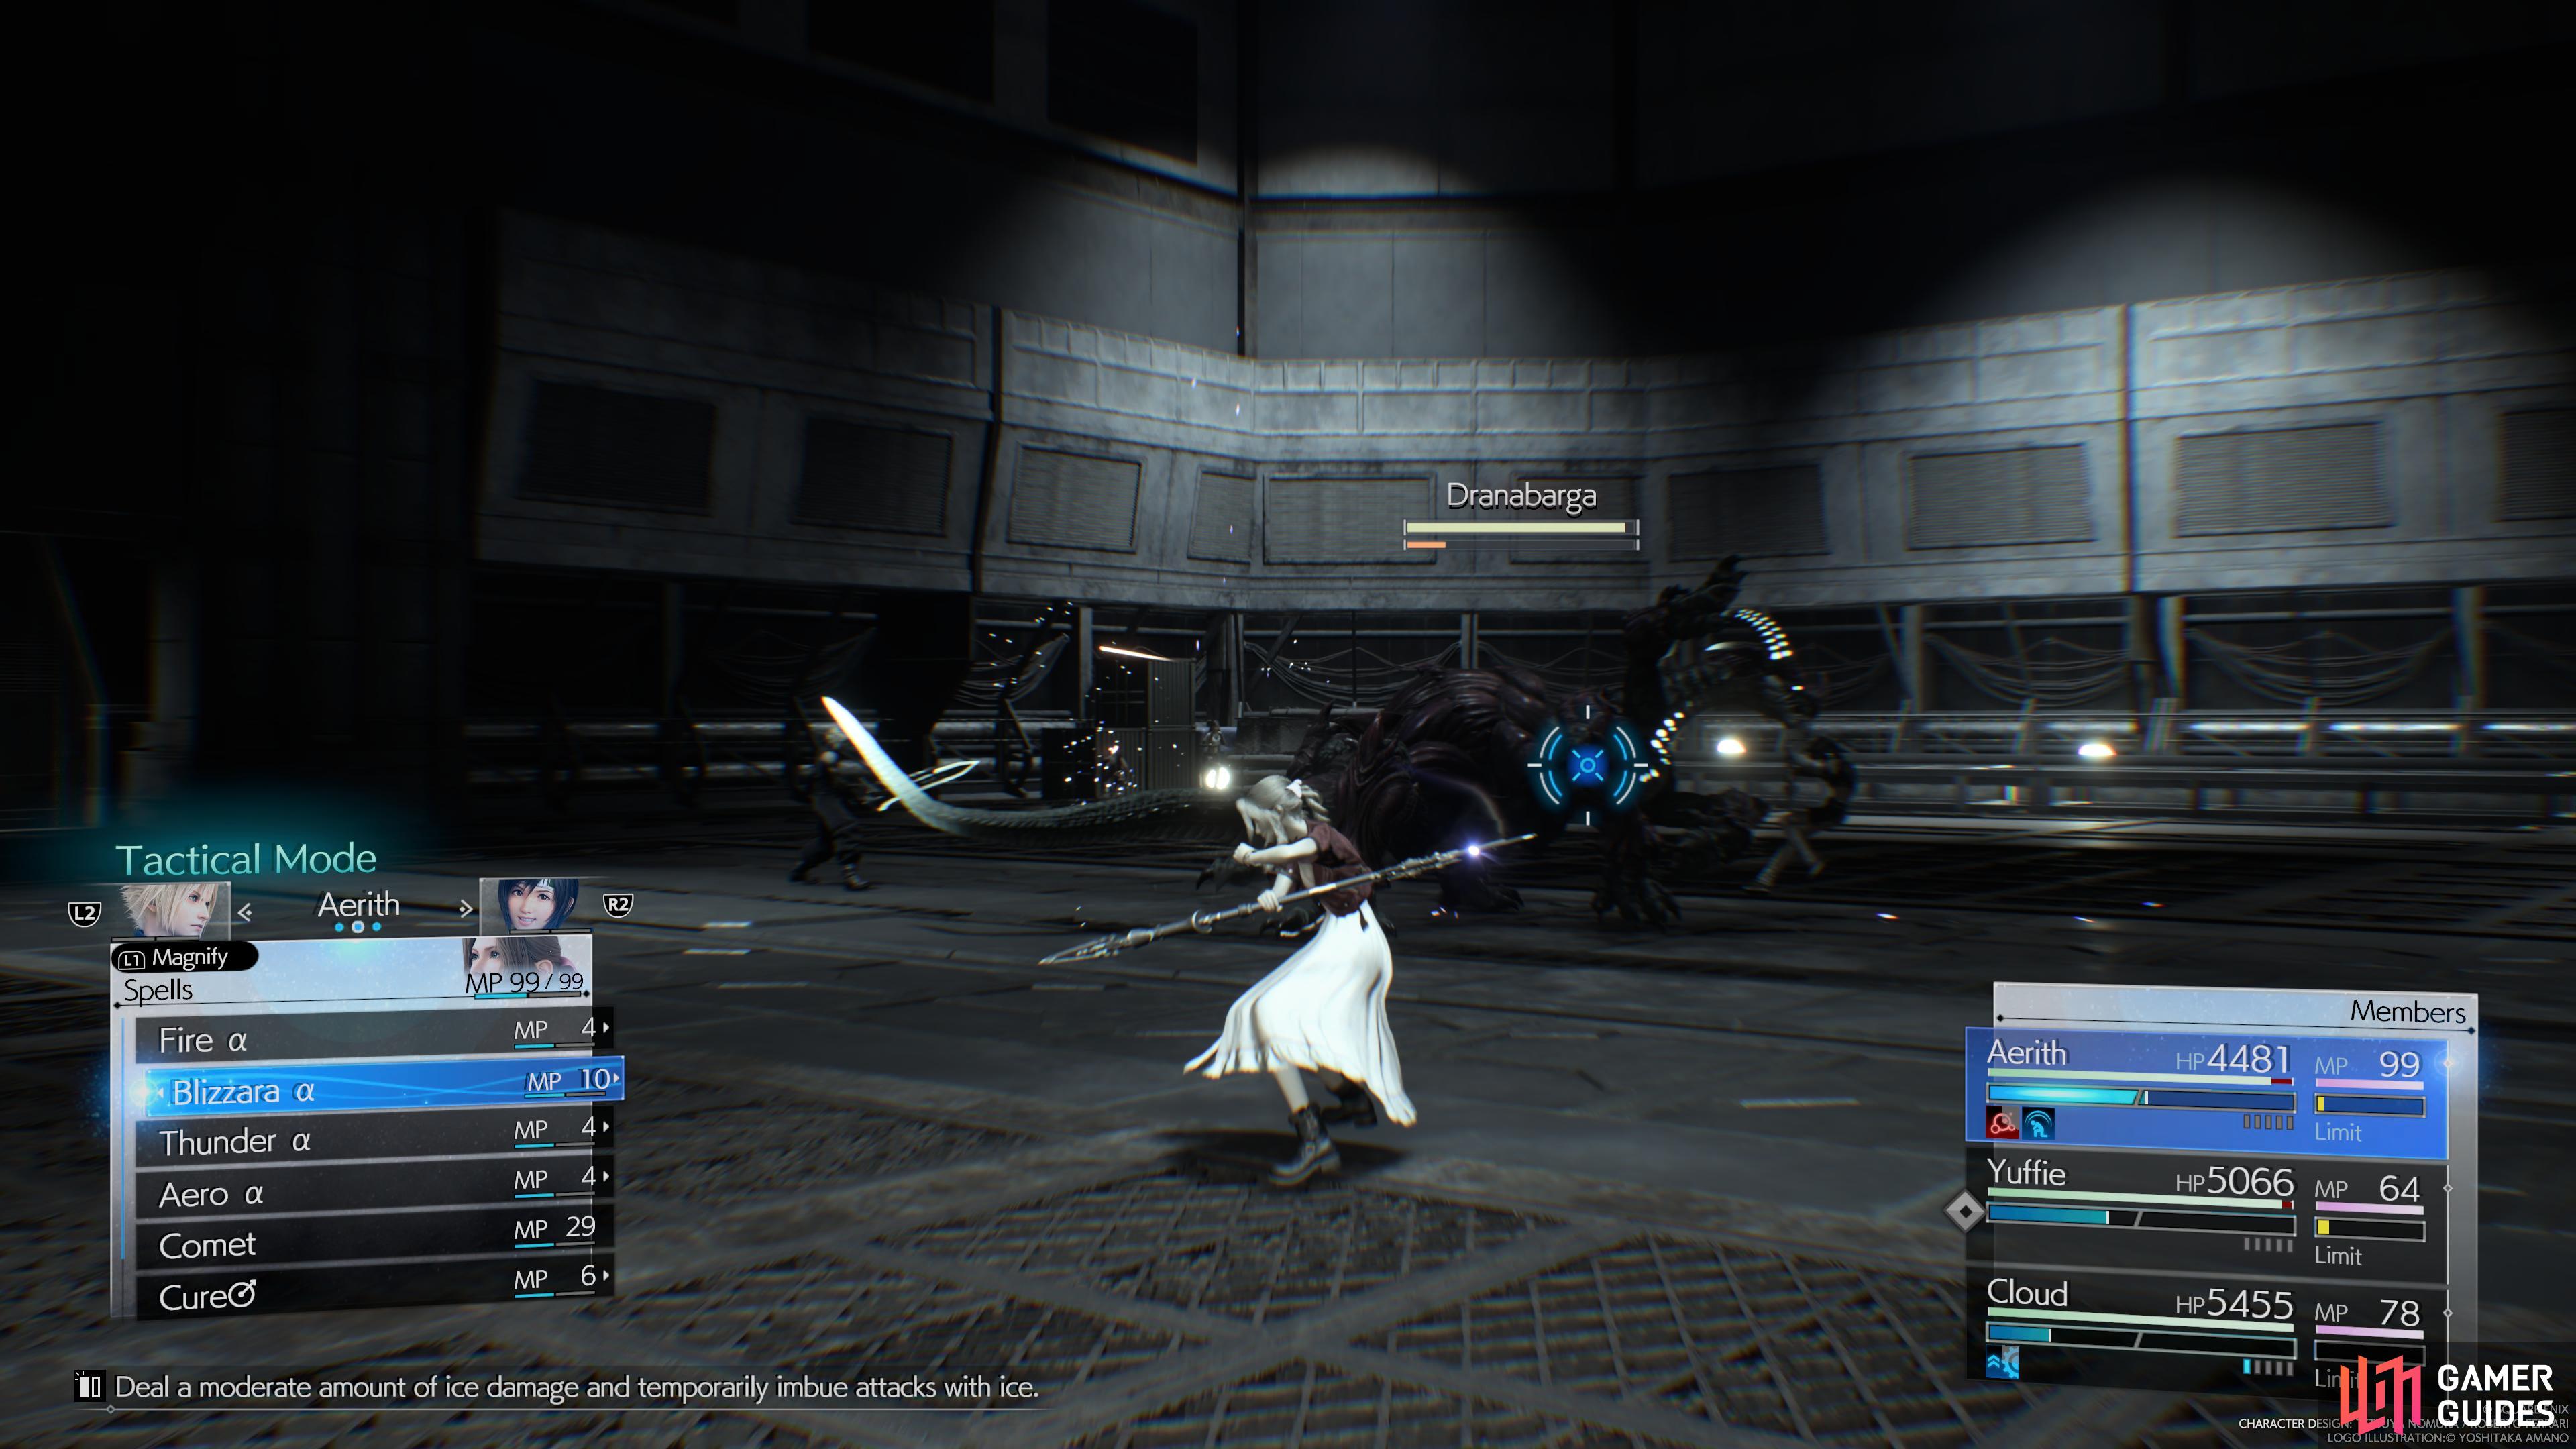
Use Blizzaga on the Dranabarga to pressure it (left), and then use Synergy Abilities to deal as much damage as possible. (right)
When you have the option to bring in a summon, you’ll want to bring in Shiva as her ice attacks will deal lots of damage to the Dranabarga. The main attack you’ll want to try and avoid as much as possible is Toxic Breath, as this will inflict the poison status effect on you which will gradually deplete your health. However, you can remove this effect by casting Esuna or using ![]() Antidotes.
Antidotes.
Once the fiend is defeated, the quest will come to an end and you’ll obtain 10 Party EXP, 2,400 EXP, Art of Swordplay Vol. VI, and Affinity with Barret. You’ll also unlock more of Hojo’s combat simulator trials which, should you win them all, will grant you access to the room nearby that contains Aerith’s Plumose Rod.
No Comments