
Side quests in FF VII Rebirth are aplenty, spread across the various regions and chapters. After doing them all up until now, you will find that there is one more waiting for you at the end of Chapter 12, called Can’t Stop Won’t Stop. This is a long quest that involves the Shinra Middle Manager and a bunch of minigames at the ![]() Gold Saucer. This page will detail how to get through each of these challenges, including tips and tricks to becoming the Ultimate Party Animal.
Gold Saucer. This page will detail how to get through each of these challenges, including tips and tricks to becoming the Ultimate Party Animal.
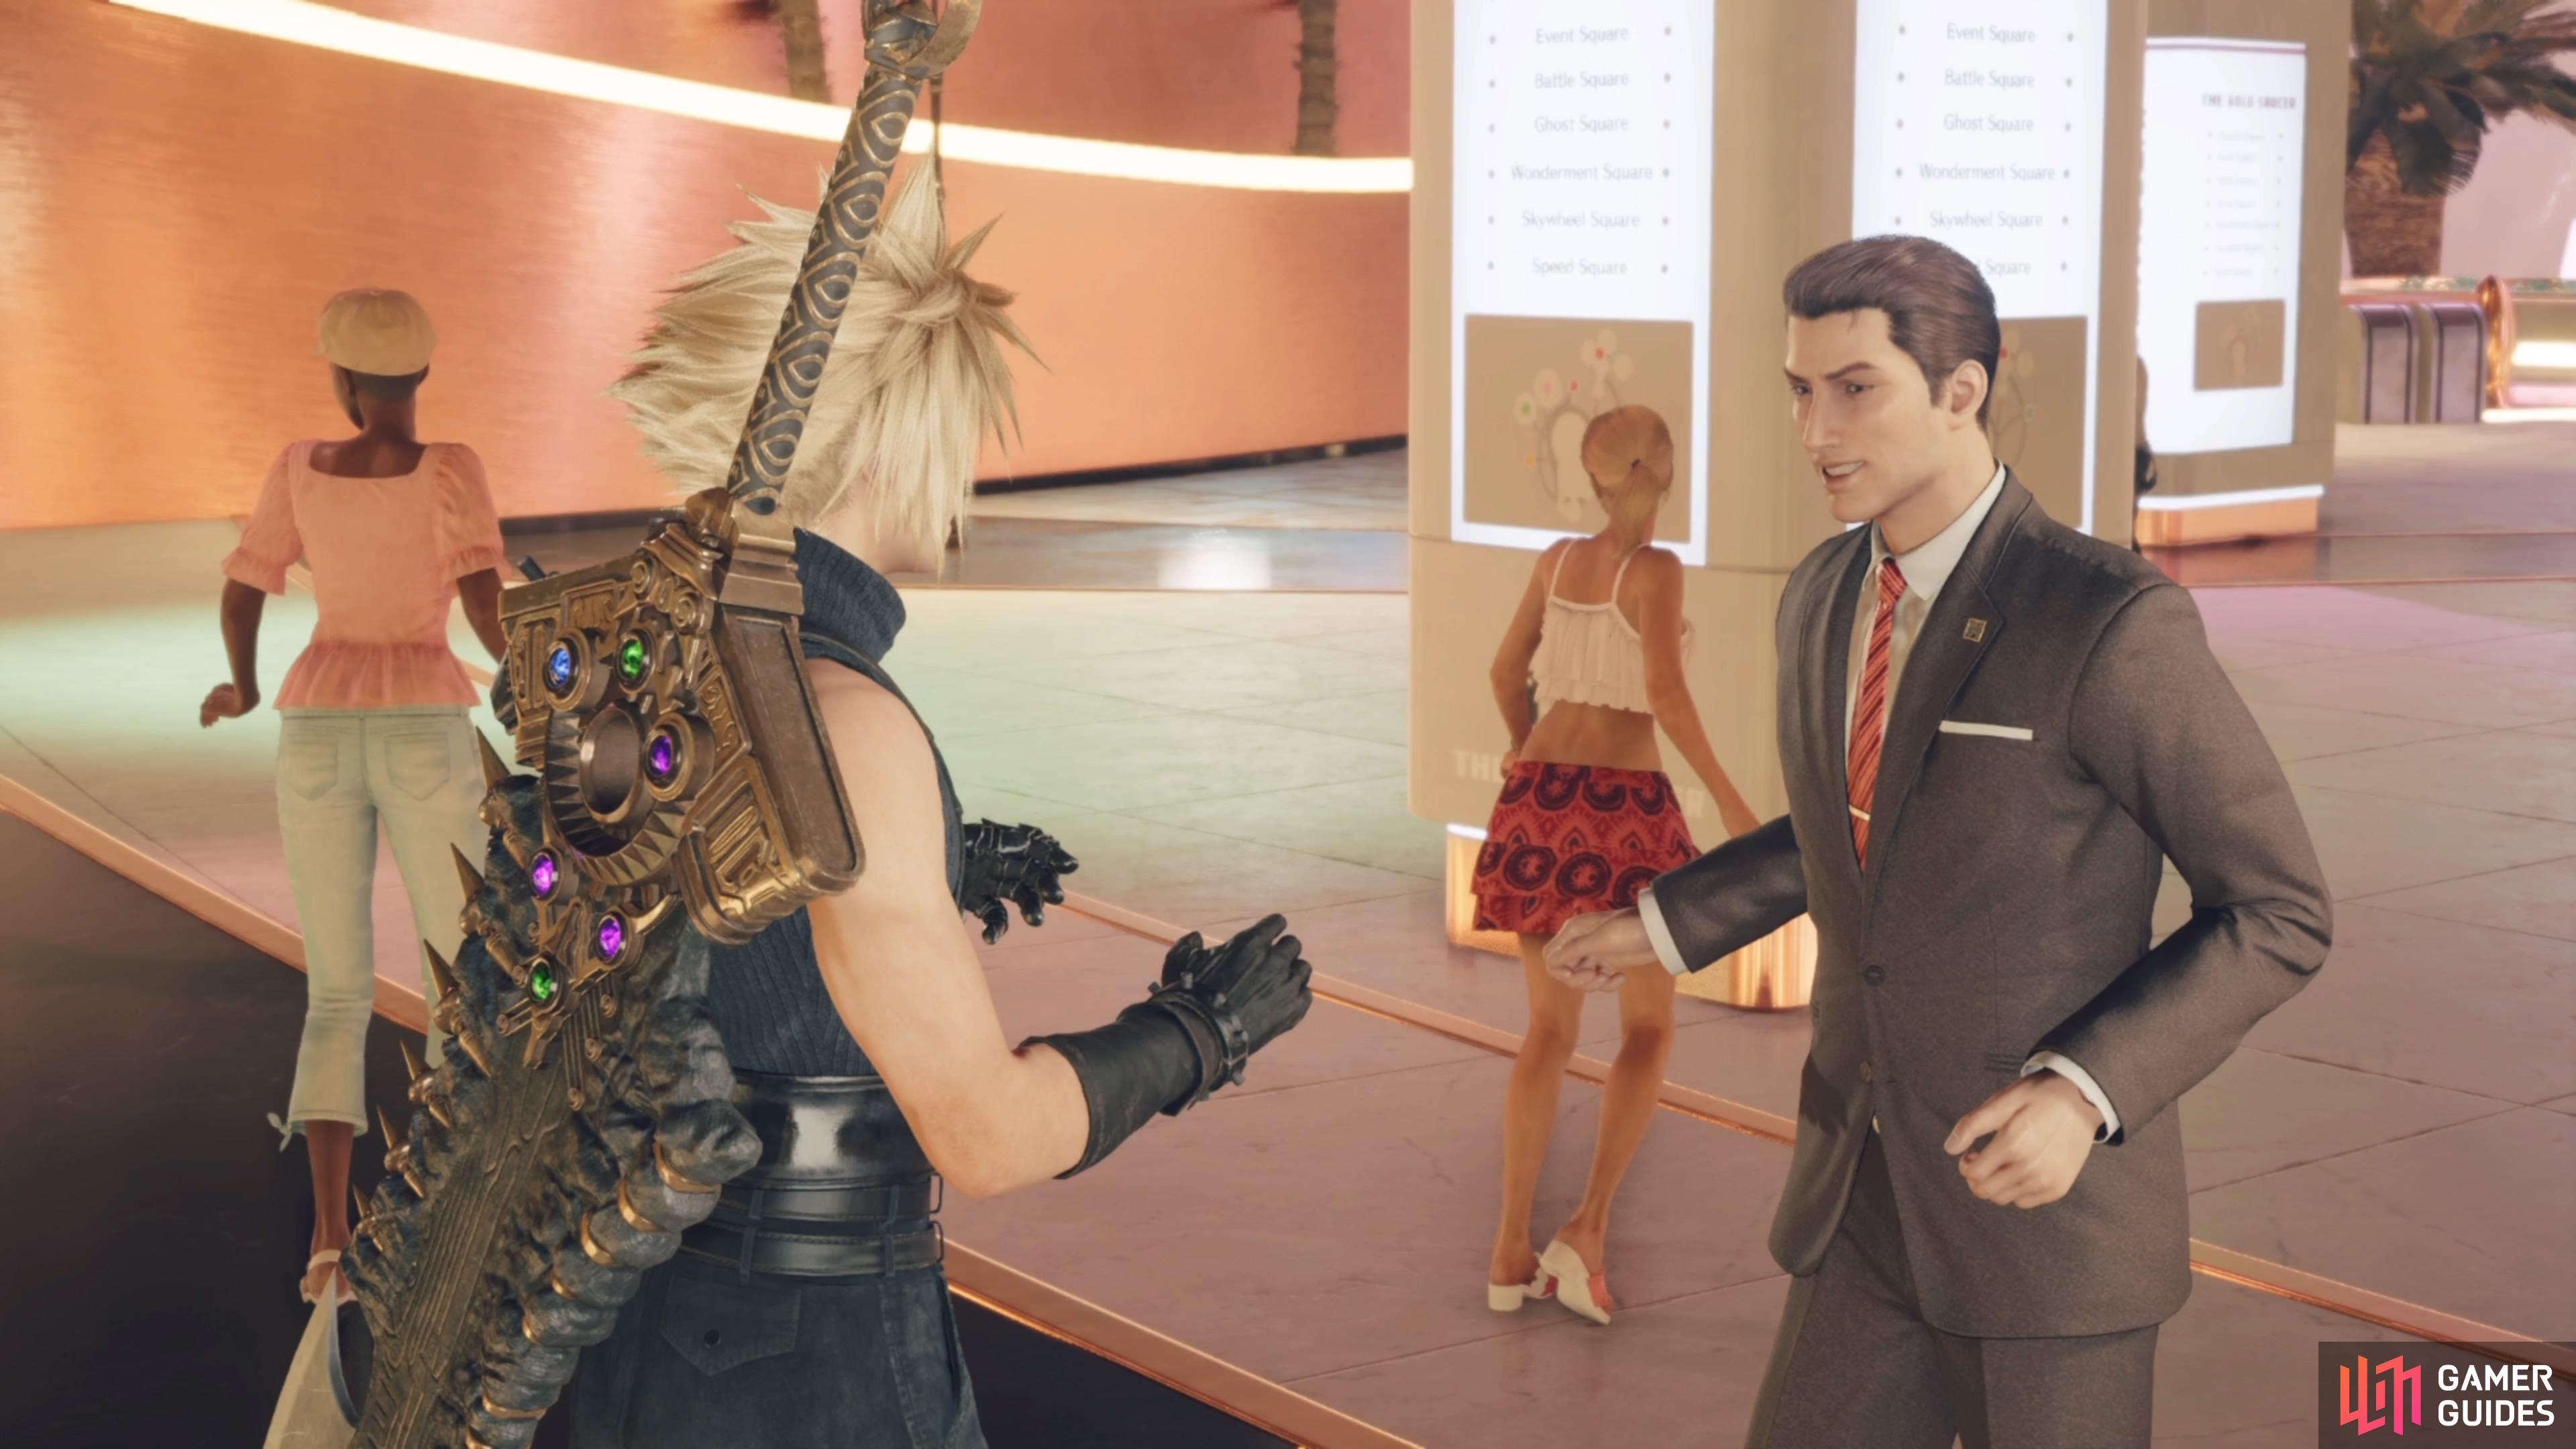
Your task is to become the Ultimate Party Animal in Can’t Stop Won’t Stop.
Where to Start Can’t Stop Won’t Stop
As mentioned above, Can’t Stop Won’t Stop is the final side quest in the game and requires you to do all of the others first. You will need to wait until the end of Chapter 12, which will be the first opportunity to actually do this quest. If you go to the entrance to the Gold Saucer, you should find the Middle Manager dancing with some other people beyond the first set of dancers. If he isn’t there after doing all of the quests, then you may need to play the various minigames at the Gold Saucer.
The Shinra Middle Manager seems to have obtained the title of the Ultimate Party Animal, which he has done by achieving top scores in a bunch of the minigames. If you wish to achieve the same title, then you will need to beat all of his scores. This will first be spread across five of the attractions at the Gold Saucer, then there will be a sixth, and final, one at the very end. You start with four options, which can be done in any order. These are Chocobo Square, ![]() Speed Square, Battle Square and the G-Bike minigame at Wonderment Square.
Speed Square, Battle Square and the G-Bike minigame at Wonderment Square.
Can’t Stop Won’t Stop - Chocobo Race
The race against the Middle Manager isn’t really all too tough, as he can be kind of a pushover. The track used for this race, though, can be a little daunting. The first part of the track is mostly just some sharp turns that either require you to slow down, or use your drift. After the three hairpin turns, there will be the first ![]() Cactuar Gate, then some water with the spinning discs on the ground. There will be more gates throughout the rest of the lap, so be wary of them.
Cactuar Gate, then some water with the spinning discs on the ground. There will be more gates throughout the rest of the lap, so be wary of them.
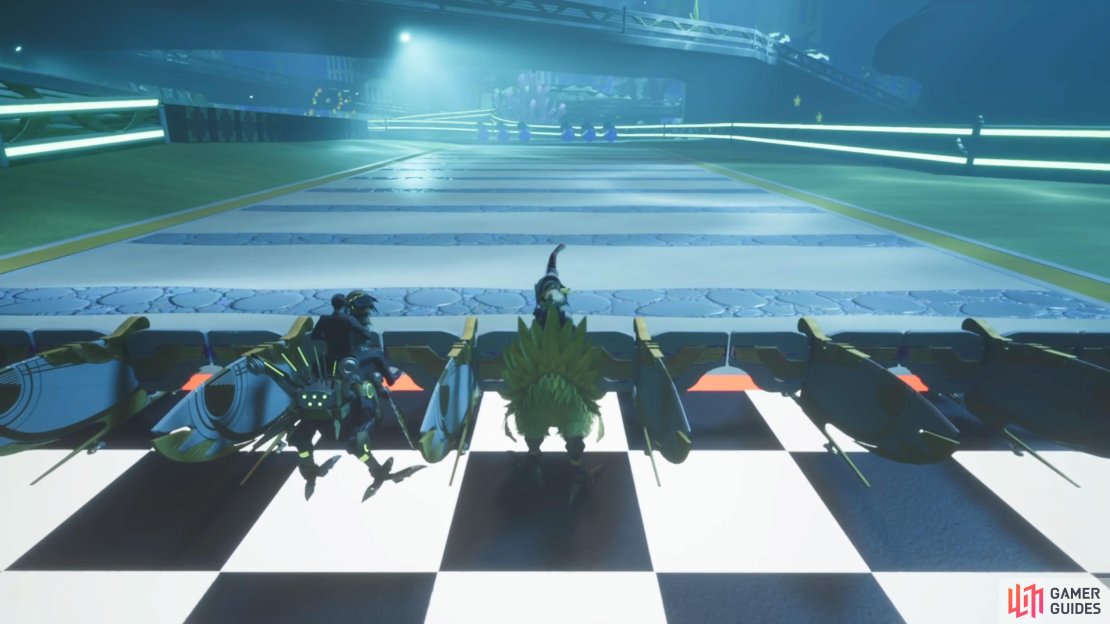


(1 of 4) The Chocobo Race in this quest will be one-on-one.
Right after the narrow “tunnel” of blocks you can’t hit will be the spinning orbs, but immediately after those will be a second water section. There will be an air vent right before this water you can use to float over it, so it might be a good idea to do that, especially since there are more obstacles to navigate through in the water. Again, the Manager should be pretty simple to beat, as long as you don’t make a lot of mistakes.
Can’t Stop Won’t Stop - Galactic Saviors
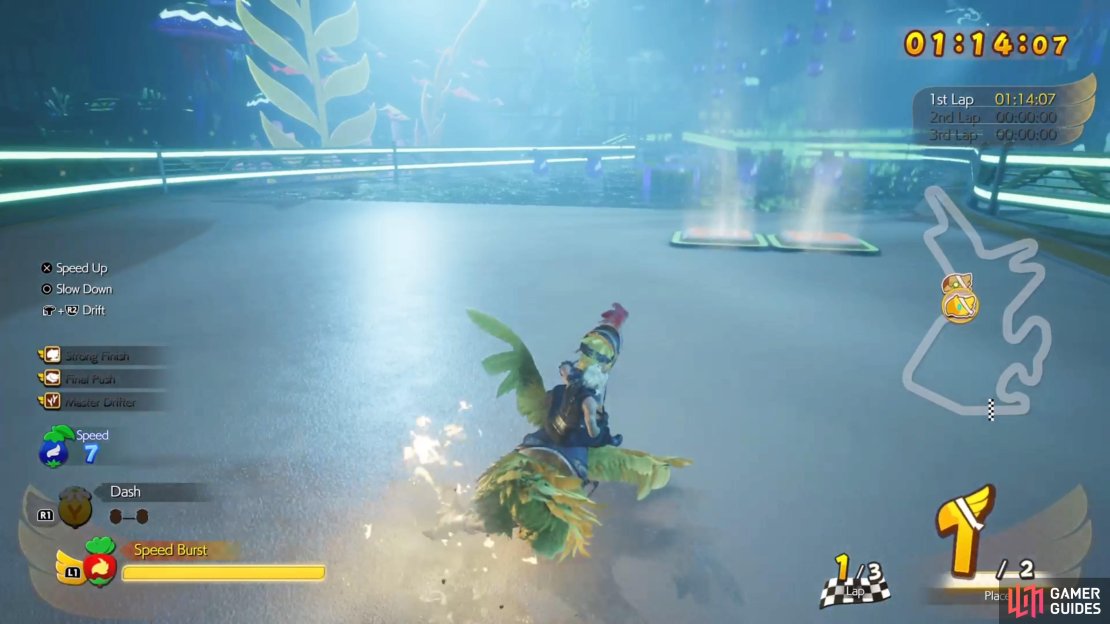
One of the first four challenges for you to become the UPA is the ![]() Galactic Saviors minigame, over at Speed Square. This isn’t its own course here, but you simply need to beat the UPA’s high score on the Expert Course. So, if you’ve already done this prior to this quest, then you should already know what to do, as you still physically need to do a run and get the high score. His high score is 50,000 points, which isn’t all too difficult to achieve. Remember that your barrel roll technique will deplete your special attack, which should be saved for the proton bombs.
Galactic Saviors minigame, over at Speed Square. This isn’t its own course here, but you simply need to beat the UPA’s high score on the Expert Course. So, if you’ve already done this prior to this quest, then you should already know what to do, as you still physically need to do a run and get the high score. His high score is 50,000 points, which isn’t all too difficult to achieve. Remember that your barrel roll technique will deplete your special attack, which should be saved for the proton bombs.
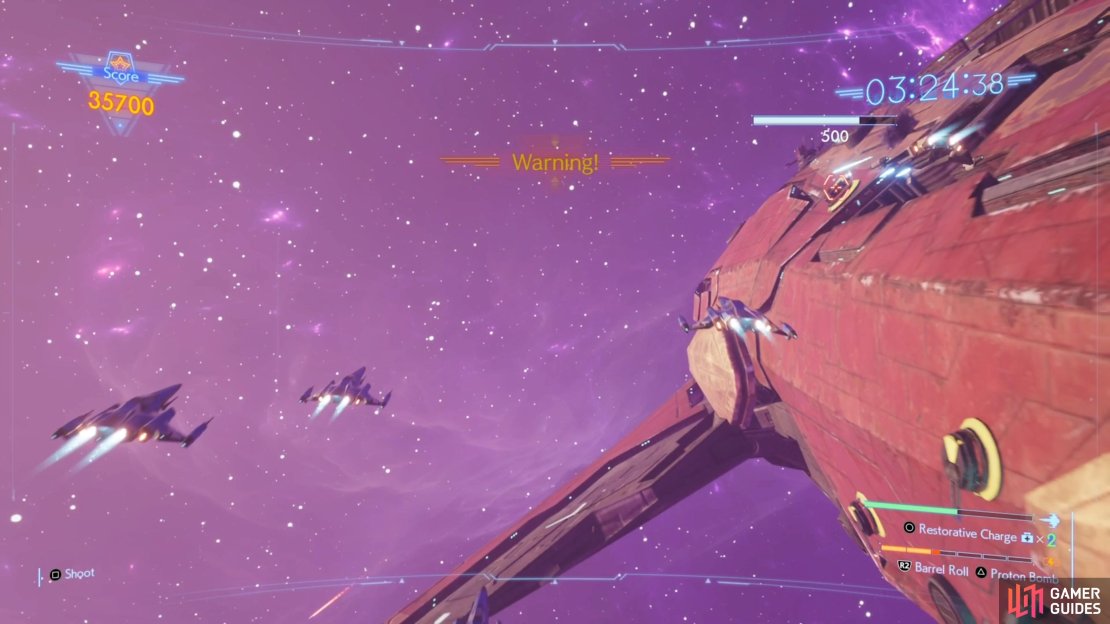
As always with this minigame, you will want to take out all enemies along the way to the end, as you get bonuses for taking out whole squads. After the asteroid field, you will encounter two dragons at the same time. You will want to quickly take one out as soon as possible, since their lasers are quite hard to dodge. There will be a few more normal ships after the twin dragons, then the big boss ship will arrive. If you stick to the right side, you can blast the easy-to-destroy cannons on the big ship for 500 points a piece.
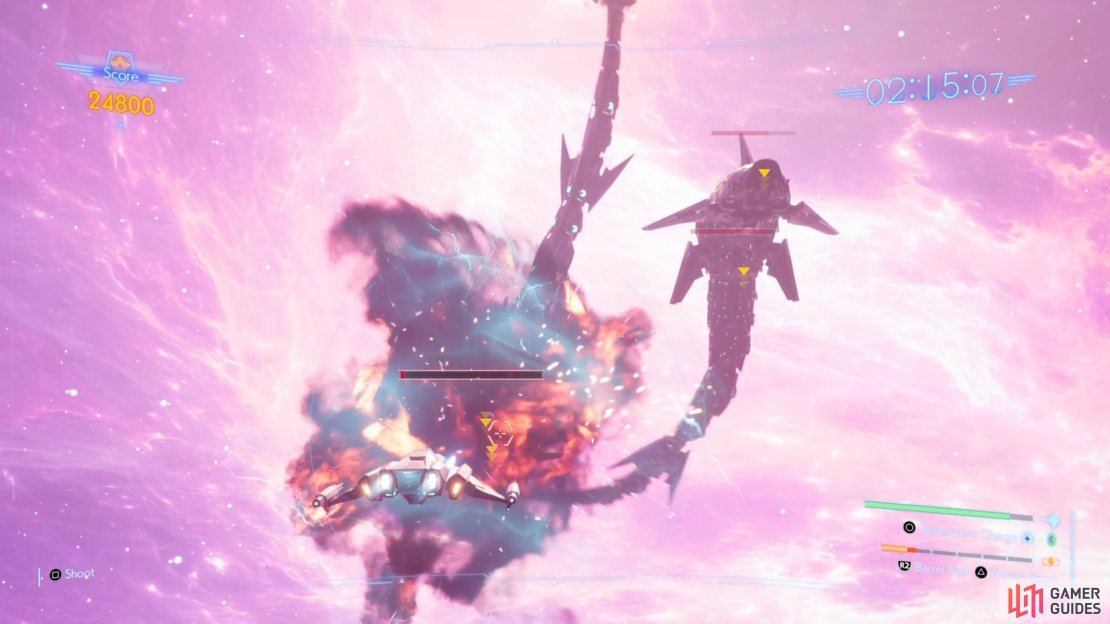

(1 of 4) Aim to destroy all of the enemy ships for bonus scores.
When it stops, destroy the cannons, then get ready for the final bit. Go for the laser cannons on the bottom/top first, then focus on the big thrusters on the back. Destroy all three of them and you will be done with this minigame. As long as you destroy most things in a speedy manner, you should have plenty of points to break the UPA’s record.
Can’t Stop Won’t Stop - Musclehead Colosseum
This is probably the hardest bit of this quest, as it’s longer than the others and involves you fighting multiple stages of enemies. If you die at all, you will be sent back to the beginning and have to start over from Round 1. Before diving straight in, it’s a good idea to craft ![]() Safety Bits for all three characters you’re using, since one of the rounds has you facing Tonberries, who like to do instant death. If you wish to Assess all enemies, then bring along that materia. Otherwise, go into this challenge with your best characters and materia, especially Revival Materia on everyone.
Safety Bits for all three characters you’re using, since one of the rounds has you facing Tonberries, who like to do instant death. If you wish to Assess all enemies, then bring along that materia. Otherwise, go into this challenge with your best characters and materia, especially Revival Materia on everyone.
Round 1 - Gigantuar and Gargantuar
The first bout is against two annoying enemies. Both have the same moves in their arsenal and like to run around a lot, so they can be difficult to hit. They only become pressured for a short duration while doing Needle Rain, which is both a bad and good thing. For someone like Cloud, you can use the Punisher Mode’s parry to prepare for it, but other characters might have a harder time increasing the stagger gauge, since Needle Rain hits around the cactuar.
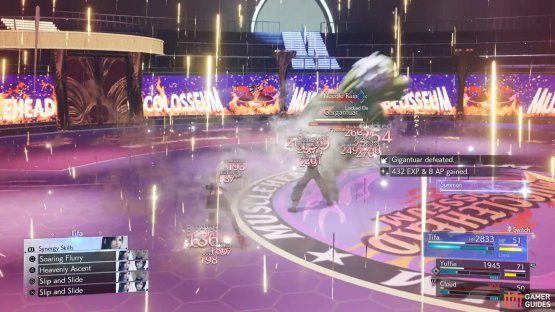
(1 of 2) The Gigantuar/Gargantuar only become pressured while using Needle Rain.


The Gigantuar/Gargantuar only become pressured while using Needle Rain. (left), The giant cactuars’ numbered needle attacks can quickly KO a character. (right)
By far, the most devastating moves are the numbered Needles attacks. You do not want to get hit by these at all, as they might outright kill you, if you don’t guard/they all connect. The best strategy would be to keep focused on one of them, bring it down, then go after the other. If you can manage to stagger the creatures, then let loose with everything you have in hopes of not having to do it again.
Round 2 - Tonberries
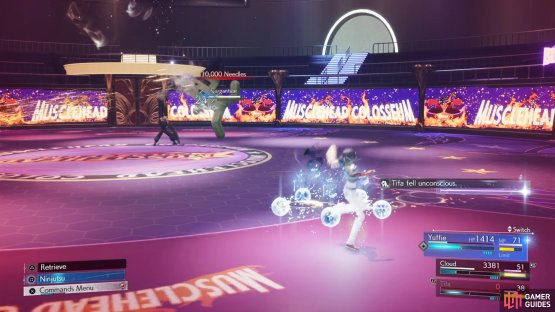
This could be a troublesome round, if you come in unprepared, as you have to fight against a total of 10 Tonberries. The reason is simple, as Tonberries can inflict instant death on a number of abilities. If you have Safety Bits (or ![]() Karmic Cowls) equipped, then you’ll be protected from this. Make sure you do this, as you want that protection against the instant death. If not, then you will be doing a lot of reviving and that isn’t going to be fun. Tonberries aren’t weak to anything and even with the instant death protection, you will need to worry about the overwhelming number of them in this battle.
Karmic Cowls) equipped, then you’ll be protected from this. Make sure you do this, as you want that protection against the instant death. If not, then you will be doing a lot of reviving and that isn’t going to be fun. Tonberries aren’t weak to anything and even with the instant death protection, you will need to worry about the overwhelming number of them in this battle.
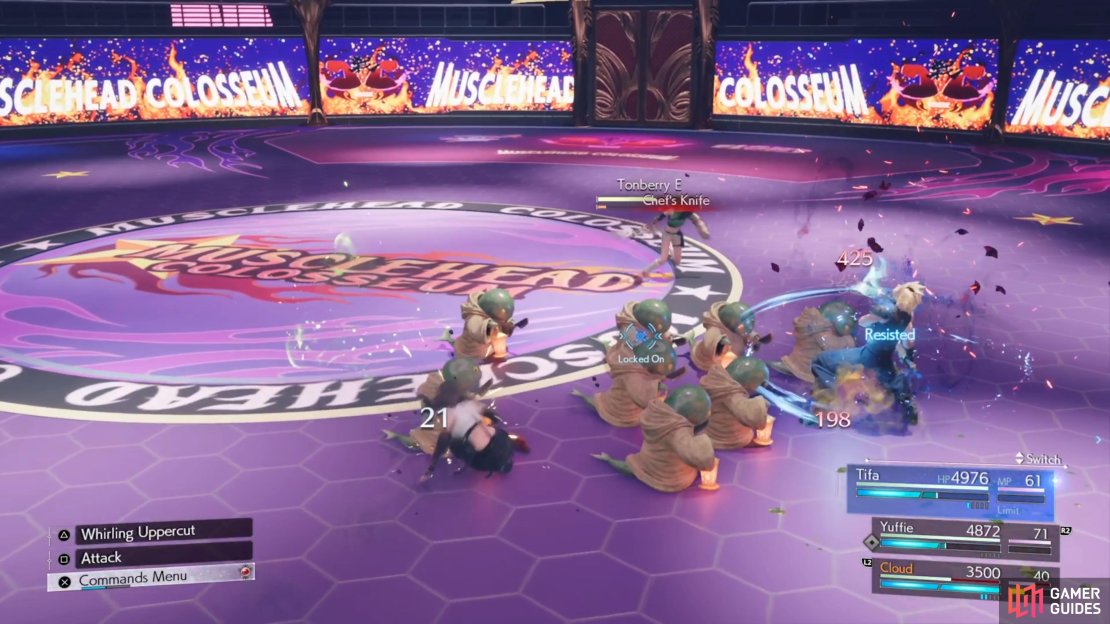
(1 of 4) The Tonberries can instantly kill characters with some attacks, like Chef’s Knife.
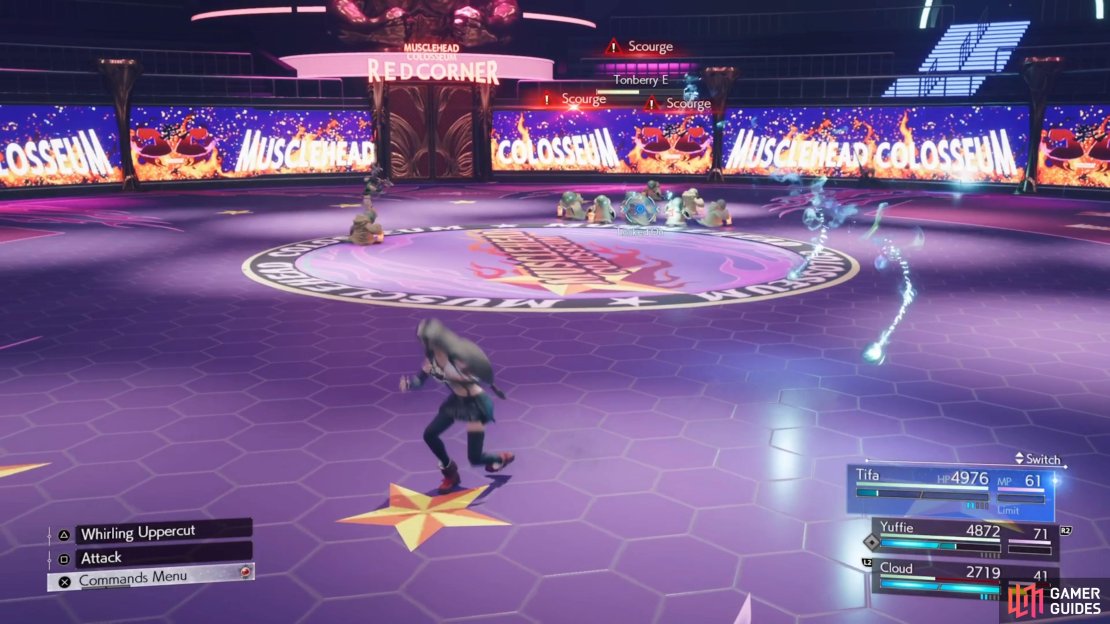
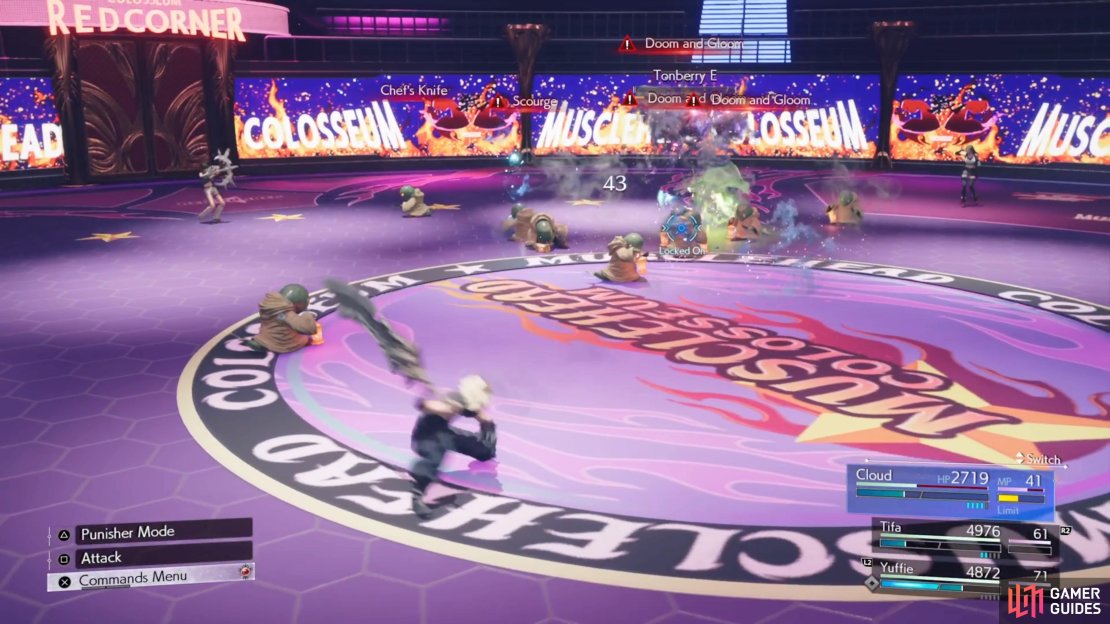
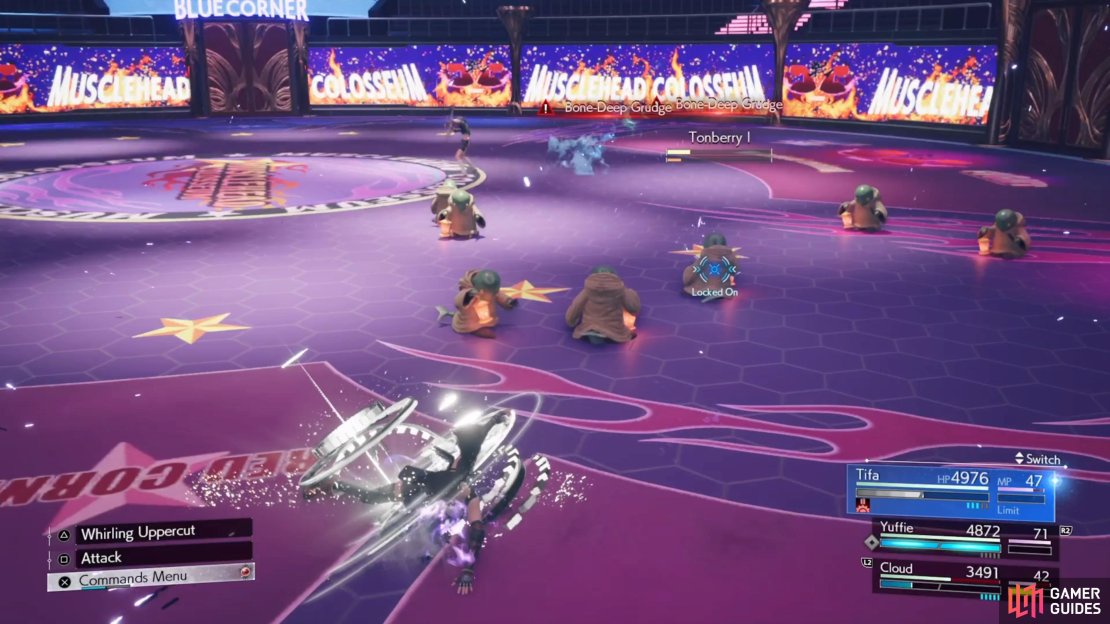
Should you use ranged attacks, the Tonberries will use Scourge, which can stun you if the attacks hit. ![]() Attacks that use ATB will generally cause the Tonberries to counter with Doom and Gloom, a bigger projectile (over Scourge) that can instantly kill you. Of course, they also have Chef’s Knife, a melee attack that inflicts instant death. There is one final move they can do, called Bone-Deep Grudge, where they do an area of effect around them, inflicting
Attacks that use ATB will generally cause the Tonberries to counter with Doom and Gloom, a bigger projectile (over Scourge) that can instantly kill you. Of course, they also have Chef’s Knife, a melee attack that inflicts instant death. There is one final move they can do, called Bone-Deep Grudge, where they do an area of effect around them, inflicting ![]() Stop.
Stop.
Round 3 - Ember Zu
While the Ember ![]() Zu is definitely no pushover, it’s a bit of a break from the previous match, as well as a nice cooldown before the next round. It is also a singular enemy and has a weakness you can exploit for pressuring the creature. Considering its name, the obvious weakness is
Zu is definitely no pushover, it’s a bit of a break from the previous match, as well as a nice cooldown before the next round. It is also a singular enemy and has a weakness you can exploit for pressuring the creature. Considering its name, the obvious weakness is ![]() Ice, so you should be using that quite often here to put it into a pressured state. All of its attacks are some kind of fire tornadoes, with Fiery Tempest’s twisters following you around for a little bit before dissipating.
Ice, so you should be using that quite often here to put it into a pressured state. All of its attacks are some kind of fire tornadoes, with Fiery Tempest’s twisters following you around for a little bit before dissipating.


(1 of 2) The tornadoes from Fiery Tempest will follow you for a bit, so steer clear of other characters.
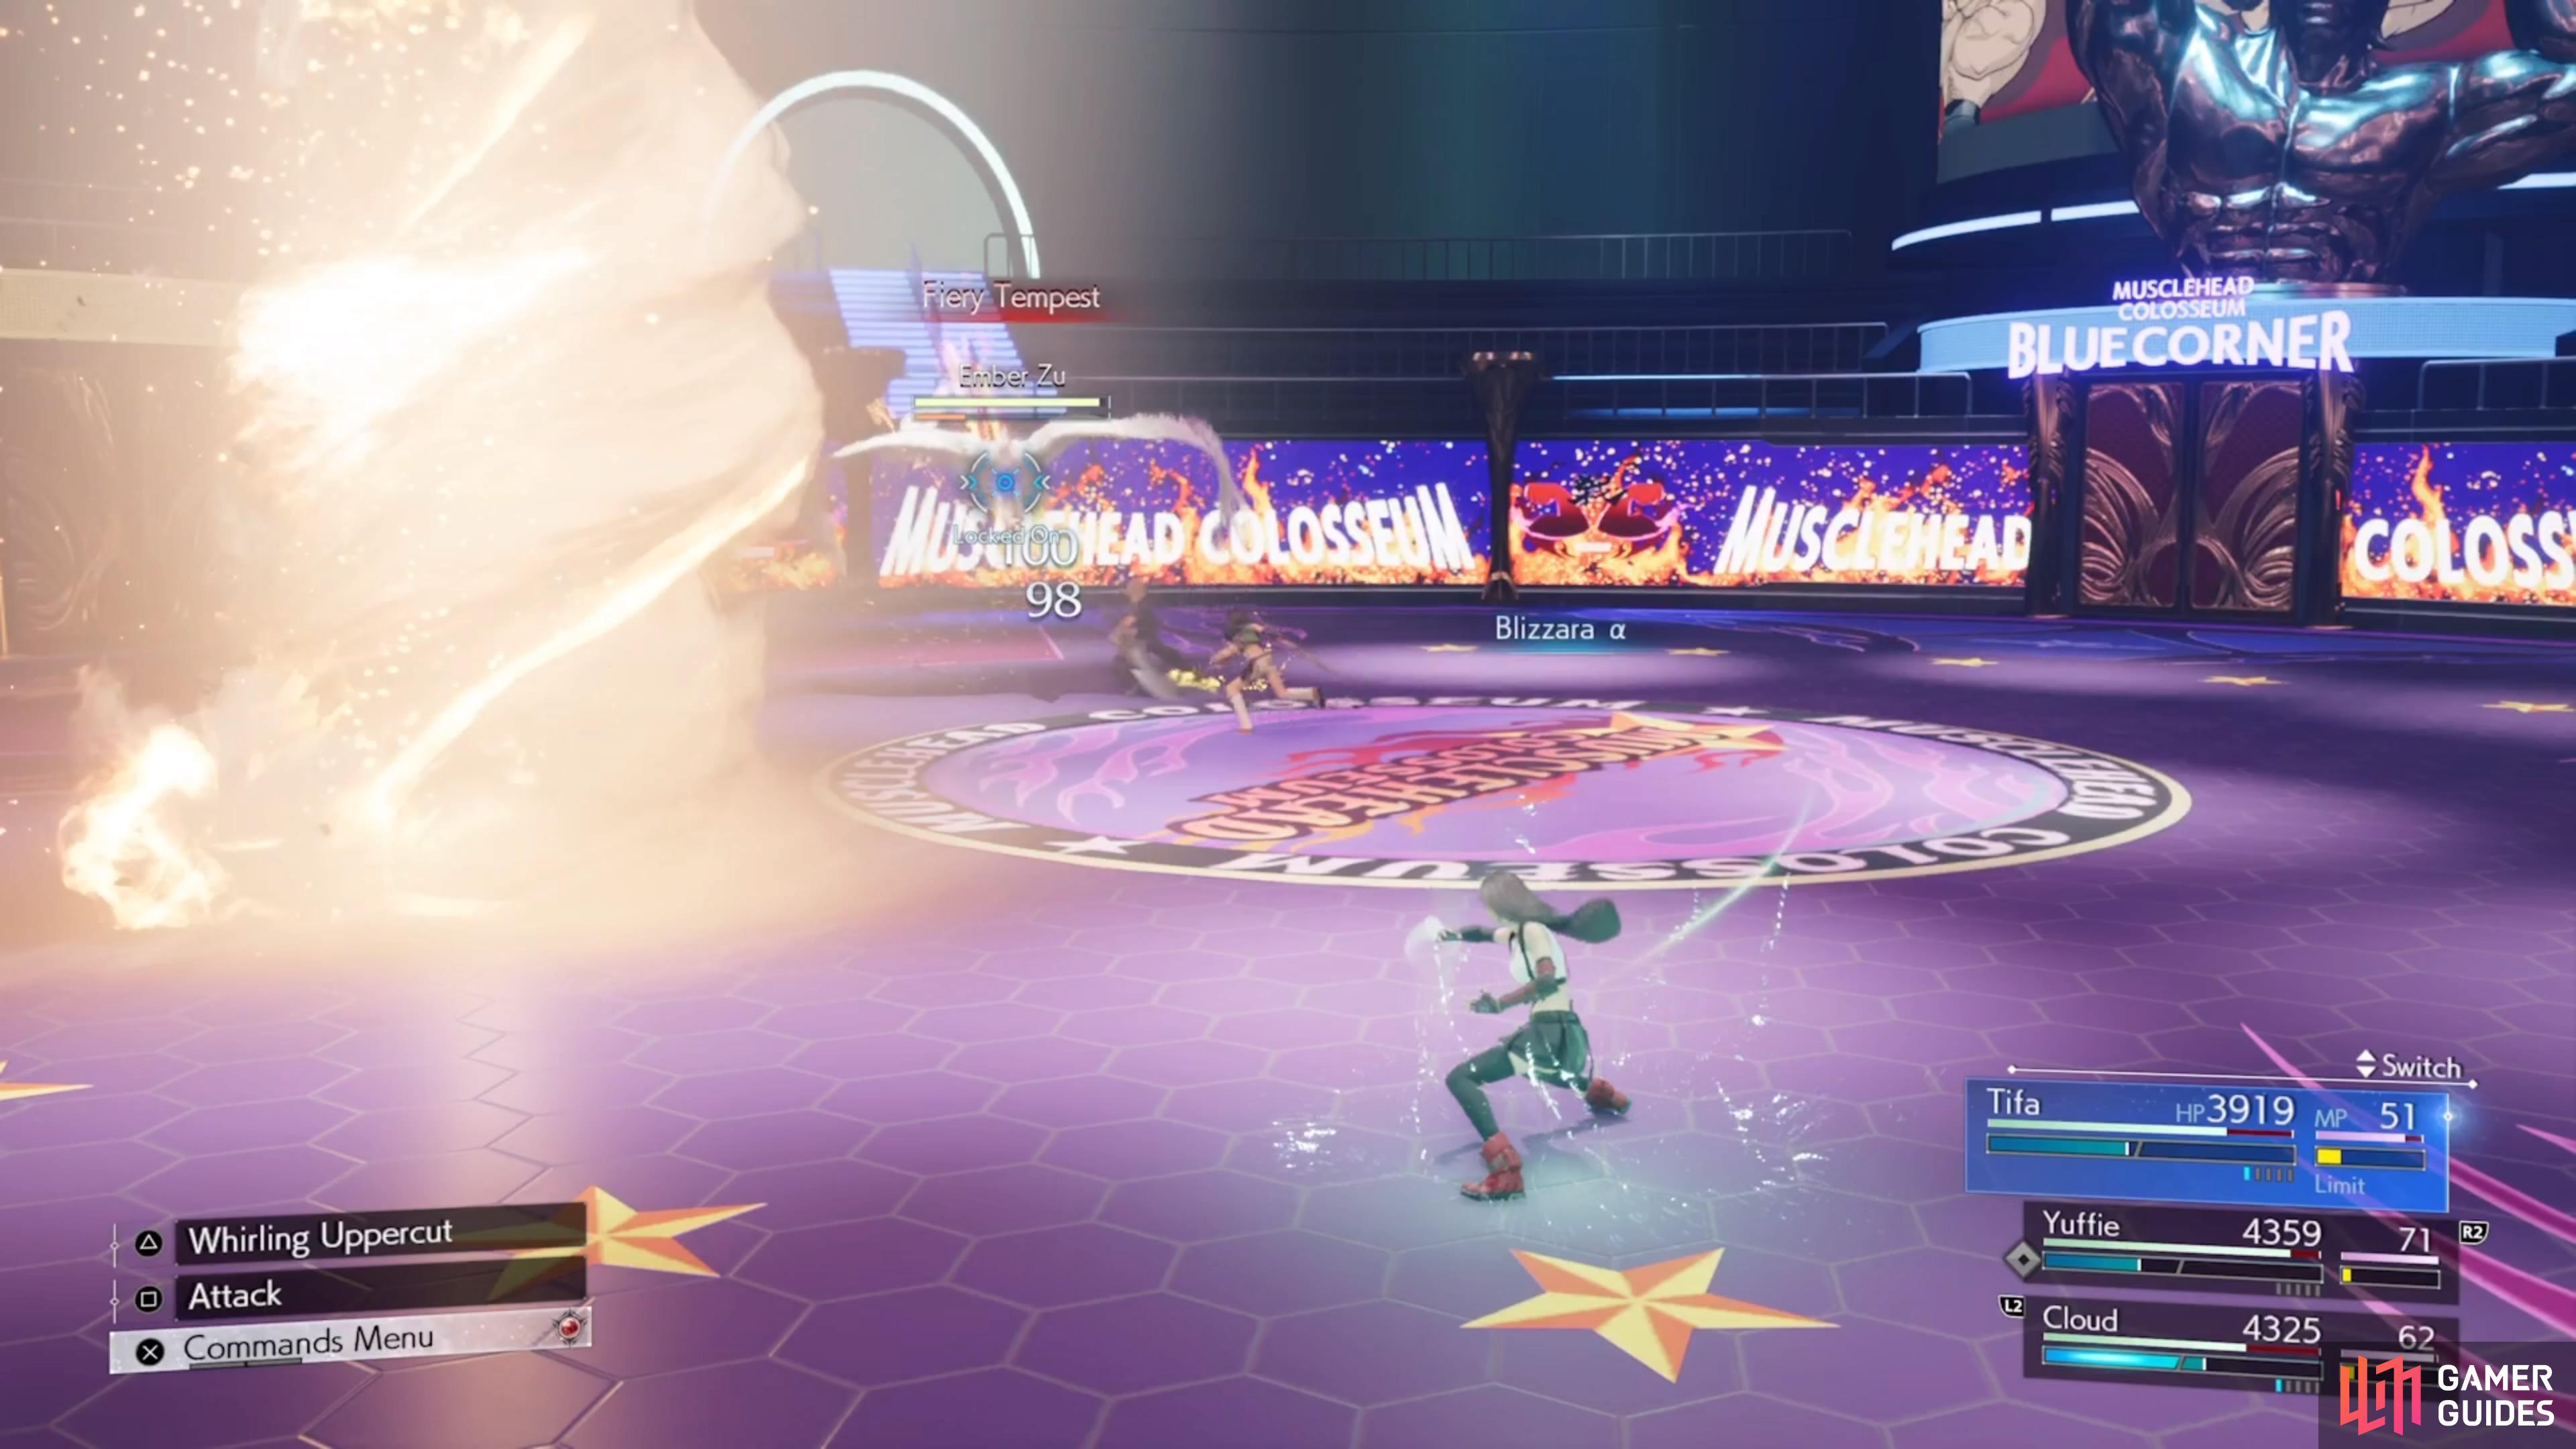
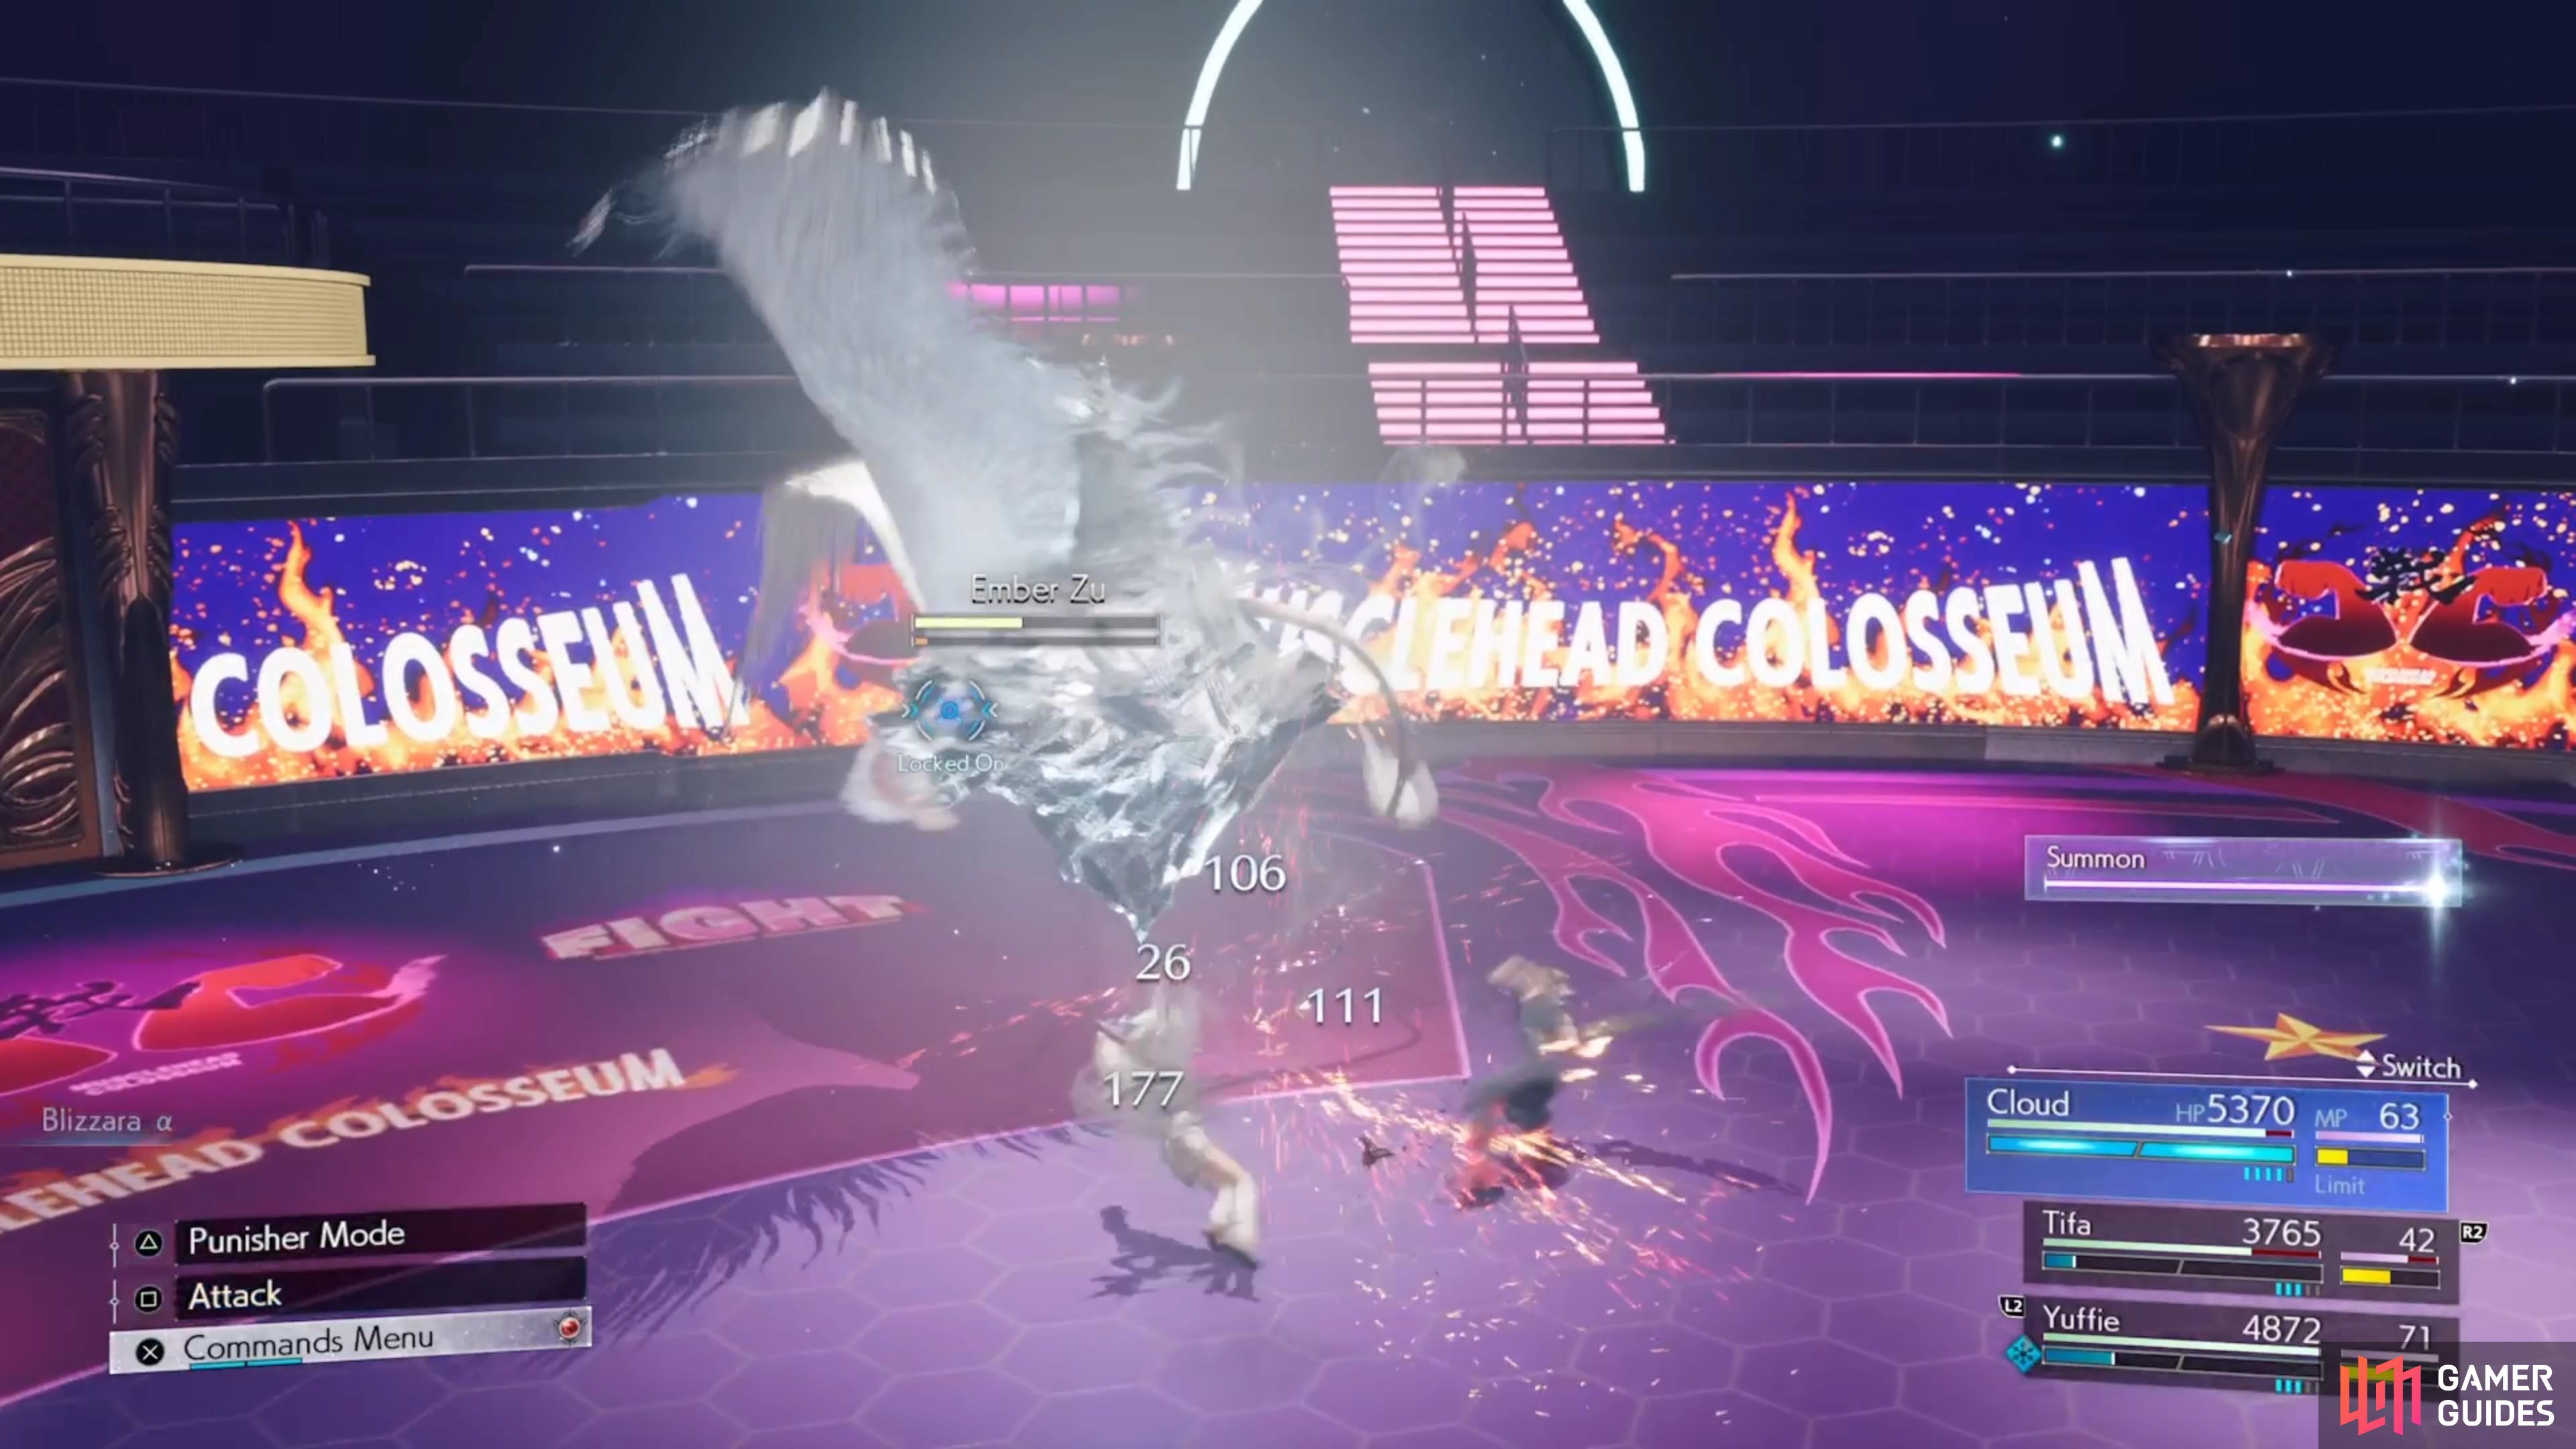
The tornadoes from Fiery Tempest will follow you for a bit, so steer clear of other characters. (left), The Ember Zu is easily pressured by using ice attacks. (right)
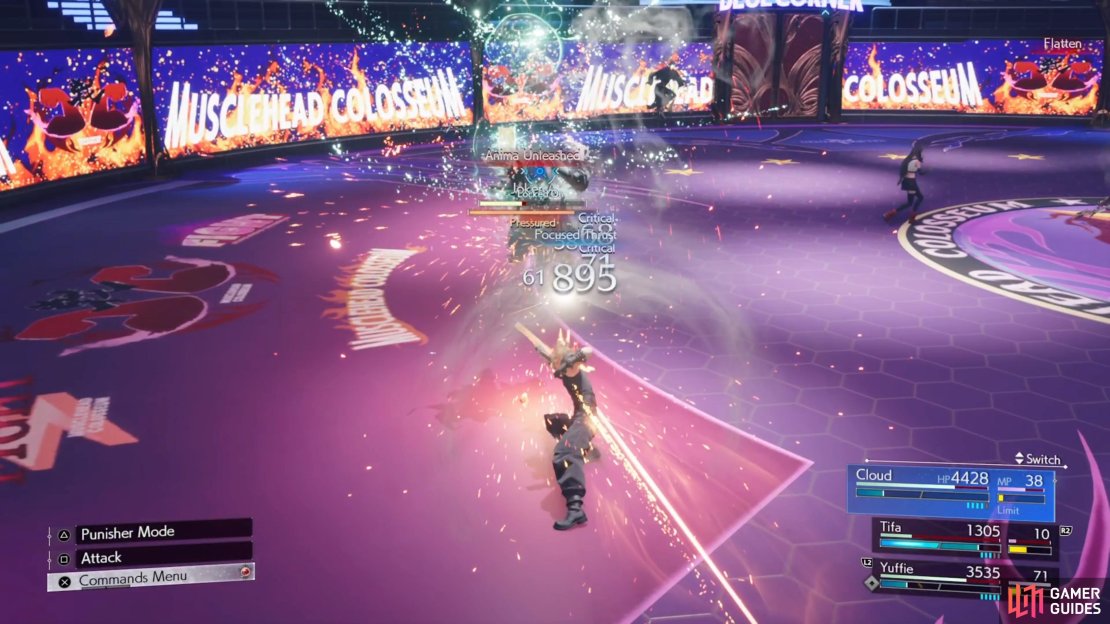
Round 4 - Jokers and Gigantoad
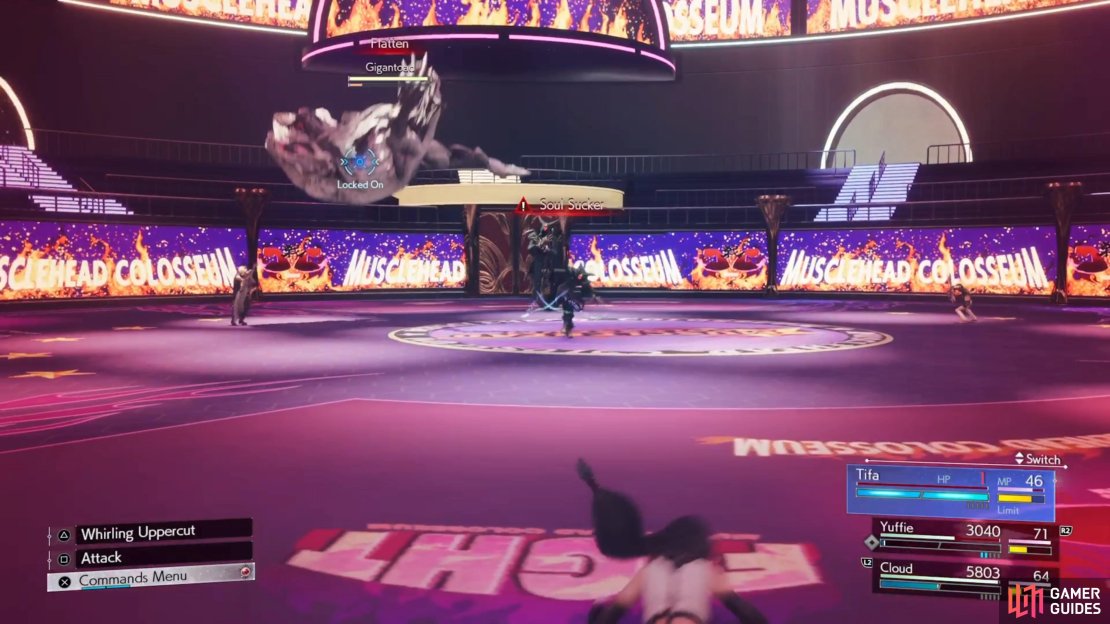
This is probably the toughest round in this little set, as you will be facing two Jokers and a Gigantoad. You will likely want to concentrate on the Jokers first, simply because their Destiny attack randomly chooses one of five outcomes. Of the five outcomes, the Joker one will put the character it hits to 1 HP, leaving them vulnerable to a follow-up strike that downs them. It can also heal itself with Hearts and buffs using Diamonds. You really only fought one of these enemies during Sand and Circuses, so you don’t have a lot of practice.
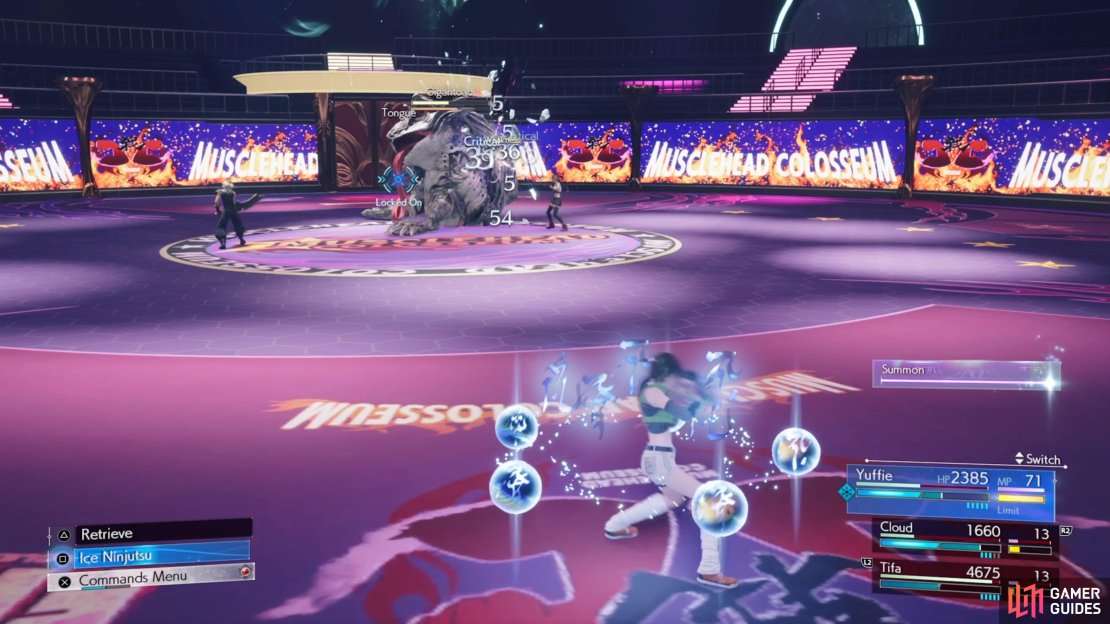
They are weak to ![]() Wind and evading its Soul Sucker attack a few times should cause it to attack itself, which is where it will be pressured. Quickly take advantage of this state to increase the stagger bar to full, then unleash all you have on the Joker so you can take it out. Removing just one Joker can make the battle much more manageable, allowing you to concentrate on the other one, before diverting your attention to the Gigantoad. For that creature, either counter its tongue attacks or wait until it takes a breather. Target the tongue with something like Blizzara to deal enough damage to pressure it, where you can then stagger it and quickly make short work of it.
Wind and evading its Soul Sucker attack a few times should cause it to attack itself, which is where it will be pressured. Quickly take advantage of this state to increase the stagger bar to full, then unleash all you have on the Joker so you can take it out. Removing just one Joker can make the battle much more manageable, allowing you to concentrate on the other one, before diverting your attention to the Gigantoad. For that creature, either counter its tongue attacks or wait until it takes a breather. Target the tongue with something like Blizzara to deal enough damage to pressure it, where you can then stagger it and quickly make short work of it.
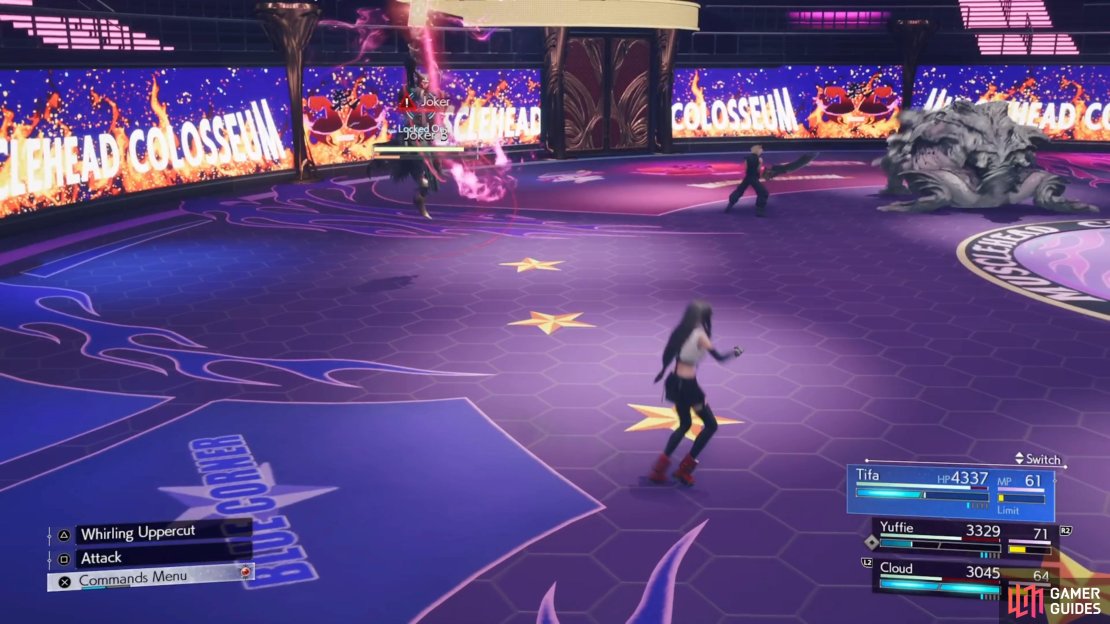
(1 of 4) The Joker attack is brutal, as it leaves a character with just 1 HP.
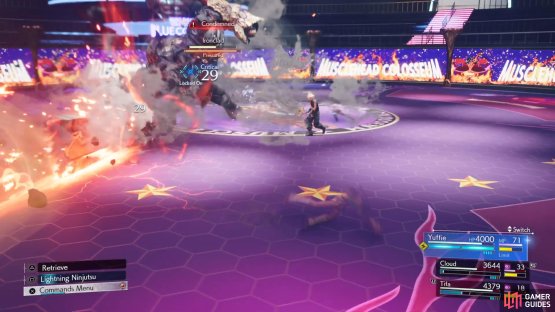
Round 5 - Ironclad
The final round will pit you against an Ironclad enemy (basically an Iron Giant from prior games). While powerful and shouldn’t be taken lightly, it’s much easier to tackle this foe when compared to the previous bout. The only time it’ll become pressured is when it uses Sharpen, so you won’t be able to inflict it yourself. It is weak to ![]() Lightning damage, while also having lesser resistances to
Lightning damage, while also having lesser resistances to ![]() Fire, Ice,
Fire, Ice, ![]() Slow, Stop, and
Slow, Stop, and ![]() Poison.
Poison.
Graviga is one of the more annoying abilities from the Ironclad, as it deals percentile damage to one of your characters. The majority of the other attacks are not too difficult to dodge, as most of them are melee range. Firaga you can block and depending on your resistances, can also be mitigated. You will want to be extremely careful of Thanatosian Blade, though, as its damage is very big. However, the shockwave for it is narrow and goes in a straight line.

(1 of 2) The Ironclad only becomes pressured whenever it uses Sharpen.
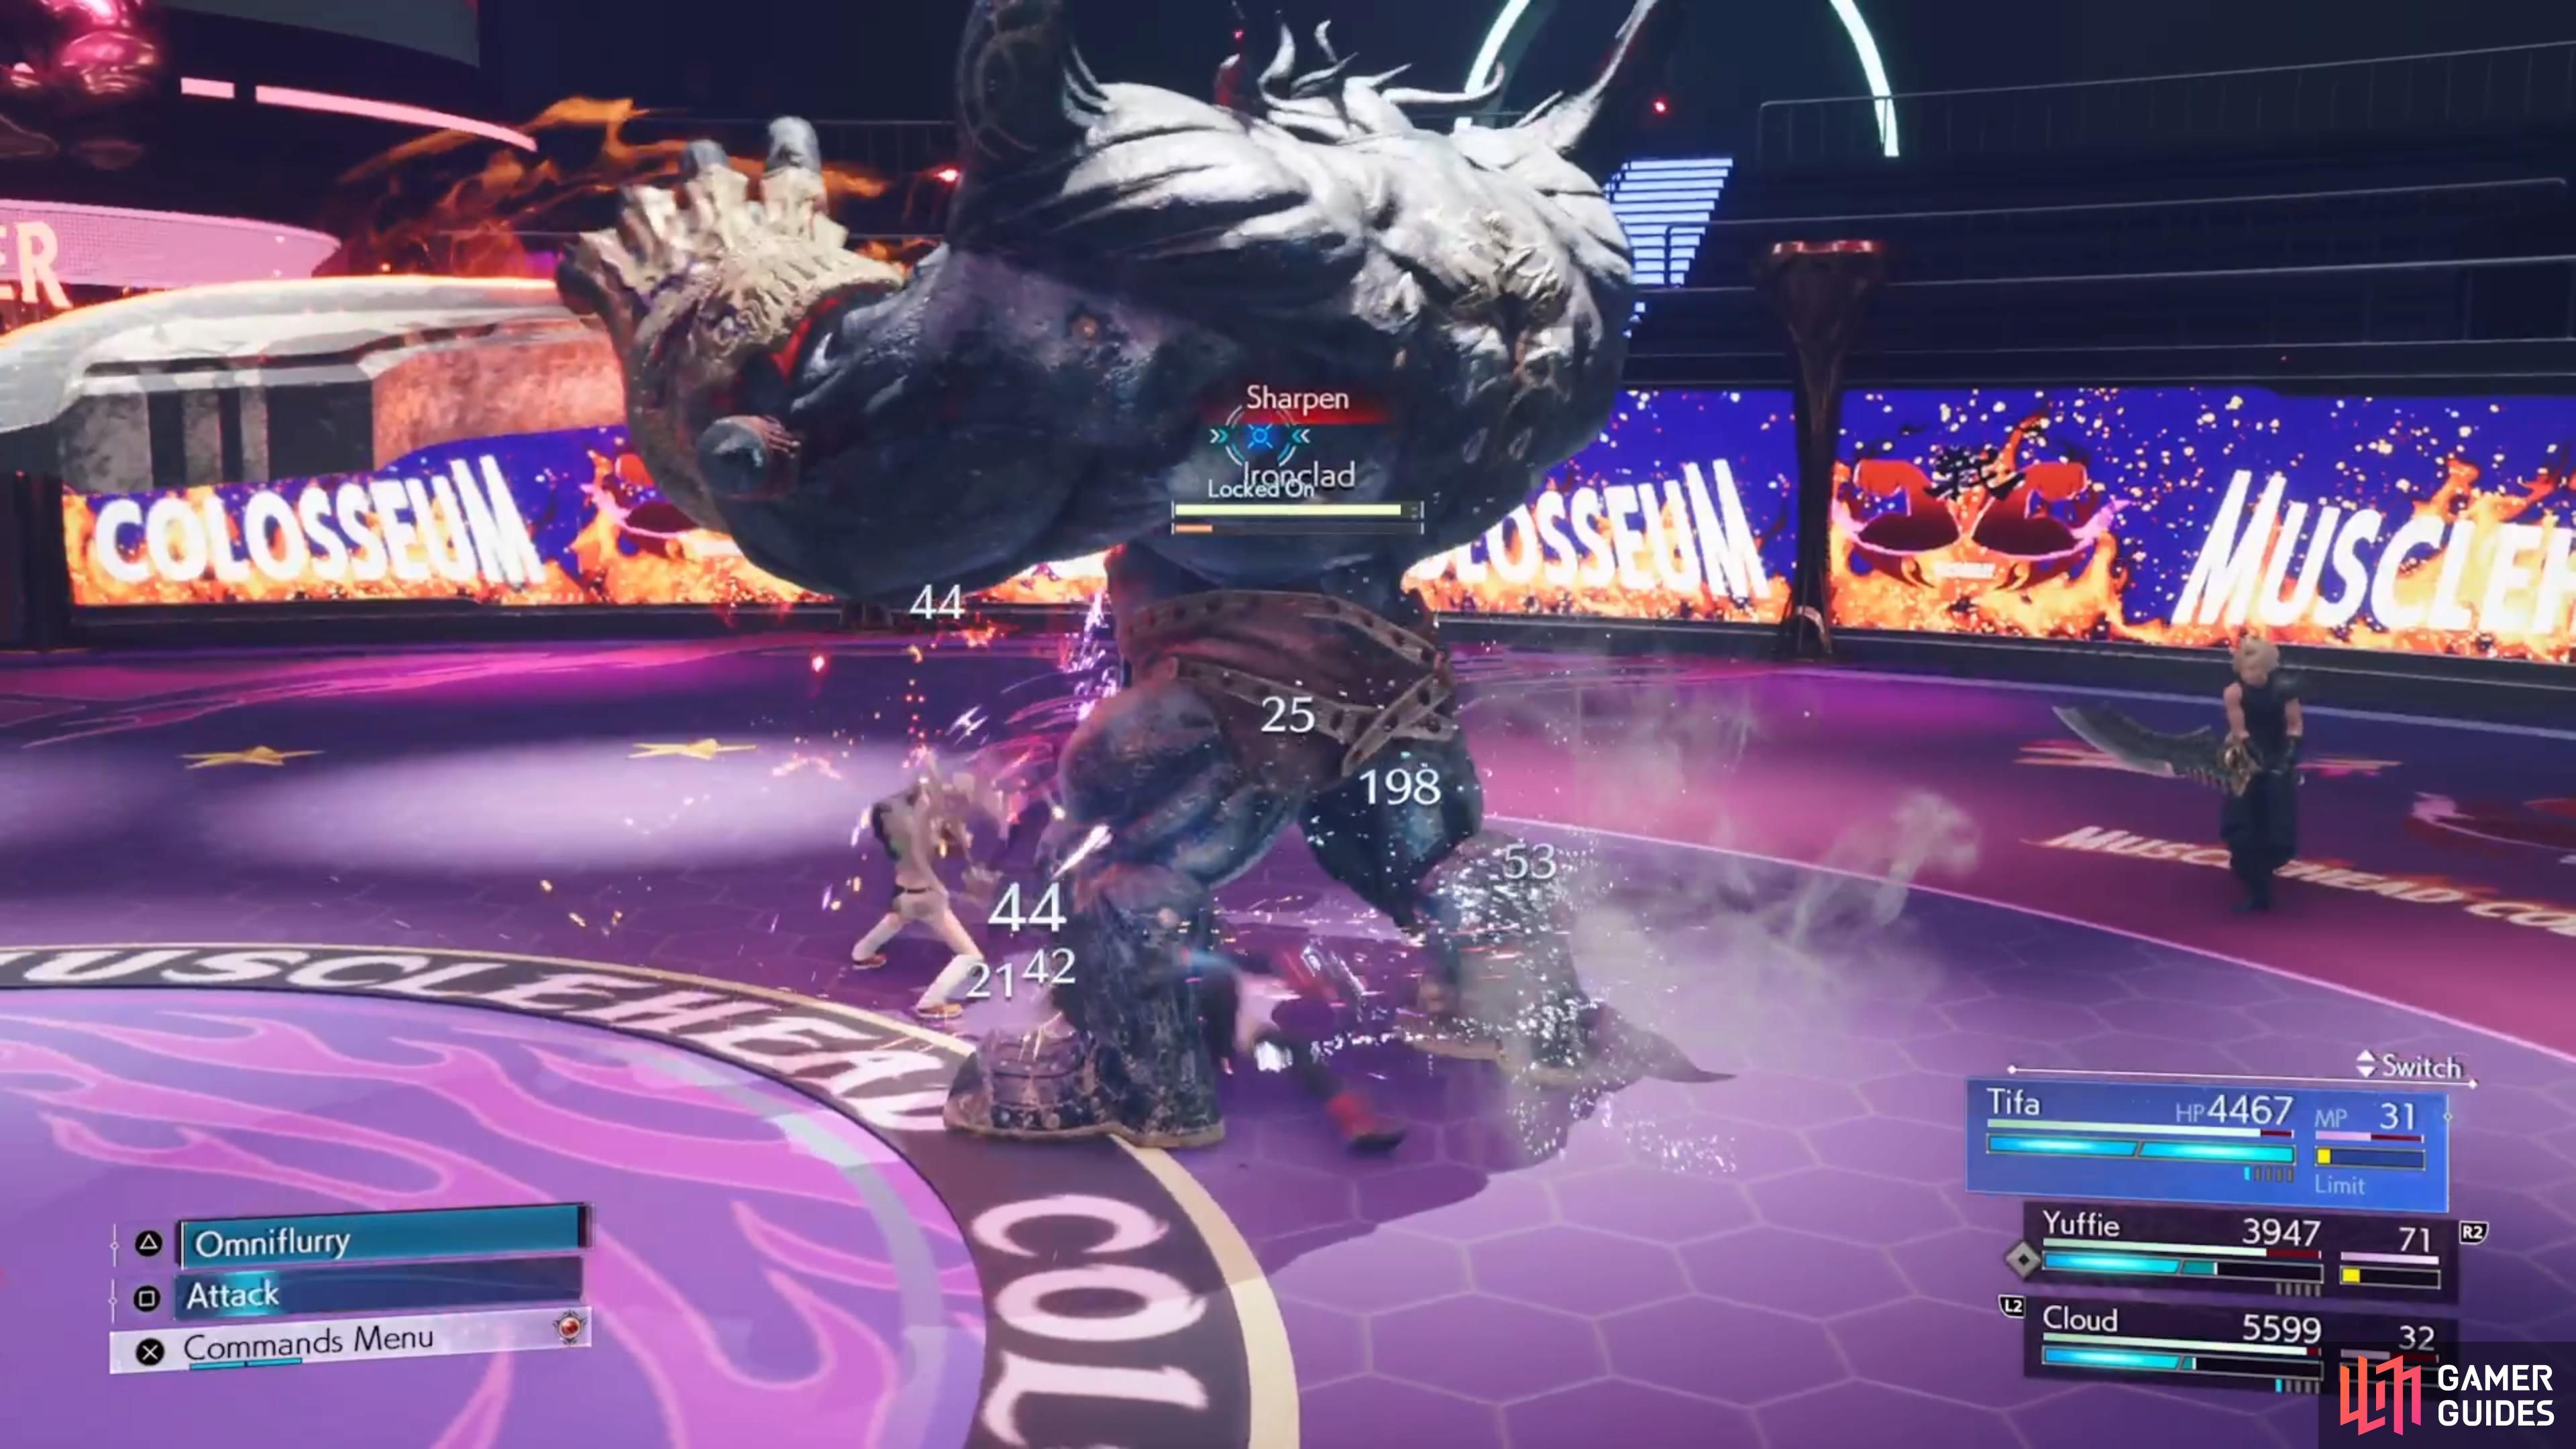

The Ironclad only becomes pressured whenever it uses Sharpen. (left), Its sword has a big reach, so be wary when it uses it for its attacks. (right)
Can’t Stop Won’t Stop - G-Bike
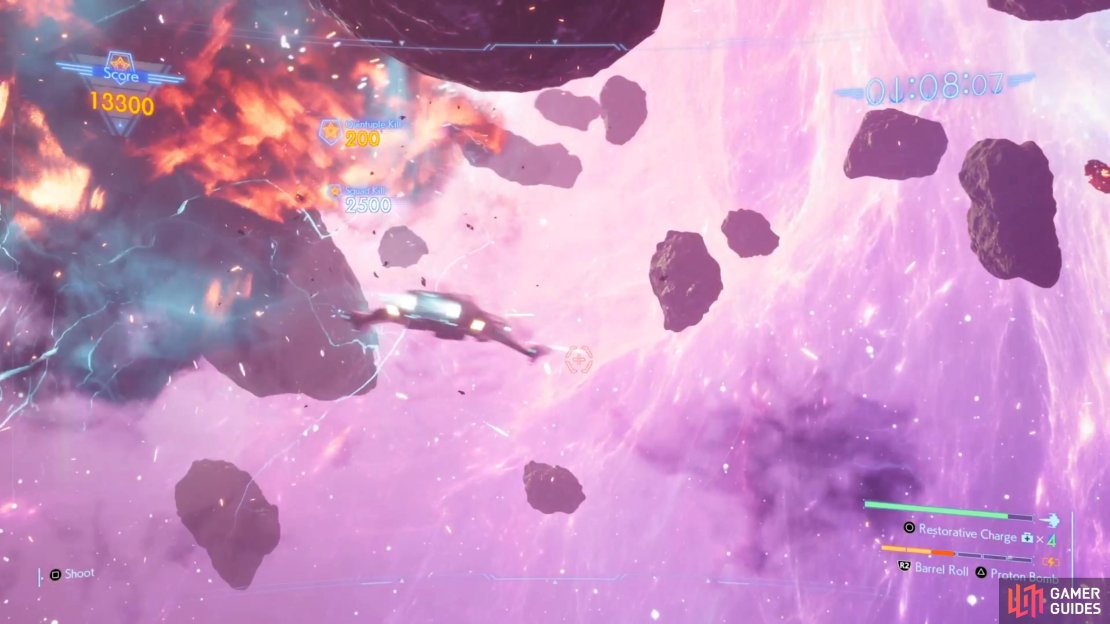
Similar to the Galactic Saviors minigame, the G-Bike version you have to do for this quest is literally just the Expert course. Your goal is to get more than 32,000 points, which is what the Shinra Middle Manager has for his score. This may take a few tries, but you should try to do the minigame a few times to get a hang for the course. Learn where the blue pickups are located, as you’ll need them to keep up your energy in the bottom right.
You will want to be careful with the helicopter, as the bombs it shoots down will leave behind some fire, which can slow you down and cause some damage to your energy. Avoid these and concentrate on trying to defeat as many enemies as possible, since they are worth a good number of points. If there is a big cluster of enemies close by and you have your special attack primed, use it to quickly wipe them out. 32k seems like a big score and it usually is, but it shouldn’t take too many tries to get higher than it.

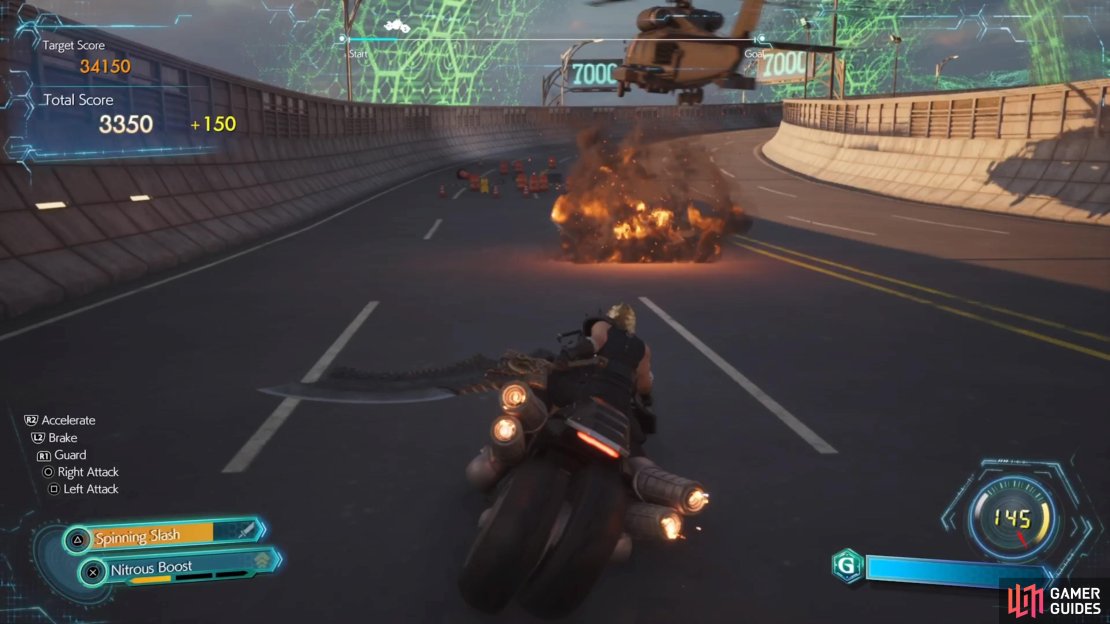

(1 of 3) The blue pick-ups not only give you points, but they replenish your energy.
Can’t Stop Won’t Stop - Queen’s Blood
After completing the G-Bike portion of the quest, the Middle Manager will move on over to the Queen’s Blood area in the Wonderment Square. Here, you will challenge him to a one-on-one battle, like with any other QB opponent. Note that despite his QB Rank being the highest one, you won’t need to have completed all of the Queen’s Blood story to challenge him. Overall, he’s not too tough of an opponent, but there is a special card in play from the very beginning. The card in the middle of the board is the Ultimate Party Animal card, which will make it so the loser’s points in a row are added to the winner.
This basically means that you will not want to waste points on a row if you are unable to win it. For example, if you win two rows with 6 points and 7 points, but lose a row with 11 points, then that means you could potentially lose the match (depending on your opponent’s points). If you’ve done everything Queen’s Blood related, then this match should be nothing more than a simple diversion, as the Middle Manager doesn’t really have a lot of big cards.
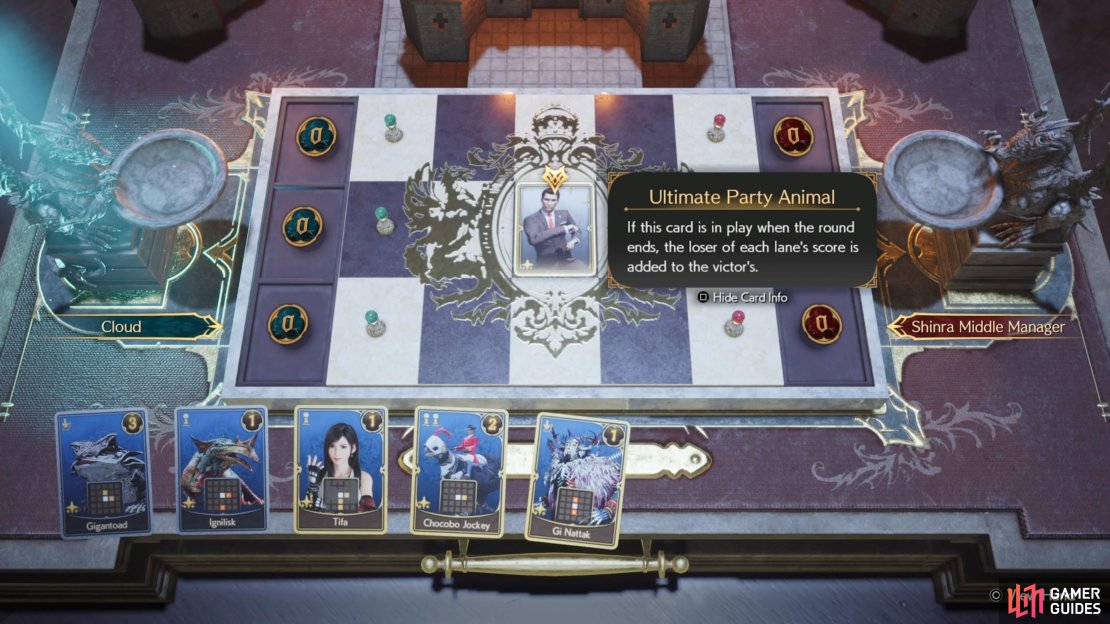
(1 of 3) The UPA card will be placed in the middle of the board, from the start.
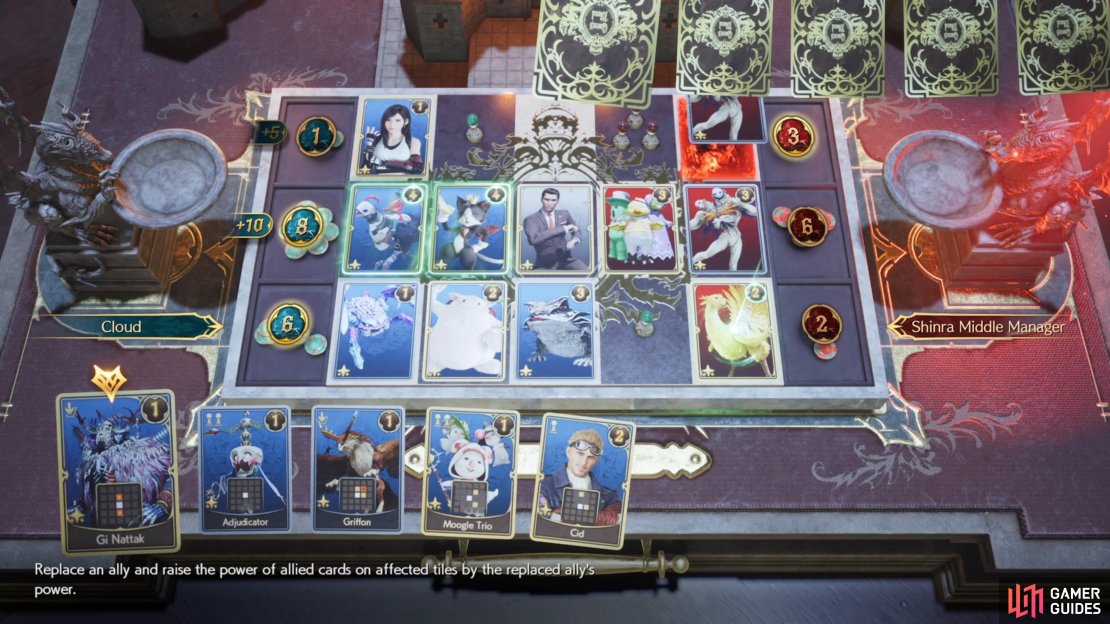
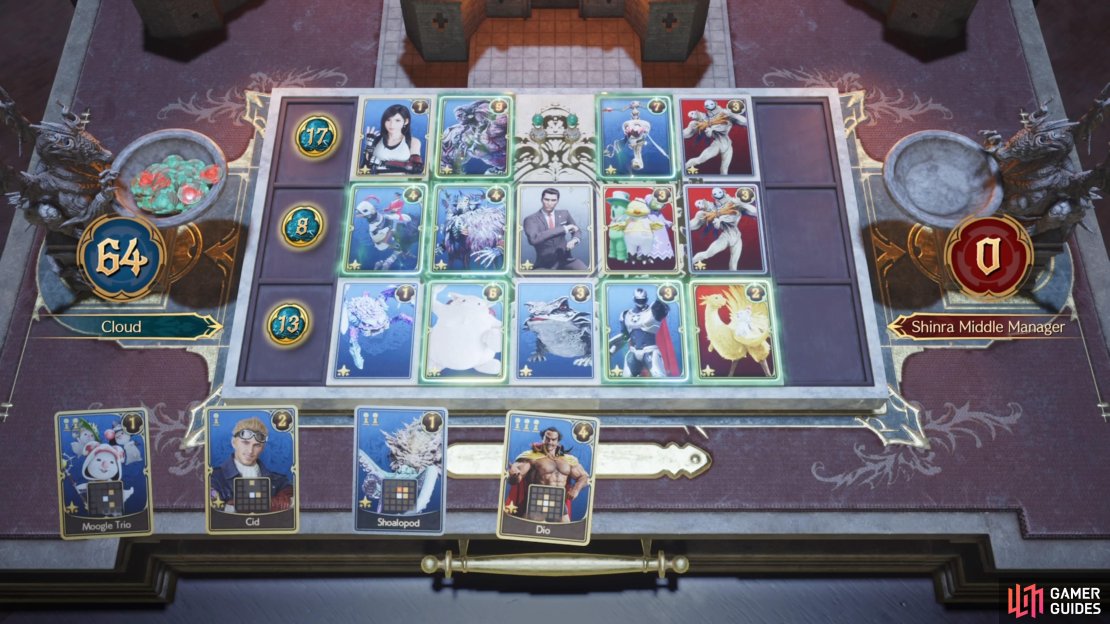
If you haven’t been keeping up with the minigame, then you may want to use your Gold Saucer Points to purchase some of the cards from the Saucer’s vendors. Particularly, Spacer Ranger and Dio are two extremely powerful cards, with Loveless and Chocobo Jockey also being good to play. The Chocobo Jockey will add 10 points to the row if you win it, so that’s a good way to stack on some extra points. You will receive the Ultimate Party Animal card for beating the Manager.
3D Brawler - Shinra Middle Manager
Upon completing all other minigames, you will do battle in one final challenge, which is facing the Middle Manager in ![]() 3D Brawler. This might be one of the more tougher challenges, since he will have access to all three attacks on both sides. It also doesn’t help that his animations are slightly more exaggerated than the previous combatants, so you may get confused a little bit more. Specifically, the uppercuts are the main problem with the Middle Manager, since he kind of moves both arms while doing these.
3D Brawler. This might be one of the more tougher challenges, since he will have access to all three attacks on both sides. It also doesn’t help that his animations are slightly more exaggerated than the previous combatants, so you may get confused a little bit more. Specifically, the uppercuts are the main problem with the Middle Manager, since he kind of moves both arms while doing these.
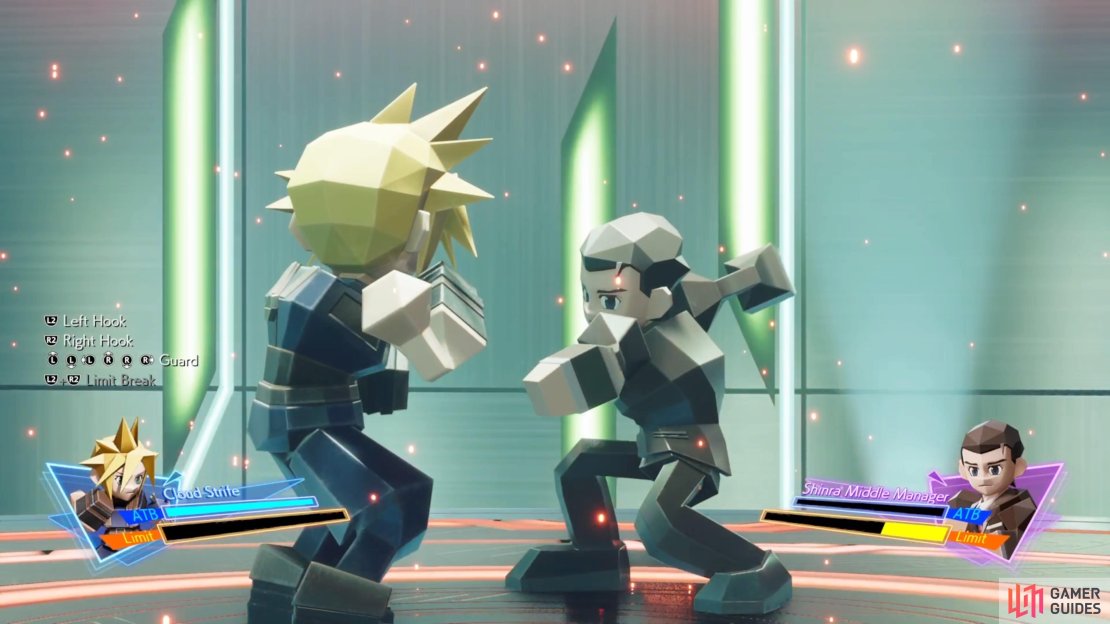
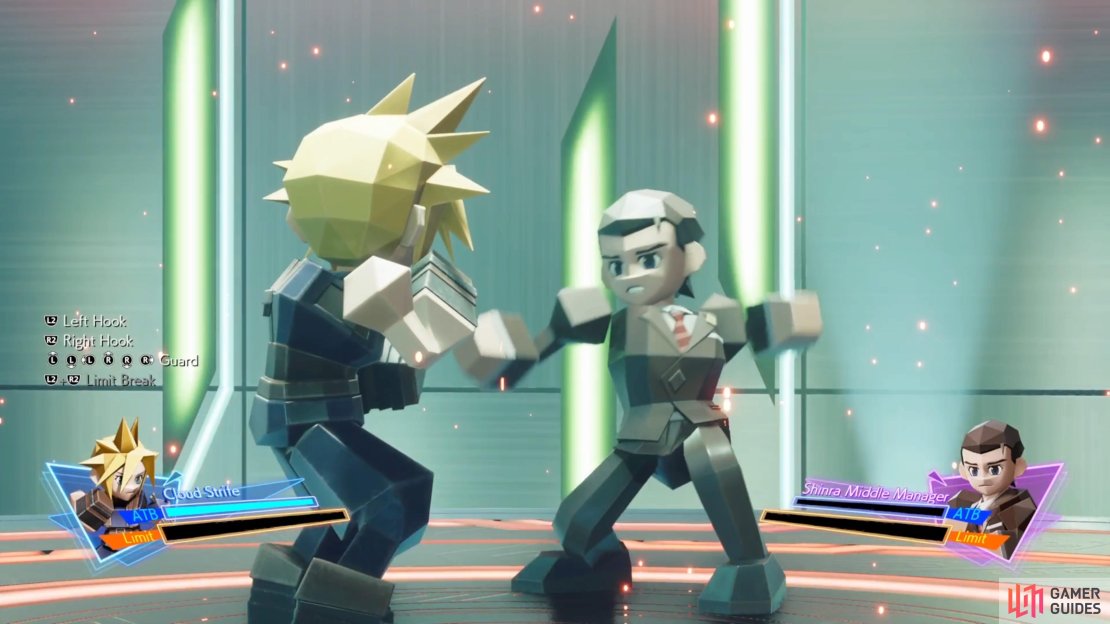
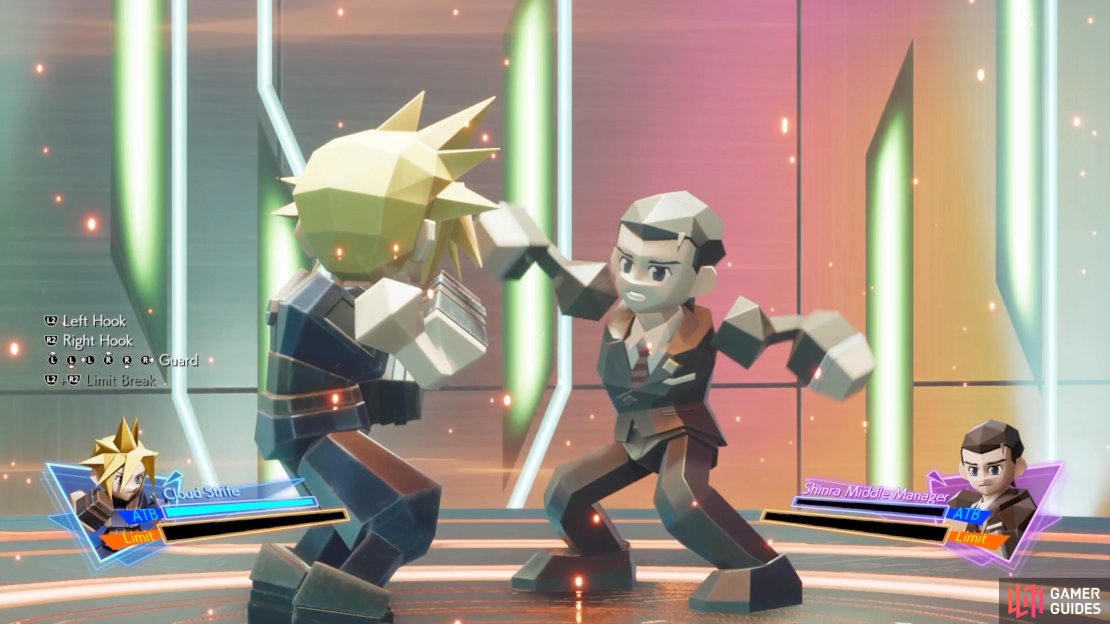

(1 of 4) The Middle Manager’s Hook punch is pretty easy to determine.
For the Straights and Hooks, you will want to pay attention to the hand that isn’t throwing the punch. If you see that off-hand going down and swinging upwards, then the punch will be a Straight. If the off-hand goes to the side from the start, then it will be a Hook. For the Uppercut, the off-hand looks like it’ll be used, since that is moved first. However, this looks like a ruse, as it’s actually the opposite of the first moved hand for Uppercuts. In addition to this, the Middle Manager will have two different combos he’ll use. Each one will exclusively use a single side, so you will never switch from left to right during them.
- Combo 1: Left Uppercut, Left Straight, Left Hook, Left Straight
- Combo 2: Right Uppercut, Right Hook, Right Straight, Right Hook
Beating the Middle Manager in 3D Brawler will wrap up the quest. In addition to the rewards you’ve gotten from some of the actual minigames, you will also receive the traditional Party/Character EXP, as well as the Gambler Materia. You will also unlock the 3D Brawler Hidden Character and the My Job Here Is Done trophy, which is for finishing all quests.
No Comments