
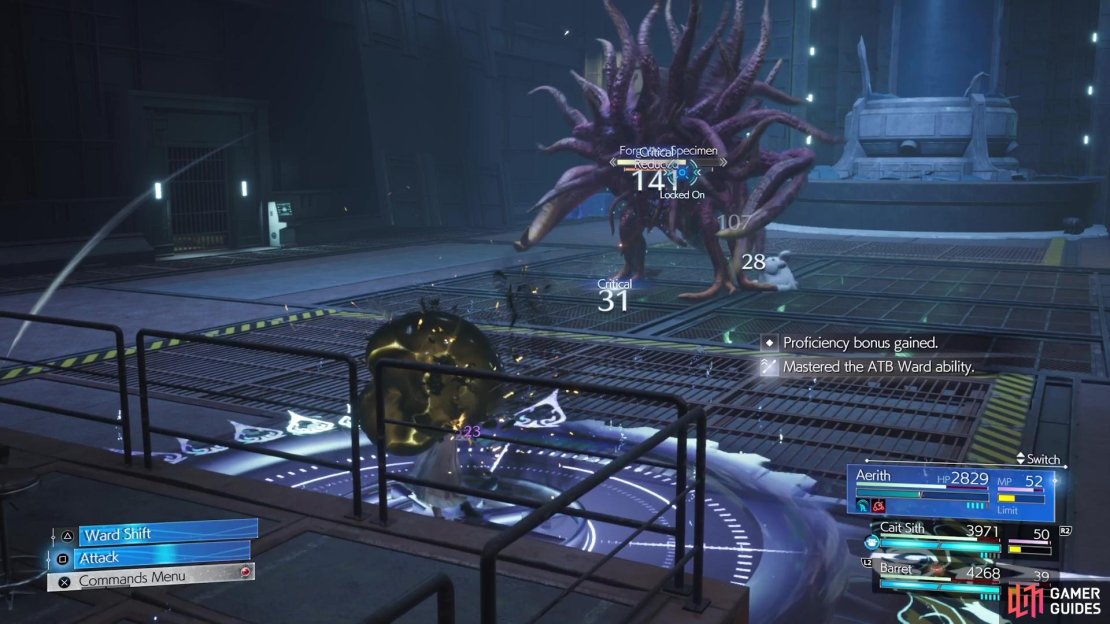
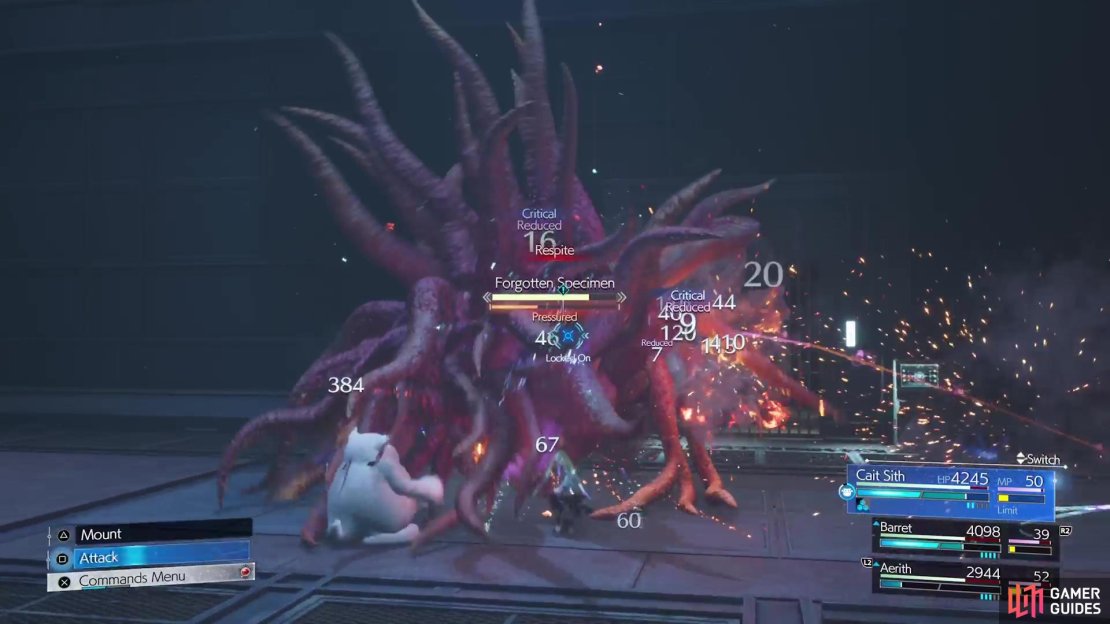
During Chapter 11 of Final Fantasy VII Rebirth, you will be forced to go through the Mako Research Facility. This dungeon will require you to use ![]() Cait Sith, Aerith and Barret as your party members. At the end of this dungeon, you’ll face a boss, the Forgotten Specimen, who seems to have received a name change from the original game, where it was known as the Lost Number.
Cait Sith, Aerith and Barret as your party members. At the end of this dungeon, you’ll face a boss, the Forgotten Specimen, who seems to have received a name change from the original game, where it was known as the Lost Number.
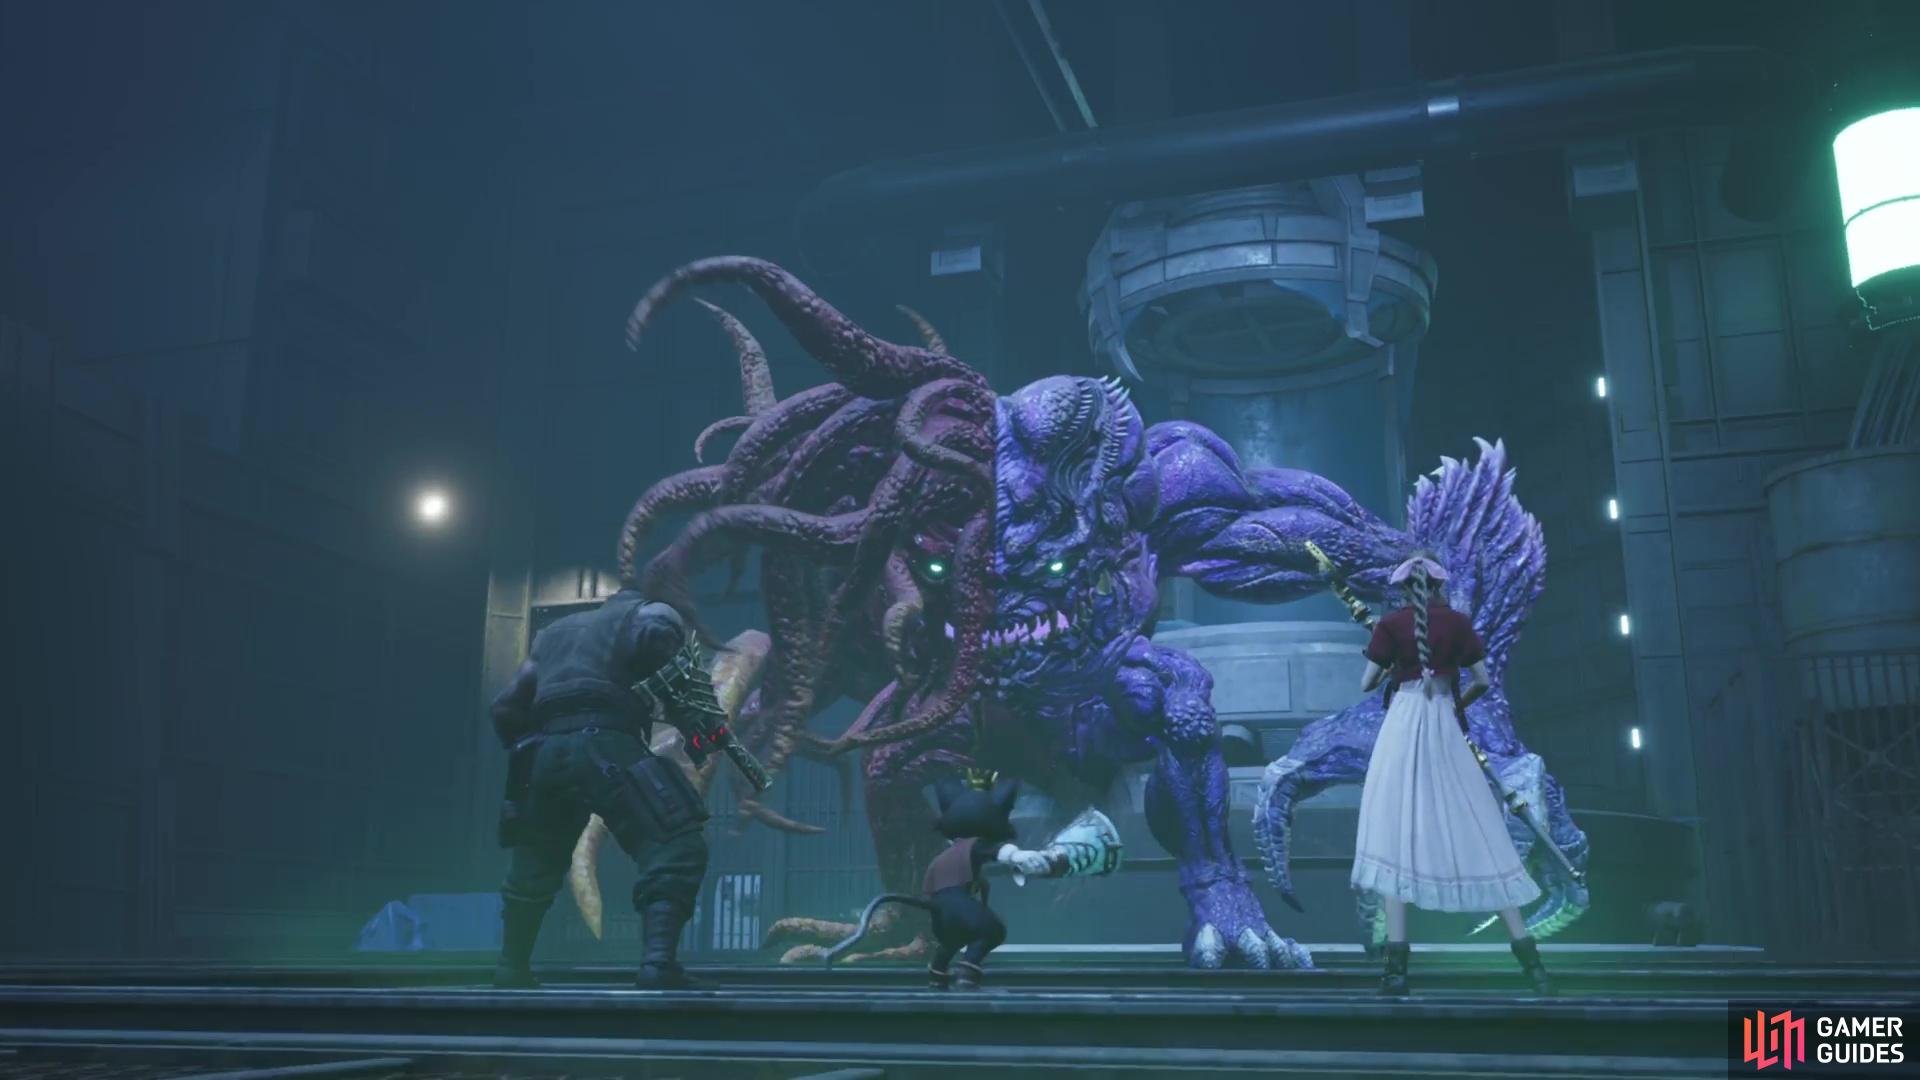
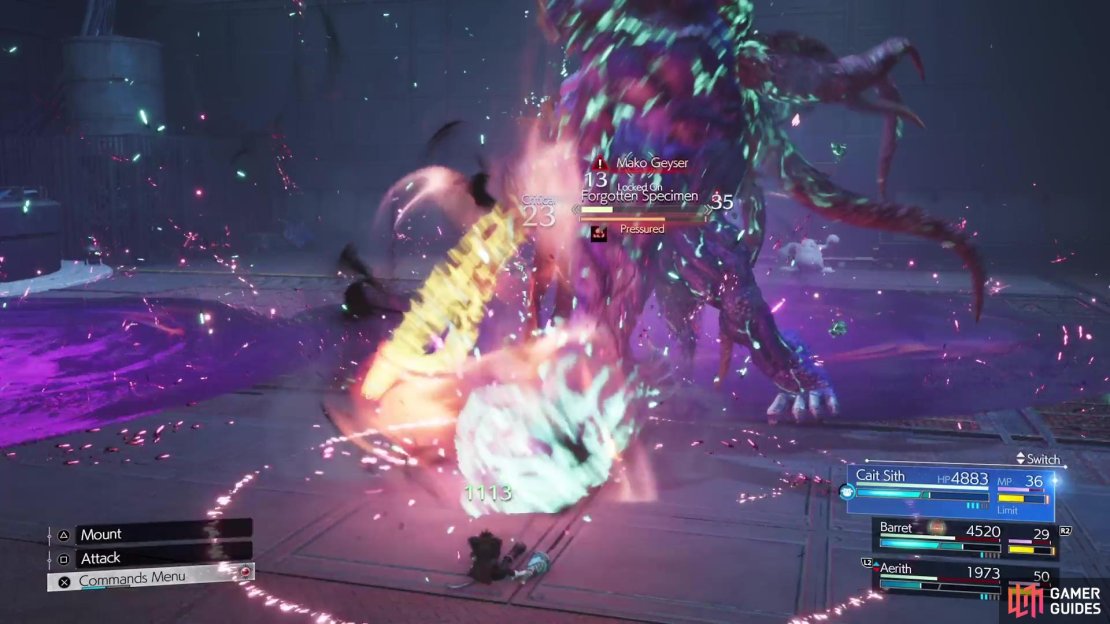
You will fight the Forgotten Specimen at the end of the Mako Research Facility.
All of Forgotten Specimen’s Attacks
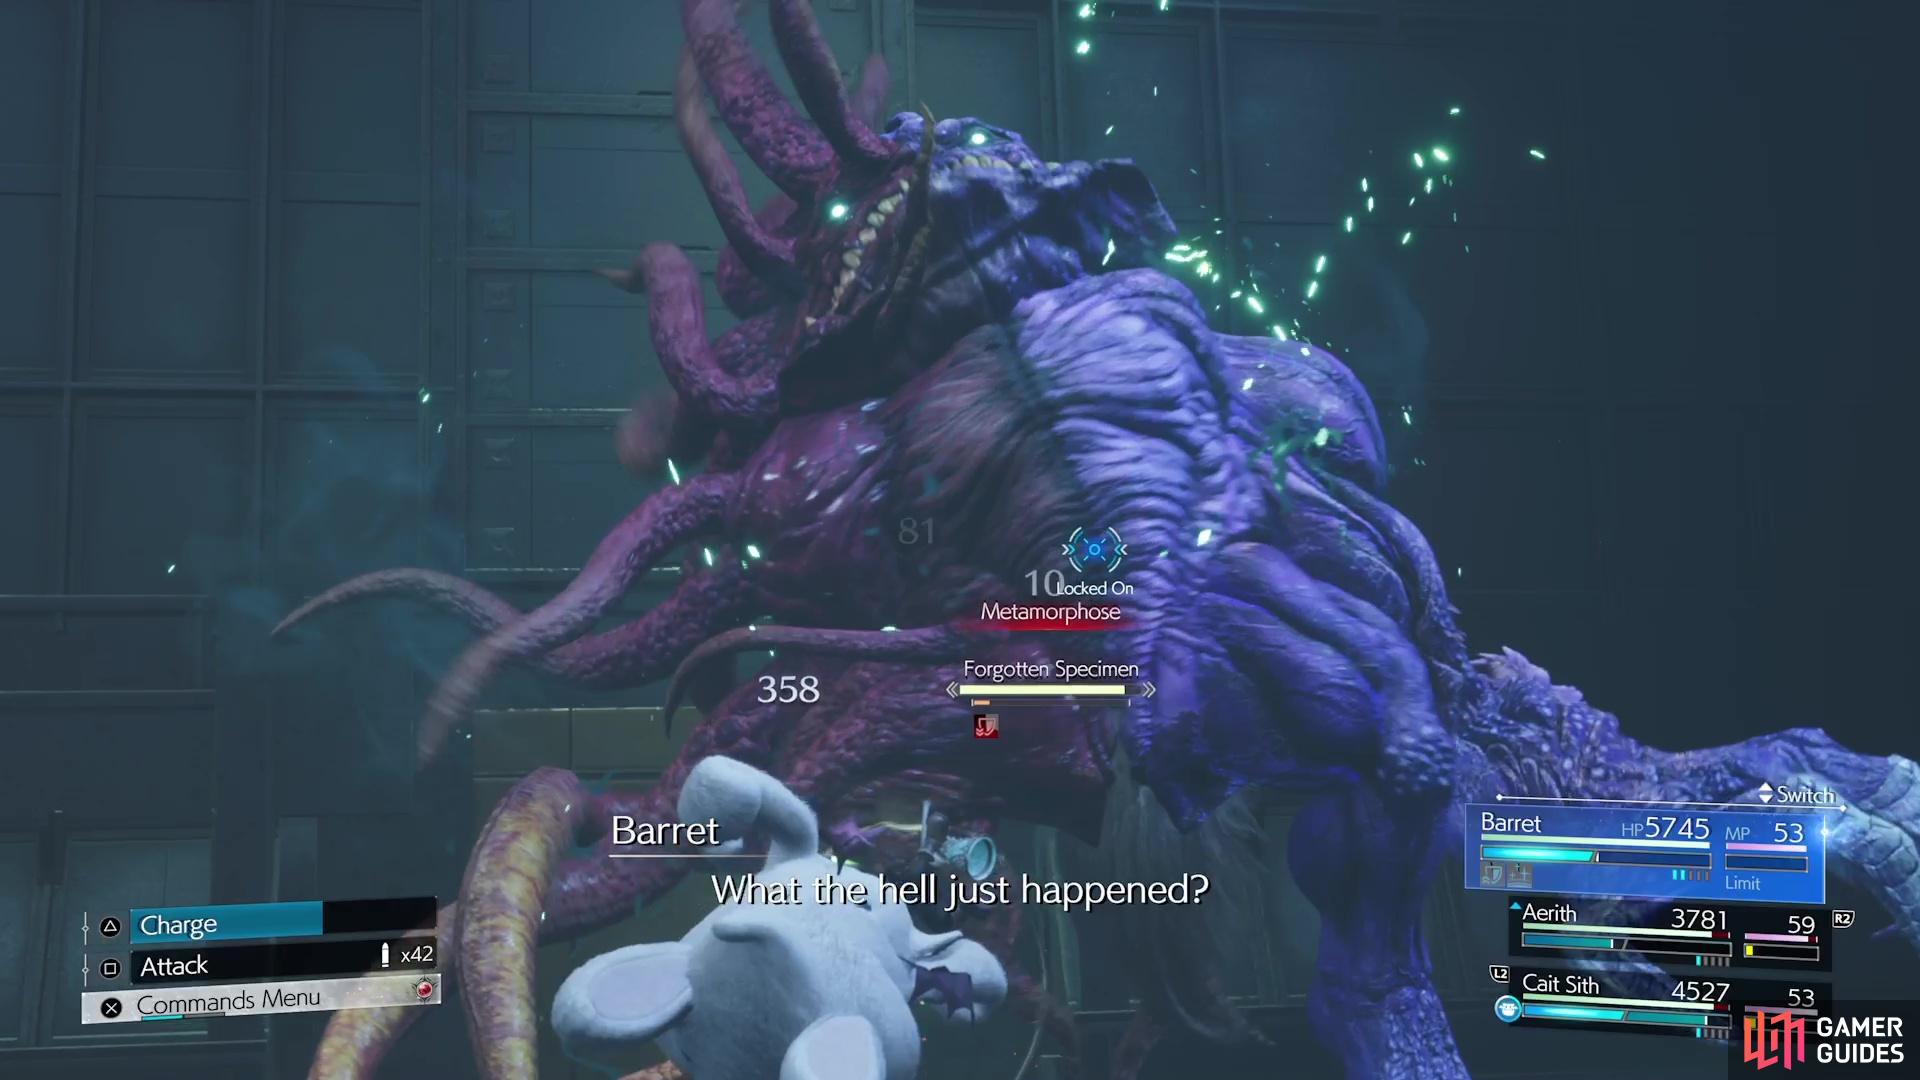
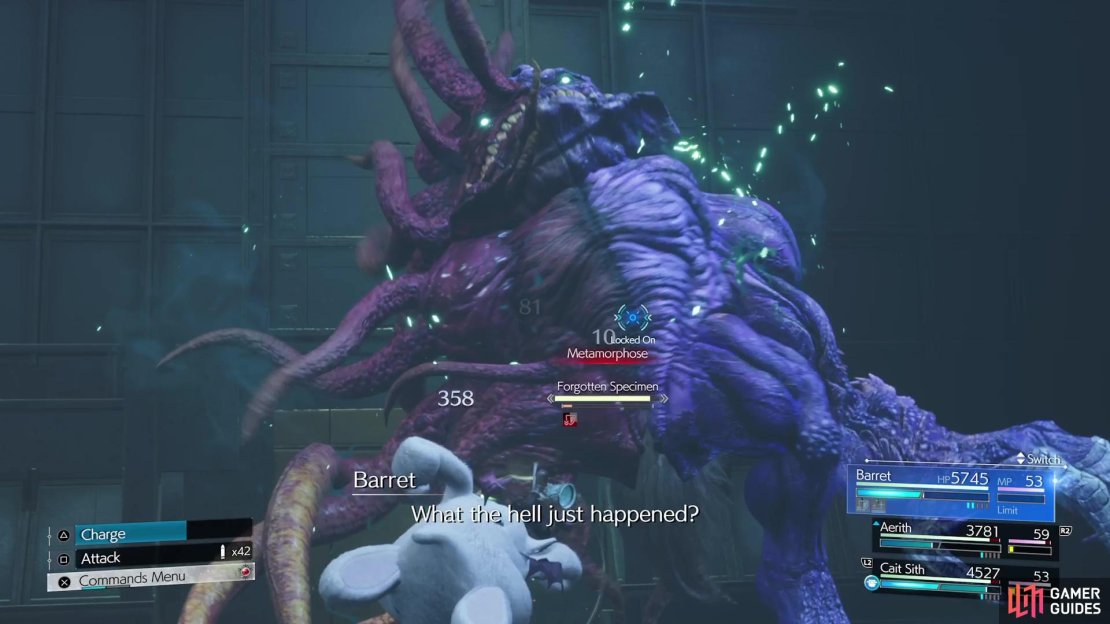
The Forgotten Specimen is a boss that has two forms that it can switch between during the battle. One form will rely on physical attacks, while the other will use magical ones. Before it switches to one of the forms, there is a base form that is half red and half blue. For the final phase, the boss will combine the two forms and use all of its attacks.
Base Form Attacks
-
Overhead Smash: The boss will leap into the air and try an overhead smash. Not too hard to dodge and it can be blocked.
-
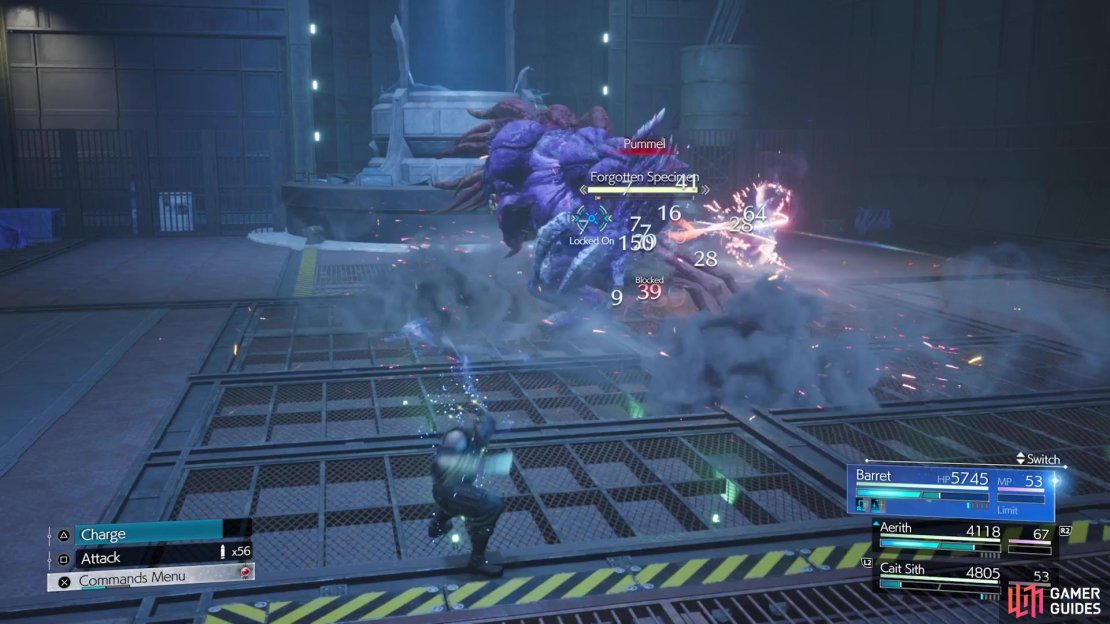
Pummel: A series of melee attacks, starting with alternating sweeps with each hand. After two sets of these, he’ll finish with an overhead strike. This attack lowers its magic defense.
-
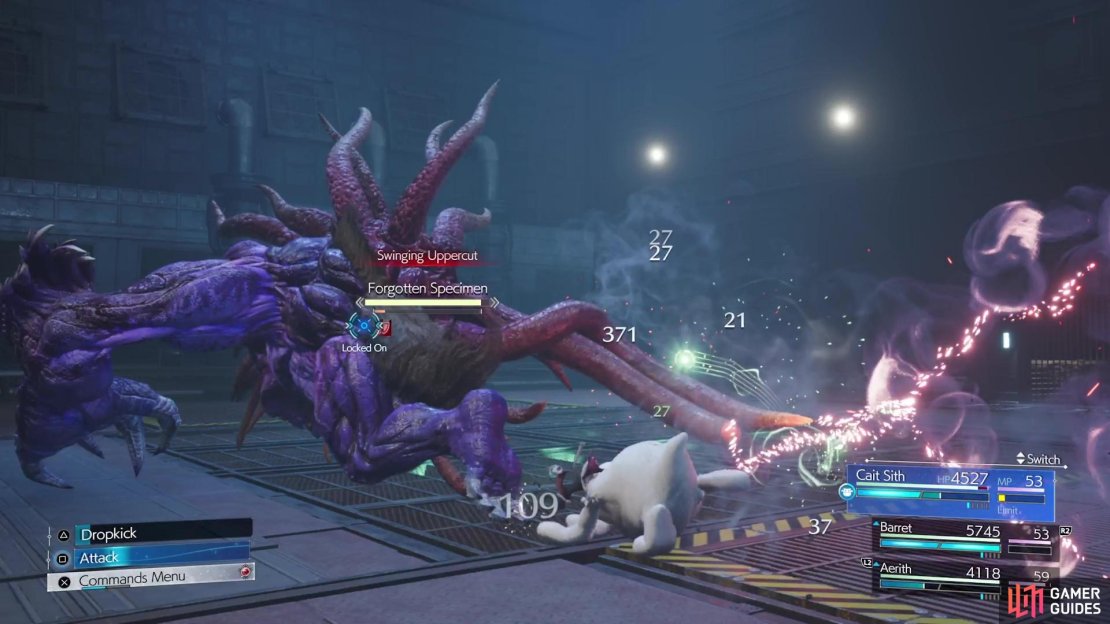
Swinging Uppercut: The boss will dash towards a targeted character, dragging its arm, then deliver an uppercut.

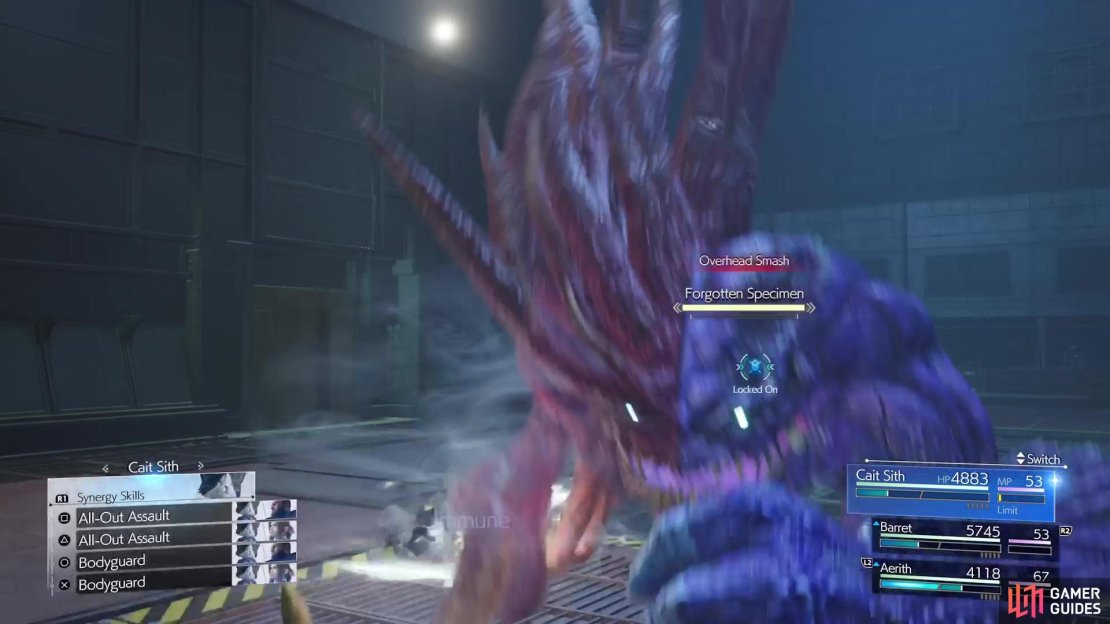
(1 of 3) Overhead Smash is just like its name implies, an overhead attack where the boss pounds the ground.
-
Seismic Shock: The boss will hold its hands over its head, gather some energy, then slam them into the ground, creating a small shockwave.
-
Mako Regurgitation: It will shoot a ball of mako from its mouth, which arcs into the air and explodes upon hitting the ground.
-
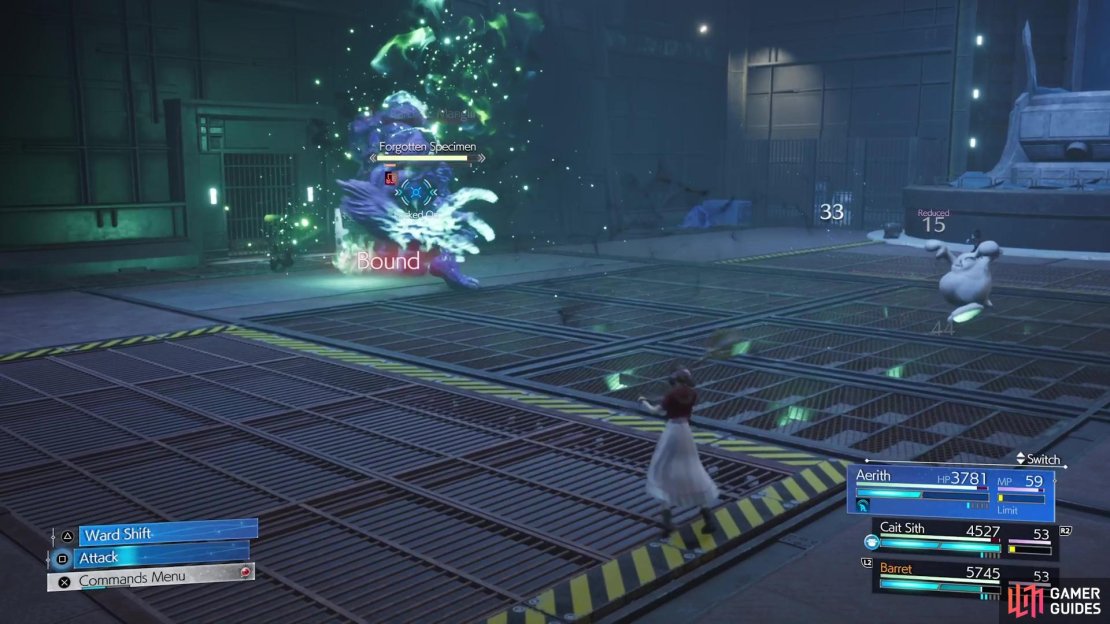
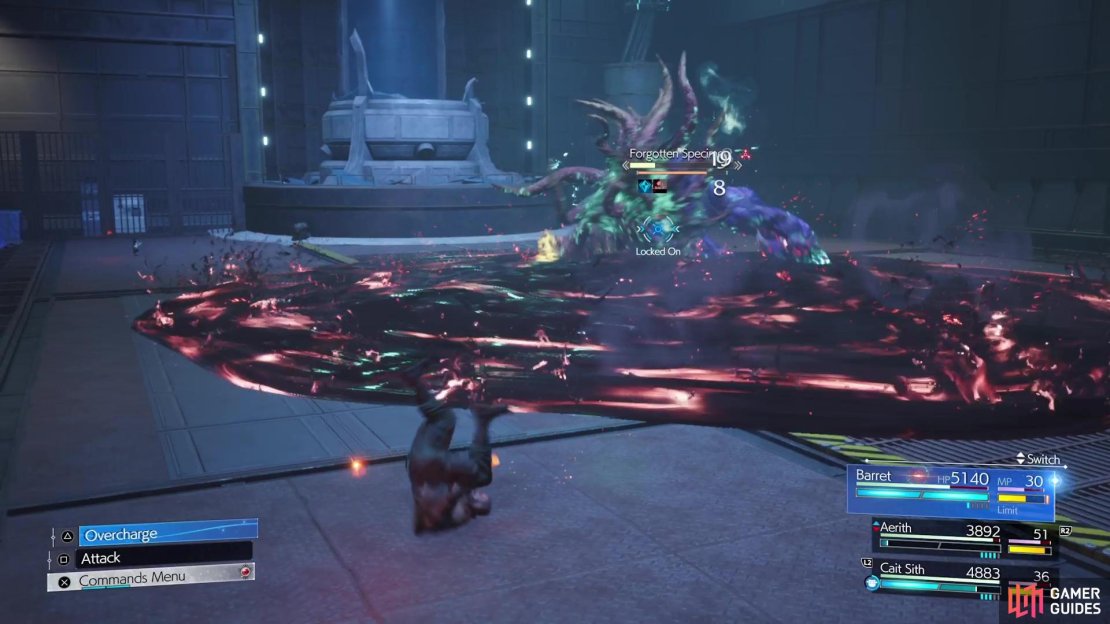
Metamorphose: This is what the boss will use whenever it changes to one of its other forms.
-
Respite: Not really an attack, but the boss will sit there and do nothing for a few seconds, while being pressured. It only uses this after using Metamorphose from the second time onward.
-
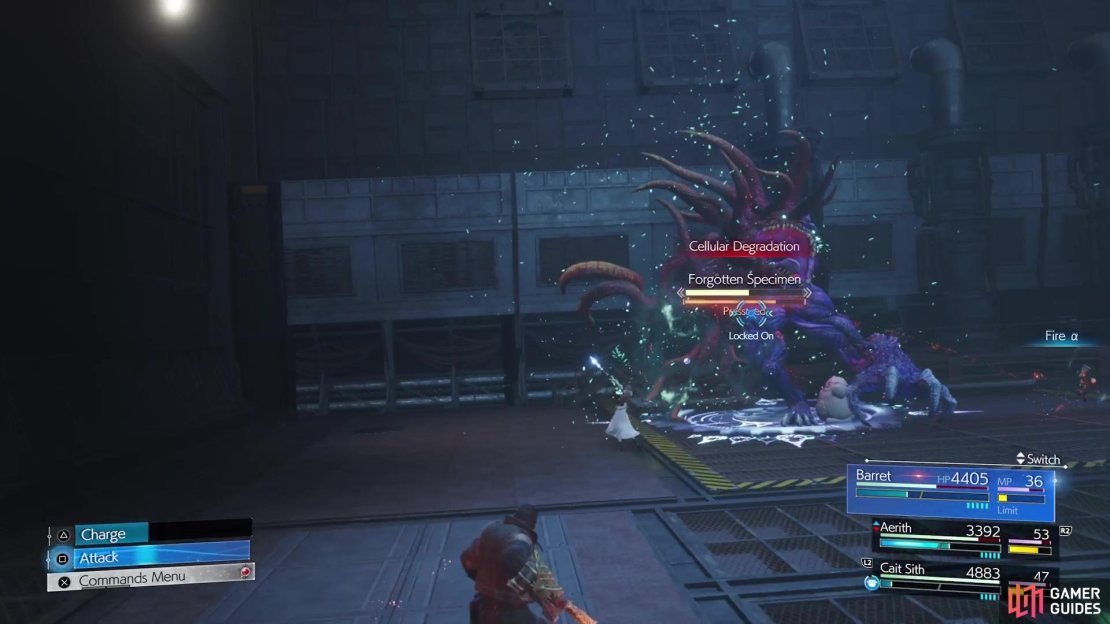
Cellular Degradation: If it uses Metamorphose often enough, it will use this and revert back to its Base Form, which will also pressure it.
Blue Form Attacks
The Blue Form is the physical-focused form of this boss. It will retain all of the moves you saw in the Base Form, plus it will introduce a few new ones.
- Barbaric Mangling:
 Unblockable. The boss will leap at a character and attempt to grab them. If it succeeds, then that character will be spiked into the ground, receiving damage.

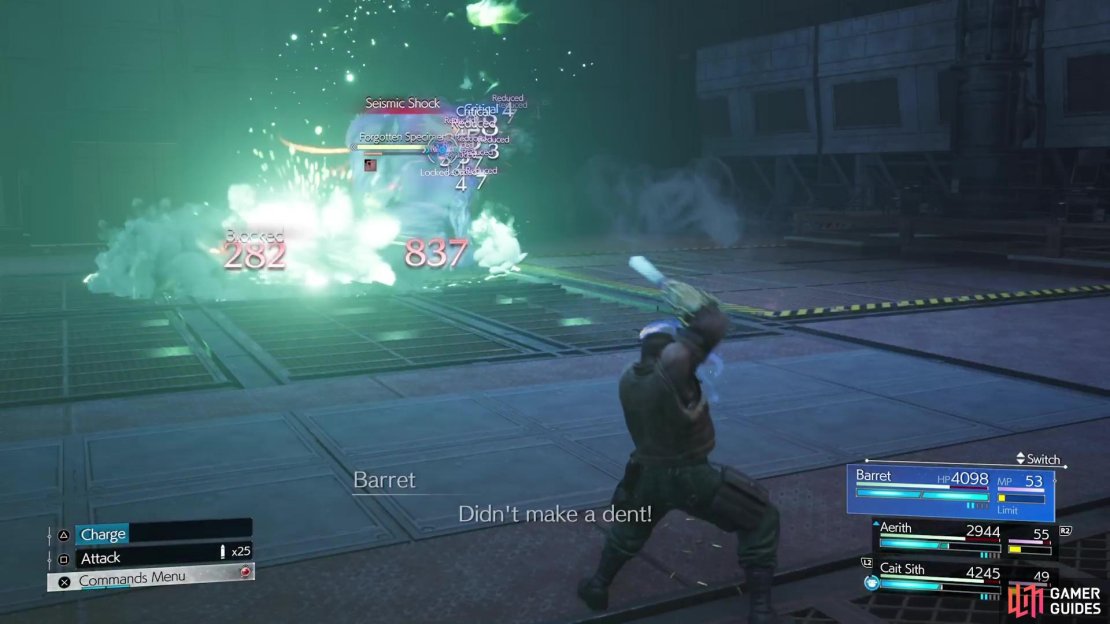
(1 of 3) Seismic Shock is a ground pound with an attached explosion.
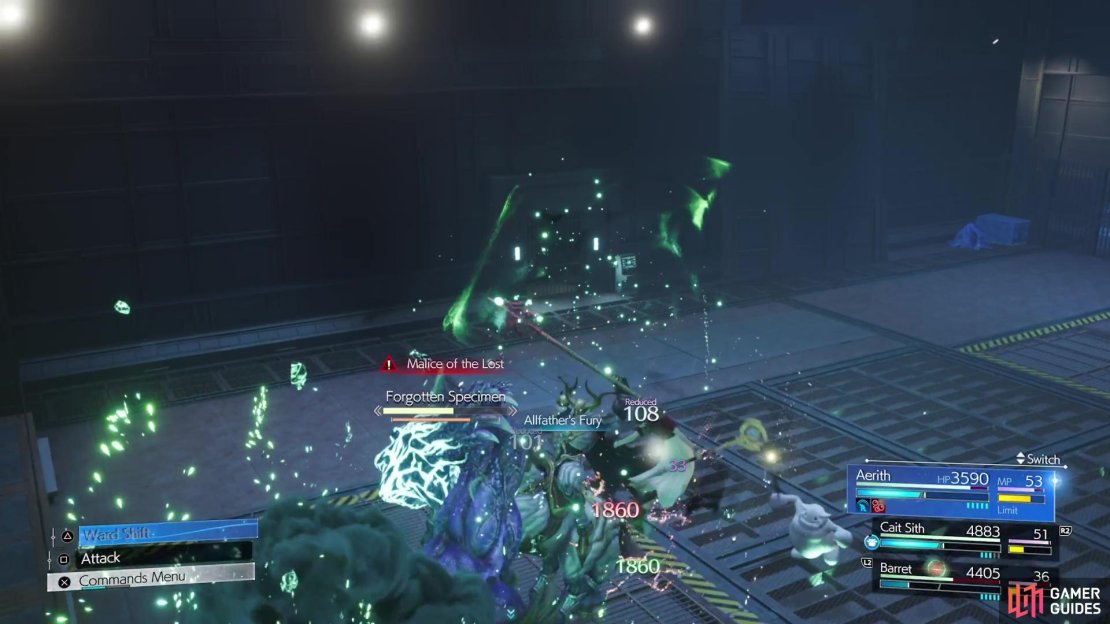
- Malice of the Lost: Unblockable. It will raise a fist into the air, gather some mako energy with it, then slam it on the ground, launching whomever it hits into the air. Either move away or try to dodge at the last second.
Red Form Attacks
The Red Form is the magical-based one for the Forgotten Specimen. It will become more resistant to magic-based attacks.
-
Tentacle Lash: The Specimen will do a quick attack with its arm/tentacle. This move is executed very quickly, so you might not have time to dodge, but you can block it.
-
Thunder: The Forgotten Specimen can use the entire line of Thunder spells, including Thundara and Thundaga. Can be difficult to dodge, but you are able to block them.
-
Bio: Similar to the above, it can use the entire line of Bio spells, including Biora and Bioga. These can inflict poison on the character, in addition to dealing some damage.
-
Lariat: This is less of a lariat and more of a spinning sweep attack. Block or dodge it.
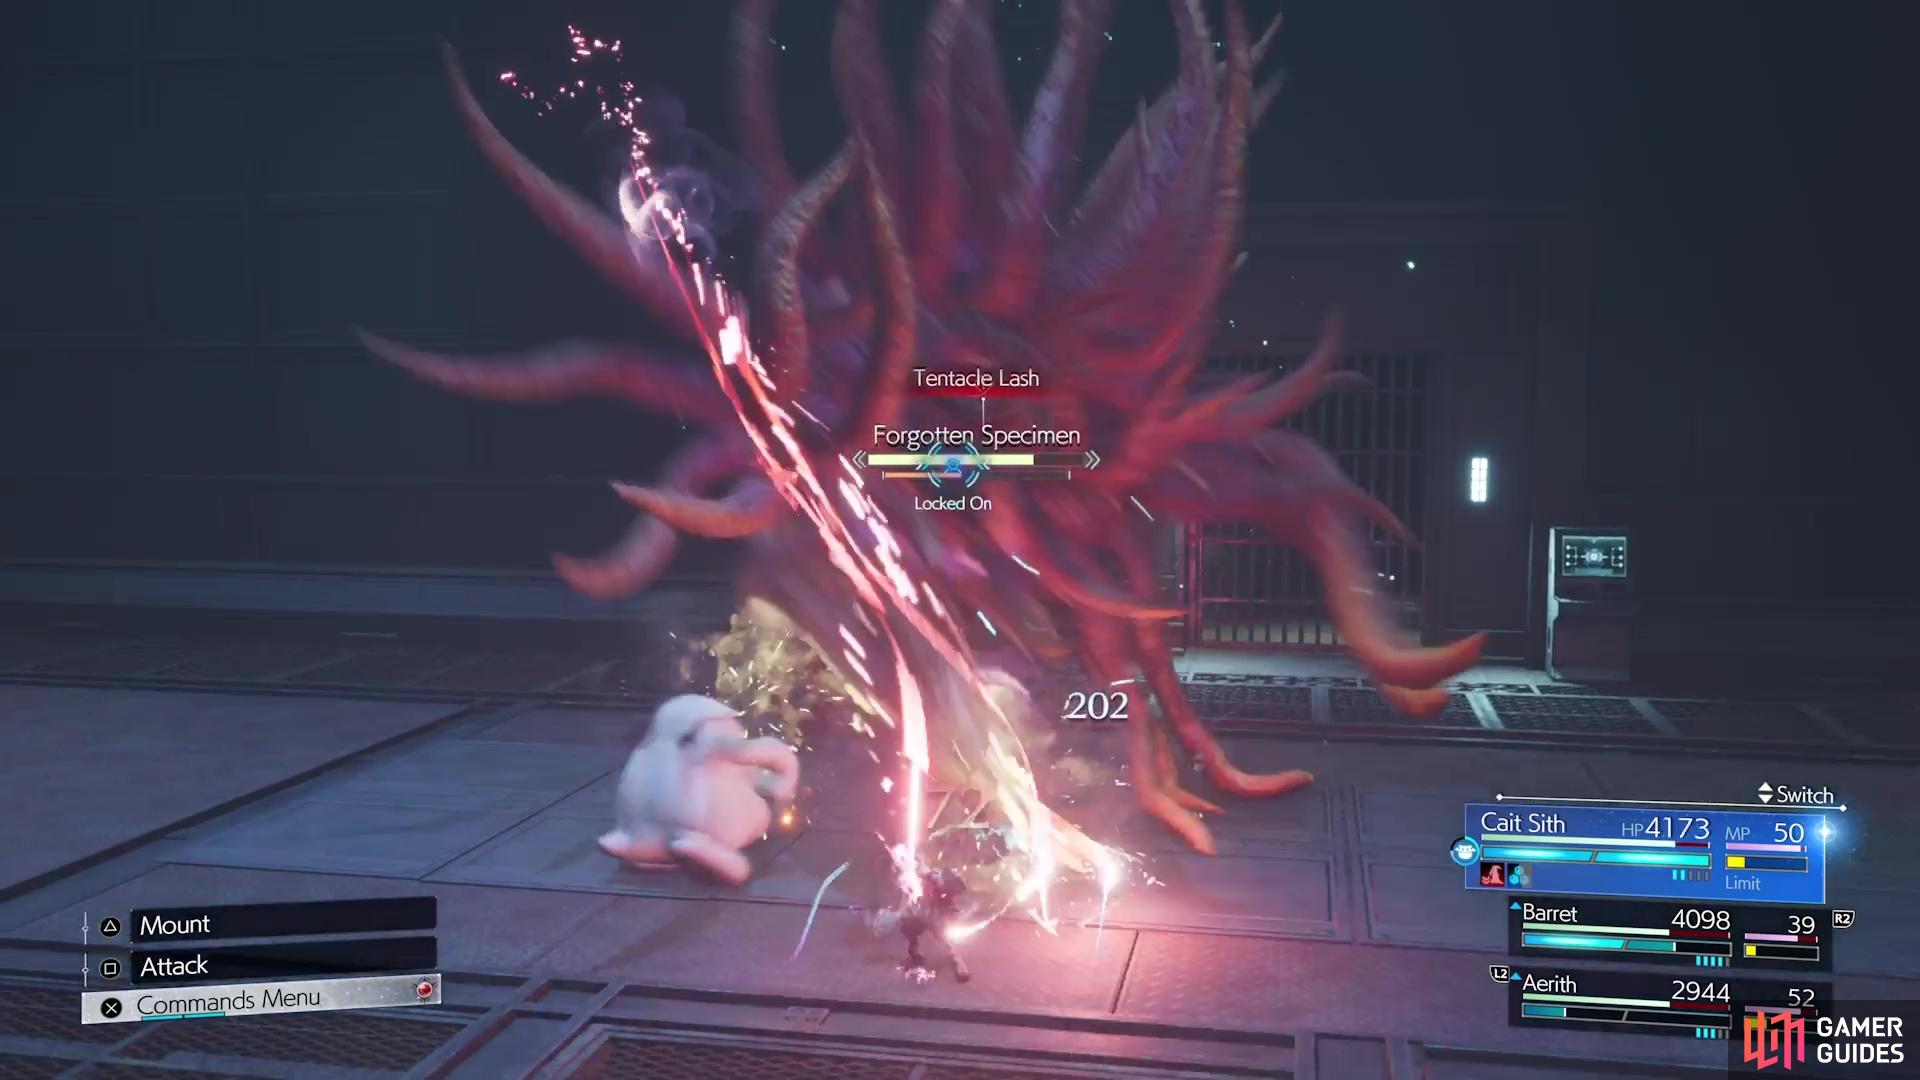

(1 of 3) The Red Form does have a few new physical attacks.
-
Noxious Secretions: Unblockable. Creates a large poisonous puddle on the floor.
-
 Sleep: Unblockable. The Forgotten Specimen will try and put one of your characters to sleep. There’s no way to avoid this, since the spell is like Bio and attaches/follows that person.
Mako Fused Form Attacks
This occurs at around 50% health or so, where you see mako fissures on the body while it stays in its Base Form. It will use any of the above attacks, plus some new ones.
-
 Shield: Erects a barrier that blocks all physical damage. Dispel it with magical damage.
 -
 Reflect: Similar to Shield, but blocks all magical damage. Dispel it with physical damage.
 -
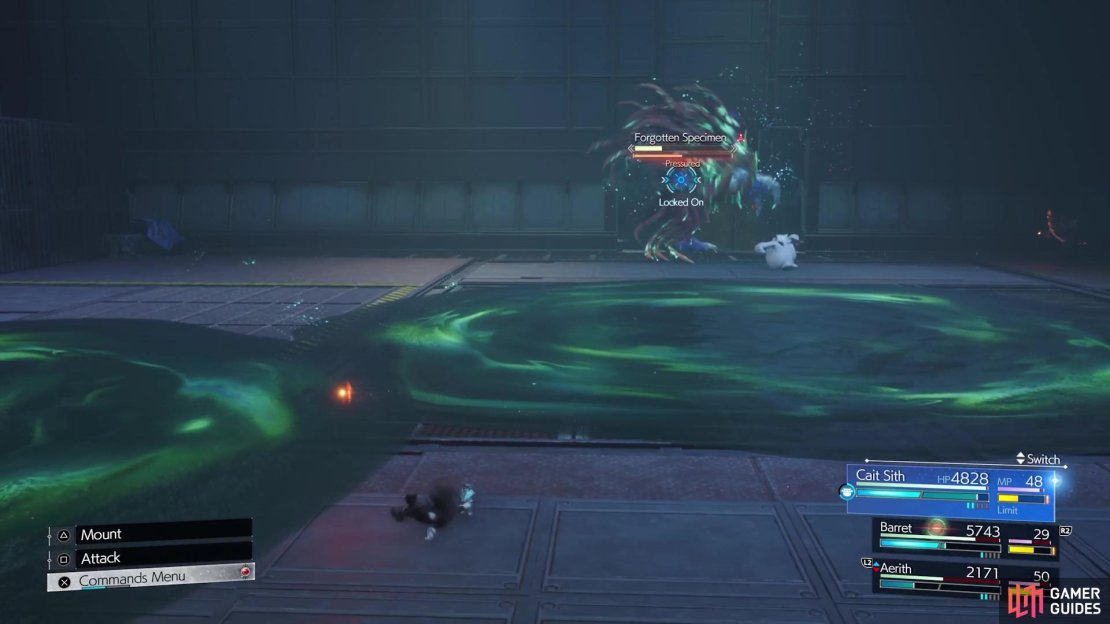
Mako Ooze: It will form some big puddles of mako on the ground, which stay until it uses Mako Geyser. Standing in it will cause damage.
-
Mako Geyser: Unblockable. The boss will do a quick cinematic, then jump into the air and slam the ground, causing a small explosion. Any pools on the ground from Mako Ooze will also explode.
(1 of 3) Metamorphose is what you’ll see whenever the boss changes into its Blue or Red Forms.
Forgotten Specimen Boss Strategy
The Forgotten Specimen boss has a lot of moving parts to it, so let’s start by going over the different forms. When the fight begins, the boss will be in its Base Form, where it’s half red and half blue. The boss will stay like this until you do enough damage with a specific type (magical or physical), which is when it will use Metamorphose. This will cause it to change either into its Blue Form (physical) or Red Form (magical). The Specimen will become highly resistant to damage from the damage type of the form it changes into, so you’ll want to change over to using the other type.
The Blue Form focuses on physical attacks, with both of the new abilities being unblockable. Barbaric Mangling is a grab move, so if you avoid the first portion, you’ll not get hit by anything else. Malice of the Lost is a ground pound maneuver that will knock the character up into the air, should they get hit with it. As mentioned above, switch over to use magical attacks during this portion of the fight. The Red Form will primarily use magical attacks, although it does have two new physical moves, as well.
You will see all three tiers of Thunder and Bio during this form, and it doesn’t seem like you can completely avoid the damage from Bio. Noxious Secretions is another attack you’ll see with the Red Form, which is unblockable and has the boss put a large poisonous pool on the ground. If you step foot in the liquid, then you’ll take damage. The Red Form will be resistant to magical attacks, so switch over to physical moves during it.
From the second time onward when using Metamorphose, the boss will use Respite for a small break, where it does nothing and becomes pressured. If you get it to use Metamorphose a lot, then you will see Cellular Degradation, where it reverts back to its Base Form and becomes pressured. At some point during the fight, usually around 50% or so, the boss will revert back to its Base Form and you will see some mako coming out of it. At this point, it will use any attack from the other forms, as well as start using some new ones. This will carry on until the end of the battle.

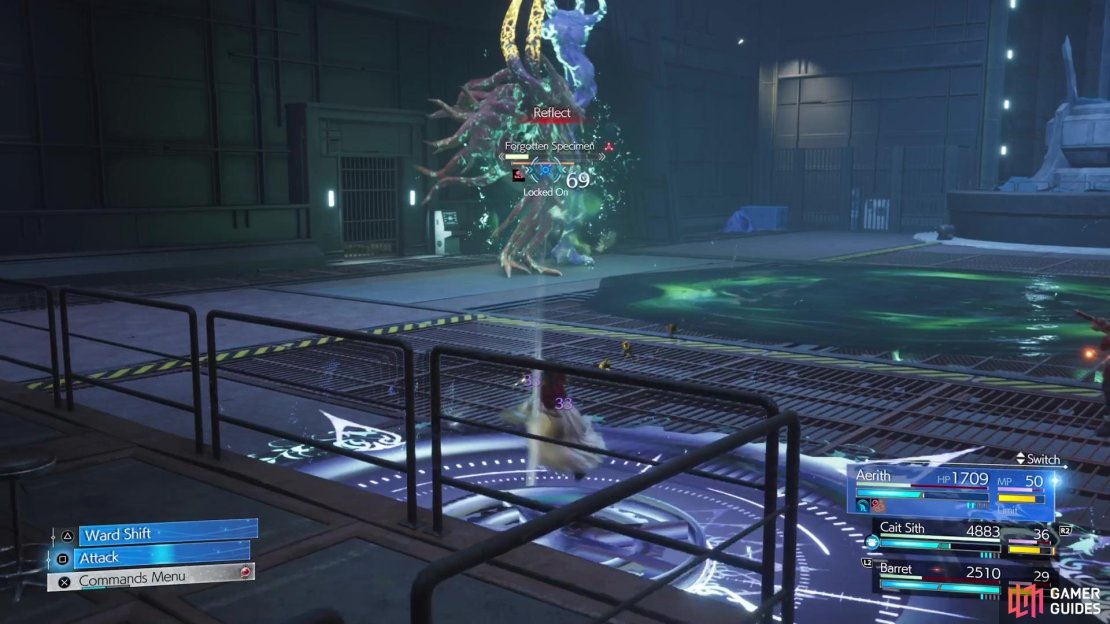
(1 of 3) The final phase will have the boss cycle between physical and magical immunity.
Of particular note are Shield and Reflect, where the boss will become immune to physical and magic, respectively. If you wish to remove this, then keep using the opposite damage type. You will also see the boss start using Mako Ooze, where it lays down smaller pools of poisonous liquid on the ground. Unlike the other attacks that do this, these pools will remain on the ground until he eventually uses Mako Geyser. The latter will have it perform an explosive ground pound that also makes the mako pools explode, so you’ll want avoid those then. While the boss might seem a bit complicated, it’s not too difficult overall.
Underground Cavern
After the battle is over, go through the newly opened door and use the elevator to return to the Underground Cavern area. You will meet back up with the rest of the characters here, with both Cloud and Cait Sith being forced into your active party, leaving room for one of your choice. Make sure you re-equip everyone again, especially if you switched materia and the like around prior to this.
Go through the wooden door on the northern side of this room, where you’ll find a smaller room that has a coffin. Watch the scenes here, answer the question however you like, then you’ll be free to use the terminal. Note the rest spot inside this room, so make sure you use it to recover. Head into the previously locked room for another scene, then walk into the adjacent room for more story. At this point, it’ll be time for another boss fight, against the Galian Beast!
No Comments