
Upon finishing Chapter 12 and beginning Chapter 13, you will find that the ![]() Temple of the Ancients is located on the Northern Continent. Your goal is to head there and put a stop to Shinra, as well as secure the Black Materia. It should be noted that heading to the temple is the point of no return, as once you step foot in the place, you won’t be able to leave until you complete the game. So, if you have anything to do prior to this, go ahead and finish that up.
Temple of the Ancients is located on the Northern Continent. Your goal is to head there and put a stop to Shinra, as well as secure the Black Materia. It should be noted that heading to the temple is the point of no return, as once you step foot in the place, you won’t be able to leave until you complete the game. So, if you have anything to do prior to this, go ahead and finish that up.
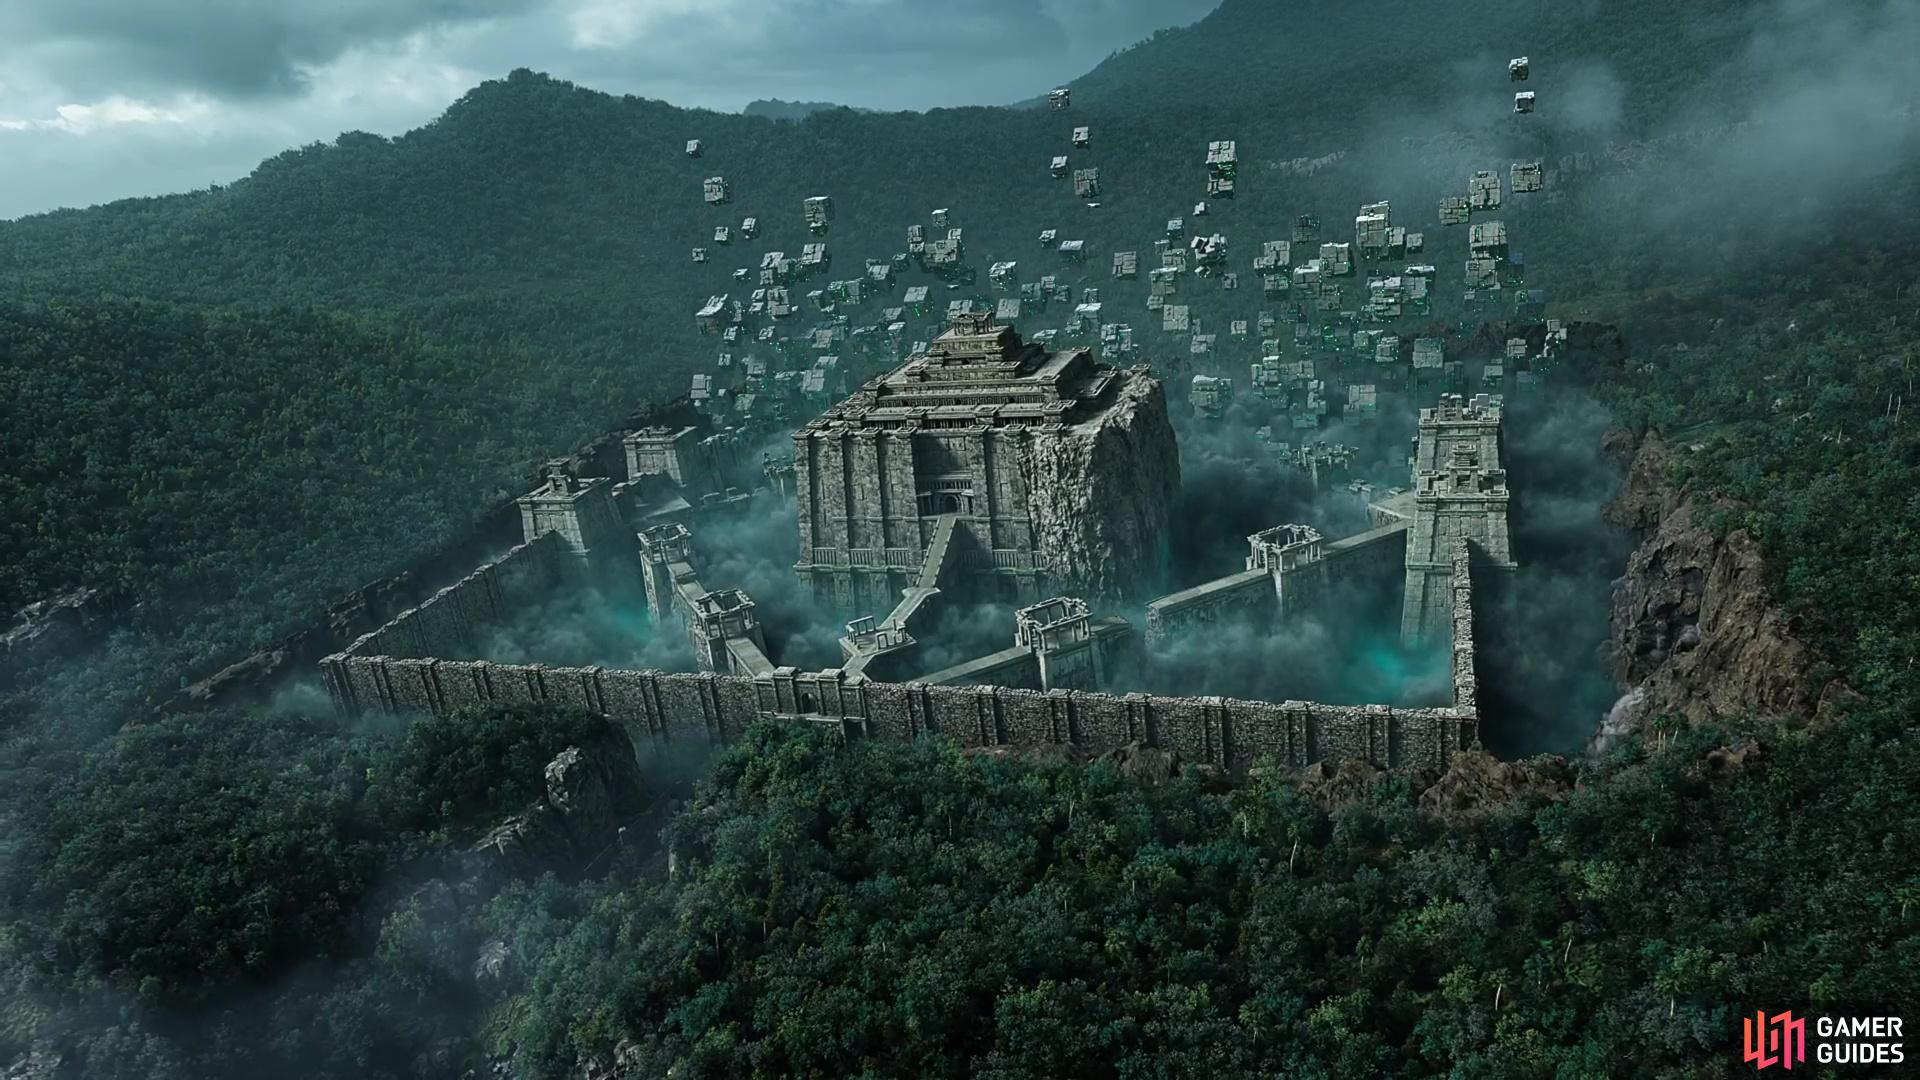
The Temple of the Ancients will start your final journey in Rebirth.
Northwood
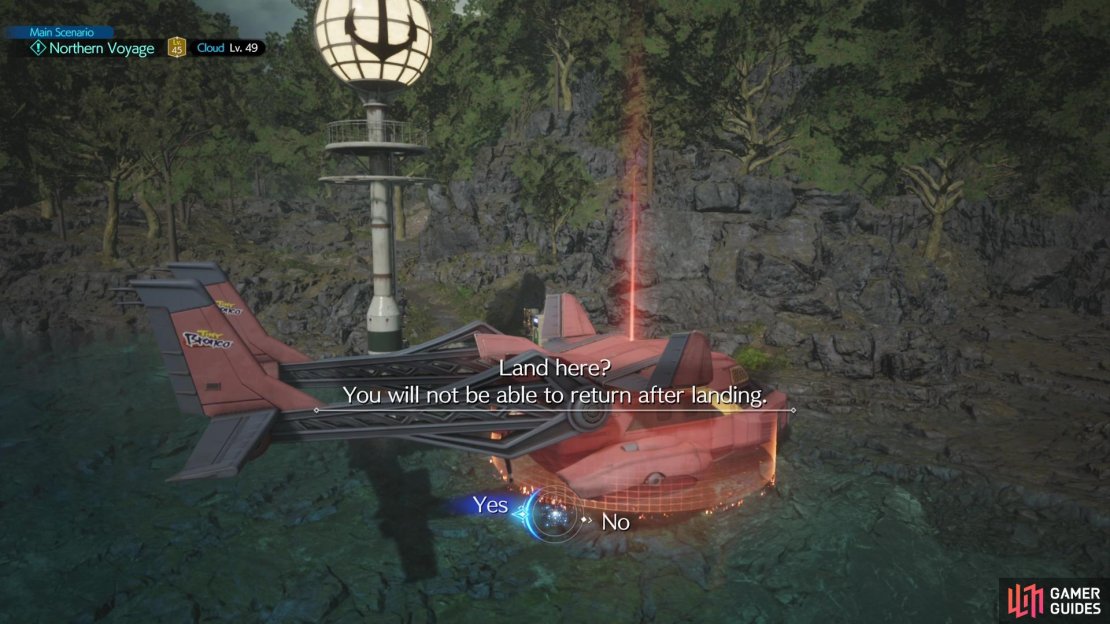
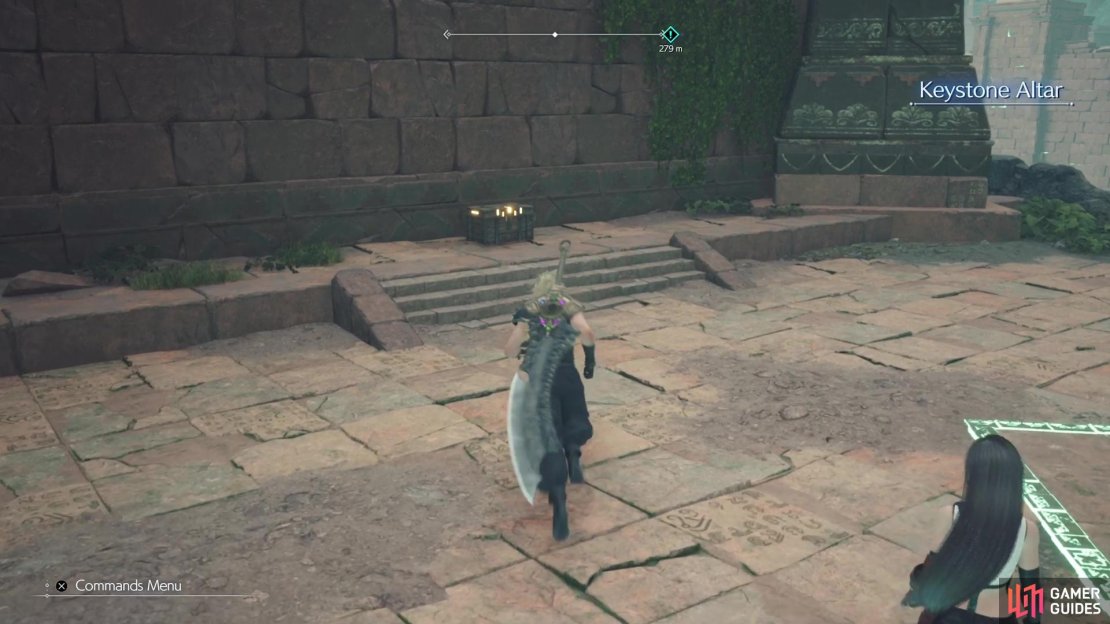
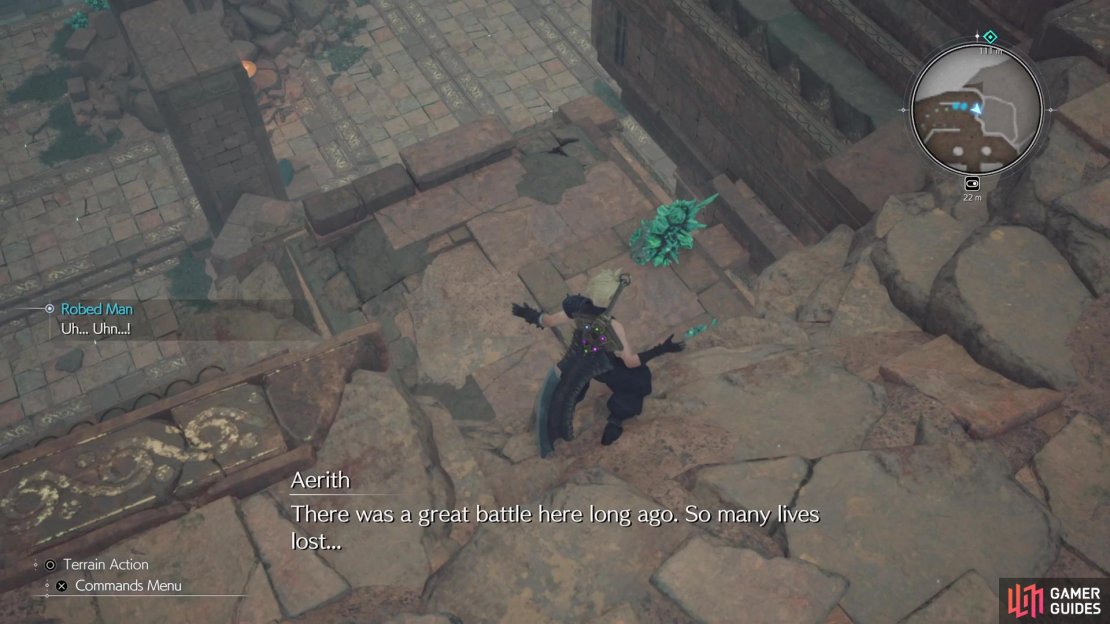
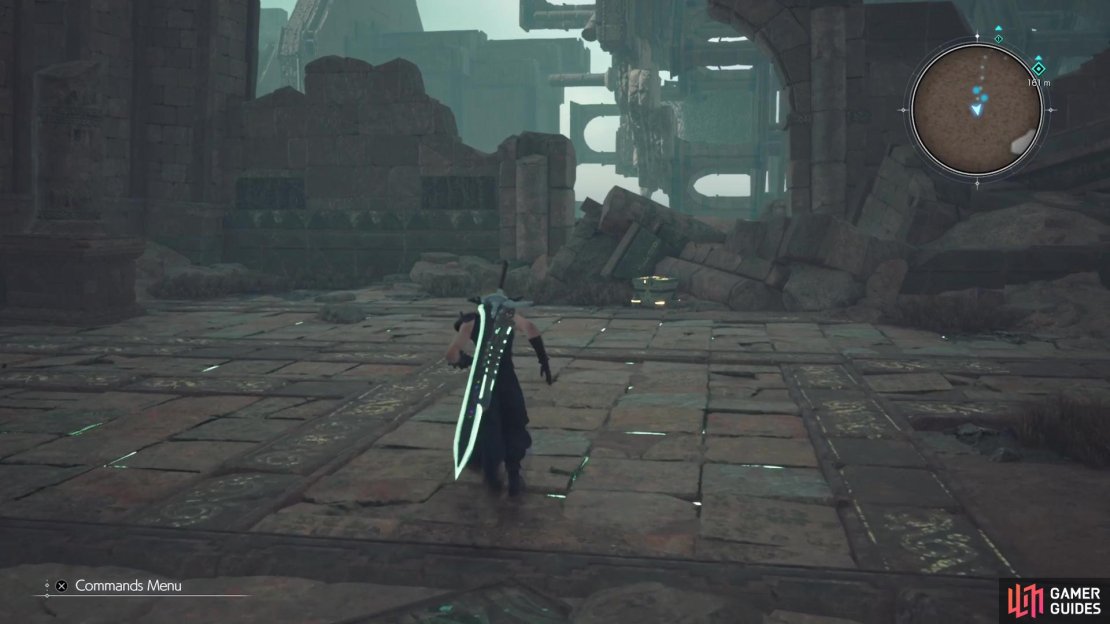
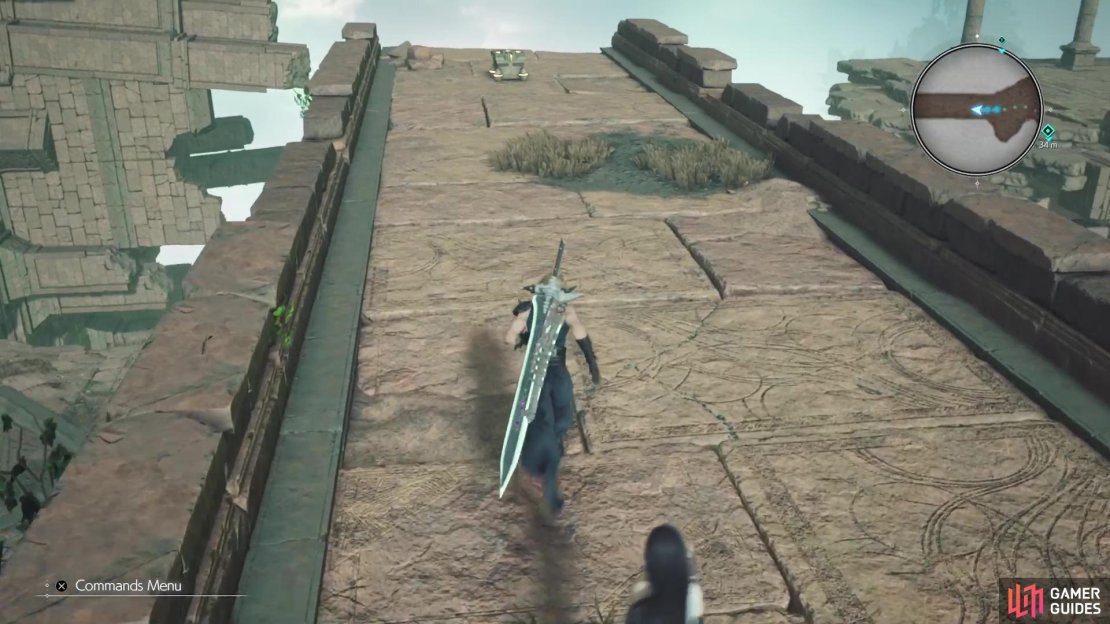
When you have control with the Tiny Bronco, simply sail northward until you witness a cutscene with Rufus, then the Turks. After this scene, you will regain control and finish sailing to the temple. Once you dock there, you will see another scene, then you’ll be able to move forward some. There is a bench to the side, at the docks, as well as a vending machine, should you need it. You won’t find anything in this initial area, so just follow the trail until you reach the Keystone Altar, where another scene takes place.
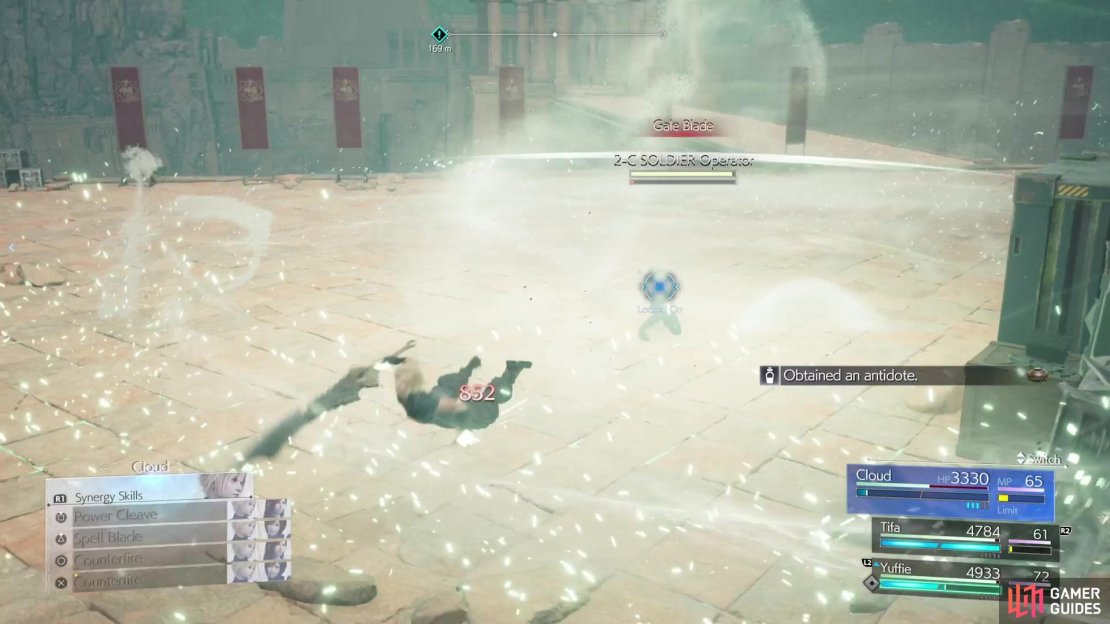
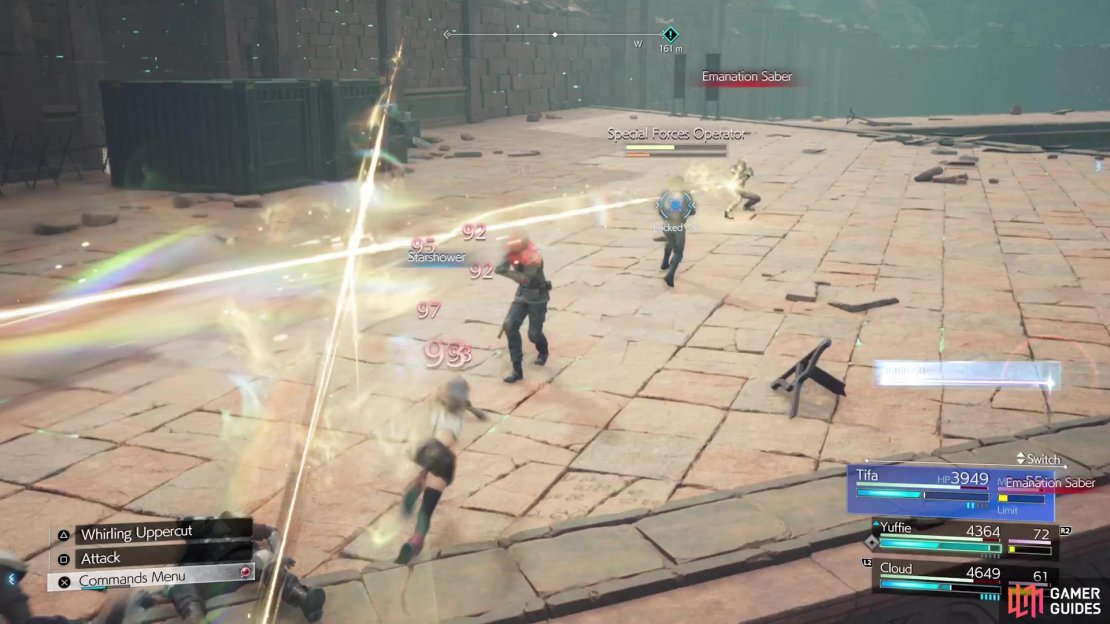
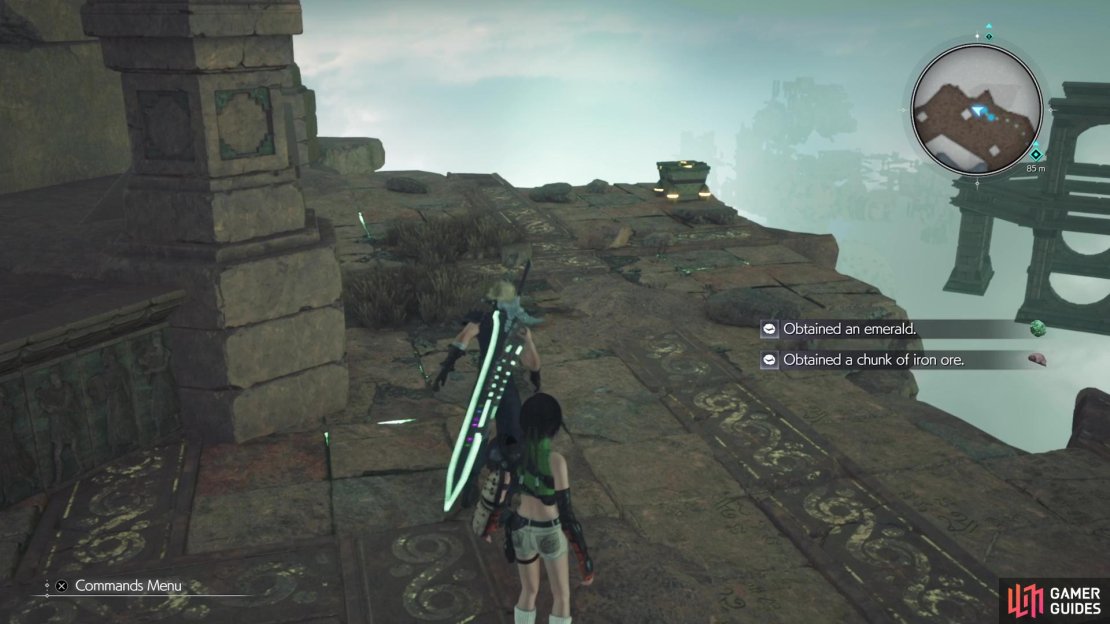
At the Keystone Altar, look off to the side to spot a chest that contains 2 ![]() Mist Mega-Potions. Cross the bridge and just past the encampment here will be your first set of enemies, some Shinra soldiers. Most of these should be familiar, although the 2-C SOLDIER Operator is new. All of the enemies are weak to
Mist Mega-Potions. Cross the bridge and just past the encampment here will be your first set of enemies, some Shinra soldiers. Most of these should be familiar, although the 2-C SOLDIER Operator is new. All of the enemies are weak to ![]() Fire, though, so it’s easy to deal damage or exploit their weaknesses. Note that while you’re fighting this initial set, more enemies will come from the side bridges, so hunker down and get ready for a longer battle.
Fire, though, so it’s easy to deal damage or exploit their weaknesses. Note that while you’re fighting this initial set, more enemies will come from the side bridges, so hunker down and get ready for a longer battle.

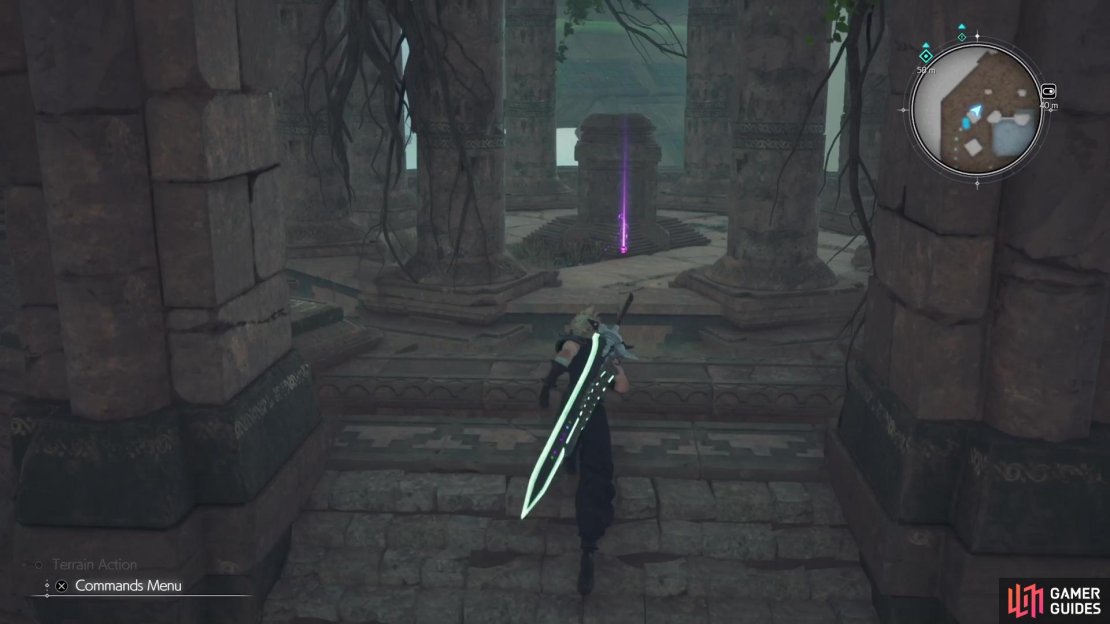
Once you finally defeat all of the enemies, you have three paths before you. The central one leads to the temple proper, while the side ones lead to some treasure. In additional to some Shinra boxes to break, you will find two treasures off to the sides, granting you a ![]() Dry Ether and
Dry Ether and ![]() X-Potion, so it’s worth exploring. When you’re done, it’s time to take that middle path and enter the Temple of the Ancients properly.
X-Potion, so it’s worth exploring. When you’re done, it’s time to take that middle path and enter the Temple of the Ancients properly.
Inside the Temple of the Ancients
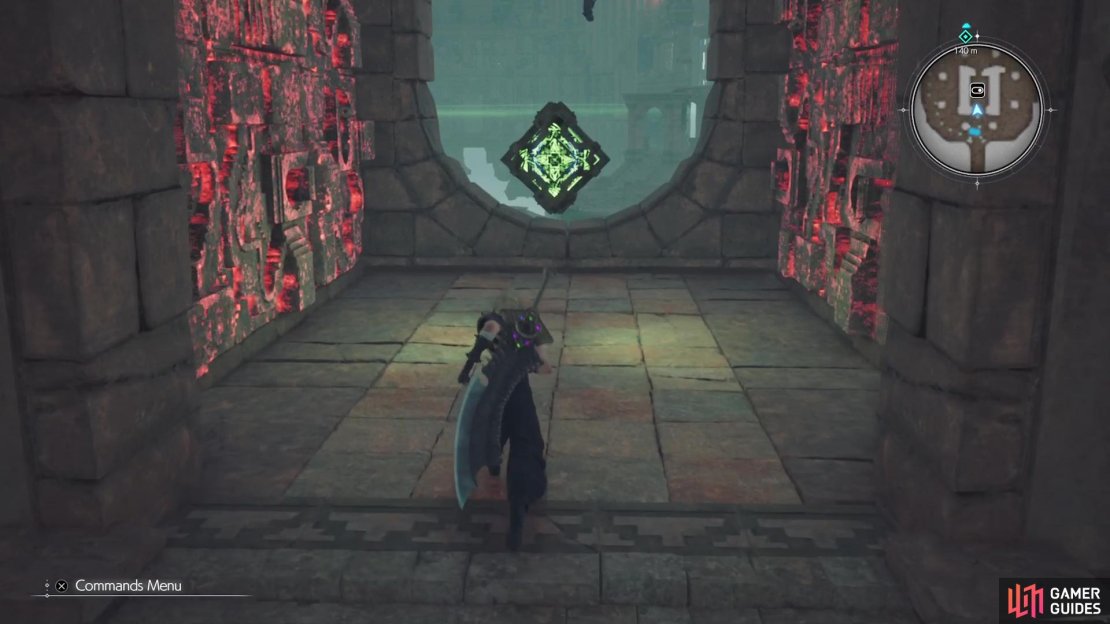
You’ll start off in the Union Room, but there’s nothing here, so head through the cracked doorway on the other side. Some Shinra troops will be here, but they aren’t anything special, so quickly take them out and pass through the next door for more cutscenes. Upon regaining control, take some stairs to the east, then head straight south to find a chest with 2 ![]() Giga-Potions. Follow your robed friends to another set of stairs, through a doorway and to some new enemies.
Giga-Potions. Follow your robed friends to another set of stairs, through a doorway and to some new enemies.
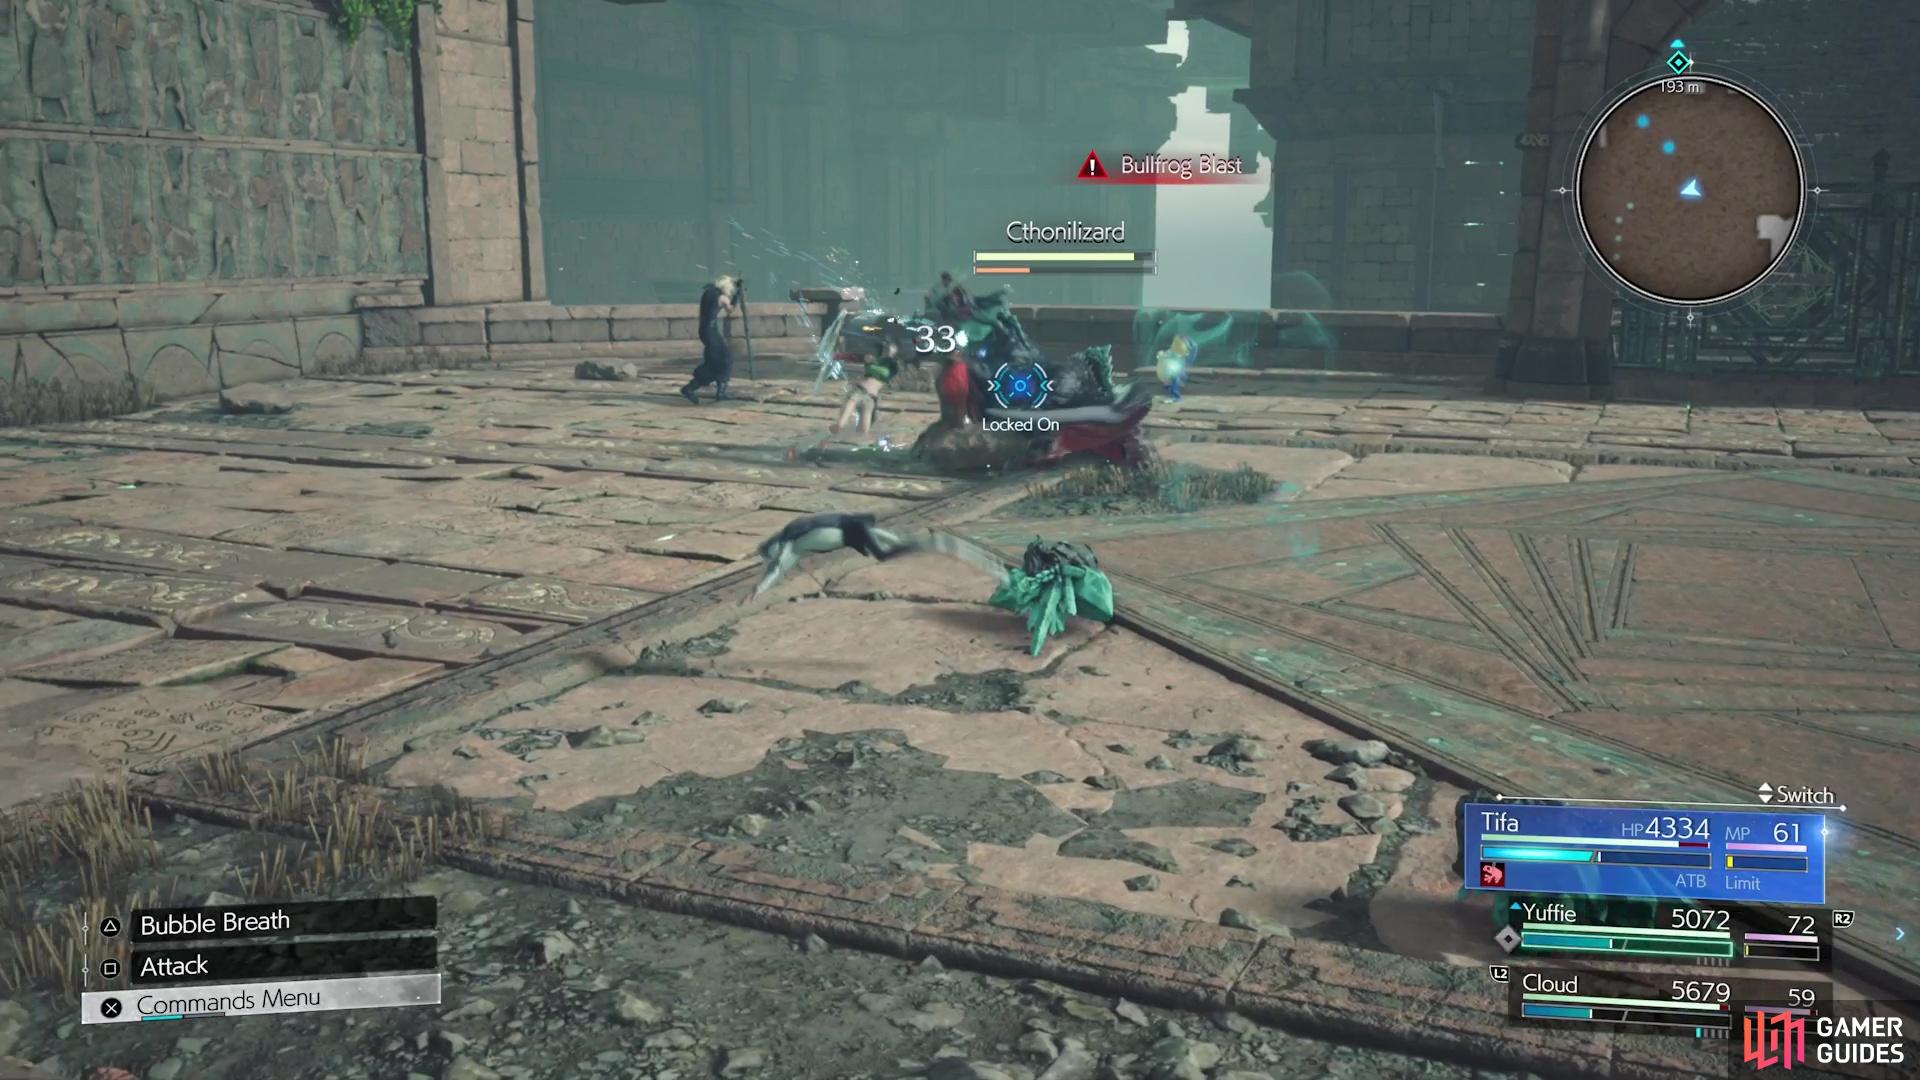
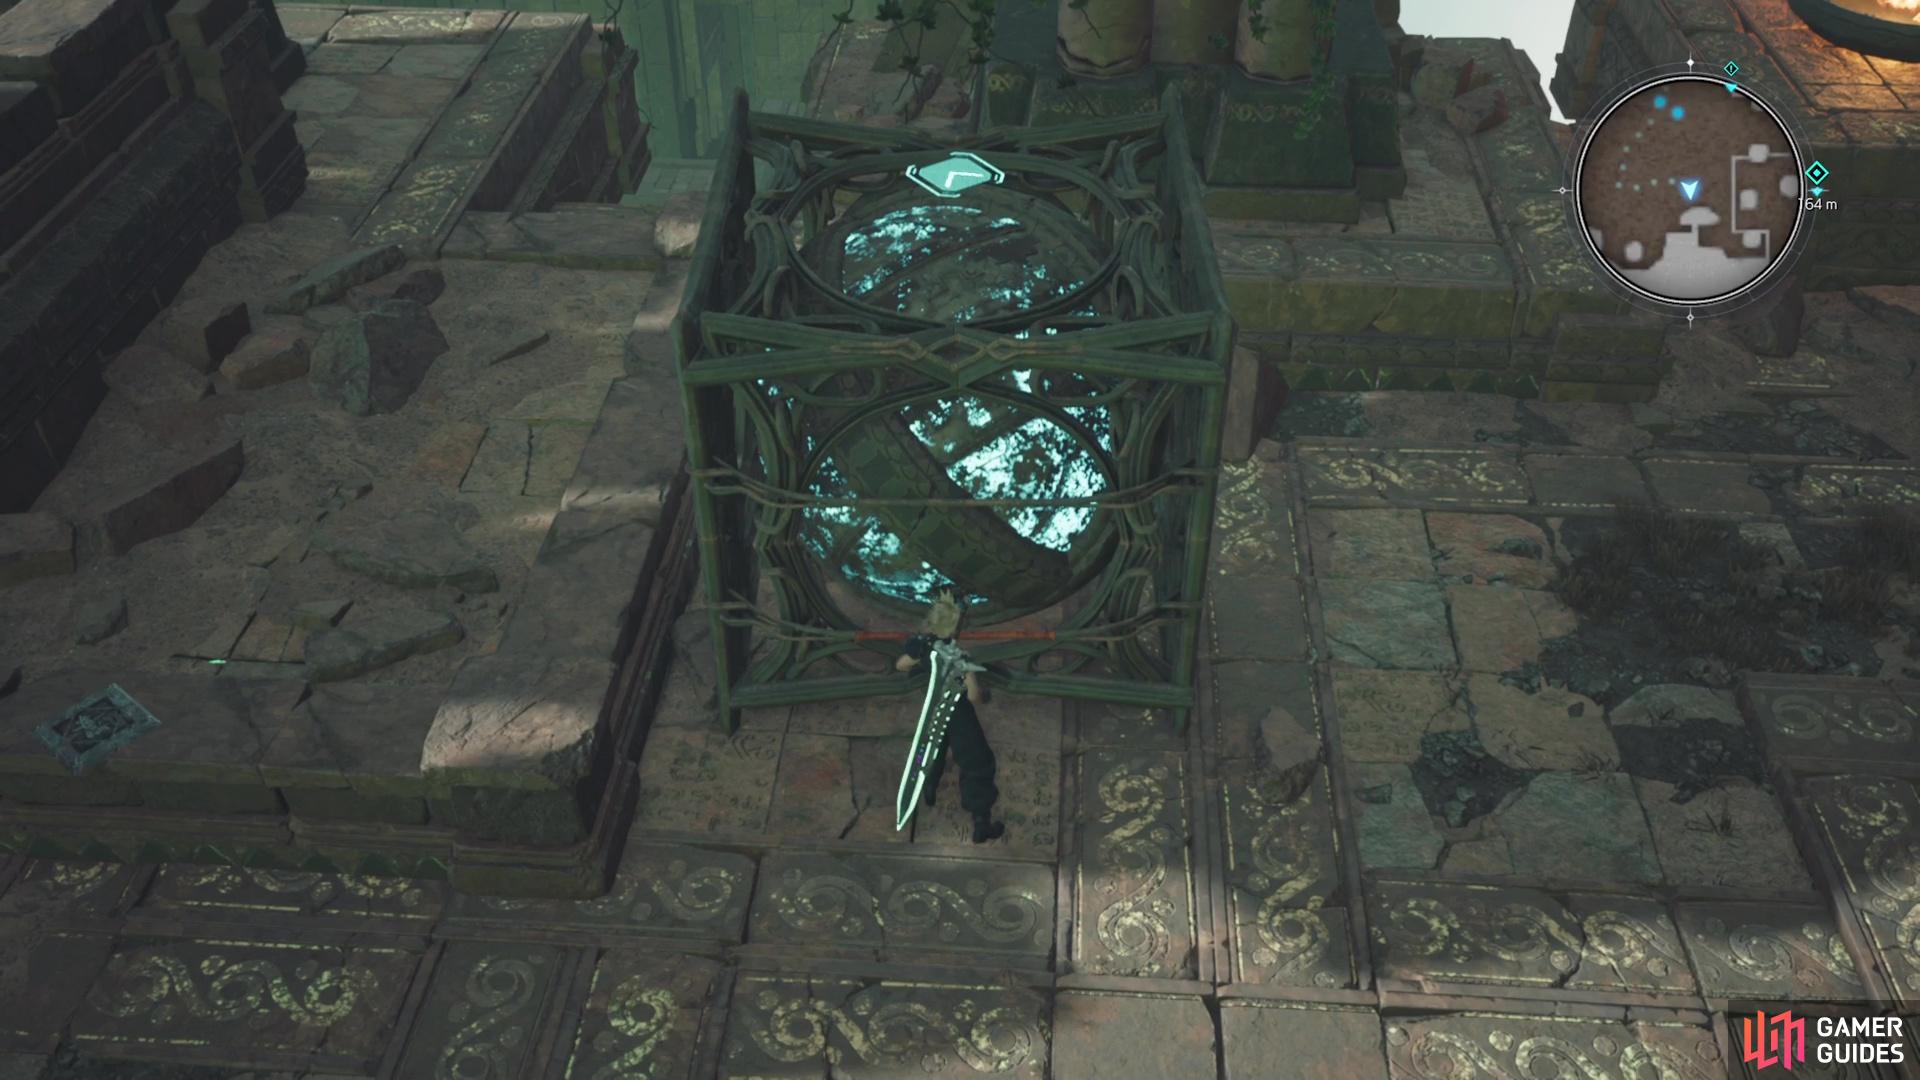
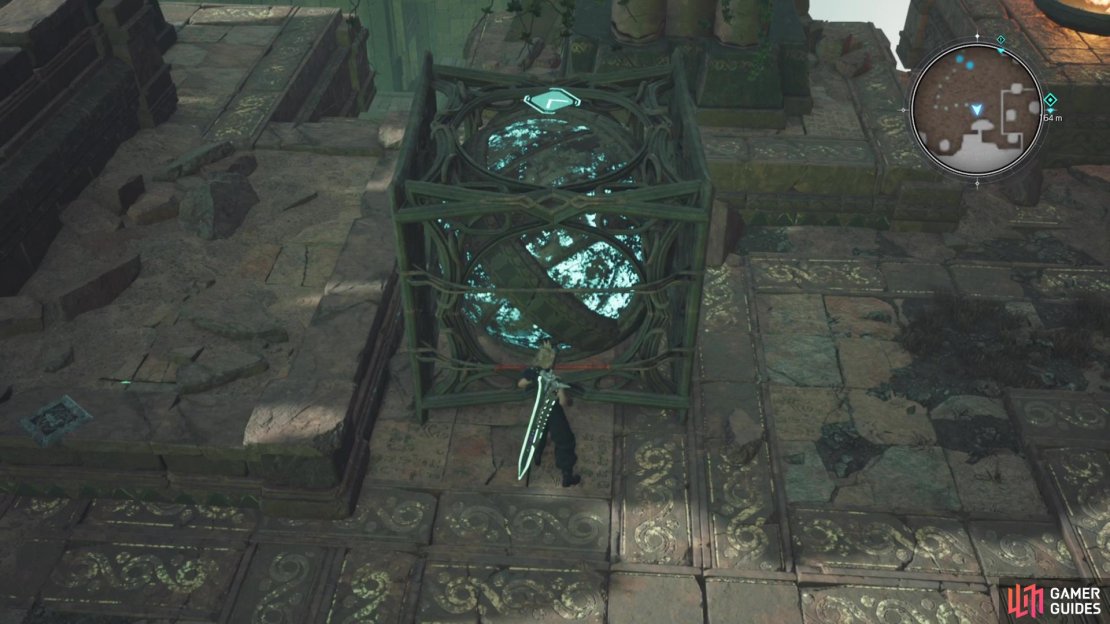
The Blight Frog and Cthonilizard aren’t really anything brand new, since they are mostly stronger versions of monsters fought previously. However, they can both turn your characters into frogs, so be aware of that. They are also both weak to ice, which can absolutely wreck them. Go through the “door” to the north after the battle and up the stairs to find some kind of contraption. This thing, when accessed, basically allows you to change the gravity for your characters (explains how the others were walking on the ceiling in an earlier cutscene).


(1 of 4) Some of the enemies in this dungeon can turn your characters into frogs.
Use the Rubystar Chamber to go onto the ceiling, then exit after you regain control. After exiting the chamber, look to the right for a spot you can drop down to that has two crystals you can destroy. There will be another ledge below this one that you can hop down to, where you will find a ![]() Chakra Materia. From there, go to the very bottom now and if you look nearby, some enemies will be lurking in the open area. These are Ancient Dragons and you can fight them if you want, but they can be ignored, plus you’ll encounter more later.
Chakra Materia. From there, go to the very bottom now and if you look nearby, some enemies will be lurking in the open area. These are Ancient Dragons and you can fight them if you want, but they can be ignored, plus you’ll encounter more later.
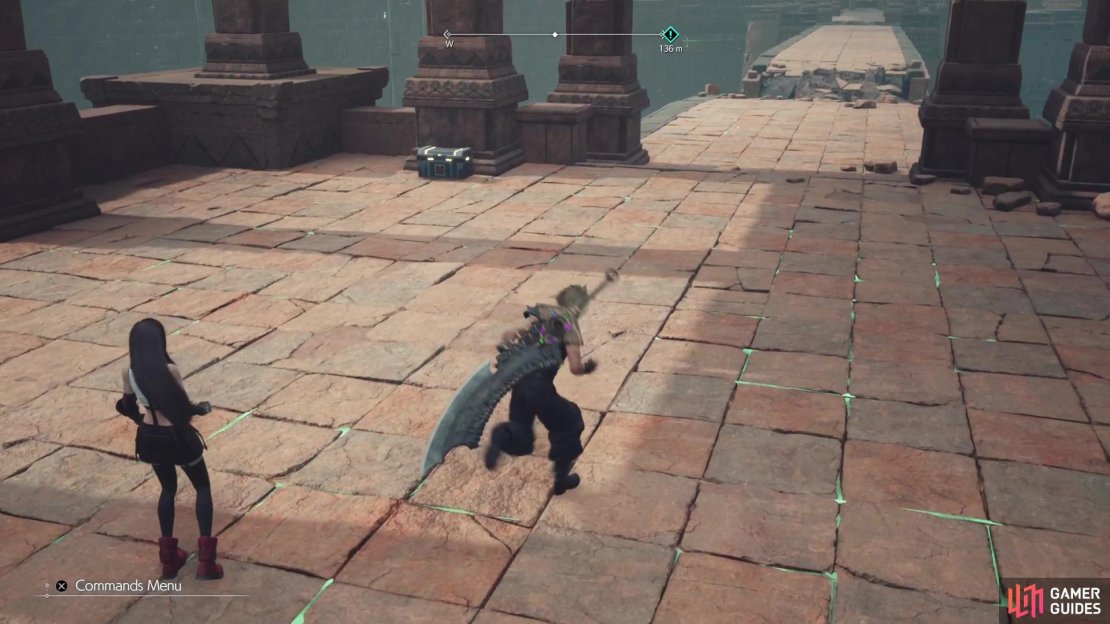
When you’re ready to continue, look for the stairs not far from where you dropped down from the materia earlier. These take you to a vine you can climb and it wants you to head left here, but climb straight up to a ledge with a purple chest. You will obtain the Slipstream Saber from the chest, which is Cloud’s final weapon in the game. Return to the vine and take it all the way left, where you’ll run into another gravity chamber (Jadestar Chamber). Shift gravity back to the ground here, then climb out the back window.
Off to the side will be another chest (![]() Hi-Ether), so loot it and head to the front side of the chamber. To the north will be some enemies, so defeat them, then continue all the way north to the end. From there, you can go west and have two options. North will continue the dungeon, while the south has some treasure, so you know which way to venture. Fight the enemies to the south, then loot the chest on the southern end, which contains an X-
Hi-Ether), so loot it and head to the front side of the chamber. To the north will be some enemies, so defeat them, then continue all the way north to the end. From there, you can go west and have two options. North will continue the dungeon, while the south has some treasure, so you know which way to venture. Fight the enemies to the south, then loot the chest on the southern end, which contains an X-![]() Potion. Note that there’s nothing of value on the ledges to the south, so it’s not really worth exploring.
Potion. Note that there’s nothing of value on the ledges to the south, so it’s not really worth exploring.
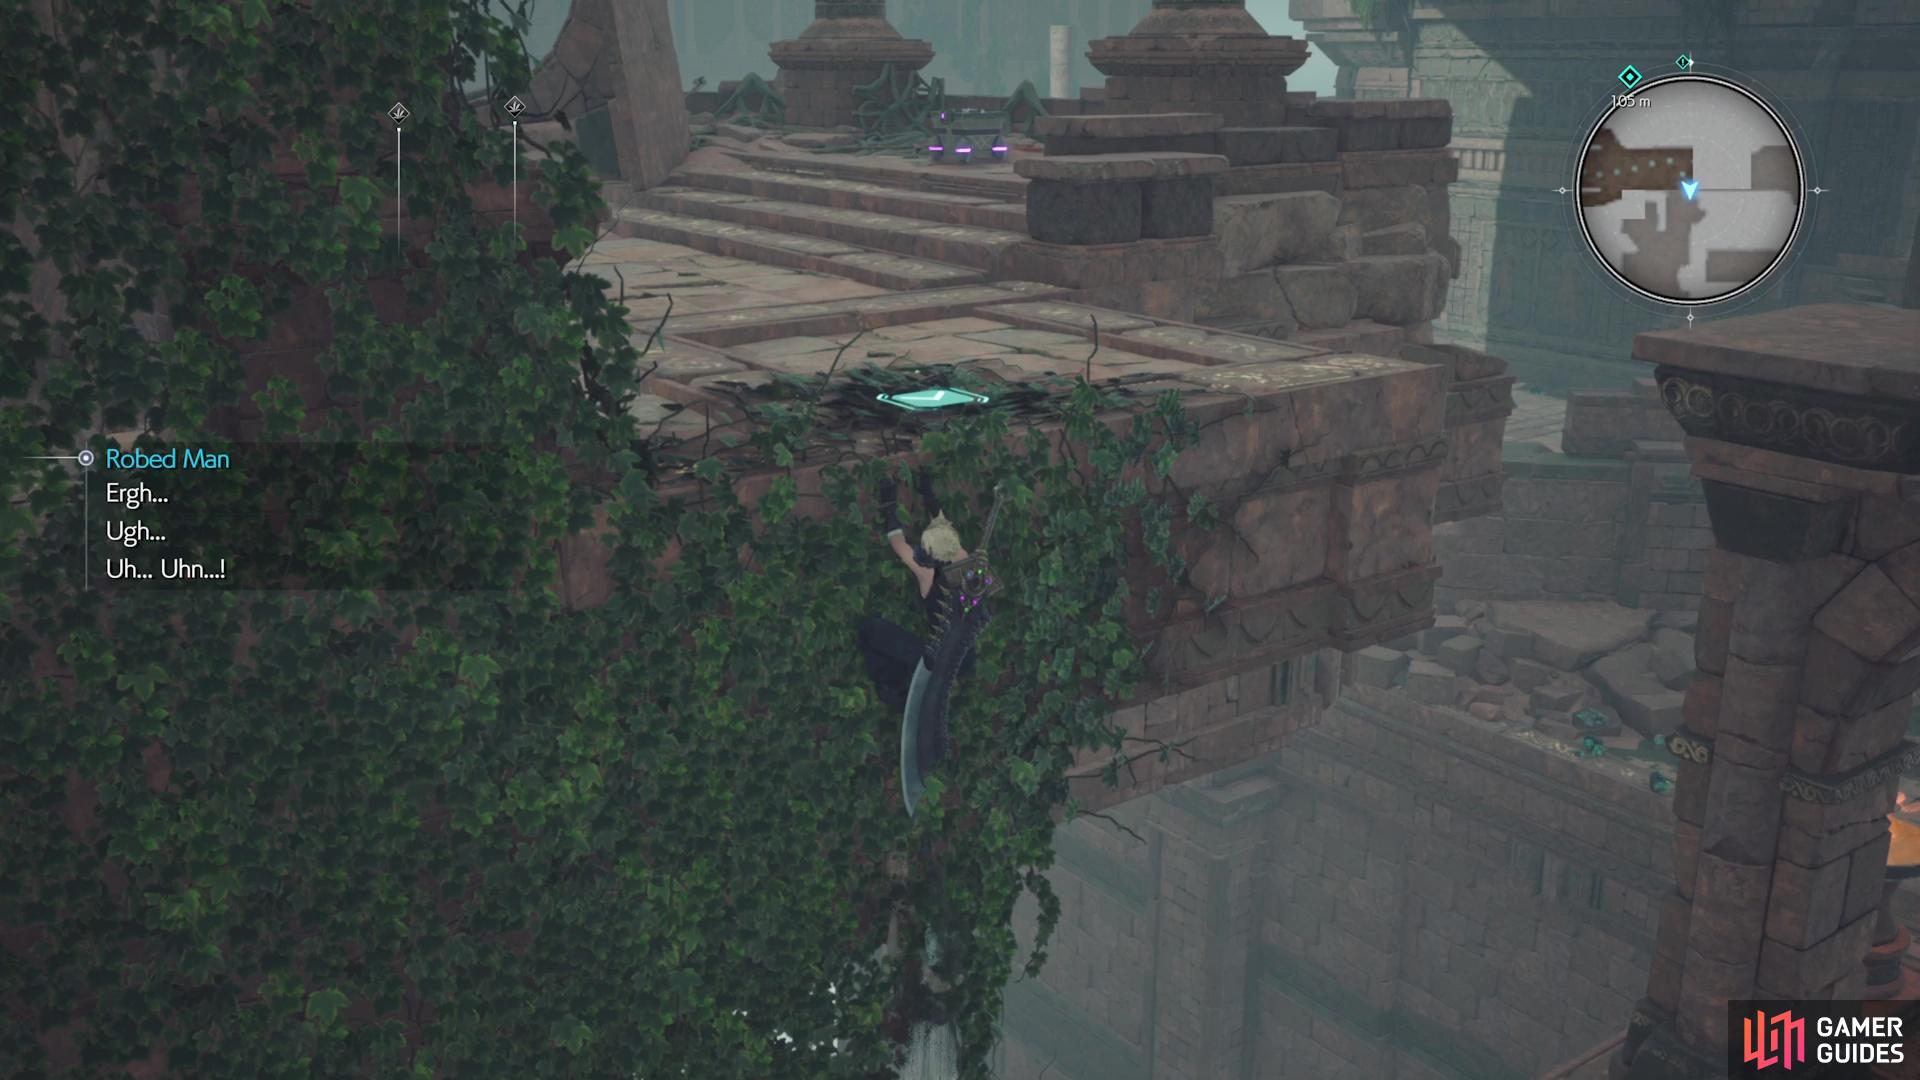
(1 of 4) Climb straight up the first set of vines to find the Slipstream Saber for Cloud.
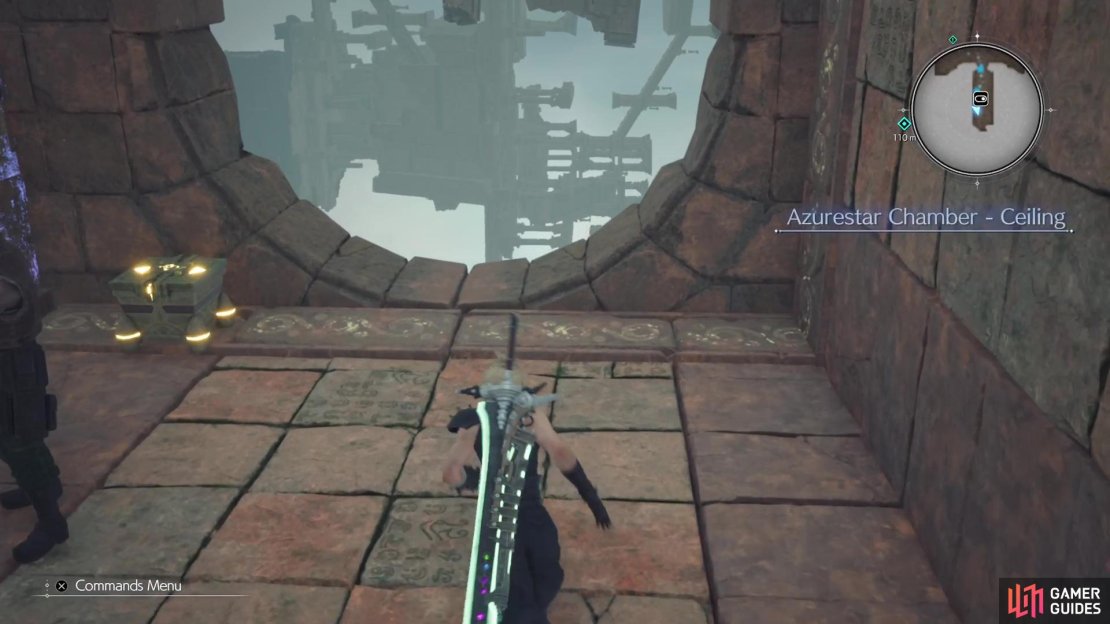
Double back to the split from before and use the stairs to the north to arrive at the next gravity chamber, the Azurestar Chamber. Unlike the previous ones, which only had two directions to choose from, this one has a third one. For now, choose the ceiling option, then look on the floor of the chamber for a chest (![]() Whistlewind Scarf). Activate the chamber once more and pick the side option now, where you can now begin climbing the nearby vines. This is a long climb to another ledge with more vines.
Whistlewind Scarf). Activate the chamber once more and pick the side option now, where you can now begin climbing the nearby vines. This is a long climb to another ledge with more vines.
At the very top, look for the gate that leads to an open area with more Shinra troops. As with the first battle here, find and take out the SOLDIER first, as he is the most troublesome. The remaining enemies should be a pushover after the SOLDIER is gone. With the coast clear, grab the large block-like object and move it towards the southeastern corner. Specifically, you’re looking to drag the block to the vines hanging from the one ledge, so you’ll be using it as a climbing tool to reach said vines.
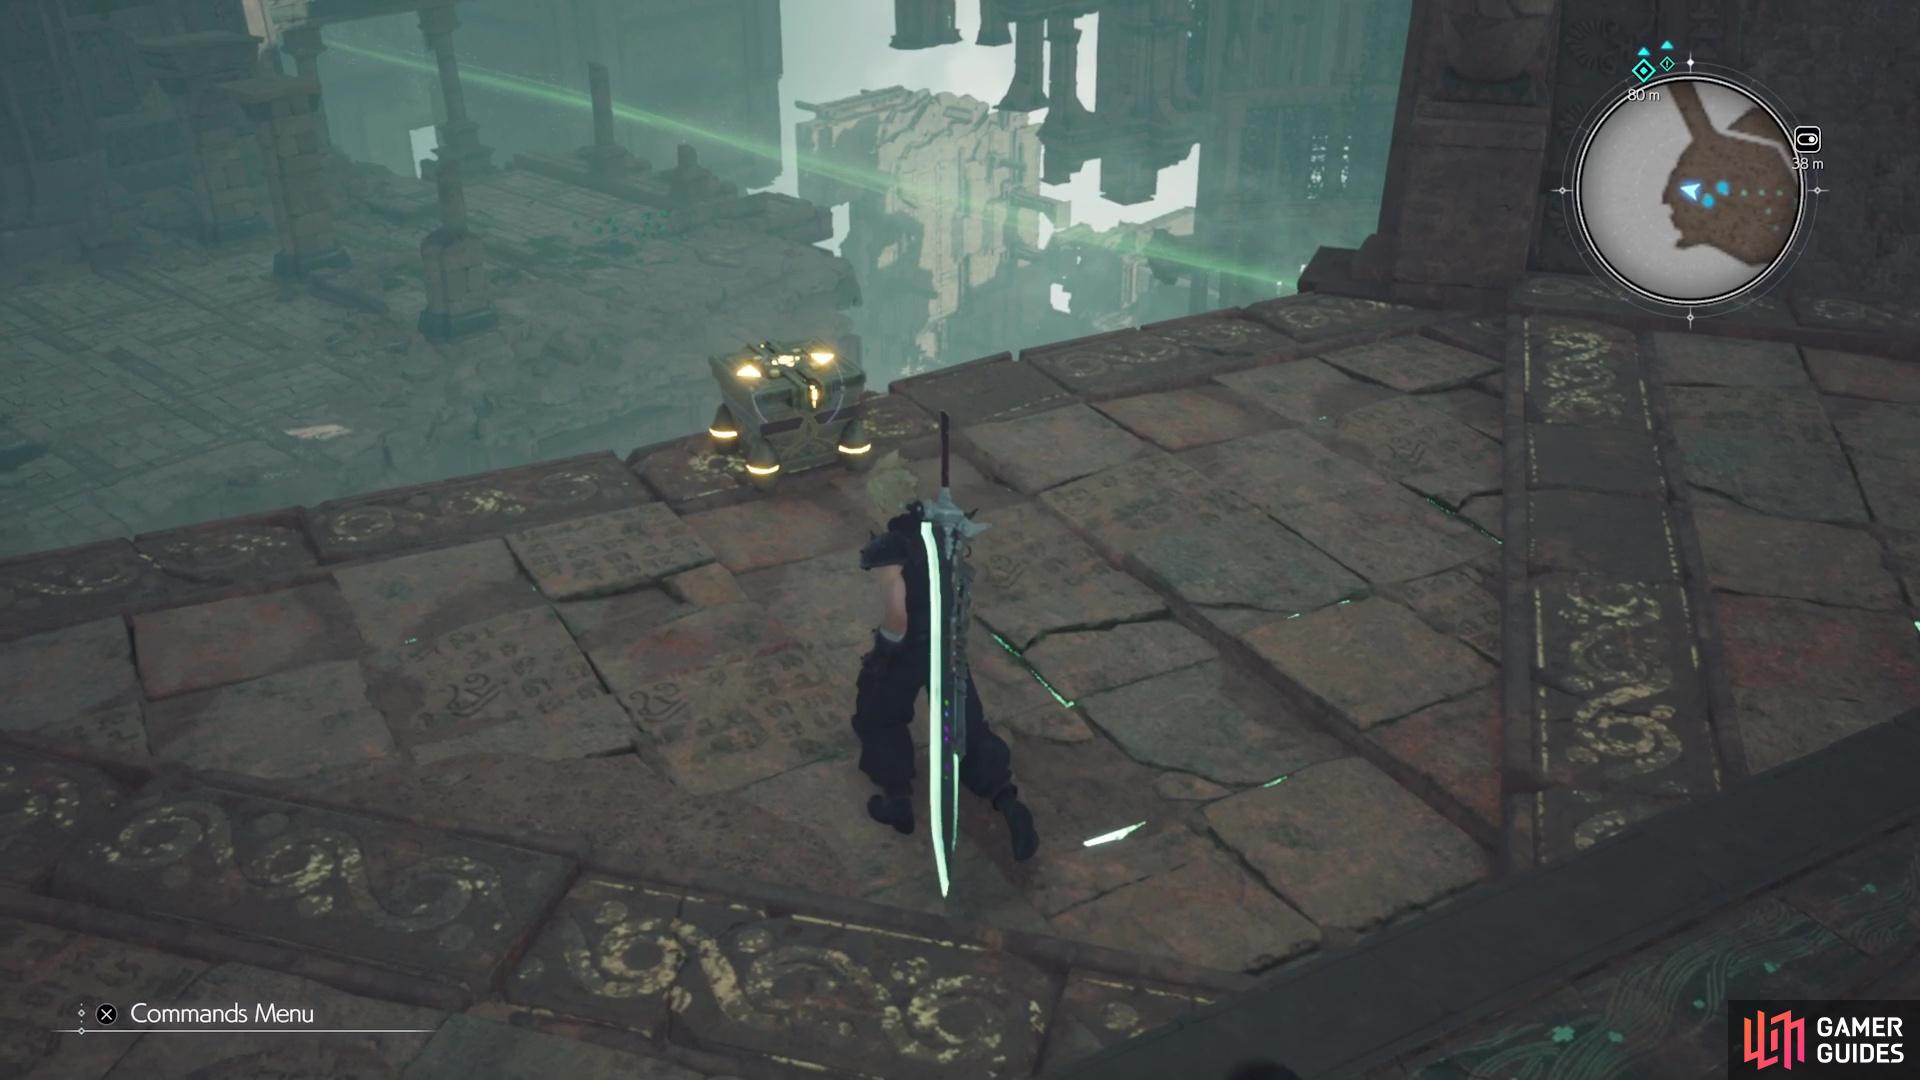
Walk around at the top until you see some Shinra soldiers jump off a waterfall, which you will be doing shortly yourself. Go over to the same waterfall, but don’t get too close to trigger the jump. Instead, climb up to the ledge behind you, then look at the end of the walkway for a chest (Giga-Potion). Return to the waterfall and approach it now to jump down it, into a pool of water. Once you’ve landed, swim over to the ledge and get out of the pool, then head on over to the northern side to find another chest (![]() Mythril Ore).
Mythril Ore).

(1 of 5) Move this box to the corner until you see the icon to jump on it appear.
Back to the southern side, climb the stairs until you reach some enemies, which you don’t technically need to fight if you don’t want, as you can easily sneak past them. Just beyond the enemies will be a pair of gravity chambers, a yellow-colored one and a purple one. The Amberstar Chamber (yellow) is the one you want to use first, so do that and place your party on the ceiling. You’ll fight two Ancient Dragons up some stairs and past the next gate will be a little spot that has an EXP Up Materia. That’s all you’ll find here, so return to the chamber and go back to the wall side.
When you arrive at the purple chamber (Mauvestar Chamber), ignore the vines on the side and just put the gravity to the ground. You can now use the vines from just a bit ago to climb to the other side of the wall, where you’ll find some stairs going up. Another Ancient Dragon will be guarding a chest, so defeat it first and open it up afterwards for a Cetran Bangle. While this is one of the better pieces of armor, stats-wise, it has no materia slots, so you’re giving up a lot to use it.

(1 of 3) The Mauvestar Chamber will allow you to get the Cetran Bangle from this chest.
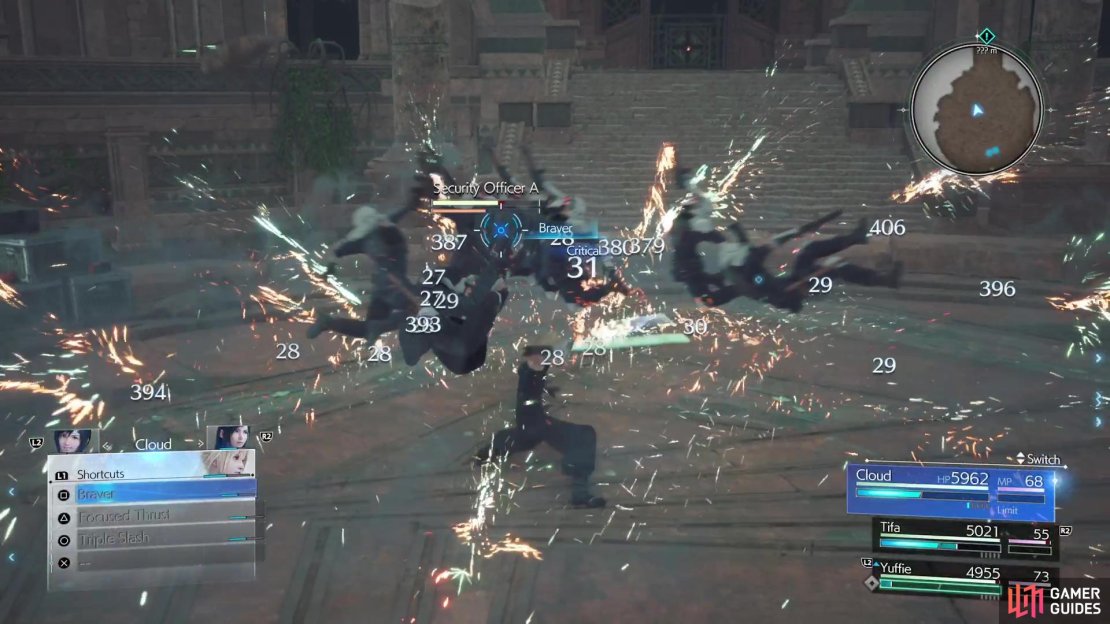
Return to the chamber now and flip it upside down, so you’re on the ceiling. Follow the path outside to confront a large gather of Shinra troops, whom you’ll have to fight. Despite the overwhelming odds in their favor, all of the enemies here are basic units, so they shouldn’t give you too much trouble. If you’re controlling Cloud, one thing you can do here is hold down Square to do the sweeping attack, which should gather all of the nearby troops into one spot, where you can then deliver something like a Braver to defeat a lot at once.
Of course, don’t get too complacent either, as the damage from the enemies can pile up quickly, since there’s so many of them. Upon defeating them all, enter the next area, where you’ll find a rest bench, vendor and automat. Rest up, purchase some items if you need, then get ready for a boss fight.
No Comments