
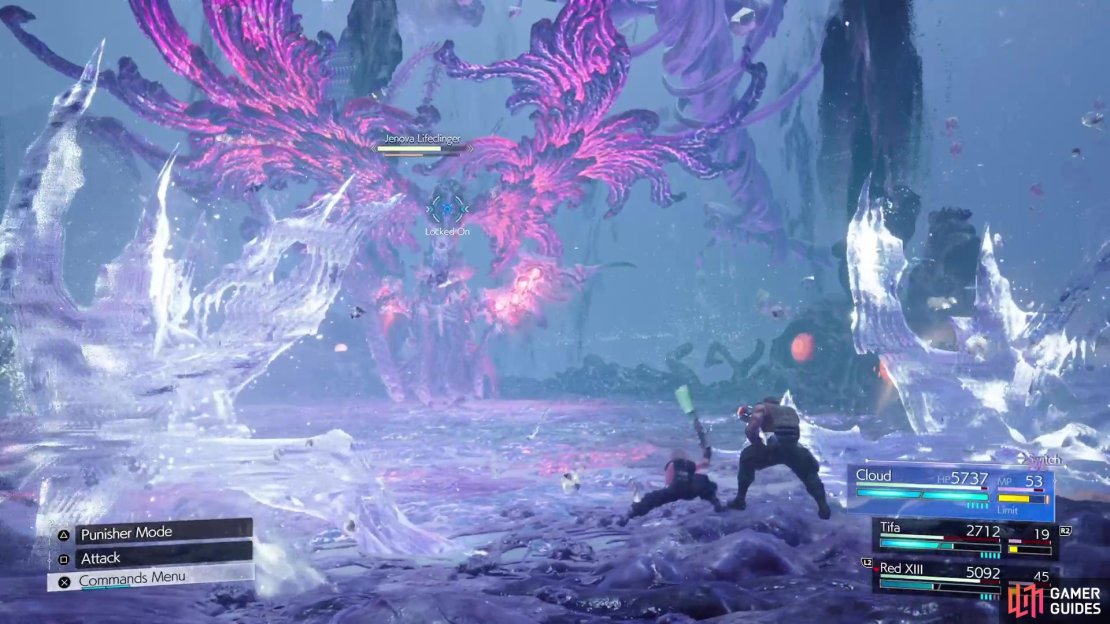
You’ve finally made it to the final chapter of the main story, where all of the story beats are coming to a conclusion. Of course, you will be put through a gauntlet of bosses in this final segment, with Jenova Lifeclinger being the first of them. If you’ve heeded the warnings on The Forgotten Capital page, all of your characters will be outfitted with good equipment, as well as a myriad of useful materia, since they will be utilized in this battle.
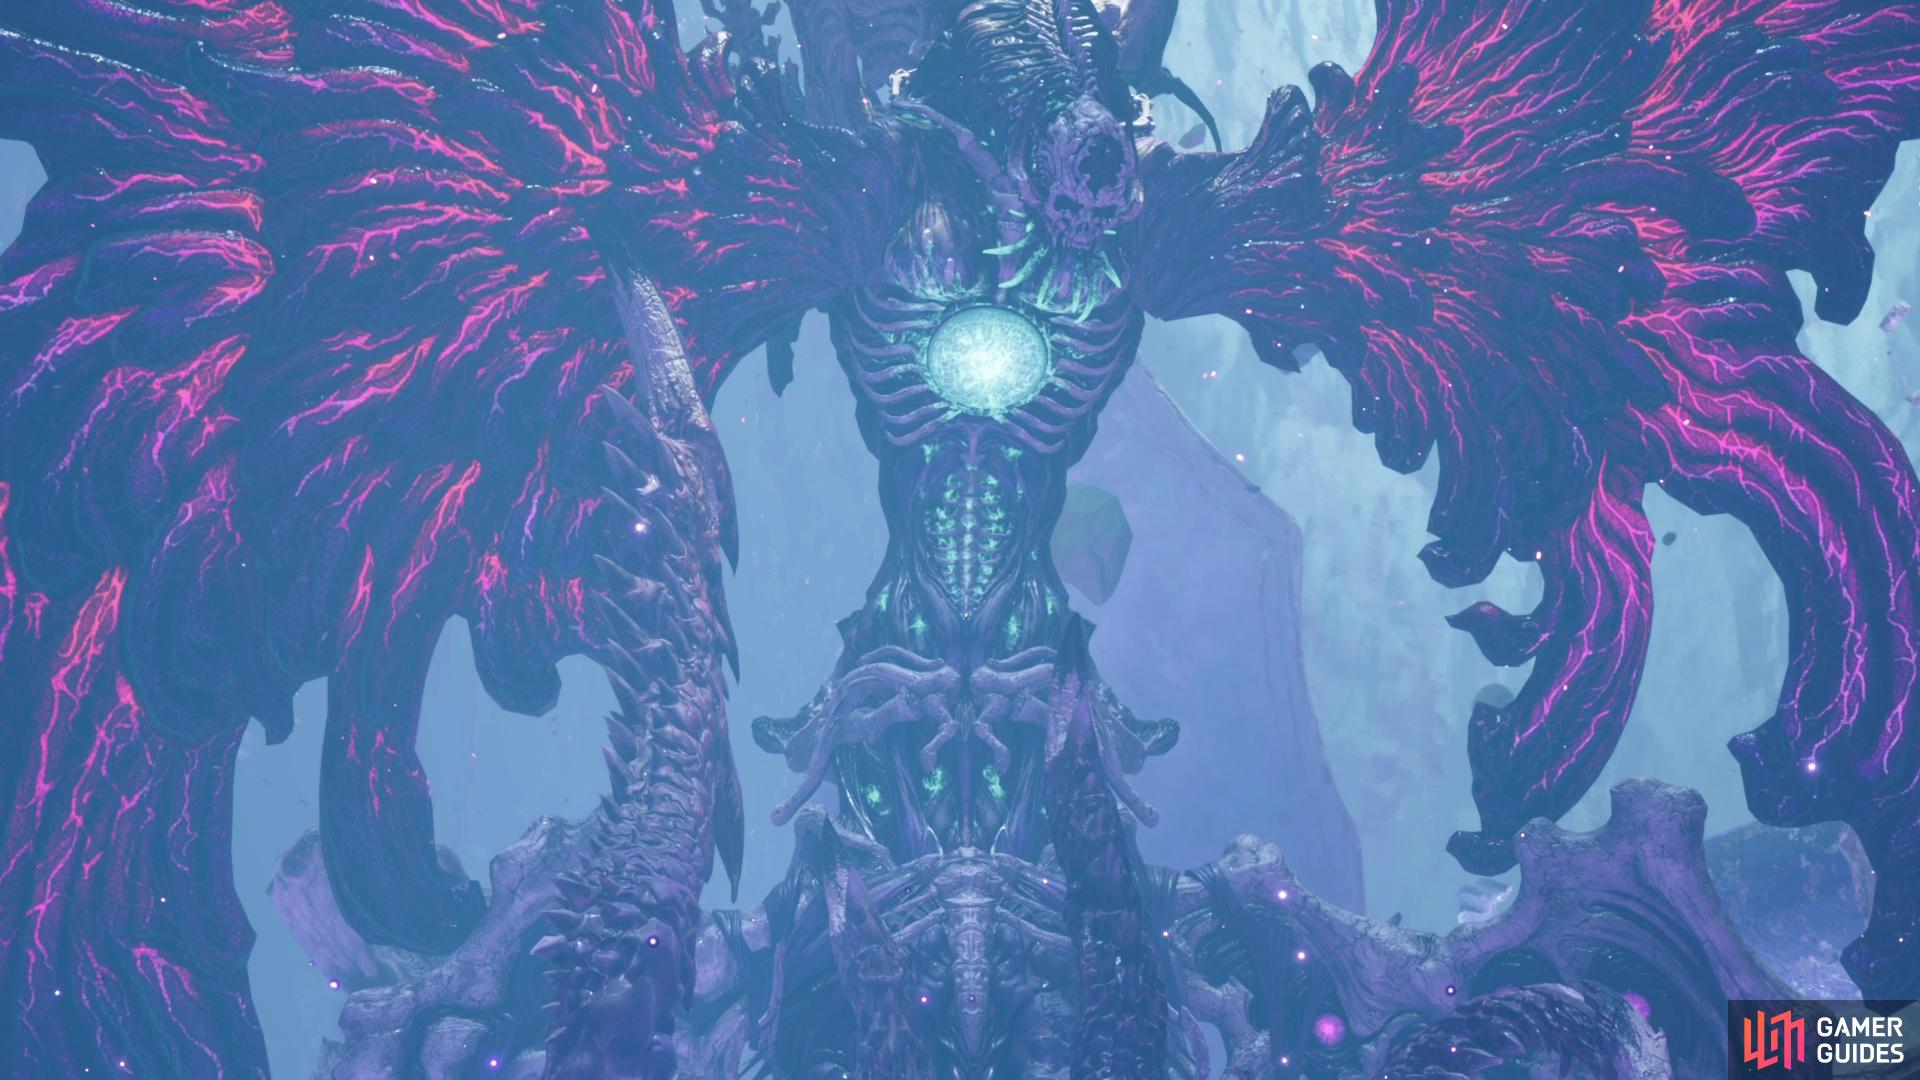
Jenova Lifeclinger will be the first of four bosses you face in Chapter 14.
All of Jenova Lifeclinger’s Attacks
Jenova will have multiple phases throughout the fight, with your party already predetermined.
-
Contaminant Expulsion:
 Unblockable. Doesn’t do any damage, but ejects party members from the battle. Sidelined characters are first, but will use it at set periods to eject other party members. This move is scripted.
 -
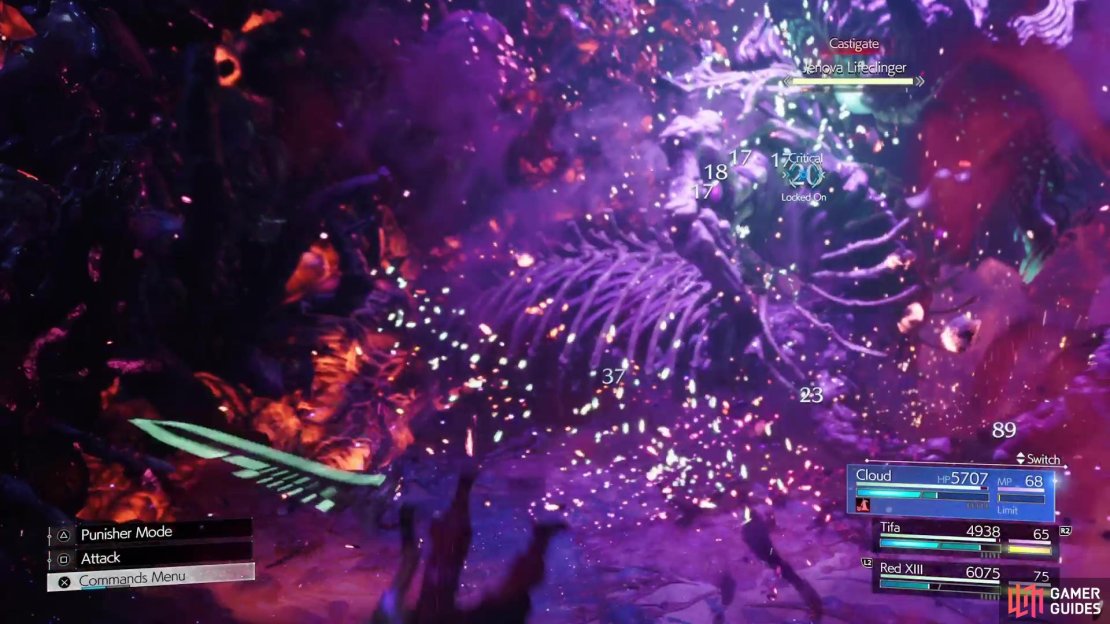
Castigate: Jenova will use a quick burst of energy around its body, pushing your characters away while they take damage.
-
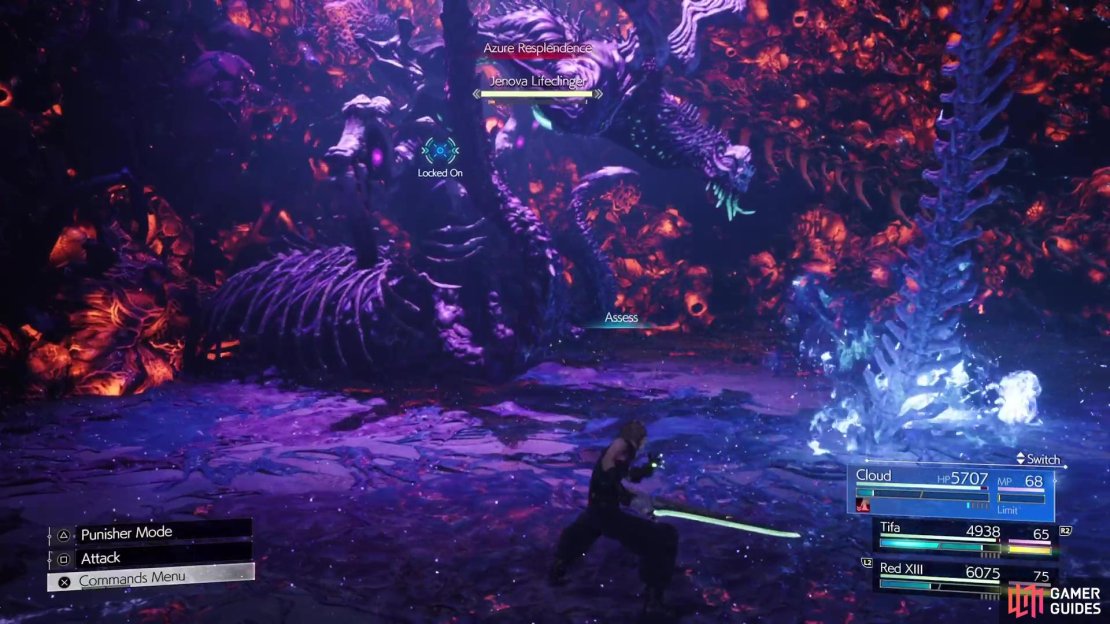
Azure Resplendence: Jenova will stick its tendril into the ground, causing flames to shoot out and seek your party members. Seems to deal damage over time, rather than outright damage.
-
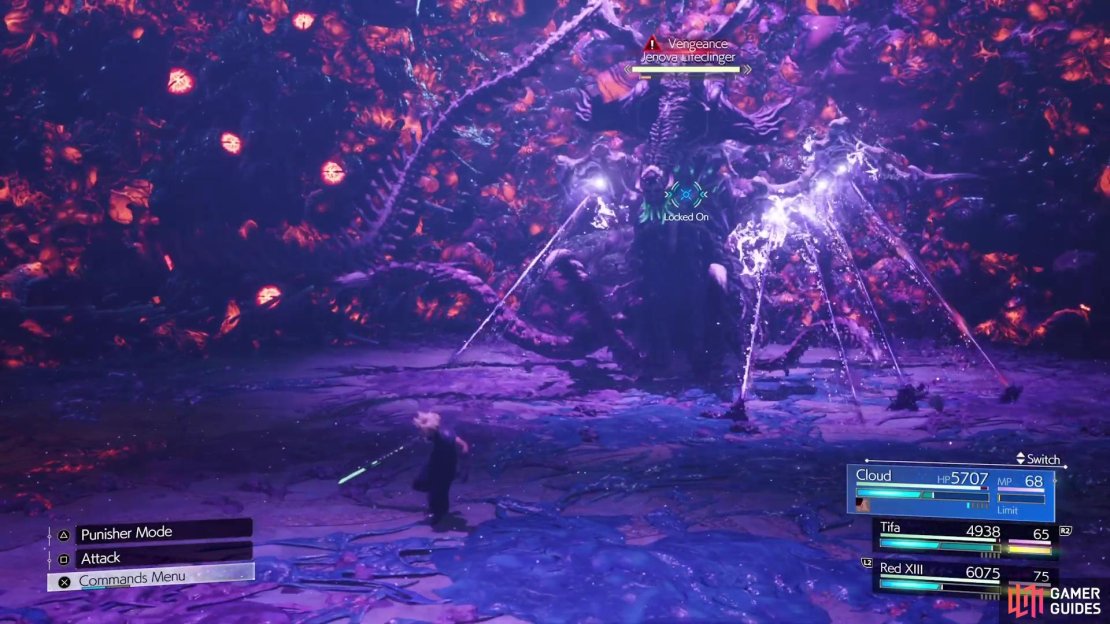
Vengeance: Unblockable. Jenova will fire off some lasers in random directions. Look for the gaps to find safe spots and avoid this attack.
-
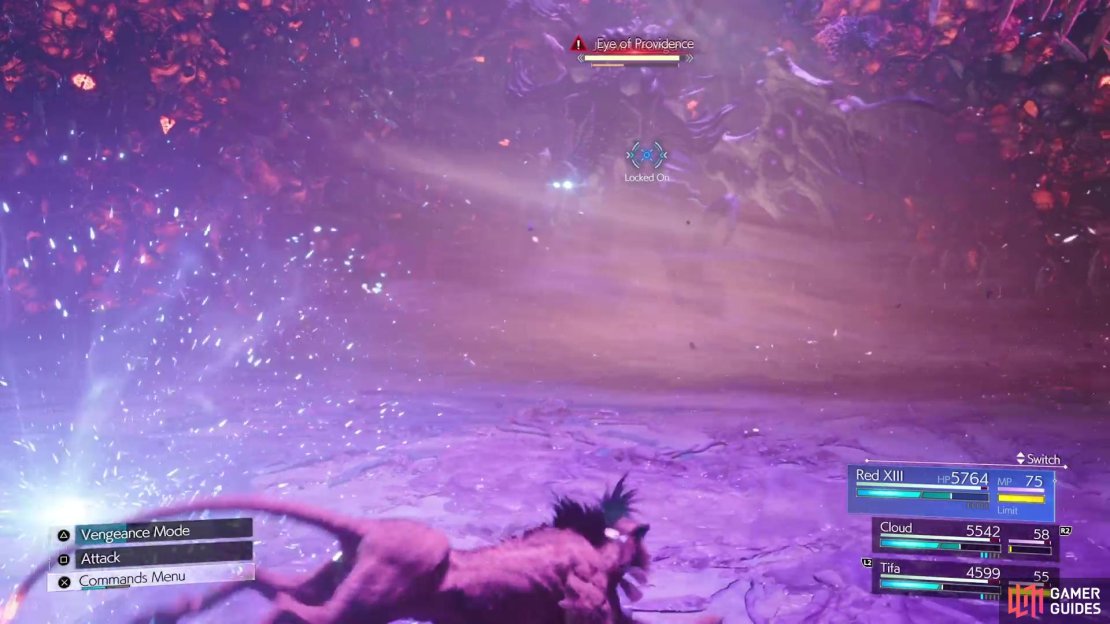
Eyes of Providence: Unblockable. Jenova will create a blue ball around one of your characters. If it hits, then that character will be bound and take decent damage. Just keep moving to avoid this attack.
-
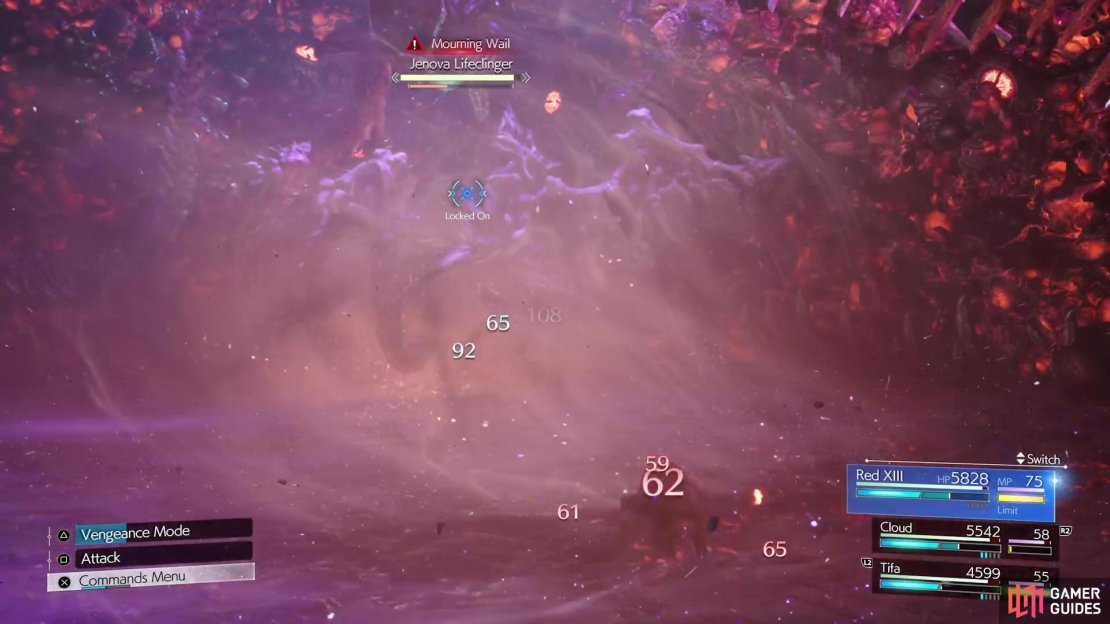
Mourning Wail: Unblockable. The boss will create a vortex around its body and if you stay in that range, then you will take damage over time. Simply move away while this attack is ongoing.

-
Blizzaga: The same spell that can be cast by your characters. The initial hit doesn’t deal damage, but stops your movements for a brief second. Once that initial hit confirms, a giant chunk of ice will appear.
-
Aeroga: The same spell that can be cast by your characters. Summons a large gust of wind on a character.
-
Lachrymal Exhale: Unblockable. This attack occurs in the first phase if the
 Barrier is up for a set amount of time. Jenova will shoot a bunch of bubbles in an arc across the arena.
 -
Desecration: Unblockable. Second phase. Jenova will fire very big lasers straight ahead. Look for the gaps where you can stand without taking damage.
-
Dreams of Sorcery: Second phase. Not really a skill, as this is more something else that will be followed by other moves.
-
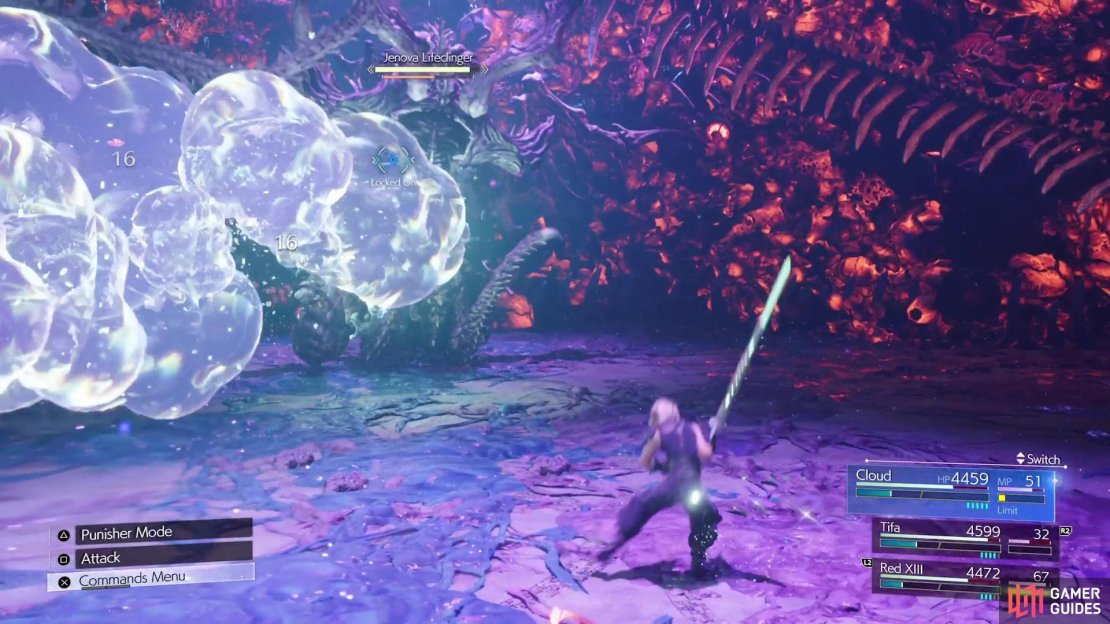
Dreams of Pestilence: After Dreams of Sorcery, Jenova will shoot out a bunch of orbs, which will then cast Bioga on the entire party. Note this attack can poison you.
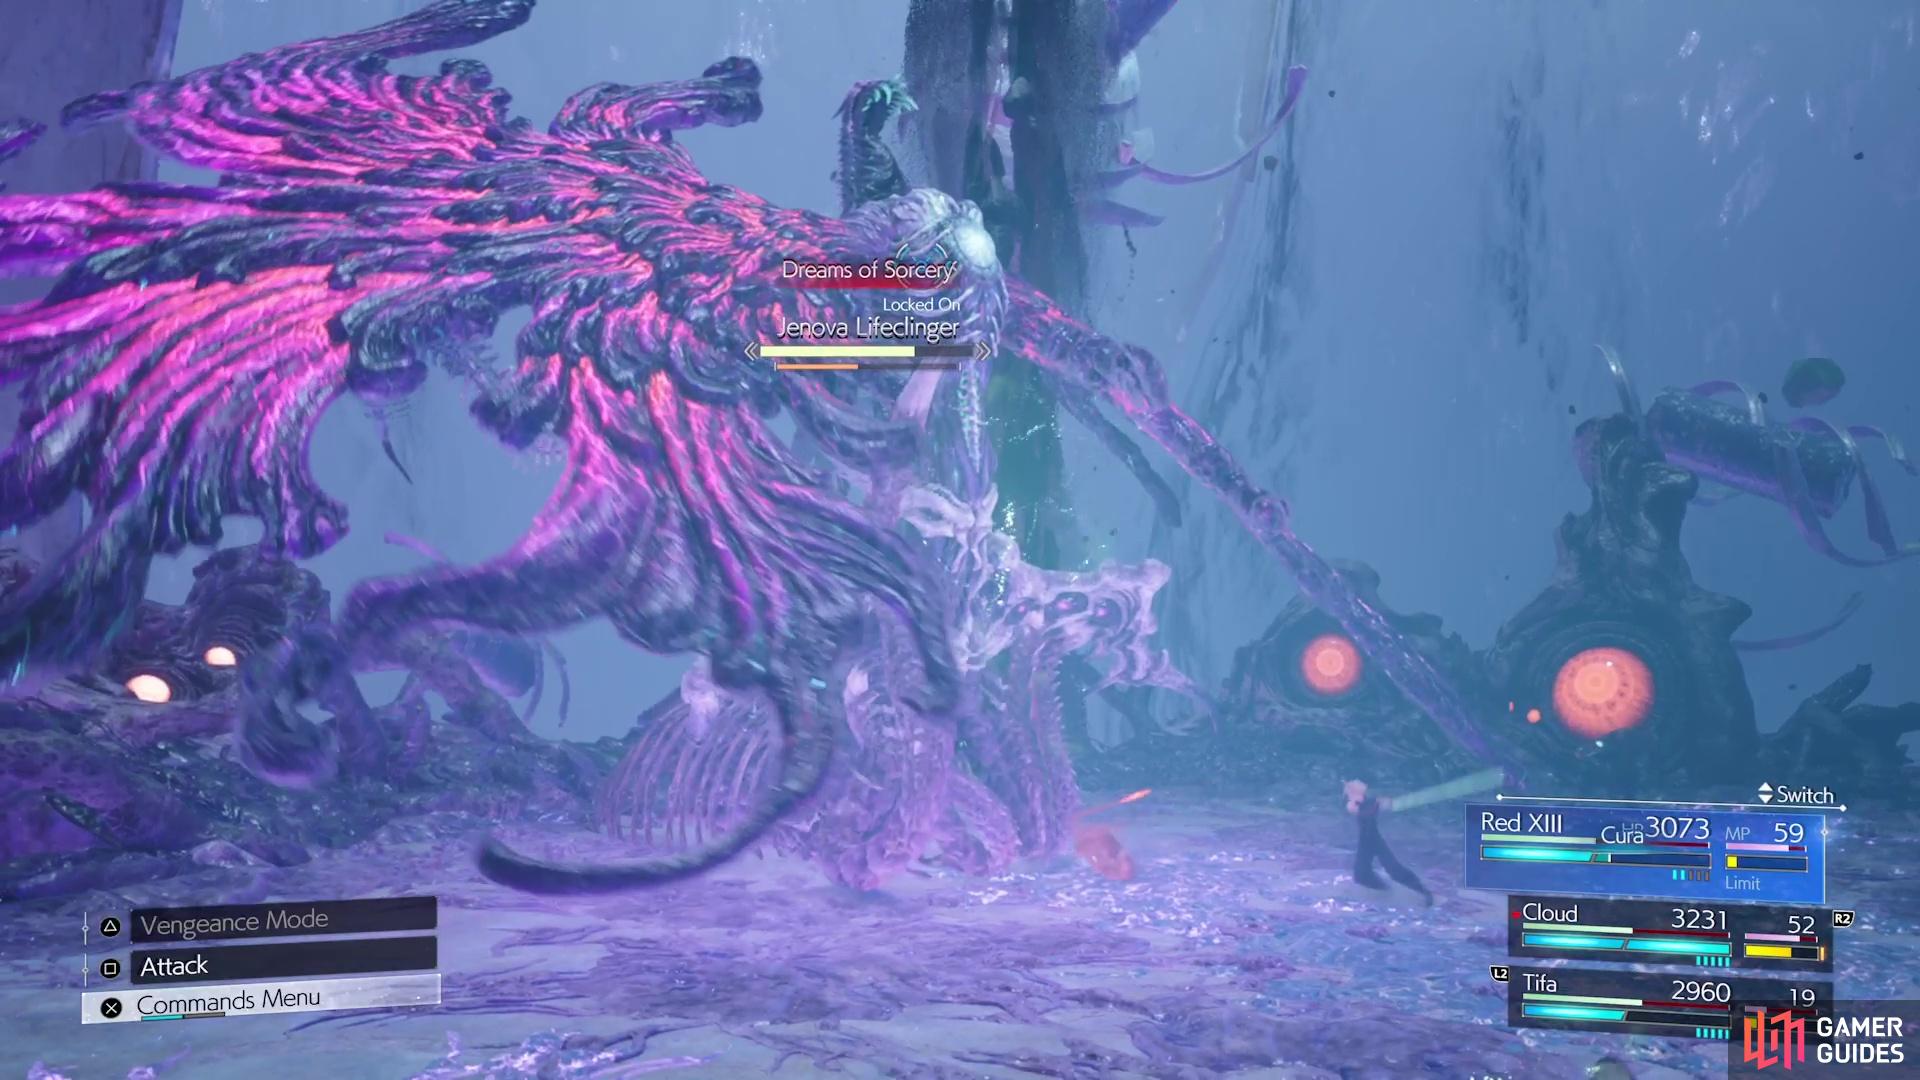

(1 of 3) Dreams of Sorcery indicates that Jenova will start using the other Dreams skills.
-
Dreams of Frost: Similar to Dreams of Pestilence, but instead it will cast Blizzaga on the party. It is possible to avoid this, since you can dodge the large chunks of ice that appear.
-
Dreams of Zephyr: Similar to the other ones, with this one casting Aeroga on the party. You could probably dodge this, too, if you keep moving.
-
Dreams of Timespace: Spinning cogs will follow your party members around, which will eventually explode and inflict
 Stop.
Stop. -
Obliterate: Unblockable. First, Jenova will use Prismatic Compression, then go back to attacking normally. After some time has passed, she will then use this attack, which fills the screen with explosions. Kind of hard to avoid, but deal enough damage to the boss before she unleashes it to stop the move.
-
Sanguinary Flames: Unblockable. Fourth Phase. Jenova gains
 Shield status and shoots little fireballs all around the arena. They will leave behind a little fire pocket when they hit the ground, which will also explode a few seconds after landing.
Jenova Lifeclinger Boss Strategy
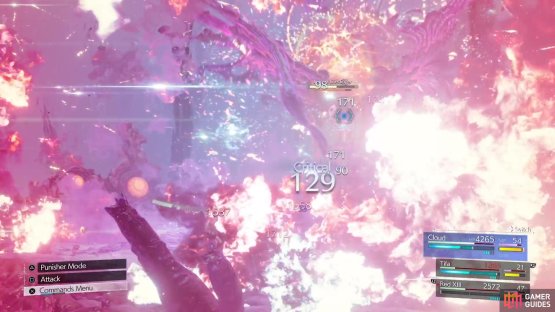
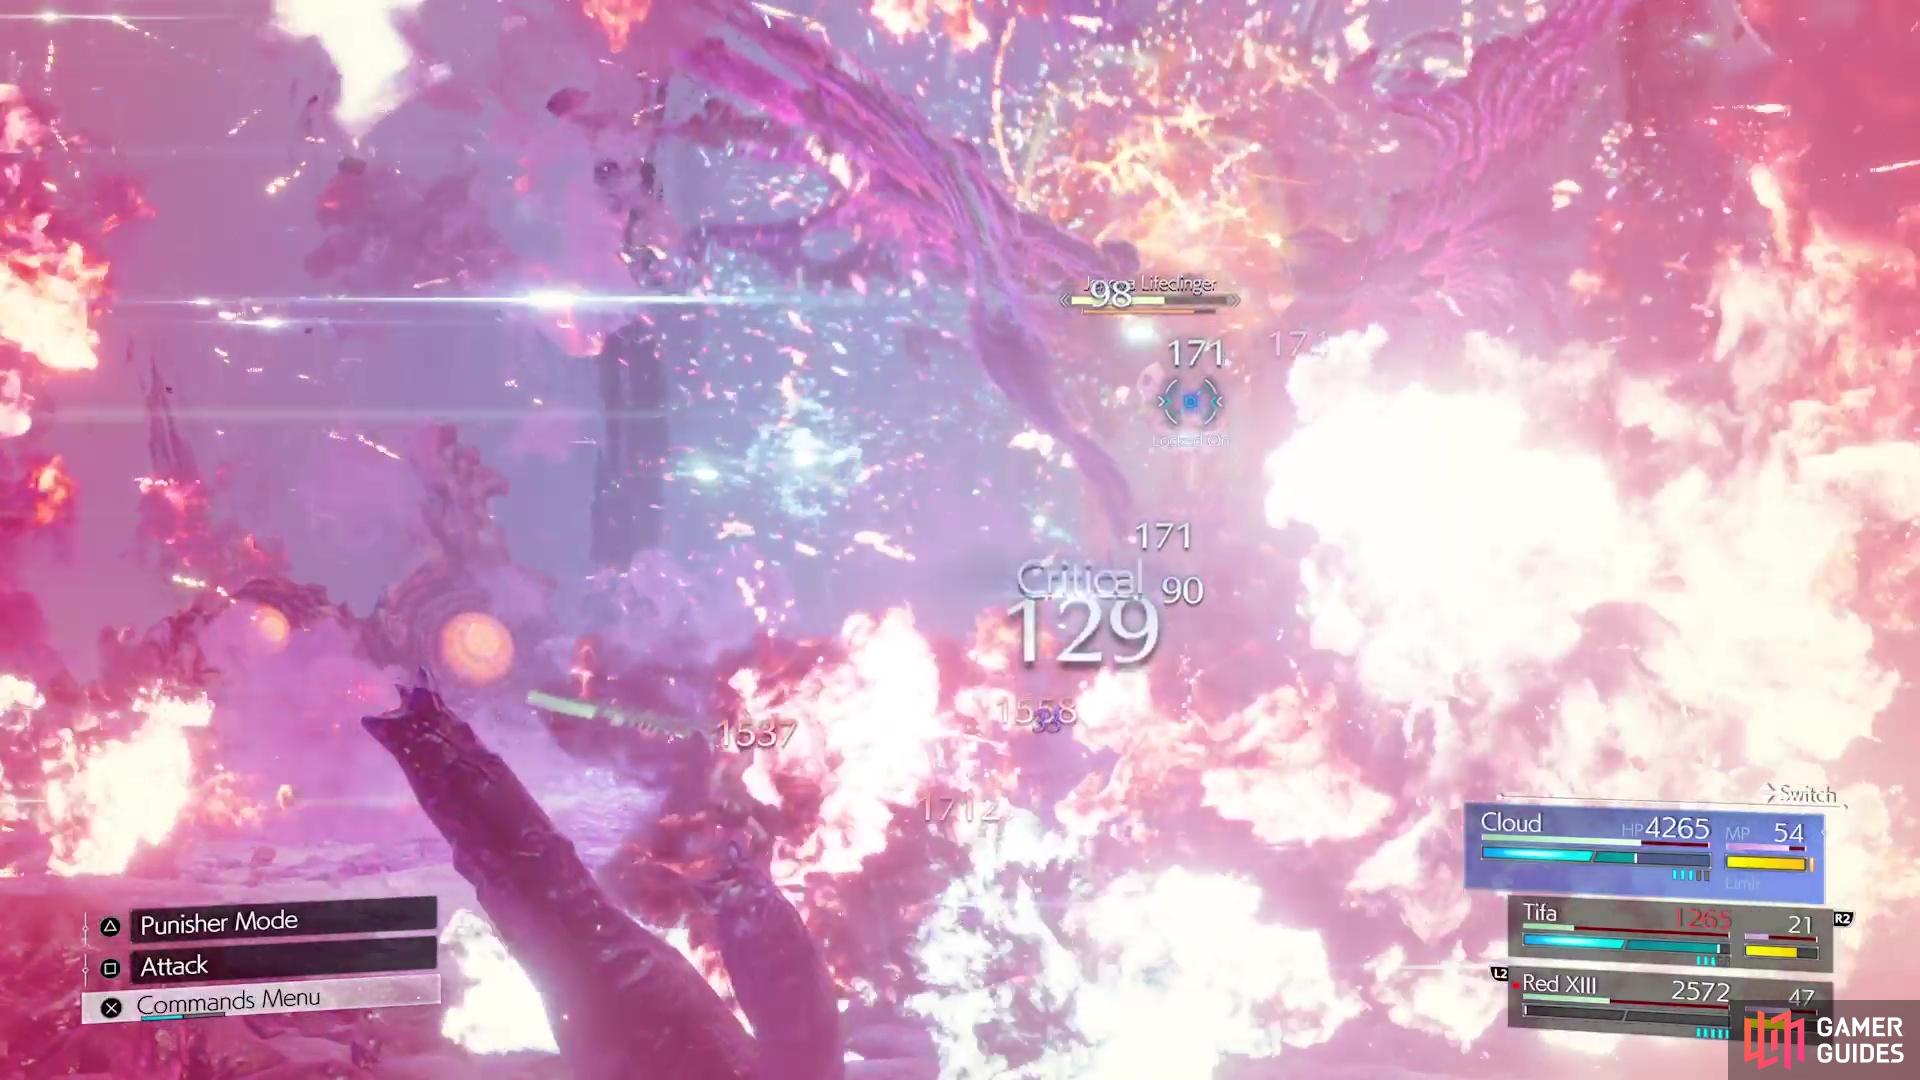
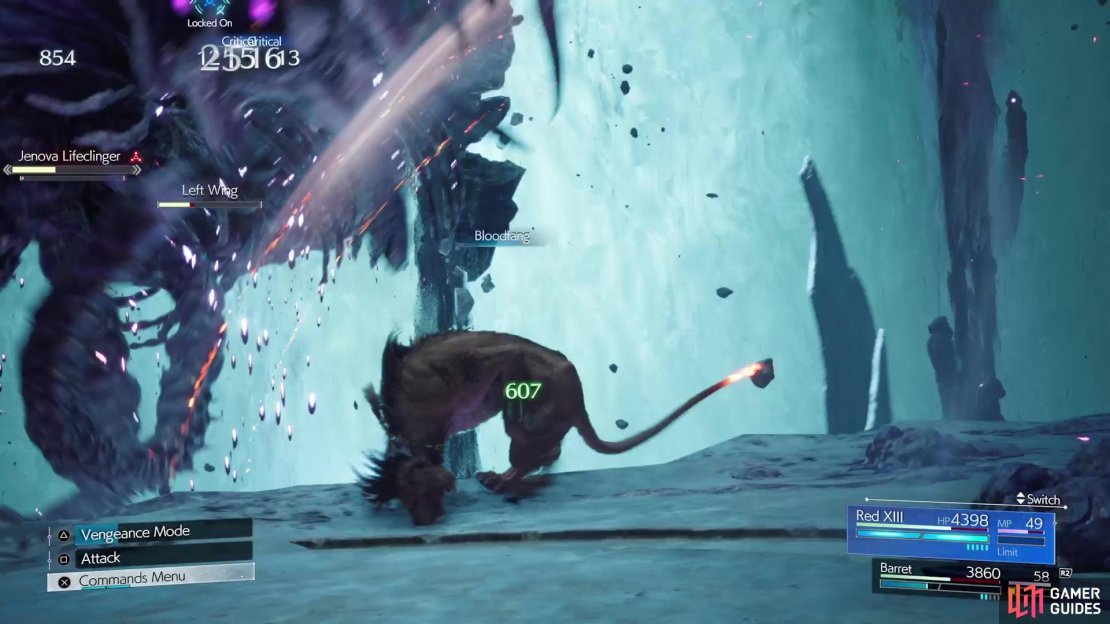
As briefly mentioned above, the party for this battle is already predetermined, so you technically don’t have a choice. The characters in your party for the first phase are determined by your relationship rankings, so you don’t really get a choice on who you want to use. At the very beginning of the battle, Jenova will use Contaminant Expulsion to get rid of your sidelined characters. She will be able to use this two more times during the first phase, which will essentially leave Cloud solo for a little bit. Note that everyone except for Cloud begins this battle with their Limit fully charged, but you should try and wait until later to use it, as it’s not really needed here.
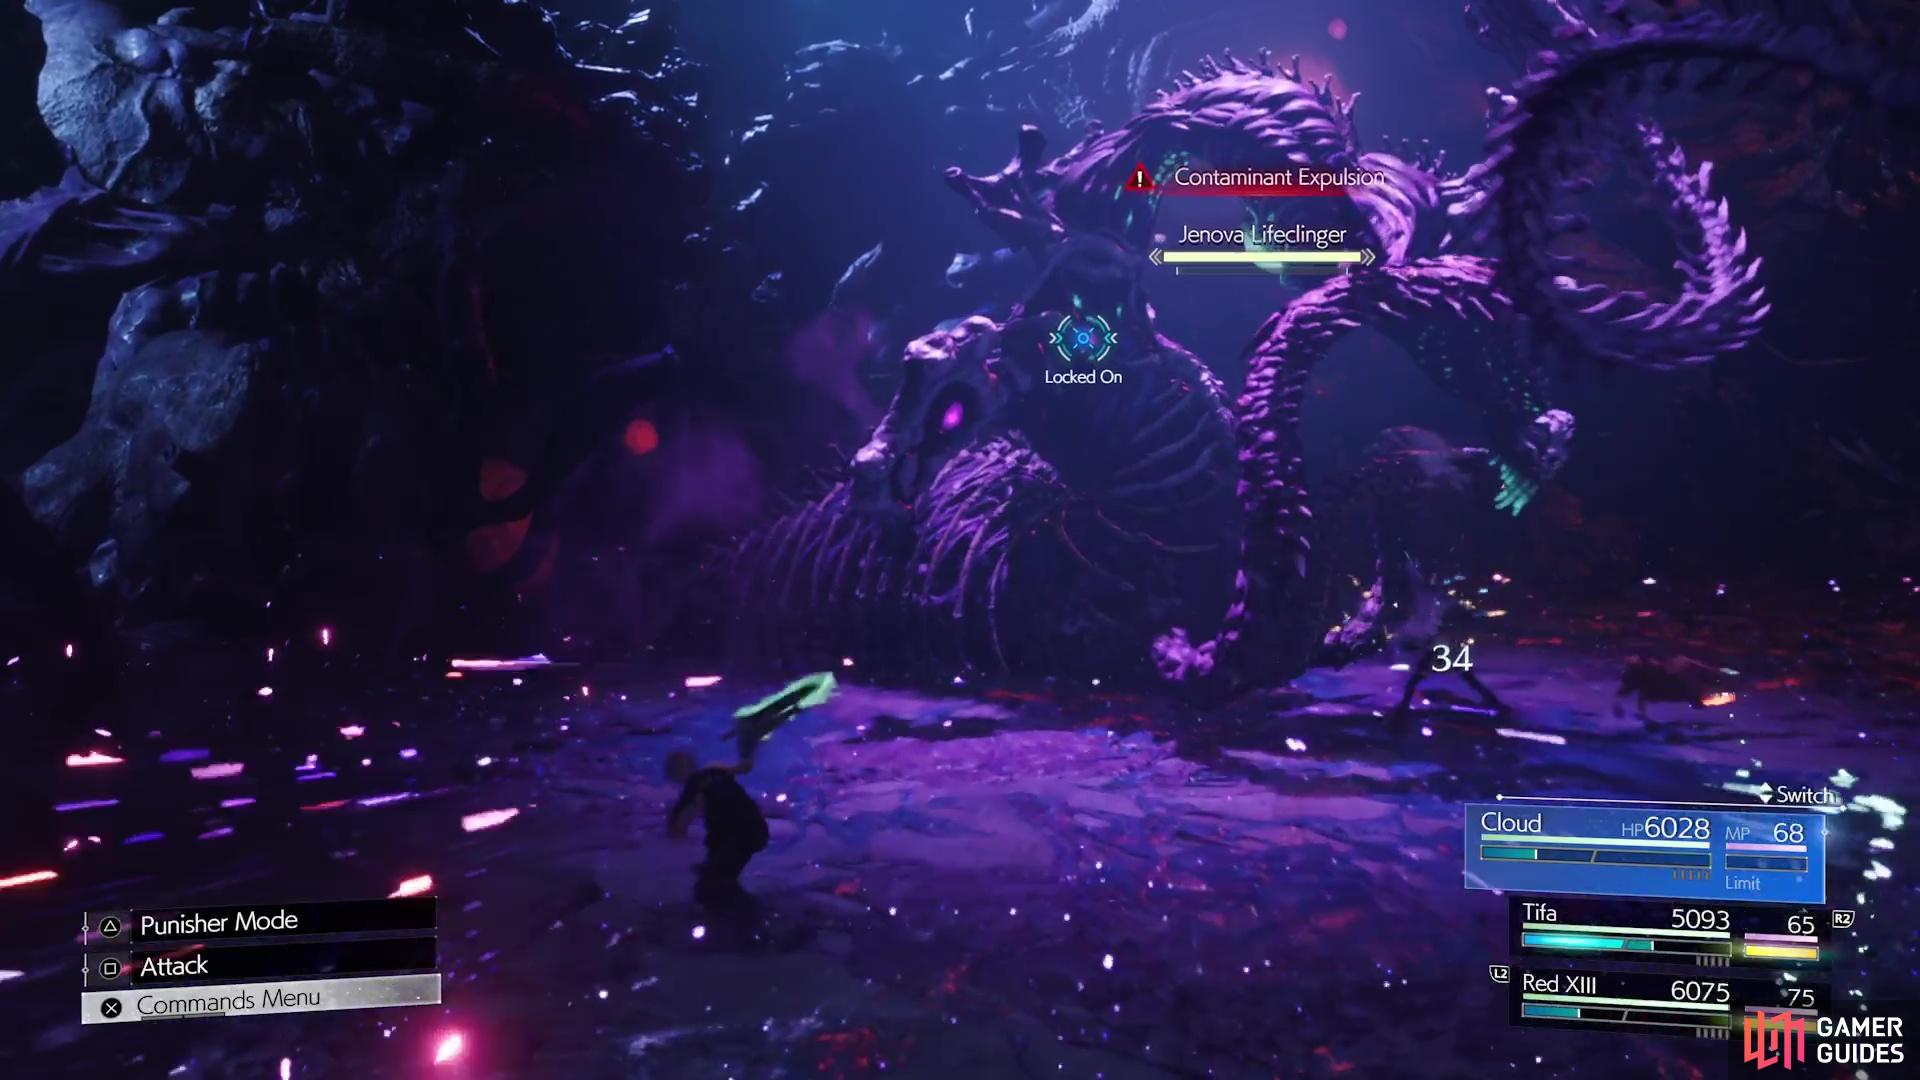

(1 of 2) Contaminant Expulsion will eject party members from the battle.
Contaminant Expulsion will eject party members from the battle. (left), It will start with the sidelined characters, then used throughout the first phase until Cloud is solo. (right)
The first phase is pretty standard, with a few attacks to watch out for while fighting her. Castigate and Mourning Wail are kind of similar, where Jenova will create some energy around her body to damage you. The former is a quick burst, while the latter is continuous and deals damage over time. Vengeance will have Jenova fire a bunch of lasers and there seems to be a few variations of it. Simply look for gaps in between the lasers to avoid them. Azure Resplendence happens with Jenova sticking its tendril into the ground and shooting some fire at your characters; try to keep moving to avoid this.
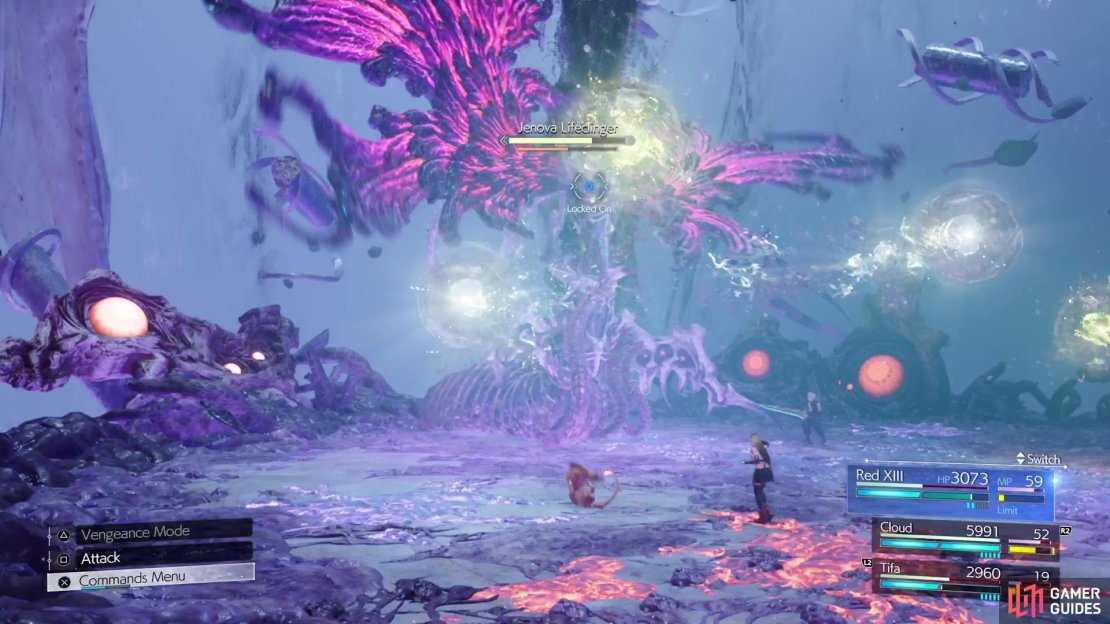
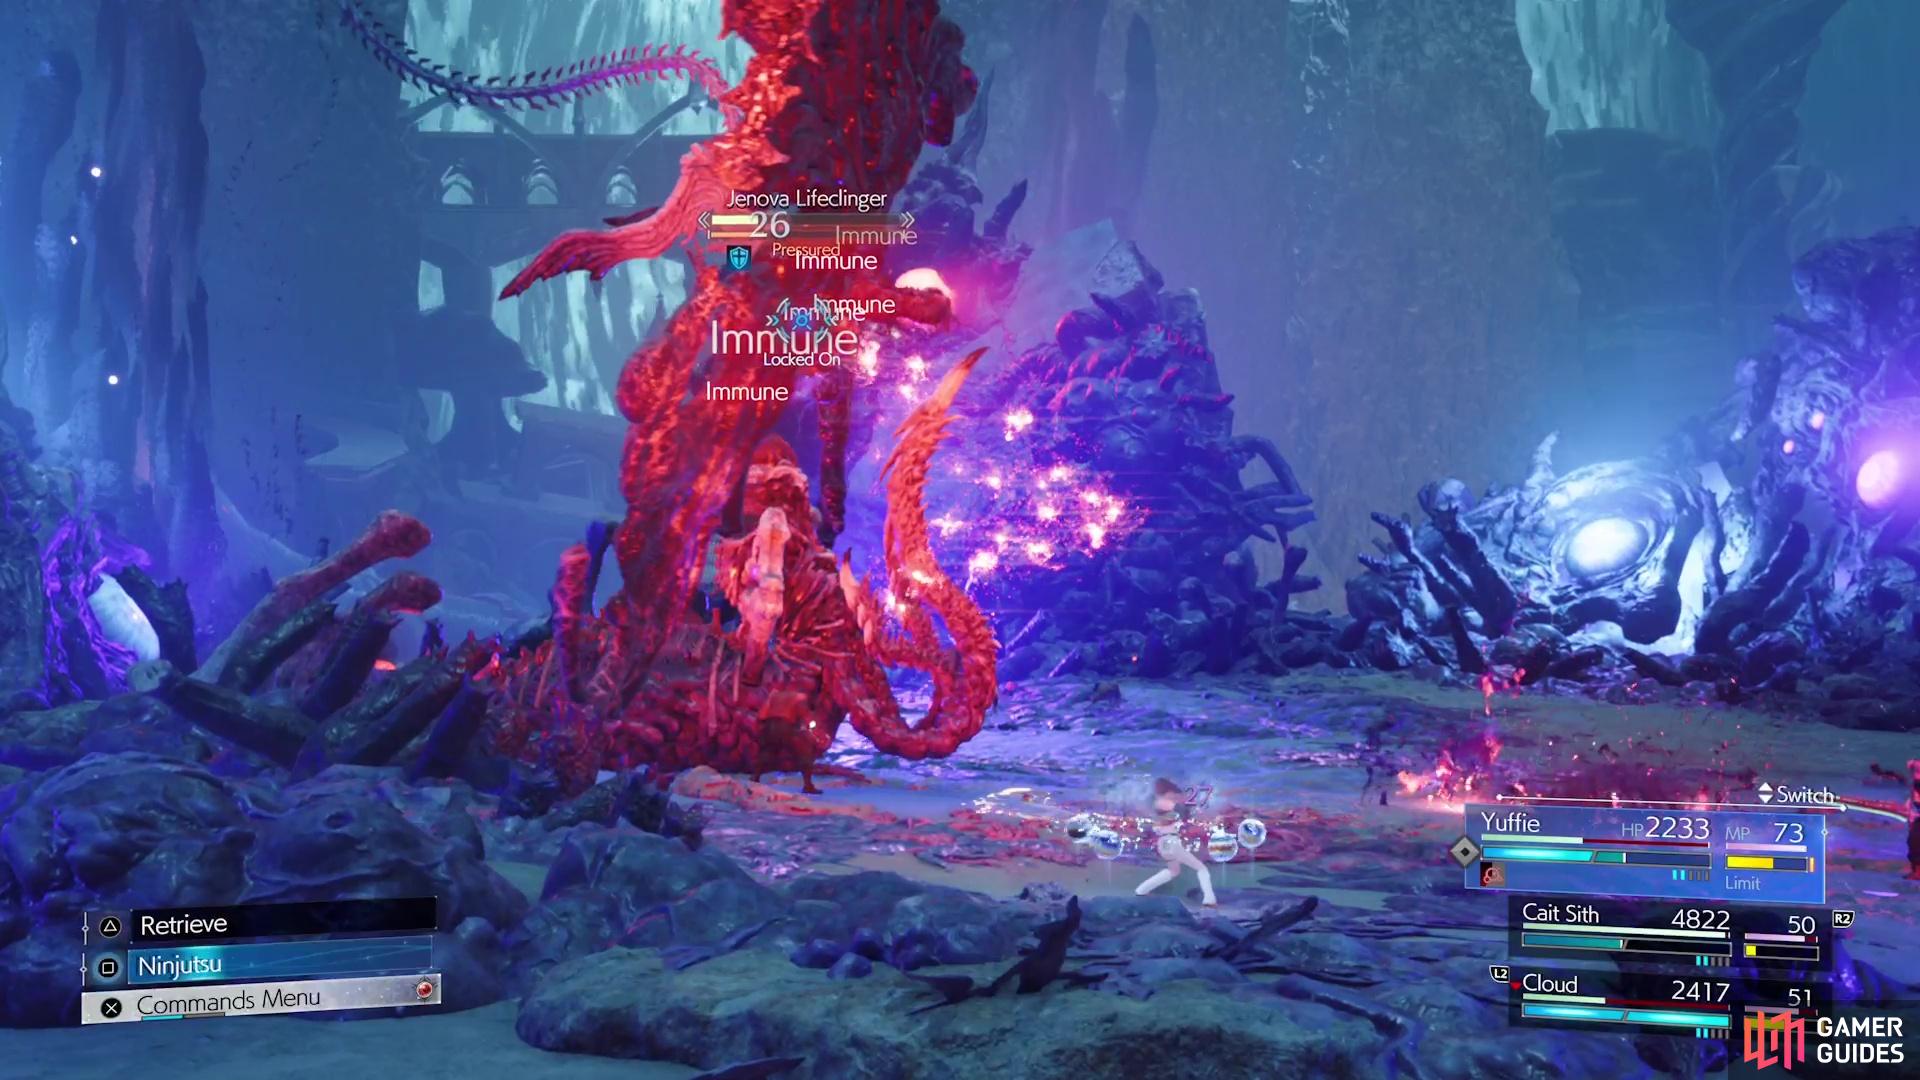
Eyes of Providence is basically a grab move, where Jenova summons a blue light on someone. If they get hit, they’ll be bound and receive some damage after a few seconds. At some point during the first phase, Jenova will erect a Barrier in front of it, which will also make her immune to physical damage. You can still smack the Barrier to get ATB, but you’ll need to use magic on it to deplete its health. If you manage to get rid of the Barrier, then Jenova will become pressured. Should you not get rid of the Barrier in time, Jenova will use Lachrymal Exhale, where she’ll shoot out a bunch of bubbles across the arena.
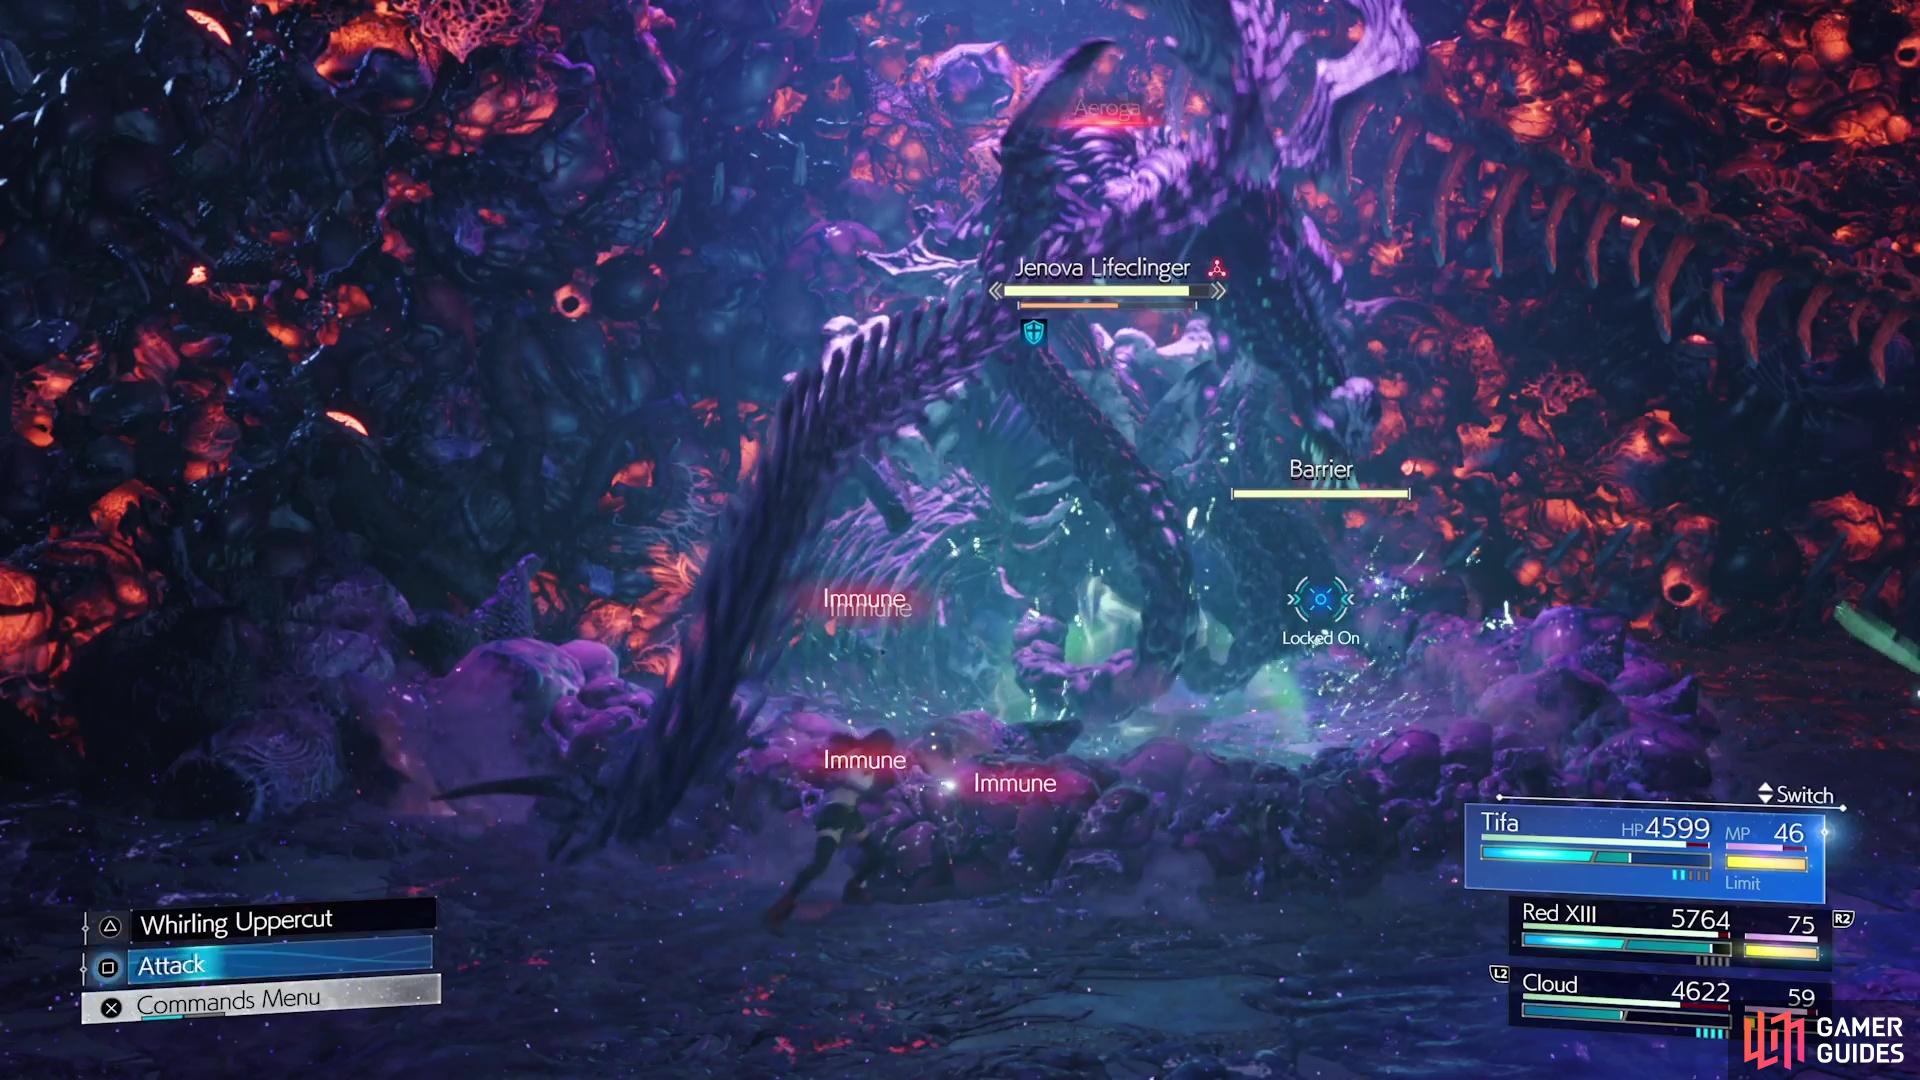


(1 of 3) Jenova will erect a Barrier during the first phase, which is immune to physical attacks.
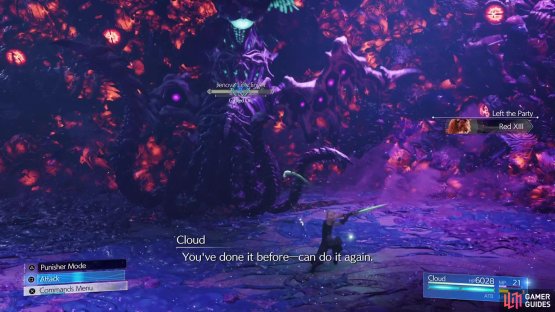
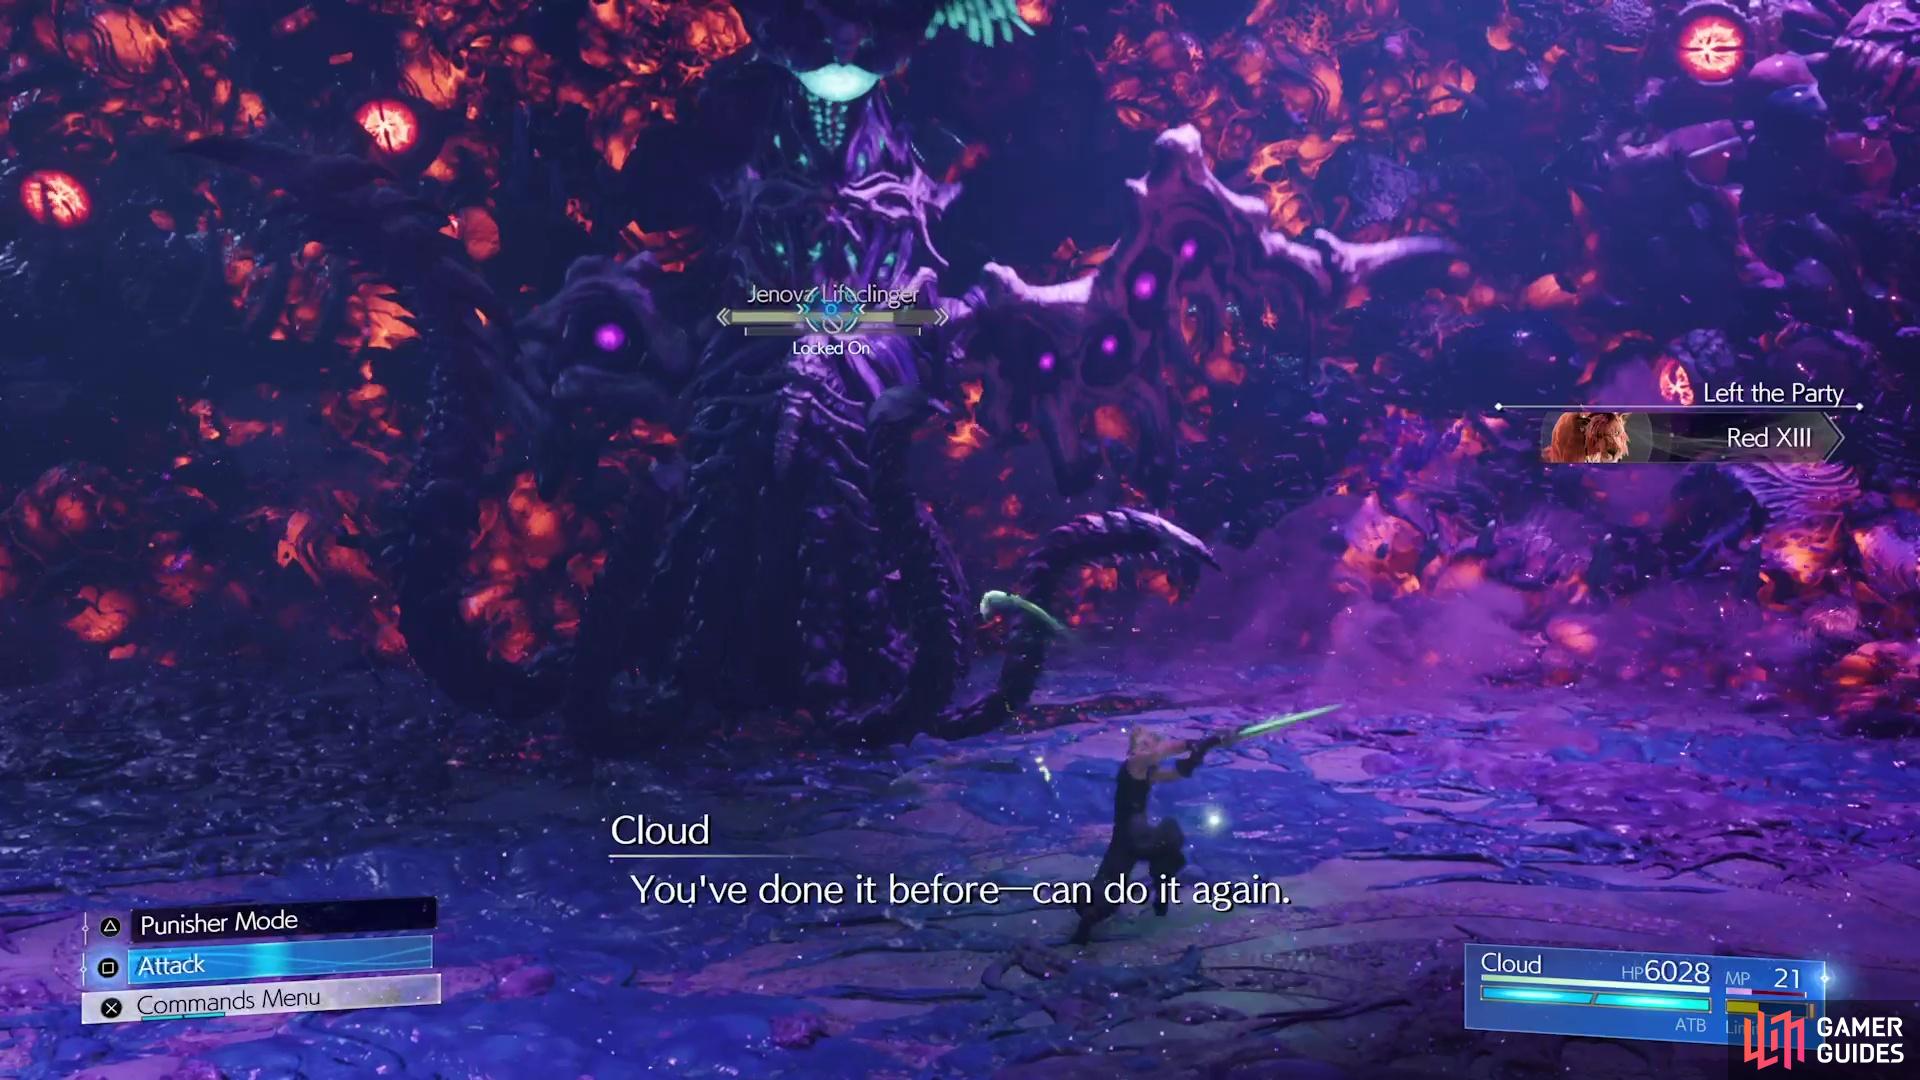
After your two party members are expelled from the battle, you’ll be alone with Cloud. At this point, unless you haven’t staggered Jenova, use powerful abilities like Braver and ![]() Infinity’s End to deal as much damage as possible. You will only need to shave off a little bit more health from Jenova here before the game will shift over to the second phase.
Infinity’s End to deal as much damage as possible. You will only need to shave off a little bit more health from Jenova here before the game will shift over to the second phase.
Jenova Lifeclinger - Phase Two
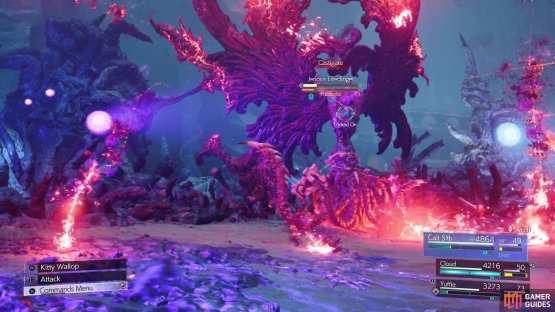
The walls of the arena will go down and the rest of the party will join once again, including thoses on the sideline. She will retain a number of moves from the first phase, like Castigate, Mourning Wail and Eyes of Providence, but she also gains some new moves. Desecration will replace Vengeance, with that ability shooting some big laser beams straight ahead. Look for the gaps in between them and stand there to avoid taking damage, as this move hurts quite a bit. The next new move you will see is called Dreams of Sorcery.
This is a setup for other moves, as you will see either Dreams of Pestilence, Dreams of Frost, and Dreams of Zephyr follow it. These basically have Jenova release a bunch of orbs into the arena, which will then cast Bioga, Blizzaga, and Aeroga on your party, respectively. Dreams of Timespace is the only oddball out of the group, as this one causes spinning cogs to follow you, which will then detonate and inflict Stop. The last new attack is preceded by Jenova using Prismatic Compression, which is just her charging up the attack.
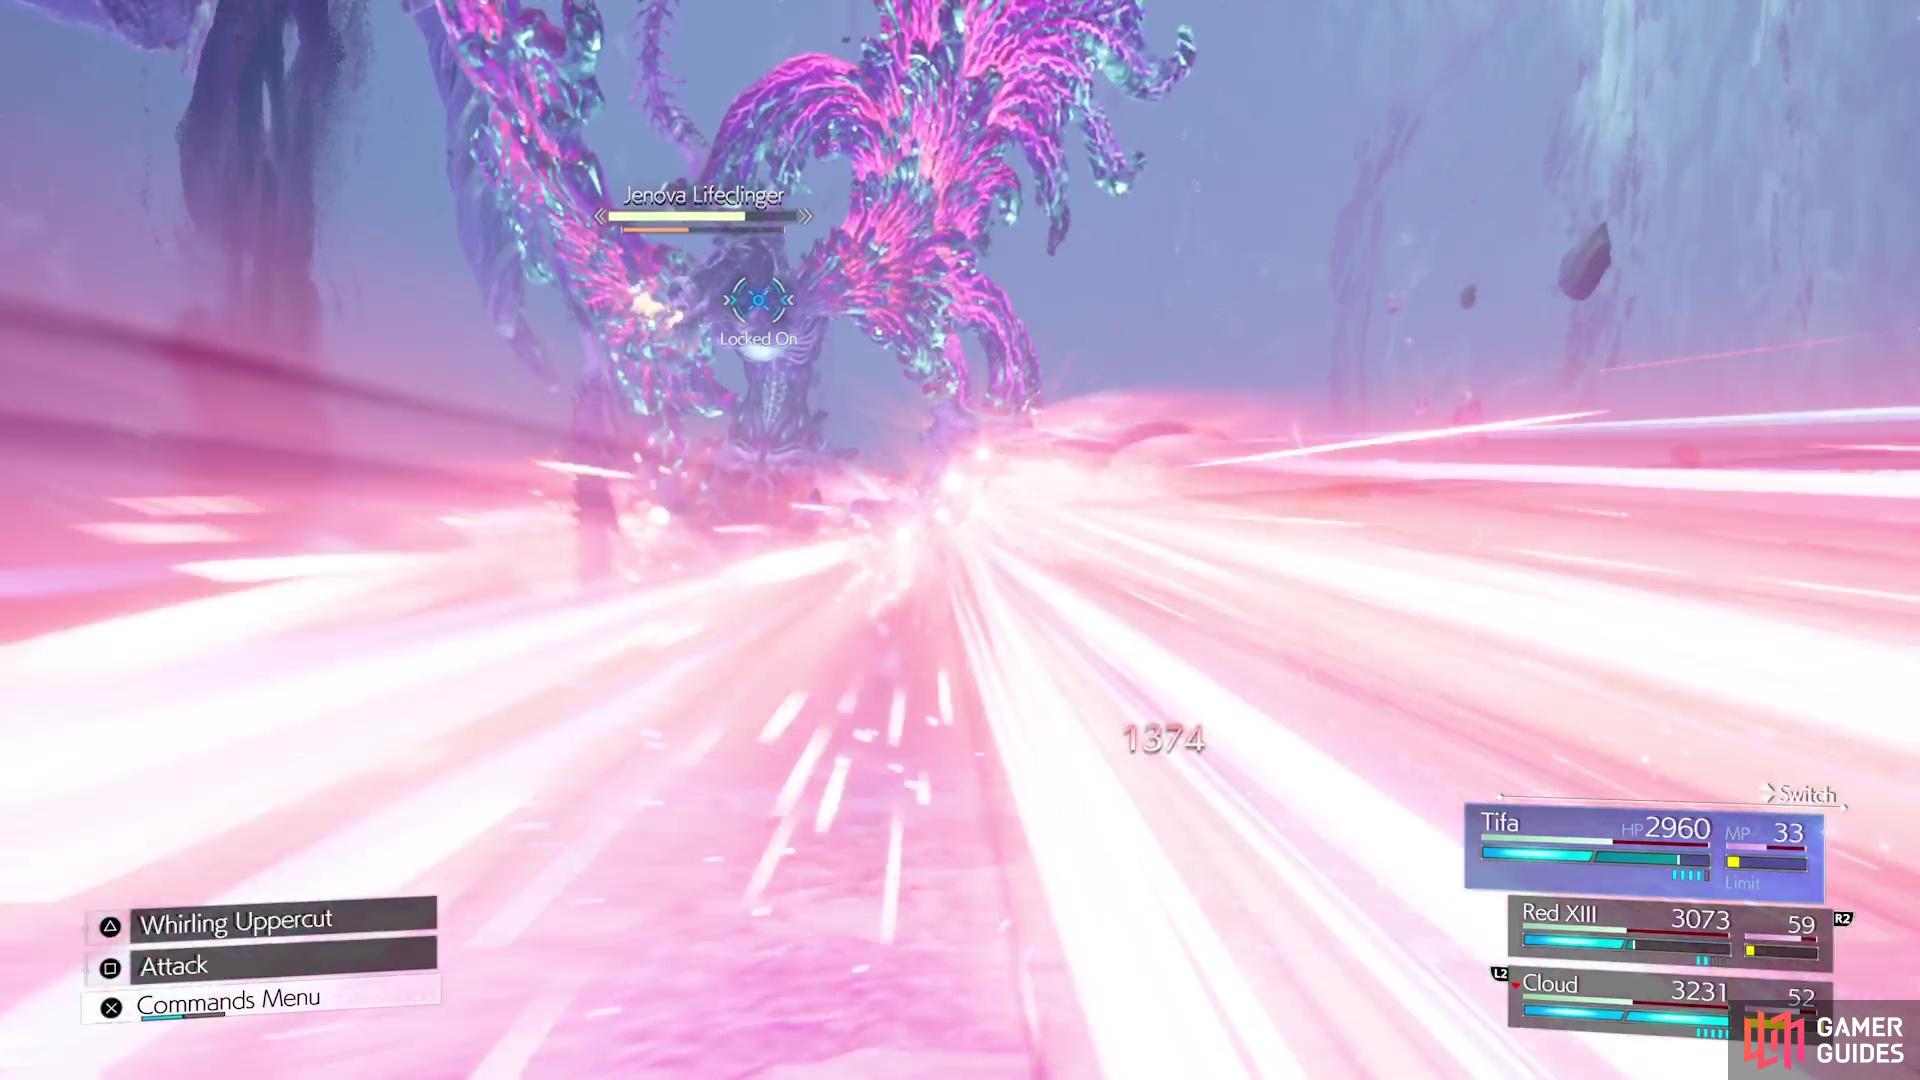
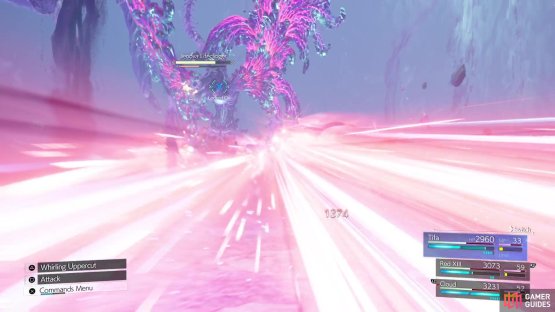
(1 of 2) Desecration is a large laser attack you will see during the second phase.
Desecration is a large laser attack you will see during the second phase. (left), Jenova will use Obliterate after Prismatic Compression, if you don’t do enough damage in time. (right)
She will continue attacking normally after Prismatic Compression, so it looks like it doesn’t do anything. However, after some time has passed, she will then perform Obliterate, an attack that fills the screen with explosions that are pretty hard to avoid. The catch is doing enough damage to the boss prior to Obliterate, as that can stop the attack from happening. While there are more annoying attacks in the second phase, the fight doesn’t do much to help differentiate itself from the first phase, in terms of tactics. Ideally, if you have access to the ![]() Barrier Materia, try to cast Manawall if you’ve unlocked it.
Barrier Materia, try to cast Manawall if you’ve unlocked it.
Jenova Lifeclinger - Phase Three
The third phase will begin at around 35-40% HP, with Jenova firing lasers all over and breaking up the ground. This sends your party into a freefall status and basically splits them up into three teams. They will be split according to the following parties, in the order shown:

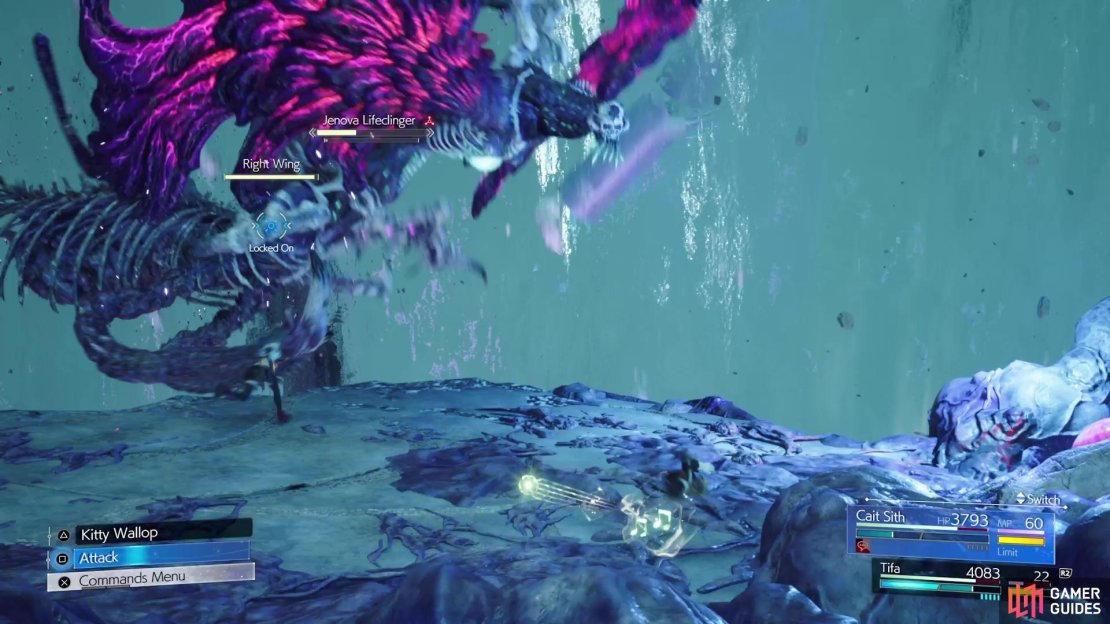
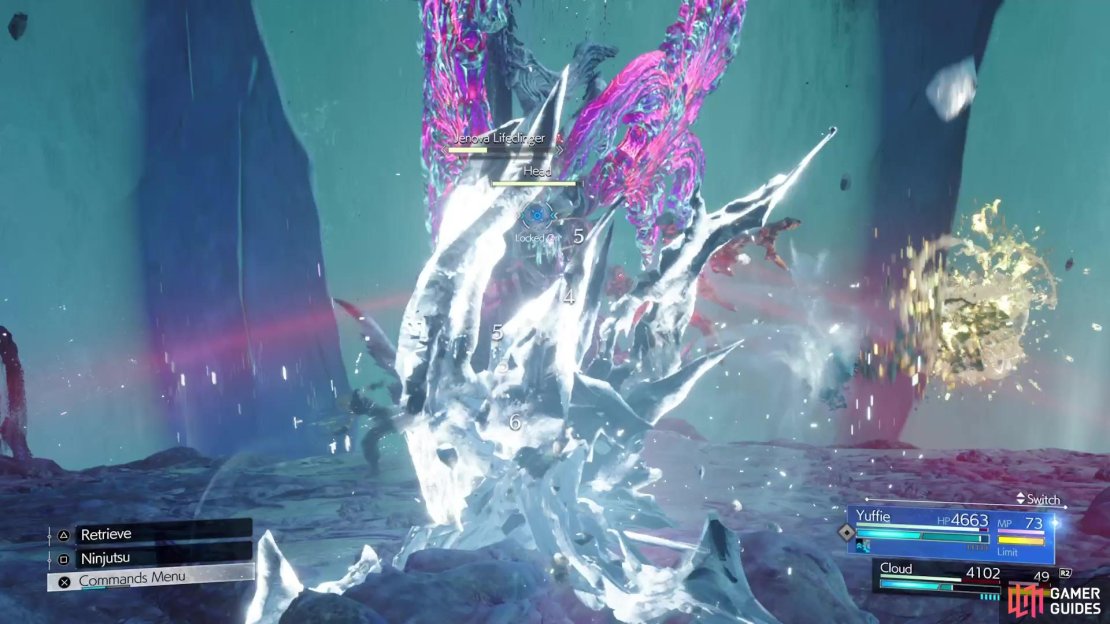
(1 of 3) The third phase will have three teams of two characters each fight parts of Jenova.
The basic gist of the phase will be to destroy the body parts of Jenova Lifeclinger. The first two parties each take a wing, while the third one will be going after the head. The attacks are largely the same, although Obliterate can be used without the prior warning. The good thing, though, is that you can actually block Obliterate here, so make sure to try and do that. Also, in the first two battles in this phase, Desecration will be a single laser and pretty easy to avoid. If you saved your Limits from the other two phases, then it’s a good idea to use them now, as you don’t want to spend too much time in this phase.
The last battle in this phase will be a little more challenging, as Desecration will be at full strength. Plus, you also have to deal with some of the Sorcery stuff, too. Once you have defeated all three parts, watch the awesome cinematic combat sequence, then get ready for the final phase.
Jenova Lifeclinger - Phase Four
For the most part, the fight will return to the Phase 2 portion of the battle, although Jenova won’t have access to some of her abilities. You will also be forced into using Cloud, Cait Sith, and one more party member here. There is one new skill here, called Sanguinary Flames, where she will toss out a bunch of little red orbs around the arena that little pockets of fire on the ground, which explode in a few seconds. She will also have the Shield status during this, so physical attacks won’t hurt Jenova until it’s all the way over.


(1 of 2) Sanguinary Flames will spawn a bunch of fireballs that leave fire pockets on the ground.
Sanguinary Flames will spawn a bunch of fireballs that leave fire pockets on the ground. (left), This will also make Jenova immune to physical attacks. (right)
The battle can become quite chaotic in the final phase here, so don’t be afraid to use items for healing, if needed. If you still have any Limit Breaks left over from the previous phase, use them now to try and hopefully end the fight as quickly as possible. Eventually, though, you will bring Jenova’s health to zero, ending the battle. Your party’s HP and MP will be fully restored, leading to some scenes and the next boss battle.
No Comments