![]() Cosmo Canyon will be the fourth region you adventure through in Final Fantasy VII Rebirth, but you won’t be able to fully explore it until you get your hands on this region’s exclusive Chocobo. World Intel is a huge part of the exploration in Rebirth, so you’ll want to activate all of the towers in order to reveal the locations of nearby pieces of intel. On this page, we’ll provide you with all the locations for all the Activation Intel in the
Cosmo Canyon will be the fourth region you adventure through in Final Fantasy VII Rebirth, but you won’t be able to fully explore it until you get your hands on this region’s exclusive Chocobo. World Intel is a huge part of the exploration in Rebirth, so you’ll want to activate all of the towers in order to reveal the locations of nearby pieces of intel. On this page, we’ll provide you with all the locations for all the Activation Intel in the ![]() Cosmo Canyon Region.
Cosmo Canyon Region.
- How to reach the lower section of the Cosmo Canyon Region?
- You can reach the lower section of the Cosmo Canyon Region by using the “Gliding Range No. 1 - 112m” Ramp which is located next to Kamaria’s Ranch.
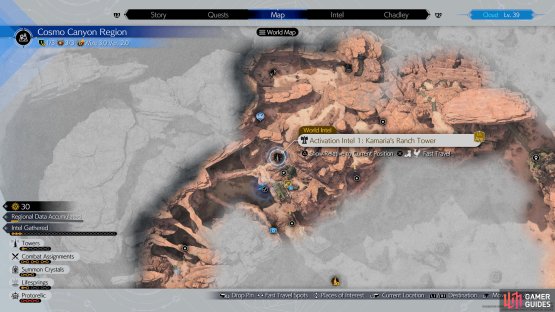
Activation Intel 1: Kamaria’s Ranch Tower
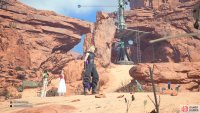
The Kamaria’s Ranch Tower can be found to the northwest of Kamaria’s Ranch. The switch to activate the tower will be at the top and you can reach this by climbing the provided ladders. Activating this tower will reveal the Gulch Lifespring.
(1 of 2) Head to this location on the map
Head to this location on the map (left), to find the Kamaria’s Ranch Tower. (right)
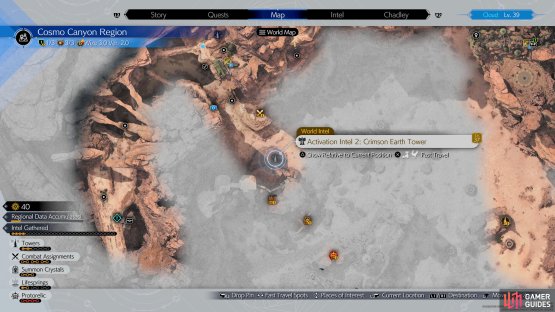
Activation Intel 2: Crimson Earth Tower
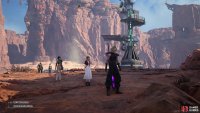
The Crimson Earth Tower can be found to the southeast of Kamaria’s Ranch. It can be reached by gliding down to it via the platform next to the ranch. When you arrive, you’ll need to defeat three ![]() Desert Sahagin and these are weak to ice so using ice-spells or abilities should make quick work of them. The switch to activate the tower will be at the base of the tower and interacting with this will reveal a Lifespring, two pieces of Fiend Intel, and Divine Intel.
Desert Sahagin and these are weak to ice so using ice-spells or abilities should make quick work of them. The switch to activate the tower will be at the base of the tower and interacting with this will reveal a Lifespring, two pieces of Fiend Intel, and Divine Intel.
(1 of 2) Head to this location on the map
Head to this location on the map (left), to find the Crimson Earth Tower (right)
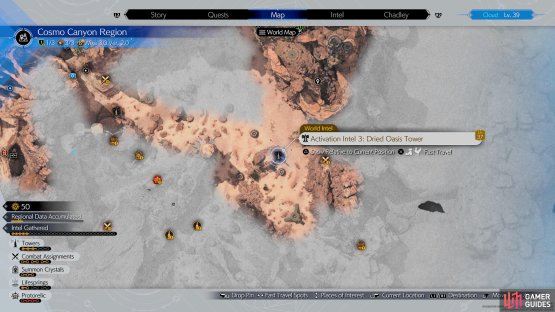
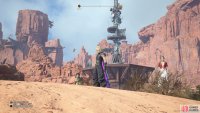
Activation Intel 3: Dried Oasis Tower
The Dried Oasis Tower can be found to the southwest of the Cave of the Gi. It can be reached by flying up into the sky via the current generator to the southeast and then gliding across to the platform. Upon landing, you’ll have to deal with five ![]() Skeeskee which are weak to wind, so using wind-based spells and abilities, such as
Skeeskee which are weak to wind, so using wind-based spells and abilities, such as ![]() Windstorm, will deal lots of damage to them. The switch to activate the tower will be located on the second platform and interacting with this will reveal a Fiend Intel and a Lifespring.
Windstorm, will deal lots of damage to them. The switch to activate the tower will be located on the second platform and interacting with this will reveal a Fiend Intel and a Lifespring.
(1 of 2) Head to this location on the map
Head to this location on the map (left), to find the Dried Oasis Tower (right)
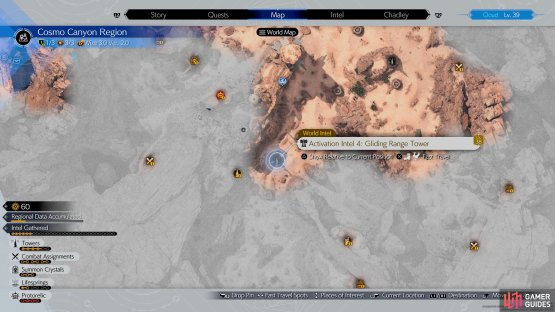
Activation Intel 4: Gliding Range Tower
The Gliding Range Tower can be found to the southwest of the Dried Oasis Tower and there is no need to rely on your Chocobo to reach it. However, you’ll need to deal with two Desert Sahagins and a ![]() Griffon before you can activate it. Griffon’s are weak to lightning so Cloud’s
Griffon before you can activate it. Griffon’s are weak to lightning so Cloud’s ![]() Firebolt Blade will deal a nice chunk of damage to it. The switch to activate the tower can be found at the very top and interacting with it will reveal a Moogle Intel, Lifespring, and a Fiend Intel.
Firebolt Blade will deal a nice chunk of damage to it. The switch to activate the tower can be found at the very top and interacting with it will reveal a Moogle Intel, Lifespring, and a Fiend Intel.
(1 of 2) Head to this location on the map
Head to this location on the map (left), to find the Gliding Range Tower (right)
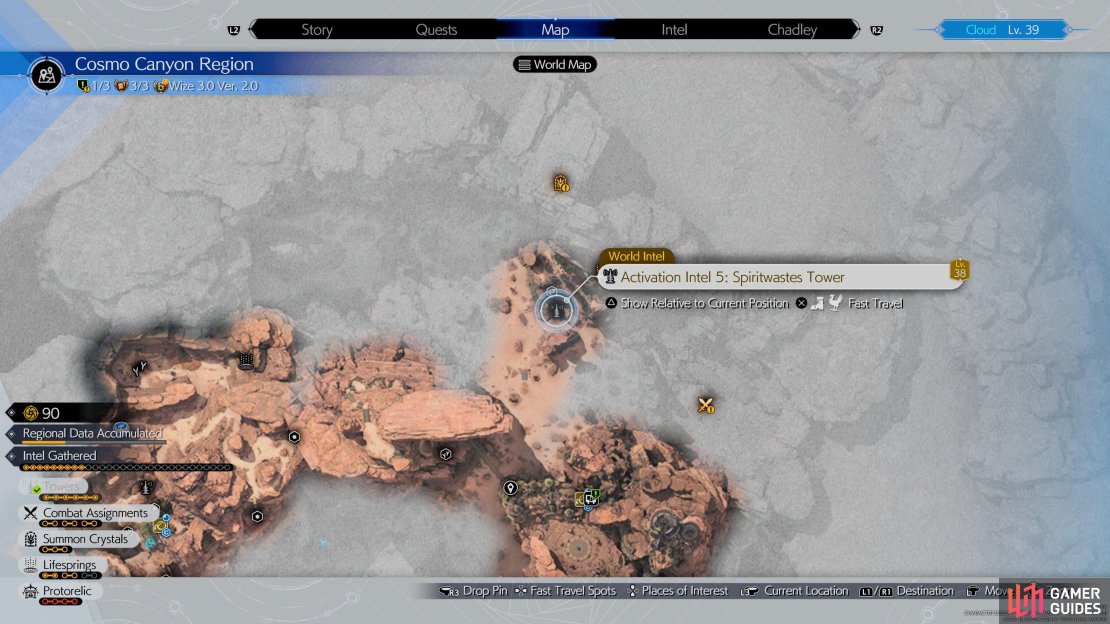
Activation Intel 5: Spiritwastes Tower
The Spiritwastes Tower can be found to the northeast of Kamaria’s Ranch, and it can be reached by heading to the entrance of Cosmo Canyon and then take the Gliding Range No. 5 - 224m Ramp. From here, you’ll want to glide underneath the bridge and the Spiritwastes Tower can be seen up ahead. Multiple Basiliks will be waiting for your arrival so when you land you’ll want to immediately strike them with ice-based spells to deal maximum damage. The switch to activate the tower can be found at the top and you can reach this by gliding across via the ramp opposite it. Activating this tower will reveal a Lifespring, Divine Intel, and a Fiend Intel.
(1 of 3) Head to this location on the map
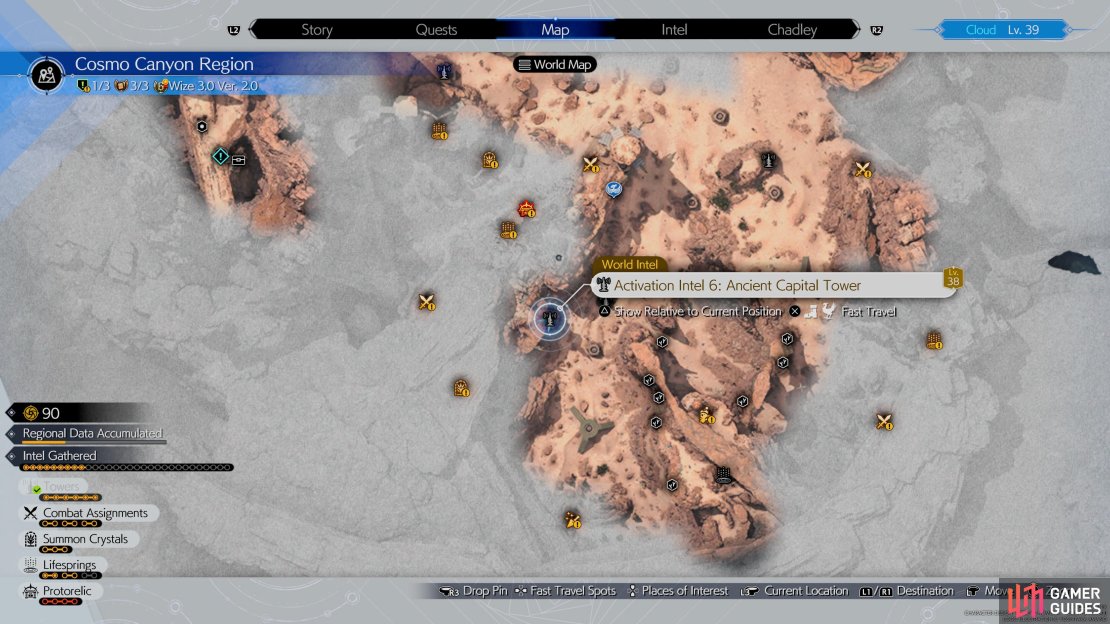
Activation Intel 6: Ancient Capital Tower
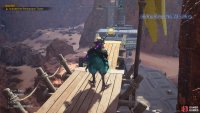
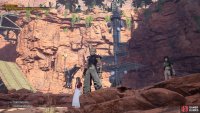
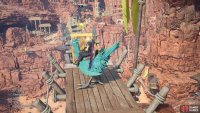
The Ancient Capital Tower can be found to the southwest of the Spiritwastes Tower, but this is by far one the trickiest towers to reach in the game. To begin, you’ll need to head southeast of the tower to reach Gliding Range No. 6 -71m and then glide across the small gap and walk up the hill until you reach Gliding Range No. 9 - 55 m. Jump off the ramp and glide over to the platform to the southwest, then head up the stairs to reach Gliding Range No. 13 - 88 m. Use this to glide across to the opposite side and then use Gliding Range No. 14 - 90m to reach the cliff.
Follow the path all the way up to the top and use Gliding Range No. 16 - 124 m to reach the Ancient Capital Tower. Use the ladder to reach the top of the tower, then interact with the switch to activate it and a Divine Intel, Fiend Intel, and a Lifespring will be revealed.
(1 of 3) Head to this location on the map
More Final Fantasy VII Rebirth Guides
If you’re looking for help in other aspects of Final Fantasy VII Rebirth, then make sure to check out the pages below:











No Comments