
After slogging through Chapter 8 you’ll finally gain the ability to fully explore the Corel region thanks to your newfound possession of a vehicle that can cross shallow rivers and your grappling hook. Chapter 9 also allows you to drive south to the new Gongaga region, giving you plenty of new open world to explore after a lengthy linear patch of story that spanned the better part of four and a half chapters. A new open world region means new World Intel and new enemies… and a new summon you can unlock. This page will cover how to find all of the ![]() Kujata Divine Intel locations in the
Kujata Divine Intel locations in the ![]() Gongaga Region of Final Fantasy VII Rebirth.
Gongaga Region of Final Fantasy VII Rebirth.
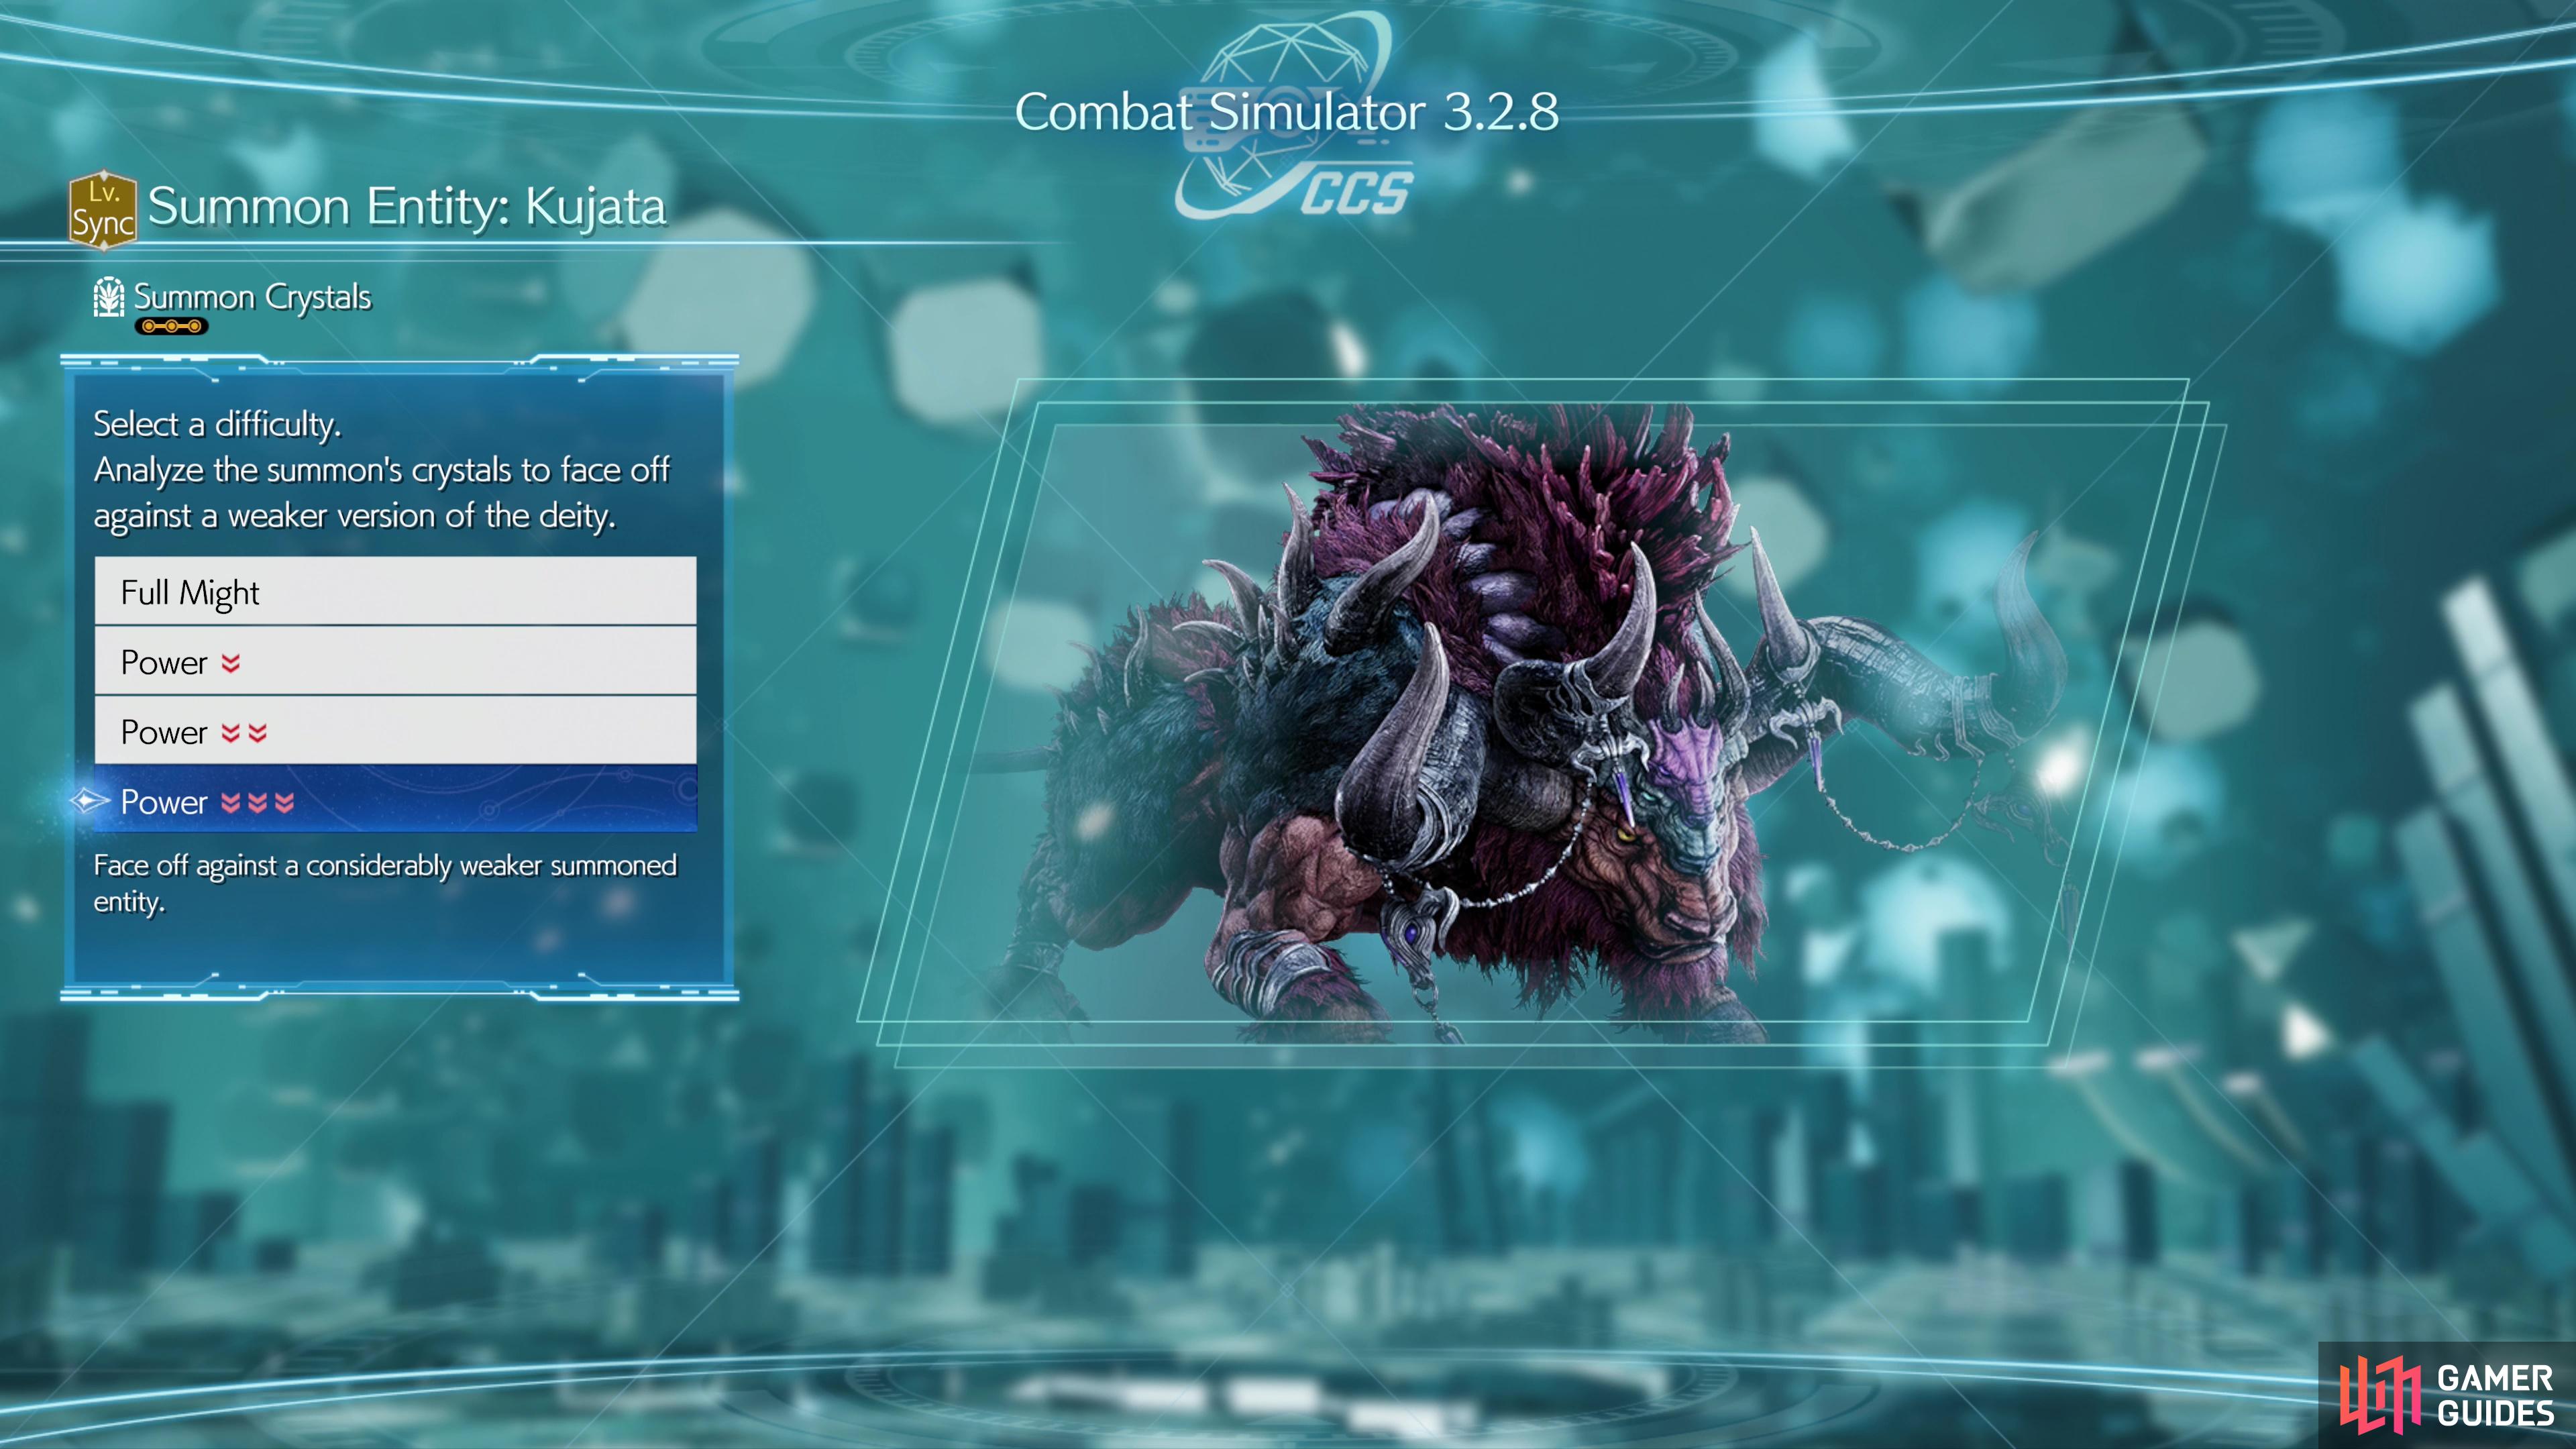
Complete Divine Intel events in Gongaga to weaken Kujata and strengthen the Kujata Materia.
How to Find All Kujata Divine Intel in the Gongaga Region
As mentioned previously, you needed new means of traversal to fully explore the Corel region, as well as indulge in a lengthy bit of story progression to unlock the segmented halves of said region. Gongaga shares some similarities with Corel in that it’s also segmented into northern and southern halves, and you must advance the story to gain access to new means of traversal to reach many of the new World Intel events. Kujata’s Divine Intel Sanctuaries are no exception.
Fortunately, the grind isn’t anywhere near as long as it was in the Corel region - you effectively have to clear Chapter 9’s questline before you’ll have free reign to explore the southern half of the map. Naturally, this is where all the content is, and you must pass through Gongaga village en route, so there’s no bypassing the main quest to indulge your wanderlust. Even if you could, you’ll be given access to this region’s chocobo near the end of the chapter, and you’ll need the unique traversal abilities of Gongaga’s native birds to get around.
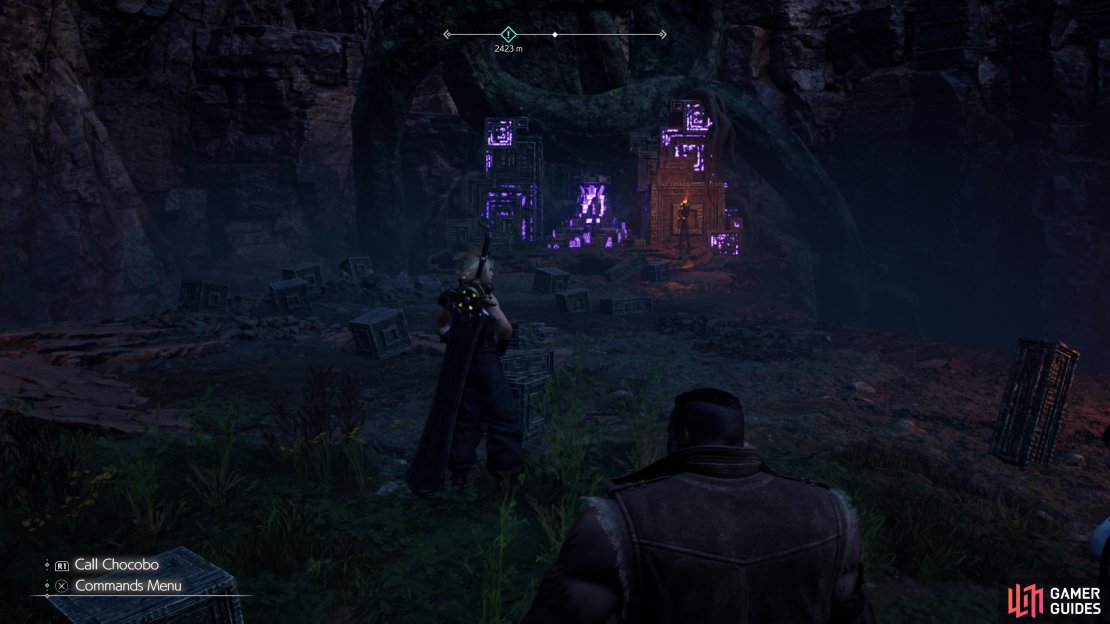
Chapter 9’s nowhere near as long (nor is it crammed full to bursting with mingames) as Chapter 8 was, so this isn’t as tedious of a requirement. Otherwise, when you’re free to explore southern Gongaga you’ll find Kujata’s Divine Intel events similar to what you’ve done before with Titan, Phoenix and Alexander; locate the Sanctuary (guidestones mean you’re close!), complete a memorization minigame at the crystallized knowledge at the heart of the Sanctuary, and you’ll enjoy the twin boons of weakening Kujata for your upcoming VR battle and increasing the level of the Kujata Materia you can if you defeat the beast. You’ll also gain the obligatory Party EXP and Data Points for completing each Divine Intel, so just good stuff all around.
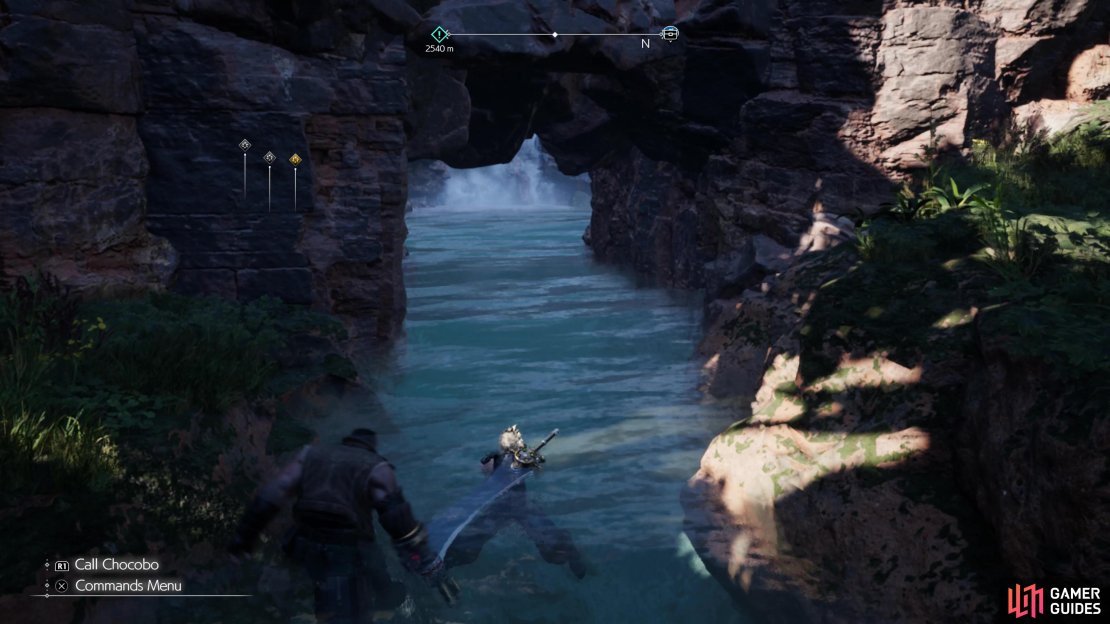
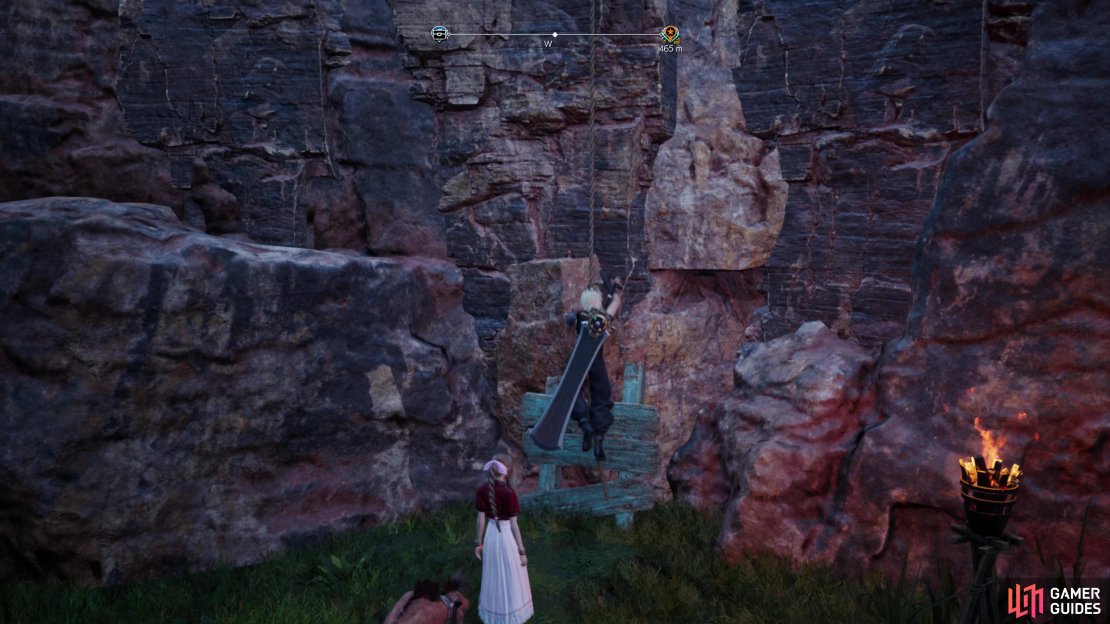
(1 of 4) Head to a stream north of Gongaga village,
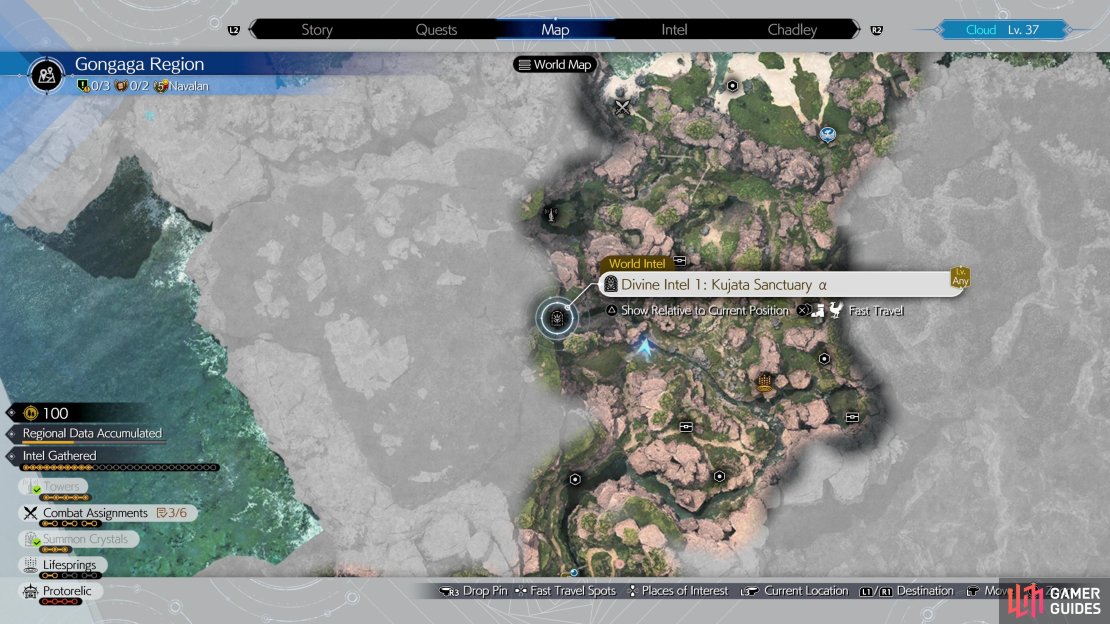
Divine Intel 1: Kujata Sanctuary Alpha Location
The only Kujata Divine Intel in the northern half of the Gongaga region, is also the easiest one to reach, as you obviously can’t be expected to have Gonagaga’s chocobo by now, so it can be reached entirely on foot. Well, a combination of walking and swimming, anyway. In the northern half of the Gongaga region there’s a small stream bisecting the area, twisting into a backward “S” shape as it runs into Gongaga village.
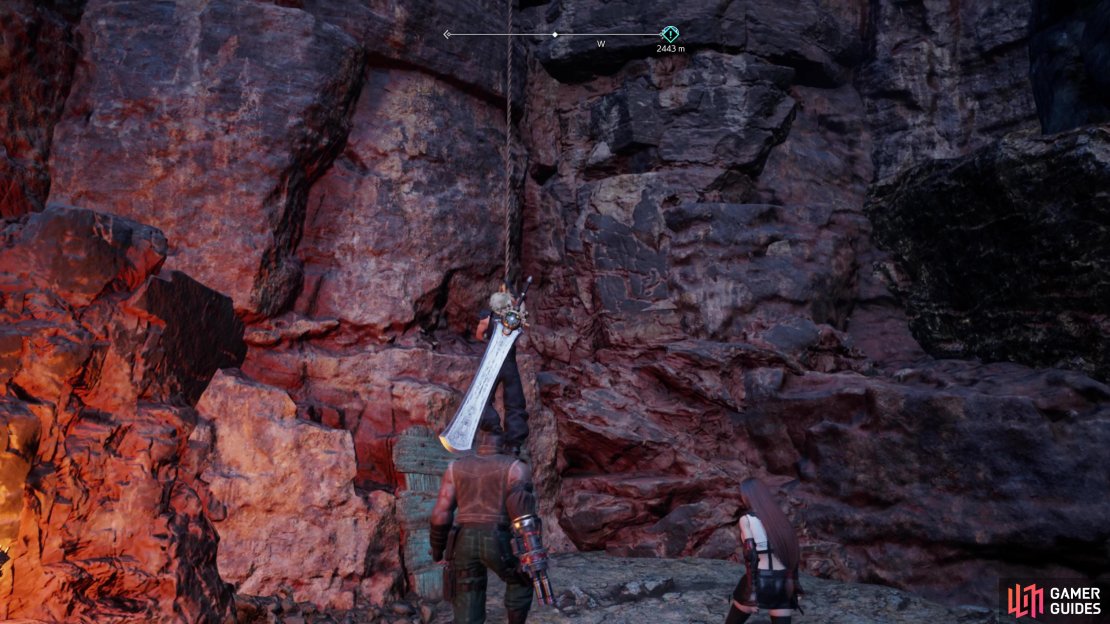
The easiest way to find it is to just press south through the area until you invariably find the Suspension Bridge fast travel point outside of Gongaga village. From here just worm your way north and west until you find said stream, then swim upstream to the northwest. Pass under a stone archway and immediately take to the beach to the left, then head uphill to the west until you reach a cliff with a rope dangling off it. Climb up and take the first right and you’ll be staring right at the Sanctuary.
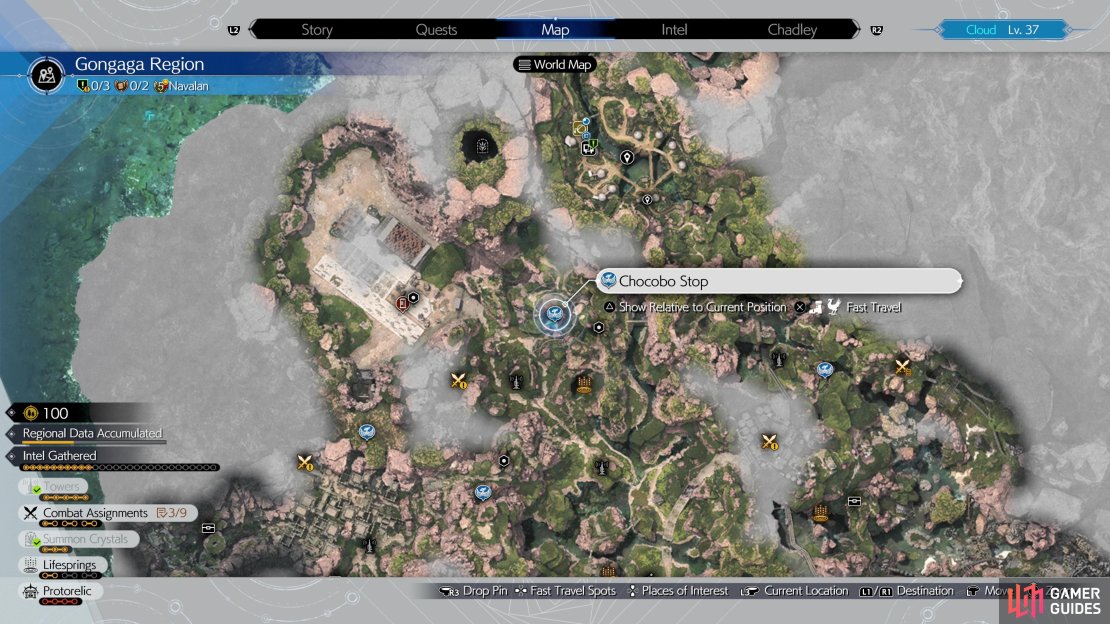

(1 of 4) Find a Chocobo Stop west of Magon Hill,
Divine Intel 2: Kujata Sanctuary Beta Location
This Kujata Divine Intel is located in the southern half of the Gongaga region, and you’ll need the Gongaga chocobo to reach it, so you won’t be doing this until you’re done with the main story content in the region. Exit Gongaga village via the Gongaga - South Gate and work our way southeast, then west until you find the Magon Hill fast travel point. If you run across Fiend Intel 2 or 5, you’re too far east or south, respectively. West of Magon Hill you’ll find a Chocobo ![]() Stop - this is where you want to end up as your staging point for the run to the Sanctuary.
Stop - this is where you want to end up as your staging point for the run to the Sanctuary.
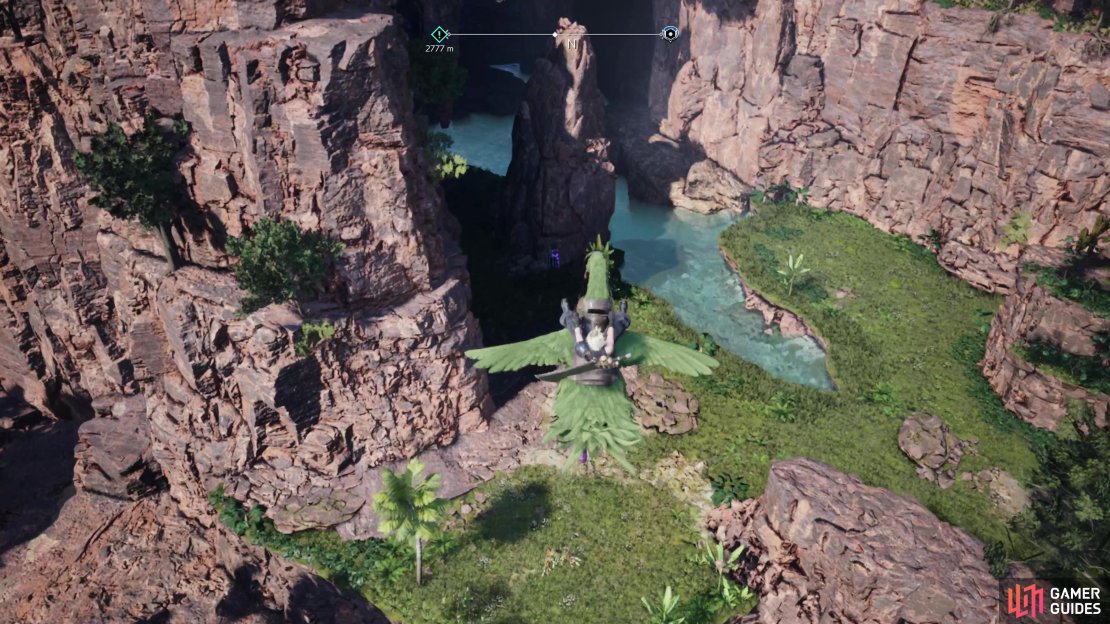
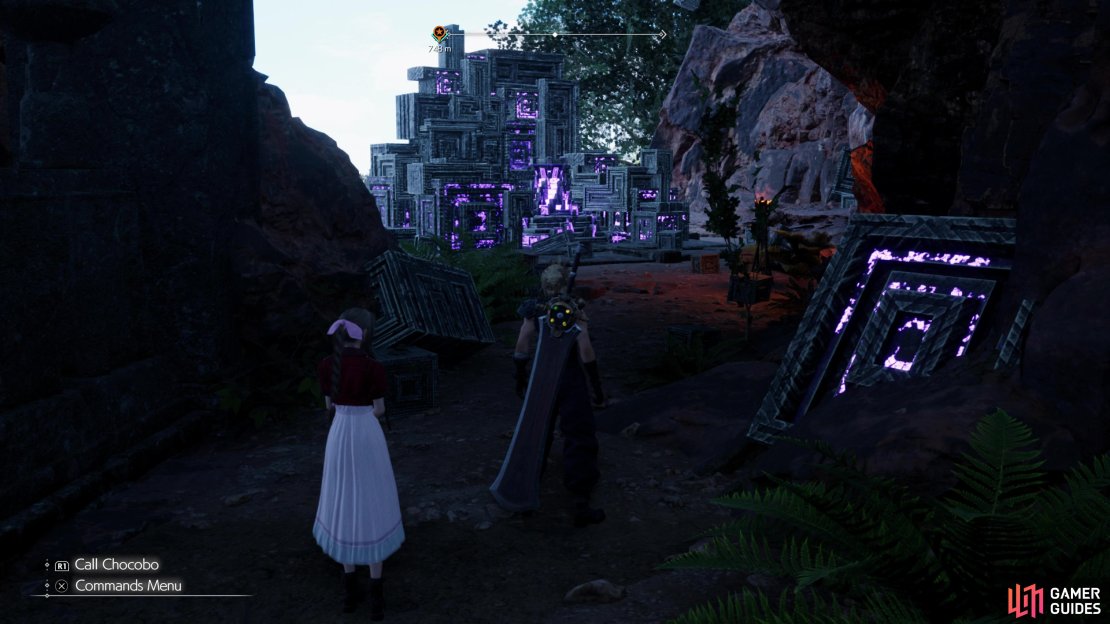
From the Chocobo Stop west of Magon Hill, head west until you find a mushroom handing off a ledge. Mount your chocobo and use the mushroom to propel yourself north, and when you land you should spot a Guidestone ahead. Continue uphill to the northwest and you’ll find the Sanctuary - can’t miss the glowing purple stones.

(1 of 3) Head over to Activation Intel 5 and ascend a hill to the northwest.
Divine Intel 3: Kujata Sanctuary Gamma Location
The third Kujata Divine Intel location can be found in some ruins along the southwestern most edge of the Gongaga Region, and surprisingly it doesn’t require the Gongaga chocobo to reach. That said, it’s quite a convoluted, lengthy trek, that’ll require you to unveil a significant portion of the map as a mere byproduct of your expedition. Here’s how to reach this final Kujata Sanctuary:
-
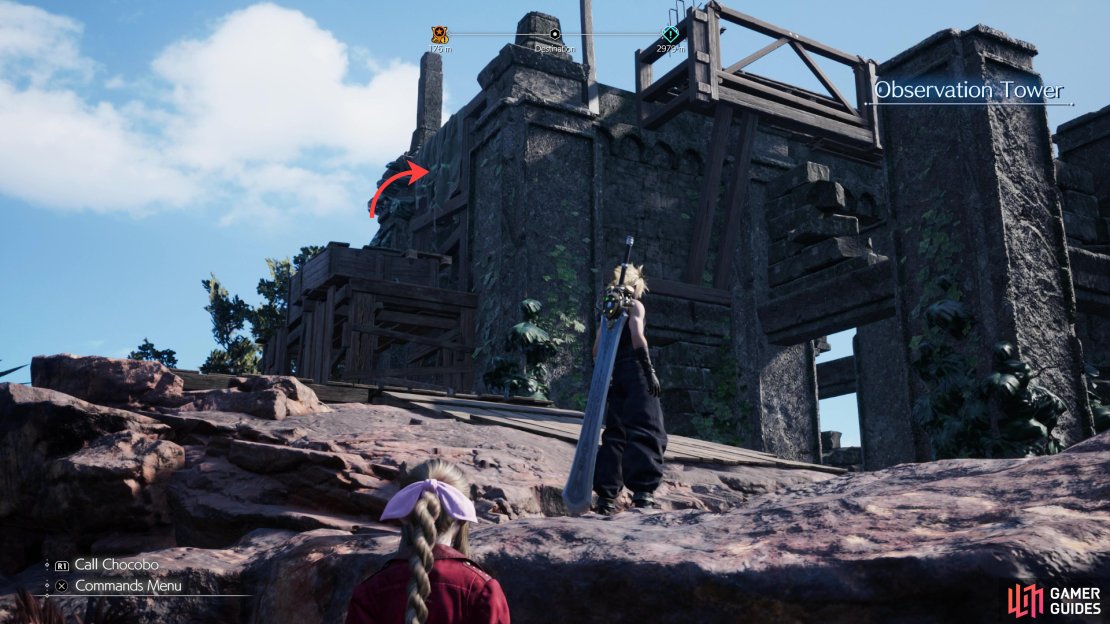
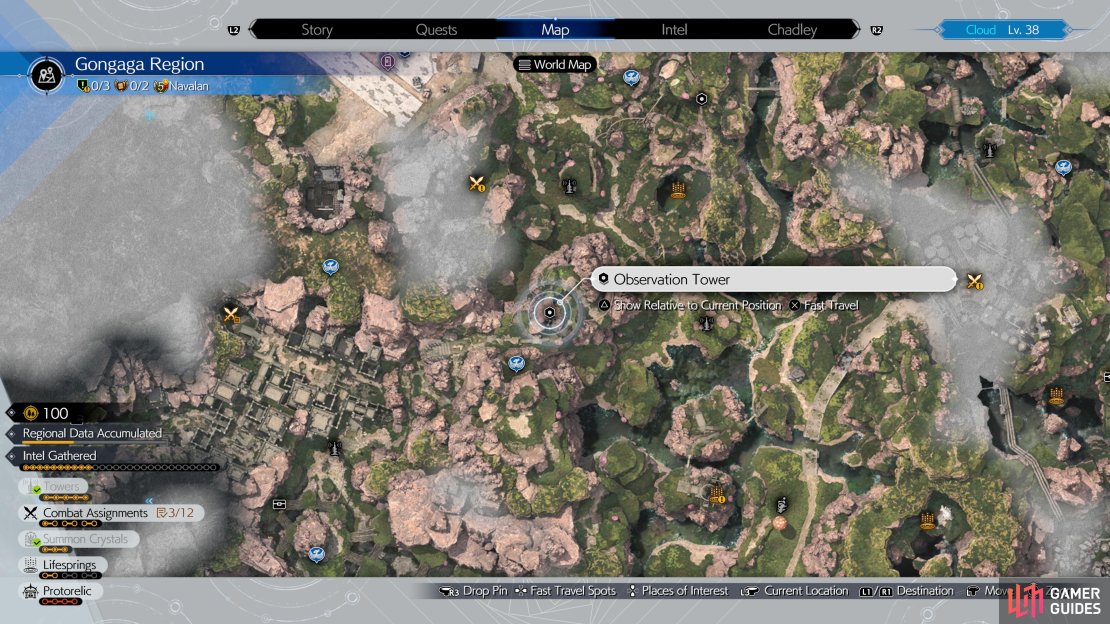
South of Magon Hill (see Divine Intel 2, above) you’ll find Activation Intel 5. Northwest of this tower you’ll find a hill that ultimately leads up to the Observation Tower fast travel location.
-
Ascend to the Observation Tower, scale it, then slide down a rope on the other side of the roof to reach the southern edge of the tower.
(1 of 4) Work your way downhill to the southwest to find Activation Intel 4.
-
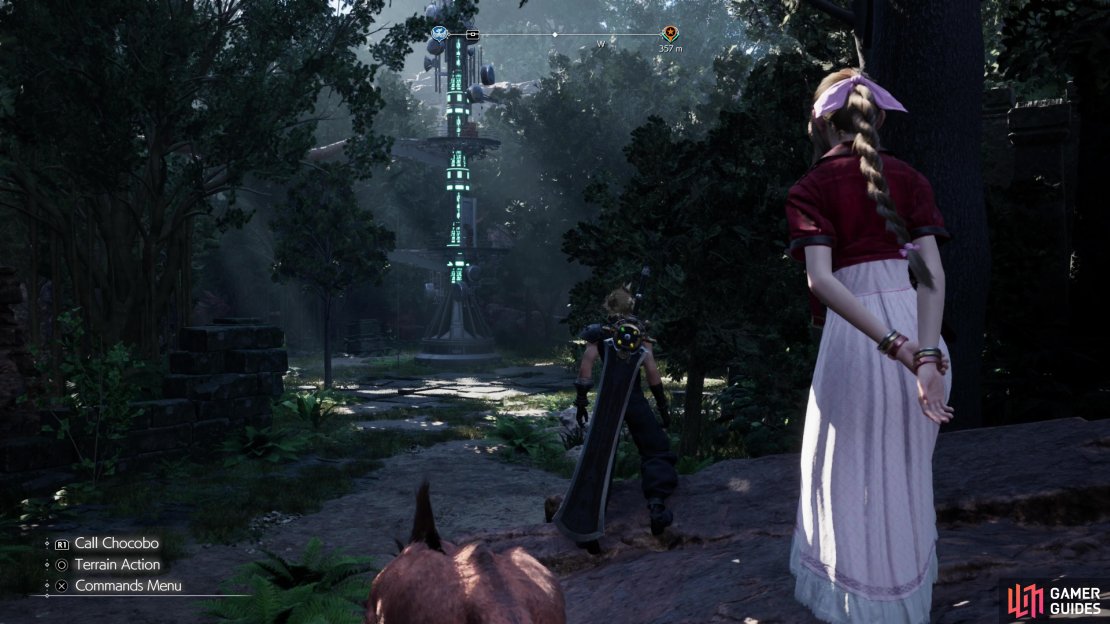
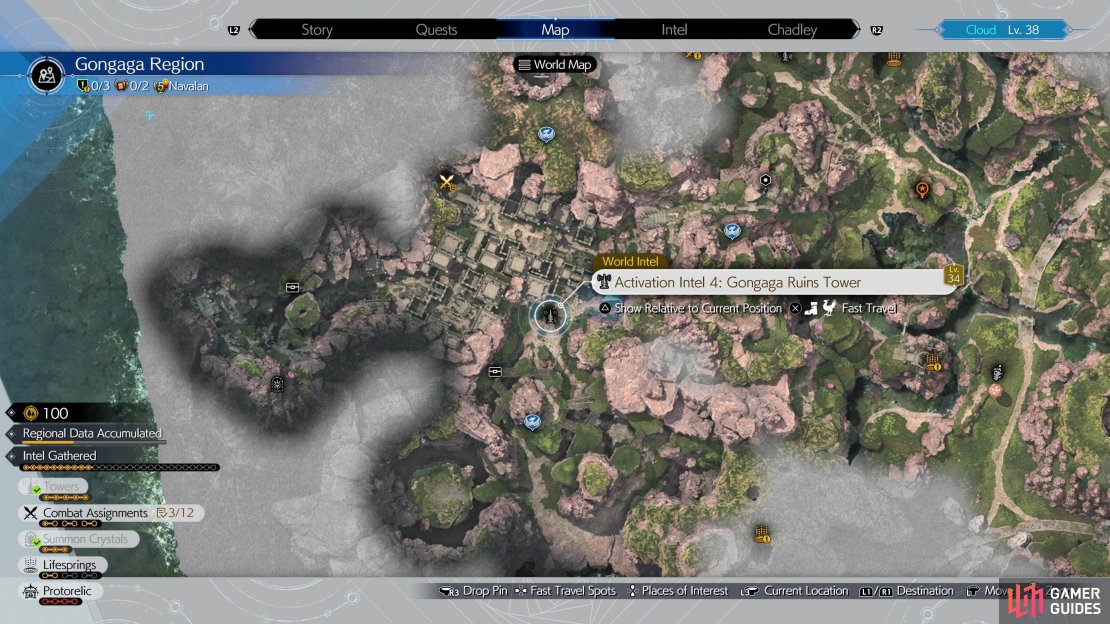
Now for the easy part - head down multiple stairs and slopes to the southwest until you find Activation Intel 4.
-
Make your way west of the Activation Intel 4 tower to find a rope near a cliff. Climb it.
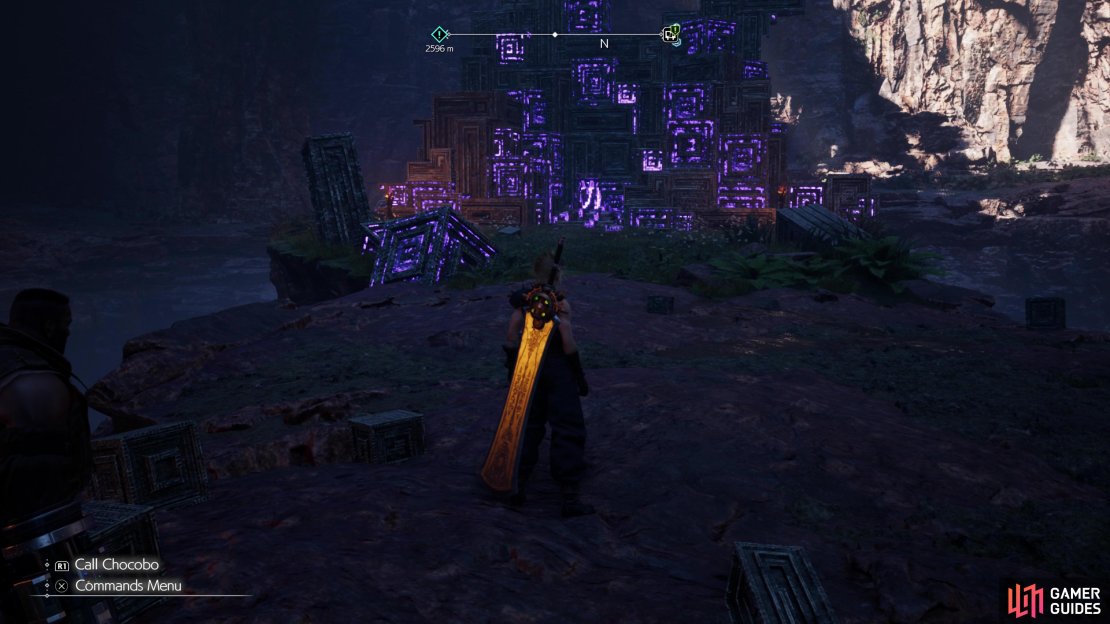
After climbing the rope you’ll be at the ruins where the Sanctuary is located. The path ahead is mostly linear. At some point you’ll come to a mushroom you can use with your chocobo to reach a lower ledge… or you could just run around and drop down. Shortly thereafter you’ll find a rope you need to climb to bypass a broken staircase. Other than that, there’s one mob of ![]() Grangalans up here you’ll have to fight or bypass - nothing serious, really. Make your way up the ruins until you reach the Sanctuary and succeed at the minigame to lower Kujata’s difficulty as low as you can and increase the level of Kujata Materia to its maximum.
Grangalans up here you’ll have to fight or bypass - nothing serious, really. Make your way up the ruins until you reach the Sanctuary and succeed at the minigame to lower Kujata’s difficulty as low as you can and increase the level of Kujata Materia to its maximum.
No Comments