
After the little prologue, you start by exploring ![]() Nibelheim with Cloud, during a flashback. You team up with Sephiroth, along with your guide, Tifa, to head to the Mako Reactor on
Nibelheim with Cloud, during a flashback. You team up with Sephiroth, along with your guide, Tifa, to head to the Mako Reactor on ![]() Mt. Nibel. As mentioned on the previous page, any items you collect during this flashback won’t be carried over into the main game, so it’s entirely up to you if you want to collect them or not. It’s a good idea to get some of the usable items, since you will be doing some fighting.
Mt. Nibel. As mentioned on the previous page, any items you collect during this flashback won’t be carried over into the main game, so it’s entirely up to you if you want to collect them or not. It’s a good idea to get some of the usable items, since you will be doing some fighting.
Climbing Mt. Nibel
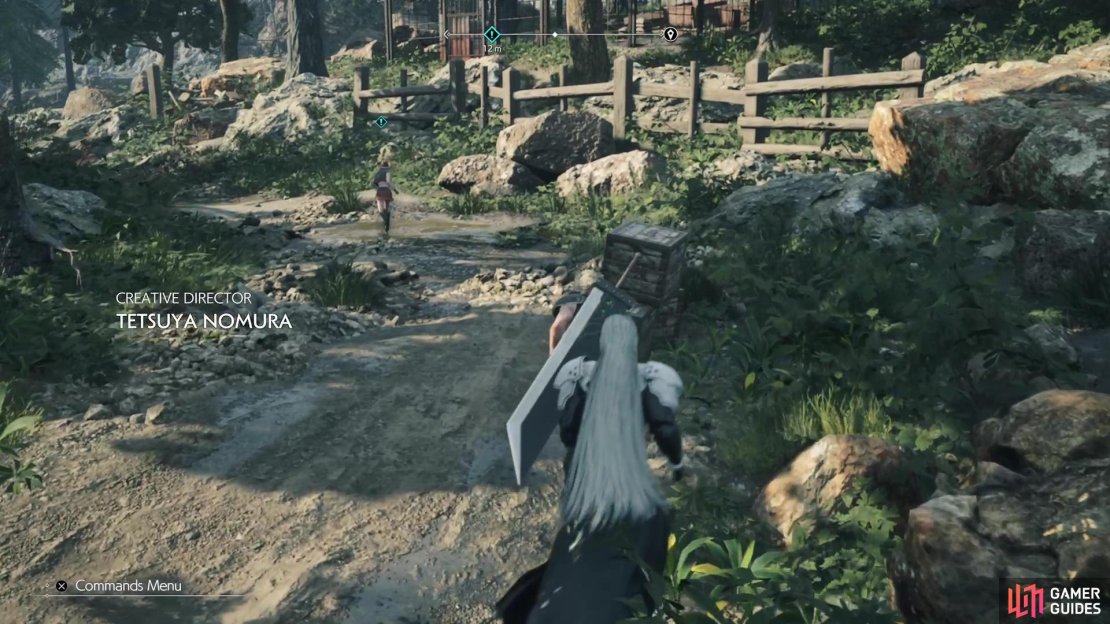
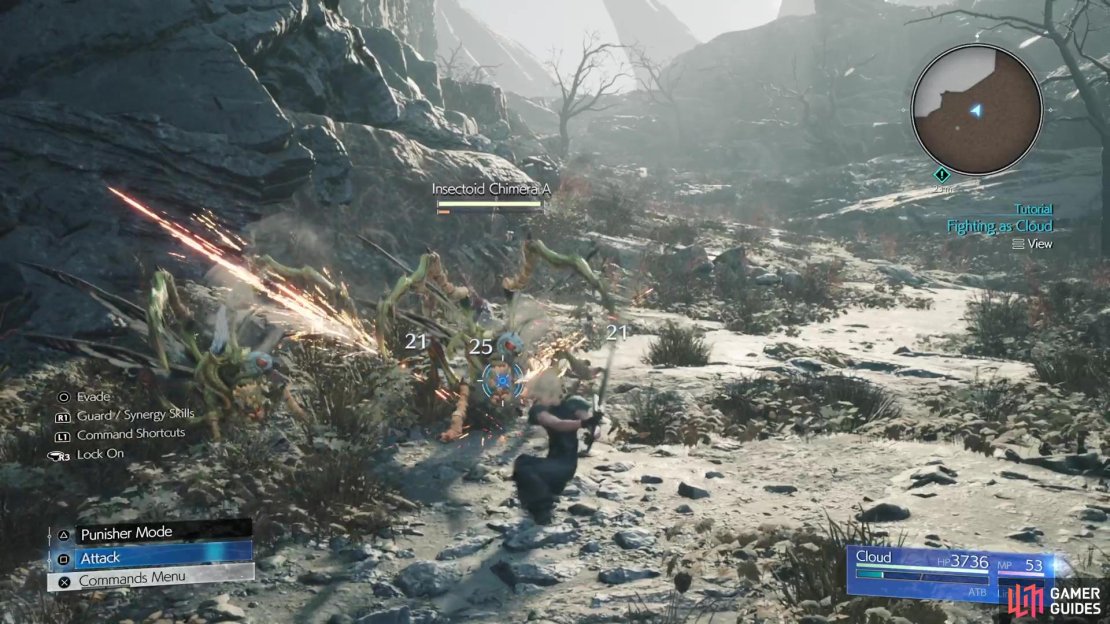
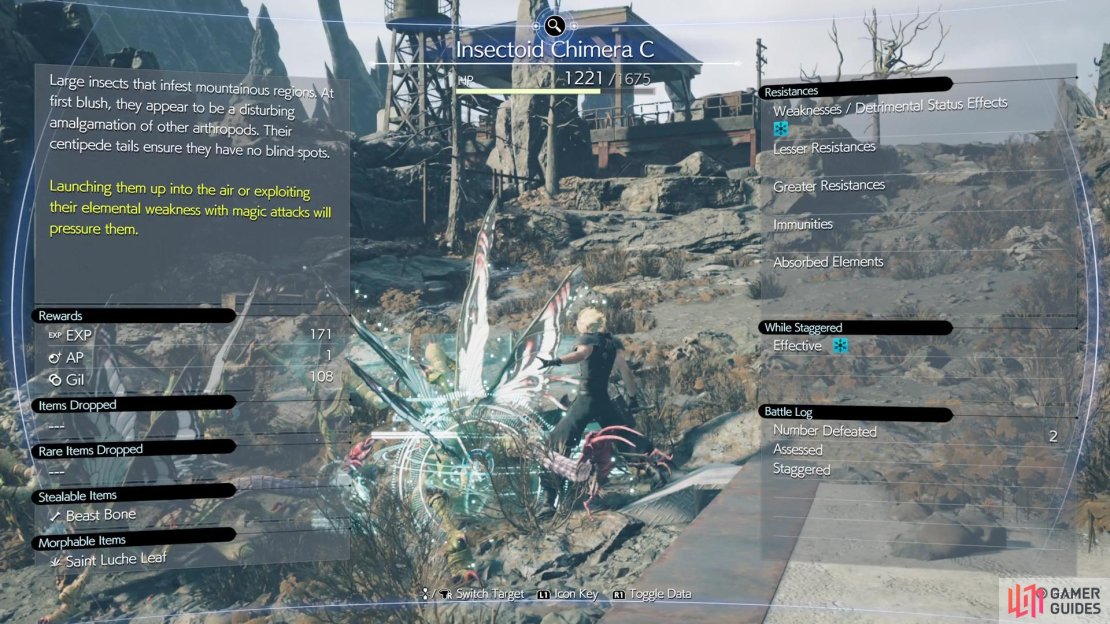
Upon regaining control, simply follow Tifa along the path, breaking any Shinra boxes you find on the way, since they can yield more items. The trek is largely uneventful, so it’s a good bit of running, until you eventually reach some enemies, two ![]() Insectoid Chimeras. This will prompt a bried tutorial on fighting with Cloud, so if you’re new to this, then you might want to pay attention.
Insectoid Chimeras. This will prompt a bried tutorial on fighting with Cloud, so if you’re new to this, then you might want to pay attention.

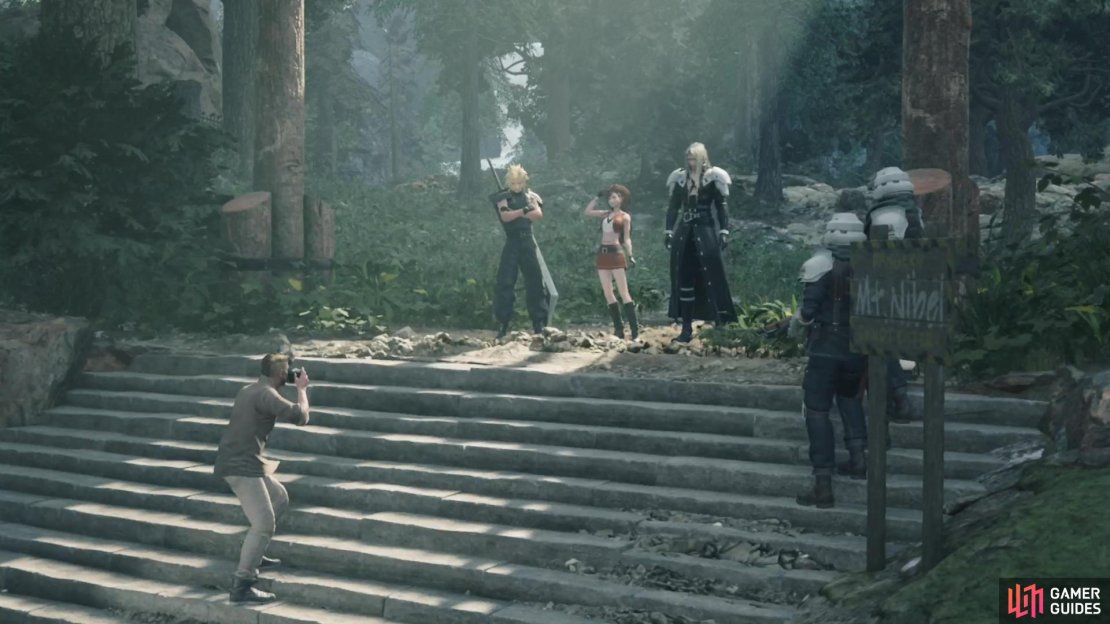
(1 of 3) Cloud and Tifa convince Sephiroth to snap a photo before setting off for the reactor.
Battle Tutorial
Cloud is fairly basic in how he controls in battle, although let’s diverge from that a little bit to talk about the true basics of combat. The Square button is used for the normal attack and you can simply keep mashing it to have Cloud, in this instance, perform his basic combo. If you hold down Square, then Cloud will perform a sweeping motion with his sword. This can be a great move to do when you are faced with a large group of smaller enemies, since it tends to bunch them up for you. The Circle button is used to dodge, with Cloud having a fairly good one. Defeat the two enemies to be on your way.
As you continue up the mountain, you will get a tutorial about initiating combat. Basically, a red marker will appear on your screen whenever you are in the vicinity of enemies. If it fills up, then combat will automatically start, but you can press Square before it fills to get a jump on your enemies, with your ATB gauge getting a little filled at the start of battle. Speaking about the ATB gauge, that is the two bars underneath your character’s name in the bottom right. These will slowly increase if you don’t do anything, but performing normal attacks will fill them up more quickly.

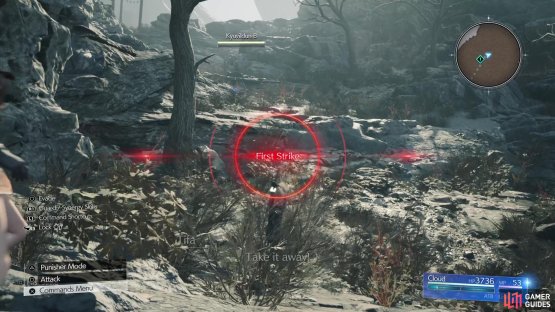
(1 of 2) Hitting Square before the red circle fills will get you a First Strike.
Hitting Square before the red circle fills will get you a First Strike. (left), ATB management is one of the most important aspects of battles. (right)
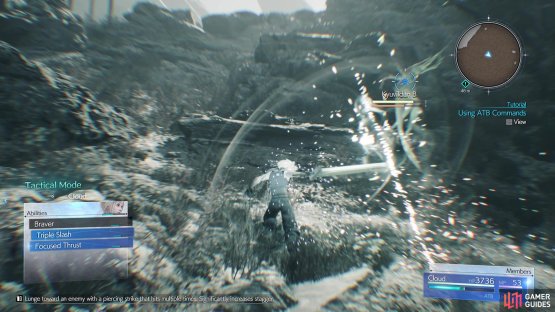
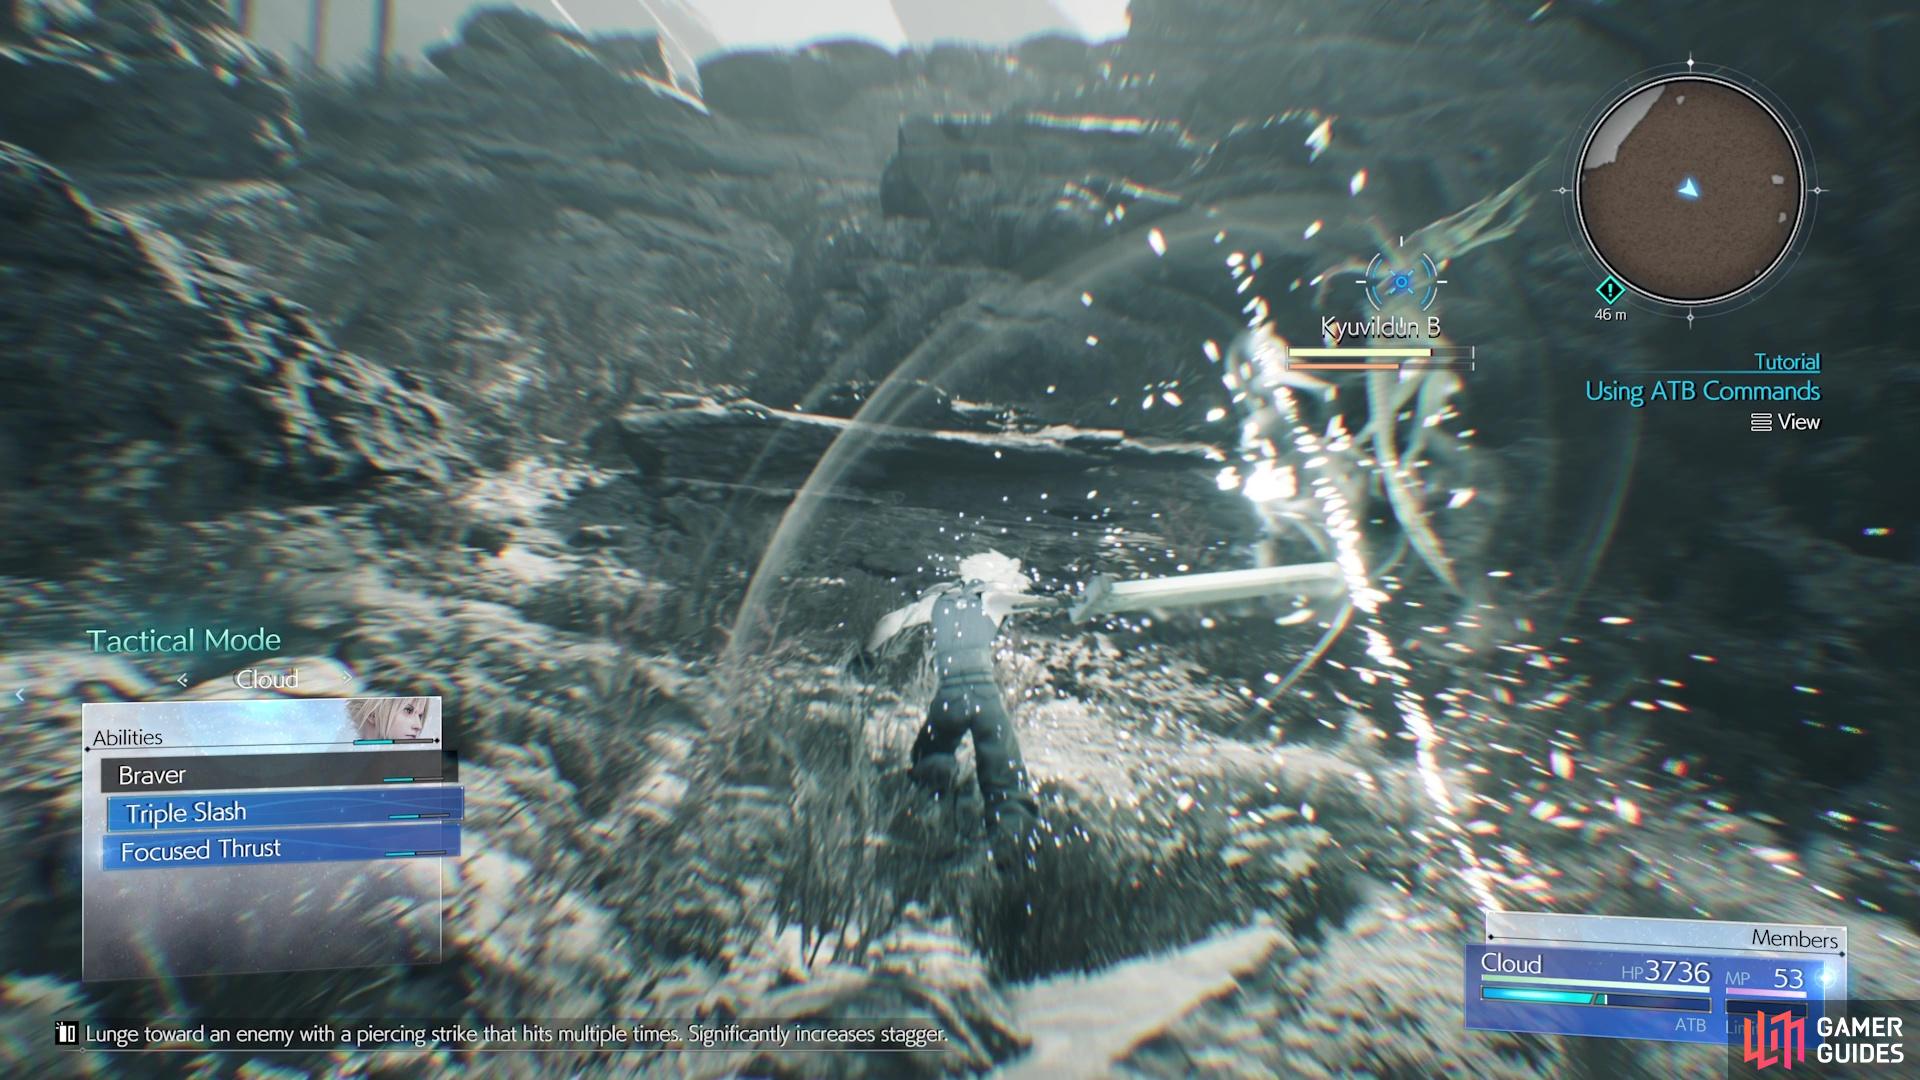
For each bar that is filled, you will be able to perform an action, like an Ability or Spell, as well as use an Item. The majority of your special actions will require ATB in some form, so it’s one of the most important aspects of battles. For Cloud, Braver and Triple Slash are good for damage, while ![]() Focused Thrust is better for something that will be talked about later. Defeat the two enemies here, then continue climbing to a bridge you can cross.
Focused Thrust is better for something that will be talked about later. Defeat the two enemies here, then continue climbing to a bridge you can cross.
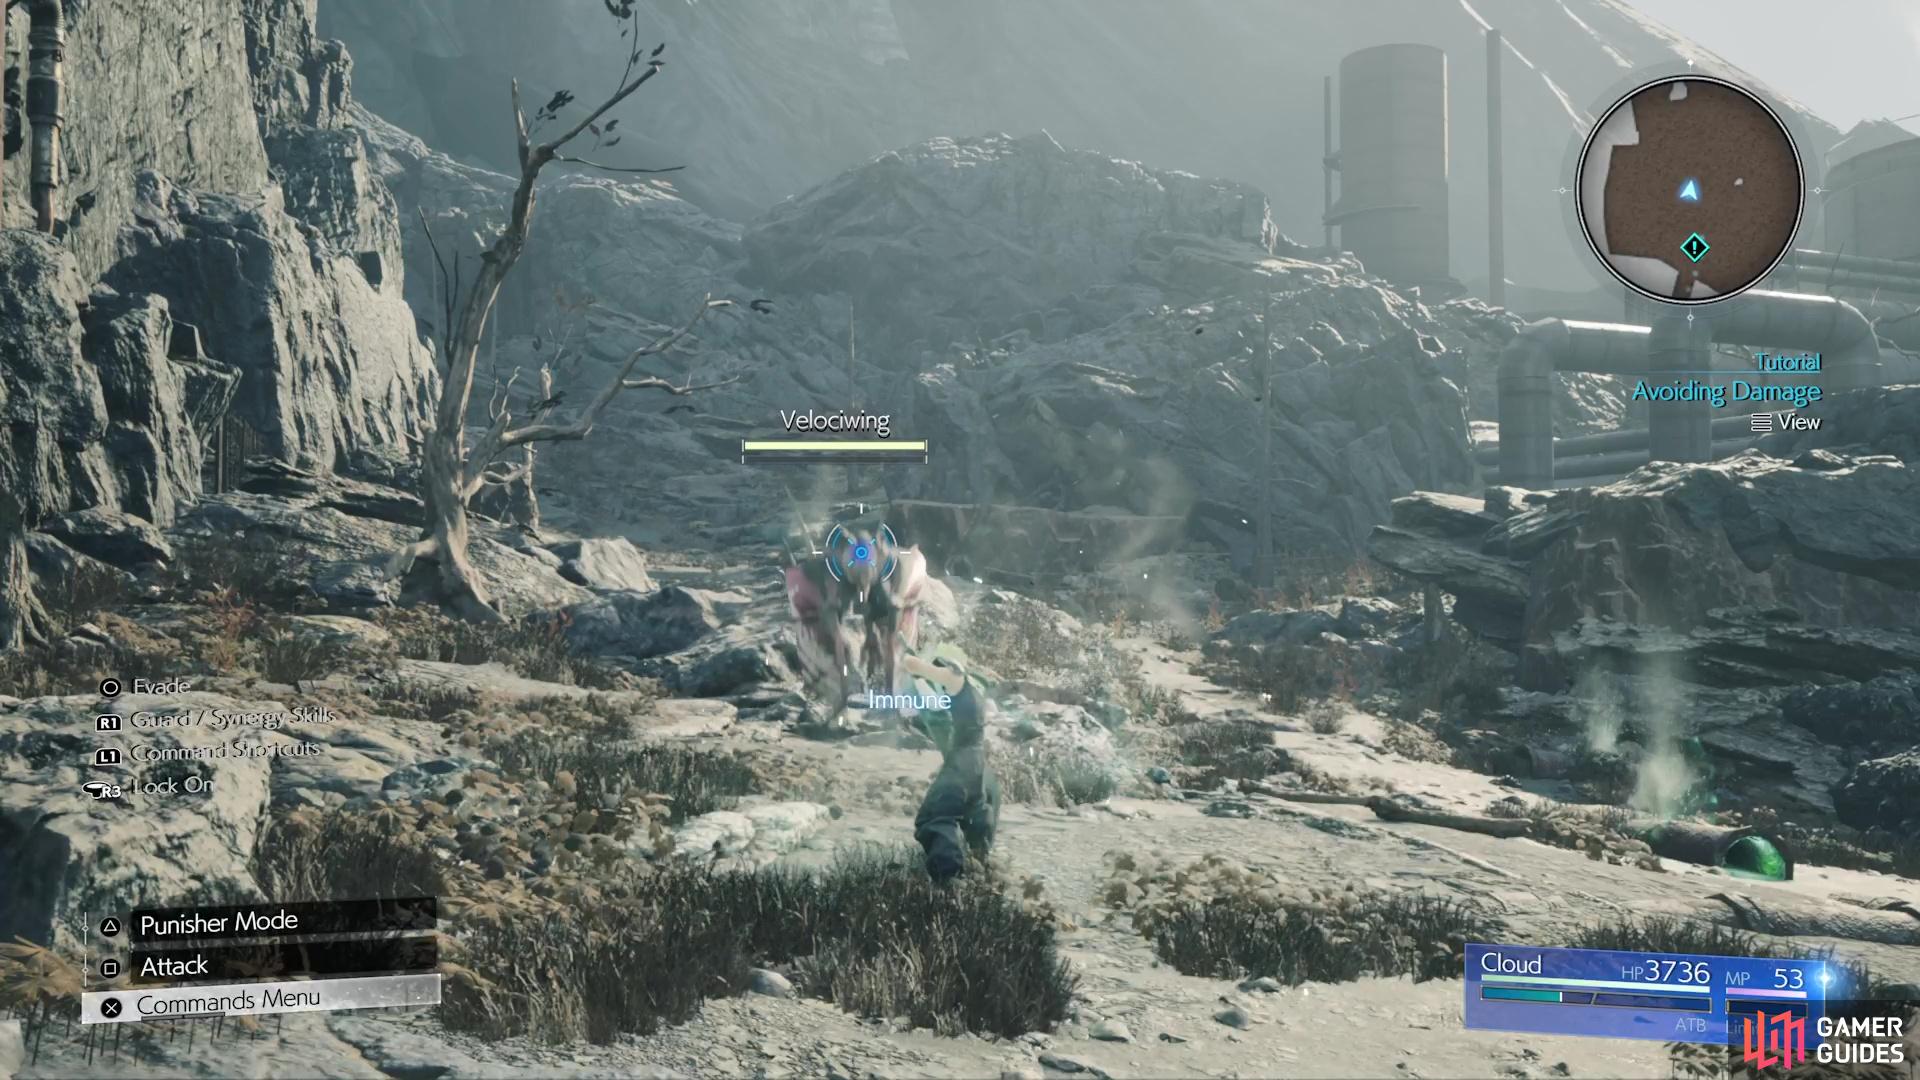
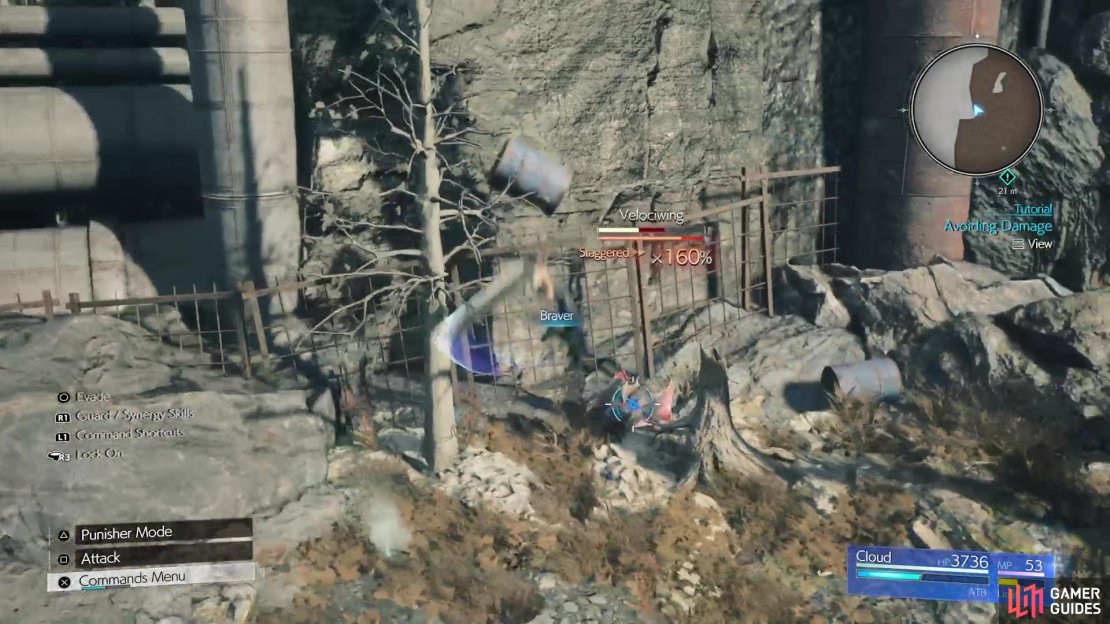
On the other side of the bridge, you will view a short scene and be introduced to a new enemy, the ![]() Velociwing. This is also where you will receive a tutorial about blocking, which is done with the R1 button. Doing this will reduce the damage taken, as well as fill your ATB a little bit. However, if you perfectly time a block, you won’t receive any damage at all. While the game doesn’t tell you here, not all attacks can be blocked, but more on that later.
Velociwing. This is also where you will receive a tutorial about blocking, which is done with the R1 button. Doing this will reduce the damage taken, as well as fill your ATB a little bit. However, if you perfectly time a block, you won’t receive any damage at all. While the game doesn’t tell you here, not all attacks can be blocked, but more on that later.

(1 of 3) Blocking an attack at the last second will completely negate its damage.
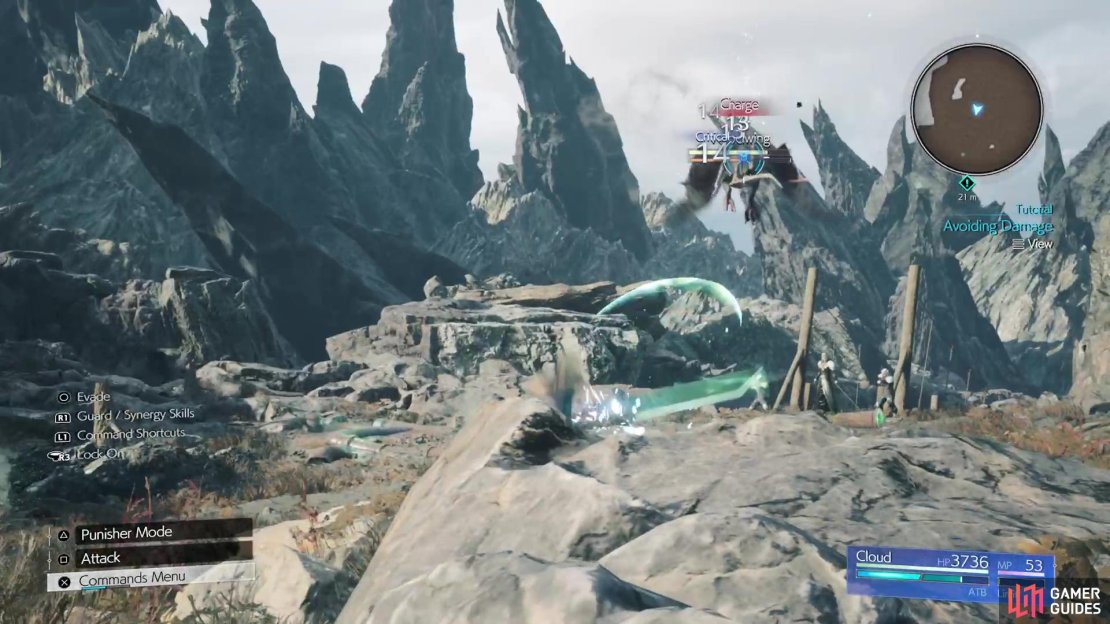
The Velociwing can be an annoying enemy, since it flies and moves around a lot. Hit the R3 button to lock onto it, then try to utilize Cloud’s ranged options here. Simply dodge with Circle, then attack immediately after with Square to have Cloud send beams from his sword. Keep doing this, while dodging/blocking attacks to stagger the enemy, which is your cue to use something like Braver to do heavy damage. You’ll get to use what you’ve learned thus far, as more enemies await you just ahead, including a pair a little further up, then another pair after the cutscene that follows the previous battle.
Materia Tutorial
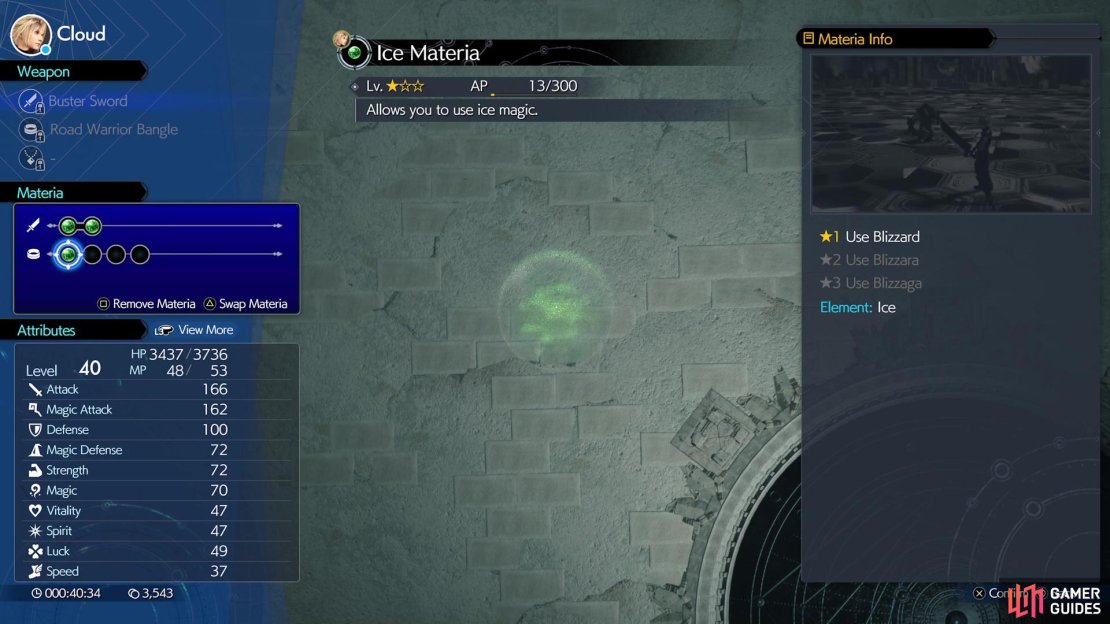
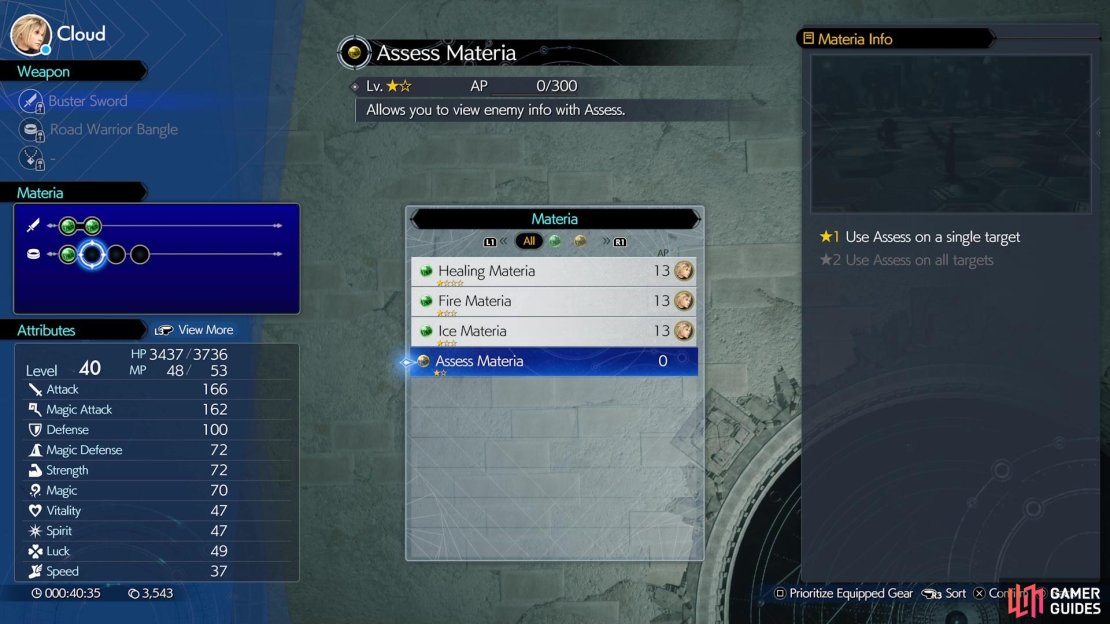
At this point, you should receive an option to view a tutorial on Materia. These little colored orbs can be slotted into your equipment and provide you all kinds of benefits, like spells, new abilities, and even increased stats. Go into your main menu, navigate to Materia & Equipment, then press Triangle to set your Materia. Cloud already has ![]() Healing Materia,
Healing Materia, ![]() Fire Materia, and
Fire Materia, and ![]() Ice Materia equipped, but you have one extra sitting in your inventory. Choose an empty slot to bring up a list, go down to the
Ice Materia equipped, but you have one extra sitting in your inventory. Choose an empty slot to bring up a list, go down to the ![]() Assess Materia, and pick it.
Assess Materia, and pick it.

(1 of 3) Press Triangle on the equipment menu to access your Materia slots.
As you continue climbing, you will run into some more enemies, and get a tutorial about switching modes with Cloud. This is done with the Triangle button, which puts Cloud into Punisher Mode. More offensive oriented, the moves Cloud does with his normal attacks change here. Also, if you block while in Punisher Mode, Cloud will automatically counter enemy strikes, although he will receive some damage while doing so (unless you perfect block).
If you see any Shinra boxes along the way, break them for potential items and MP-restoring orbs. As the path narrows, you will run into a chest that contains 2x ![]() Mixed Hi-Potions. Head all the way up the stairs to run into a dead end, but thankfully, Tifa calls you back to show you a different way. Note that as soon as you come back down, check the ledge to your right to spot a
Mixed Hi-Potions. Head all the way up the stairs to run into a dead end, but thankfully, Tifa calls you back to show you a different way. Note that as soon as you come back down, check the ledge to your right to spot a ![]() Wind Materia sitting there (it can be a little hard to see). Your trek will now take you through a Shinra Facility, which will be covered on the next page.
Wind Materia sitting there (it can be a little hard to see). Your trek will now take you through a Shinra Facility, which will be covered on the next page.
No Comments