
After defeating the Custom Valkyrie boss, you will bear witness to some scenes. This will lead to another interlude with Zack, where the only thing you can do is simply follow the NPC up the stairs after answering the door. You will return to Cloud shortly after this, where you can continue your ascent up Mt. Corel. Take the eastern exit out of the area where you fought the boss, then keep following the trail until you meet back up with the others.
The Corel Coal Mines will have you controlling Yuffie while exploring!
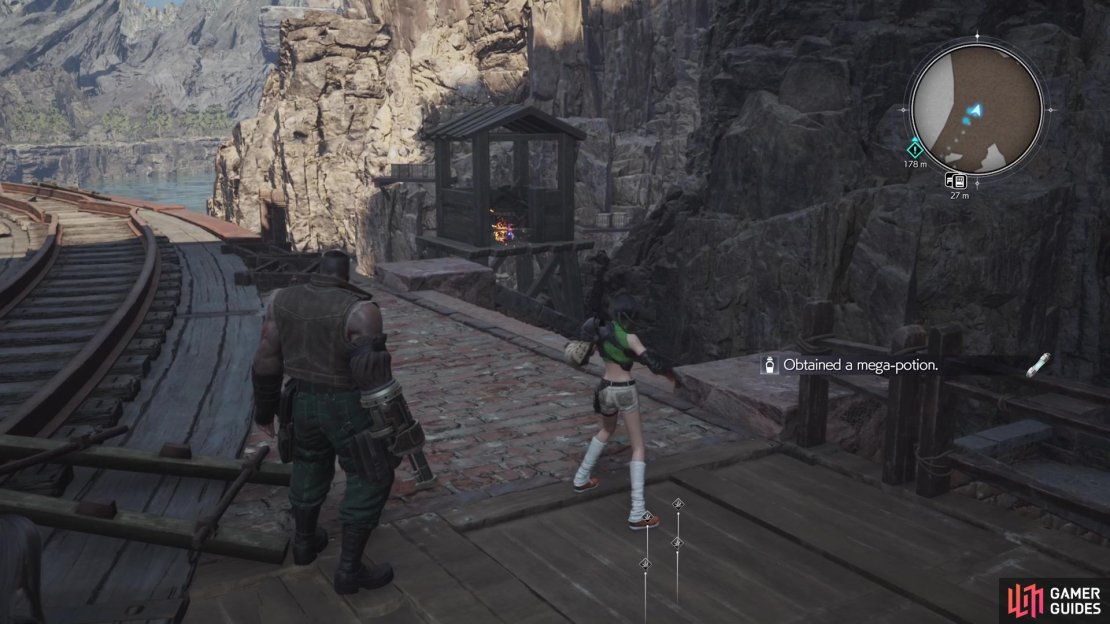
You will have your full party again, but don’t get too comfortable with them yet, as another split will be happening very soon. Continue north to arrive at the Corel Reactor for another scene, then follow Yuffie to trigger one more. Follow Barret after this scene into some mines, where you’ll take an elevator down into the proper mines. There are some enemies ahead (![]() Heatseekers), so either fight them or run past them, to the exit. After leaving the tunnel, look to the south for an alcove with a chest (1,700 Gil).
Heatseekers), so either fight them or run past them, to the exit. After leaving the tunnel, look to the south for an alcove with a chest (1,700 Gil).
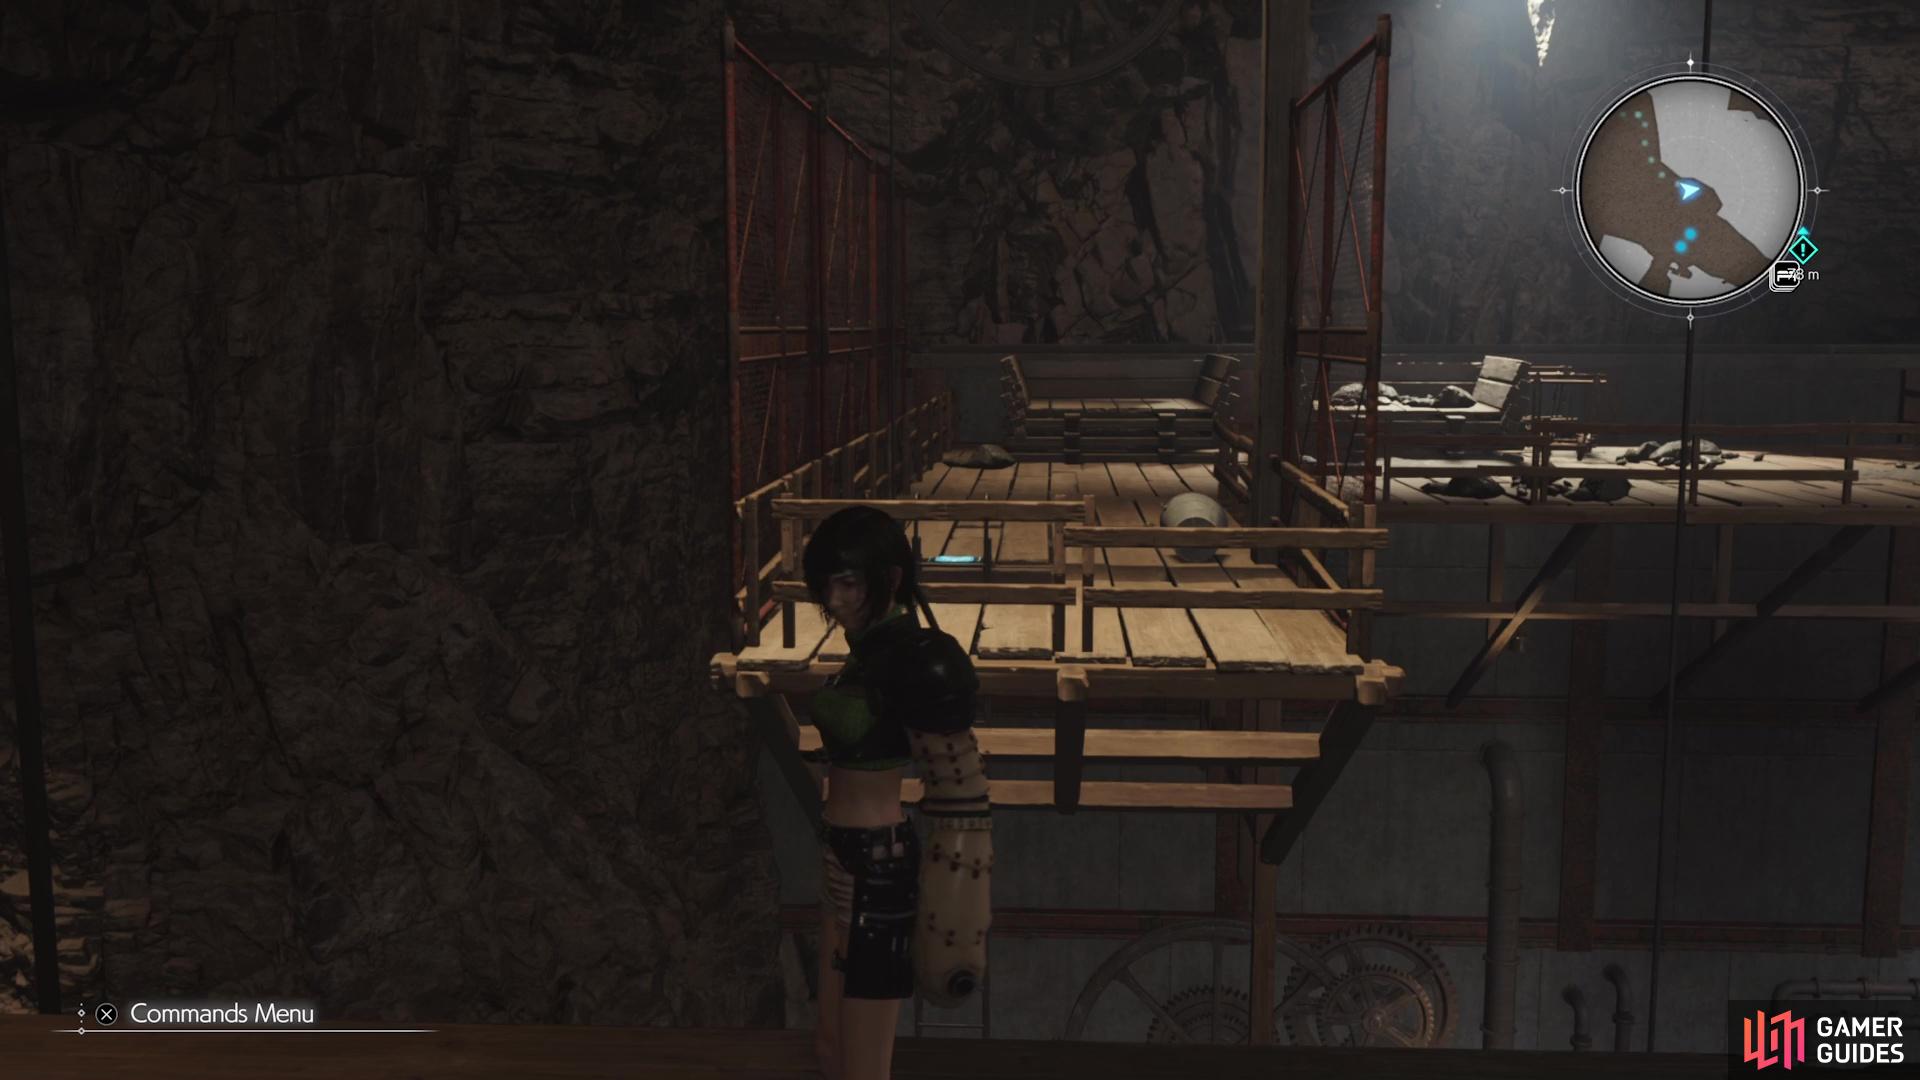
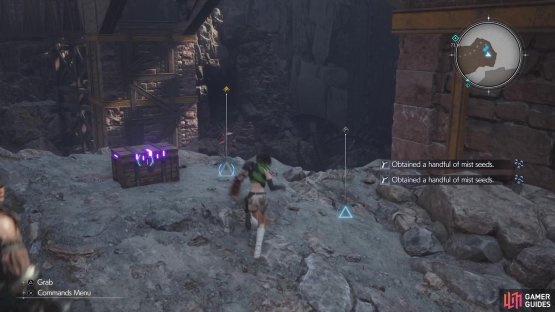
Climb the nearby stairs for one more scene, which causes something to happen to Cloud, putting him out of commission for the time being. The party will split up once more, with you taking control of Yuffie out in the field. Use the nearby rest stop to heal up, as well as purchase any items you need from the vending machine. It’s also a good idea to spend any SP, if you’ve been saving it up.

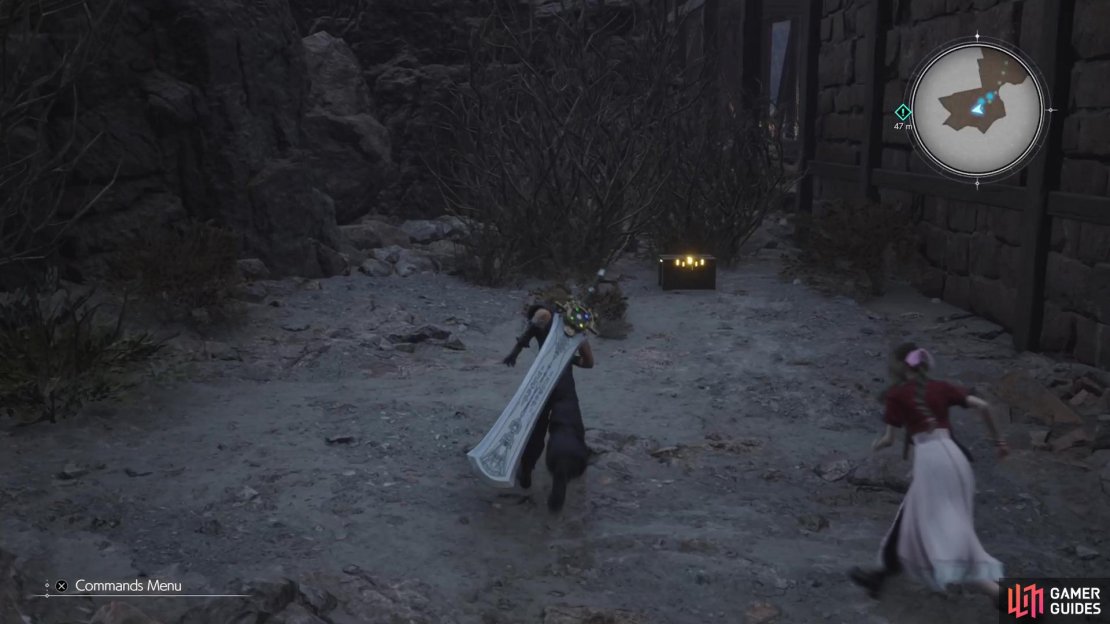
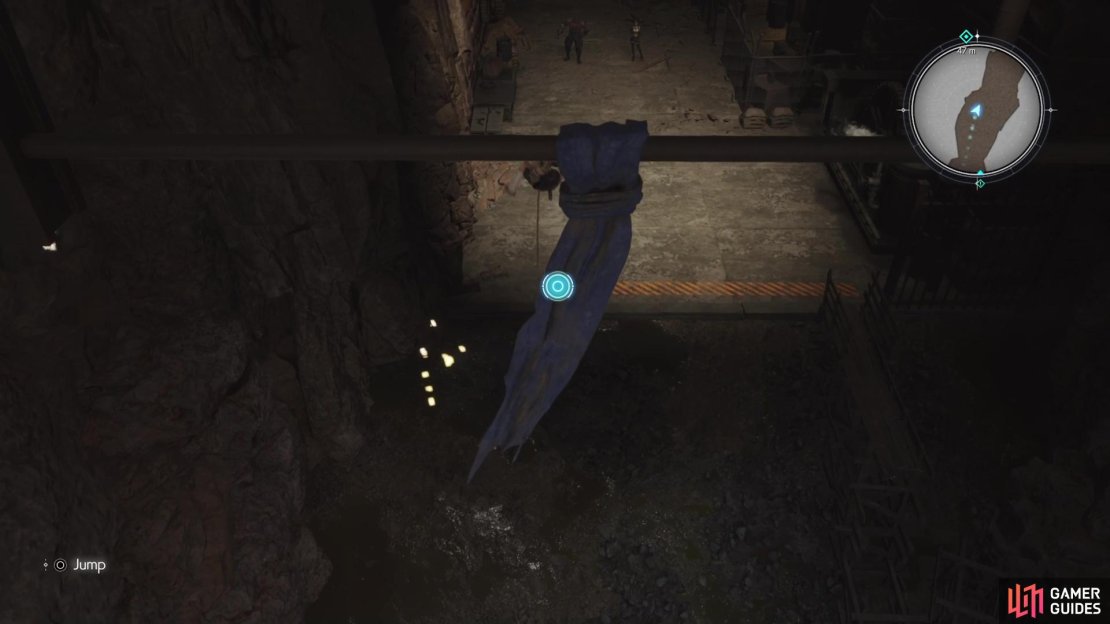
(1 of 3) There is a chest off to the side of the stairs before your party splits again.
Exploring as Yuffie
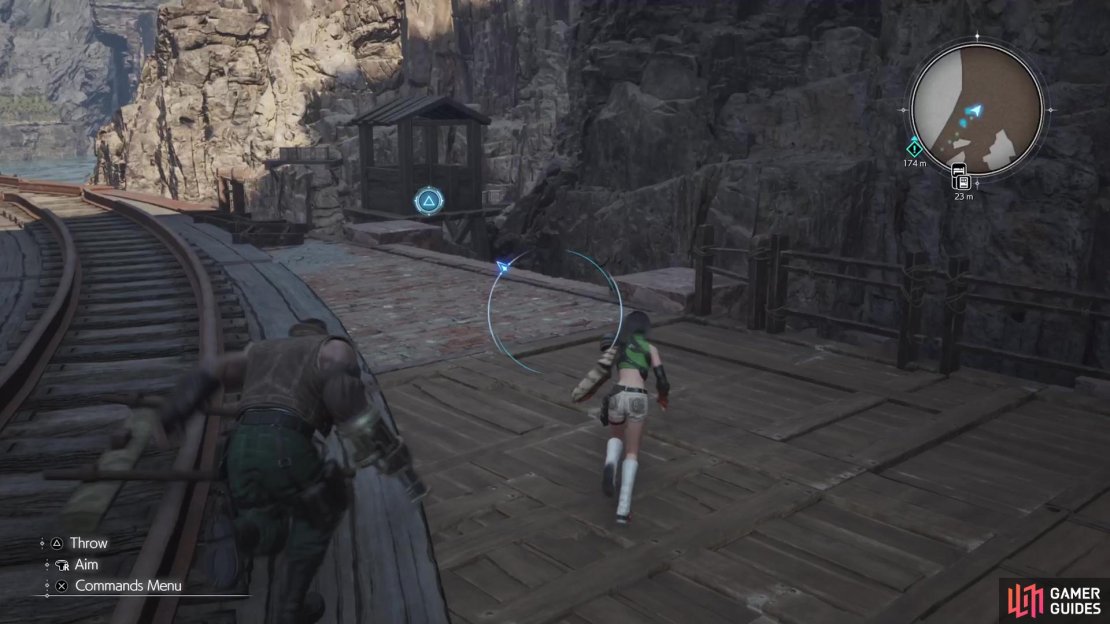
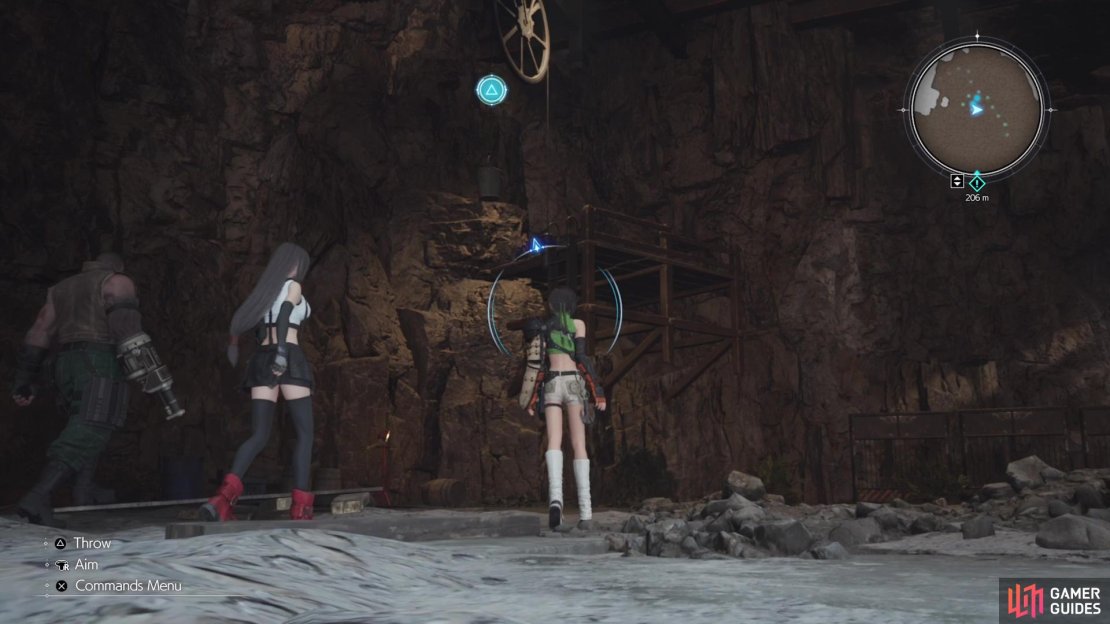
When everything is situated, start following the tracks to the north. As you explore with Yuffie, you will notice a cursor appear on your screen. This indicates that there is something nearby (usually boxes) to toss your shuriken at with the  button, so always look around for that. When you get to the end of the tracks, you will find a
 ![]() Bloatfloat and
Bloatfloat and ![]() Sandhog Pie there. If you haven’t used Yuffie yet in combat, let’s go over a few quick things.
Sandhog Pie there. If you haven’t used Yuffie yet in combat, let’s go over a few quick things.
Fighting as Yuffie
Yuffie is adept at both melee and ranged combat, but that’s not really her strongest attribute. The  button is used to deliver a series of melee strikes, but if you hold down the button, Yuffie will deliver a blow and then jump backwards, creating distance. Hitting the button will make Yuffie toss her shuriken at the enemy, which will stay with the enemy until once enough time has passed, you hit again, or hold down .
While the shuriken has been launched, you can press to activate Yuffie’s Ninjutsu. You can change the elemental affinity of the ranged attack with her ![]() Elemental Ninjutsu ability. It comes in the four main elements, so you will want to use this as often as possible, when applicable. Her Elemental Ninjutsu is one of the reasons why Yuffie is great to always be in your party.
Elemental Ninjutsu ability. It comes in the four main elements, so you will want to use this as often as possible, when applicable. Her Elemental Ninjutsu is one of the reasons why Yuffie is great to always be in your party.

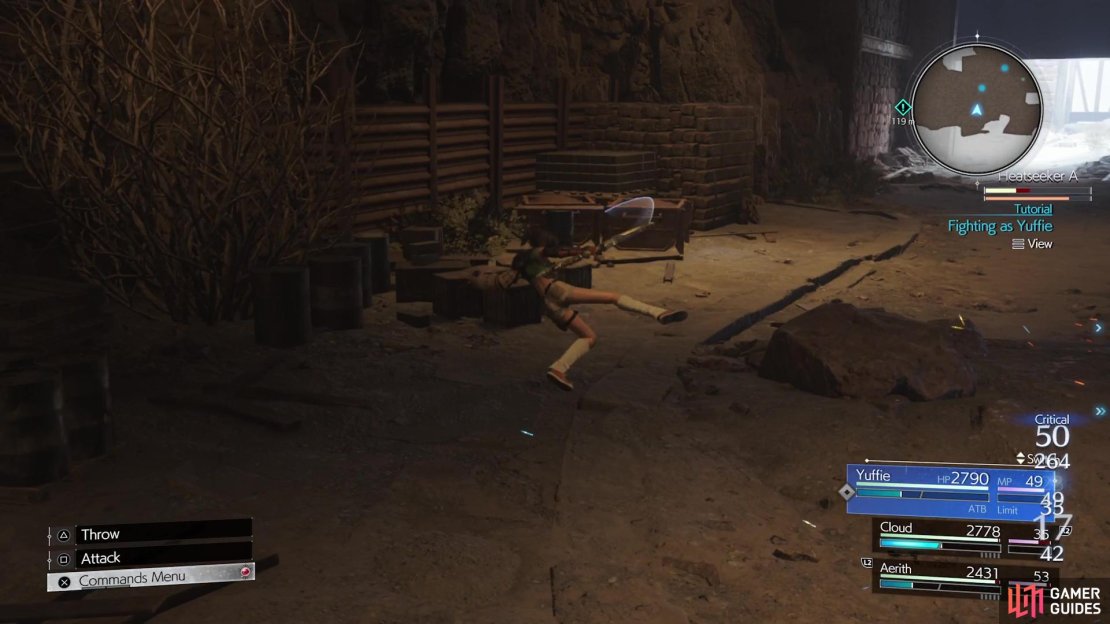

(1 of 3) Hold down Square when in melee combat to get some distance with Yuffie.
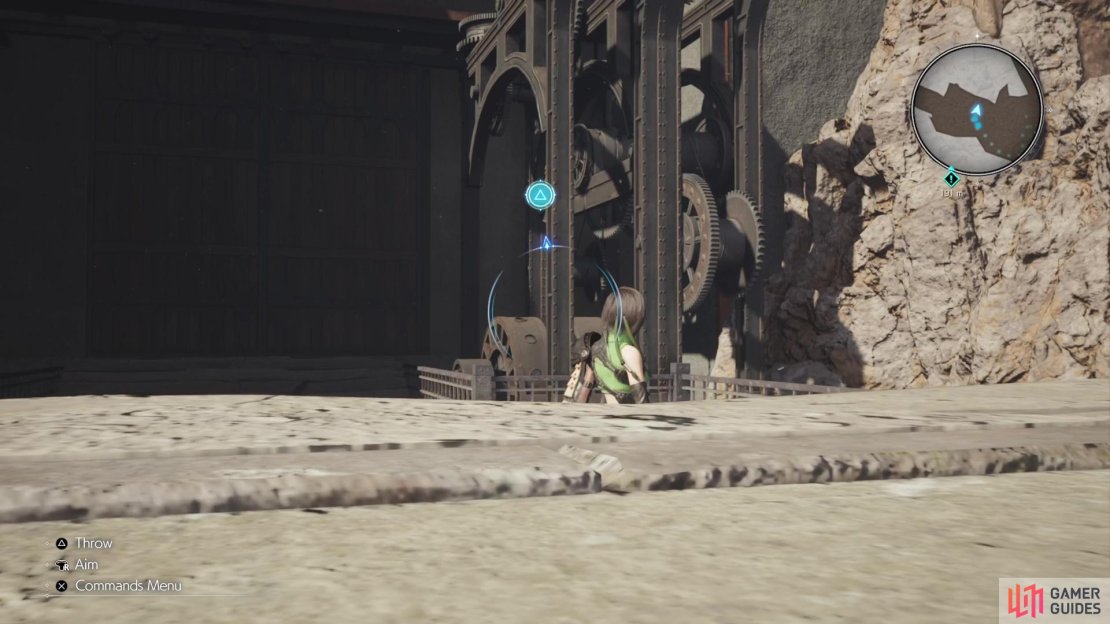
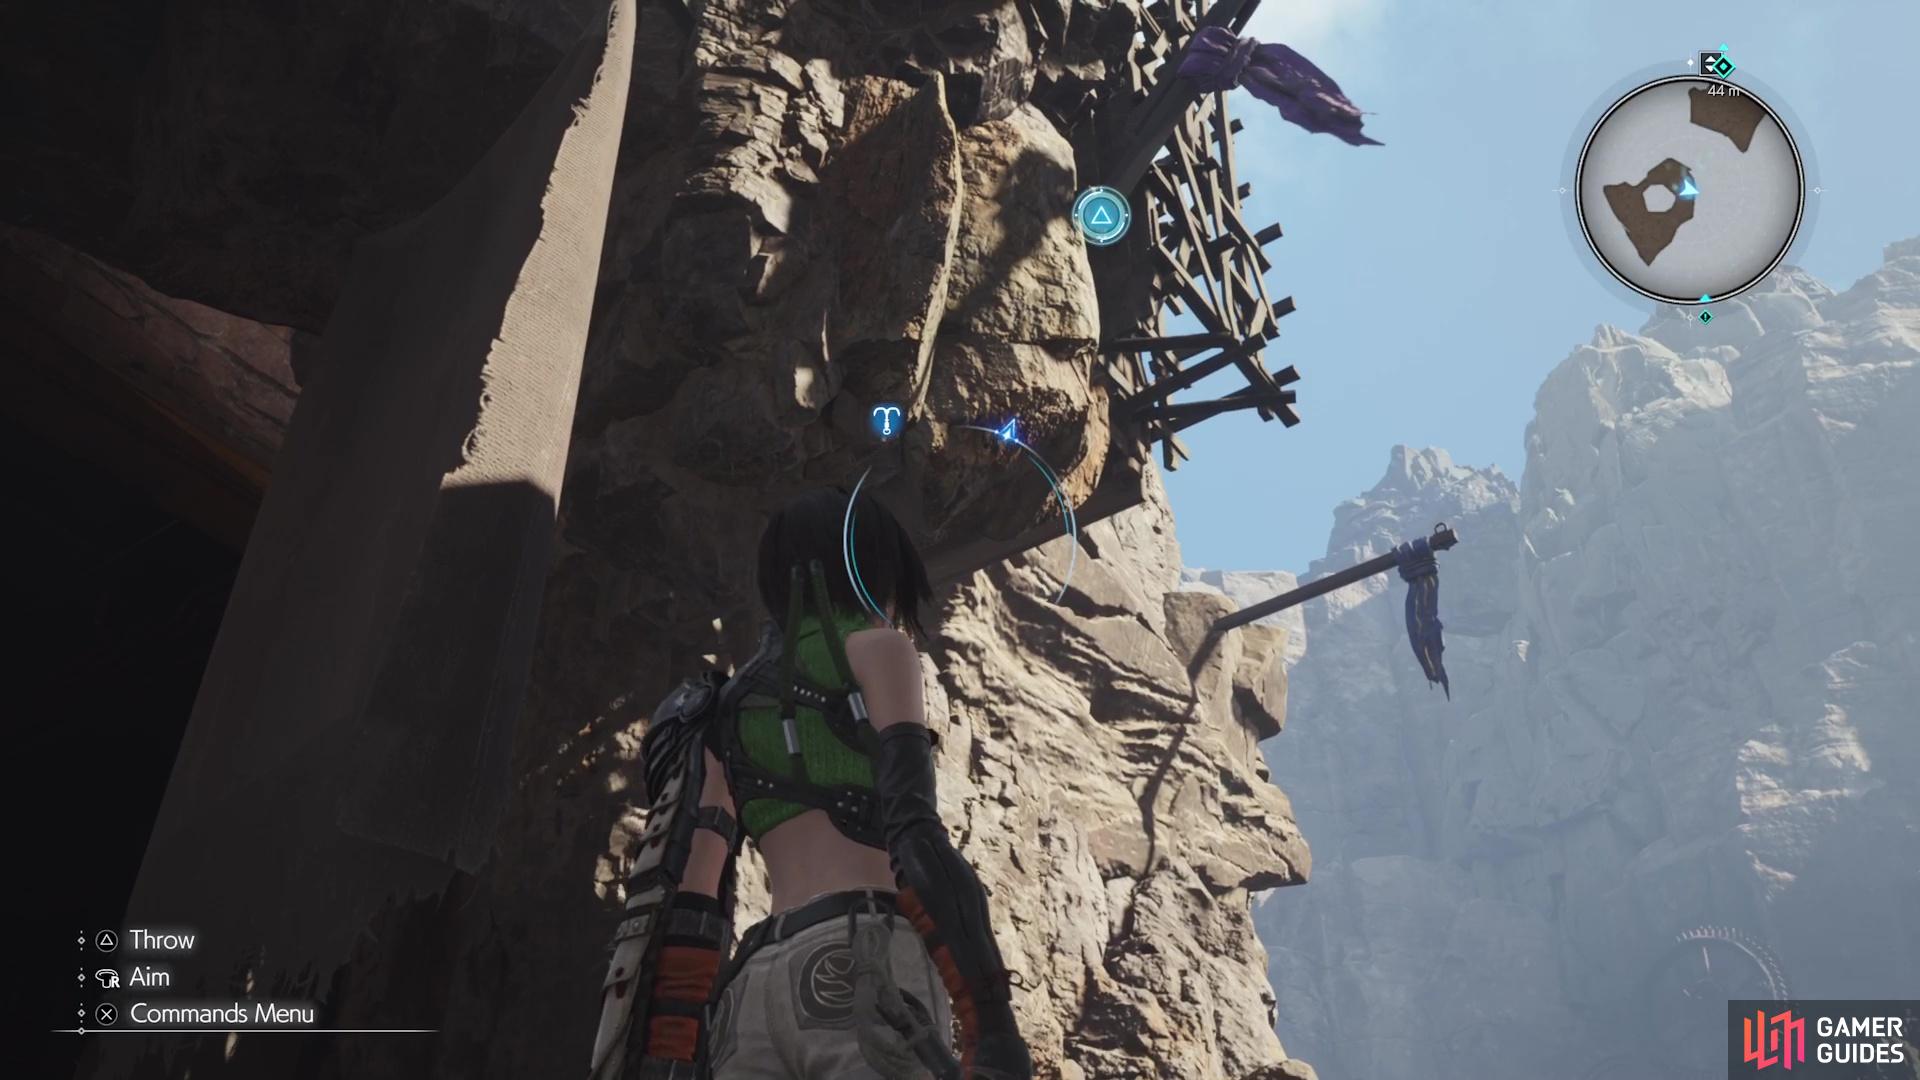
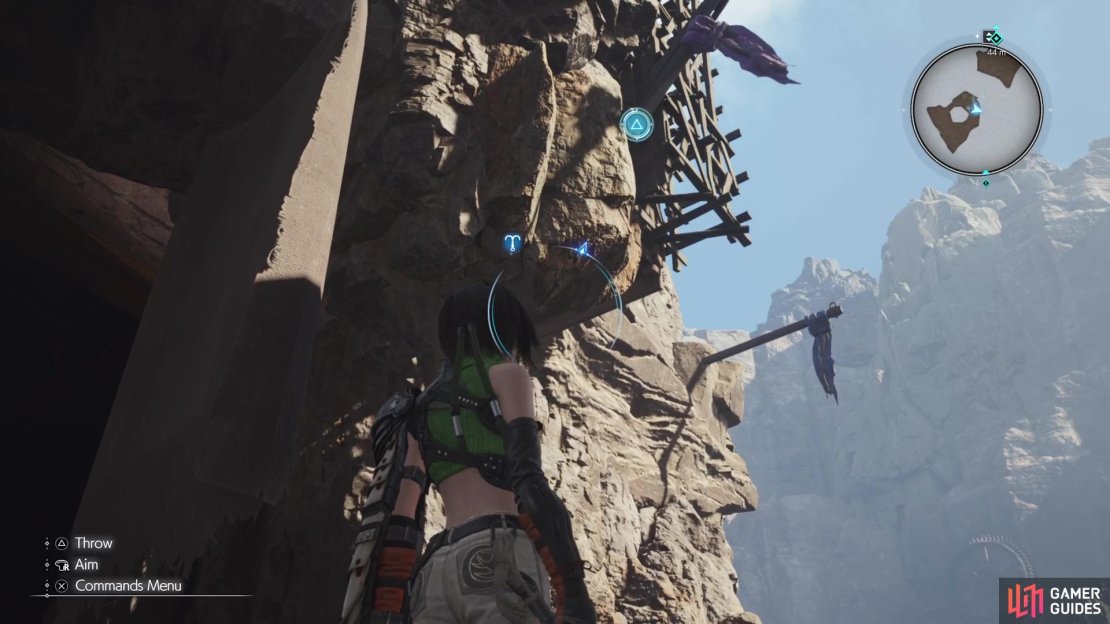
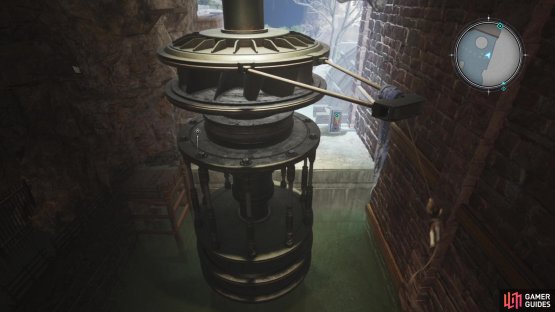
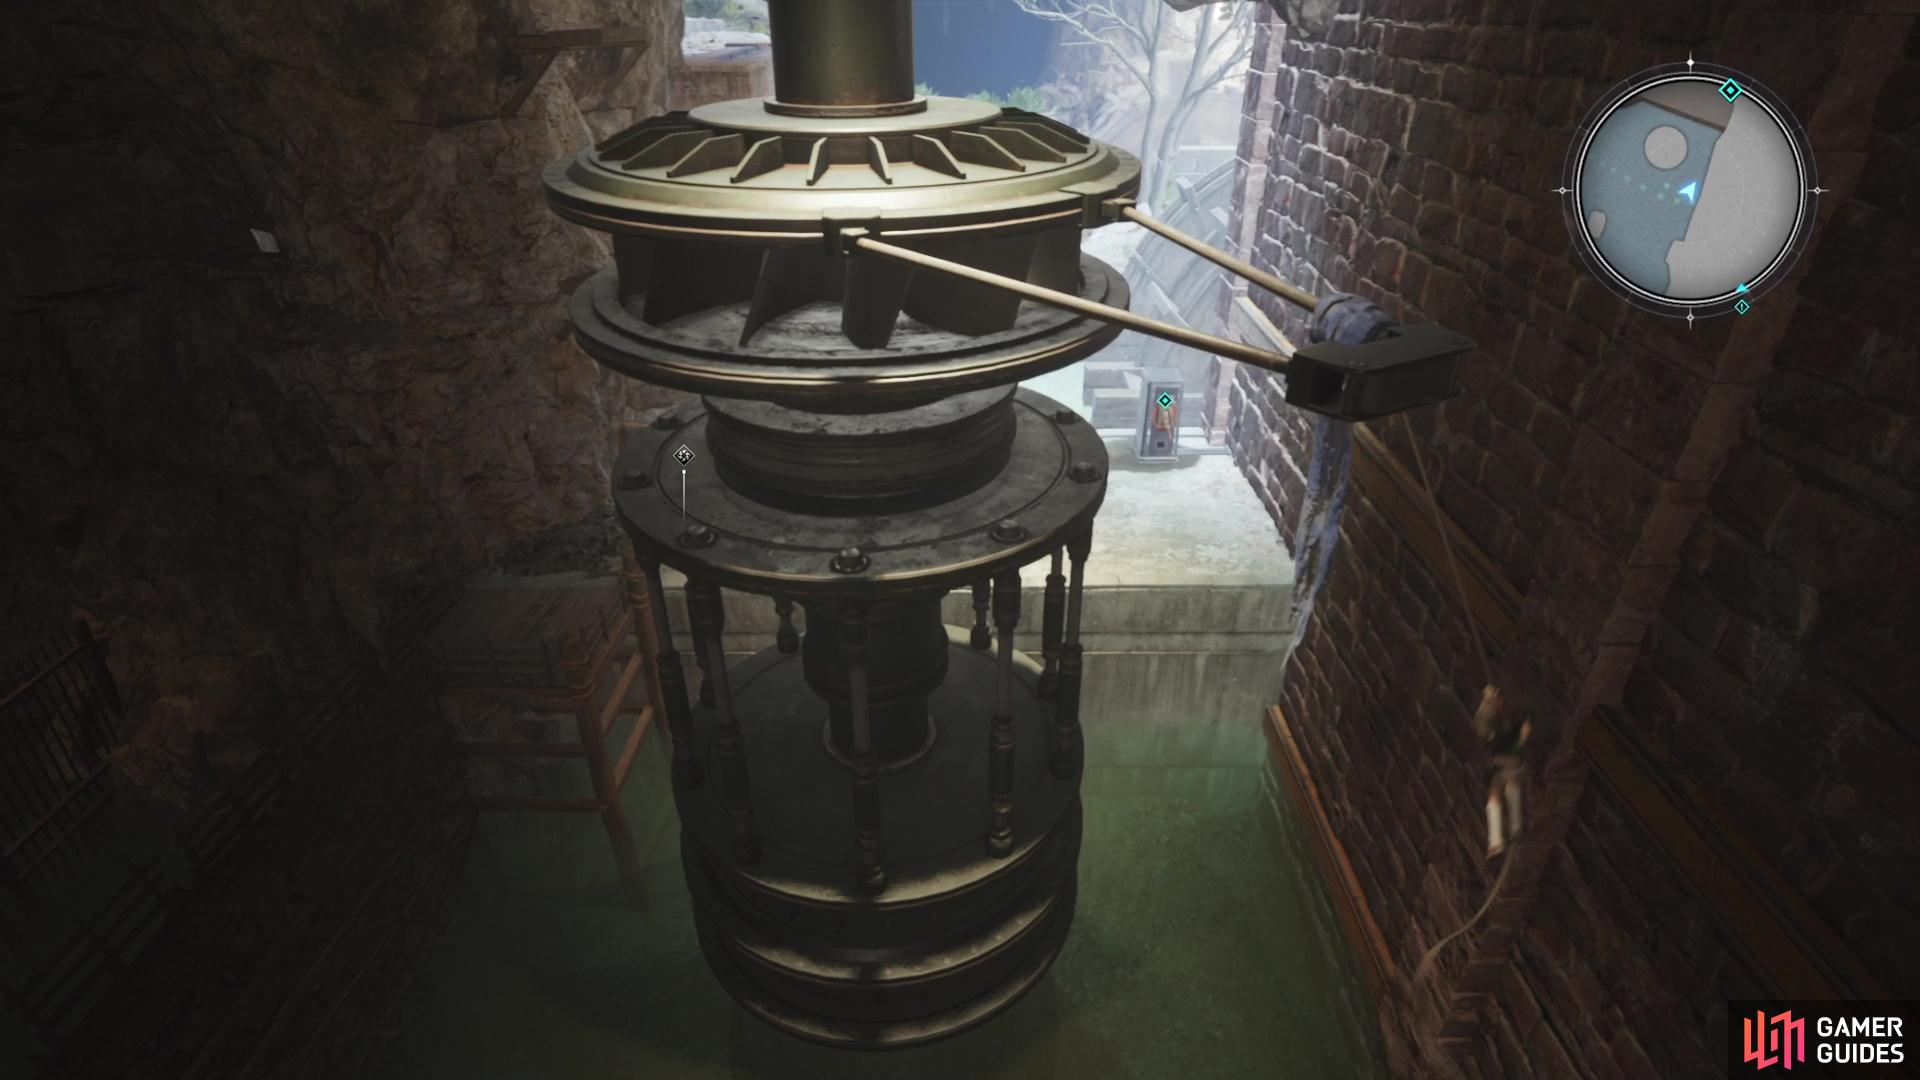
After the battle is over, the way forward is blocked by a big door. If you notice the cursor that appears on your screen, it will be pointing at some gears next to the door, so toss the shuriken to break some rope that will now open the door. Go inside and you’re told the conveyor is the way to continue, but you’ll have to power it on first.
Preparation Plant
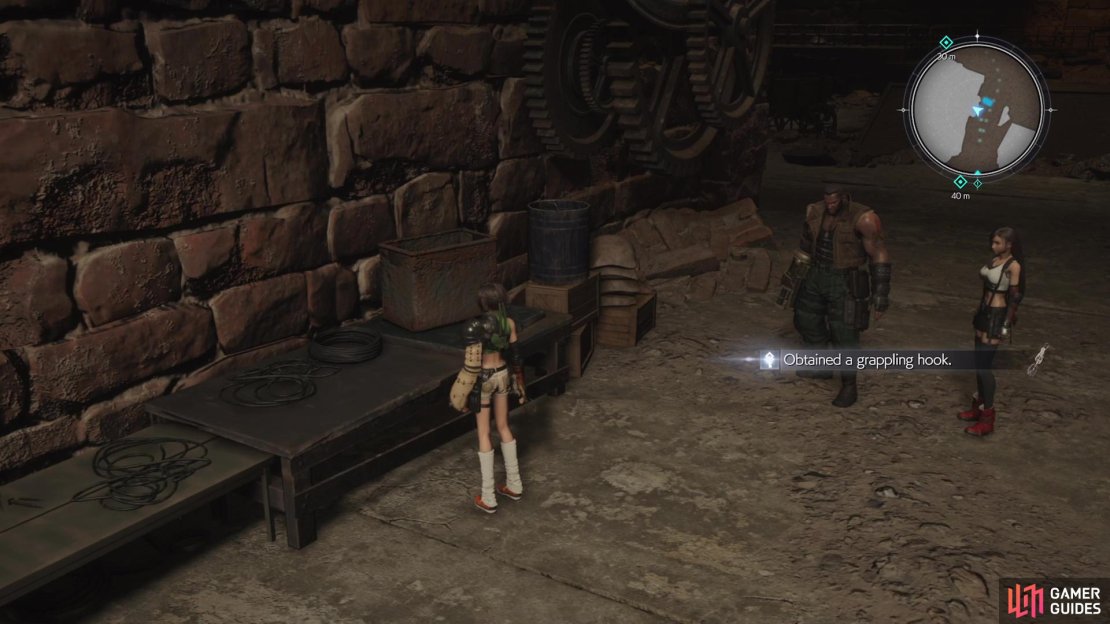
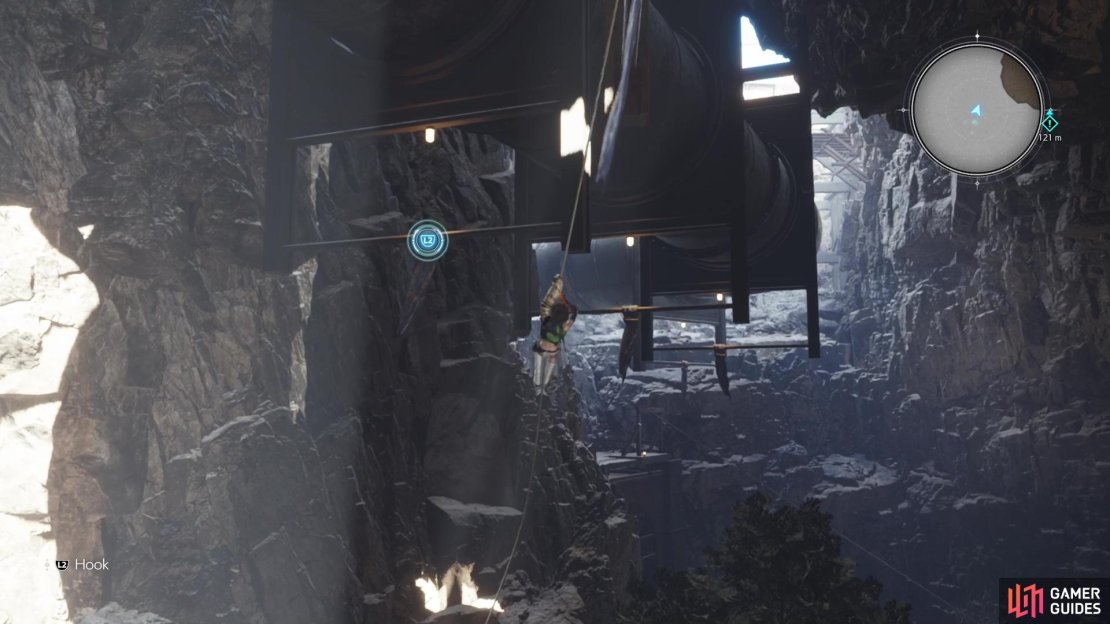
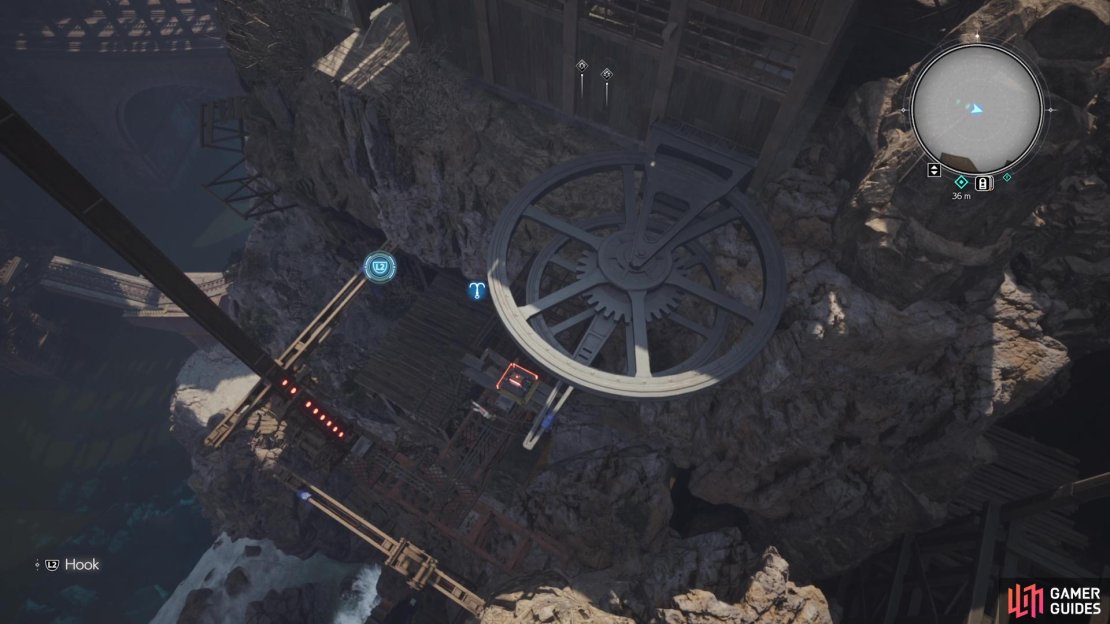
Feel free to look around in here, but there’s nothing but materials present and only one way to continue forward. Head towards the daylight and Barret will point out the grappling hook, which will be another traversal element from this point onward. Point the camera towards the bar in the air, then when you see the L2 button prompt, hit it to attach yourself to it. Use the left analog stick to swing back and forth until you see the Circle prompt, which means you can jump across the gap.
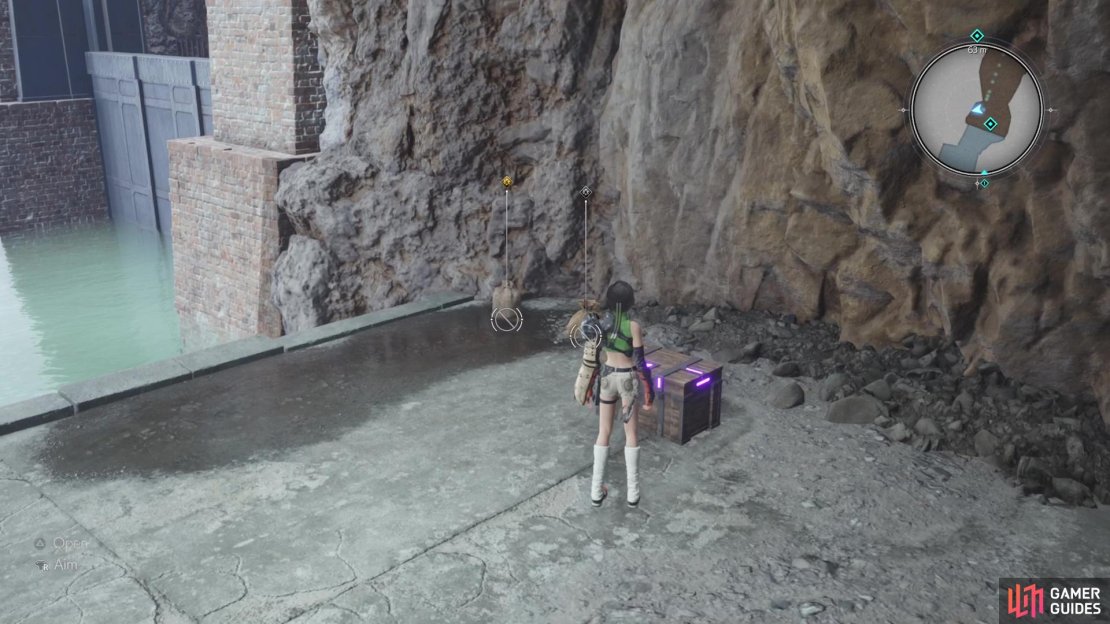
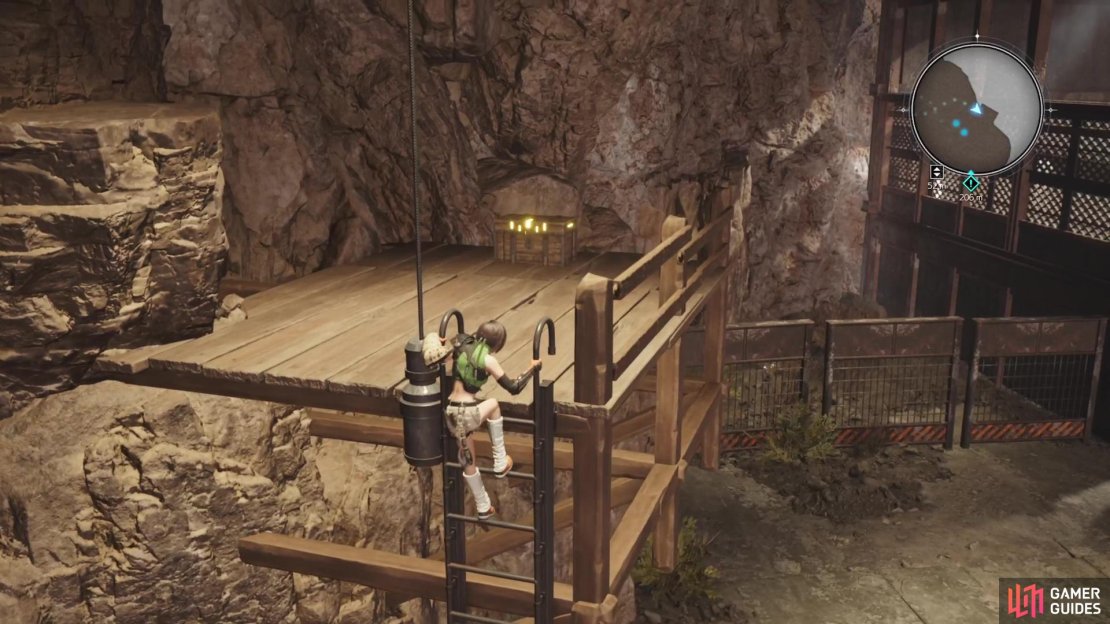
Once you make it across, open the purple chest here for the ![]() Twin Viper, a new weapon for Yuffie, then hit the switch to activate the conveyor. Swing back across and ride the conveyor to the next floor, where some enemies will be waiting for you. Clear them out, then look for a rope you can cut with Yuffie, which will drop a ladder for you to climb up to a chest (
Twin Viper, a new weapon for Yuffie, then hit the switch to activate the conveyor. Swing back across and ride the conveyor to the next floor, where some enemies will be waiting for you. Clear them out, then look for a rope you can cut with Yuffie, which will drop a ladder for you to climb up to a chest (![]() Hi-Ether). If you head to the western end of this area, you will find a wall you can climb.
Hi-Ether). If you head to the western end of this area, you will find a wall you can climb.

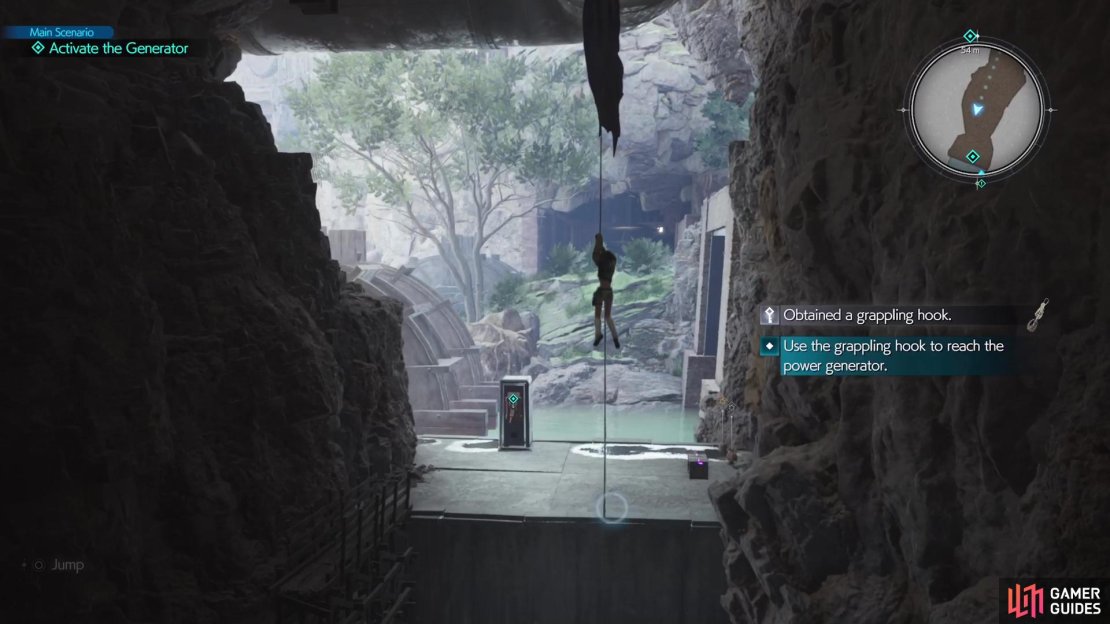
(1 of 6) The grappling hook will be an important item for the rest of this dungeon.
Do that, then swing over to the next ledge, and climb one final wall to find a chest that contains an ![]() Emerald. Slide down the zipline, then venture over to the southern side. Interact with the elevator to see it isn’t working, so look for the grapple point nearby. Use it to swing over to the rocky ledge, then look up and to the right of the beam you just grappled off of there. You should see a button prompt here, which is your cue to toss Yuffie’s weapon at it, knocking loose another grapple point.
Emerald. Slide down the zipline, then venture over to the southern side. Interact with the elevator to see it isn’t working, so look for the grapple point nearby. Use it to swing over to the rocky ledge, then look up and to the right of the beam you just grappled off of there. You should see a button prompt here, which is your cue to toss Yuffie’s weapon at it, knocking loose another grapple point.
Grapple onto that beam now to get to one more, where you can turn around to a climbable wall. It should be mentioned that you are alone with Yuffie up here, since the others can’t do the same thing. Defeat any enemies, then access the control panel for the elevator, which will bring both Barret and Tifa to your position. Go around the corner for another battle, then you’ll be able to head up some stairs.


(1 of 5) When standing on the rocky area, you’ll have to toss the shuriken to knock loose a grapple point.
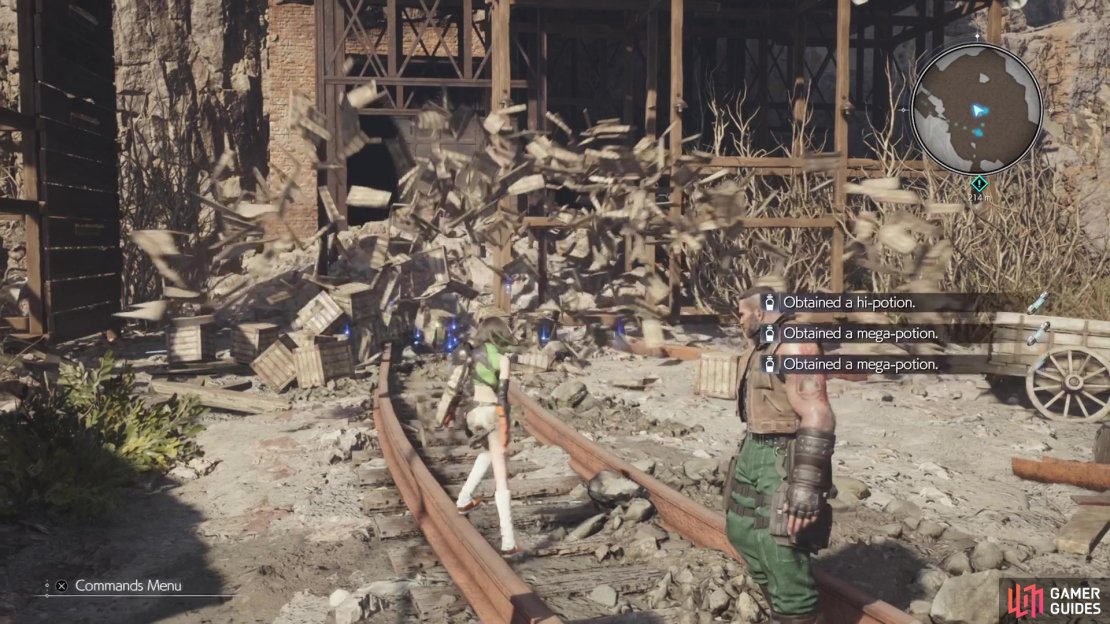
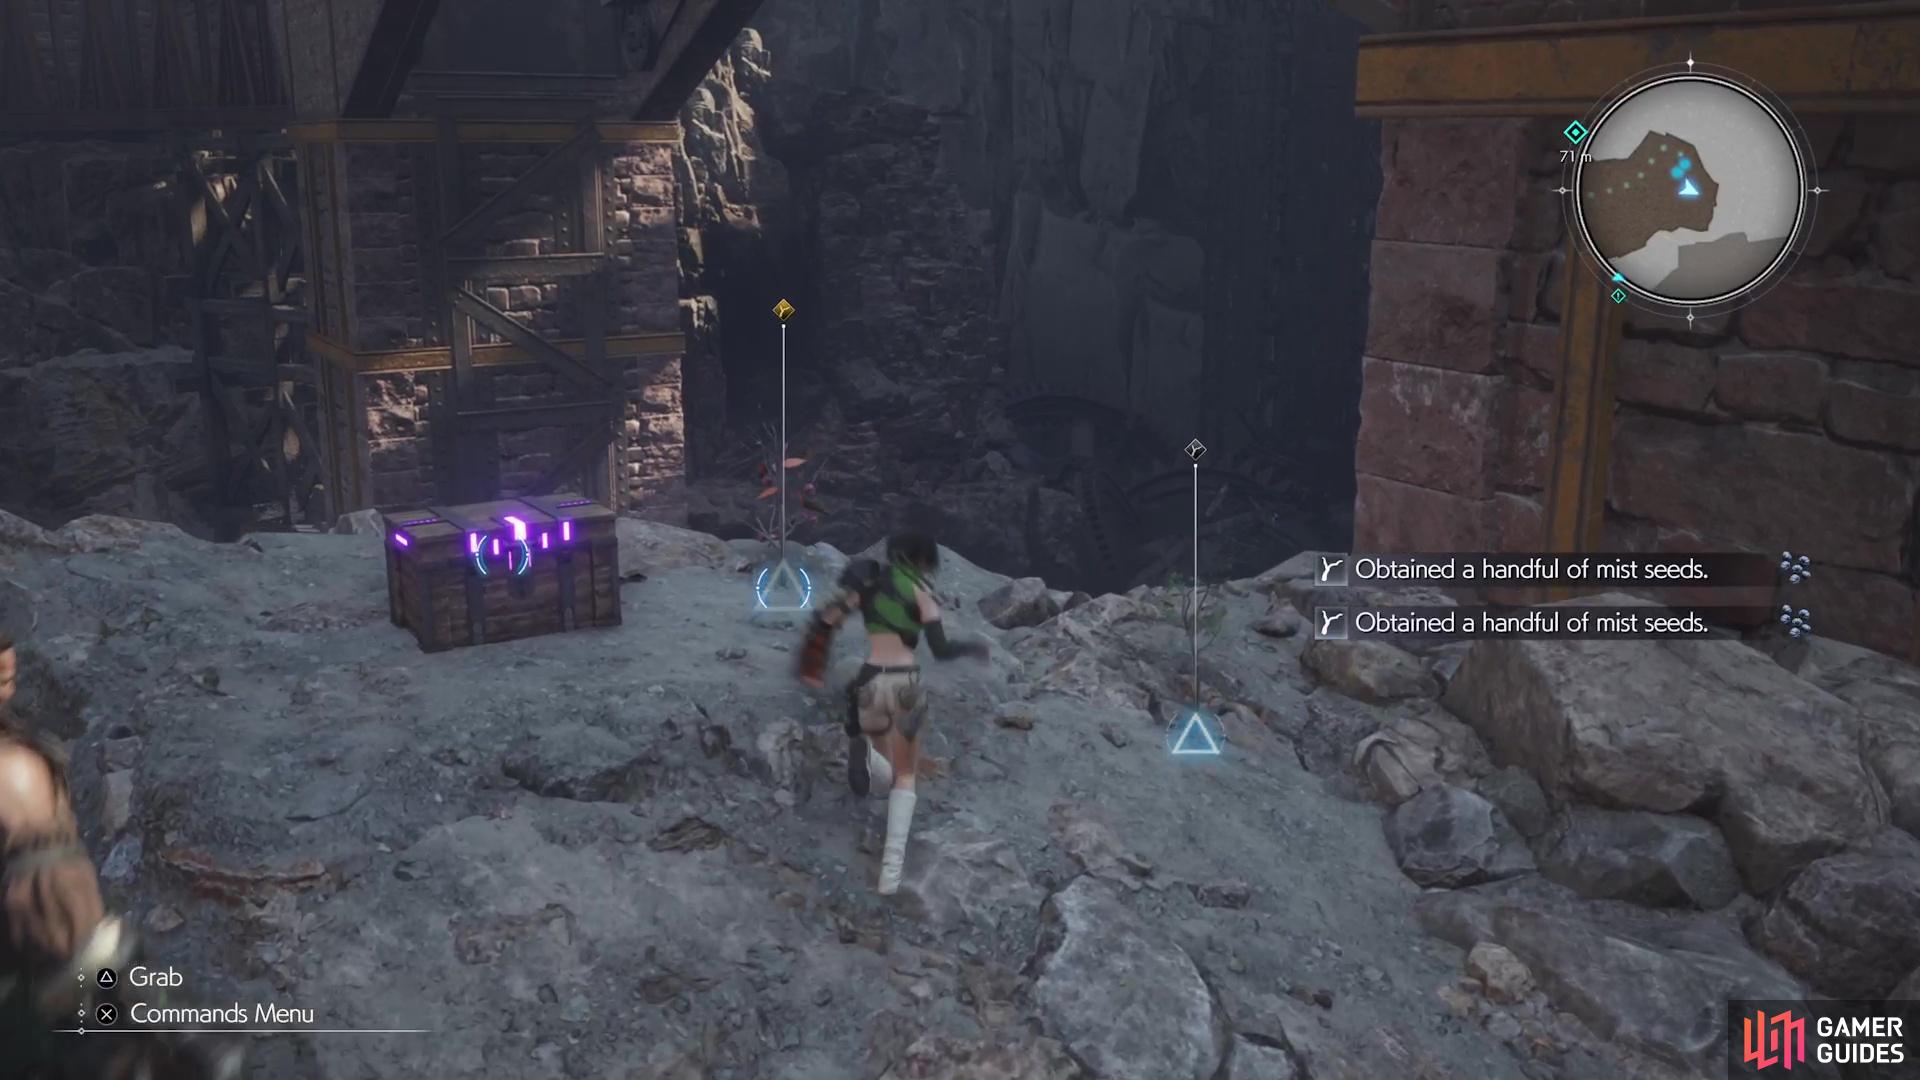
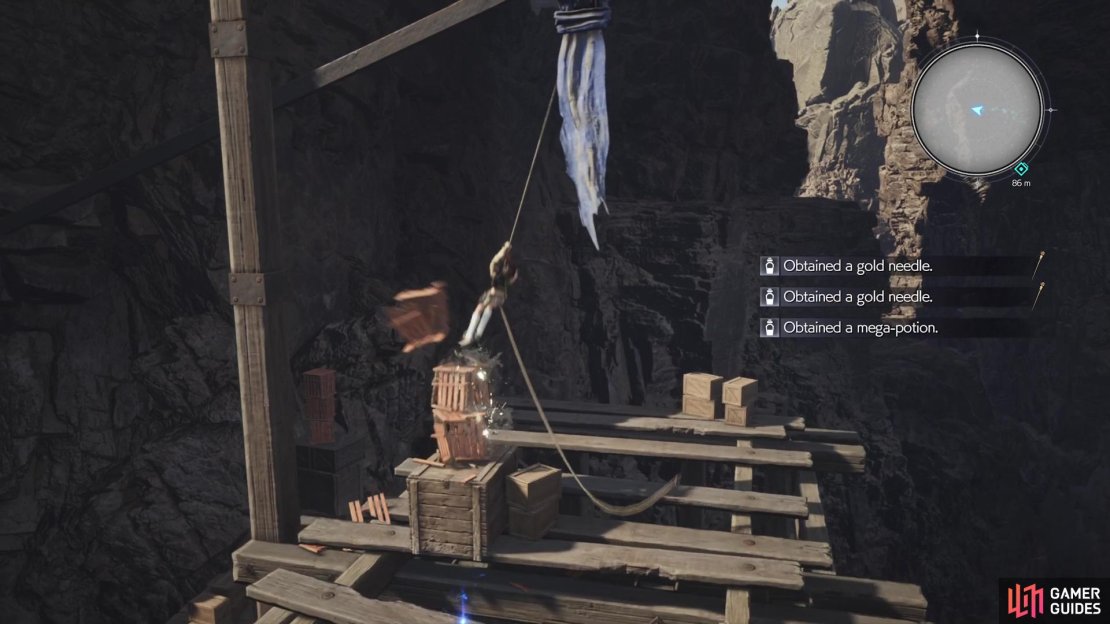
Head to the building on the far side and look up to see another button prompt, but if you toss your shuriken from the ground, it will hit an obstacle. There will be a wall to climb on the side, which gives you a better angle at this same spot, so toss it there to cause a bunch of breakable boxes to drop down, so destroy them for plenty of items. To continue, locate the wooden ramp and head up it to find a zipline that goes across the chasm, which is the Railway Control Tower. Drop down the ladder here to snag a treasure chest (x3 ![]() Exquisite Beast Hides), then back up to go back into the mine.
Exquisite Beast Hides), then back up to go back into the mine.
Railway Control Tower
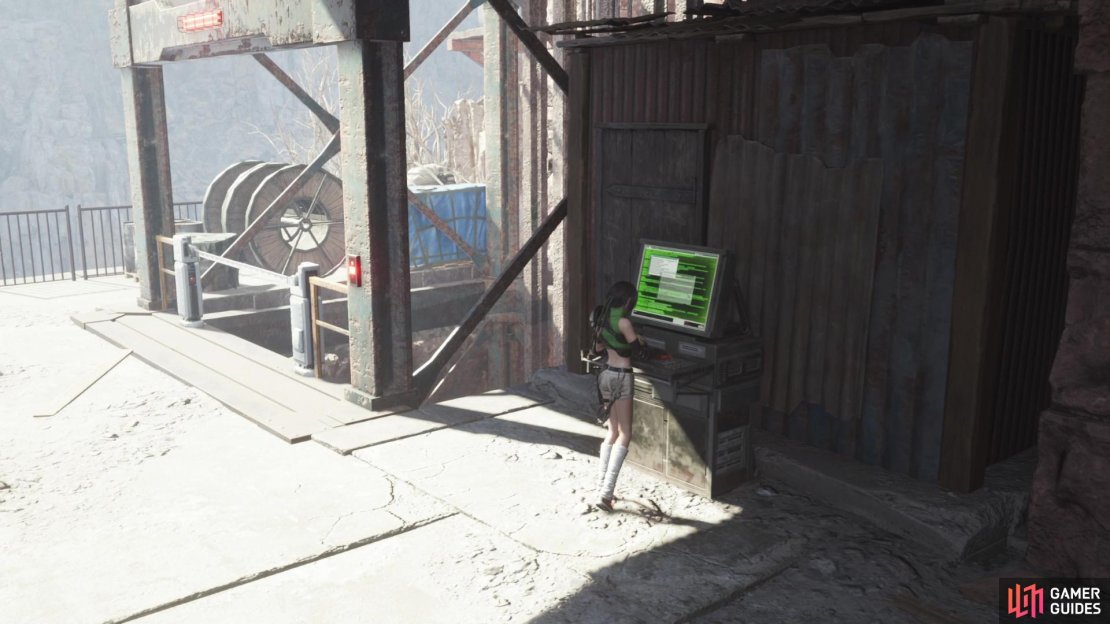
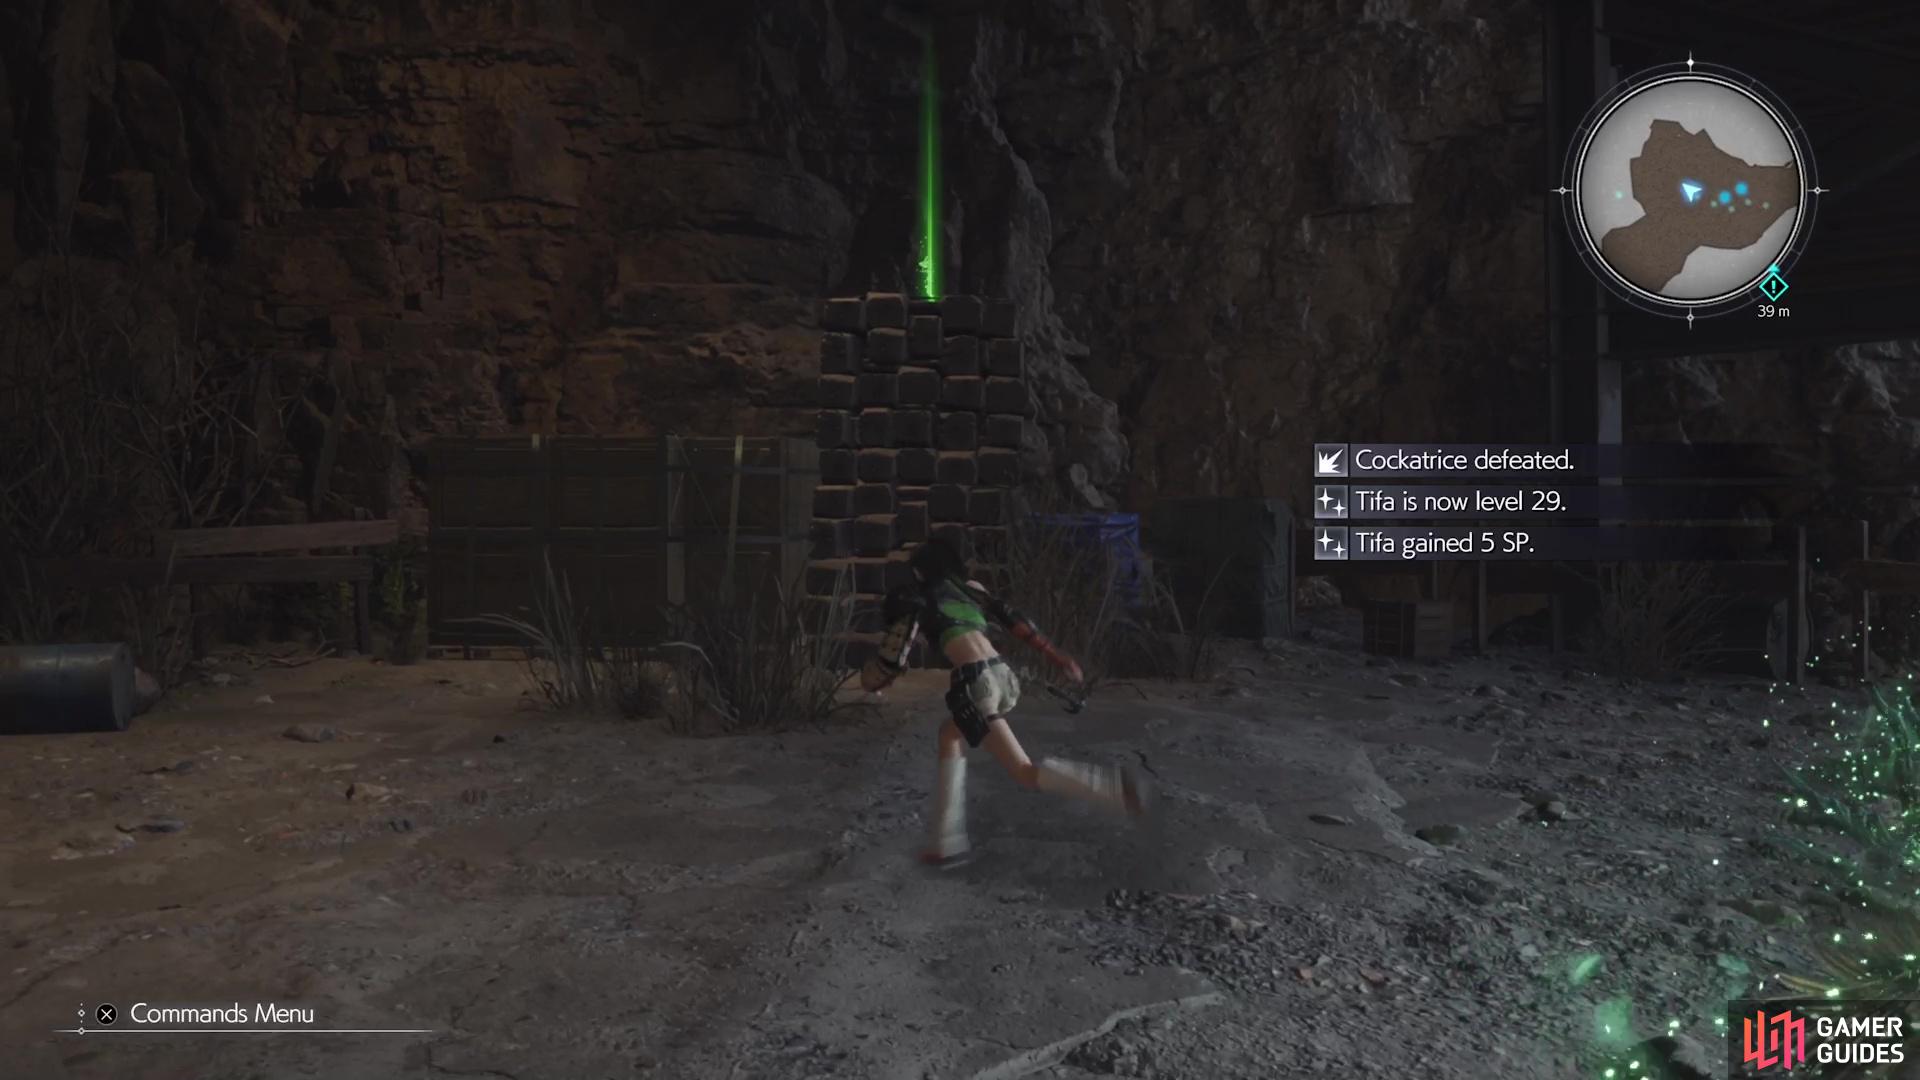
Fight the enemies along the way to a rest bench, where you can take a break and browse the vending machine. Unfortunately, the conveyors in this section aren’t working, so there’s only one way to go for now. Ignore the stairs along the way and fight the ![]() Cockatrice at the end. Be wary of its Petrifying Fog attack, as you pelt it with fire moves. If you block its melee attacks, you will pressure it, but if you evade the Swoop or Cock-a-Doodle-Kick abilities, you will pressure it for longer.
Cockatrice at the end. Be wary of its Petrifying Fog attack, as you pelt it with fire moves. If you block its melee attacks, you will pressure it, but if you evade the Swoop or Cock-a-Doodle-Kick abilities, you will pressure it for longer.


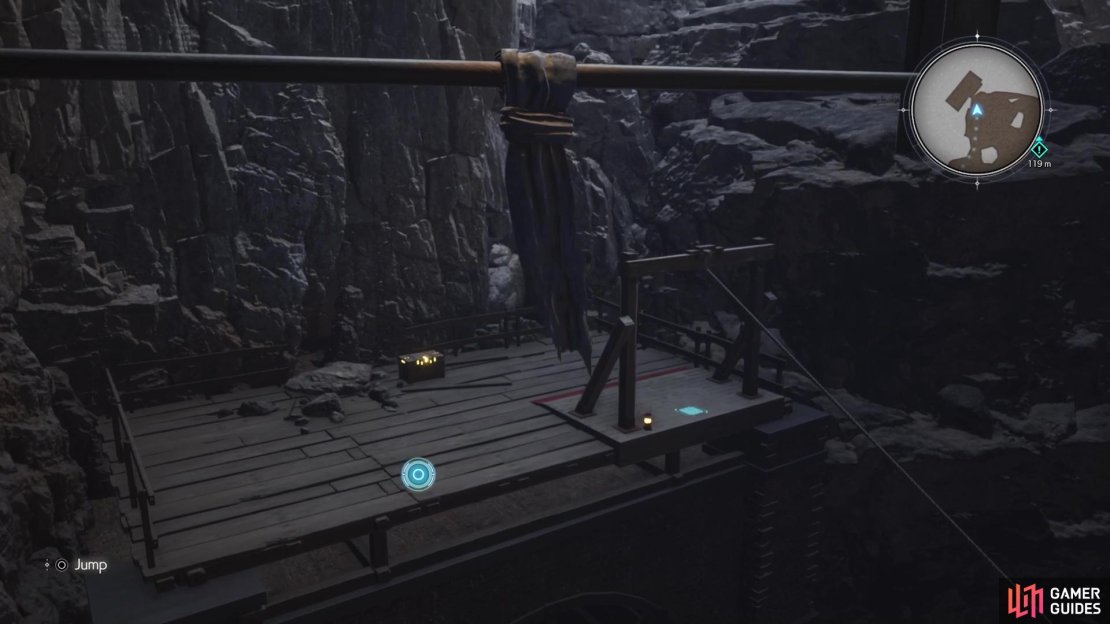
(1 of 4) To knock down the ladder, climb up to this spot to get a good shot on the rope.
After defeating the Cockatrice, look for a climbable wall nearby and scale it to the top. While up here, you should be able to spot a rope you can cut with your shuriken across the way, so do that to make a ladder drop. Slide down the pole and climb the ladder now, then look upward again for some grapple points. Upon getting to the last one, swing your camera and Yuffie around until you can spot another set. This will allow you to reach a wooden ledge that houses a chest, so open it for an ![]() Illusionist’s Armband.
Illusionist’s Armband.
Return to the ground via the zipline, then make your way back to those stairs from before. There will be a pole you can slide down to reach the bottom, or you can just go down the stairs the normal way. Down here, you will have to do battle with two Cockatrices at once. Once defeated, take the path that leads outside to go to a dead end with a purple chest; this contains the ![]() Barrage Blaster, a new weapon for Barret.
Barrage Blaster, a new weapon for Barret.
(1 of 2) This purple chest contains a new weapon for Barret.
This purple chest contains a new weapon for Barret. (left), You’ll have to keep nudging this bar over until you can jump off near the switch. (right)
Return to the inside portion and use the shuriken to knock down a grapple point at the other dead end. You can now swing around the rocky formation on the ceiling, to a final grapple point that moves with you. Nudge it over until you can land on the ledge with the switch; there’s also a chest here that contains x3 ![]() Exquisite Beast Spines. Pull the switch to activate the conveyors in this section, then use the nearby walkway to jump into the water and return to your team. Take the conveyor back to the previous floor, then use the other across from that one to go to the next floor above you.
Exquisite Beast Spines. Pull the switch to activate the conveyors in this section, then use the nearby walkway to jump into the water and return to your team. Take the conveyor back to the previous floor, then use the other across from that one to go to the next floor above you.
Second Elevator
As soon as you get off of it, some enemies will be there, so crack their skulls. Once you have, climb the boxes off to the side to find an ![]() Empowerment Materia. Follow the trail to another inactive elevator, which means Yuffie will have to go on her own to get it working again. There will be a green light switch on a nearby wall you can hit with your shuriken, so do that to turn it red. This lowers a grapple point down to where you can latch onto it. When you do, it will begin moving upward, allowing you to do some more grappling.
Empowerment Materia. Follow the trail to another inactive elevator, which means Yuffie will have to go on her own to get it working again. There will be a green light switch on a nearby wall you can hit with your shuriken, so do that to turn it red. This lowers a grapple point down to where you can latch onto it. When you do, it will begin moving upward, allowing you to do some more grappling.


(1 of 4) Look on these boxes to find an Empowerment Materia.
Upon jumping off to the next ledge, there’s another switch to it and some more grappling to do. When you reach the point that moves, you can break the boxes here to get some items while you arrive at your next destination. At the end, swing to the last beam and move it slowly until you can hit the switch with Yuffie. A beam will lower, so get on it and let it rise to a point where you can jump off to a higher ledge. A ![]() Bomb will be waiting for you inside, so you’ll have to defeat it first before you can call the elevator.
Bomb will be waiting for you inside, so you’ll have to defeat it first before you can call the elevator.
When the party is back together, heal up on the bench, buy the discounted items, and then go through the red door to the side to arrive at the next boss, the ![]() Gigatrice!
Gigatrice!
No Comments