
During Chapter 7 of Final Fantasy VII Rebirth, you will be tasked with climbing Mt. Corel to continue chasing after the robed men and Sephiroth. This will be right after enjoying a little rest and relaxation in Costa del Sol, where you first get to explore the Northern Corel area. This page will guide you through Mt. Corel, helping you find all of the treasures on it.
The party will split up into two groups while you’re traversing Mt. Corel.
Exploring Mt. Corel
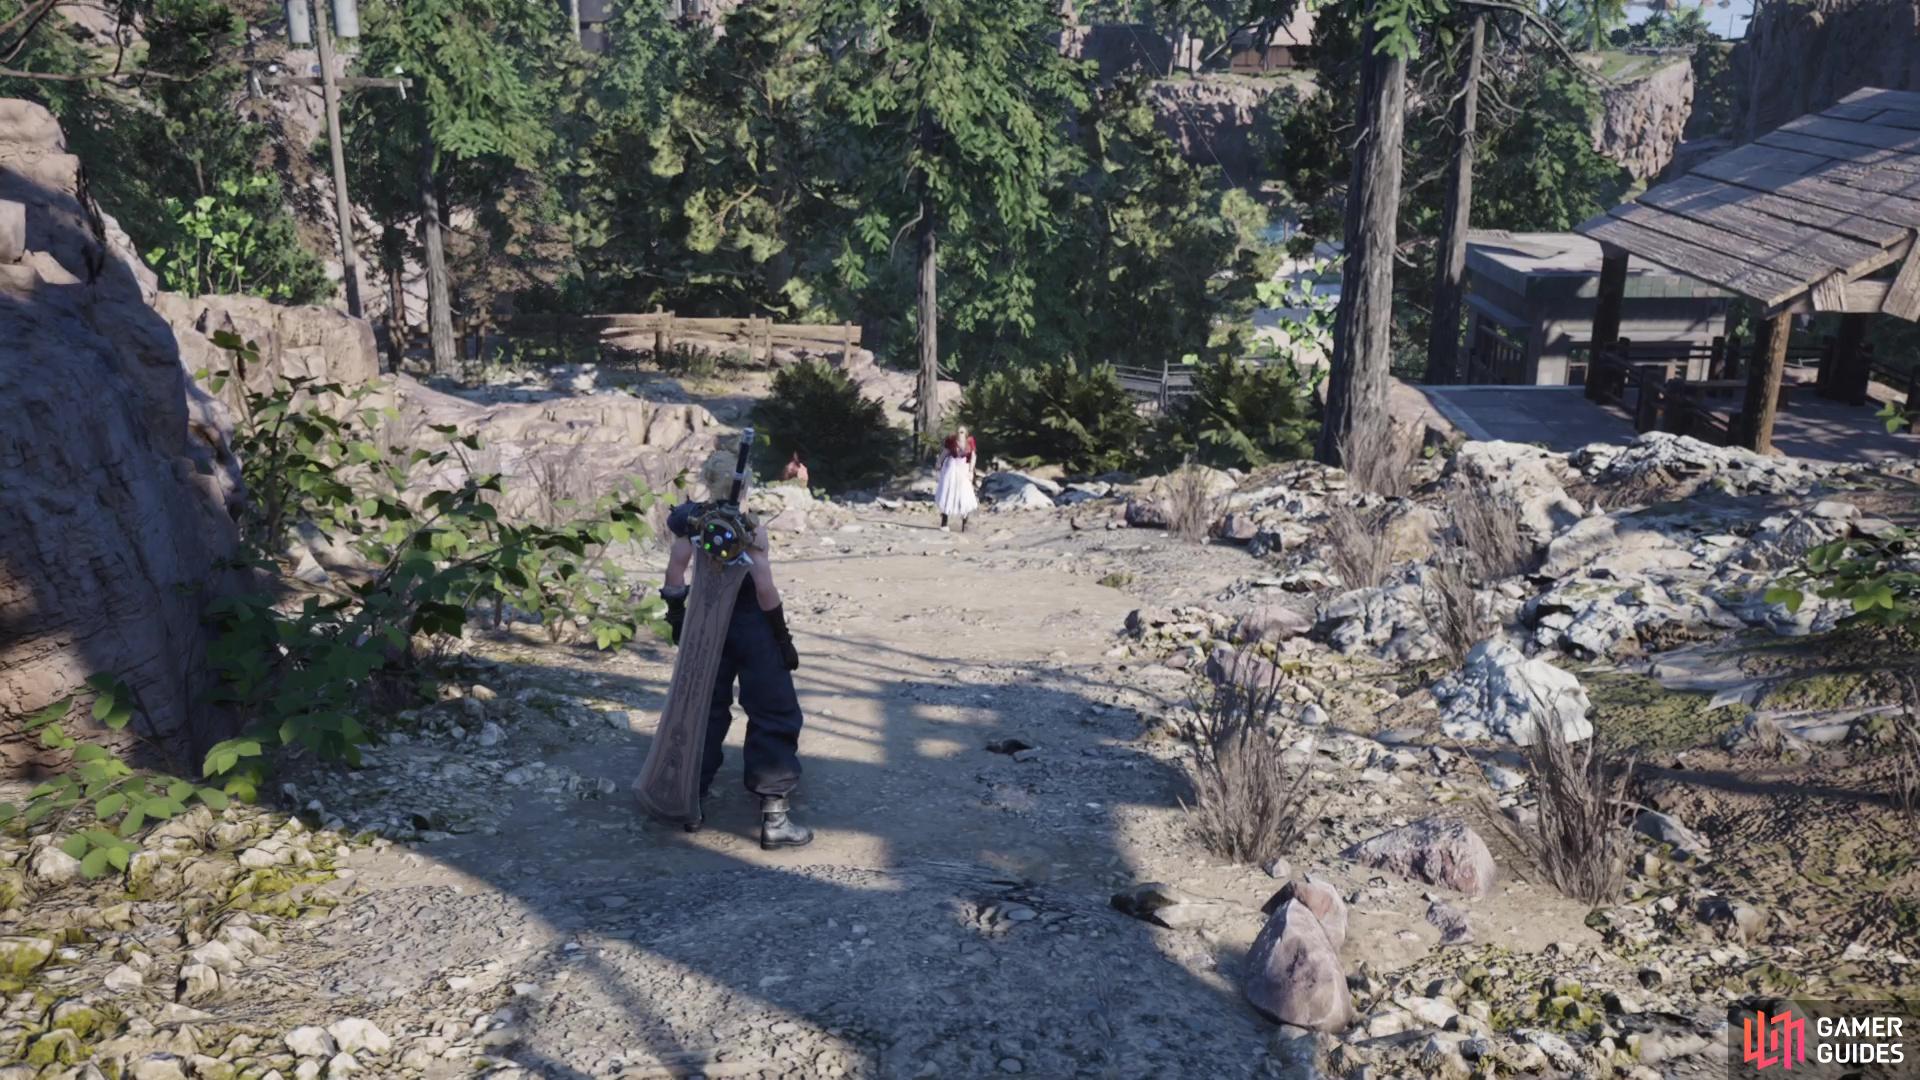
Upon stepping foot on Mt. Corel, your party will see the lift is out of order, so they decide to make the trek on foot. So, just follow the trail (there’s really nothing off to the sides) until you reach a rest stop and vending machine. It is here that the party will split up, with Yuffie, Barret, and Tifa going off together, leaving you with Cloud, ![]() Red XIII, and Aerith. Once you regain control, feel free to use the vending machine and bench to get ready for your ascent.
Red XIII, and Aerith. Once you regain control, feel free to use the vending machine and bench to get ready for your ascent.
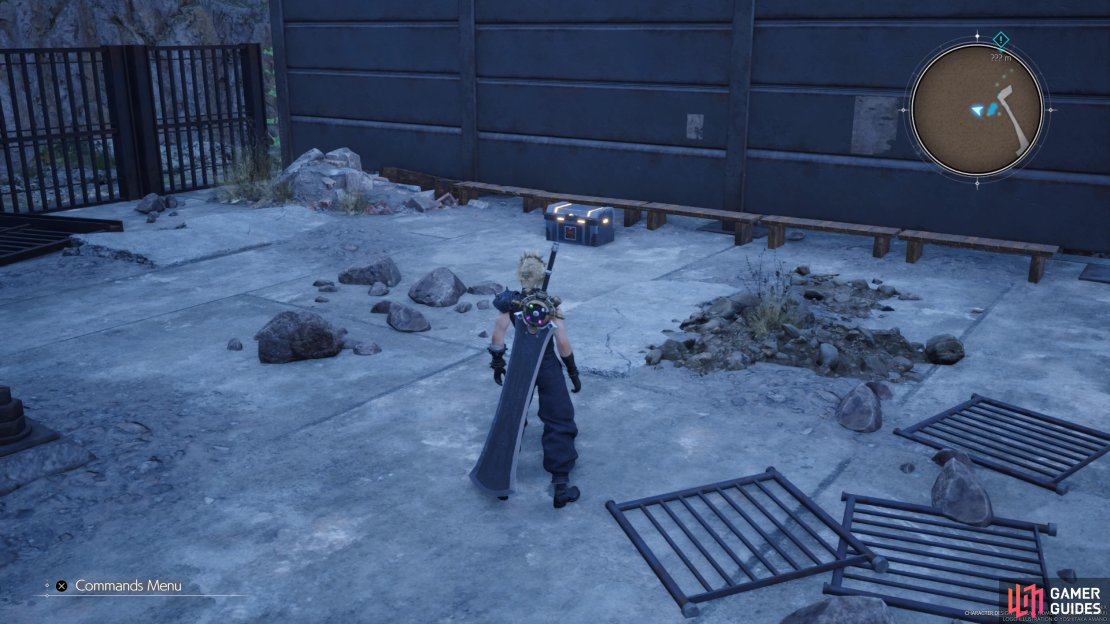
While facing the bench, look to the left of it to spy a little alcove. Go there to find a purple chest, which contains a new weapon, the ![]() Wizard’s Rod, for Aerith. There is also some wood you can climb on next to that chest, which will let you grab an
Wizard’s Rod, for Aerith. There is also some wood you can climb on next to that chest, which will let you grab an ![]() Enervation Materia that is slightly hidden. Continue climbing up the mountain, until you reach some stairs, where you’ll find some
Enervation Materia that is slightly hidden. Continue climbing up the mountain, until you reach some stairs, where you’ll find some ![]() Sandhog Pies to fight (they are weak to ice). The path will split a little bit here, but going straight south will just bring you to a dead end.
Sandhog Pies to fight (they are weak to ice). The path will split a little bit here, but going straight south will just bring you to a dead end.
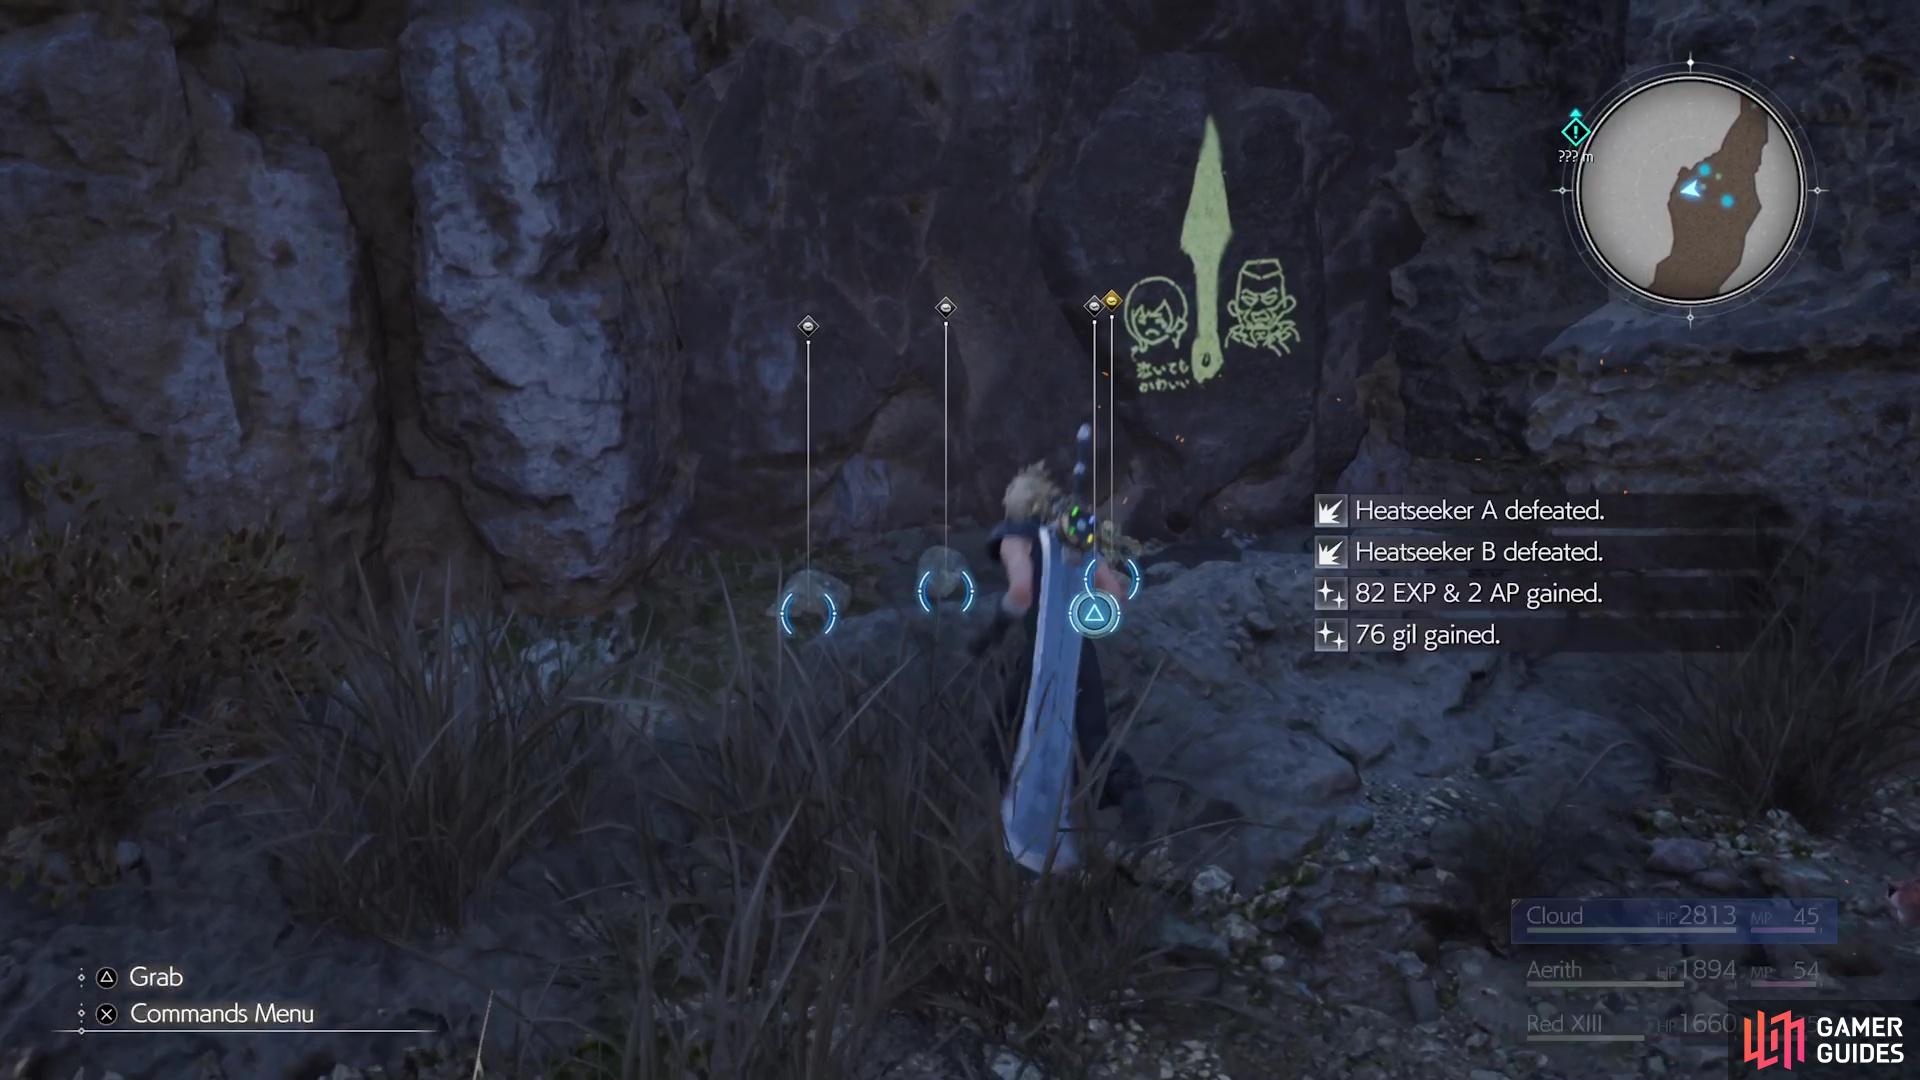
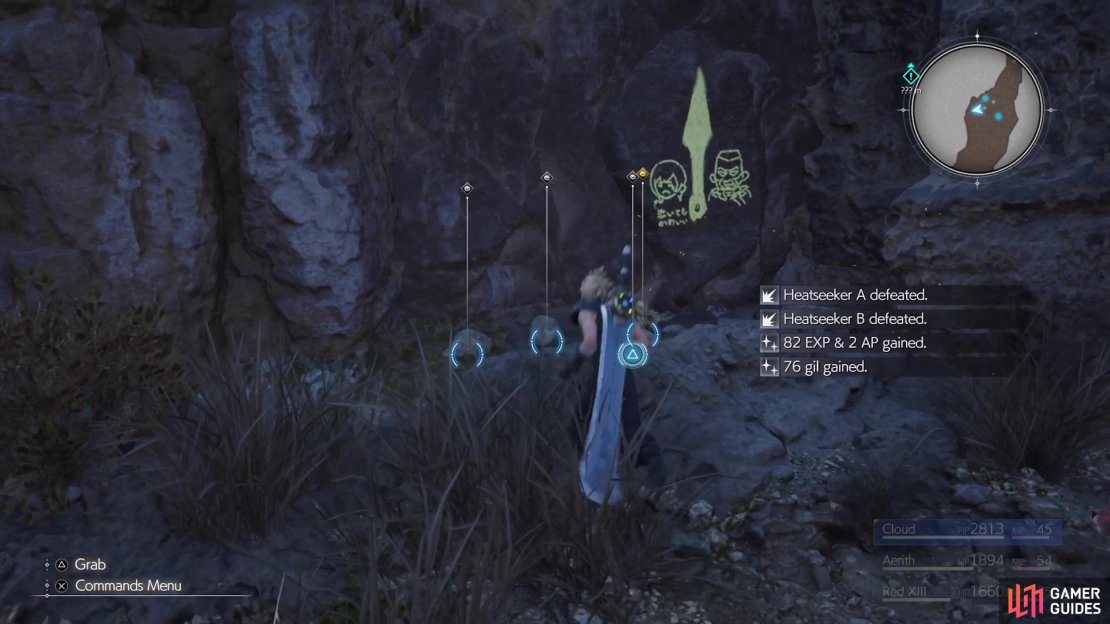

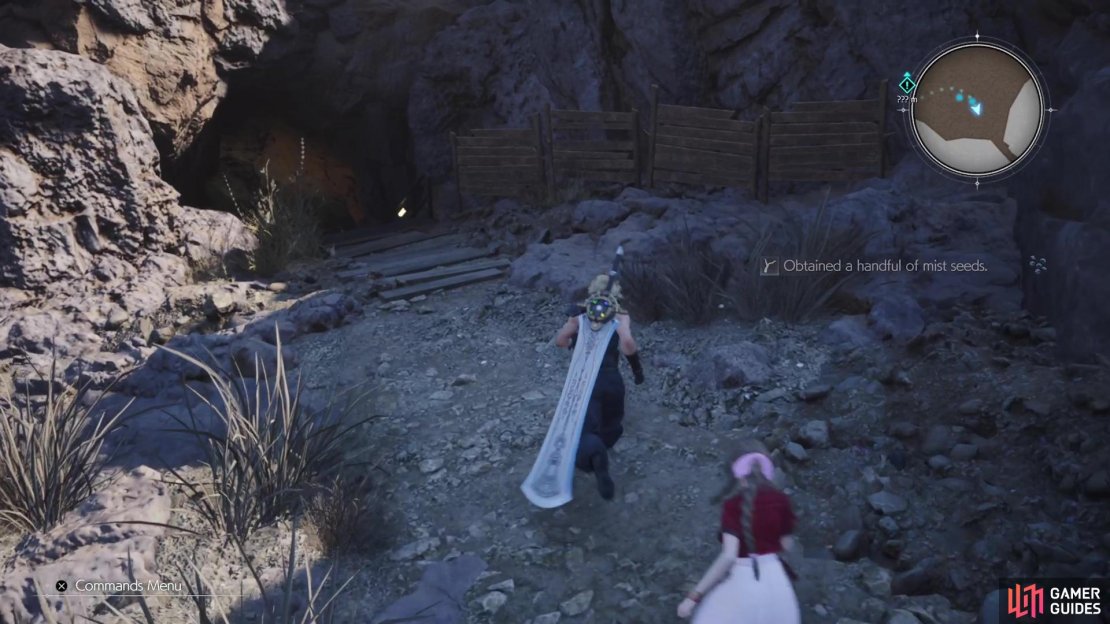
(1 of 4) There are various markings drawn by Yuffie that will guide you along the way.
There are some new enemies to the south, though, so if you want to go fight the ![]() Heatseekers, then go ahead and do that. While the path itself is a dead end, there are some footholds by the Heatseekers that allow you to get to the higher elevation. Climb up here, then go south until you see more stairs, which will lead to a broken-down Corel Ropeway station. Go on the main platform here to find a chest, which will contain a
Heatseekers, then go ahead and do that. While the path itself is a dead end, there are some footholds by the Heatseekers that allow you to get to the higher elevation. Climb up here, then go south until you see more stairs, which will lead to a broken-down Corel Ropeway station. Go on the main platform here to find a chest, which will contain a ![]() Ruby.
Ruby.
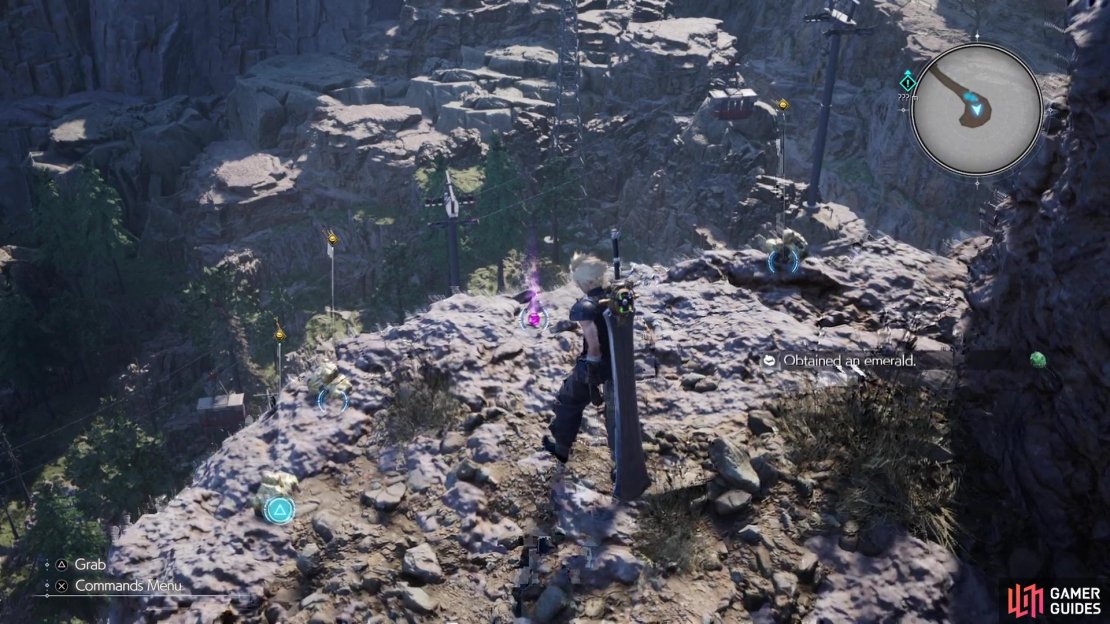
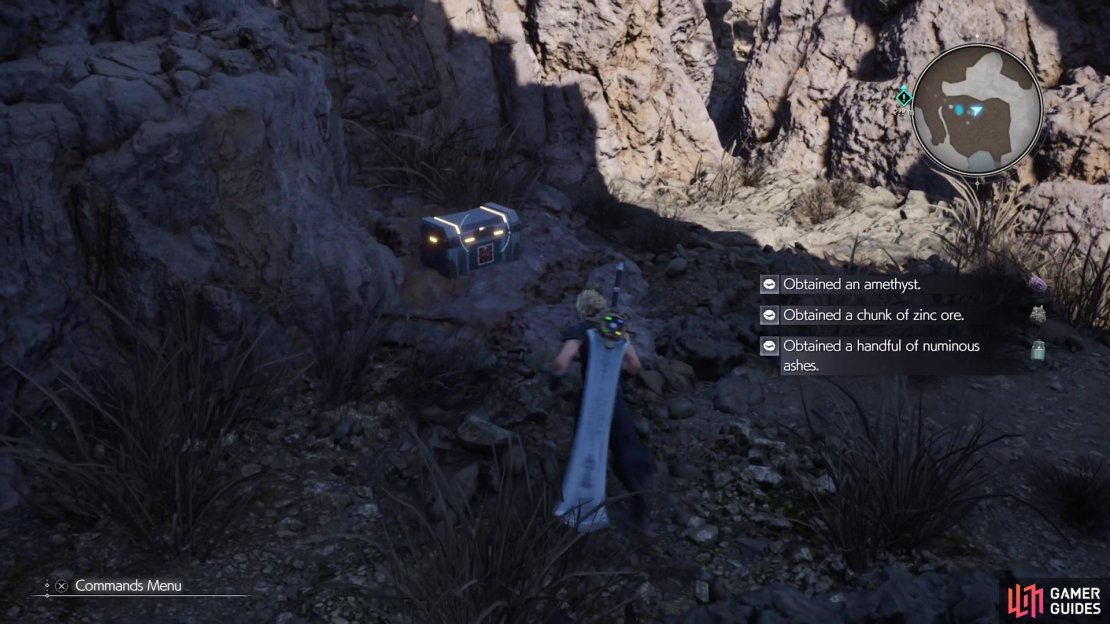
Look on the far northern end of this large area to find the path to the next section, which will have a few more hidden treasures for you. In the southeastern corner of this new area, you should find a little tunnel, which leads to a small outcrop that has a ![]() MP Up Materia near the edge. As you head to the western side, right before the path leads south, there is a little alcove that is housing a chest with three handfuls of
MP Up Materia near the edge. As you head to the western side, right before the path leads south, there is a little alcove that is housing a chest with three handfuls of ![]() Gold Dust. Continue south now and when you encounter more Heatseekers, look for the nearby wall you can climb.
Gold Dust. Continue south now and when you encounter more Heatseekers, look for the nearby wall you can climb.
There is more to the south, but there’s nothing there and the wall you can climb further south just brings you to the same section. You’ll start running into some ![]() Spearhawks and
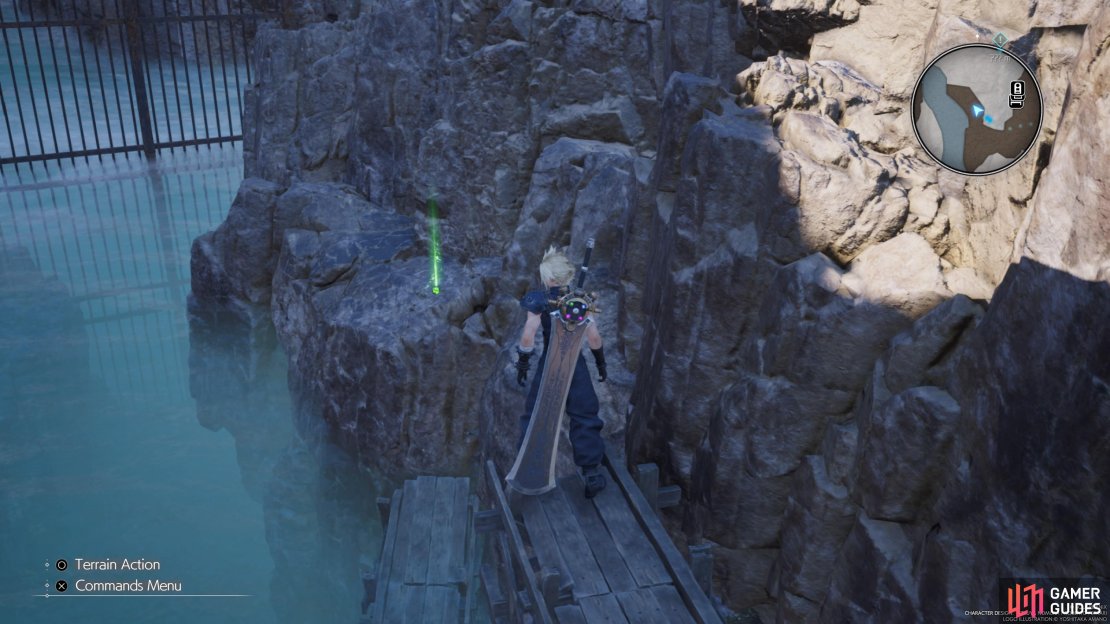
Spearhawks and ![]() Bloatfloats now, but they aren’t particularly dangerous enemies, so Assess them to find out how to quickly take them down. When you reach the large set of stairs next to some water, don’t go up the stairs, as pointed out by Yuffie’s sign. Cross the water and on the other side will be a chest, which contains a
Bloatfloats now, but they aren’t particularly dangerous enemies, so Assess them to find out how to quickly take them down. When you reach the large set of stairs next to some water, don’t go up the stairs, as pointed out by Yuffie’s sign. Cross the water and on the other side will be a chest, which contains a ![]() Mythril Ore.
Mythril Ore.

(1 of 4) Look for this tunnel in the second large area.
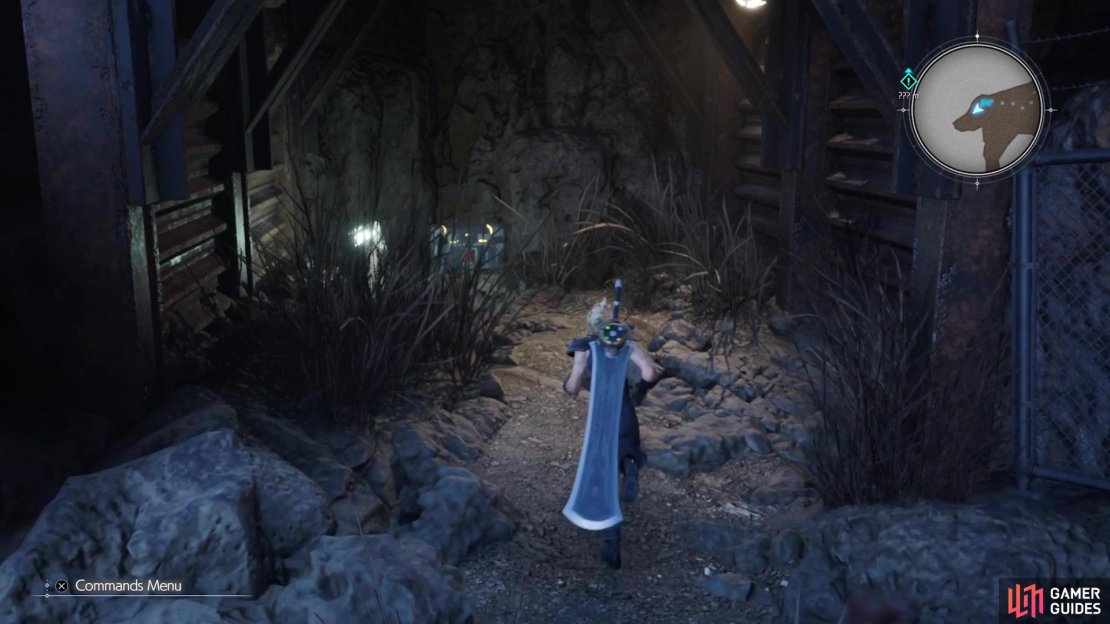
Climb the nearby ladder and continue north, knowing that nothing else can be found here. When you see the ![]() Bagnadranas to the north, look for the U-turn that will take you back south. This is a linear path that will take you to another climbable wall, then a rest spot and vending machine. Of course, you know this means that a boss is approaching, so rest up and do any shopping, then be prepared for the Custom Valkyrie!!
Bagnadranas to the north, look for the U-turn that will take you back south. This is a linear path that will take you to another climbable wall, then a rest spot and vending machine. Of course, you know this means that a boss is approaching, so rest up and do any shopping, then be prepared for the Custom Valkyrie!!
No Comments