
One of the major sidequests in Final Fantasy VII Rebirth involves something called the Protorelic. Each of the major regions in the game will have this as part of the optional content, with the ![]() Grasslands being the first. As you explore the Grasslands, you will eventually get a message about a mysterious reading, so Chadley asks you to investigate. This will lead to a returning appearance from Remake, as well as various battles across the region.
Grasslands being the first. As you explore the Grasslands, you will eventually get a message about a mysterious reading, so Chadley asks you to investigate. This will lead to a returning appearance from Remake, as well as various battles across the region.
Phenomenon Intel 1: Wild Bandit Chase
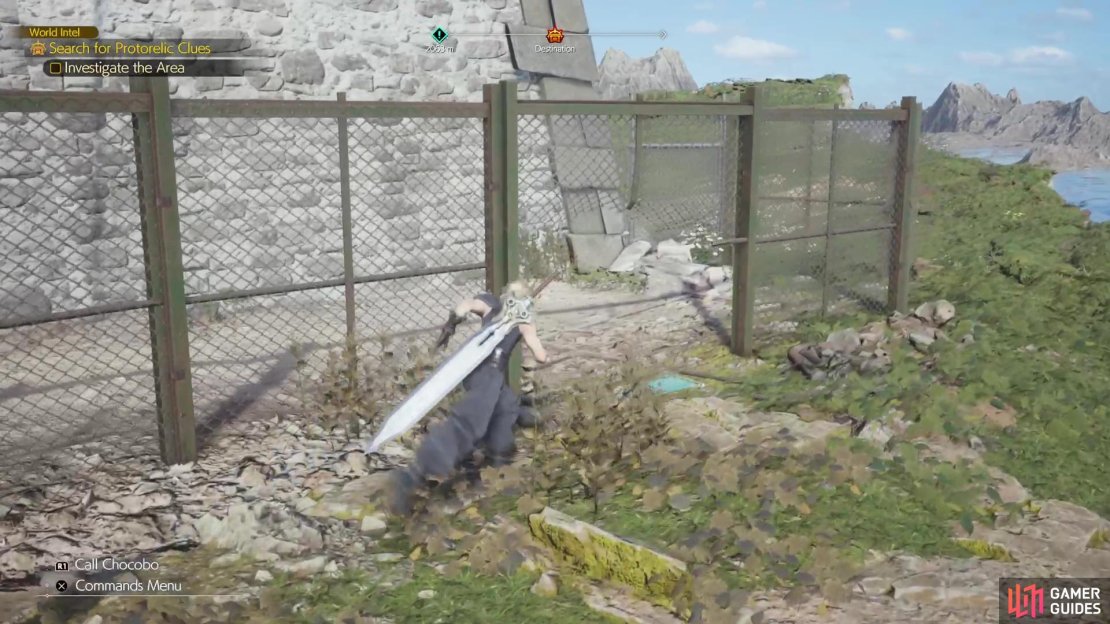
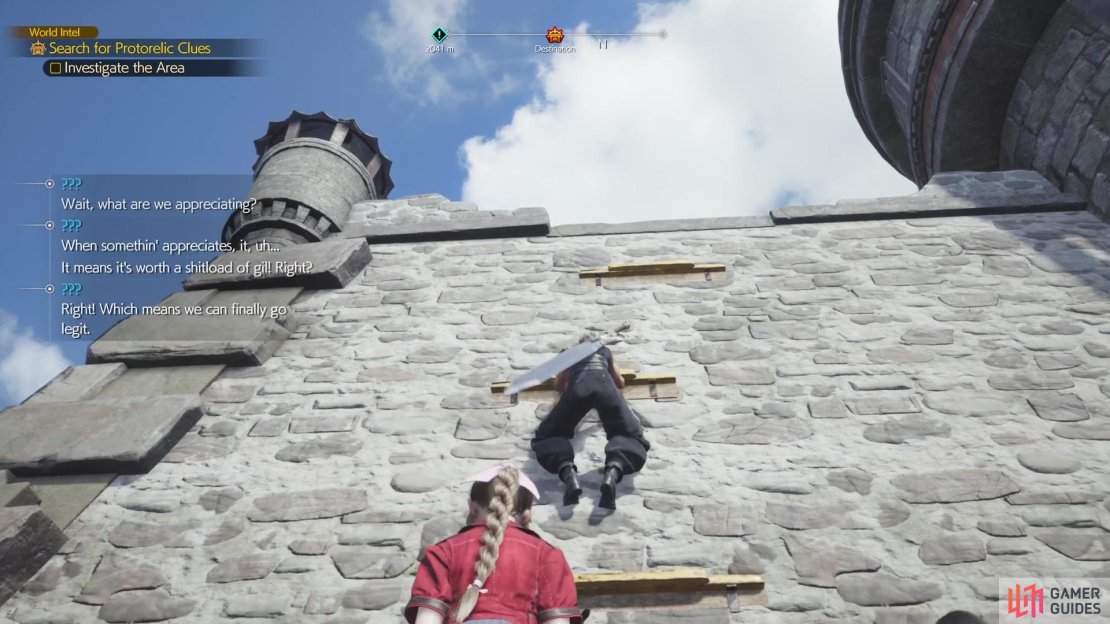
The first location you will be going to is located in the northeastern corner of the Grasslands. When you get there, you will find a lighthouse/tower, with a fence around it. You won’t be able to enter through the gate, as it’s locked, but if you go around the eastern side, you’ll find a hole in the fence that you can squeeze through. Once you do this, head to the front and off to the side of the main door, you should see some footholds. This will allow you to climb up to the main platform, where you’ll find ![]() Beck and his bandit crew.
Beck and his bandit crew.

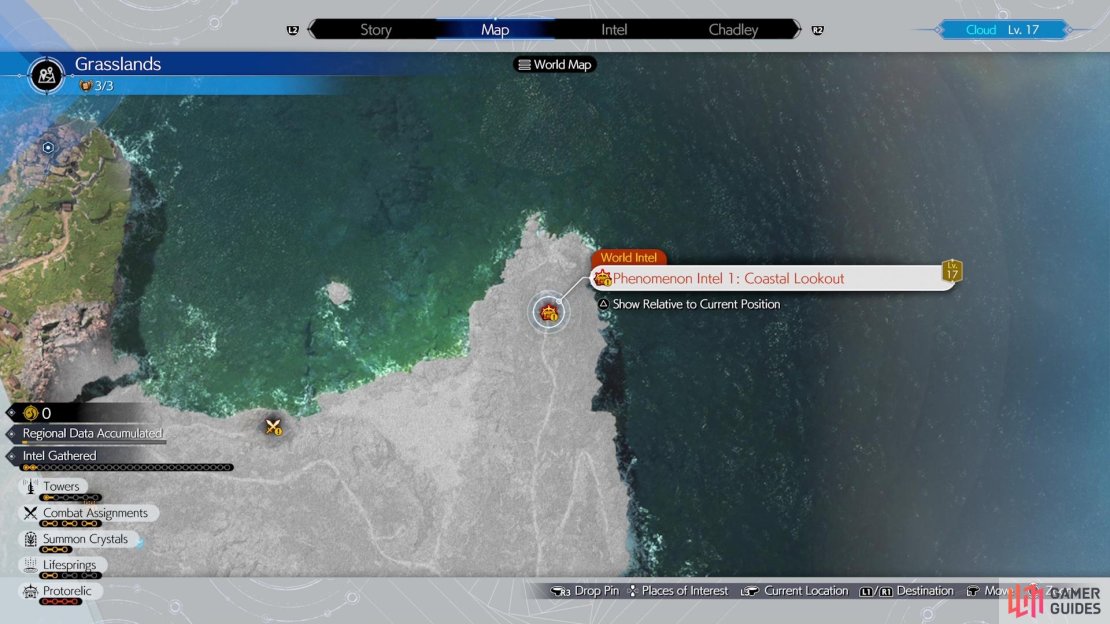
(1 of 4) The location of the first Protorelic part in the Grasslands.
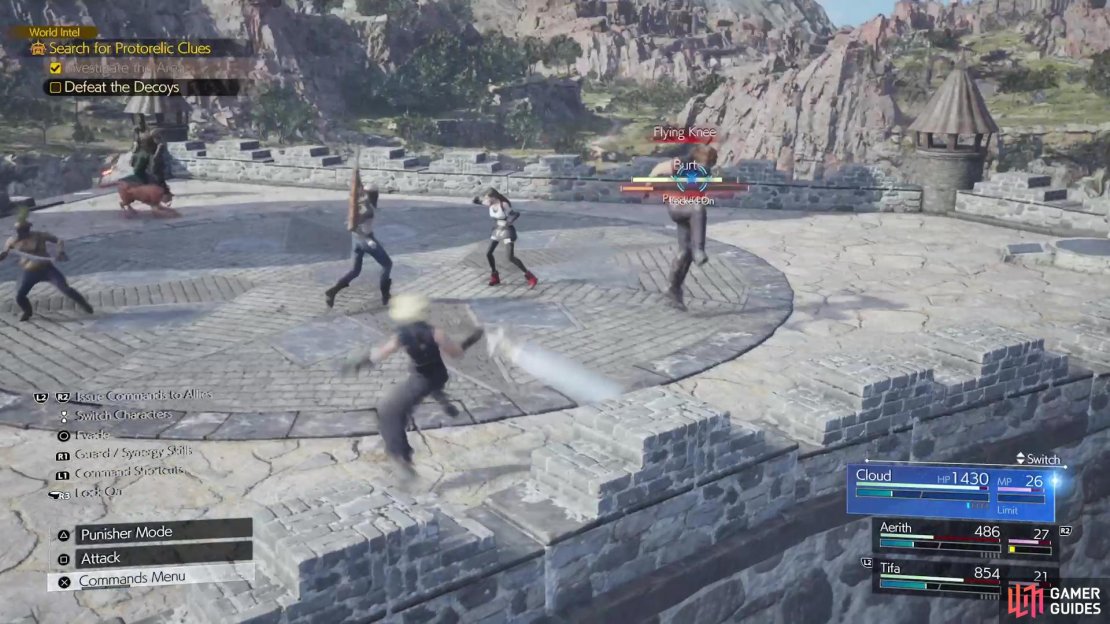
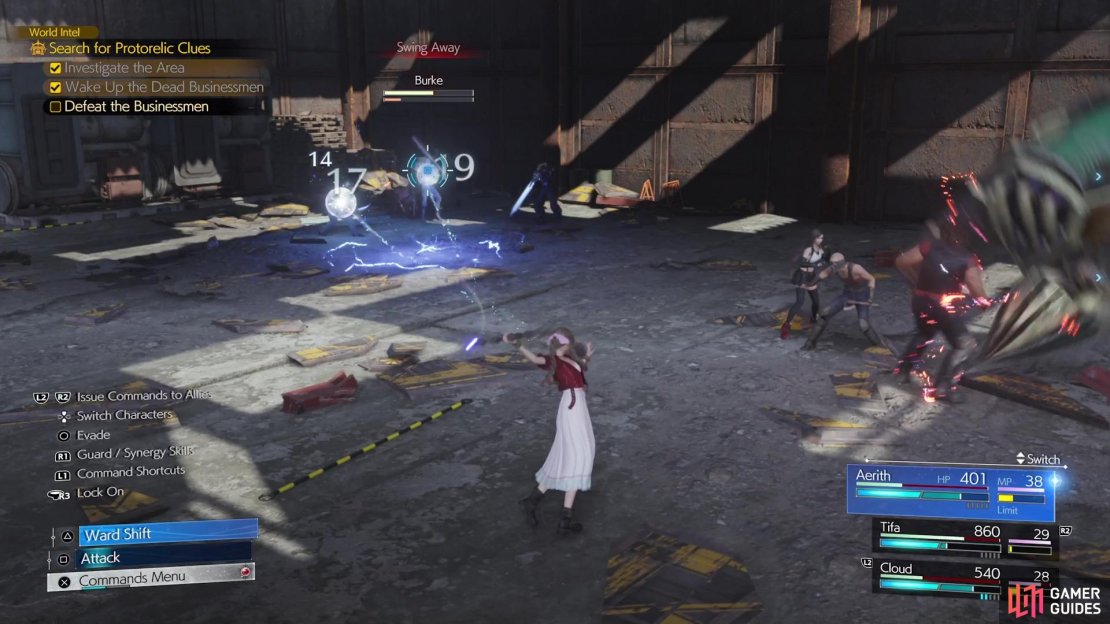
When your little conversation is over, you’ll end up in a fight against three of the Badasses. ![]() Burke and
Burke and ![]() Butch should be pushovers, so they offer little resistance.
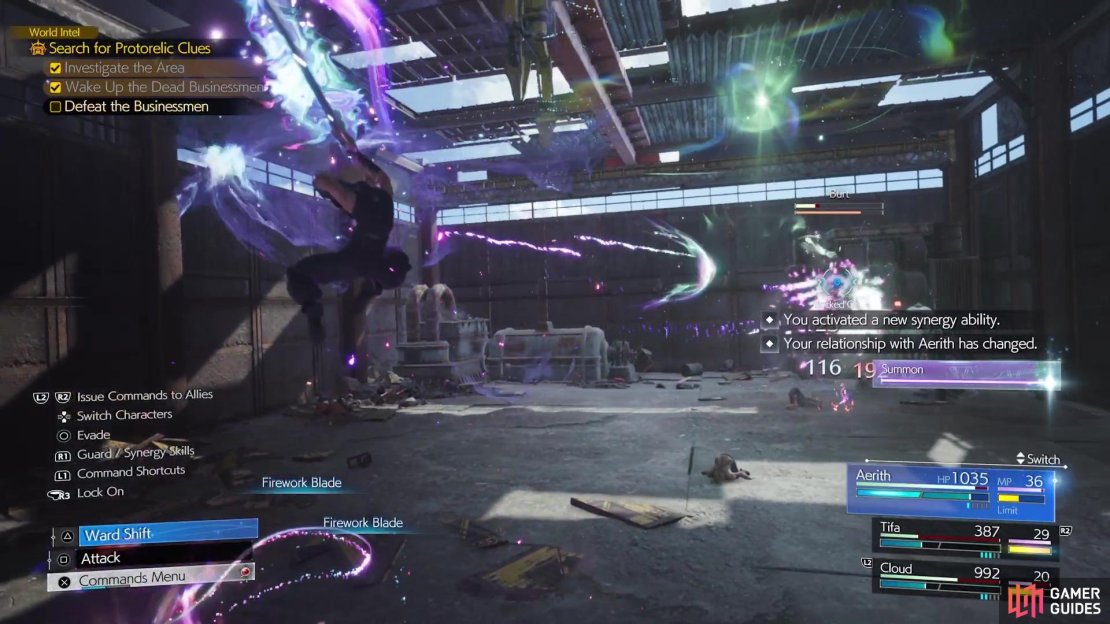
Butch should be pushovers, so they offer little resistance. ![]() Burt is a little beefier, though, and he has the Twister attack, which is unblockable. However, all three enemies here are weak to fire, so they shouldn’t be all too much trouble. Upon defeating the bandits, that will wrap up this part of the Protorelic here in the Grasslands, with you receiving intel on the next location.
Burt is a little beefier, though, and he has the Twister attack, which is unblockable. However, all three enemies here are weak to fire, so they shouldn’t be all too much trouble. Upon defeating the bandits, that will wrap up this part of the Protorelic here in the Grasslands, with you receiving intel on the next location.
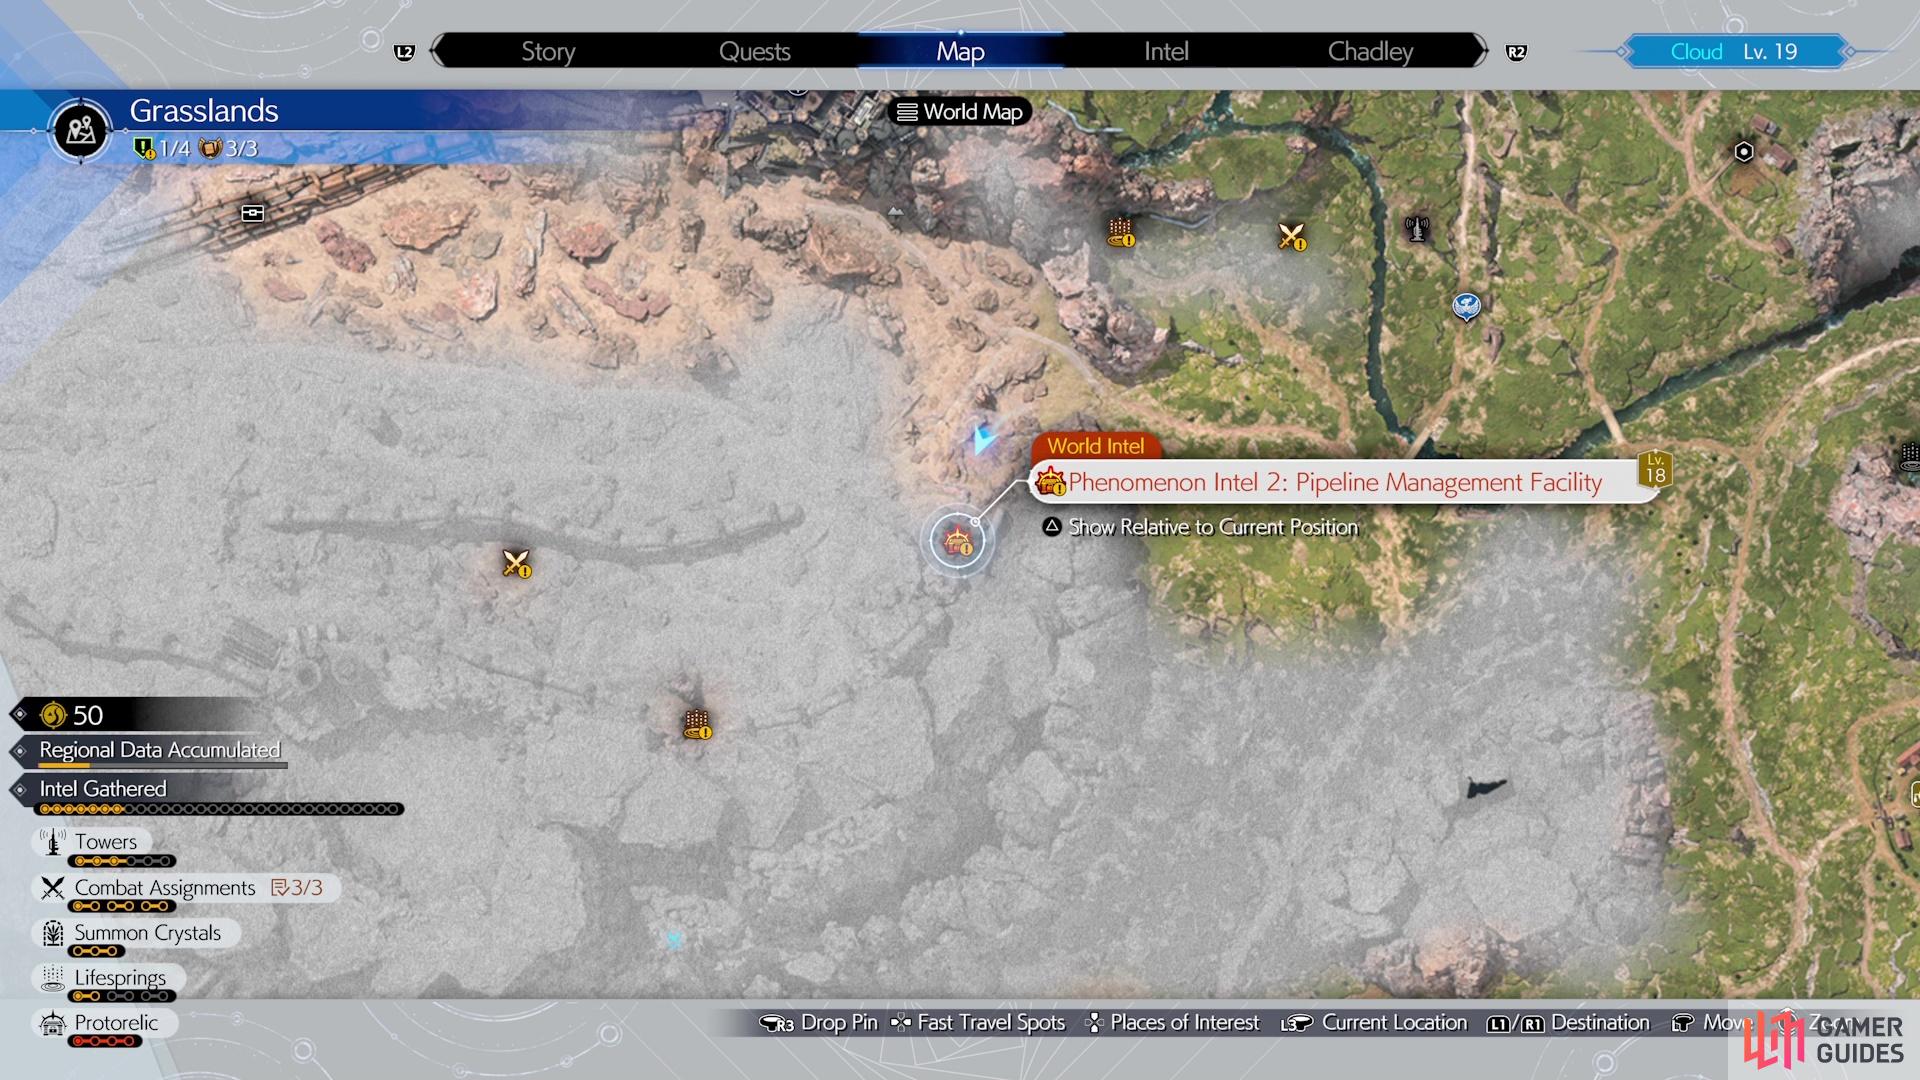
Phenomenon Intel 2: Pipeline Management Facility
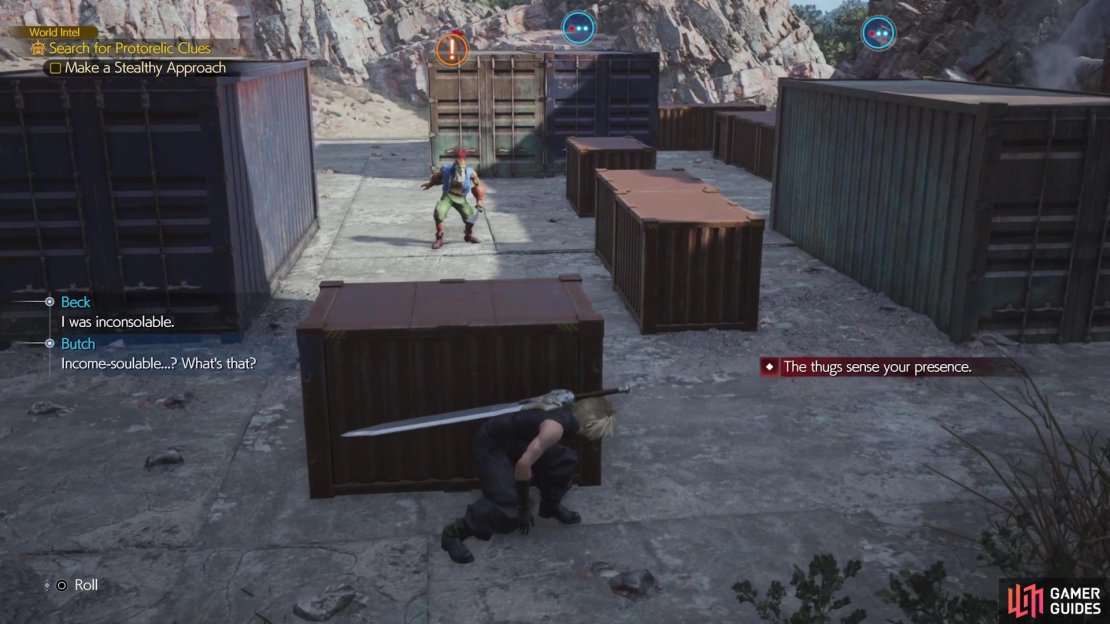
The second part of the Protorelic here will have you travelling to the western area of the Grasslands. It’s pretty much due south from ![]() Kalm, along the western side of the mountains dividing the two halves. When you approach the area with the bandits, you will be forced to do a little bit of stealth first. The game will point out where you need to go, which is the room right behind Beck and his pals. To start, while facing Beck, head off to the right and use the containers as cover. When the one guard in the middle has turned around, cut through the middle and stay behind cover.
Kalm, along the western side of the mountains dividing the two halves. When you approach the area with the bandits, you will be forced to do a little bit of stealth first. The game will point out where you need to go, which is the room right behind Beck and his pals. To start, while facing Beck, head off to the right and use the containers as cover. When the one guard in the middle has turned around, cut through the middle and stay behind cover.

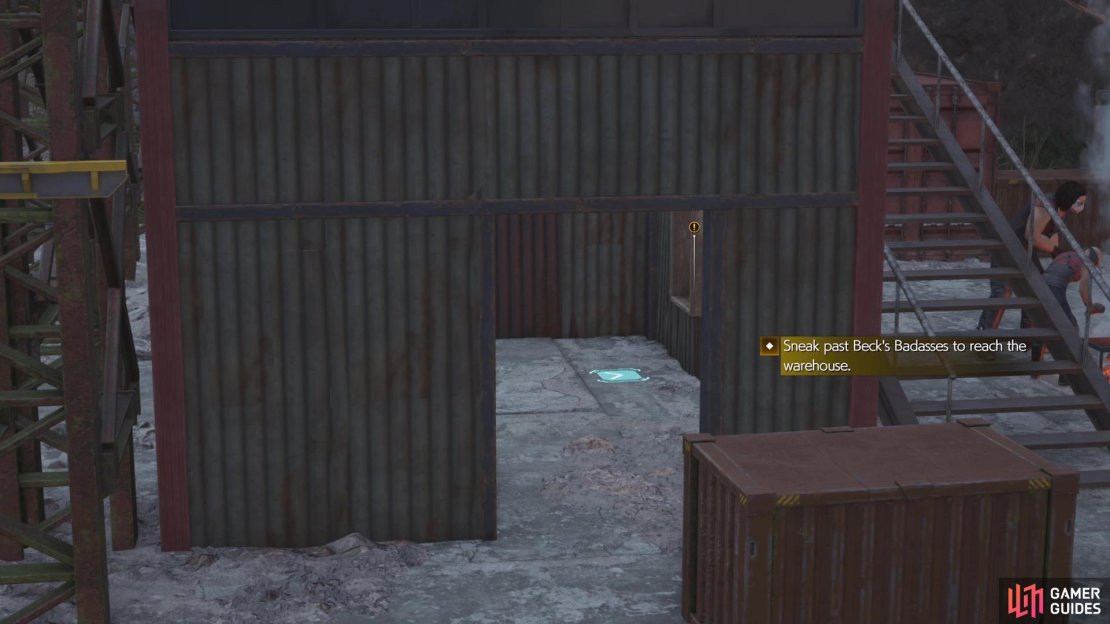

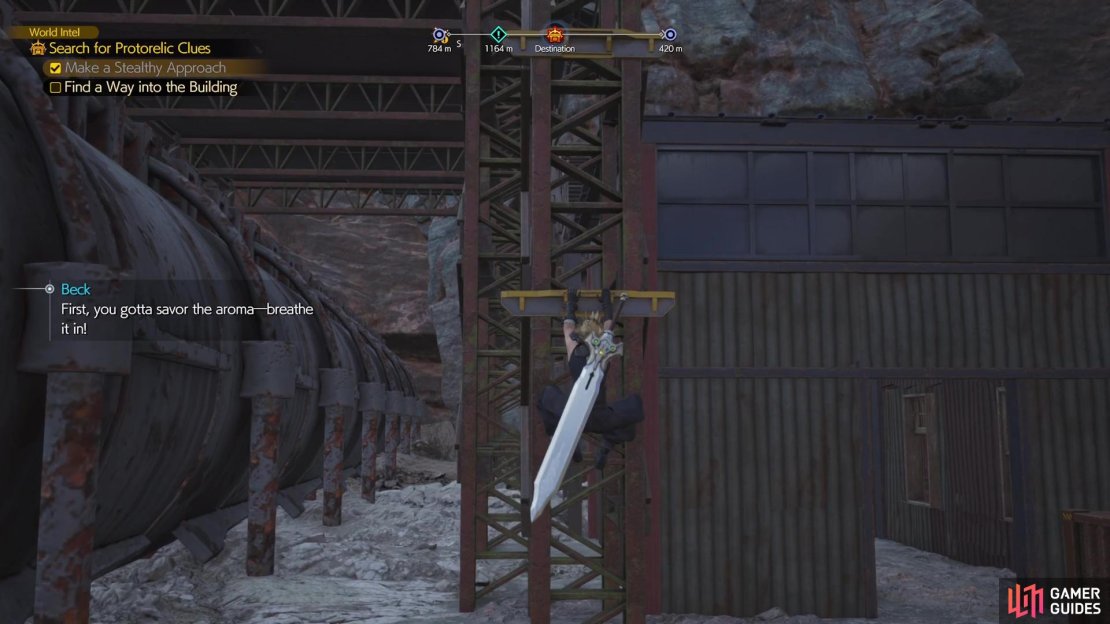
This should lead you right to the final stretch, where a big guy is right there. This is a little tricky to get by completely unnoticed, but you can roll to hopefully get past him quickly enough. Once you reach the room, approach the window for a quick scene that has the bandits moving inside. The traditional approach to the building is locked, but there’s a beam on the side you can climb to reach a side door, which is also locked. Thankfully, a ladder next to that side door provides access to the roof, where you can slide down and confront the bandits once more.
Another fight will ensue here, against Butch and a random Spearwing that decides to show up at the last second. The bandit is nothing special and neither is the bird, but it is weak to both fire and wind; do not use thunder attacks on it. Defeat them both to finish this section of the Protorelic and move onto the third.
Phenomenon Intel 3: Abandoned Republic Factory
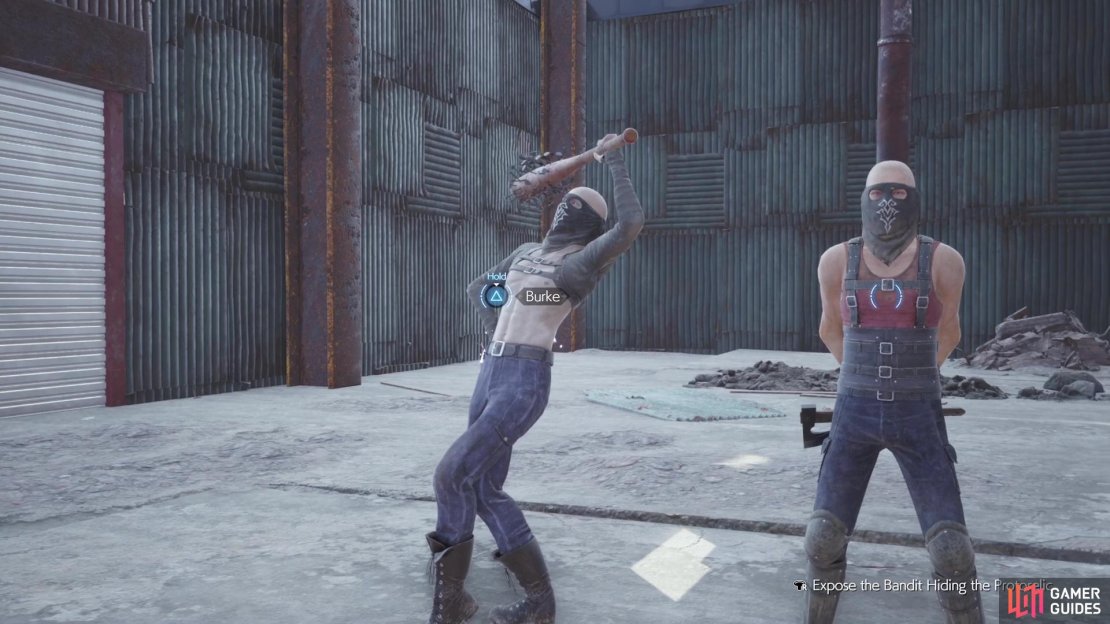
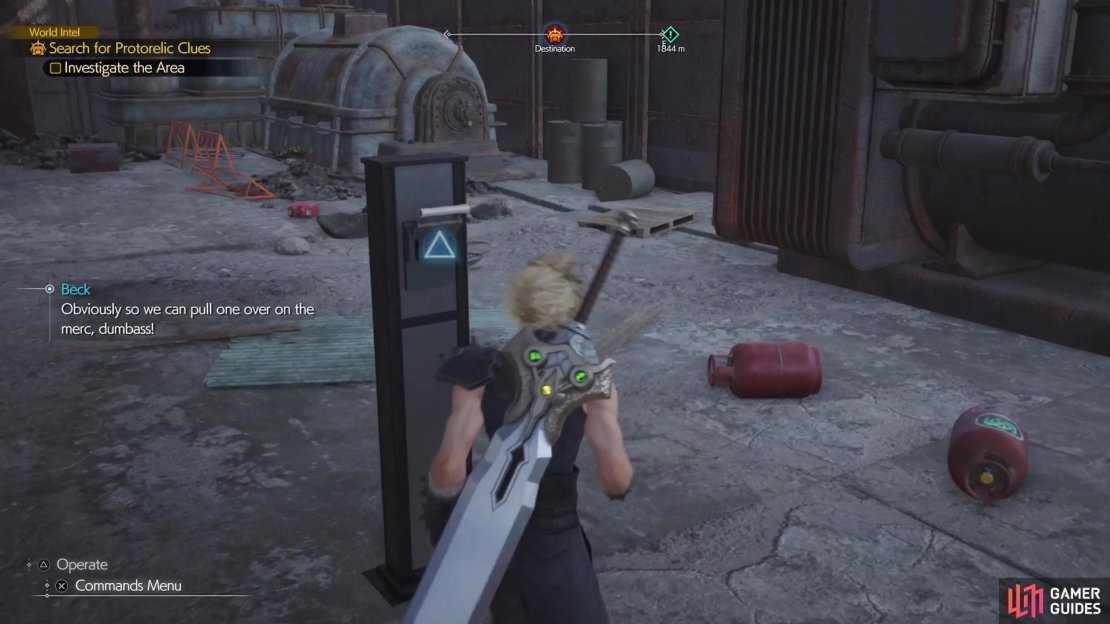
For the third stage of the Protorelic, you will still be in the western portion of the Grasslands. This time, you will be heading a little west of Kalm, right by where you go under the freeway to get to the upper northwestern corner. There will be a big building here and when you get close, you should hear the bandits. Go around to the side of the building to find the entrance, which will trigger a short scene. You’ll have to guess who is holding the Protorelic here, but it’s simple as there is a slight glow emanating from behind Burke’s back.
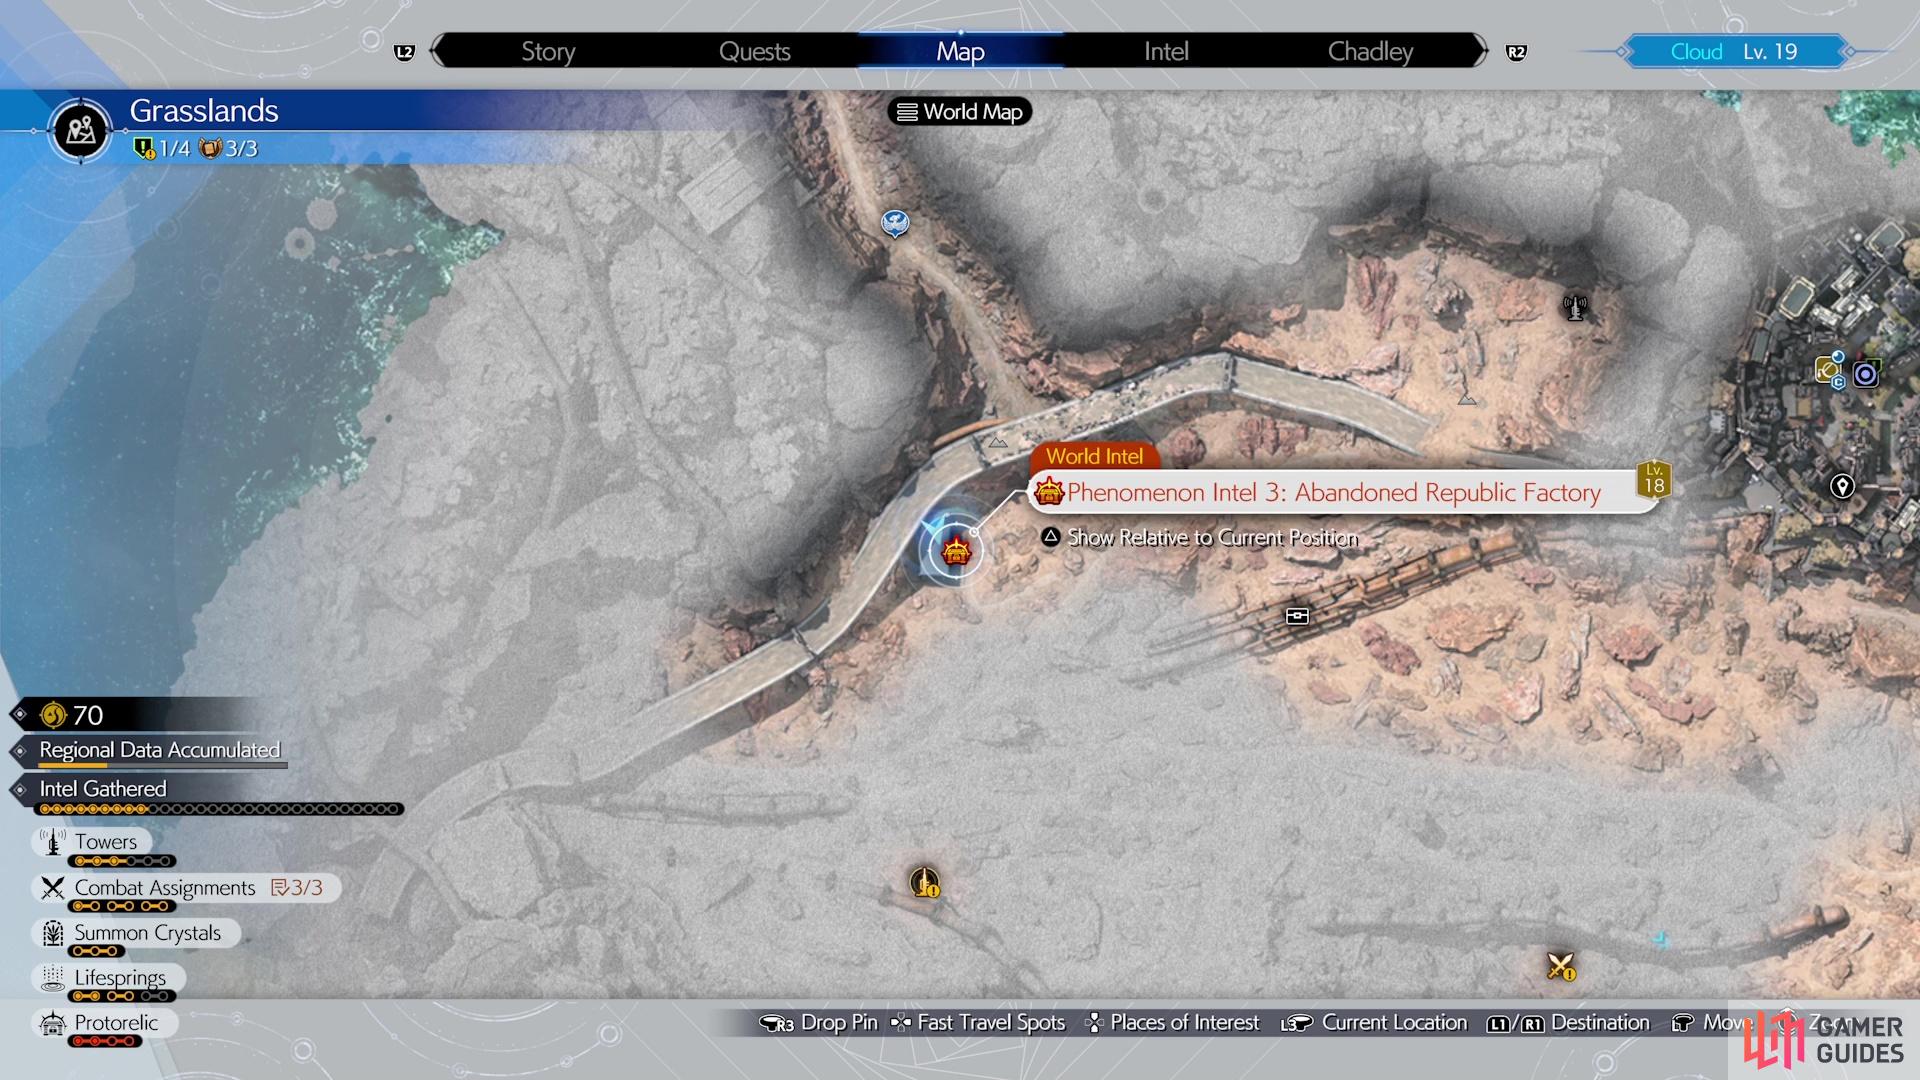

(1 of 4) The location of the third part of the Grasslands Protorelic.
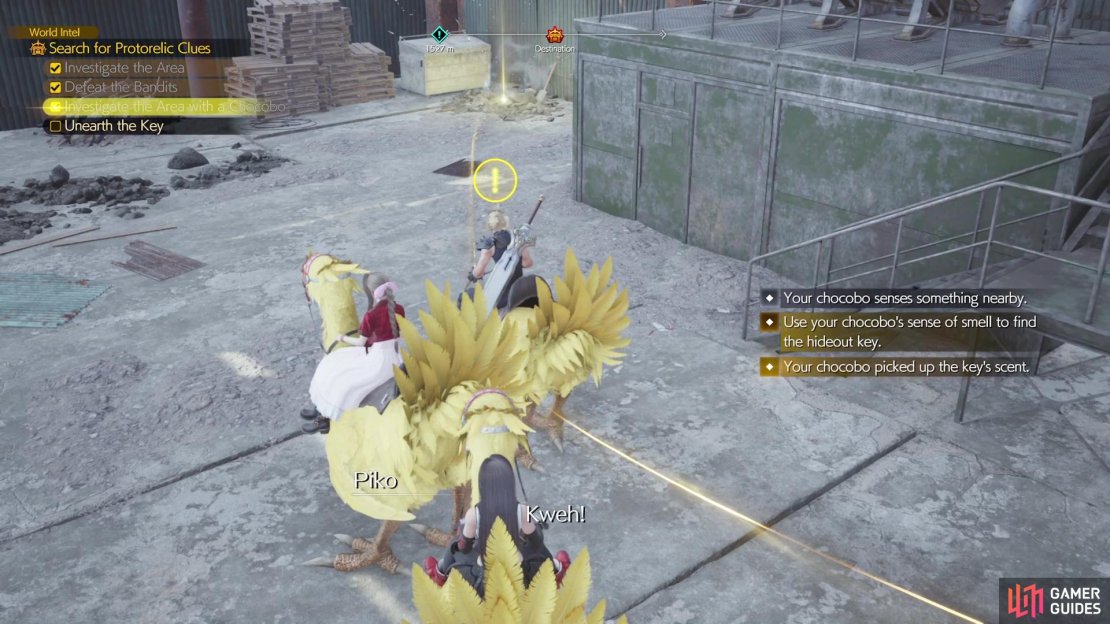
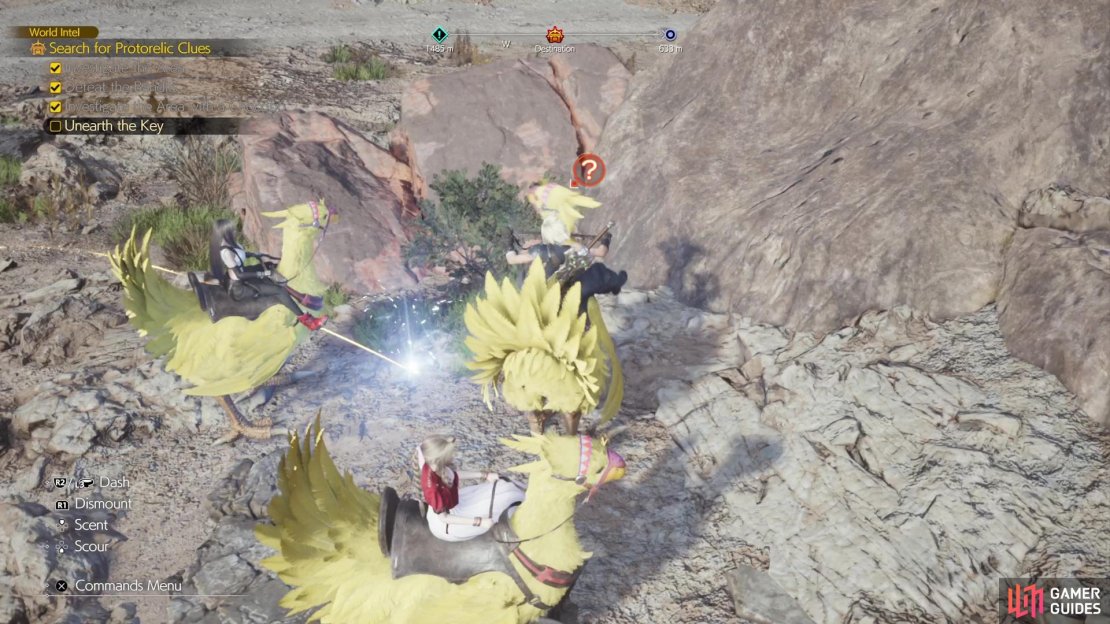
Upon guessing where the item is, the bandits will concoct another plan and run away. Of course, you’ll be left with some generic bandits to fight, but none of them should really give you any trouble at this point (all weak to fire). After the battle is over, you’ll have to unearth the key they hid, which will require the use of your Chocobo. Call it and then start sniffing around the inside the building to get a scent. The trail isn’t too long and you’ll find the ![]() Key to Beck’s Badasses’ Hideout fairly close to the building. It’s time to move onto the fourth, and final, stage of the first Protorelic.
Key to Beck’s Badasses’ Hideout fairly close to the building. It’s time to move onto the fourth, and final, stage of the first Protorelic.
Phenomenon Intel 4: The Hideout
To get to the fourth intel, you’ll need to journey over to the Air-Raid Shelter fast travel point by Kalm. There will be a nearby gate that was locked earlier, which you can now open that leads right to the hideout. Go inside to see the bandits on the ground, along with a large box hanging above them. Near the entrance, there is a switch you can activate, which will drop the box on the bandits, waking them up from their fake slumber. You have the option to negotiate with Beck here, but ultimately, it will lead to a fight.
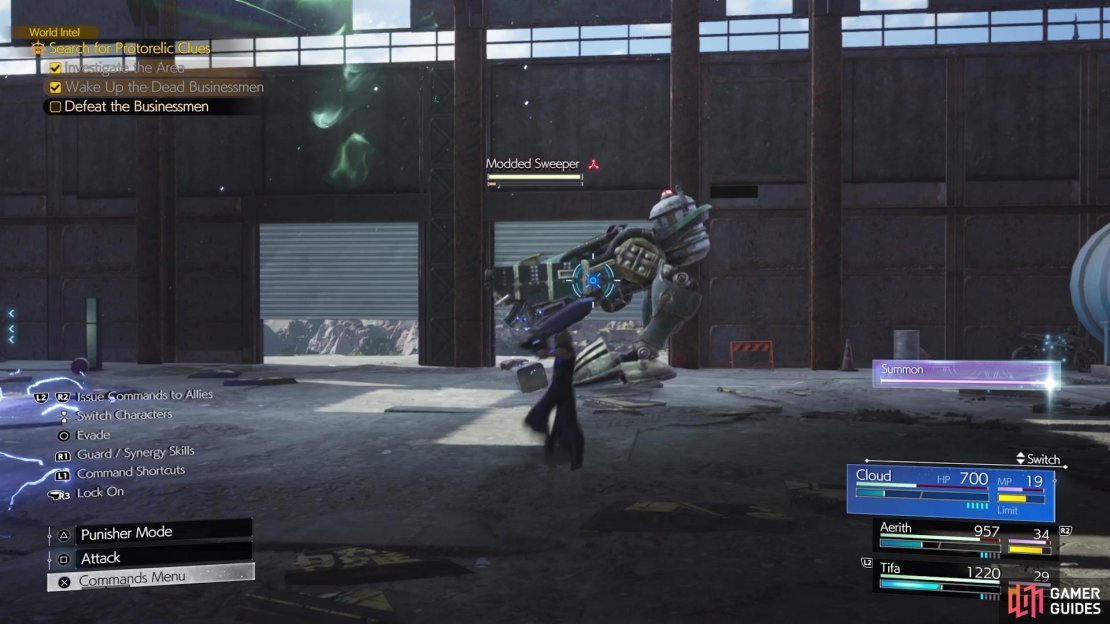
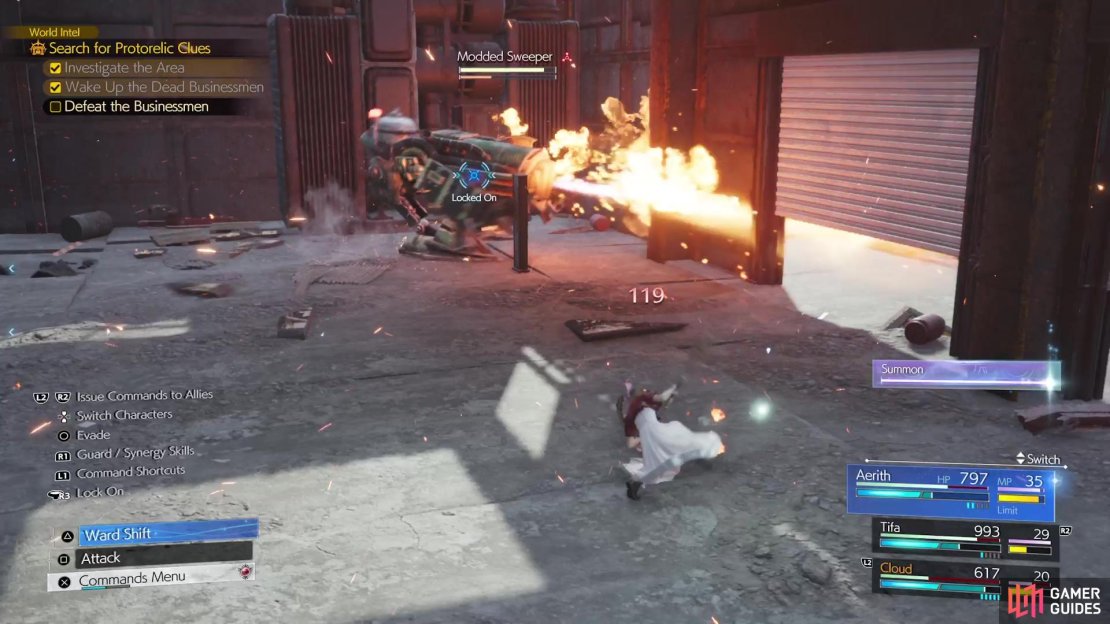
This is definitely the toughest battle of the Protorelic in the Grasslands, since you are up against not only the four bandits, but also a ![]() Modded Sweeper. The arena is also quite small here for you facing five enemies. It might be a good idea to go after the bandits first, since they don’t have as much health as the Sweeper. Of course, all of the bandits are weak to fire, while the Modded Sweeper will be weak to lightning. You can aim for the arms of the Sweeper, which can disable some of its attacks for a short while, if needed.
Modded Sweeper. The arena is also quite small here for you facing five enemies. It might be a good idea to go after the bandits first, since they don’t have as much health as the Sweeper. Of course, all of the bandits are weak to fire, while the Modded Sweeper will be weak to lightning. You can aim for the arms of the Sweeper, which can disable some of its attacks for a short while, if needed.
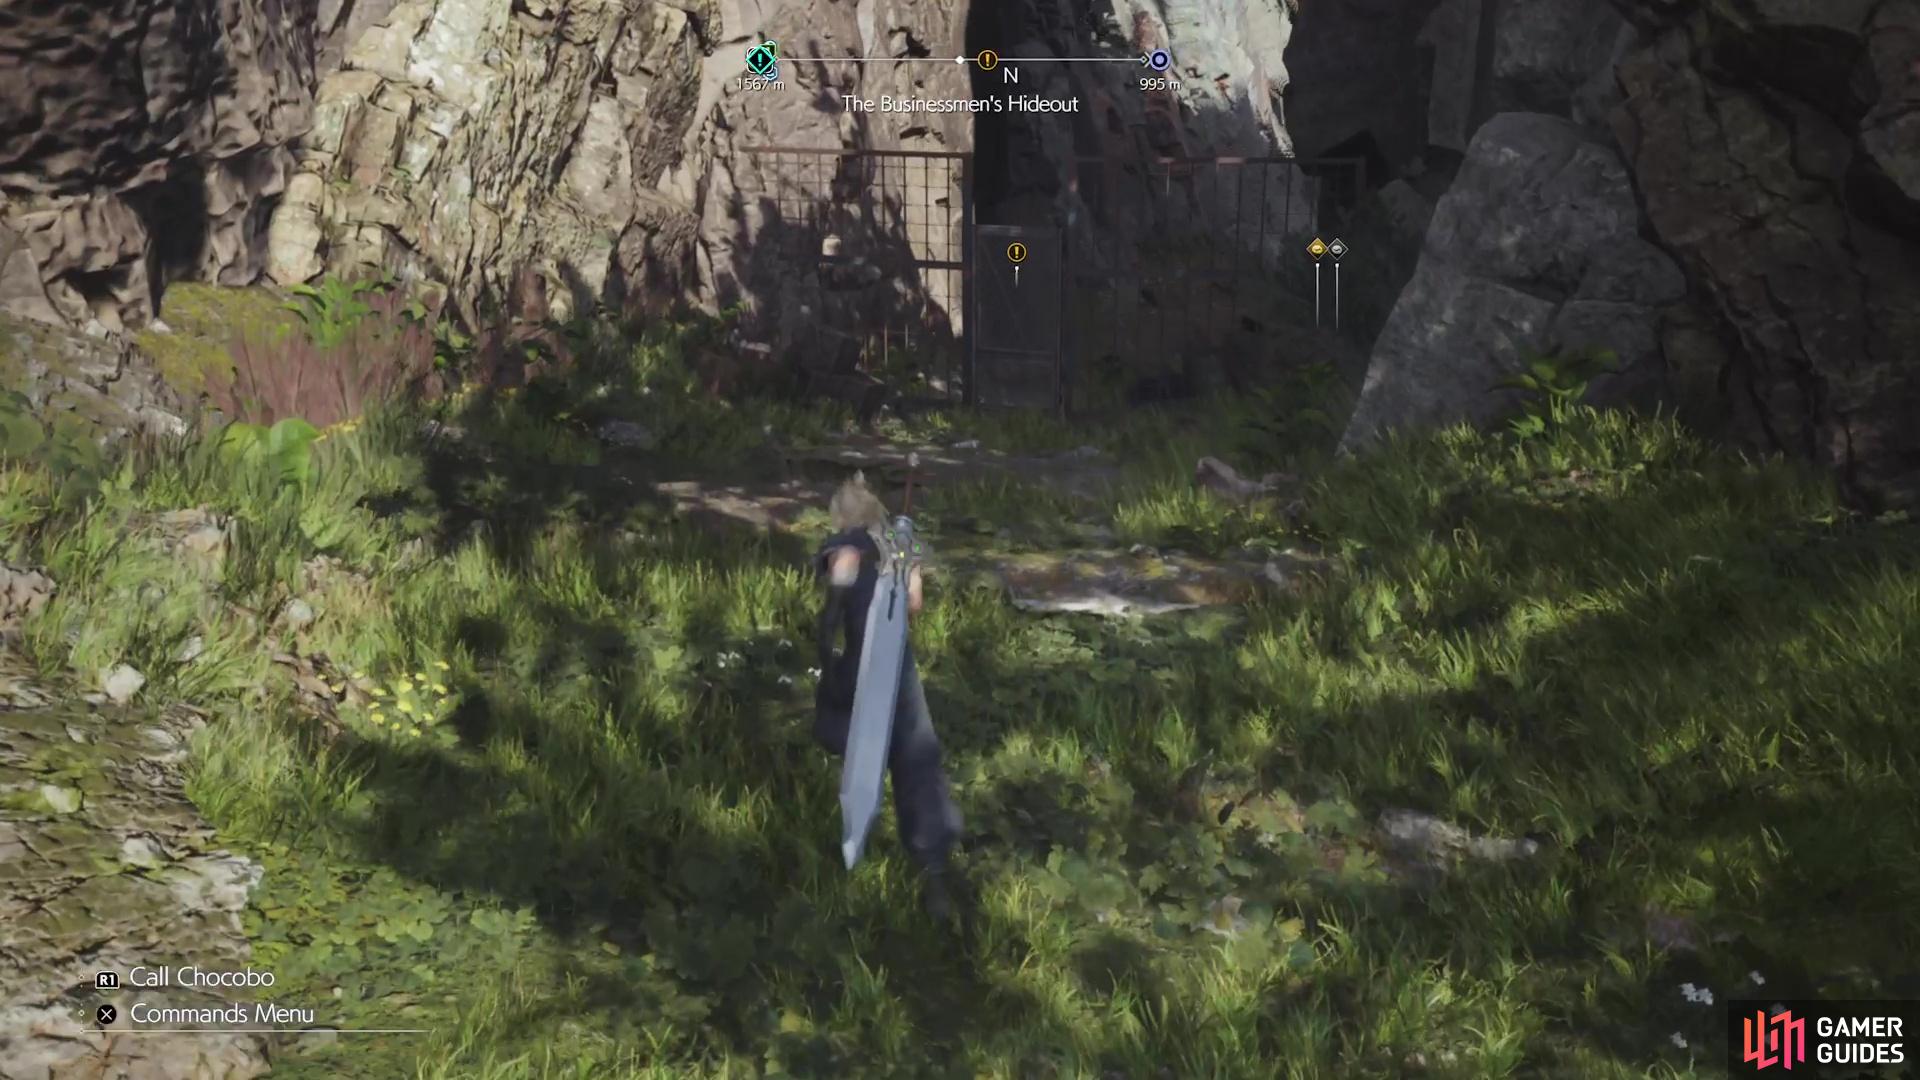

(1 of 6) Go north of the Air-Raid Shelter travel point to find this locked gate.
Of course, it can repair the arms, so whether you destroy them or not is up to you. The Sweeper has some ranged attacks during this battle, as well as a flamethrower attack that can be deadly, thanks to the limited space. Don’t be stingy with items, should you need them to heal, as you definitely don’t want your characters to get KO’ed. After the battle is over, you will bring down the price to 2,000 gil, so pay up and you’ll finally have your first Protorelic.
No Comments