
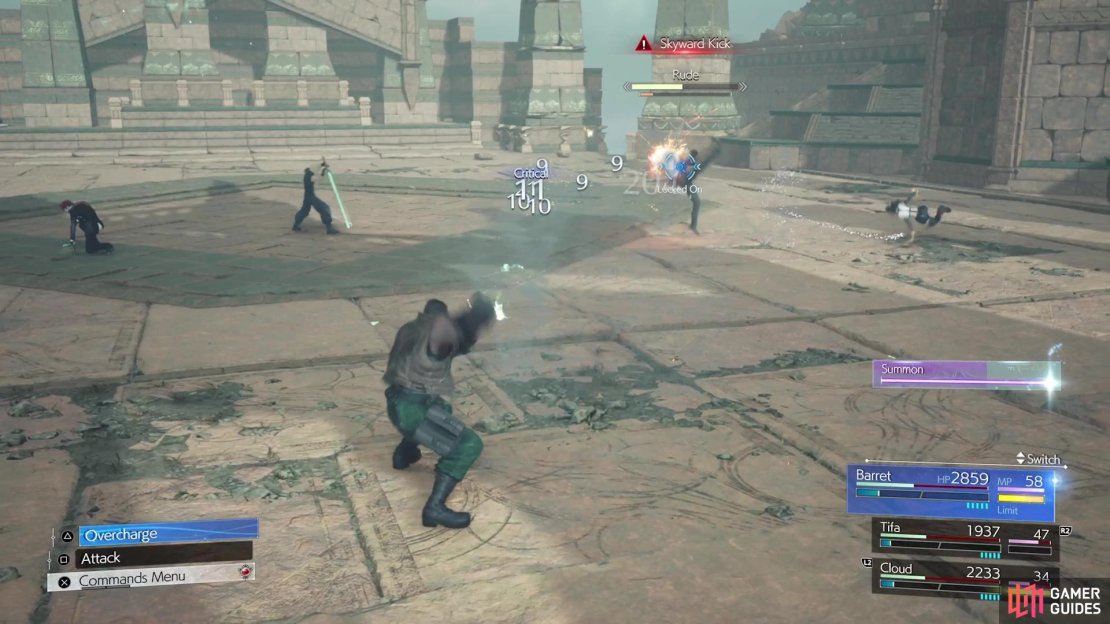
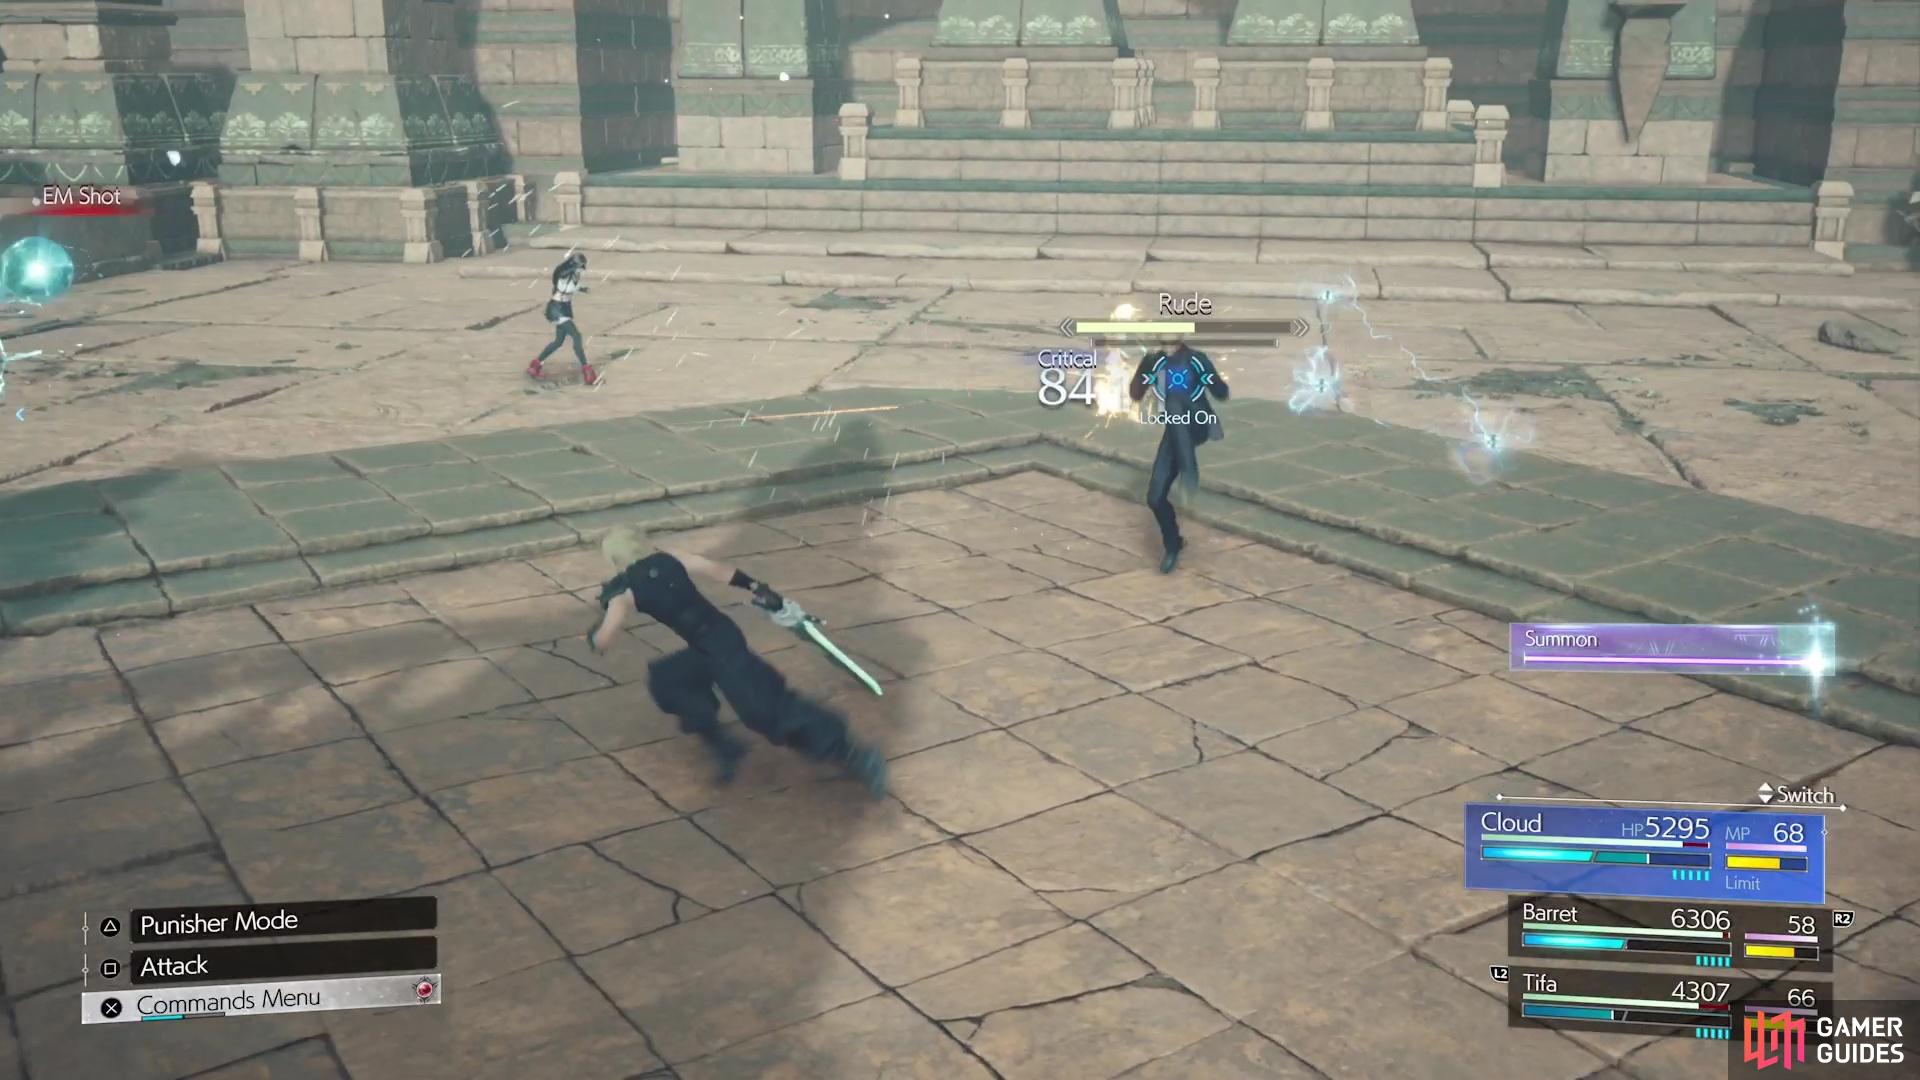
Cloud and his party were stopped by some Turks (Reno and ![]() Rude) at the end of their first section in the Hall of Life, blocking them from continuing. Thanks to Aerith and her party, Cloud was able to advance further into the
Rude) at the end of their first section in the Hall of Life, blocking them from continuing. Thanks to Aerith and her party, Cloud was able to advance further into the ![]() Temple of the Ancients. At the end of their second section, they caught up to the Turks and after teaming up to take down some fiends, the battle between them ensued.
Temple of the Ancients. At the end of their second section, they caught up to the Turks and after teaming up to take down some fiends, the battle between them ensued.
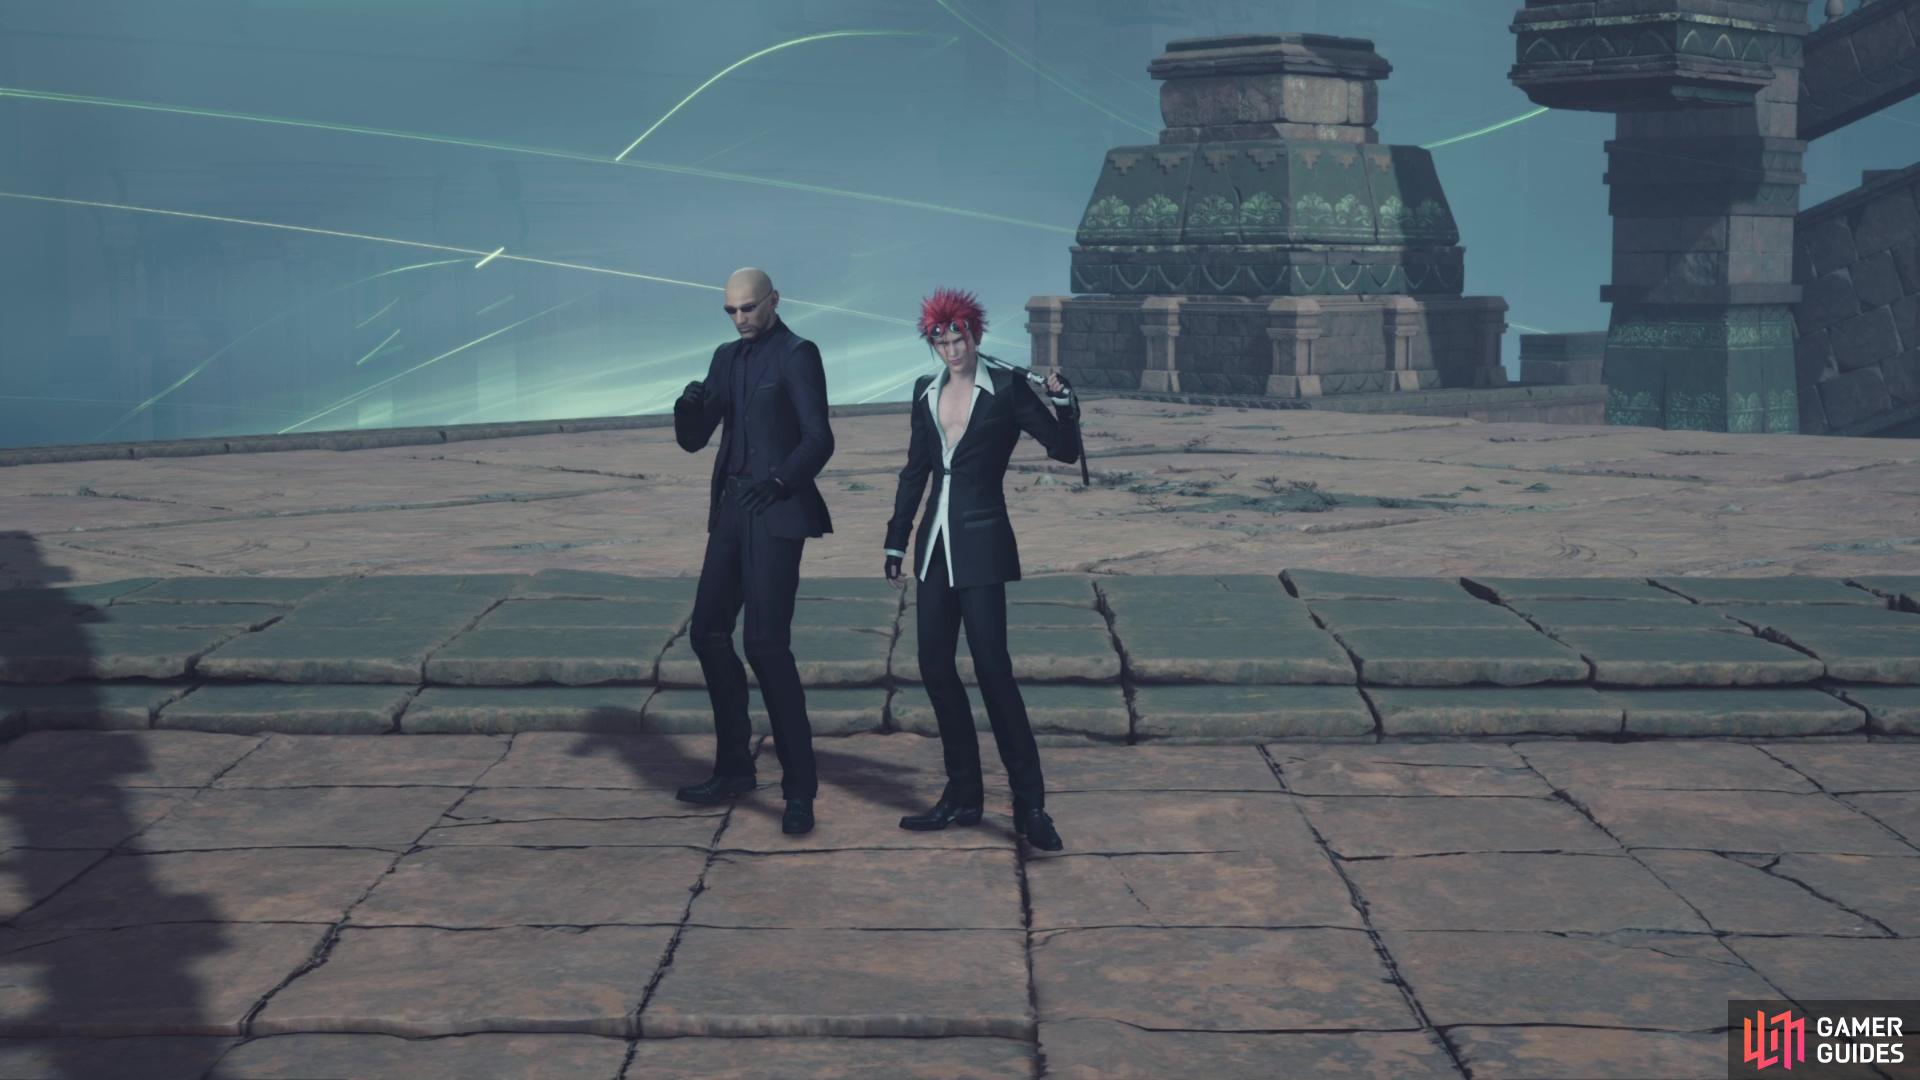
Reno and Rude are back together for one more bout!
All of Rude’s Attacks
Your fight with Rude here will have a lot of the same attacks from the previous bout in Chapter 12. Other than a few new moves, he’ll fight mostly the same.
-
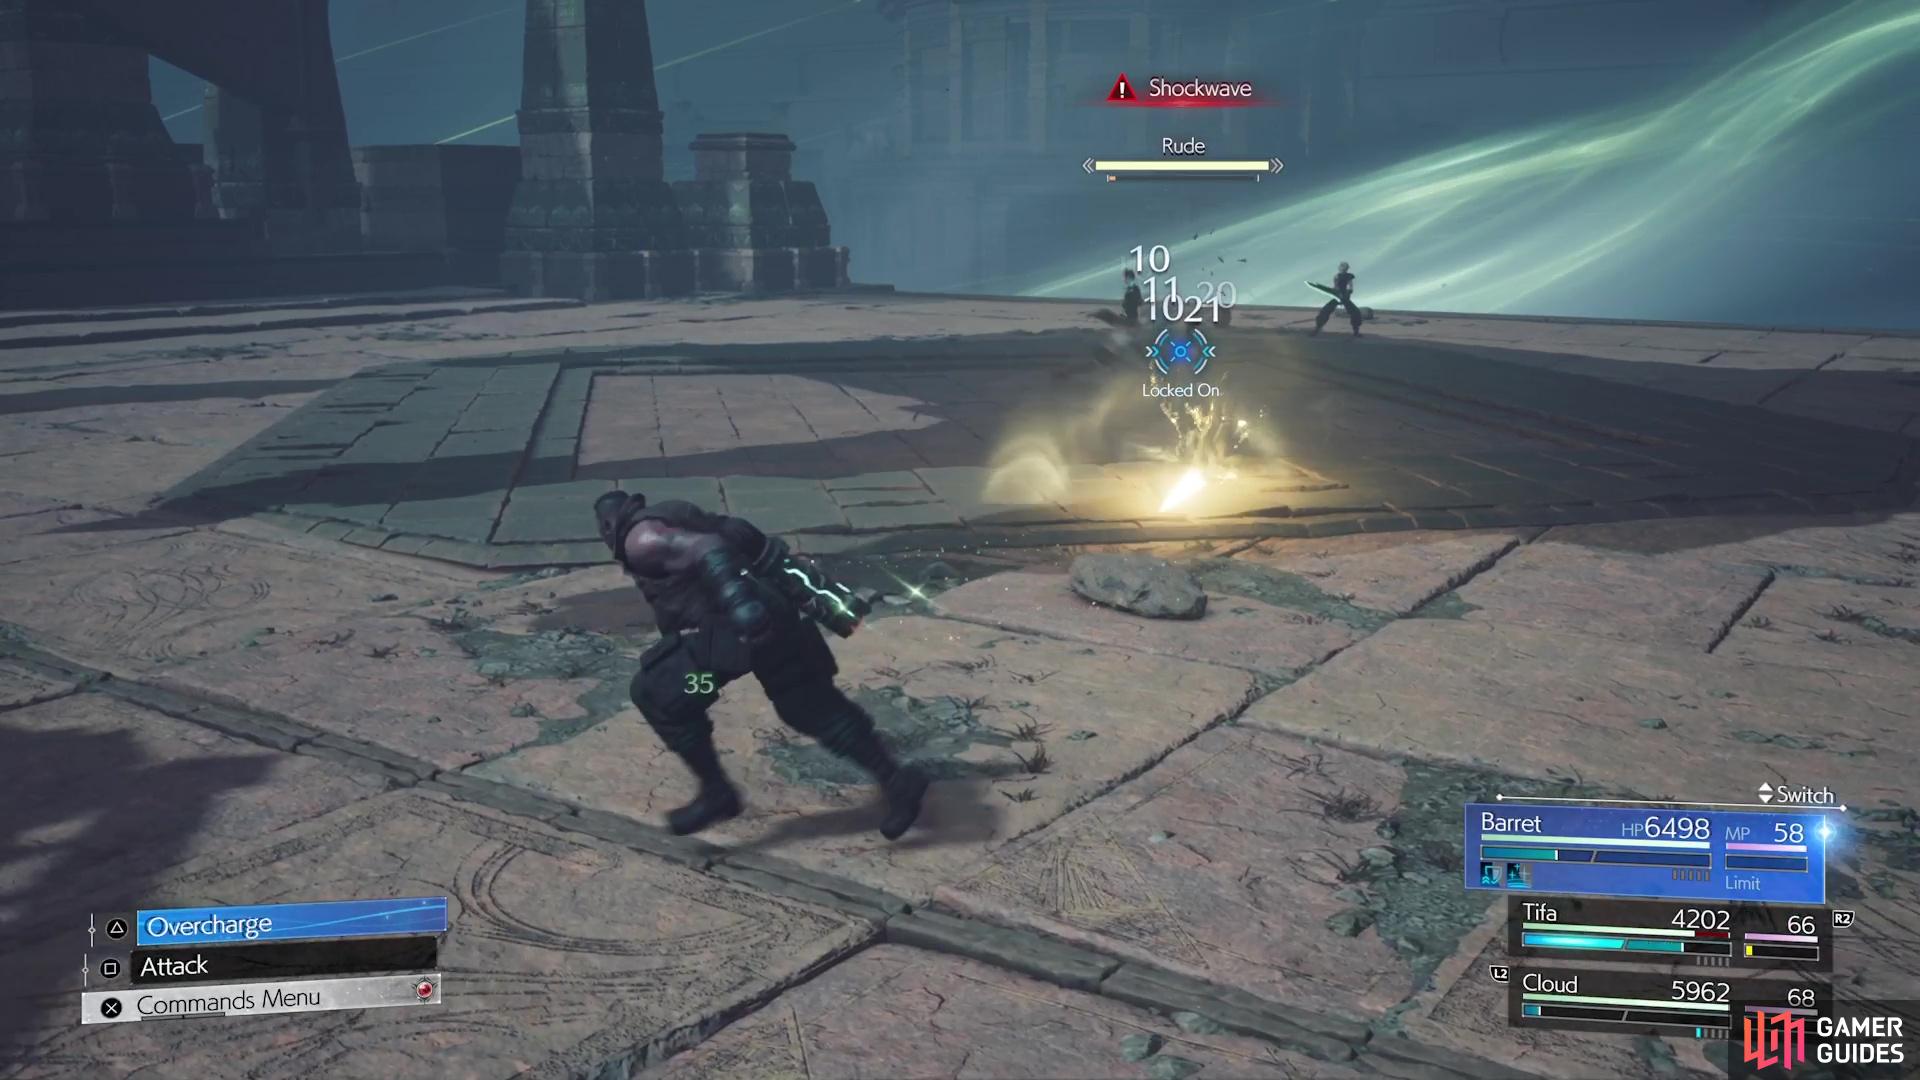
Shockwave:
 Unblockable. Rude sents out a single shockwave that slightly tracks your movements. He’ll perform this if you keep hitting him with ranged attacks while his guard is up.
 -
Triple Shockwave: Unblockable. A stronger version of the Shockwave, with Rude sending out three of them at once. It tracks the character a little more than the basic one.
-
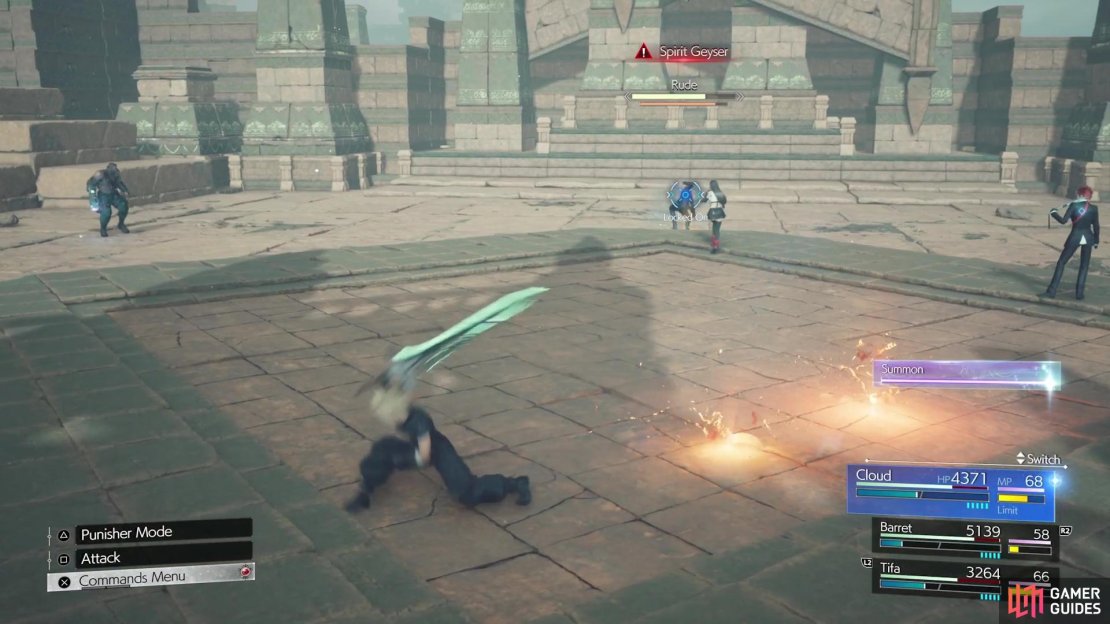
Spirit Geyser: Unblockable. Rude hits the ground, causing pillars of energy to erupt underneath your character. Keep moving to avoid them.
-
Whirlwind: Unblockable. Rude summons a tornado that slowly moves towards one of your characters. You can easily outrun this.
-
Right Hook/Snap Kick/High Kick/Roundhouse: A series of quick attacks that Rude can do and combo into one another.
-
Stalwart Stance: Rude will change his fighting style when he uses this. He’ll have some new moves during this, similar to the quick ones above, which can combo into one another, plus he’ll guard more often.

-
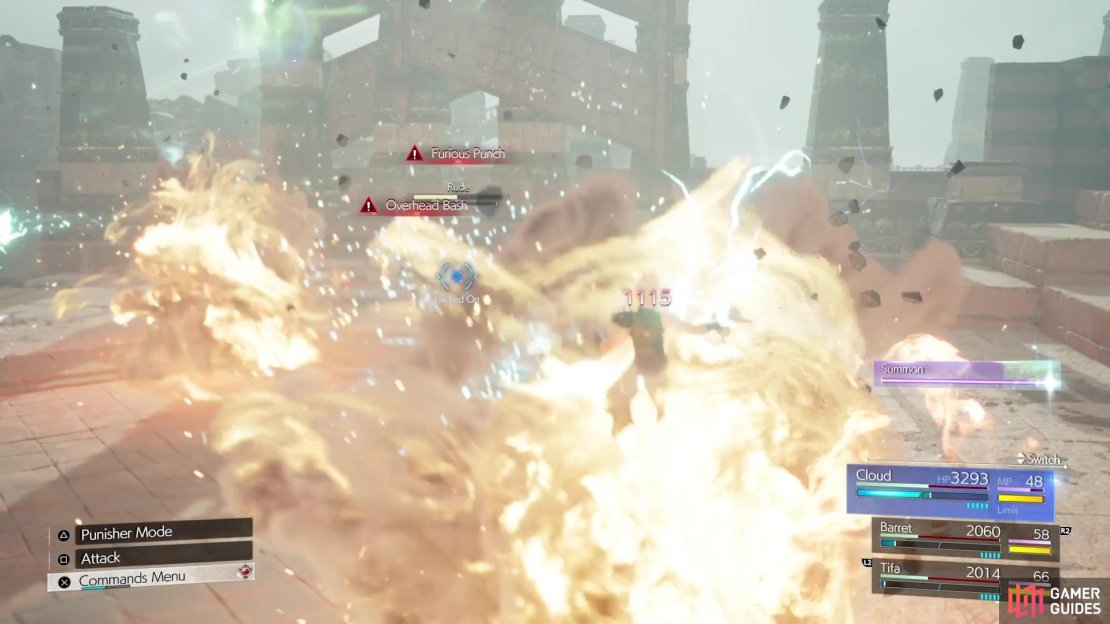
Spirit Surge: Unblockable. Rude will begin charging up a move and if you don’t pressure him, there will be a cutscene attack, where he pounds the ground and creates a large explosion.
-
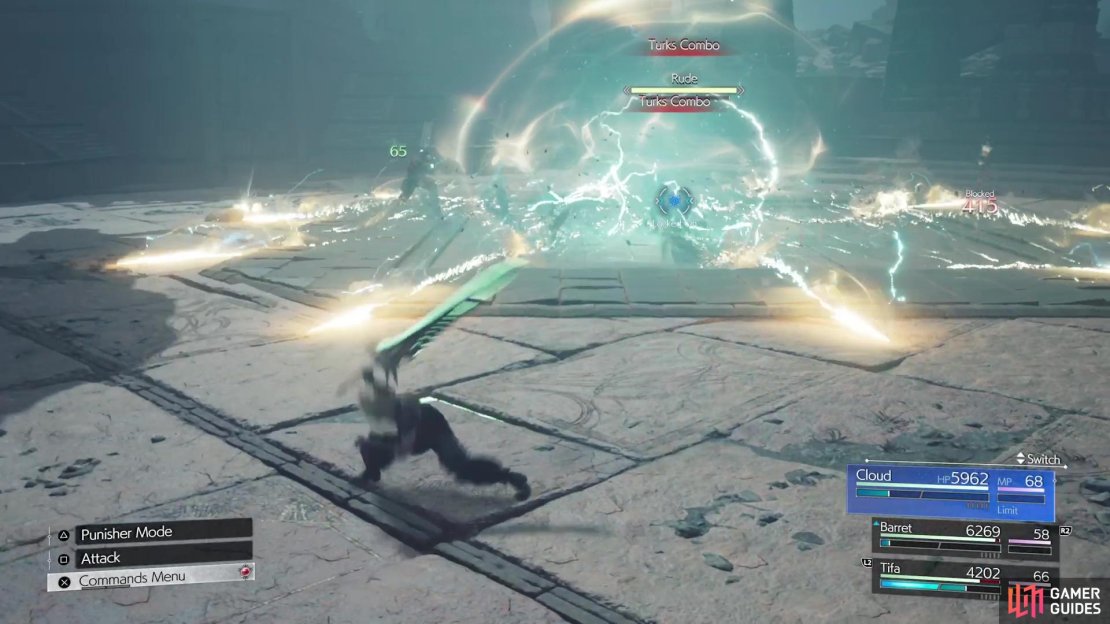
Turks Combo: Combo attack with Reno. Both will leap into the air and come crashing down, with Reno creating a large, electrical dome and Rude sending out some shockwaves in all directions.
-
Stakeout: Unblockable. Big combo attack with Reno that occurs during the latter stages. A series of six combo attacks that target a single character until they are KO’ed, then they will move onto the next character. This lasts quite a while, but you can stop it by using a Synergy Ability or Limit Break.
All of Reno’s Attacks
While you may have fought Reno in Final Fantasy VII Remake, this will be your first time facing him in Rebirth.
-
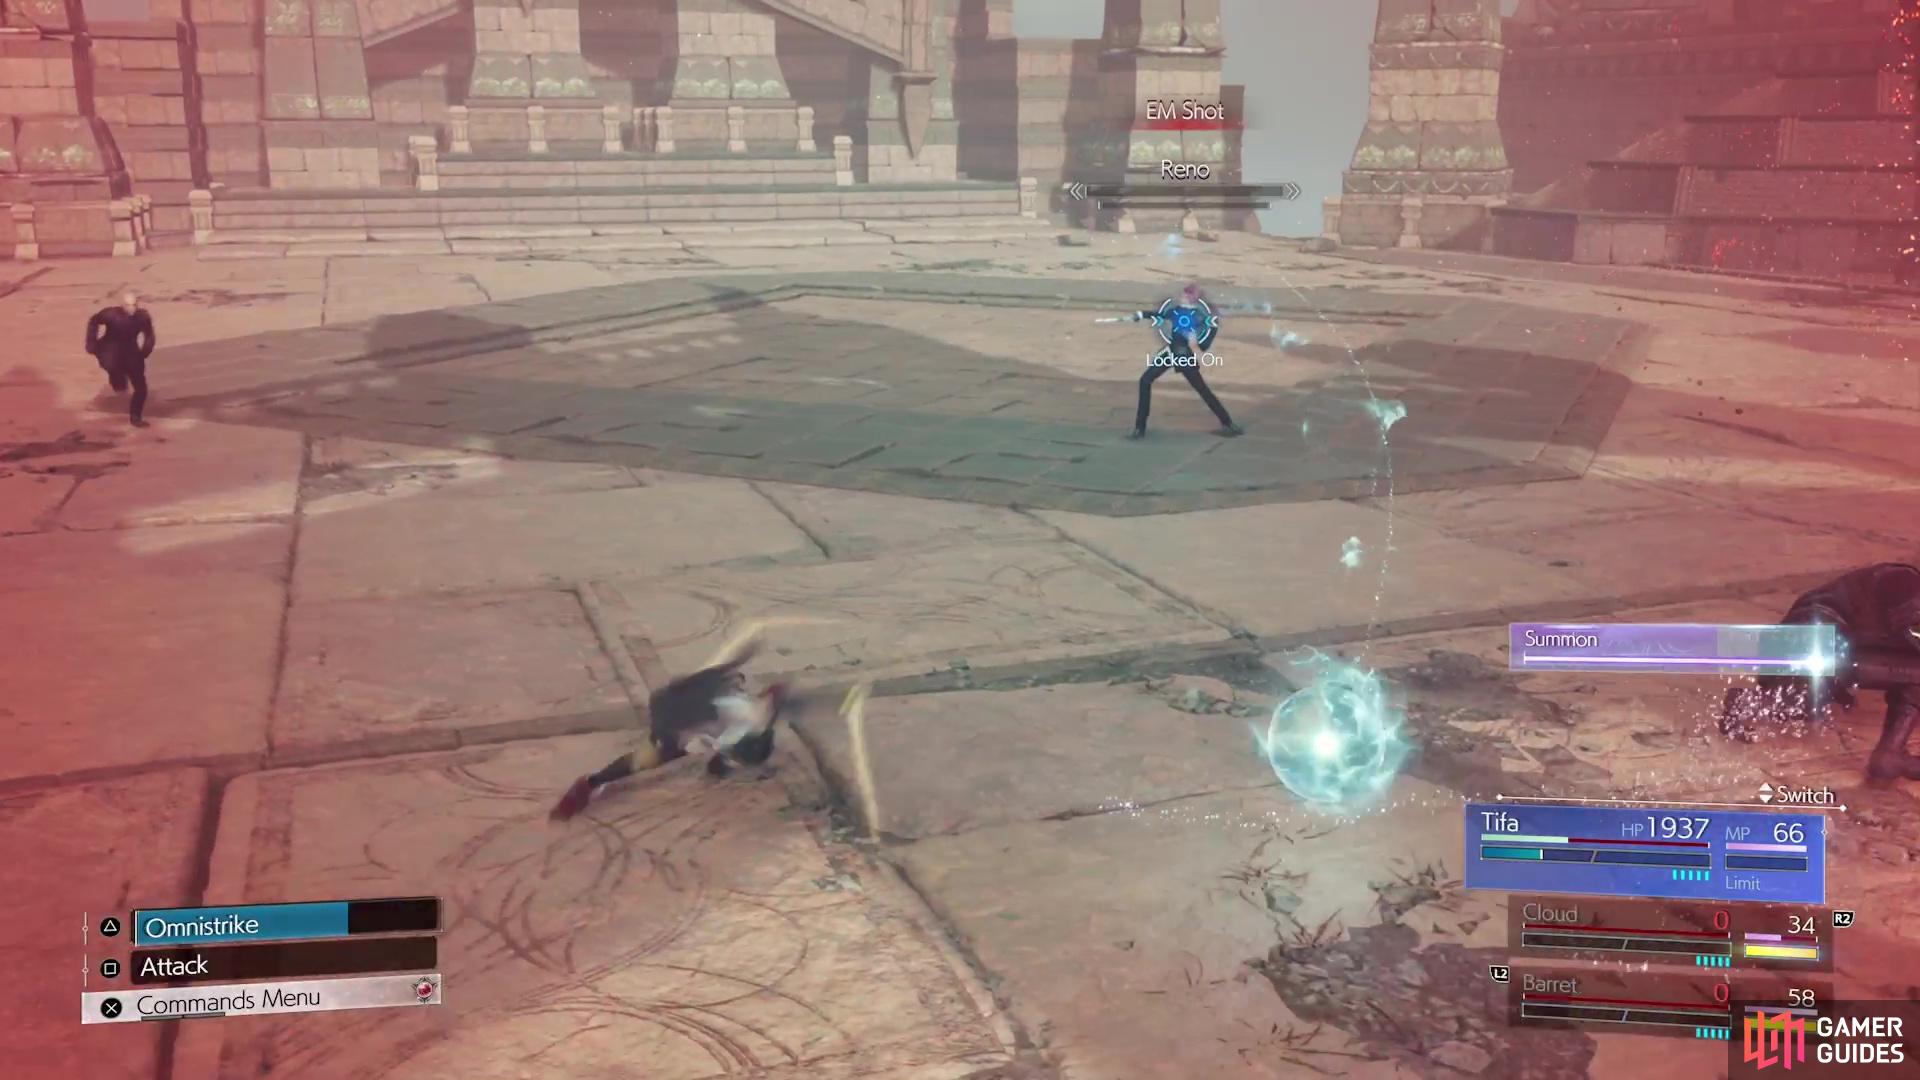
EM Shot: Reno will fire a single electric projectile at one of your characters.
-
EM Triple Shot: Similar to the EM Shot, except Reno will fire off three projectiles this time.
-
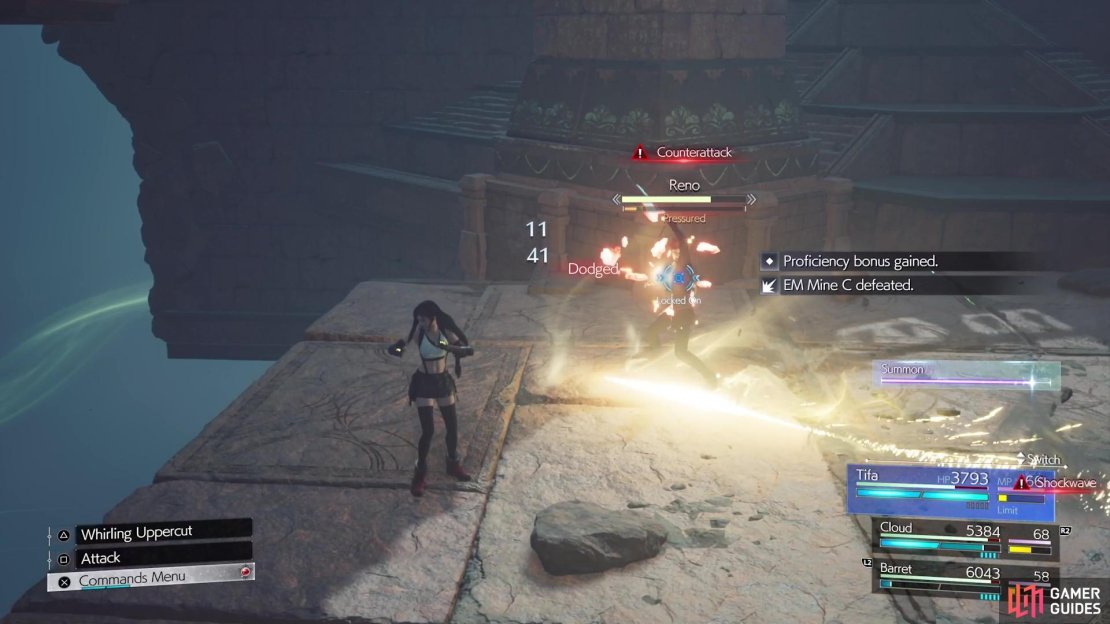
Counterattack: Unblockable. If you continually try to melee Reno and he’s dodging them, he will use this attack. Dodge the Counterattack to pressure him, though.


(1 of 3) EM Shot is pretty easy to dodge, since it’s a simple projectile.
-
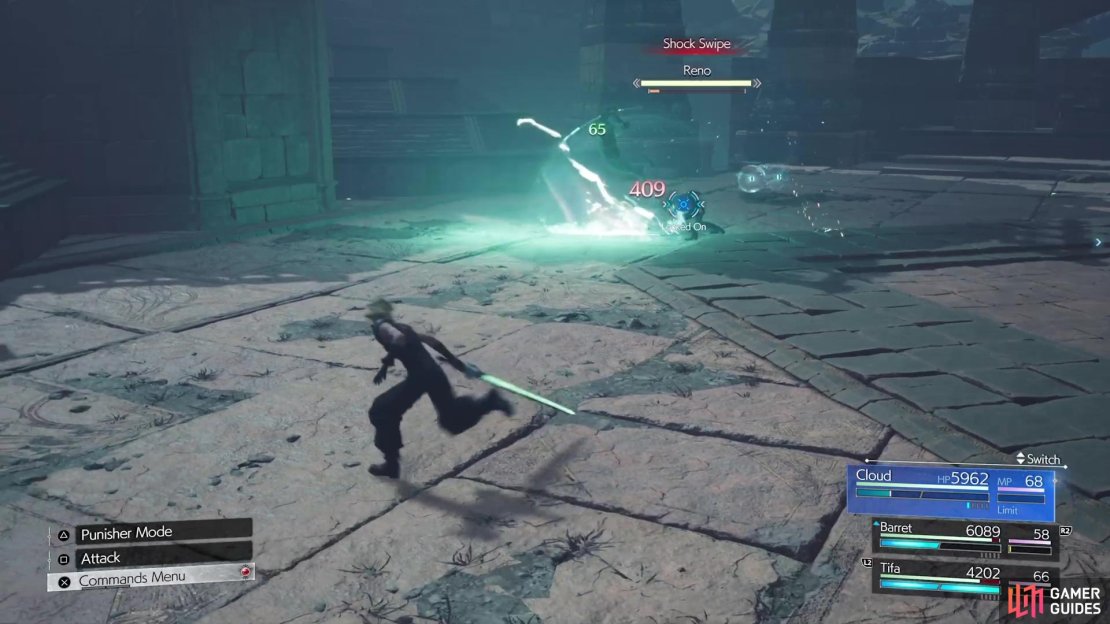
Shock Swipe: Reno will do an overhead swipe with his shock baton on someone. Can be blocked, although you can also dodge, if needed.
-
Flashstrike: Reno will quickly dash towards a character and hit them, knocking that person to the ground. If you see this coming, you can block it.
-
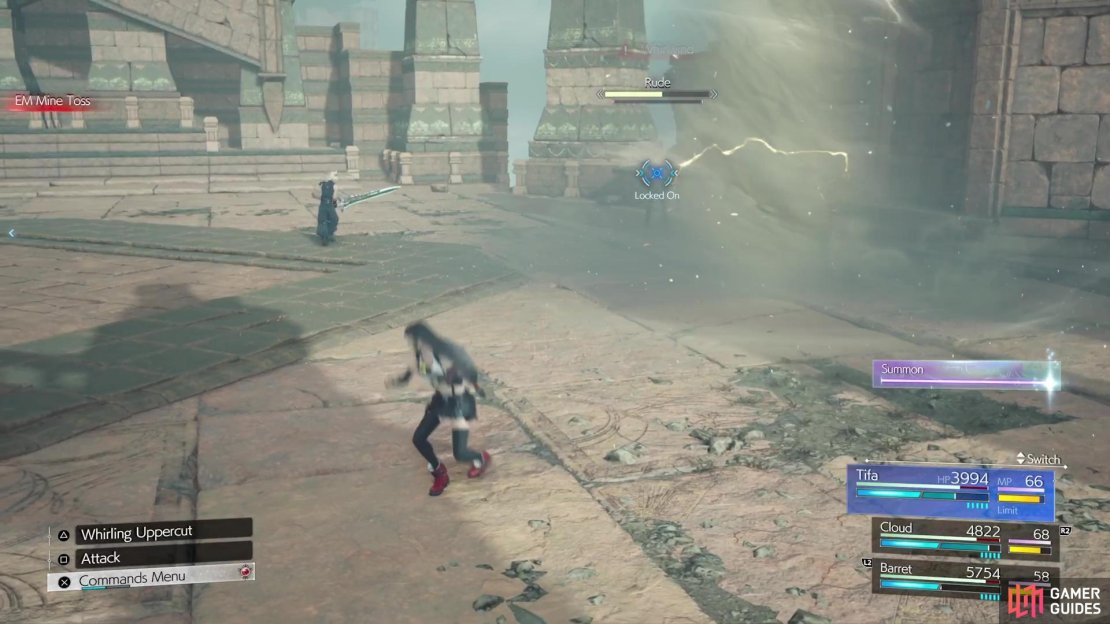
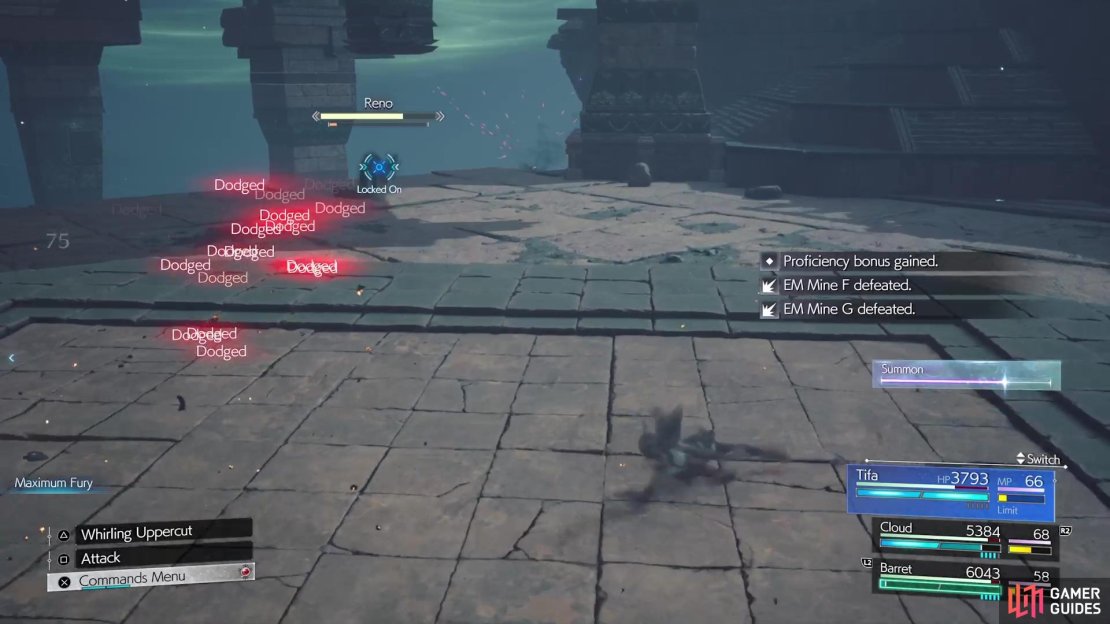
EM Mine Toss: Reno will toss out a number of electrical orbs on the field, which function on their own. They will follow you around and have an arc in between each one, so if you touch it, then you will become stunned. May sometimes do Discharge as an attack, which does okay damage. They can be targeted and destroyed, should you attack them.
-
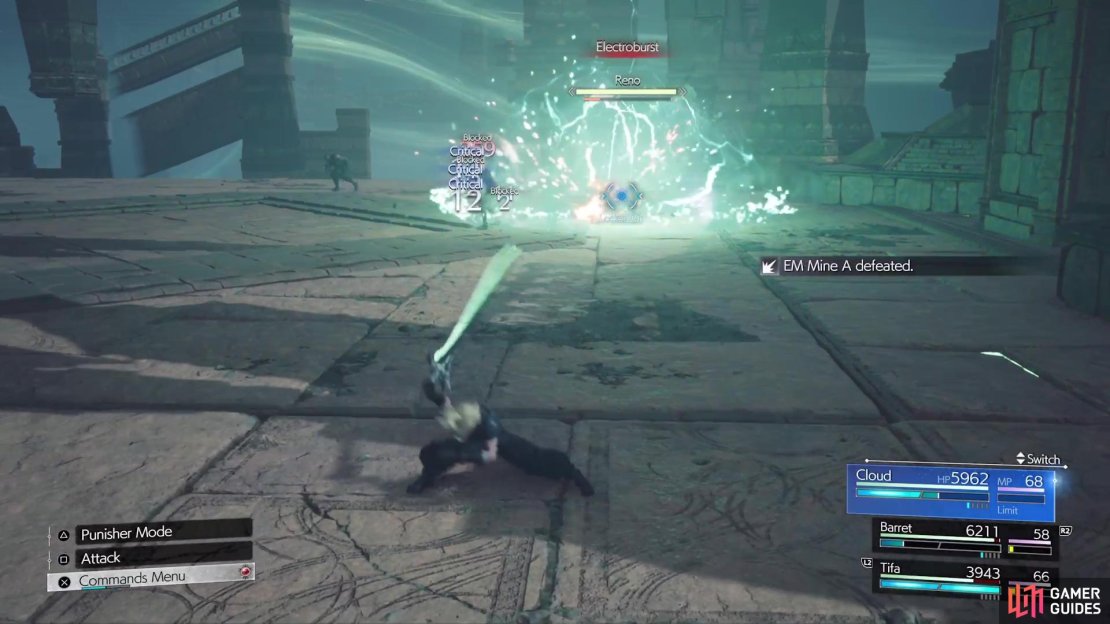
Electroburst: Reno will leap into the air and crash into the ground, producing a large dome of electricity (similar to the Turks Combo attack at the beginning of the battle). Can be blocked.
-
Pyramid Spark: Unblockable and unavoidable. Reno will stand in place and summon three electric orbs to surround him. If you don’t break him out of the move (strong attacks will do it), then he will perform a cutscene attack that hits all characters for medium damage.
-
Rushdown: Reno will charge at a character and perform a melee combo on them.
-
Wild Swings: Another melee combo from Reno, where he first knocks you up into the air, then follows with the other attacks.

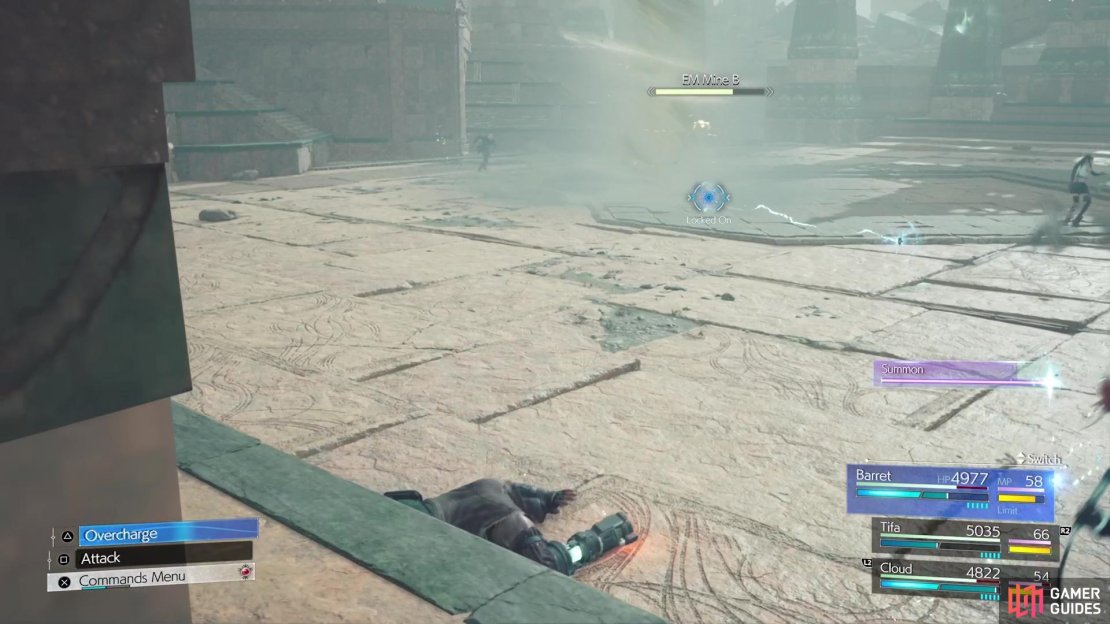

(1 of 4) The EM Mines will follow you around during the battle.
-
Swift Stance: A stance change that Reno can do to become faster, which also allows him to to dashes that leave behind electricity on the ground.
-
Turks Combo: Combo attack with Rude. Both will leap into the air and come crashing down, with Reno creating a large, electrical dome and Rude sending out some shockwaves in all directions.
-
Stakeout: Unblockable. Big combo attack with Reno that occurs during the latter stages. A series of six combo attacks that target a single character until they are KO’ed, then they will move onto the next character. This lasts quite a while, but you can stop it by using a Synergy Ability or Limit Break.
Reno and Rude Boss Strategy
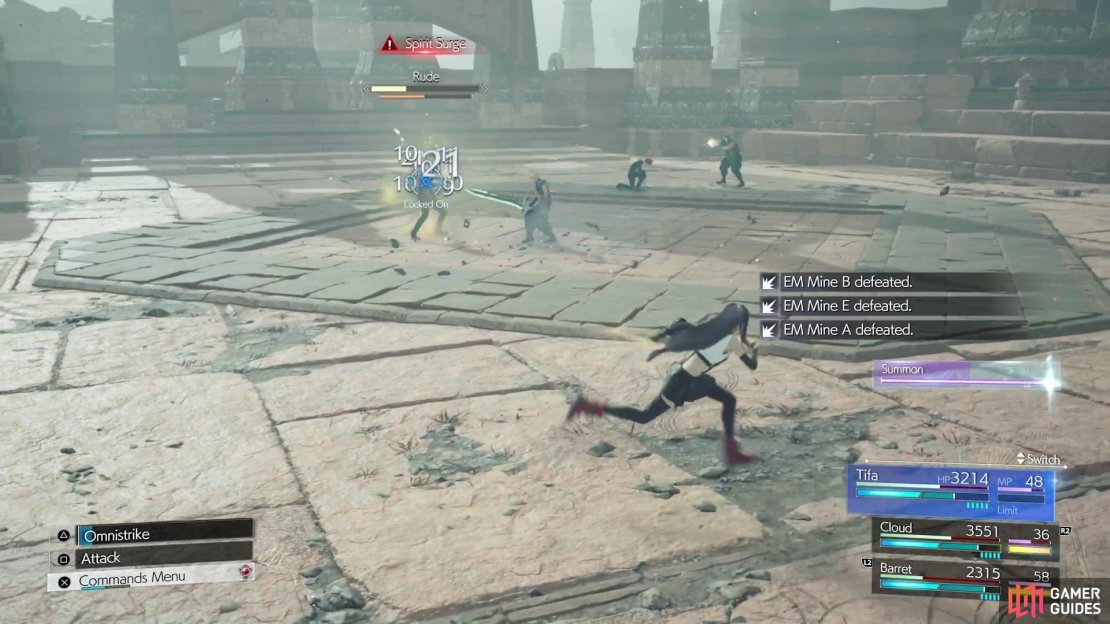
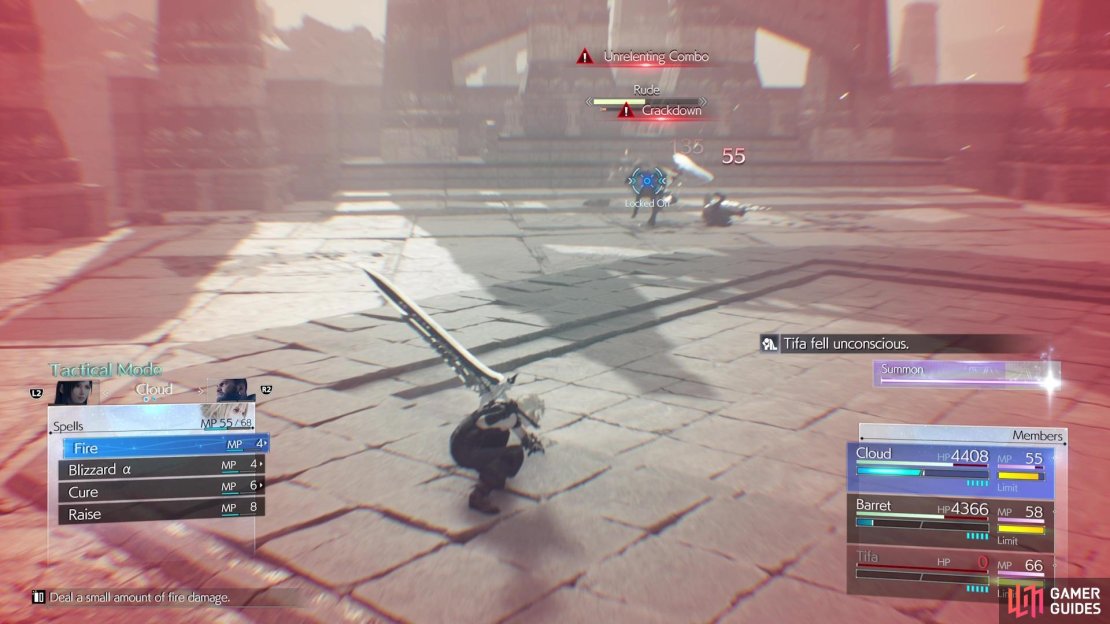
As soon as the battle begins, Reno and Rude will use the Turks Combo attack, where they team up to deliver a combo skill. Stay away from the center of the arena, as this will be the impact point. The combo skill causes a big electric dome to appear, as well as shockwaves sent in all directions. With that out of the way, the battle will truly begin. You’ve fought Rude twice already and he’s mostly the same here, so not too much will be said about him. Do note that he can use some quick strikes that combo into one another outside of his Stalwart Stance. If you see him use Spirit Surge, make sure you hit him with strong attacks to pressure, as you will be forced to take damage from the cutscene attack otherwise.
This will be your first encounter with Reno in Rebirth and if you forgot about him from Remake, then he’s a little annoying. He’s quick and agile, kind of like ![]() Elena, but Reno does have the dexterity to dodge your melee strikes. If you keep attacking him while he’s doing this, then he will use the Counterattack skill. Should you dodge the Counterattack move, then you will briefly pressure Reno. This is your chance to use your Focused abilities to build up the stagger gauge.
Elena, but Reno does have the dexterity to dodge your melee strikes. If you keep attacking him while he’s doing this, then he will use the Counterattack skill. Should you dodge the Counterattack move, then you will briefly pressure Reno. This is your chance to use your Focused abilities to build up the stagger gauge.
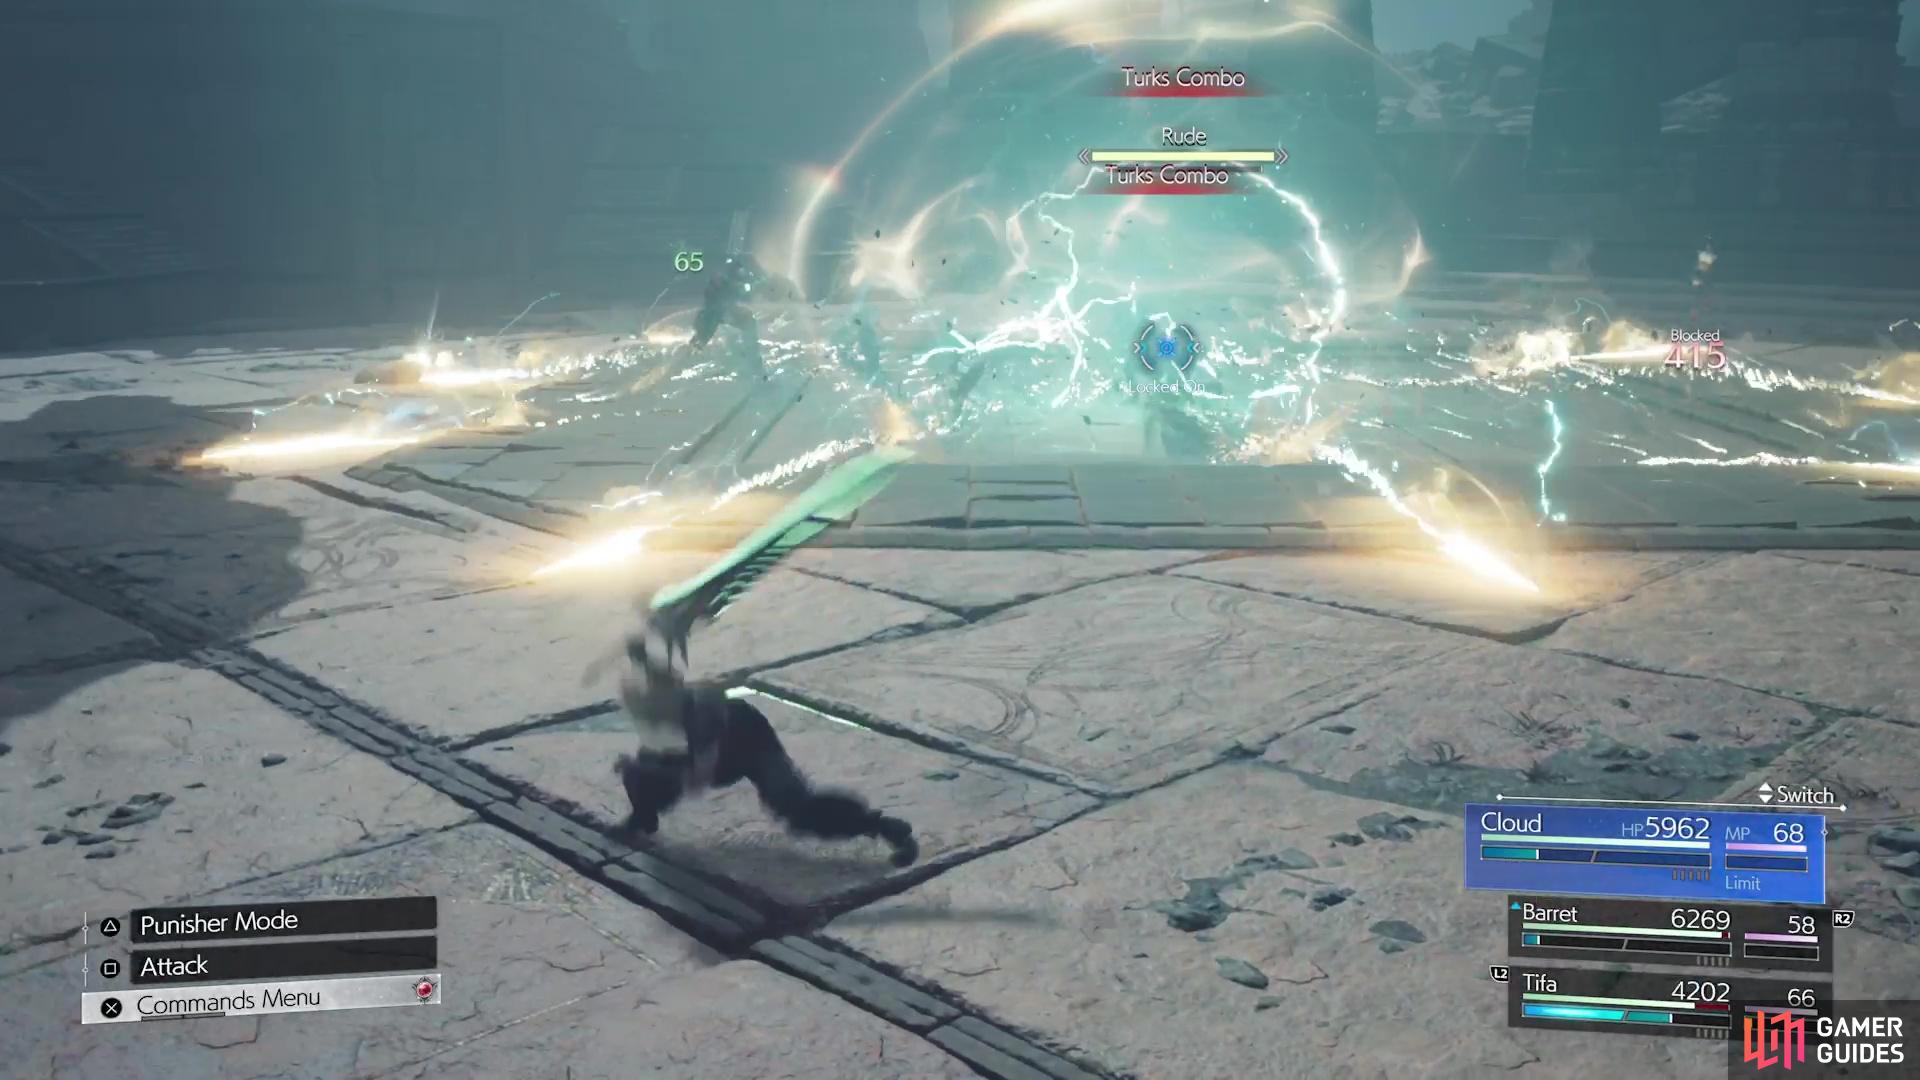

(1 of 4) The battle will always start with the Turks Combo ability.
You will want to be careful about the electric-charged attacks from Reno, as there are a few of them that can stun your characters. EM Shot and EM Triple Shot are pretty easy to dodge, as long as you can see them coming. He also has two melee abilities, called Flashstrike and Shock Swipe. The latter is easy to avoid, but Flashstrike can be a little annoying since Reno initiates it from afar (he does a dash to hit you). One of the abilities that is a nuisance is EM Mine Toss, where Reno will toss out some electrically charged mines onto the field.
These mines will slowly move around and track you, so you need to pay attention to them. They can discharge electricity that does damage, plus they can also stun you, should you touch them. Thankfully, they are separate entities, as you can target and destroy them if you want. Reno also has a similar cutscene attack move, called Pyramid Shock, where he’ll start by summoning three electric orbs that surround him. He’ll sit there and charge the maneuver, so you’ll need to pressure him by doing strong attacks, like ![]() Fire, since Reno is weak to that element.
Fire, since Reno is weak to that element.
There is one more thing to this battle, which involves the second phase that occurs whenever one of the Turks gets to half health. They can do another combo skill at that point called Stakeout. This will prompt them to do a series of six tandem moves together, focusing on a single character. This move lasts a long time and they will pretty much continuing it until a character is KO’ed, then they’ll move onto the next one. If you can outlast it, then more power to you, but it’s highly probable that they will defeat your entire team (all attacks are unblockable and very hard to avoid).
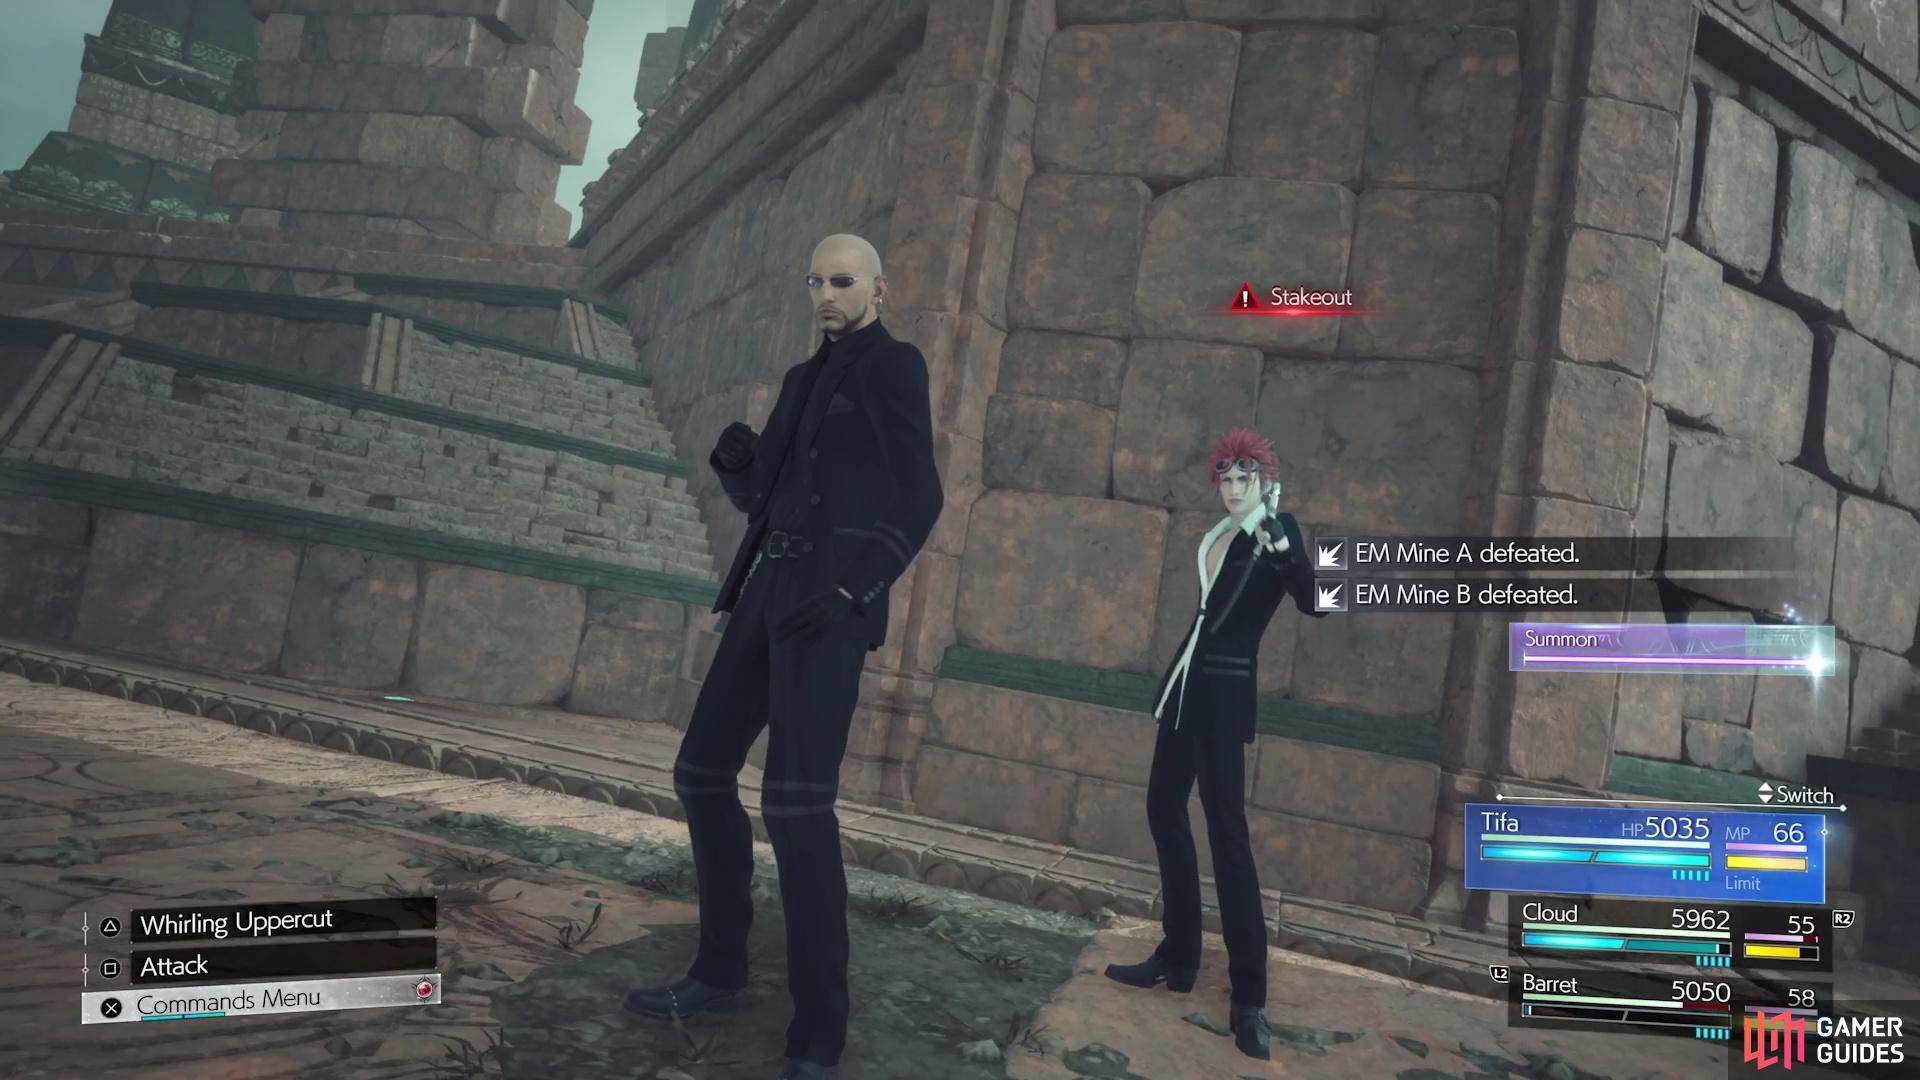
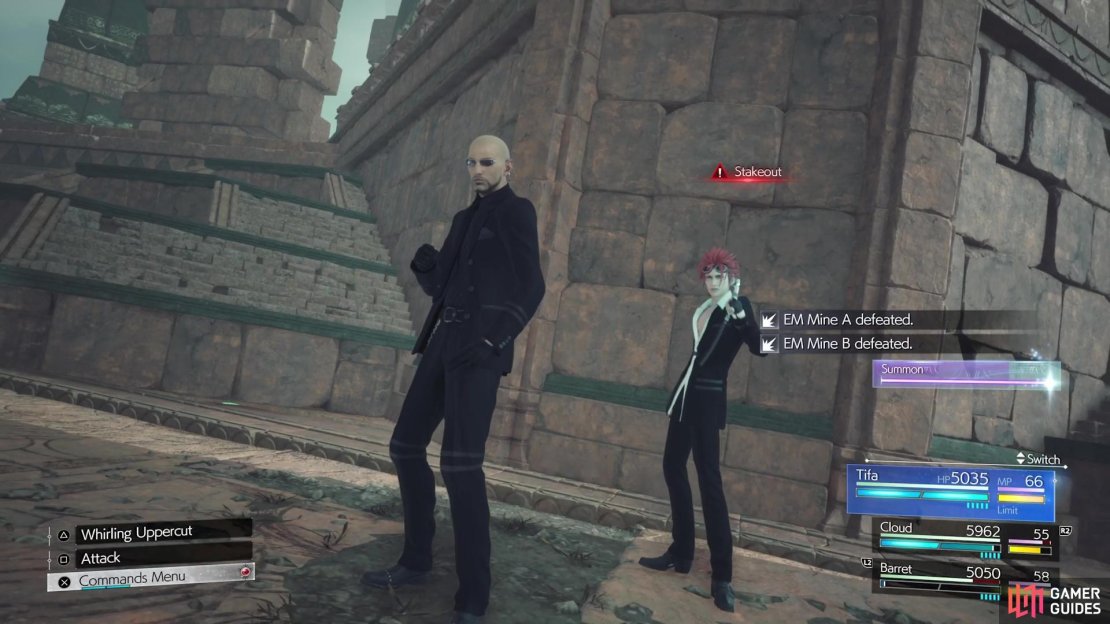

(1 of 4) Stakeout is the ultimate move that can happen in the later stages of the battle.
However, if you perform a Synergy Ability or Limit Break on them, it’s possible to break them out of the move, which will pressure both. Of the two enemies here, Reno is the easier one to defeat, since he has lower defenses and health. Focus on him entirely from the beginning and if you’re quick enough, you might not even see Stakeout. Once you’re done with him, then you can move onto Rude, who should be highly familiar to you, so you shouldn’t really have anymore troubles.
After the battle is over, there will be some scenes and the game will switch back over to Aerith’s group.
No Comments