
The Red Dragon has been slain and the party moves onwards in the ![]() Temple of the Ancients. Of course, the Lifestream is quite angry, according to Aerith, so she tries to calm it down some. This doesn’t go to plan and the party ends up getting separated into two groups. The first group you control will consist of Cloud, Tifa and Barret, with you having to go through the Hall of Life section.
Temple of the Ancients. Of course, the Lifestream is quite angry, according to Aerith, so she tries to calm it down some. This doesn’t go to plan and the party ends up getting separated into two groups. The first group you control will consist of Cloud, Tifa and Barret, with you having to go through the Hall of Life section.
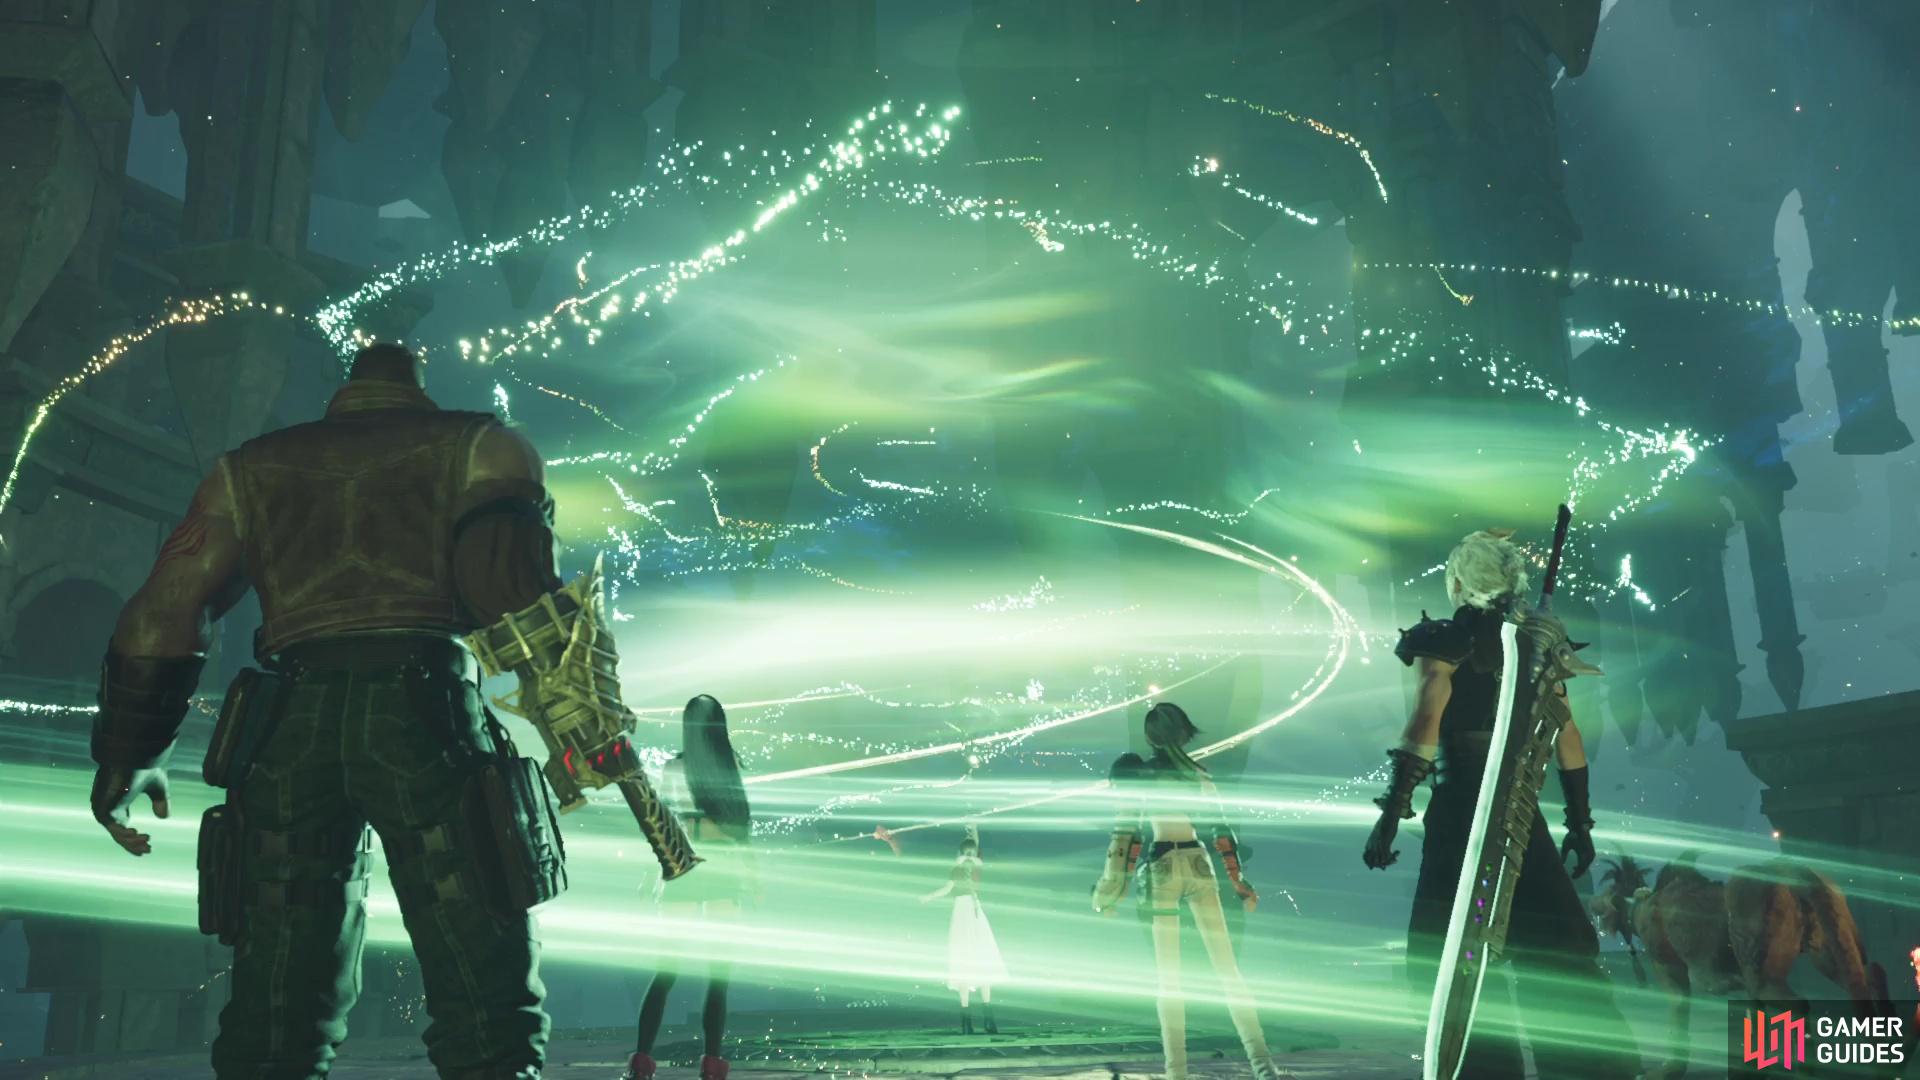
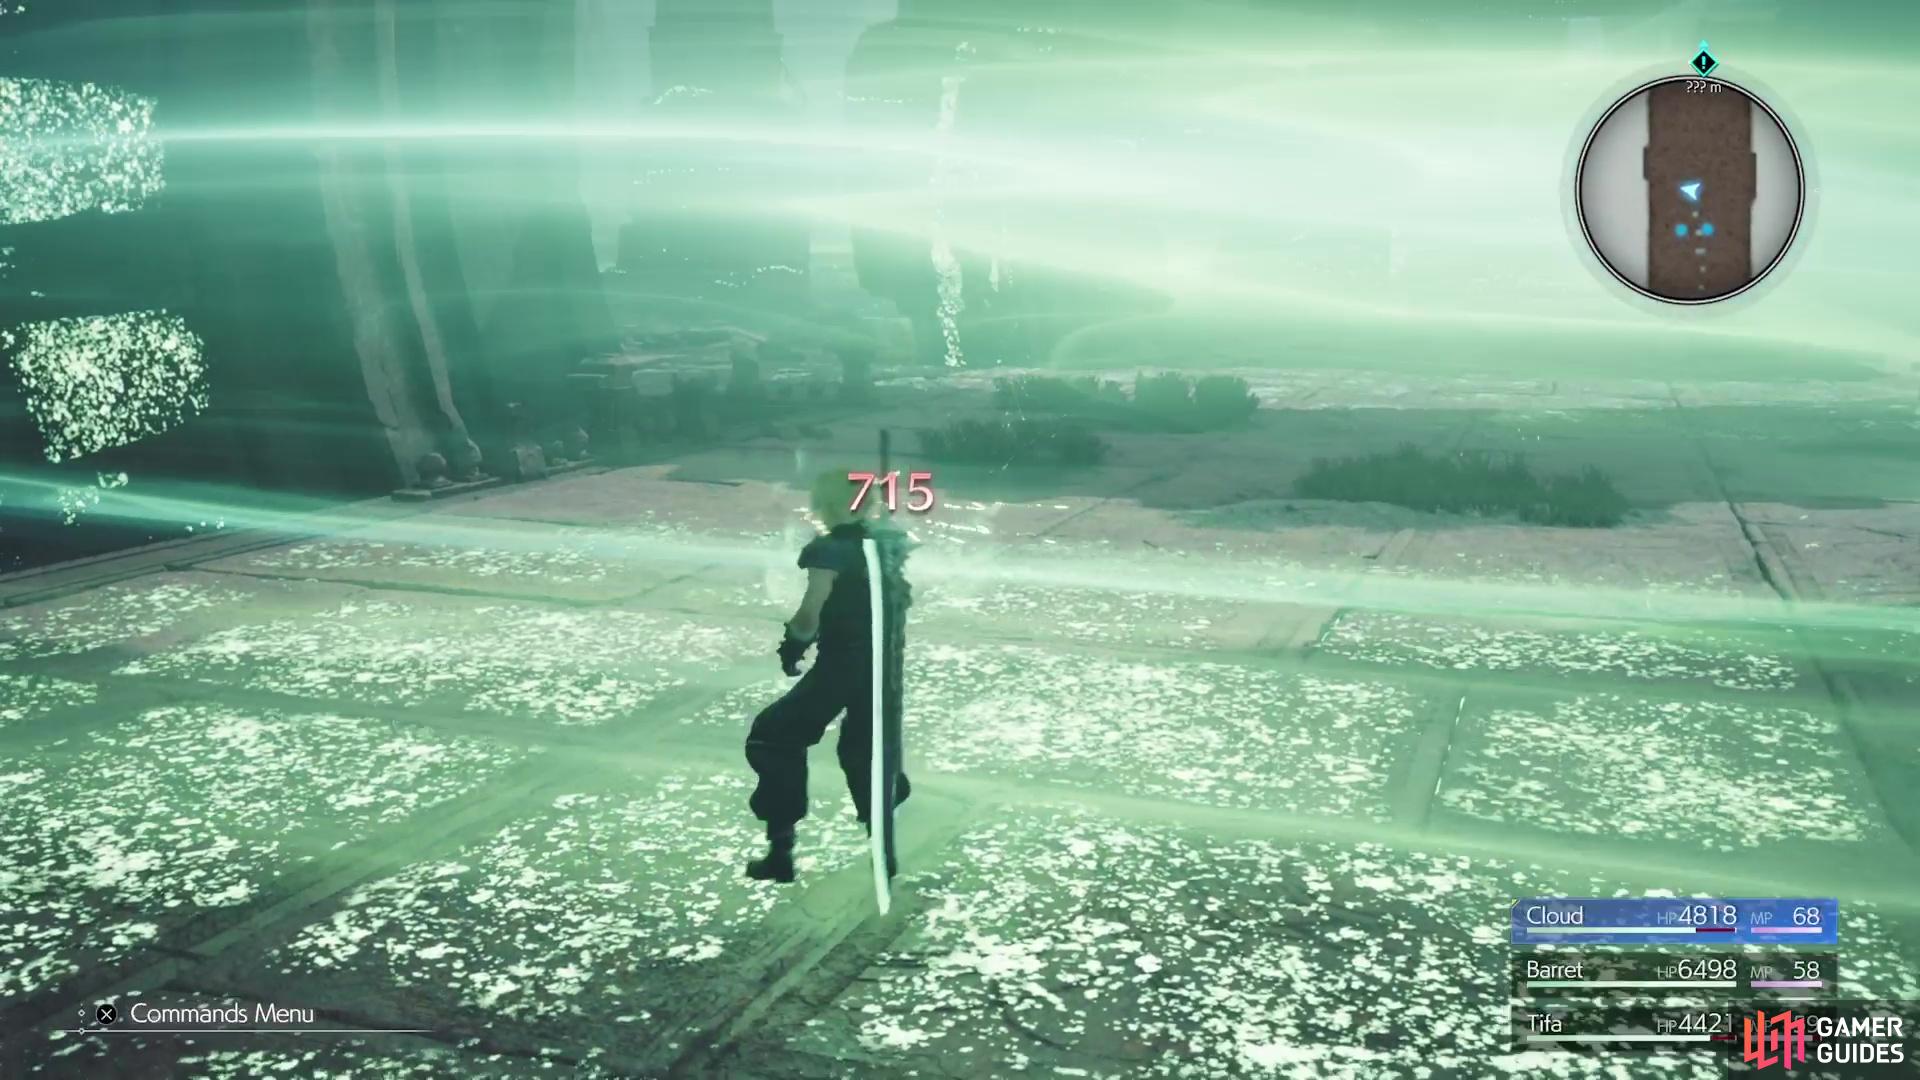
Aerith tries to calm the Lifestream, but it doesn’t work and the party is split up.
Exploring the Hall of Life
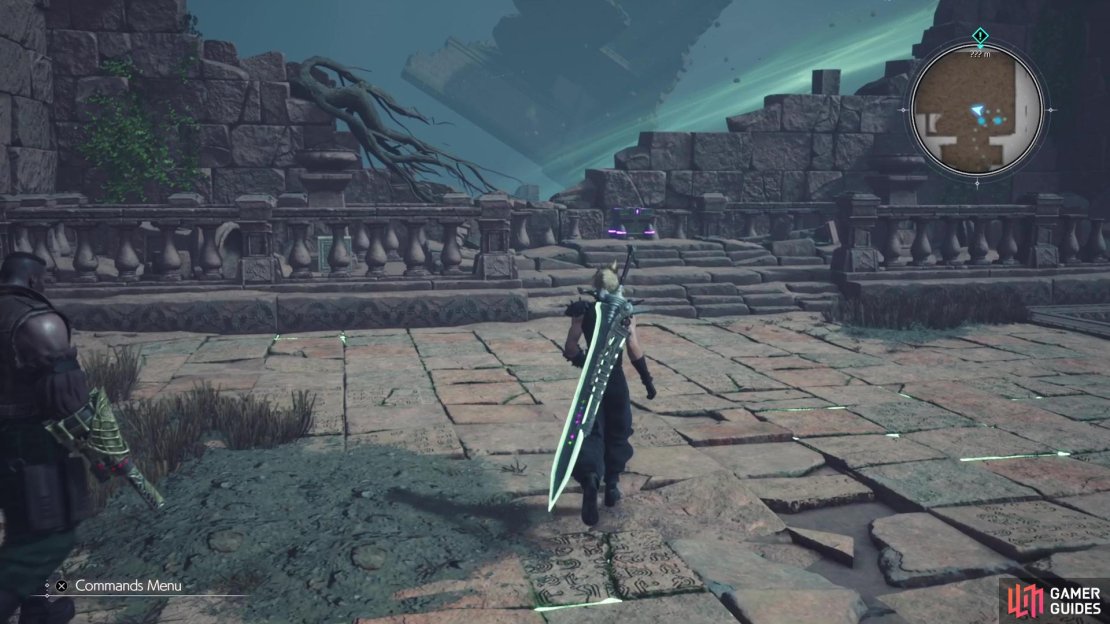
Once you regain control, feel free to use the nearby bench and vending machine, if needed. Cross the makeshift bridge ahead and you will encounter a new enemy just ahead, the Berserker Bee. While flying enemies are always annoying, these bees should die pretty quickly, especially if you use Cloud’s Triple Slash ability or Barret. Go through the circular room to the north, then out the other side, where you’ll run into some Shinra goons.
They will be accompanied by a Type G Slug-Ray enemy, which has a few unblockable moves in its repertoire, so be mindful of that. A simple strong ability, or just Thunder, should be enough to pressure it. Continue north and hop over the wall to find some stairs, but before taking them, look on the western side of the area for a purple chest that contains the Jarngreipr weapon for Tifa (this is the final weapon for her). Start going down the stairs, which will be destroyed as soon as you try.

(1 of 3) Before going down the stairs near the beginning, look for this purple chest off to the side.
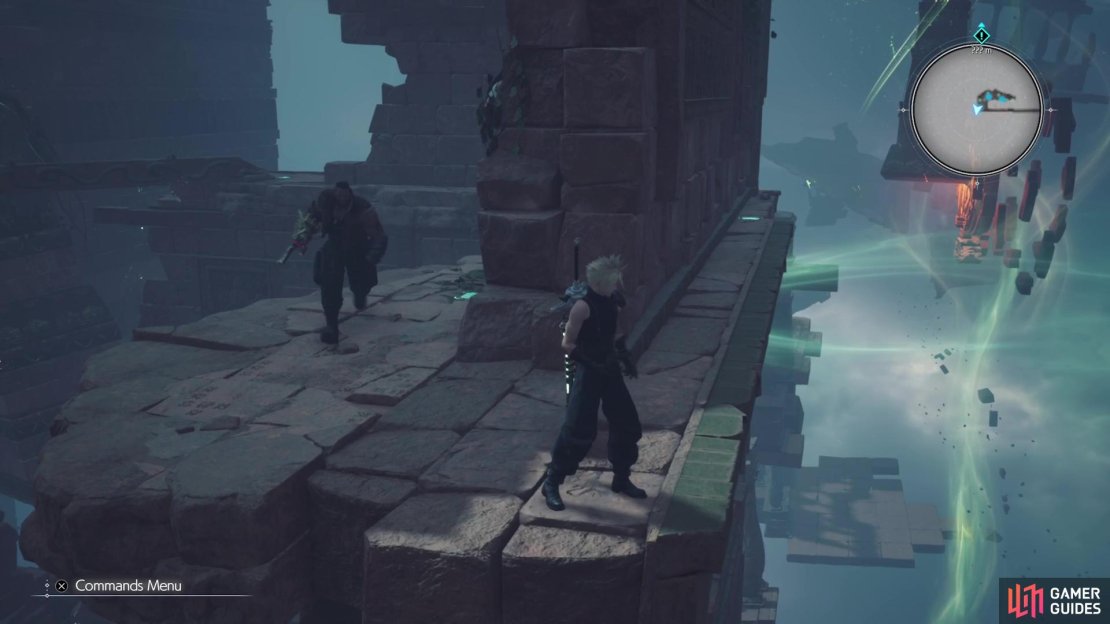
Thankfully, there’s a set of vines right next to where the stairs were, so use those to get across the large gap. Once you reach the bottom, head through the opening right next to the vines to see that you can use the ledge out there to continue. Follow the path here to another enemy encounter (Cthonilizards and Berserker Bees), then look to the west for a way to go. Dispatch the enemies here (Blight Frogs and Berserker Bees), then open the chest on the far side for a ![]() Cosmotite Ore.
Cosmotite Ore.
Return to the previous room and head north this time, where you’ll encounter some bits of the Lifestream blowing through the corridor. You need to wait for them to subside before moving forward, as you’ll take damage if you get hit by them. At the second one, quickly head left onto that path and then a little north to a safe spot. The reason you went this direction is that the third Lifestream flow is continuous and you couldn’t pass it normally. There will be a block you can grab in this section, so do that and push it towards the neverending Lifestream current.
Push the block into the current and it will now stop it from flowing into the main path. You can now continue north on the main path, where some enemies will be in your way (Ancient Dragon and Berserker Bees). West is where you go after the battle and up another set of vines, but don’t confront the Shinra soldiers yet. Instead, look to the west for another path, where you see the two Ancient Dragons. Defeat them, then open the chest they were guarding for an Astral Remnant. You can now go back and fight those Shinra enemies mentioned just above.


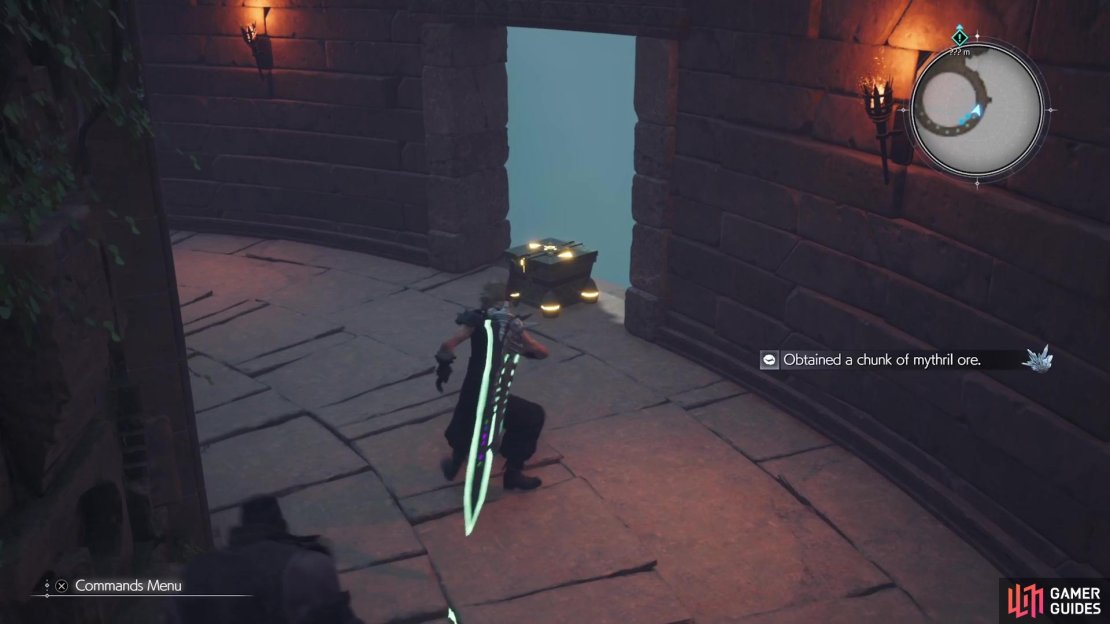
There will be a door to your east, so pass through it and keep pressing on, even when the path is falling apart. When you reach the next circular room, look on the eastern side for a chest (![]() Mythril Ore). To the north will be the final area of this section, where you can crawl underneath some rubble and encounter three 2-C SOLDIER Operators. This battle can be a little tough, but remember that they are weak to fire, so use that to pressure them. Try focusing on one at a time and keep moving to avoid moves like Black Hole and Gale Blade (both area of effect moves).
Mythril Ore). To the north will be the final area of this section, where you can crawl underneath some rubble and encounter three 2-C SOLDIER Operators. This battle can be a little tough, but remember that they are weak to fire, so use that to pressure them. Try focusing on one at a time and keep moving to avoid moves like Black Hole and Gale Blade (both area of effect moves).
After the battle is over, Reno and ![]() Rude will appear, but you won’t be fighting them just yet. Instead, they detonate the explosives set by the SOLDIERs, and the game will switch focus over to Aerith’s party.
Rude will appear, but you won’t be fighting them just yet. Instead, they detonate the explosives set by the SOLDIERs, and the game will switch focus over to Aerith’s party.
No Comments