Exploring the open world segment of ![]() Cosmo Canyon is similar in many ways to exploring the
Cosmo Canyon is similar in many ways to exploring the ![]() Junon Region was - once you wrangle this region’s chocobo you’ll be free to seek out most of the region’s World Intel events at your leisure. A new region means a new summon, and in this case it’s Bahamut Arisen, and who doesn’t want a dragon god dropping Mega Flares (technically Gigaflare, in this case) at their beck and call? Unfortunately, you have to subdue a summon in combat before you can acquire its materia, and this page will help you find all the Divine Intel in Cosmo Canyon to help make this battle a bit easier.
Junon Region was - once you wrangle this region’s chocobo you’ll be free to seek out most of the region’s World Intel events at your leisure. A new region means a new summon, and in this case it’s Bahamut Arisen, and who doesn’t want a dragon god dropping Mega Flares (technically Gigaflare, in this case) at their beck and call? Unfortunately, you have to subdue a summon in combat before you can acquire its materia, and this page will help you find all the Divine Intel in Cosmo Canyon to help make this battle a bit easier.
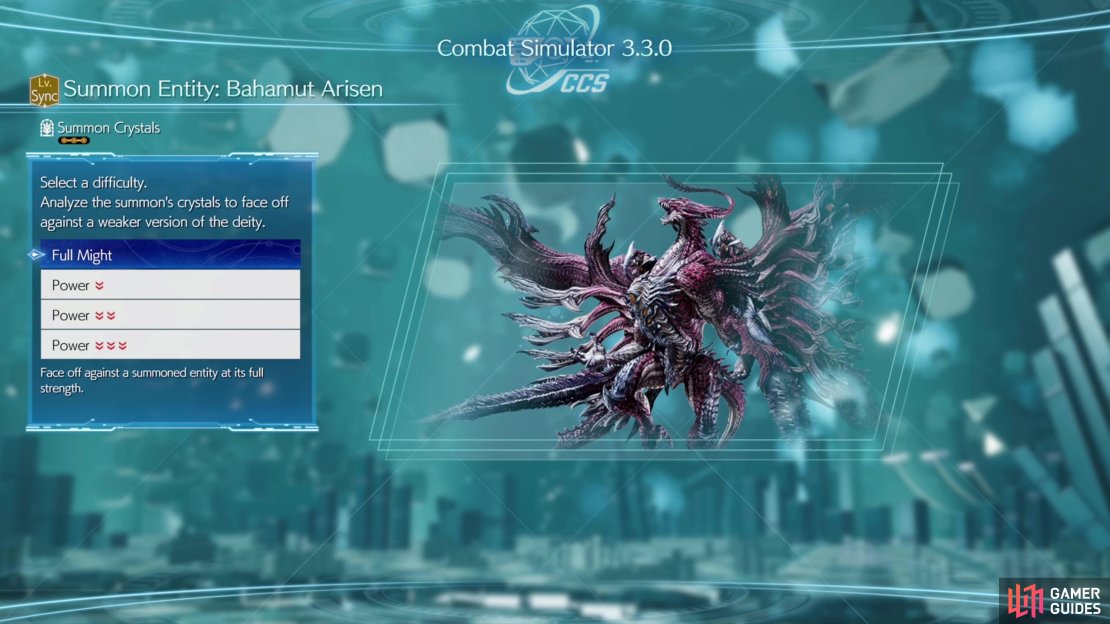
Complete Bahamut Arisen Divine Intel to empower the Bahamut Arisen Materia you can get and weaken the summon during your fight.
How to Find All Bahamut Arisen Divine Intel in the Corel Region
As with the Junon Region, you’ll need the unique chocobo in the Cosmo Canyon region to reach most of Bahamut Arisen’s Sanctuaries. The bird’s unique traversal ability will allow you to head down to the lower plains of the region where most of the World Intel locations - including Divine Intel - are located without having to go to Cosmo Canyon first. If you’re willing to wait until the end of the chapter you can just take an elevator down, but you still need the Cosmo Canyon chocobo to reach Divine Intel 1 and Divine Intel 3.
The traversal gimmick of the Cosmo Canyon chocobo is its ability to glide, and it can regain altitude by crossing over air currents. With these two things in play, you’ll be able to take off from designated ramps to fly over to otherwise inaccessible ledges. When you find these ramps they’ll be marked on your map as “Gliding Ranges”, and they also serve as fast travel points, so if you’re willing to blindly explore, taking ramps from one vantage to another, you’ll end up unlocking a lot of the map even if you don’t have any specific destination in mind - this will make it much easier to get around in the long run, as you can fast travel to previously explored areas without having to figure out which series of ramps and air streams leads you where you want to go.
It’s also worth noting that the minigame you need to complete to scan each of these Sanctuaries is considerably more difficult now than the first few were. Expect to see three different buttons used during the memorization minigame and in non-repeating patterns at times. Still, the hit radius is generous enough that even if you’re merely in the ballpark you’ll succeed.
With that in mind, let’s go gliding to these Sanctuaries so we can take the mighty Bahamut Arisen down a few pegs.
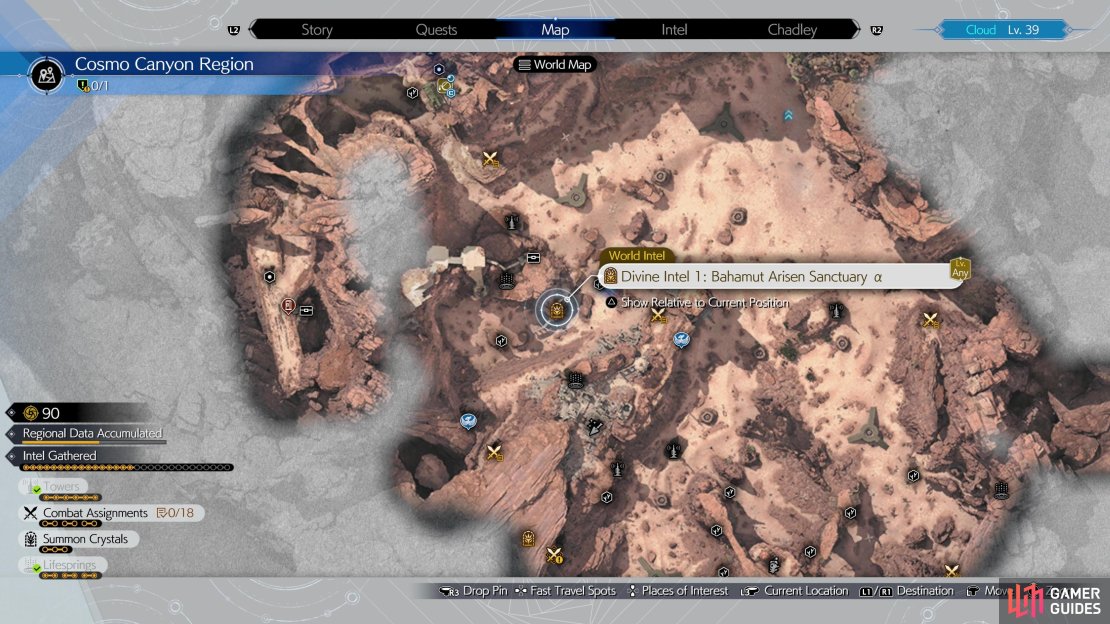
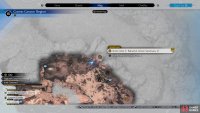
(1 of 3) The location of the first Divine Intel location on the map.
Divine Intel 1: Bahamut Arisen Sanctuary Alpha Location
While this Divine Intel requires a bird to reach, it’s one of the less complicated locations to reach via chocobo on this map. Head over to Gliding Range No. 4 - 11 m, which is left-of-center on the map and glide your chocobo to the west - not that you have much choice, as that’s where the ramp is facing. The ledge you want is below you and to the right, but this ramp will take you right to it with minimal fuss and adjustment.
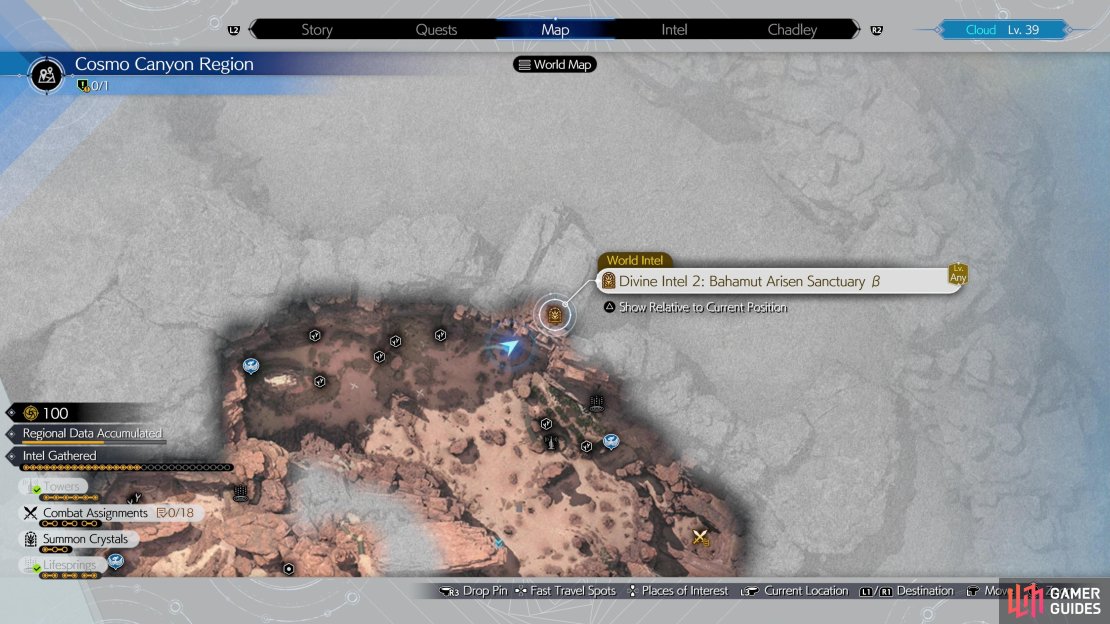
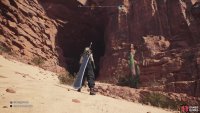
(1 of 3) The location of the second Divine Intel location on the map.
Divine Intel 2: Bahamut Arisen Sanctuary Beta Location
The only one of these Bahamut Arisen Sanctuaries that doesn’t require a chocobo to reach, you can find it along the northernmost edge of the map, just north (and slightly west) of Activation Intel 5: Spiritwastes Tower. Don’t overthink it, just head around the ledge leading up to the aforementioned tower and follow the cliffs north, heading uphill until you find a cave. The Sanctuary is inside.
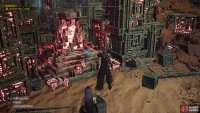
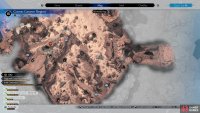
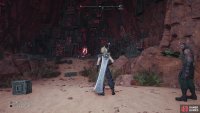
(1 of 3) Make your way to the current generator along the southeastern edge of Cosmo Canyon,
Divine Intel 3: Bahamut Arisen Sanctuary Gamma Location
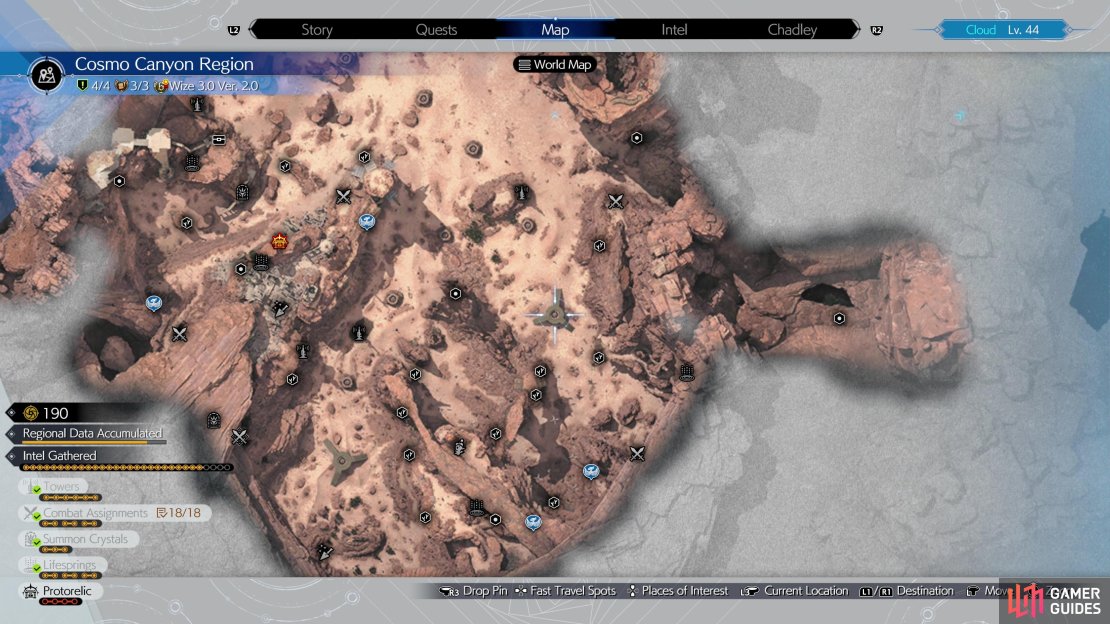
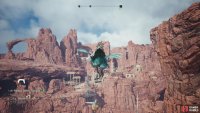
By far the most meddlesome Sanctuary to reach, to get here you’ll functionally need to reach Activation Intel 6: Ancient Capital Tower, and to do that you’ll need to make use of this region’s chocobo and numerous Gliding Range ramps in sequence to reach your destination. First, head to the eastern edge of the map, where you’ll find an air current generator - this is easy enough to spot on the map as it’s a circular platform with three distinctive ramps leading up to it. Mount your chocobo and approach from either the north or southwest, ride up to the current generator and when you get close, you’ll be swept into the sky. Glide by holding [R2] onto a large ramp to the southeast. To the south should be Gliding Range No. 9 - 55 m, which will be the first in a series of jumps you’ll need to make, as follows:
-
Ride your chocobo off Gliding Range No. 9 - 55 m and glide southwest over two current generators to land on another ramp. Don’t overthink it, just glide and you should make it. You should land between Gliding Range No. 8 - 73 m and Gliding Range No. 11 - 72 m. Ignore them - we’re after another Gliding Range ramp.
-
When you land, hop off your chocobo and head upstairs to the southwest before crossing a wooden walkway until you find yourself near Gliding Range No. 13 - 88 m. Summon your chocobo and glide off the ramp to the northwest, using two more current generators to reach another landing ramp straight ahead.
-
Make your way forward a bit and you’ll find Gliding Range No. 14 - 90 m. Glide off it to the south and you’ll reach a landing ramp a short distance away.
-
To get to the next ramp you’ll need to do a bit of walking. Follow the linear path ahead until you find Gliding Range No. 15 - 94 m off to the right (note if you take a detour to the left, you’ll find Expedition Intel 4). You want to ignore the ramp and instead continue past it, following the sandy, winding path uphill until you find a
 Griffon and a
  Basilisk. Fight or ignore them as you please but continue northwest past them to find Gliding Range No. 16 - 124 m.
 -
Call your chocobo again and glide off Gliding Range No. 16 - 124 m. Use another current generator to float across a large cap to the northwest - you should have enough range to land on a ramp on Activation Tower 6: Ancient Capital Tower.
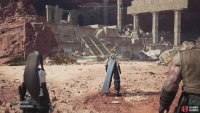
(1 of 3) From the tower, turn west to find some stairs leading up into the ruins,
Now that you’ve made it to the tower, be sure to activate it if for no other reason than to create a checkpoint up to these ruins, sparing yourself the bother of having to glide across the badlands again. It’s not wasted, either - you’ll need to travel up here later for other World Intel and side quests.
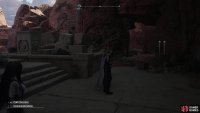
Once you’ve reached and secured the tower, climb down to the base of the tower, and from here turn west to spot some ruins in the distance, specifically some stairs. Ascend them and work your way southwest through the ruins until you reach a natural red stone wall, then turn south to find a cave opening. Head inside and venture down until you find the Sanctuary off to your right. Whew. Bit of a bother, but it’s worth it to upgrade Bahamut Arisen Materia (and an easier fight to claim it).




No Comments