
![]() Cosmo Canyon is home to the one and only
Cosmo Canyon is home to the one and only ![]() Red XIII and here you’ll get to learn a lot about his past. On this page, we’ll navigate you through the necessary steps to completing the World Intel and finding the Cave of the Gi.
Red XIII and here you’ll get to learn a lot about his past. On this page, we’ll navigate you through the necessary steps to completing the World Intel and finding the Cave of the Gi.
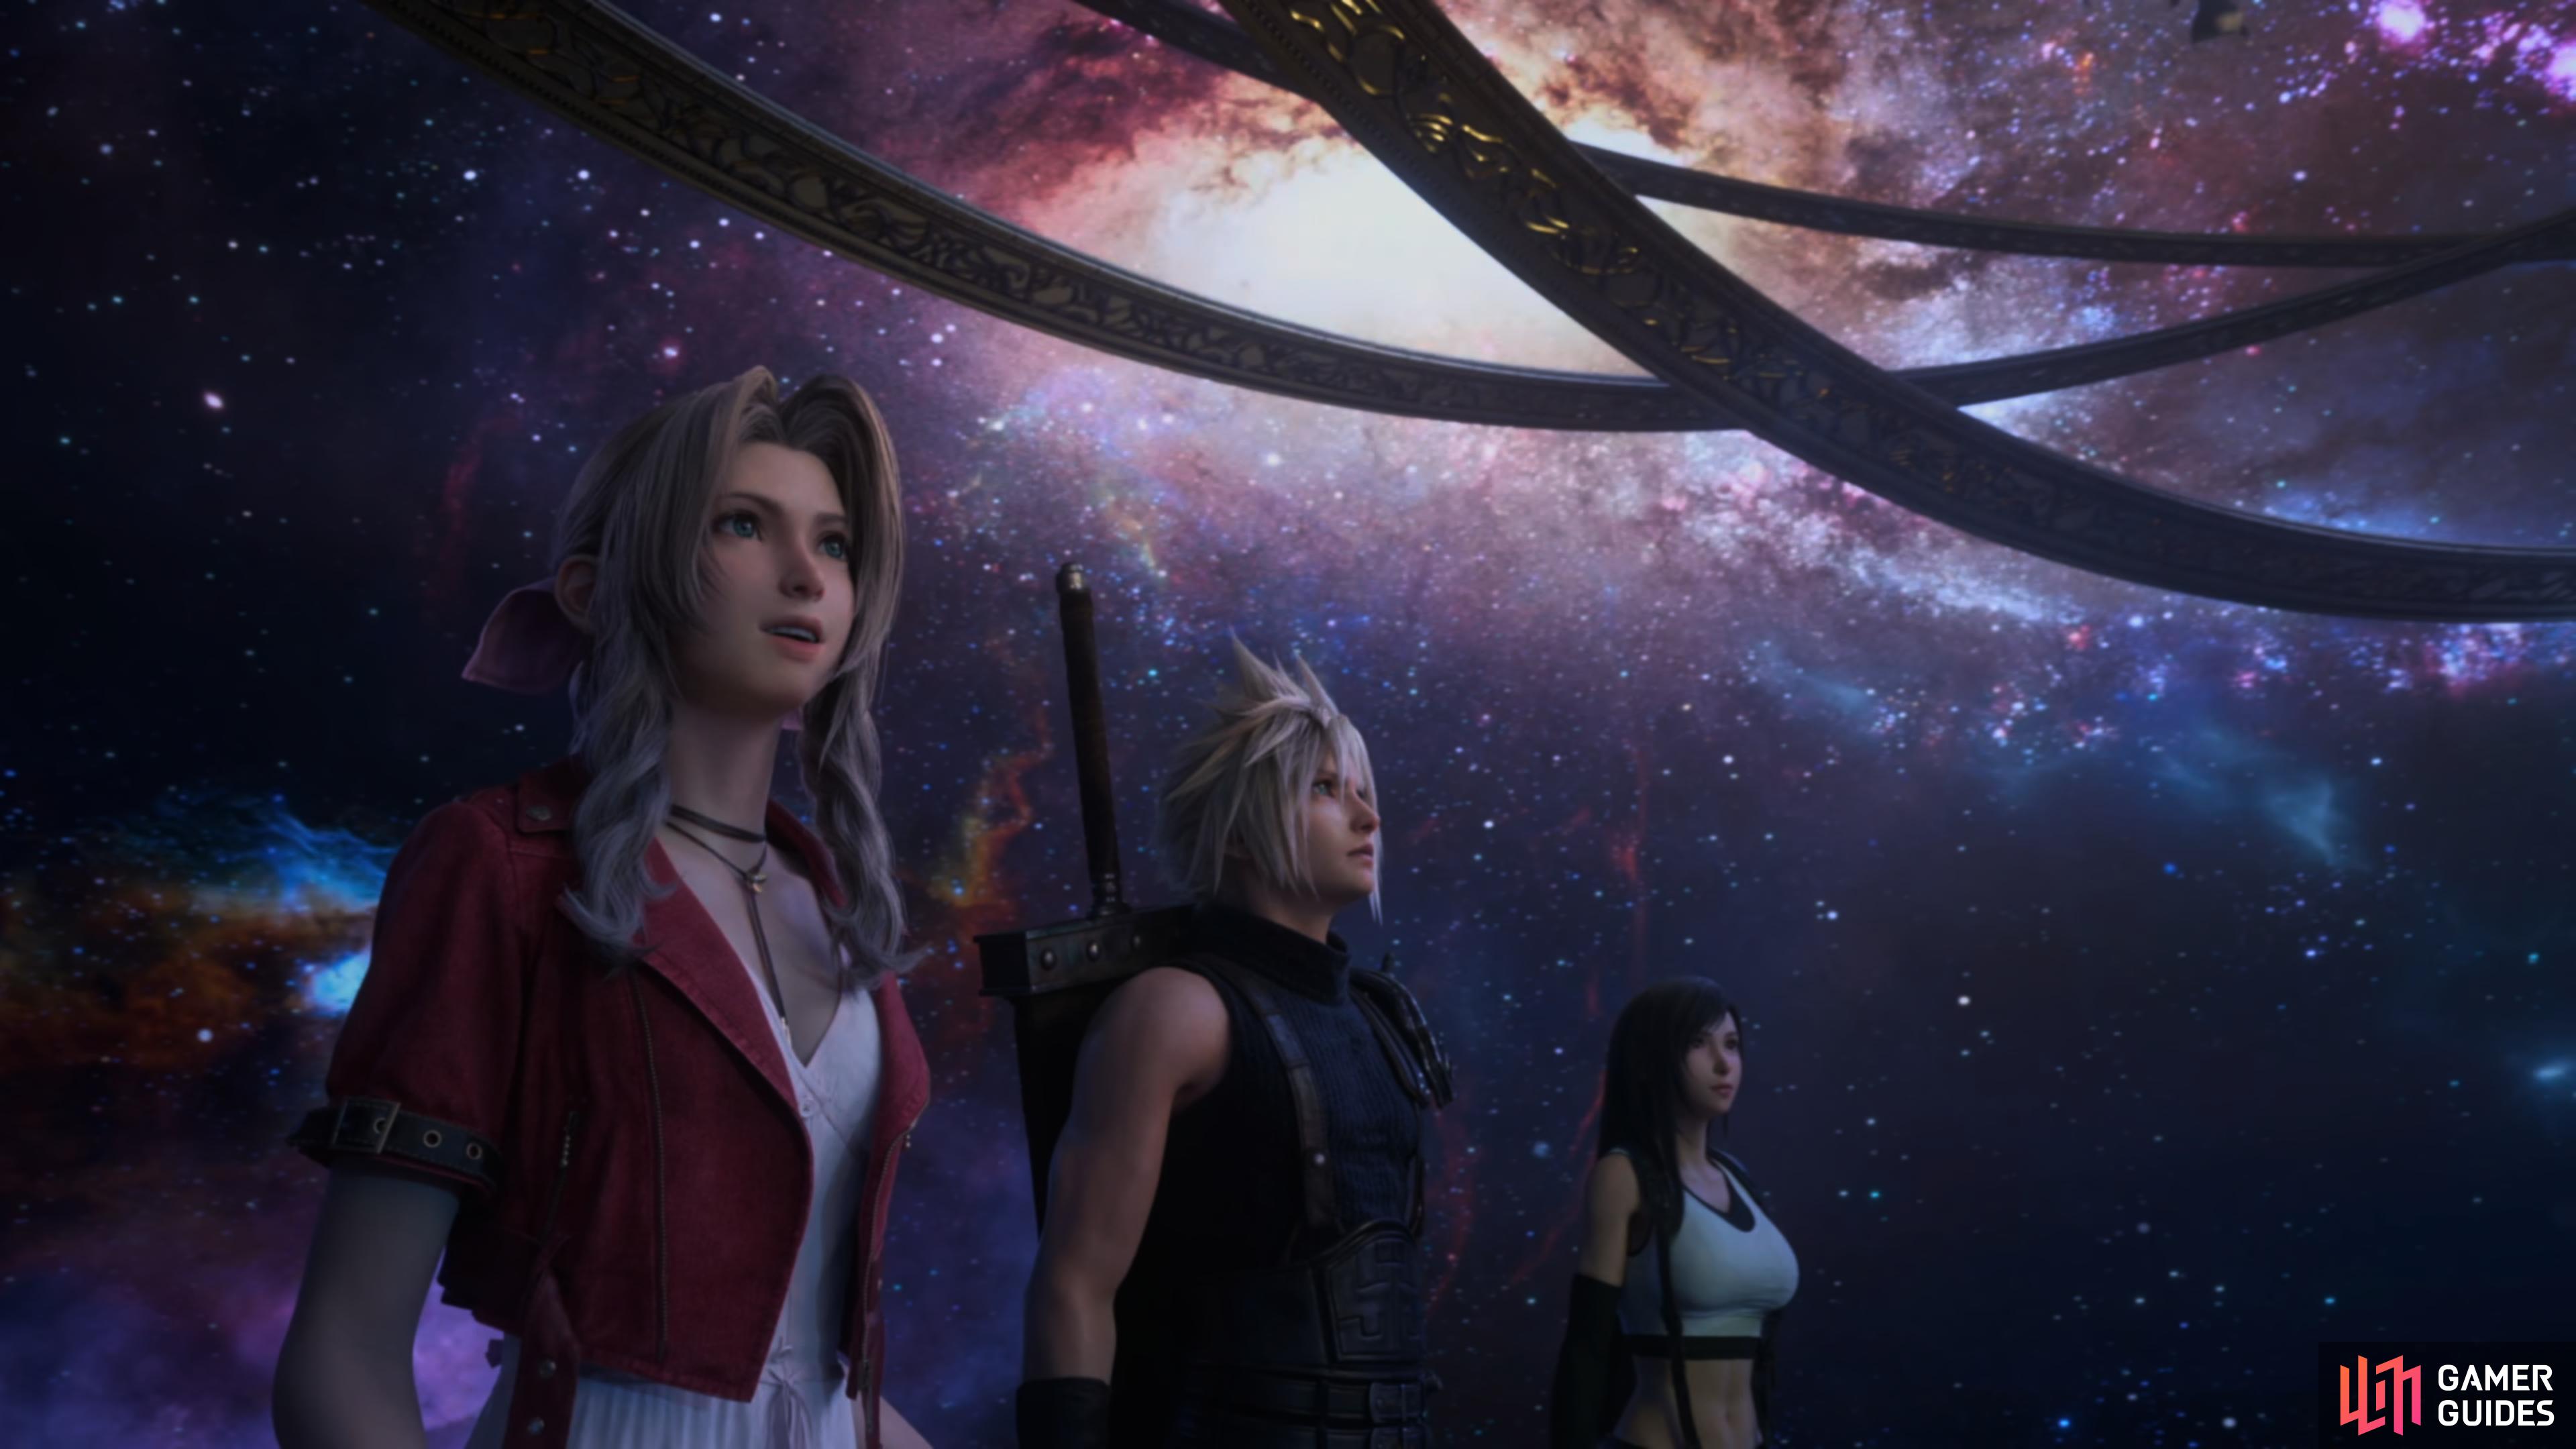
Aerith, Cloud and Tifa take an interesting lesson.
Homeward Bound
Cosmo Canyon is the next stop on your adventure in Final Fantasy: VII Rebirth, so once you hop off the plane you’ll want to follow the linear path ahead until you reach the Chocobo Ranch and then speak with Kamaria to begin the side quest Bonds of Trust which will involve you having to complete a series of chocobo training courses. Once you’re done with the side quest, you can either continue following the large signs to reach the entrance to Cosmo Canyon itself and progress the story or use the Gliding Range 1 - 112m to reach the southern portion of the Cosmo Canyon region and knock out the world intel.
Cosmo Canyon World Intel
| Intel | Amount |
|---|---|
| Divine Intel | 3 |
| Activation Intel | 6 |
| Expedition Intel | 6 |
| Fiend Intel | 6 |
Once you’re done with the exploration side of things, head to the Cosmo Canyon and follow Red XIII to trigger a cutscene, then take the observatory elevator and head all the way up the stairs to meet Bugenhagen. Proceed into the Cosmo Observatory and interact with the Book Backlog, Celestial Model, Raw Materia, Recordometer, Hologram, Mako Detector, Current Generator, Telescope and finally the Planetary Phonoscope. Now you’ll want to follow Bugenhagen into the Planetarium to trigger a scene and then head back outside and follow the friendly assistant to the storeroom to claim the ![]() Crystal Megaphone for
Crystal Megaphone for ![]() Cait Sith on the bottom floor.
Cait Sith on the bottom floor.
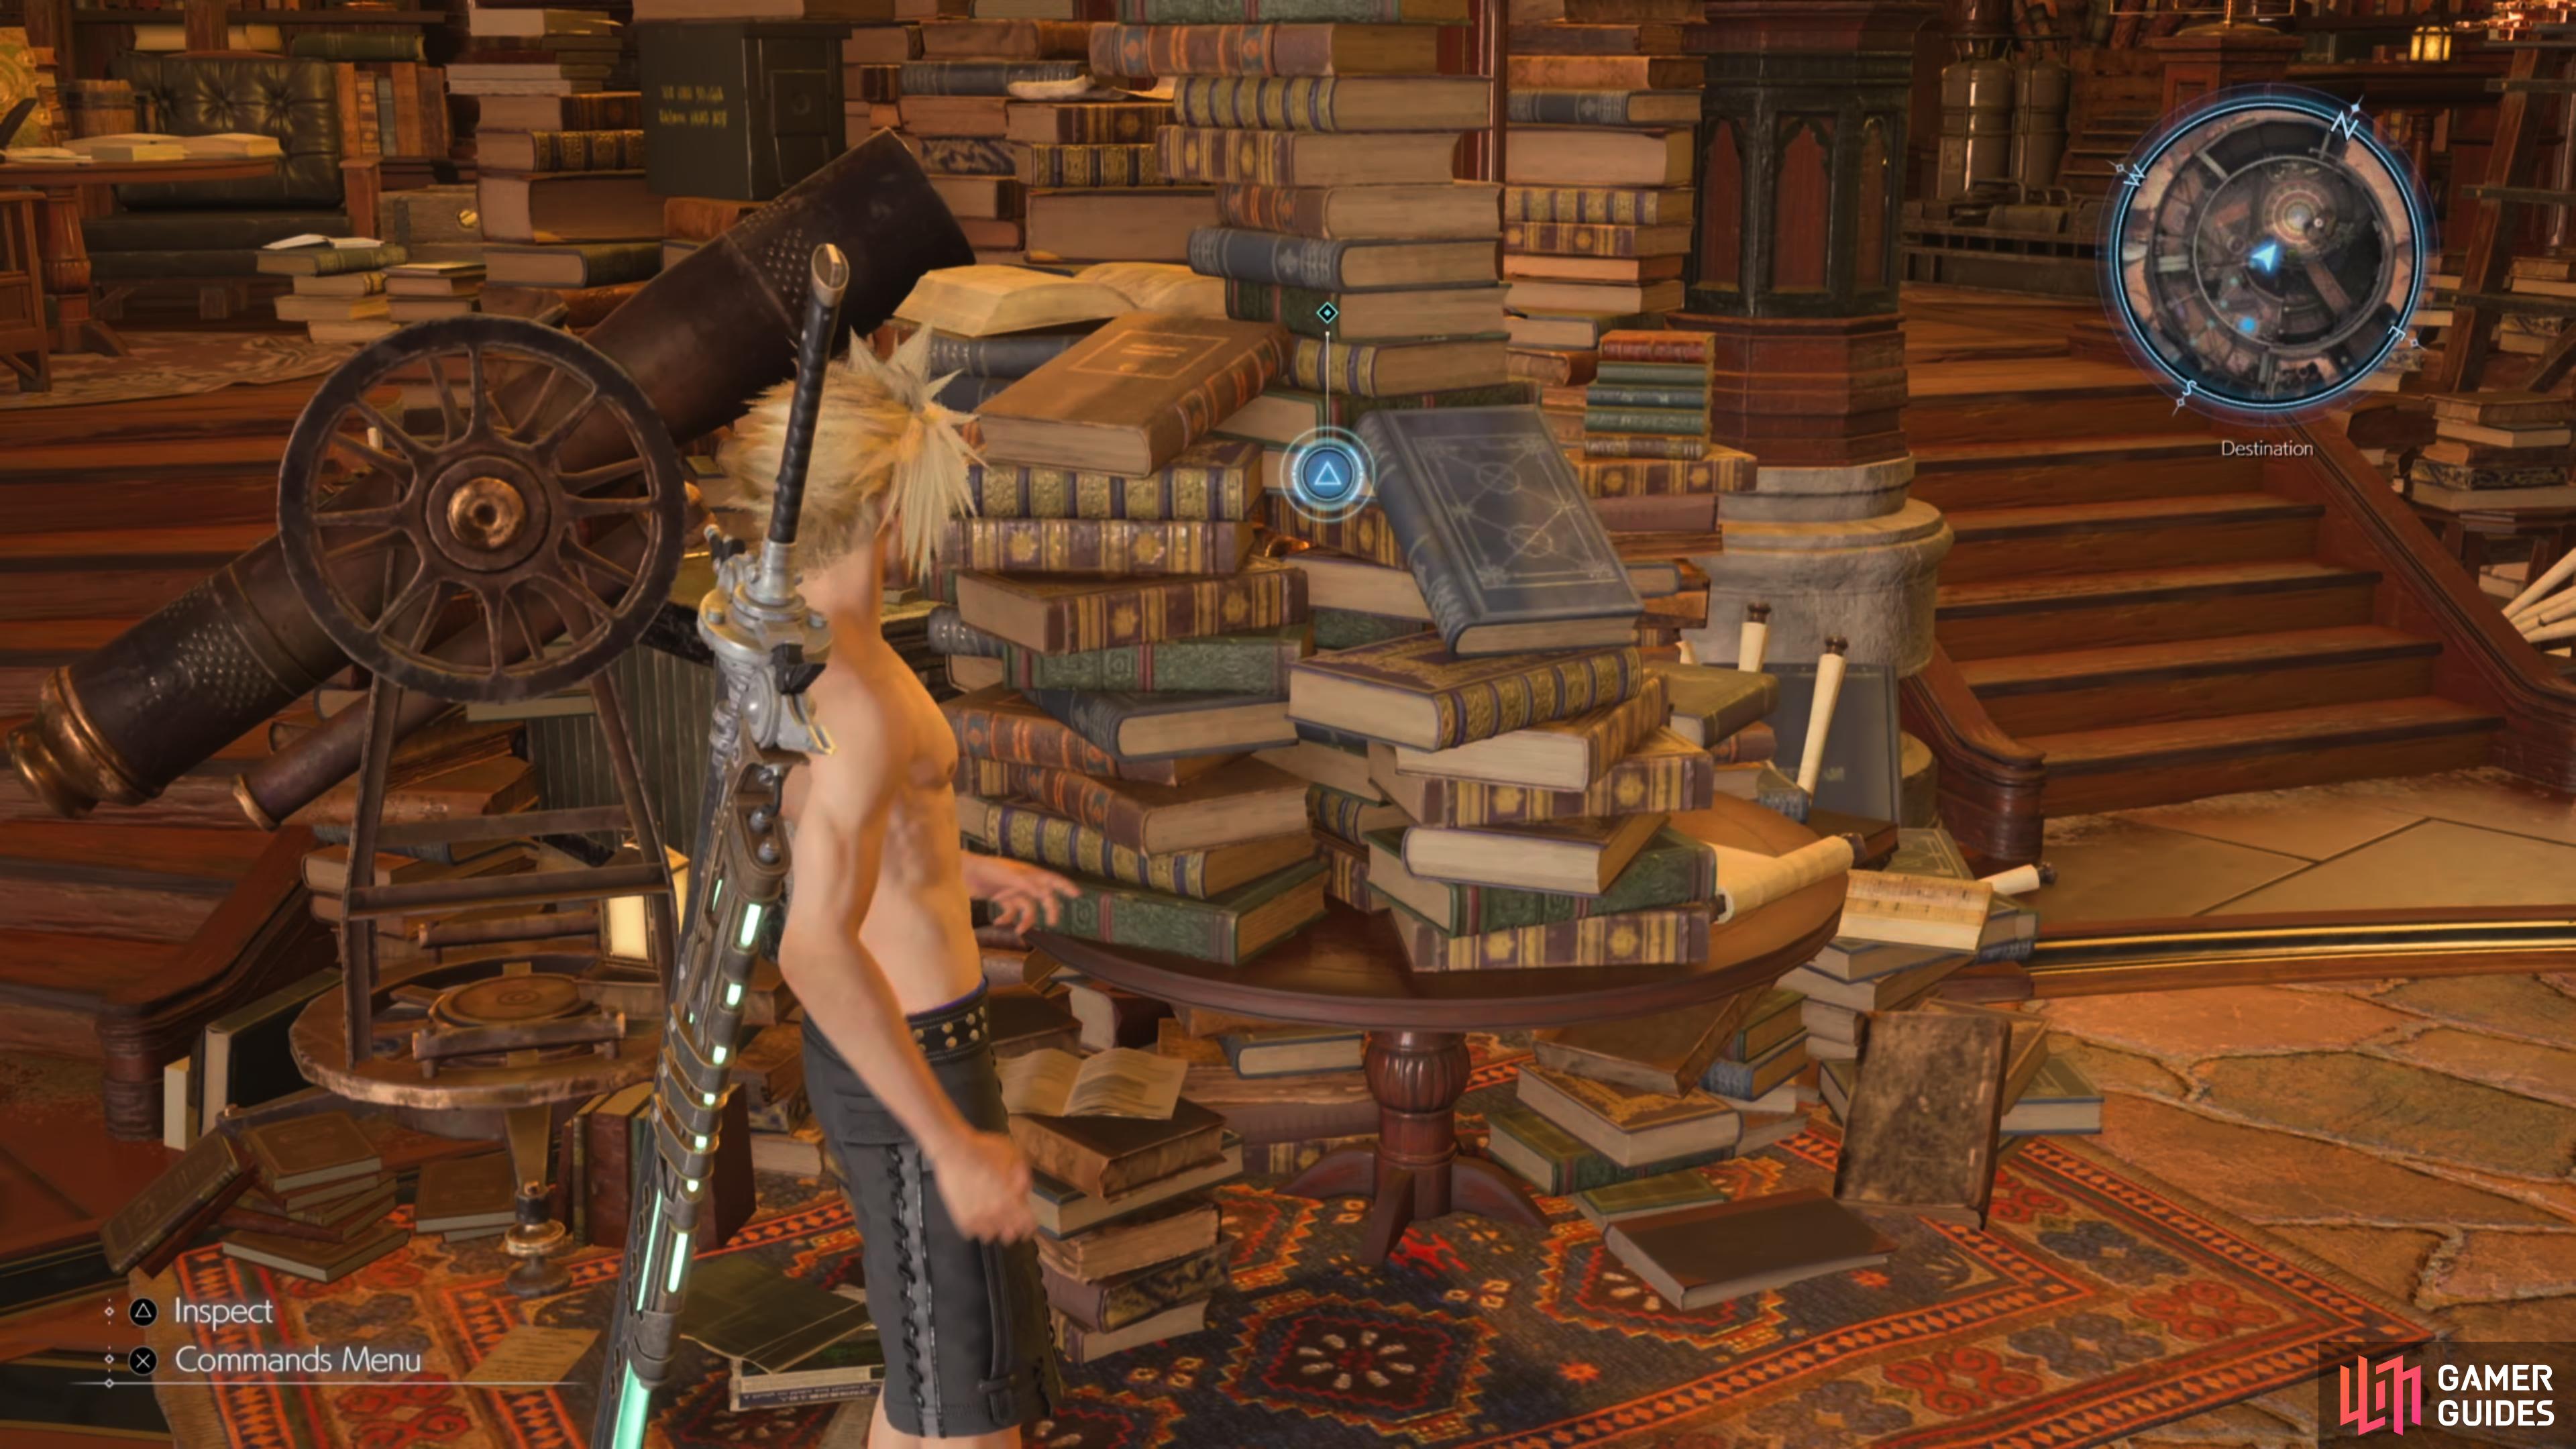


(1 of 2) Interact with the items to learn about the town,
Interact with the items to learn about the town, (left), Speak with the party members during the seminar to improve your relationship status with them. (right)
Higher Learning
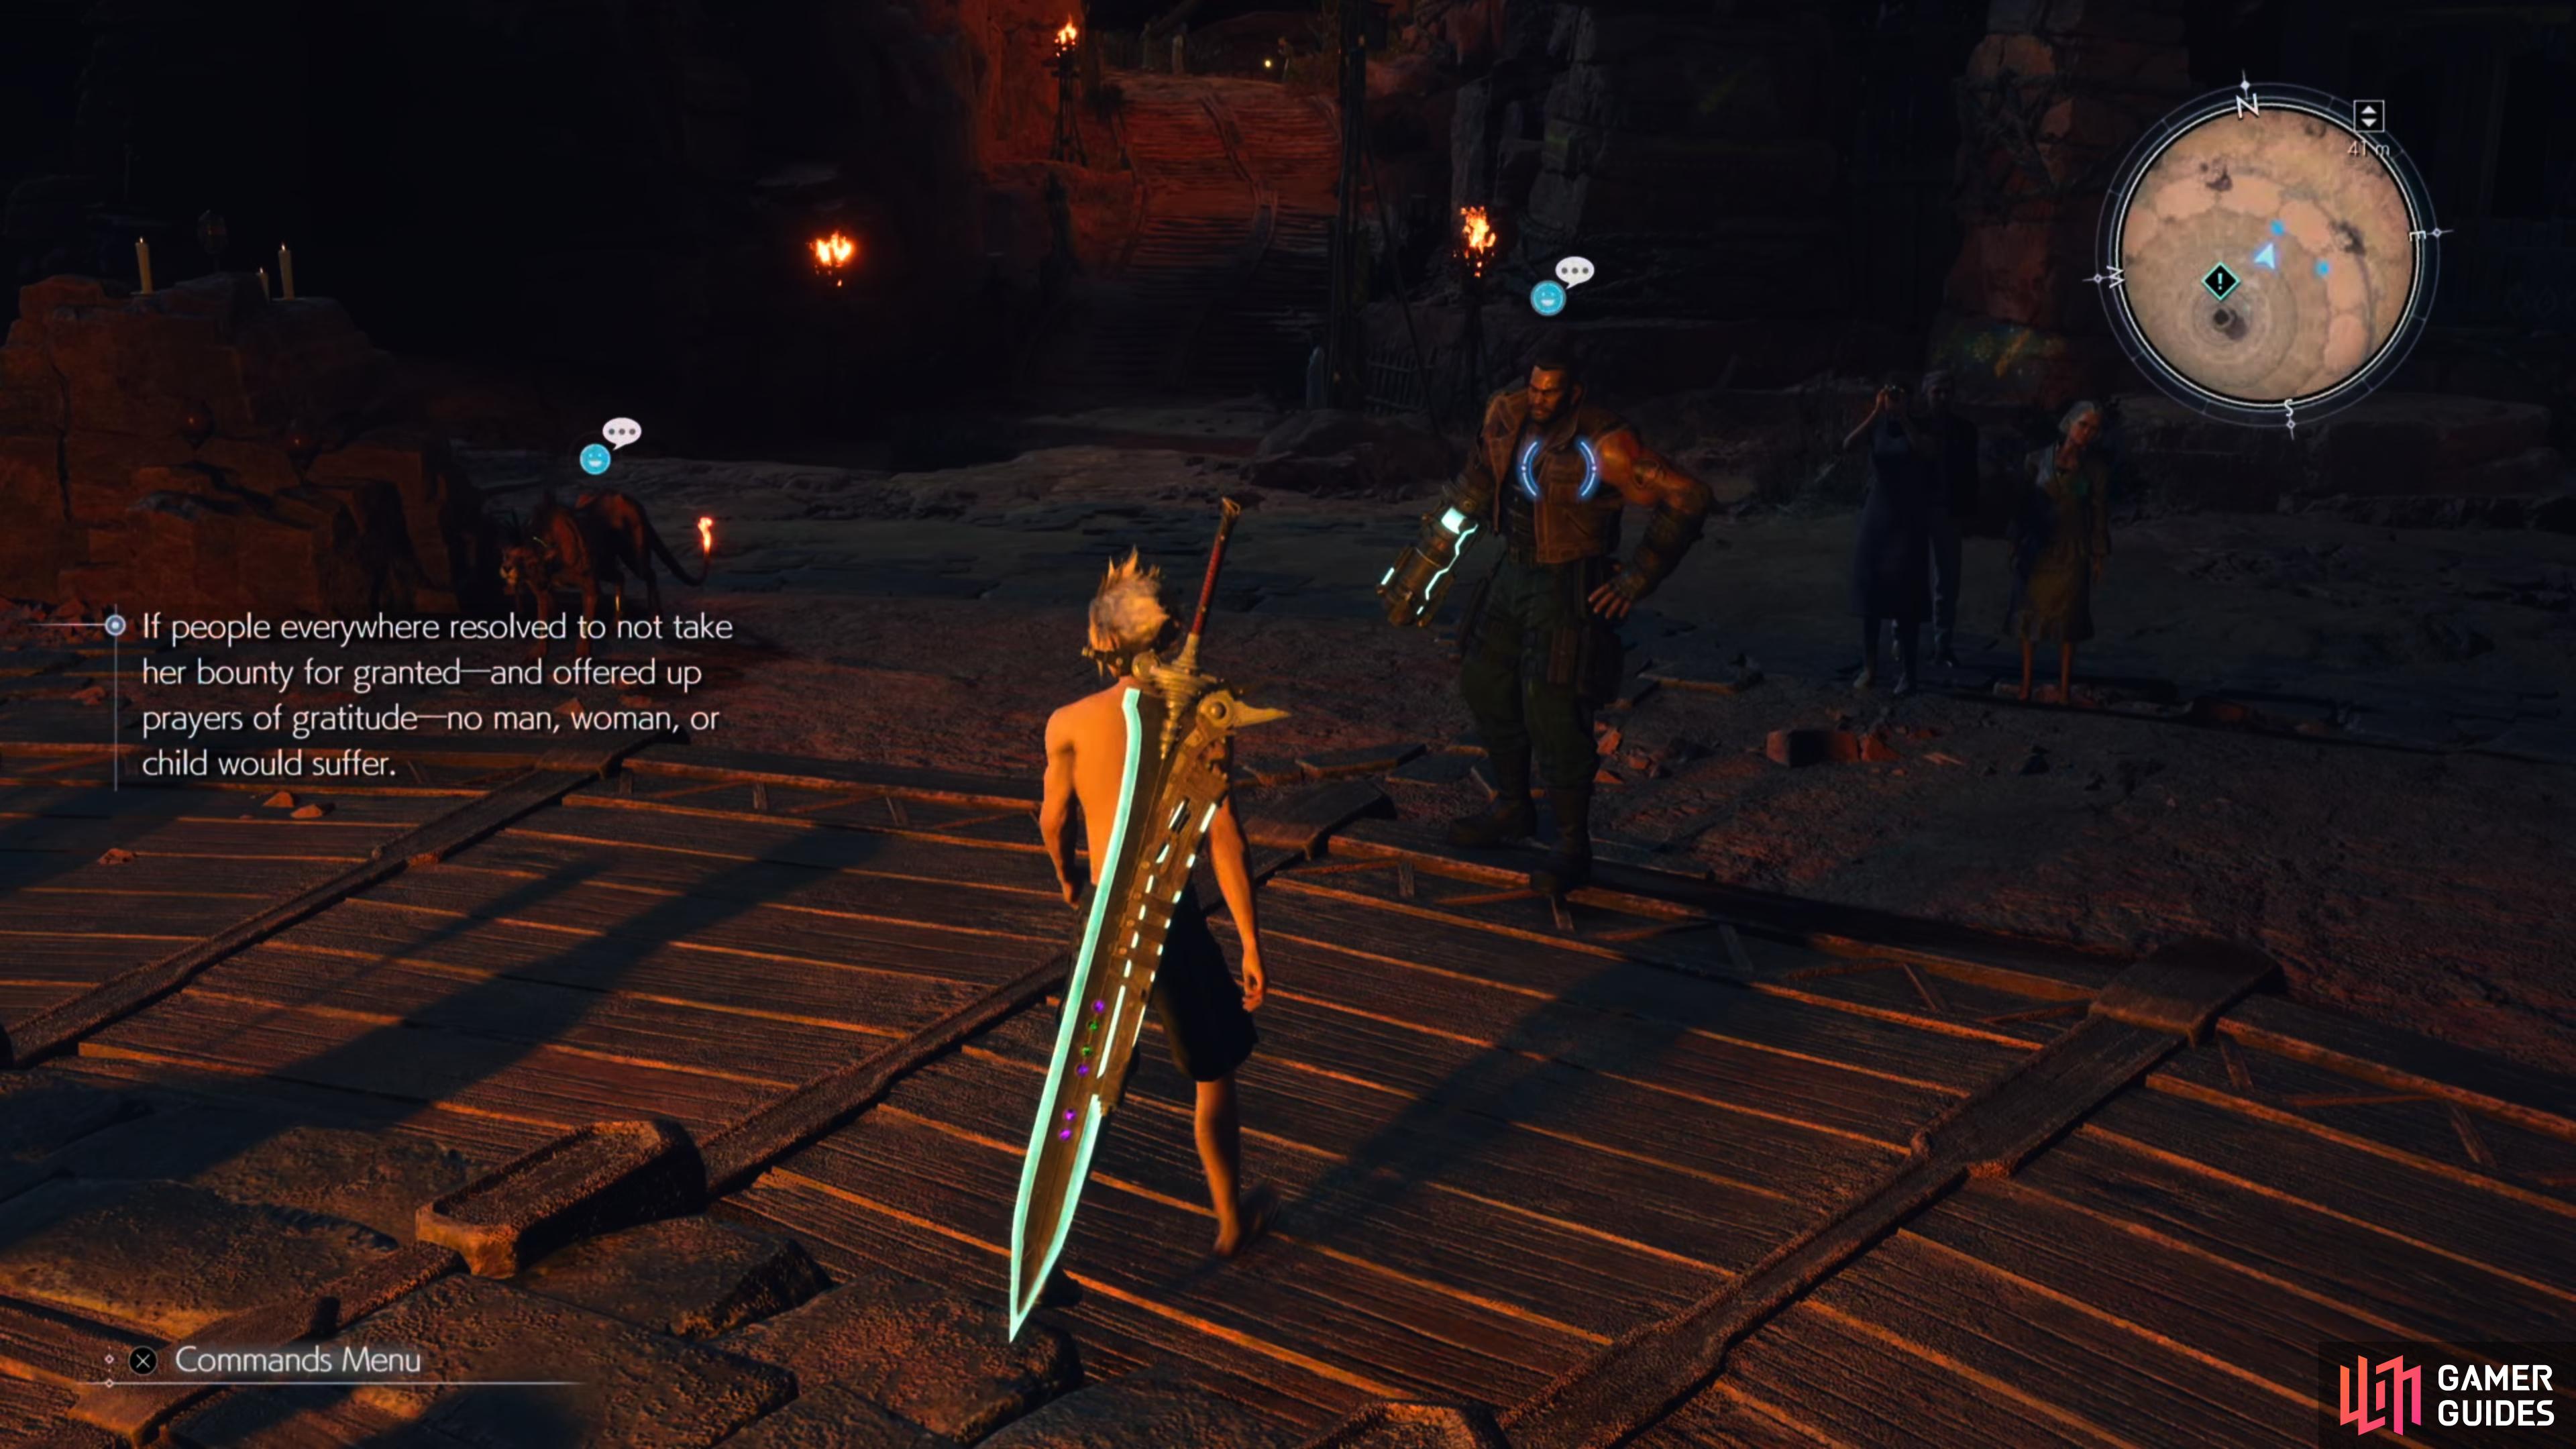
Once you’ve claimed your items, take the observatory elevator back down and follow the attendant to the seminar. After the seminar has come to a close, head back and take the torch elevator down to The River of Lights to trigger a cutscene. You’ll now have another opportunity to improve your relationship with the team and you can find out the correct answers by checking out our How to Boost Character Relationships page. After the scenes, follow Bugenhagen and you’ll be led to the Cave of the Gi.
No Comments