
After first visiting the village of Gongaga, you get swept into investigating the Gongaga Reactor. The party splits here, with Cloud, Barret, ![]() Red XIII and
Red XIII and ![]() Cait Sith checking out the place, while the ladies stay behind in the village. However, their findings were cut short thanks to Shinra, who appeared and sent some monsters their way, including
Cait Sith checking out the place, while the ladies stay behind in the village. However, their findings were cut short thanks to Shinra, who appeared and sent some monsters their way, including ![]() Specimen H1024, the next boss fight.
Specimen H1024, the next boss fight.
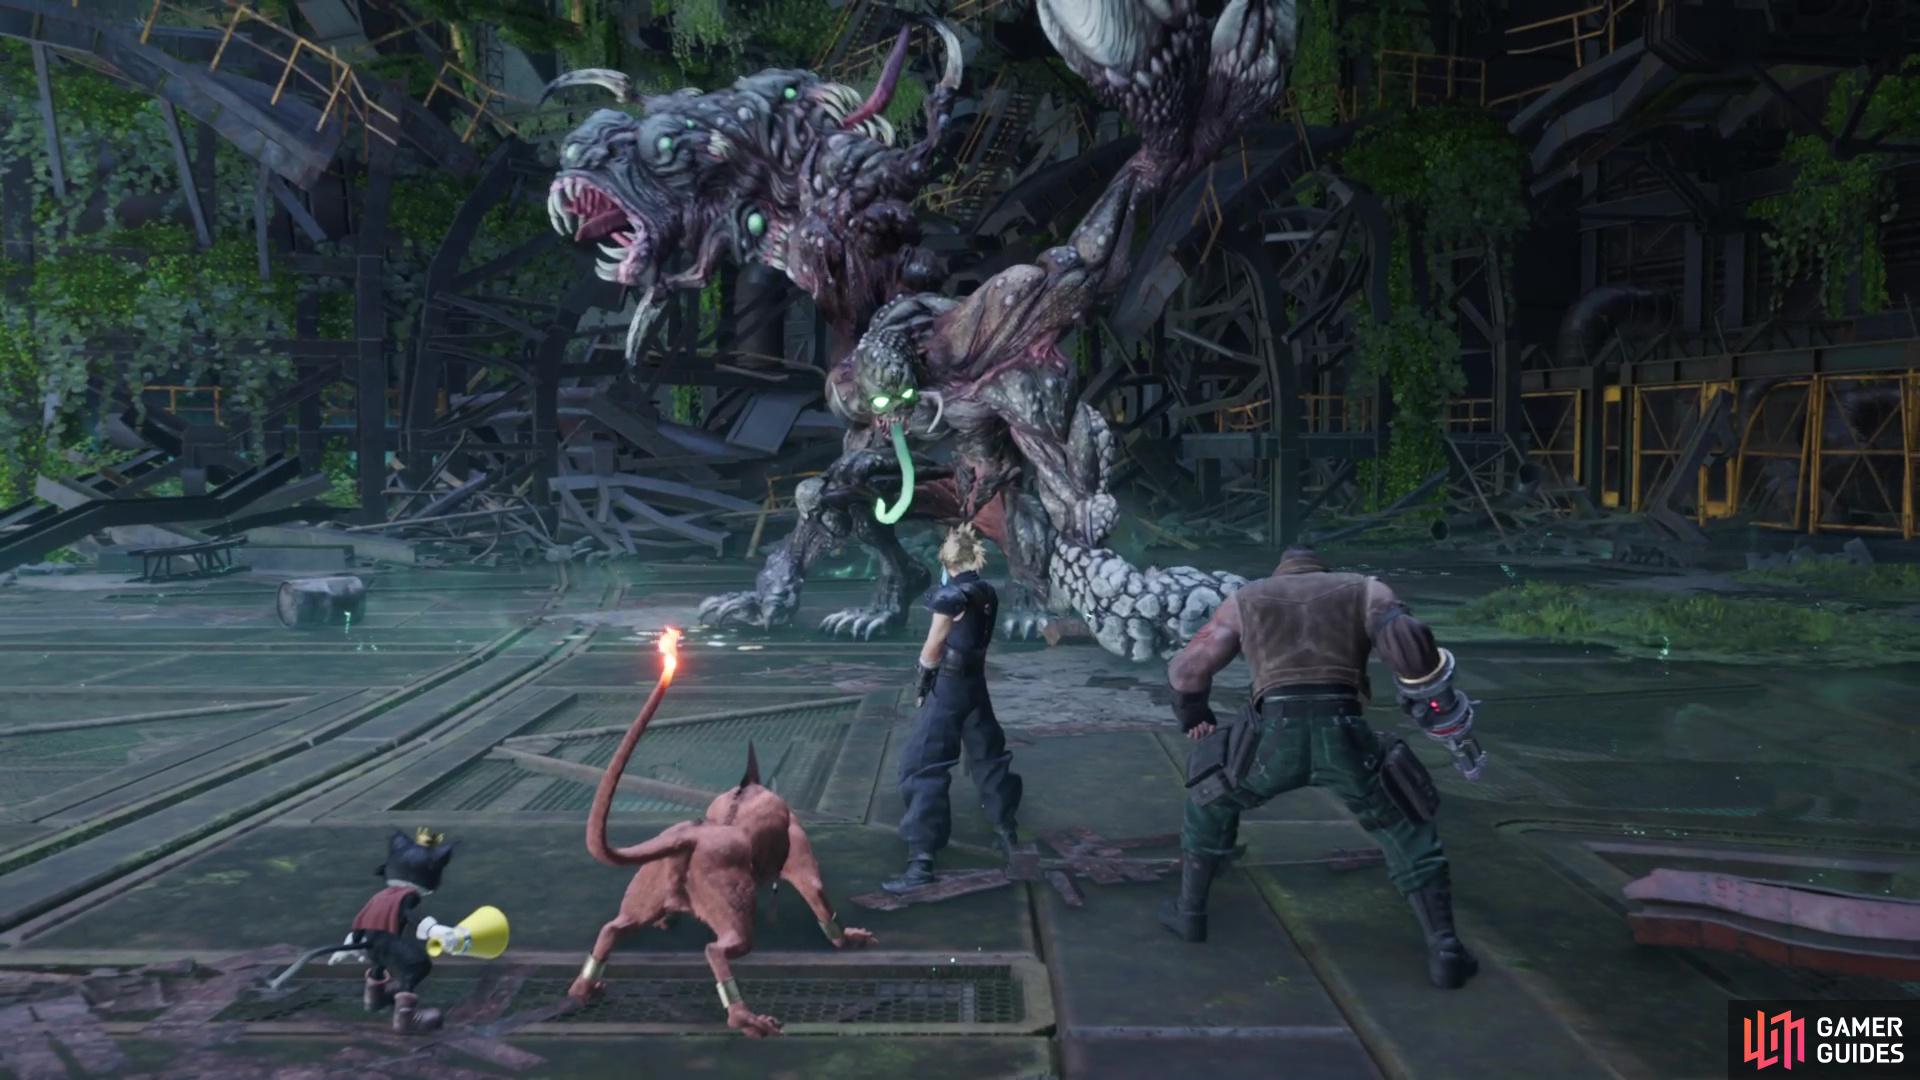
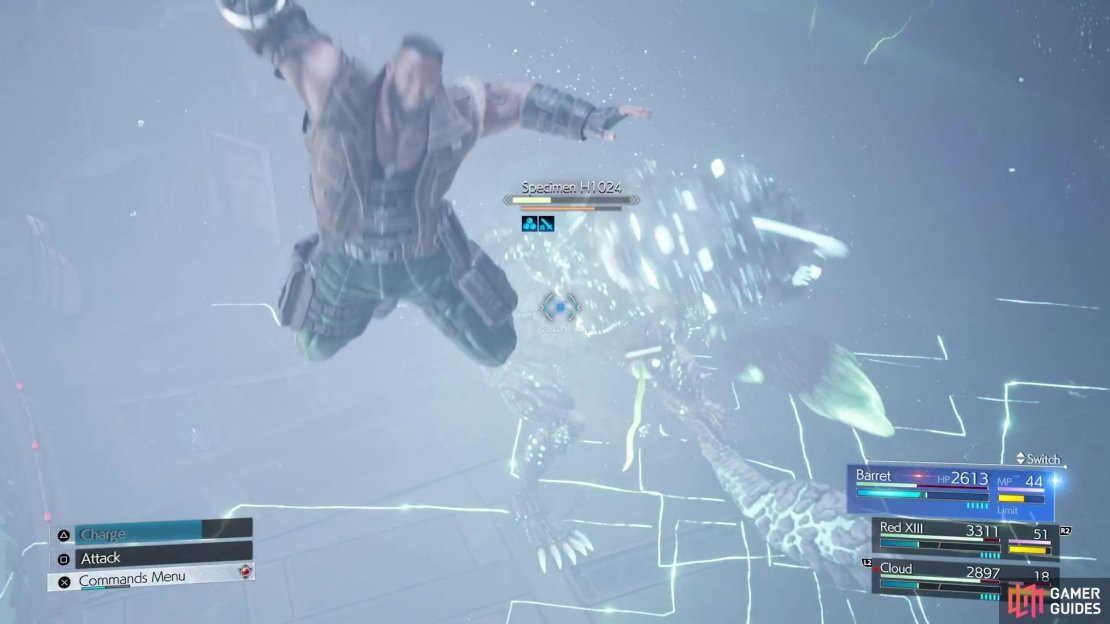
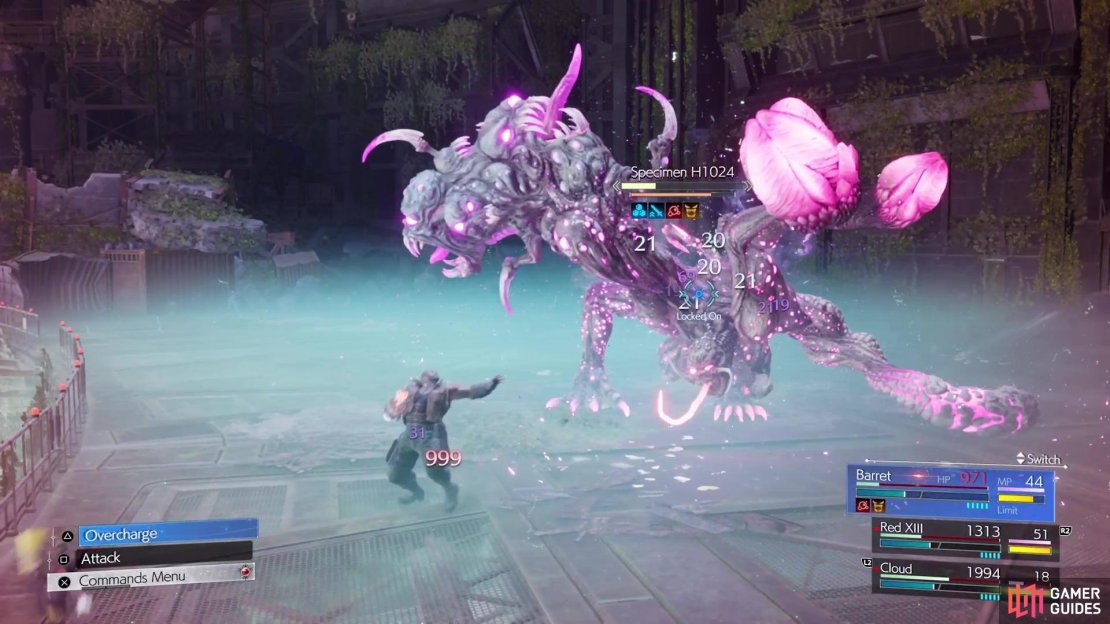
Cloud and company will face off with Specimen H1024 at the Gongaga Reactor.
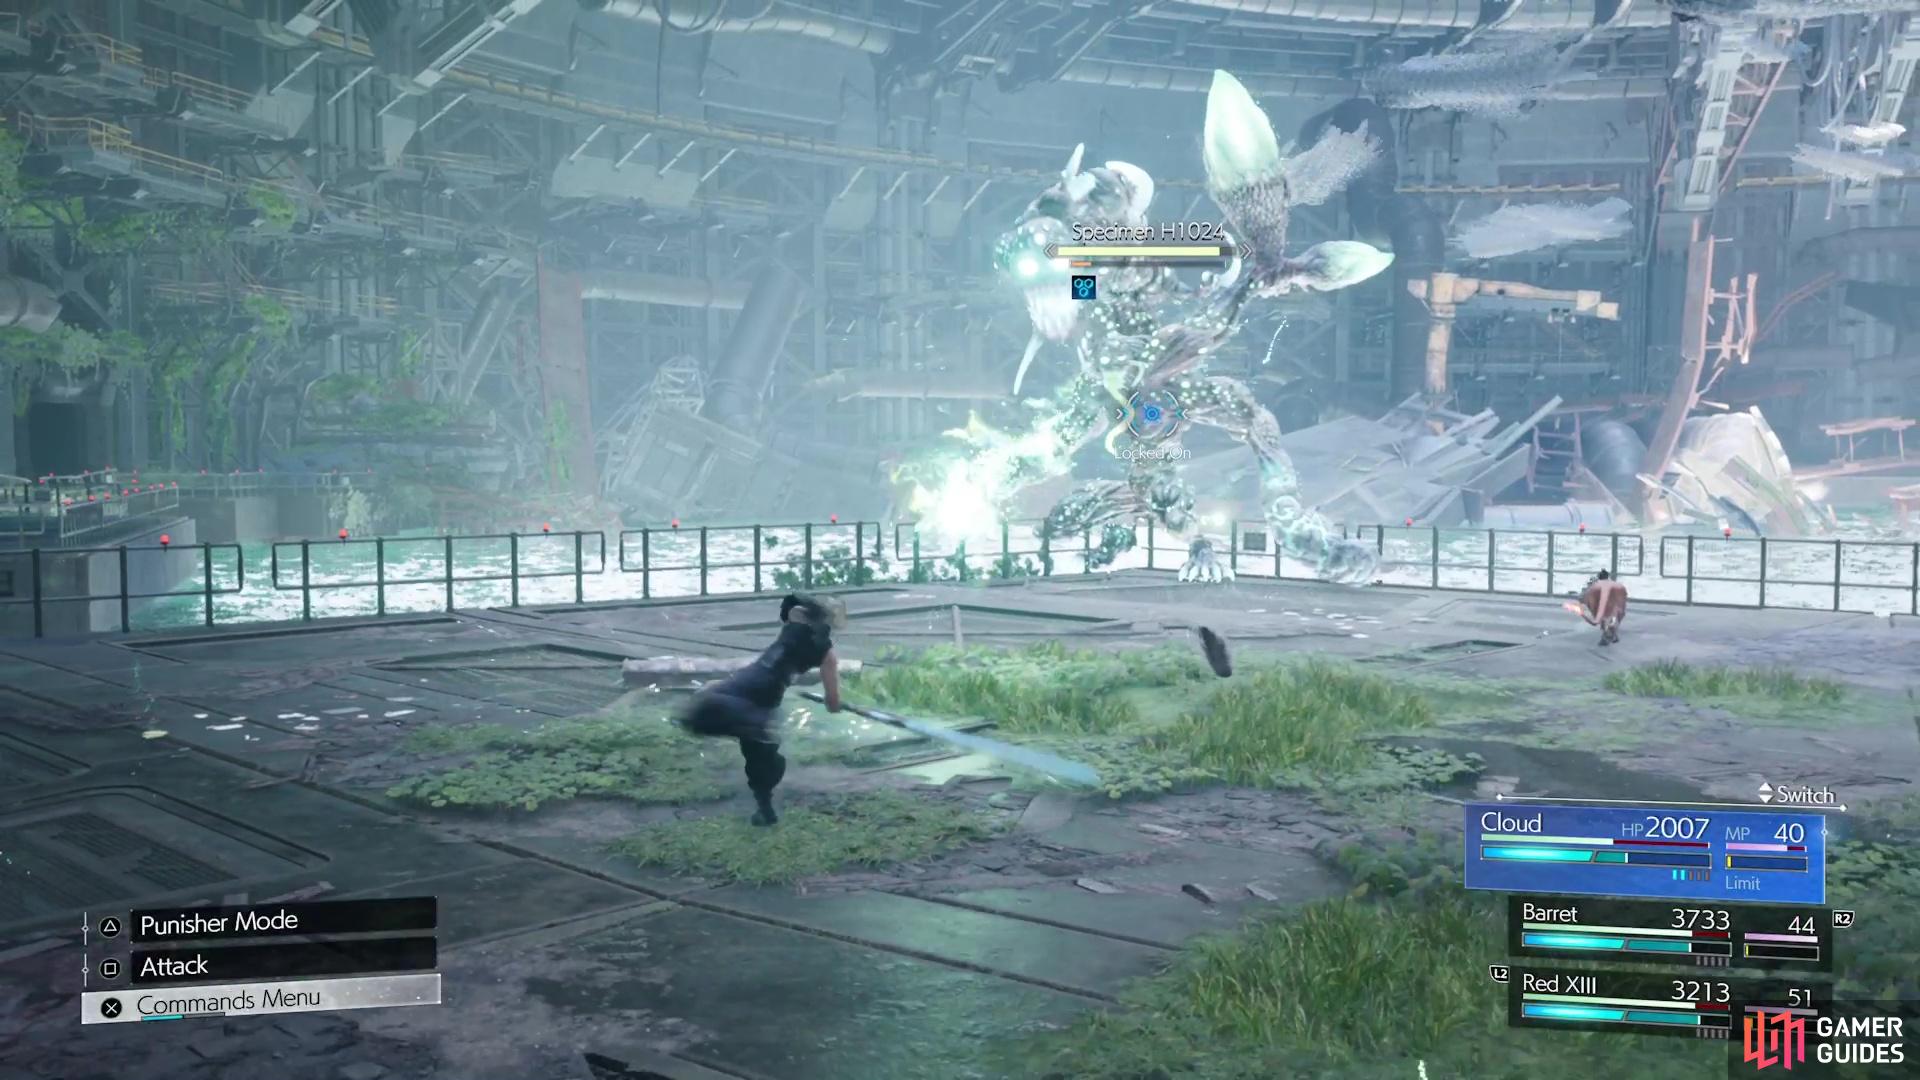
All of Specimen H1024’s Attacks
-
Mako Shot: The boss will fire a ball of mako energy at a character. It does trace their movements a bit and will explode when connecting with anything solid.
-
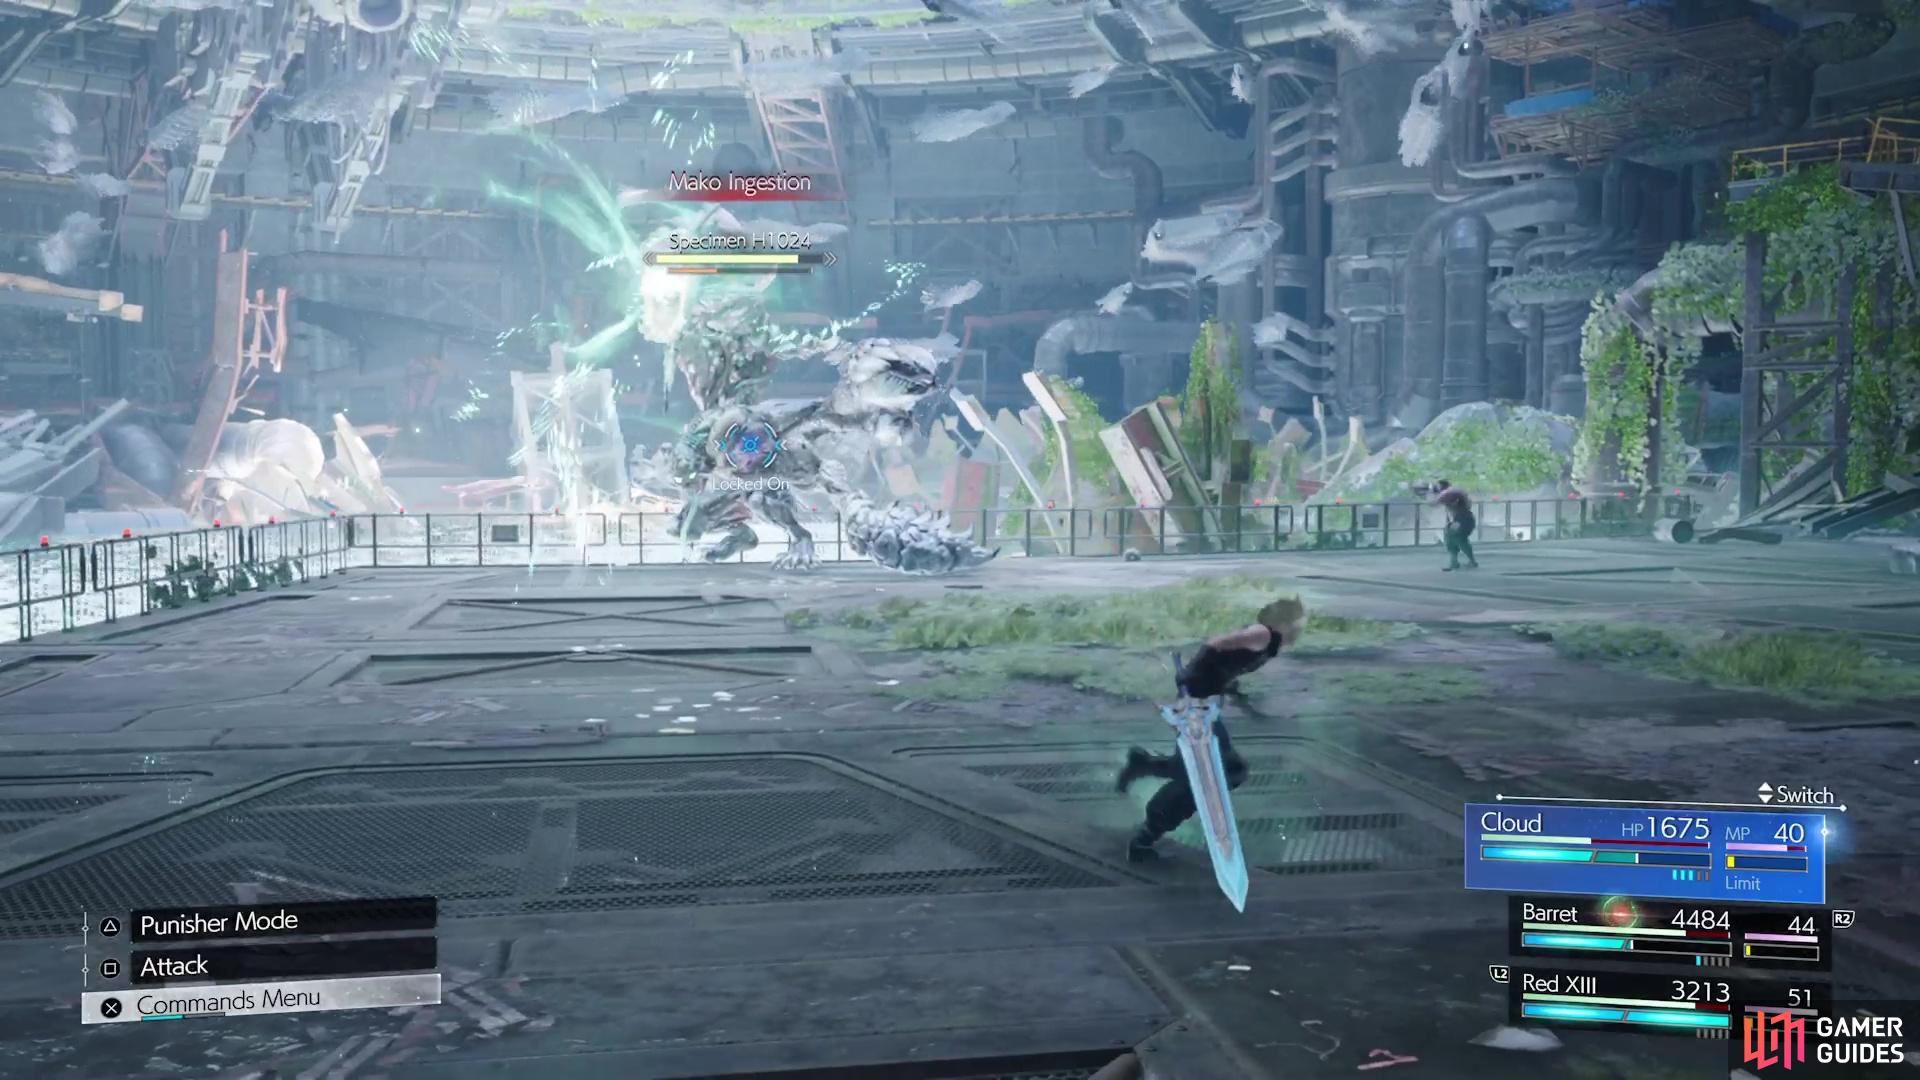
Mako Ingestion: The Specimen will inhale some mako and enter a powered up state. Doing this will usually buff the boss with either something offensive or defensive.
-
Thundara/Fira: It has access to both Fira and Thundara, the middle tier spells. Thundara should probably be blocked, since it’s harder to dodge, but Fira can be avoided by simply rolling. Note that if it’s in its powered up state, these can become the -ga versions.


(1 of 3) Mako Ball is a quick projectile that isn’t really difficult to avoid.
-
Wrathful Wave:
 Unblockable. The boss will use its appendage above its head to slam the ground three times in quick succession.
 -
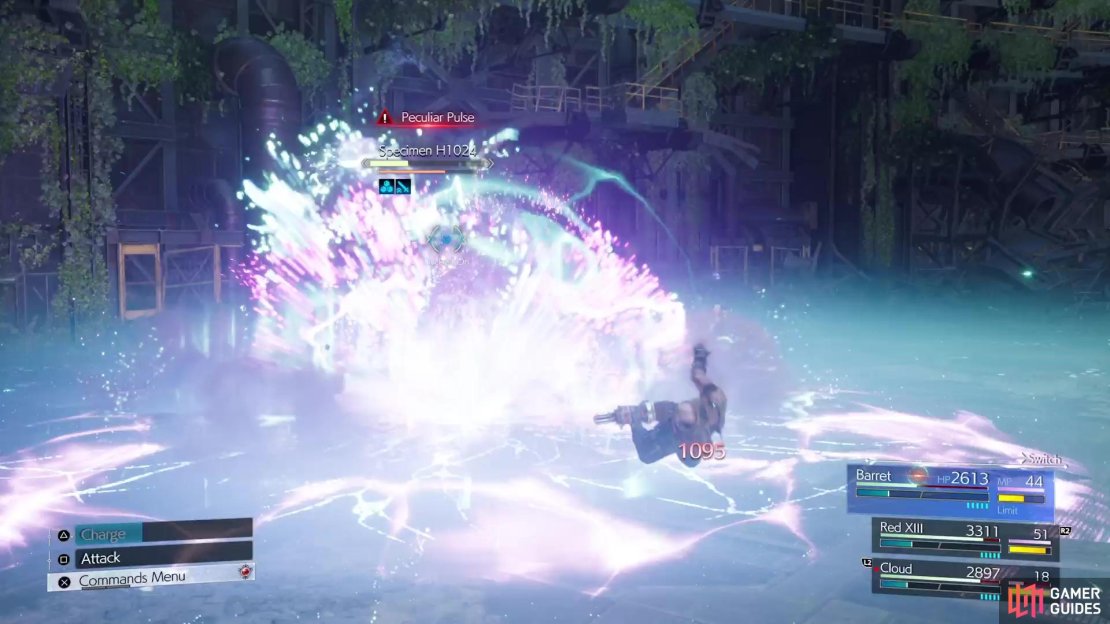
Peculiar Pulse: Unblockable. The boss uses its appendage above its head, charges it up slightly, then slams it into the ground, releasing a shockwave shortly after.
-
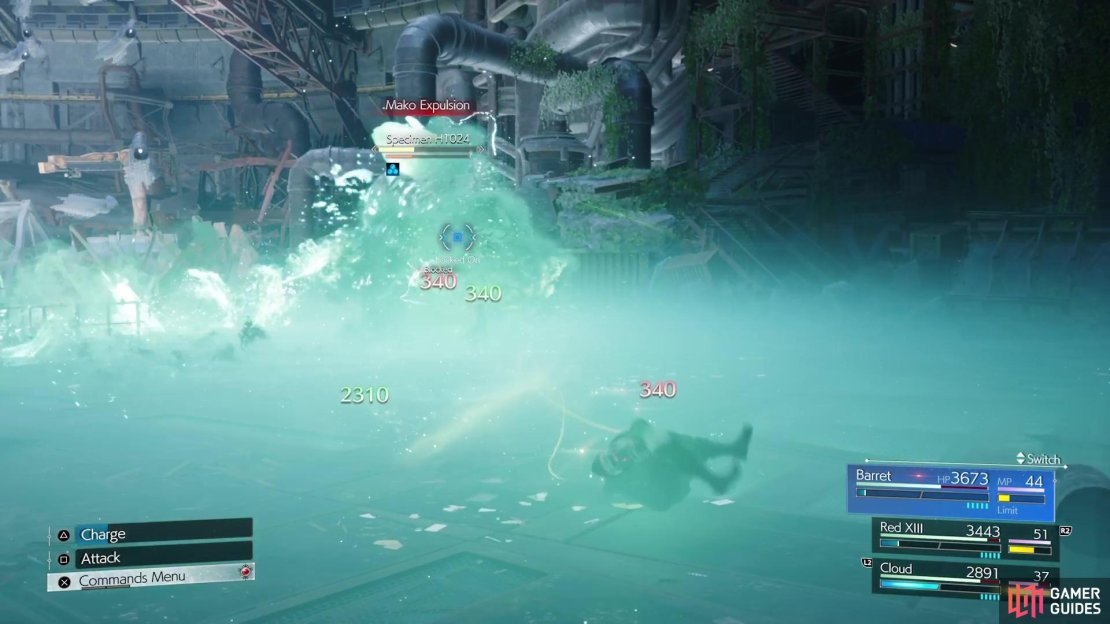
Mako Expulsion: Seems to only occur during the powered up state, where the Specimen will spew some mako around itself, which hurts if it connects with you.
-
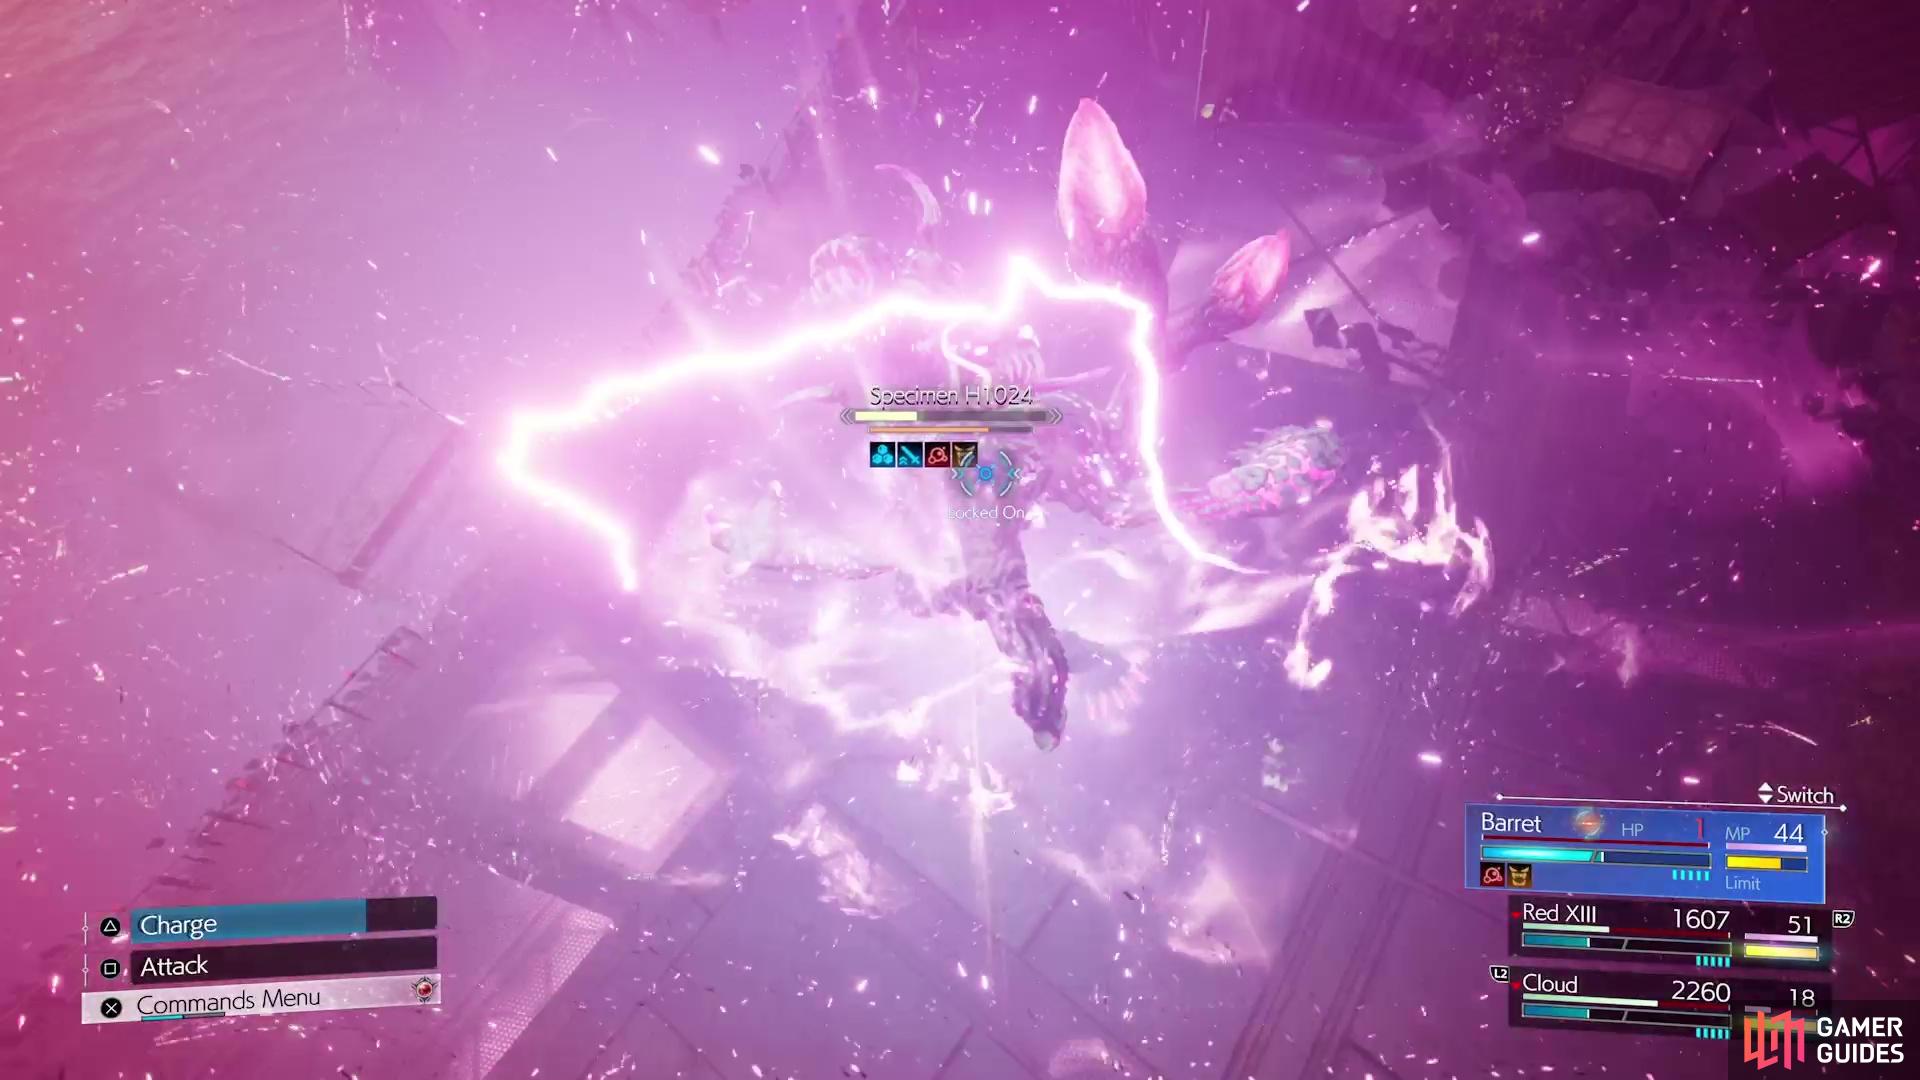
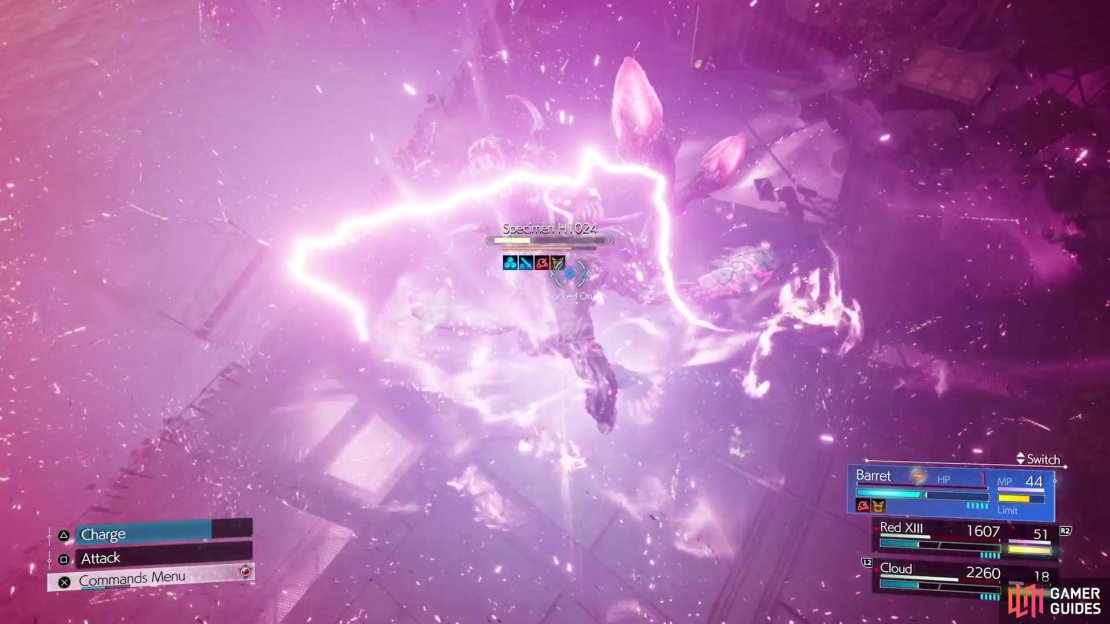
Memento Mori: Unblockable. Occurs when you don’t pressure the boss after doing Mako Ingestion. This move is cinematic and hits all characters for major damage.

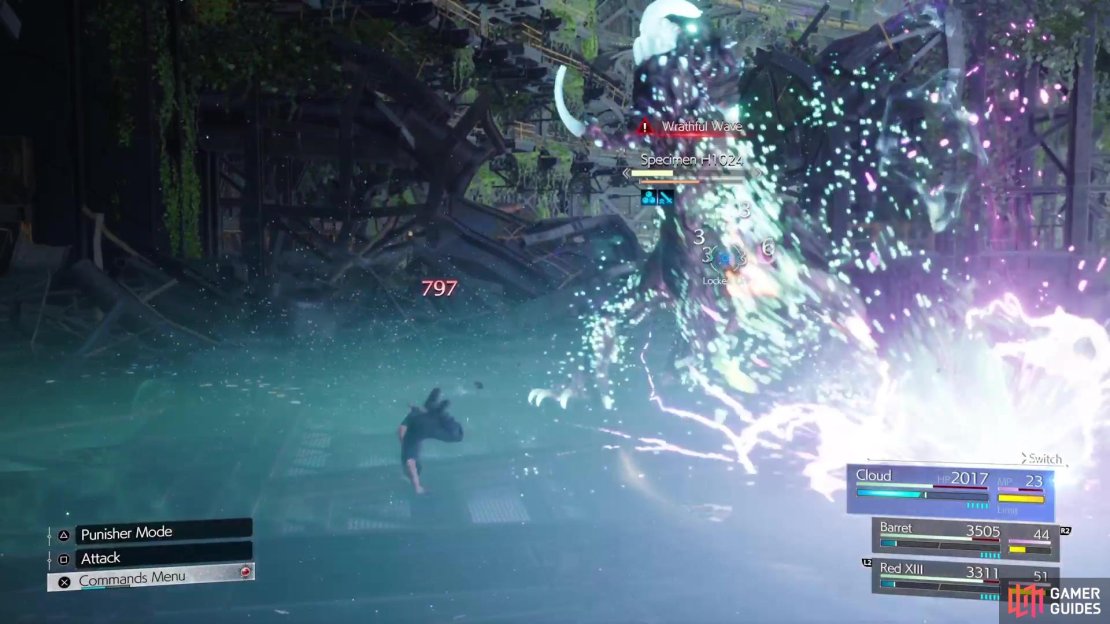
(1 of 3) Wrathful Wave is nothing more than three ground pounds in a row.
-
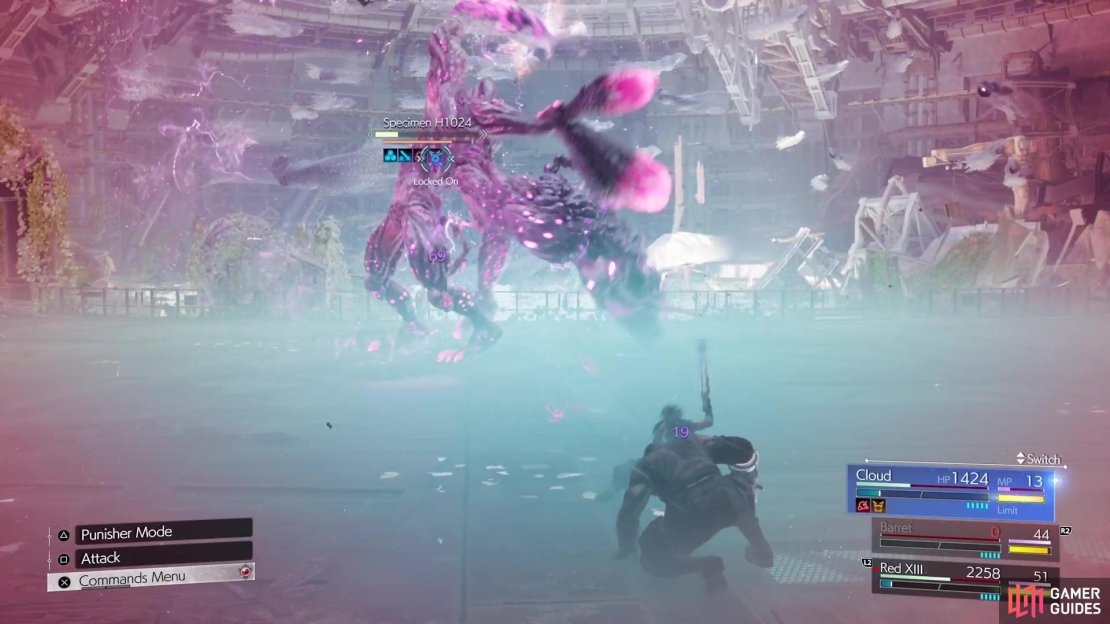
Mako Overdose: At low HP, the Specimen will cover the field with mako, inflicting
 Poison and
  Fury on everyone, including itself. It will also debuff your defense.
 -
Sweep: Unblockable. Usable in the final stages of the battle. It’s a basic sweep attack with its one appendage.
-
Rampage: Unblockable. Usable in the final stages of the battle, where the boss does a series of melee strikes.
-
Slam: Unblockable. Usable in the final stages, where the Specimen will just slam its appendage on the ground.
Specimen H1024 Strategy
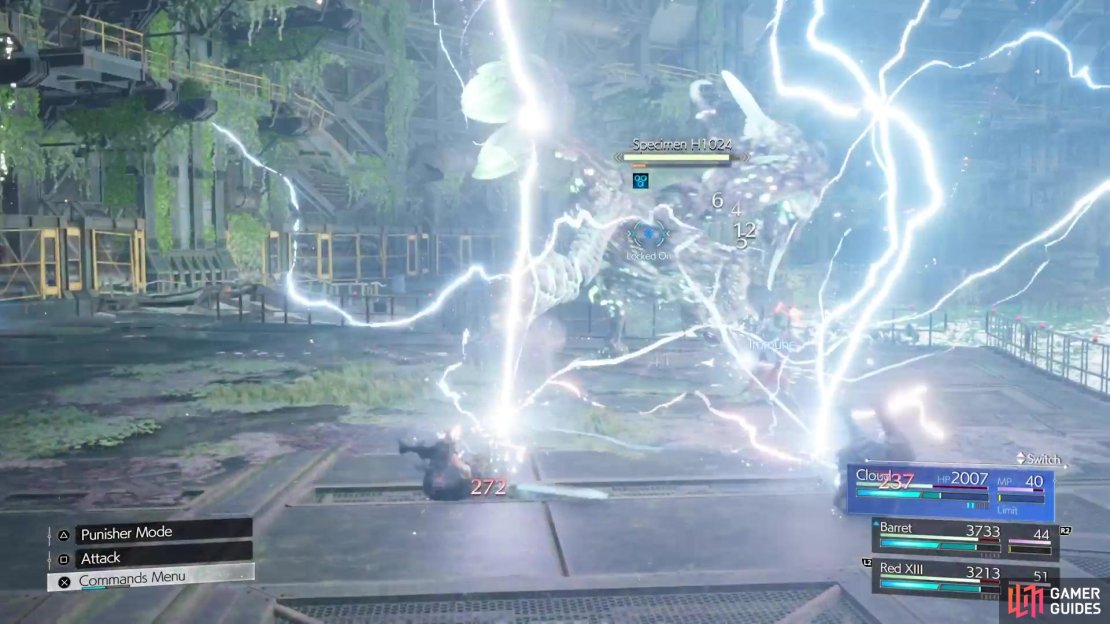
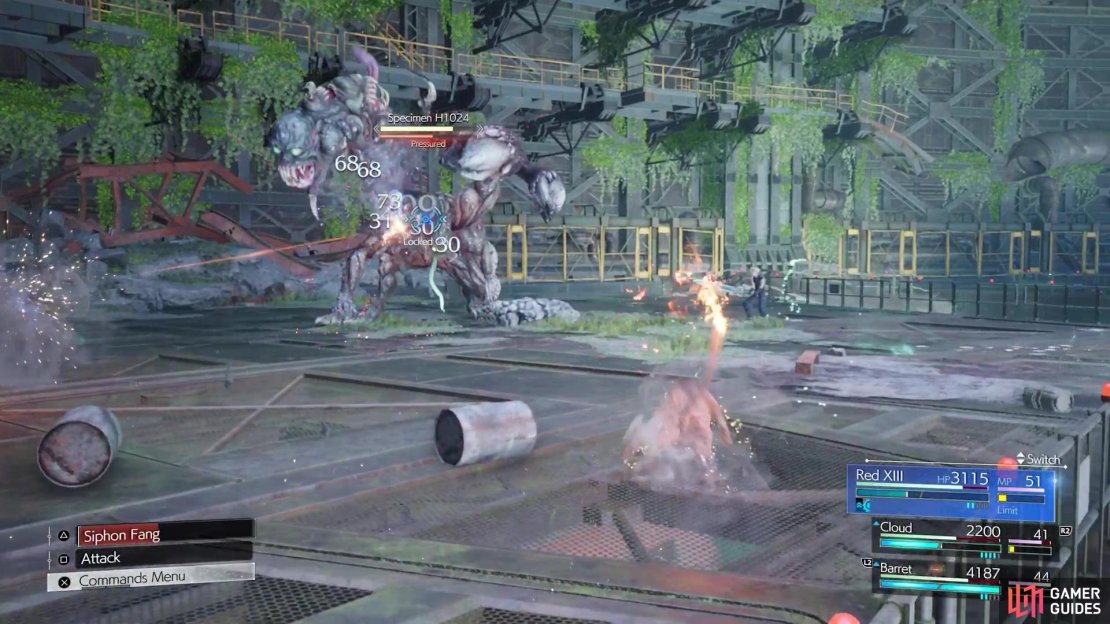
The fight against the Specimen H1024 boss can be challenging, especially in the later stages of it, when it’s doing attack after attack. To start off, the beast is weak to ice, so having Blizzard can help with the damage output. The boss will use two variations of all of its moves, a normal version and an unblockable version. The normal versions of some of its moves don’t even have the name of them pop up, so you’ll need to keep an eye on the signs for each skill.

(1 of 3) The boss will absorb mako throughout the fight pretty often.
It appears the unblockable versions happen more frequently after it uses Mako Ingestion. This move basically has the Specimen enter a powered up state, where it gains a buff of some kind (attack up or something like ![]() Barrier). Your goal in the first phase is to keep attacking and using big moves on it, in order to pressure the boss. If you don’t do this, then it will eventually unleash Memento Mori, a special attack that does major damage to the entire party.
Barrier). Your goal in the first phase is to keep attacking and using big moves on it, in order to pressure the boss. If you don’t do this, then it will eventually unleash Memento Mori, a special attack that does major damage to the entire party.
At around 50% HP or so, there will be a cutscene and the battle will move over to a slightly new area, one that is more mako-dense. The fight will continue as normal, except it appears that you cannot pressure the boss anymore like before, so you will likely be seeing Memento Mori. Make sure your health is full during this phase, as you don’t want to have someone go down to the big attack. Of course, the boss will have one final surprise waiting for you once you get its HP to around 25% or so.
(1 of 3) Mako Overdose is the final obstacle in this fight.
This comes in the form of Mako Overdose, where the boss will pretty much smother the field with mako. Doing this will cause everyone, including the boss, to be afflicted with Poison and Fury. At this point, you will start seeing more of the unblockable versions of the boss’ attacks, so try to blitz through the remaining health to finish the fight. One reason is that Fury makes you take more damage, so all of the attacks will be more devastating.
After the battle is over, there will be some scenes, then the game will switch over to the other party, back at Gongaga.
No Comments