
The ![]() Temple of the Ancients is a long dungeon that will be full of enemies, treasures, and bosses. The first boss your party will face during this dungeon will be the Red Dragon, who can be a challenging boss if you don’t get the little gimmick during it. This page will detail some tips and strategies on how to defeat the Red Dragon, including how to dodge the Crimson Breath attack.
Temple of the Ancients is a long dungeon that will be full of enemies, treasures, and bosses. The first boss your party will face during this dungeon will be the Red Dragon, who can be a challenging boss if you don’t get the little gimmick during it. This page will detail some tips and strategies on how to defeat the Red Dragon, including how to dodge the Crimson Breath attack.
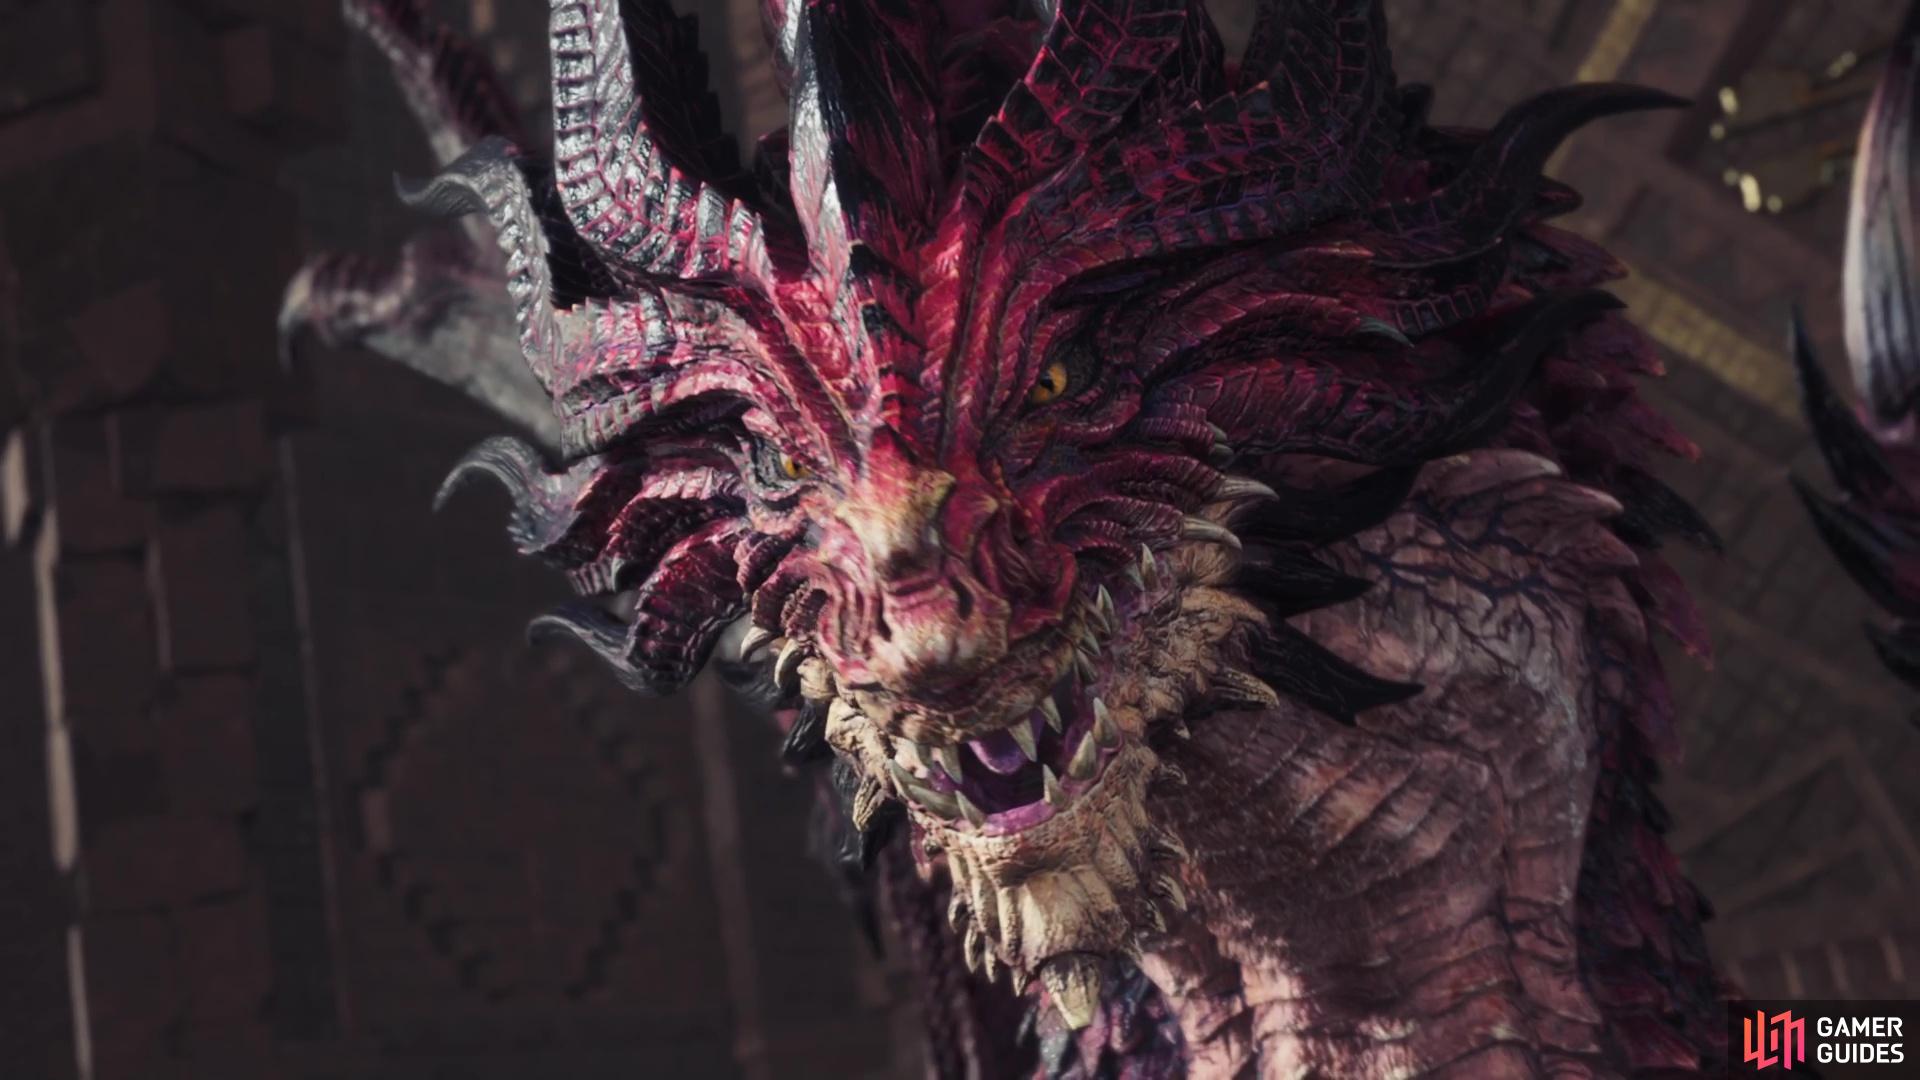
The Red Dragon will be the first boss you’ll face in the Temple of the Ancients.
All of Red Dragon’s Attacks
The Red Dragon will go through two different phases, with the second introducing some new attacks. The first phase is relatively normal and the second phase will begin around 50% HP.
-
Fire Pool: Not a named attack, but the Dragon will sometimes breathe some fire right in front of it, forming a small pool of the fiery liquid. Just move away to avoid taking damage.
-
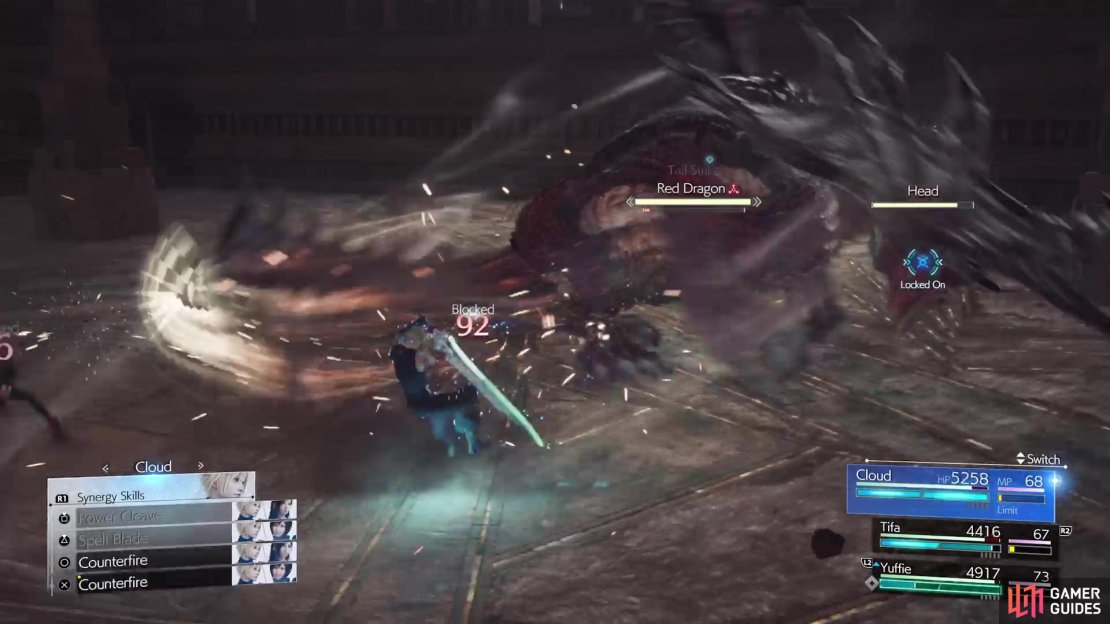
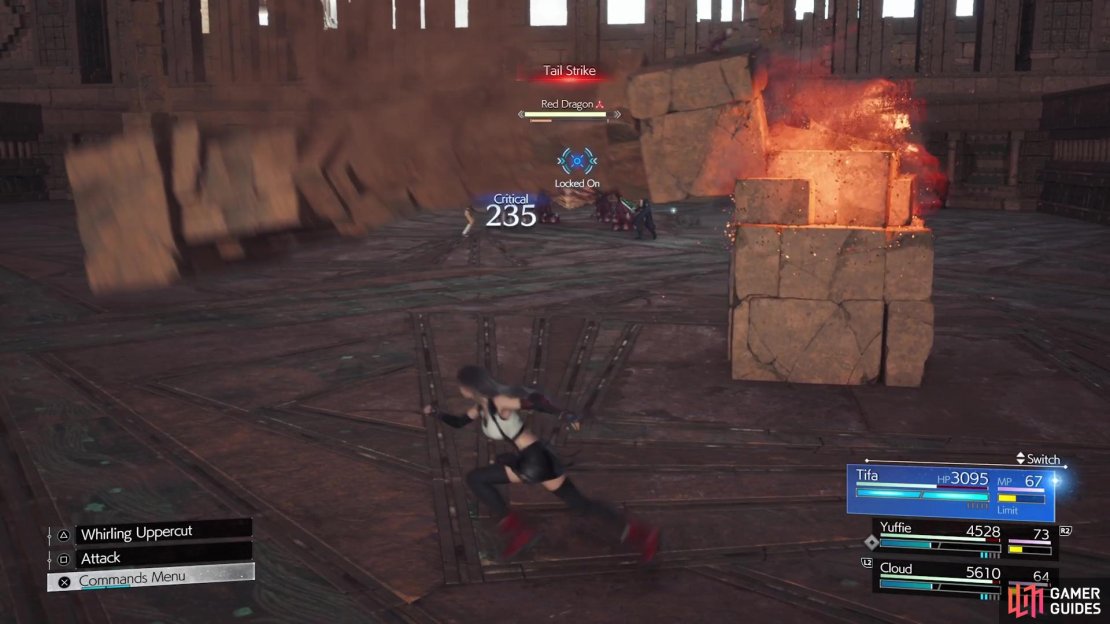
Tail Strike: The Dragon will lunge at a character and do two spinning tail attacks. This can be hard to avoid, so blocking is also an option.
-
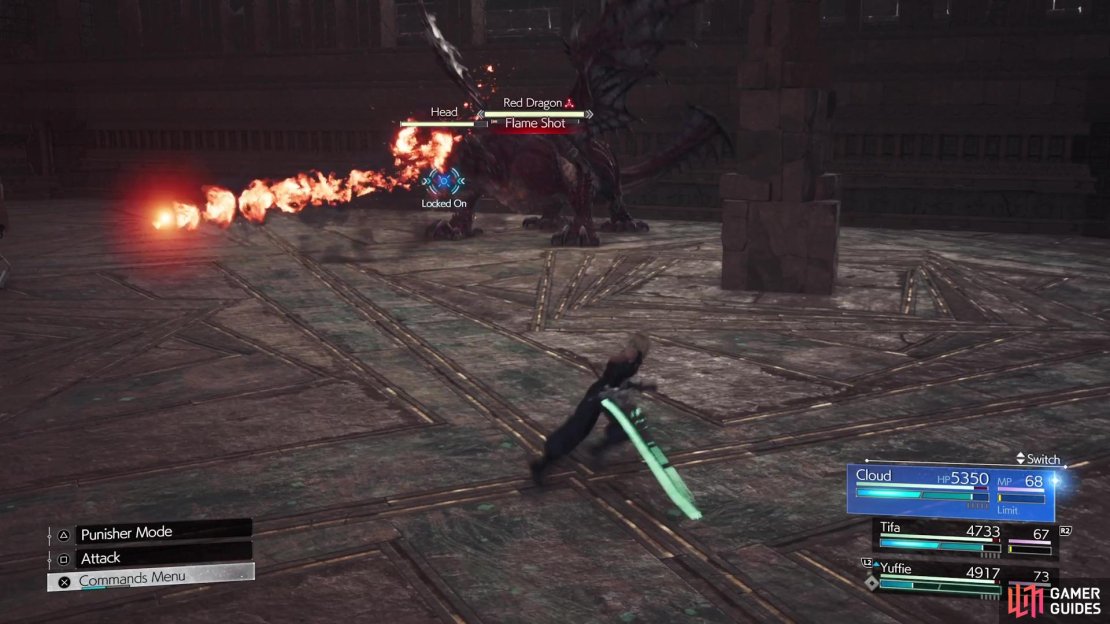
Flame Shot: The Dragon will simply shoot a fireball at someone. Not too difficult to dodge, plus it is also blockable.
-
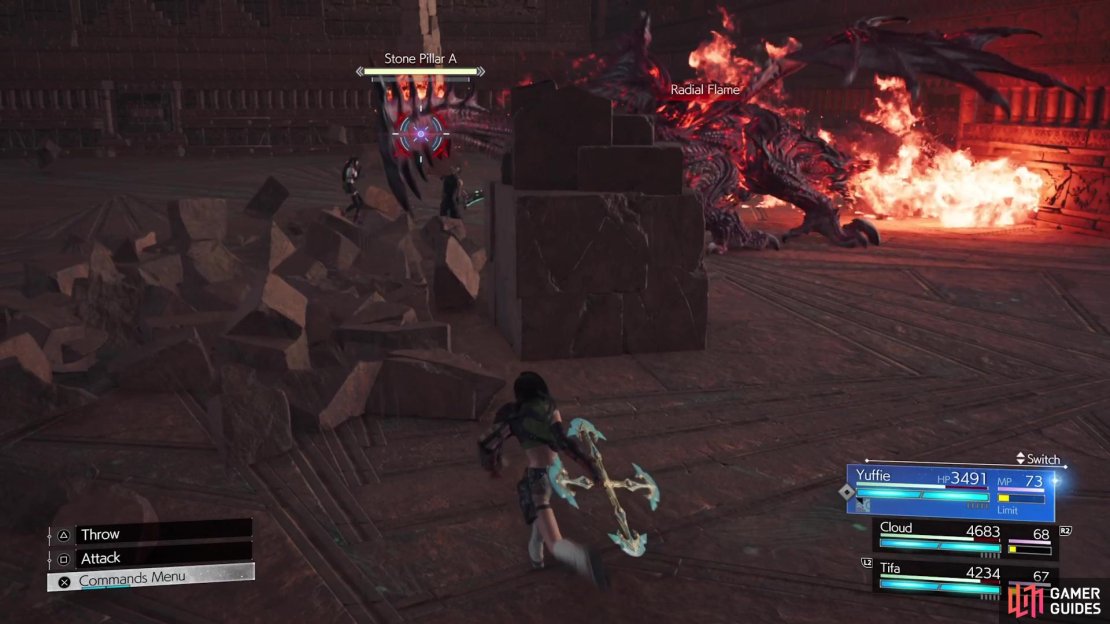
Radial Flame: The Dragon will fire a stream of fire while slowly spinning around 360 degrees. You can simply hide behind one of the pillars, or go around the dragon while he spins.
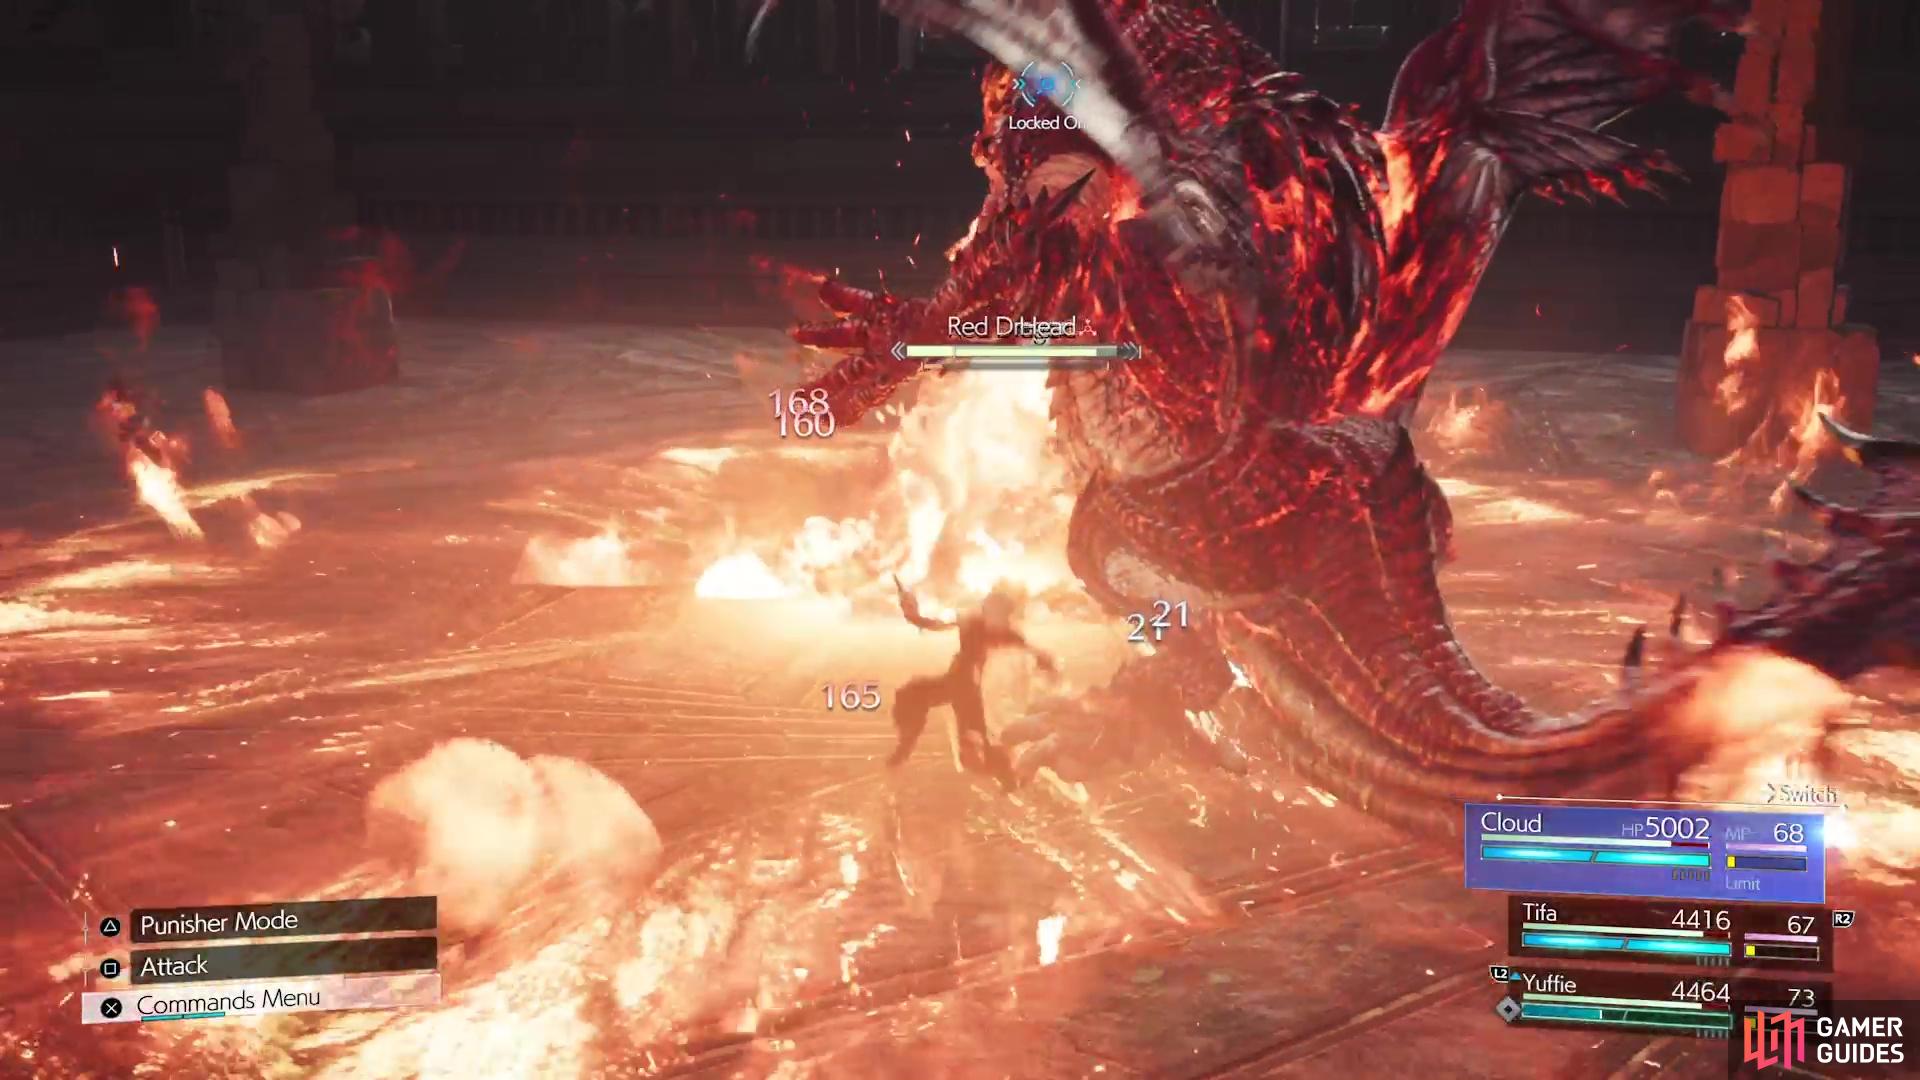

(1 of 4) Move away from the boss when it does the Fire Pool attack.
-
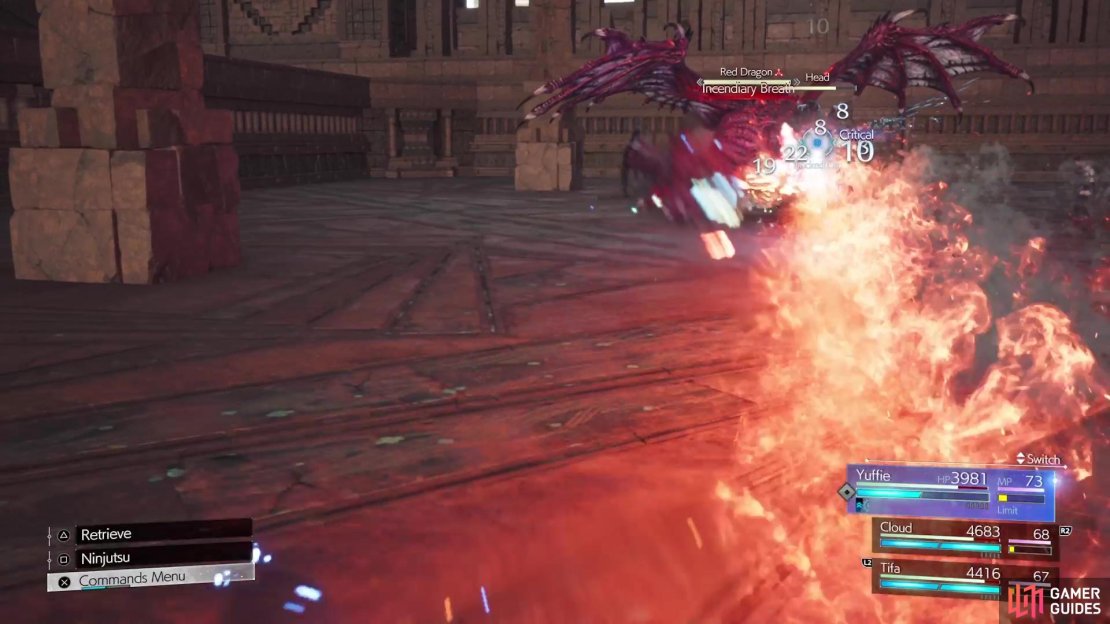
Incendiary Breath: The boss will shoot a stream of fire from its mouth at a character, which heavily tracks them. While you can block this, it’s impossible to avoid normally. Standing behind one of the pillars in the arena to block it from hitting you.
-
Smolder: Power-up state that occurs in the second phase of the fight. Basically is him charging the Crimson Breath attack and he starts flying after using this.
-
Strafing Flame: Second phase. While flying, the Dragon will spew flames while moving back and forth in straight lines. It’s pretty easy to avoid, since once it starts moving, it won’t be able to change directions on a whim.
-
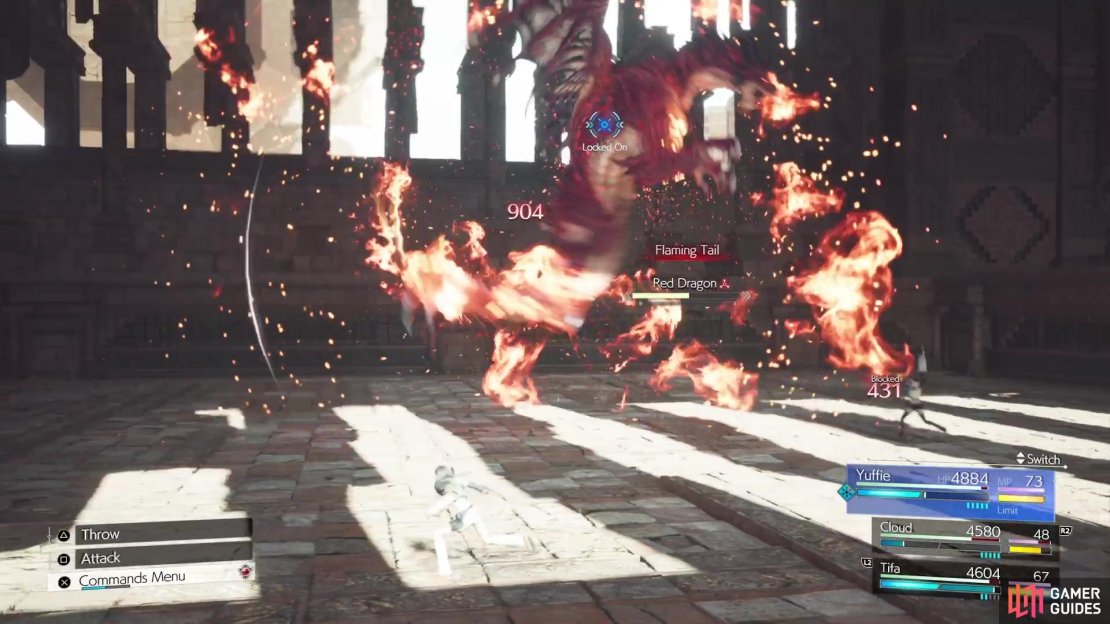
Flaming Tail: Second phase. While flying, it will charge at a character and perform a flip, knocking that character into the air if it hits. Note that this is similar to the tail flip basic attack while on the ground, except the tail will be on fire.
-
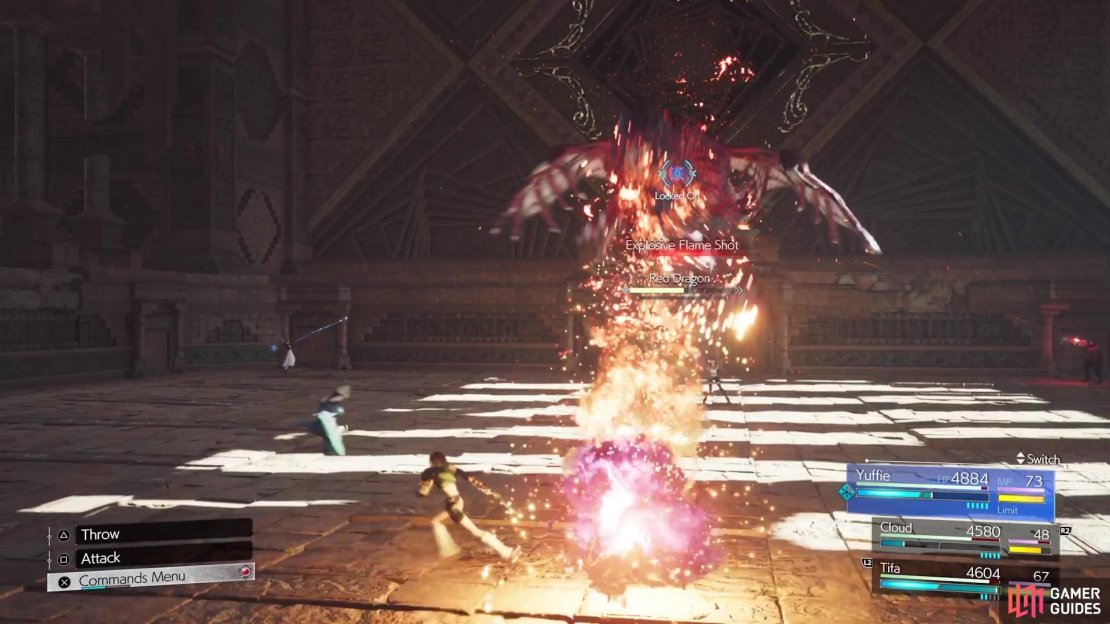
Explosive Flame Shot: Second phase, while flying. Similar to the Flame Shot ability, but the Dragon will fire three fireballs back-to-back.
-
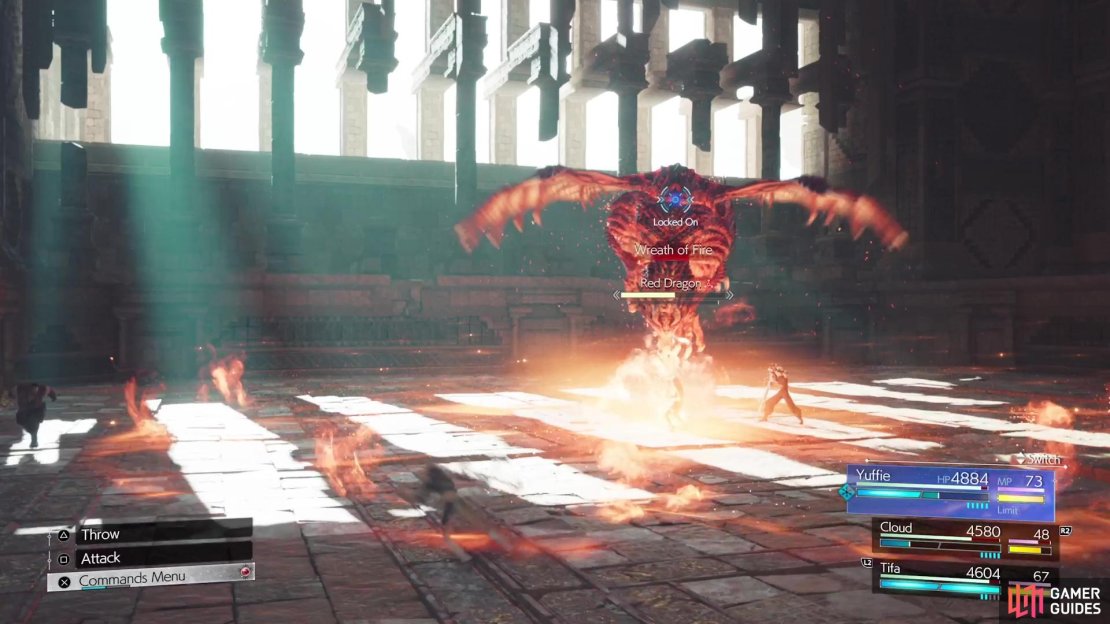
Wreath of Fire: Second phase, while flying. Similar to the Fire Pool attack, where it spews fire at the ground below it, creating a ring of fire that eventually explodes at the end of the attack.

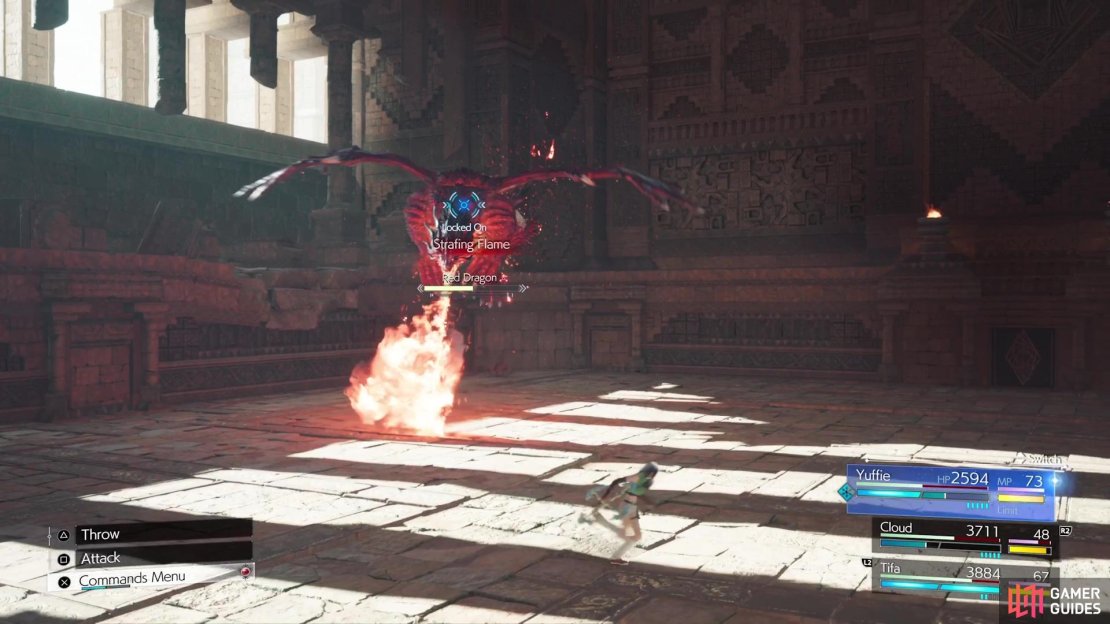
(1 of 5) Strafing Flame will have the boss fly in straight lines while spewing fire.
-
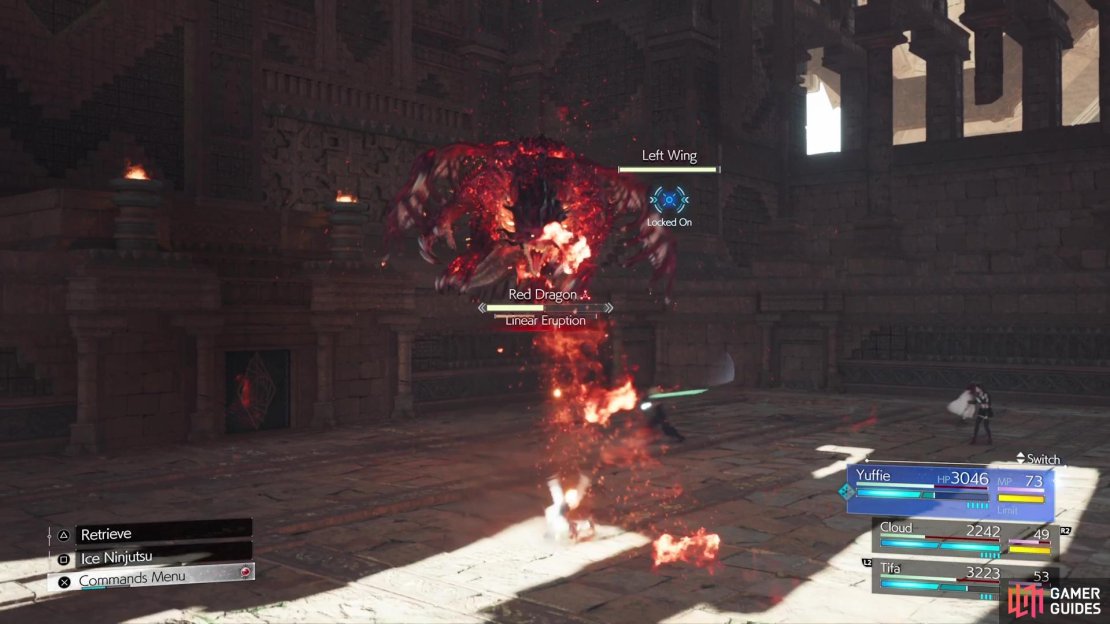
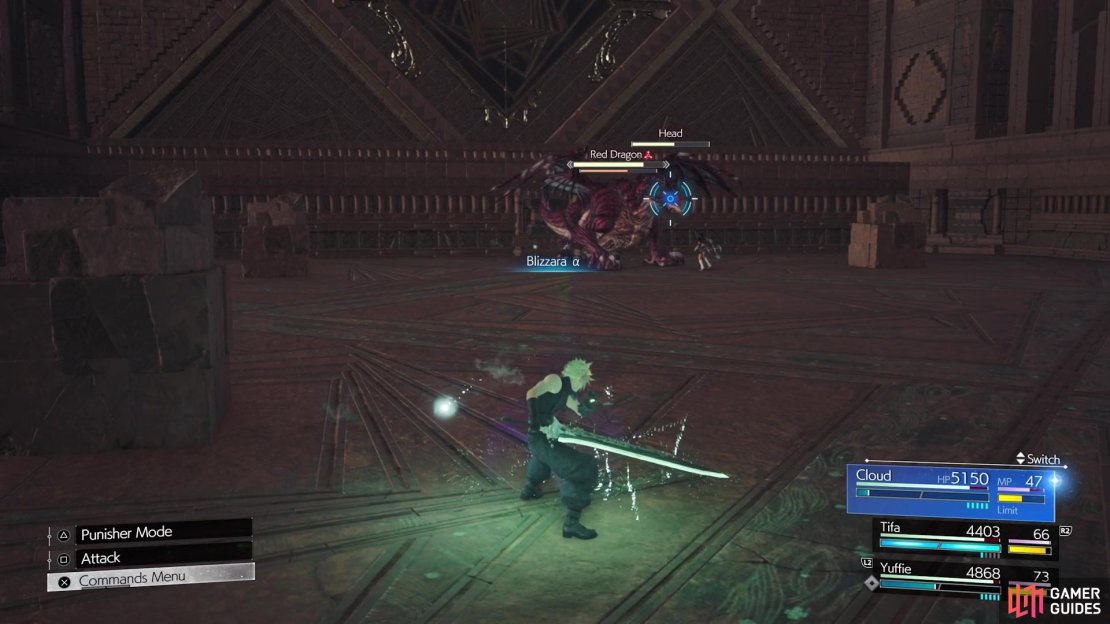
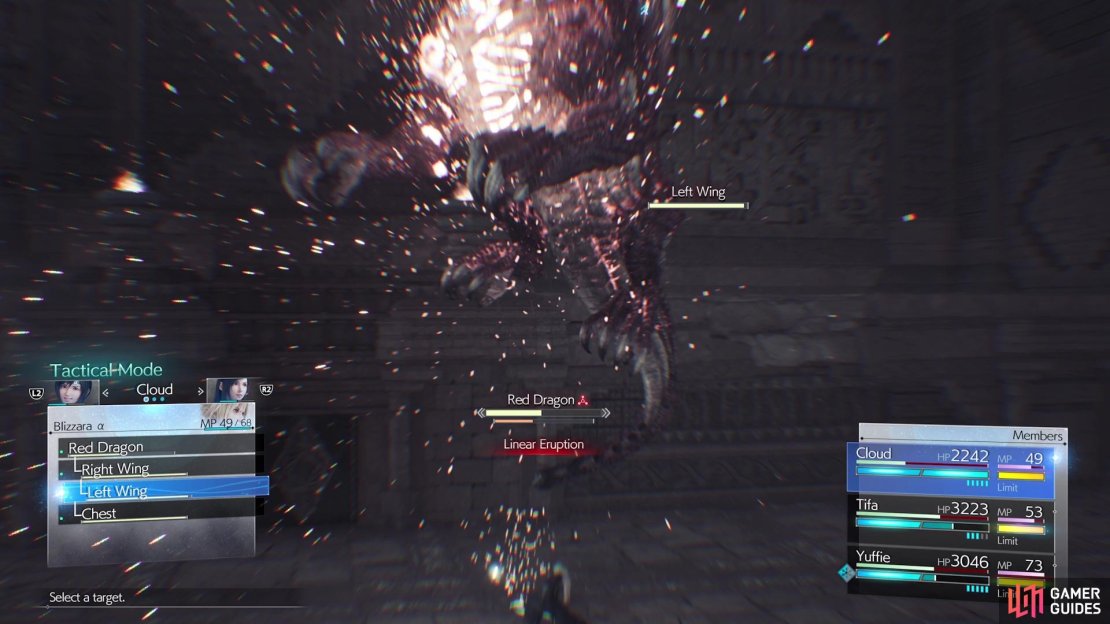
Linear Eruption: Second phase, while flying. The Dragon will aim at a spot with a fiery line, which then explodes after a second or two.
-
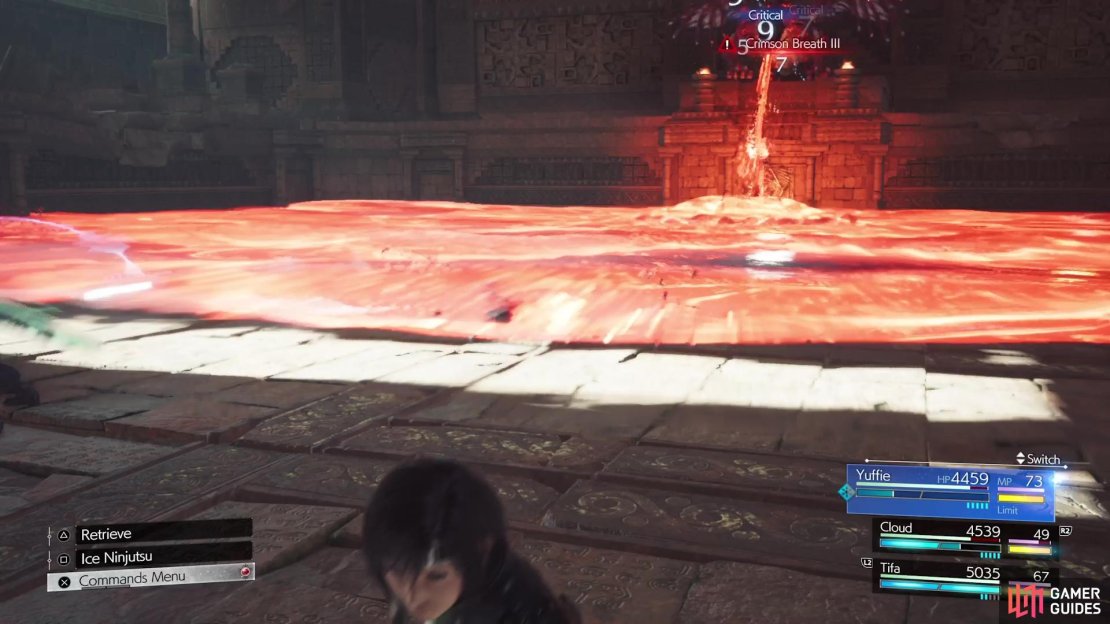
Crimson Breath:
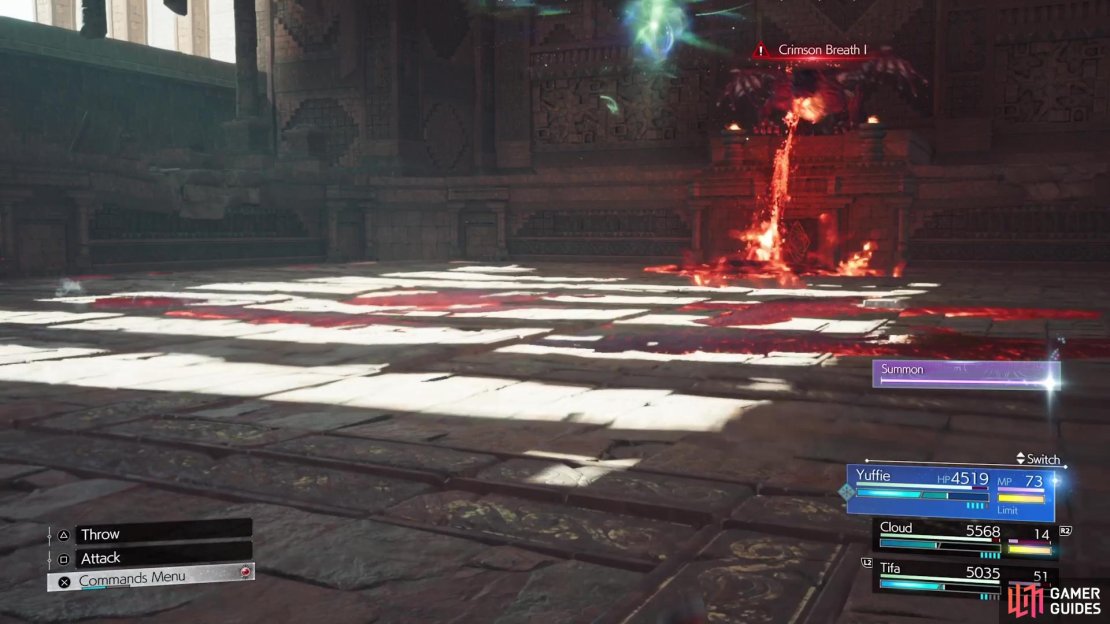
 Unblockable. The Red Dragon’s ultimate attack, which only happens in the second phase. There are three variants, with Crimson Breath III covering the entire floor. The other versions cover less of the floor. Standing in the fiery pool will damage the character over time for big damage each tick.
Red Dragon Boss Strategy
As you can see above, the Red Dragon uses a lot of fire-based attacks, which means he is also weak to ice. If multiple characters have access to Blizzard (and the stronger versions), then this fight will be made a tiny bit easier. Once the battle starts, the Red Dragon doesn’t have a whole lot of named attacks, but he has quite a few basic moves that don’t have names. Among the more annoying of these unnamed attacks are a Tail Flip, where it does a backflip to try and hit you with its tail, and the ![]() Fire Pool described in the moves list above.
Fire Pool described in the moves list above.
While most of the moves are pretty self-explanatory and not difficult to dodge, Incendiary Breath is one of the main attacks to look out for in the first phase. This flame breath will track you heavily and it’s almost impossible (if at all) to simply dodge it normally. What you need to do to avoid the damage from this fiery breath attack is hide behind one of the pillars. These pillars are one of the ways you can pressure the Red Dragon, although it’s a little annoying this way.

(1 of 4) You won’t be able to dodge Incendiary Breath on your own.
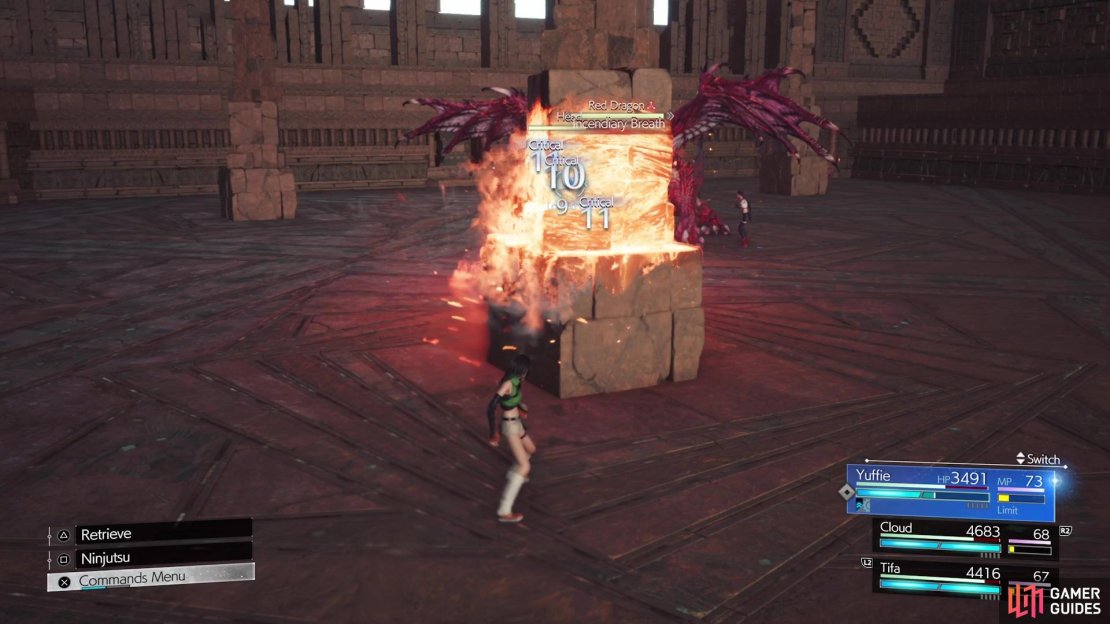
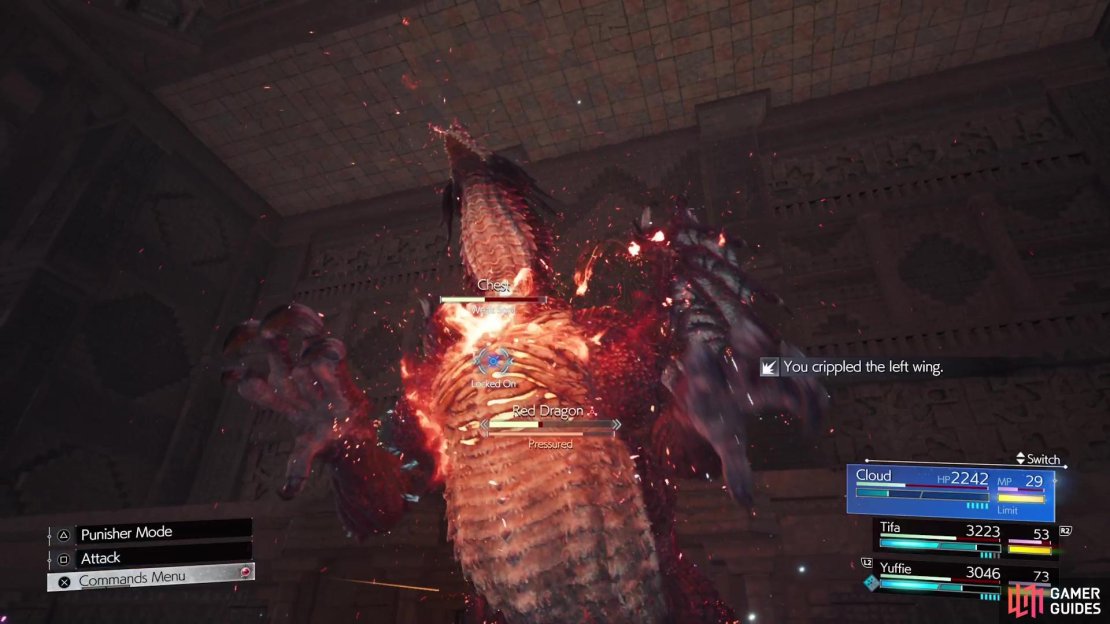
Whenever the boss does Incendiary Breath or Radial Flame, the fire from those attacks can heat up the pillar. Should you attack this heated up pillar, then it will fall down. If you make it fall on the Dragon, then it will become pressured for a good while. However, there are only four pillars in the arena and once you knock them all down, you won’t be able to use them anymore (the bases will still be there to help block the former attack, though). The other way to pressure the Dragon is by depleting the Head’s health bar, but this will only pressure it for a few seconds, unlike the pillar method.
At around 50-60% HP remaining, a cutscene will occur, where the Dragon will fill up the floor with fire. This is an important scene, as this will be one of the moves that the boss will do going forward. The first thing that the boss will do after the cutscene is cast Smolder, which is a powered-up state that essentially means it’s charging the maneuver from the scene. Smolder also enables a flying state, as the boss will take off right after it. Most of the moves while it’s flying will be enhanced versions of ones from the first phase. The only really new one is Strafing Flames, where it will fly in one direction while spewing flames, then turn around do it in another straight line.
While it’s flying, the wings will become targetable, as well as its stomach. Depleting a wing’s HP will cause the Dragon to fall to the ground and become pressured. If you attack the stomach, then you will weaken the Crimson Breath attack. If you do nothing at all, then you will see Crimson Breath III, which will cover the entire arena, meaning you’ll be taking damage. The II and I versions don’t cover as much as the arena, so you will be able to find a spot somewhere (watch where the boss starts the attack on the ground first to see where to go) to be safe. Crimson Breath is definitely an attack that hurts a lot, so you don’t want to be in the flames at all, or else you may get downed.

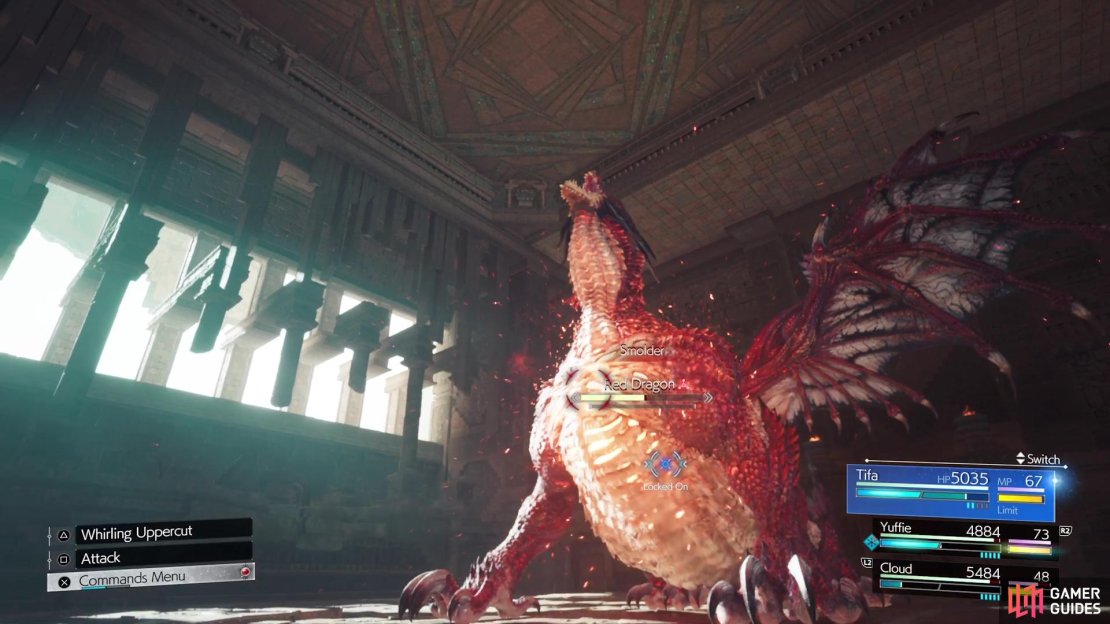
(1 of 5) Smolder allows the boss to start flying and also begin charging for Crimson Breath.
Basically, the second phase consists of attacking the wings to bring the Dragon to the ground, then going after the stomach to weaken Crimson Breath. Note that the Dragon will have the same moves on the ground as it did in the first phase. Do this for the second phase to have a very easy time in taking out the Red Dragon for good.
With one less giant, scaly friend blocking your way, pass through the door on the opposite end to continue your journey through the Temple of the Ancients. There will be a lengthy cutscene here, which will split the party up into two groups, with both exploring different sections of the Hall of Life.
No Comments