
Once you reach Chapter 9 of the main story in Final Fantasy VII Rebirth, you will have full control of the Buggy, allowing you to explore the Southern Corel area. In order to progress, though, ![]() Cait Sith will suggest heading to the southwest, to a new area. This page will detail how you get to the
Cait Sith will suggest heading to the southwest, to a new area. This page will detail how you get to the ![]() Gongaga Region, as well as how to reach
Gongaga Region, as well as how to reach ![]() Gongaga Village.
Gongaga Village.
Reaching the Gongaga Region
When you first start Chapter 9, you will be in the middle of the desert and driving around on your own, until a cutscene triggers. This is when you will learn your destination, as well as obtain the keys to the Buggy. At this same time, Cait Sith will officially join your party, so you will be able to use him during battles. If you wish to learn more information on that, visit the Cait Sith Combat Guide page. There will be a brief tutorial on how to control the Buggy, but you call it with the down button on the D-Pad.

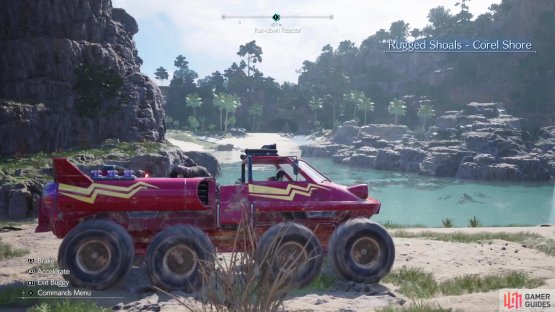
(1 of 2) The path leading to the Gongaga Region will start at this spot in South Corel.
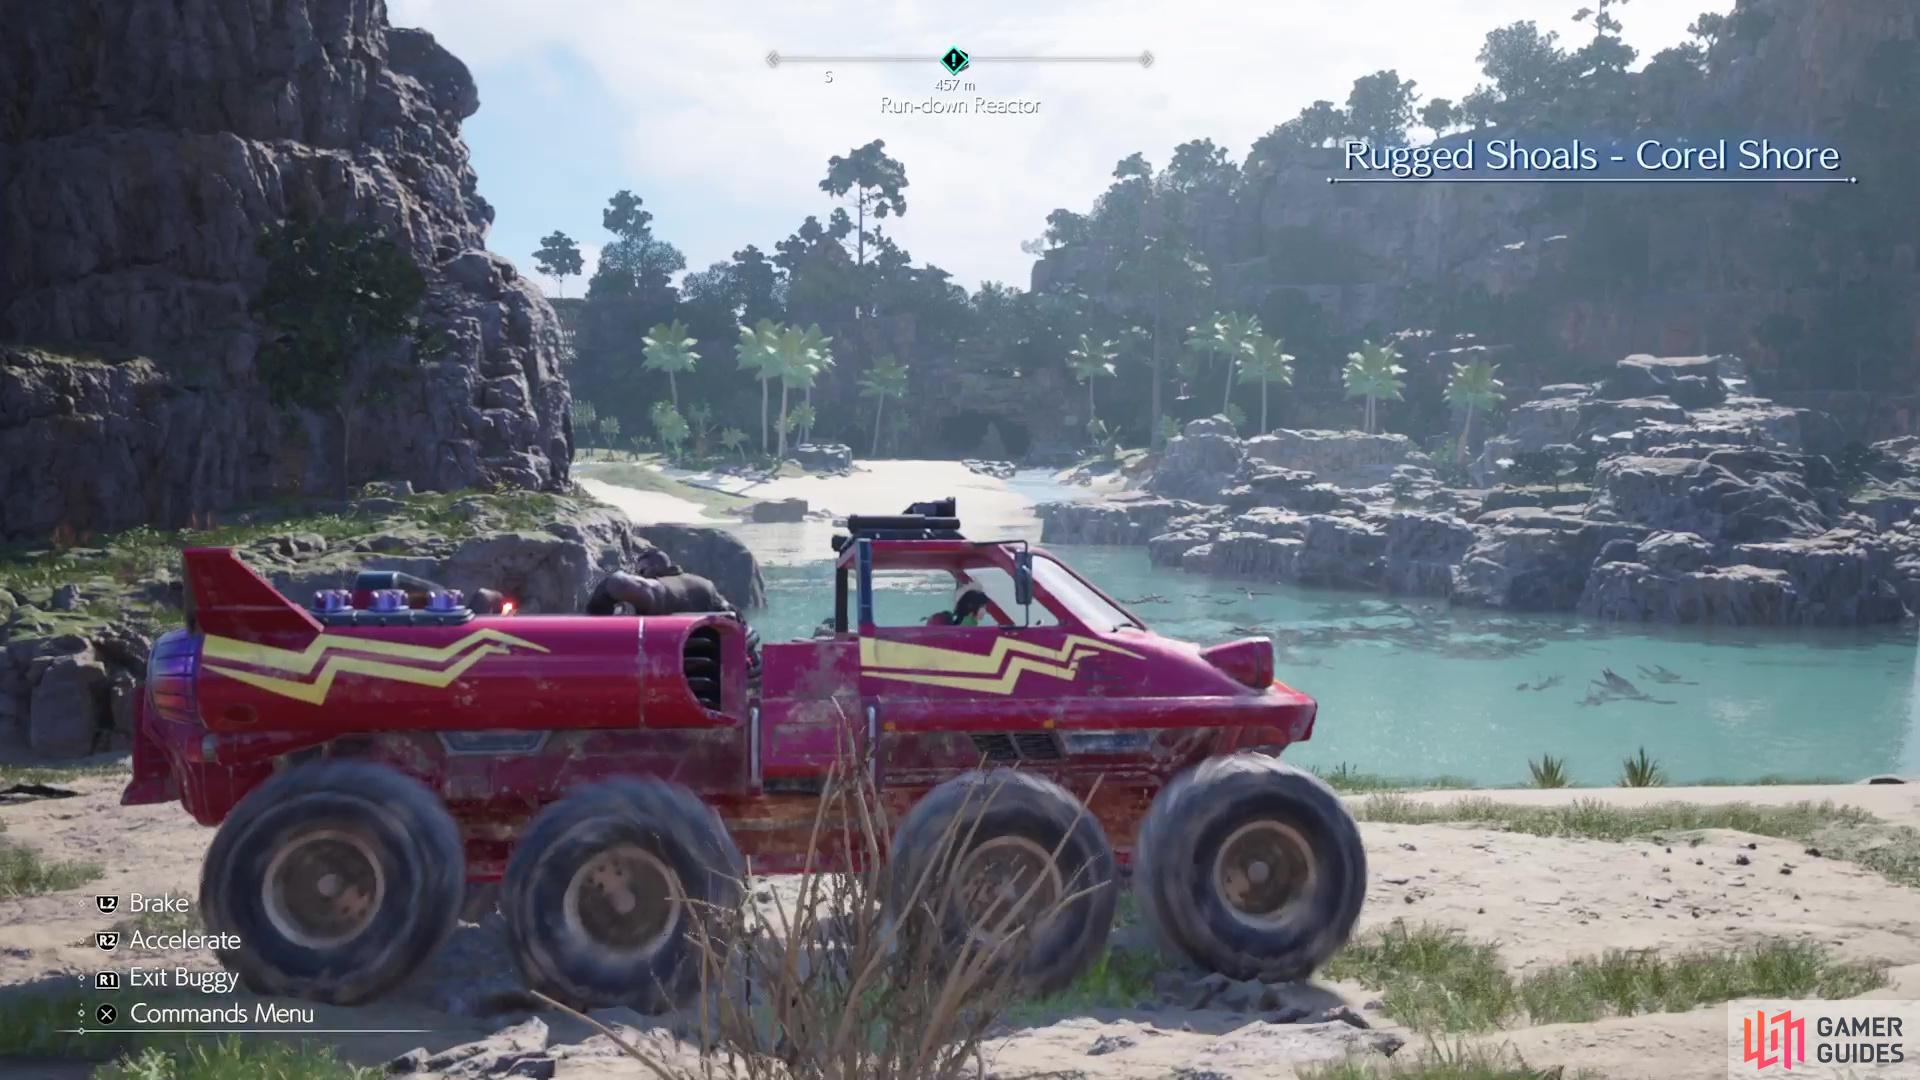
The path leading to the Gongaga Region will start at this spot in South Corel. (left), Follow the trail until you reach the Rugged Shoals, which is where you’ll cross over to Gongaga. (right)
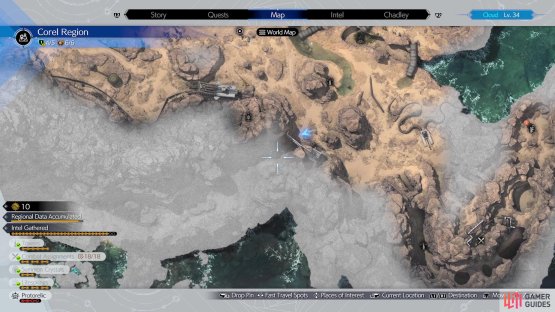
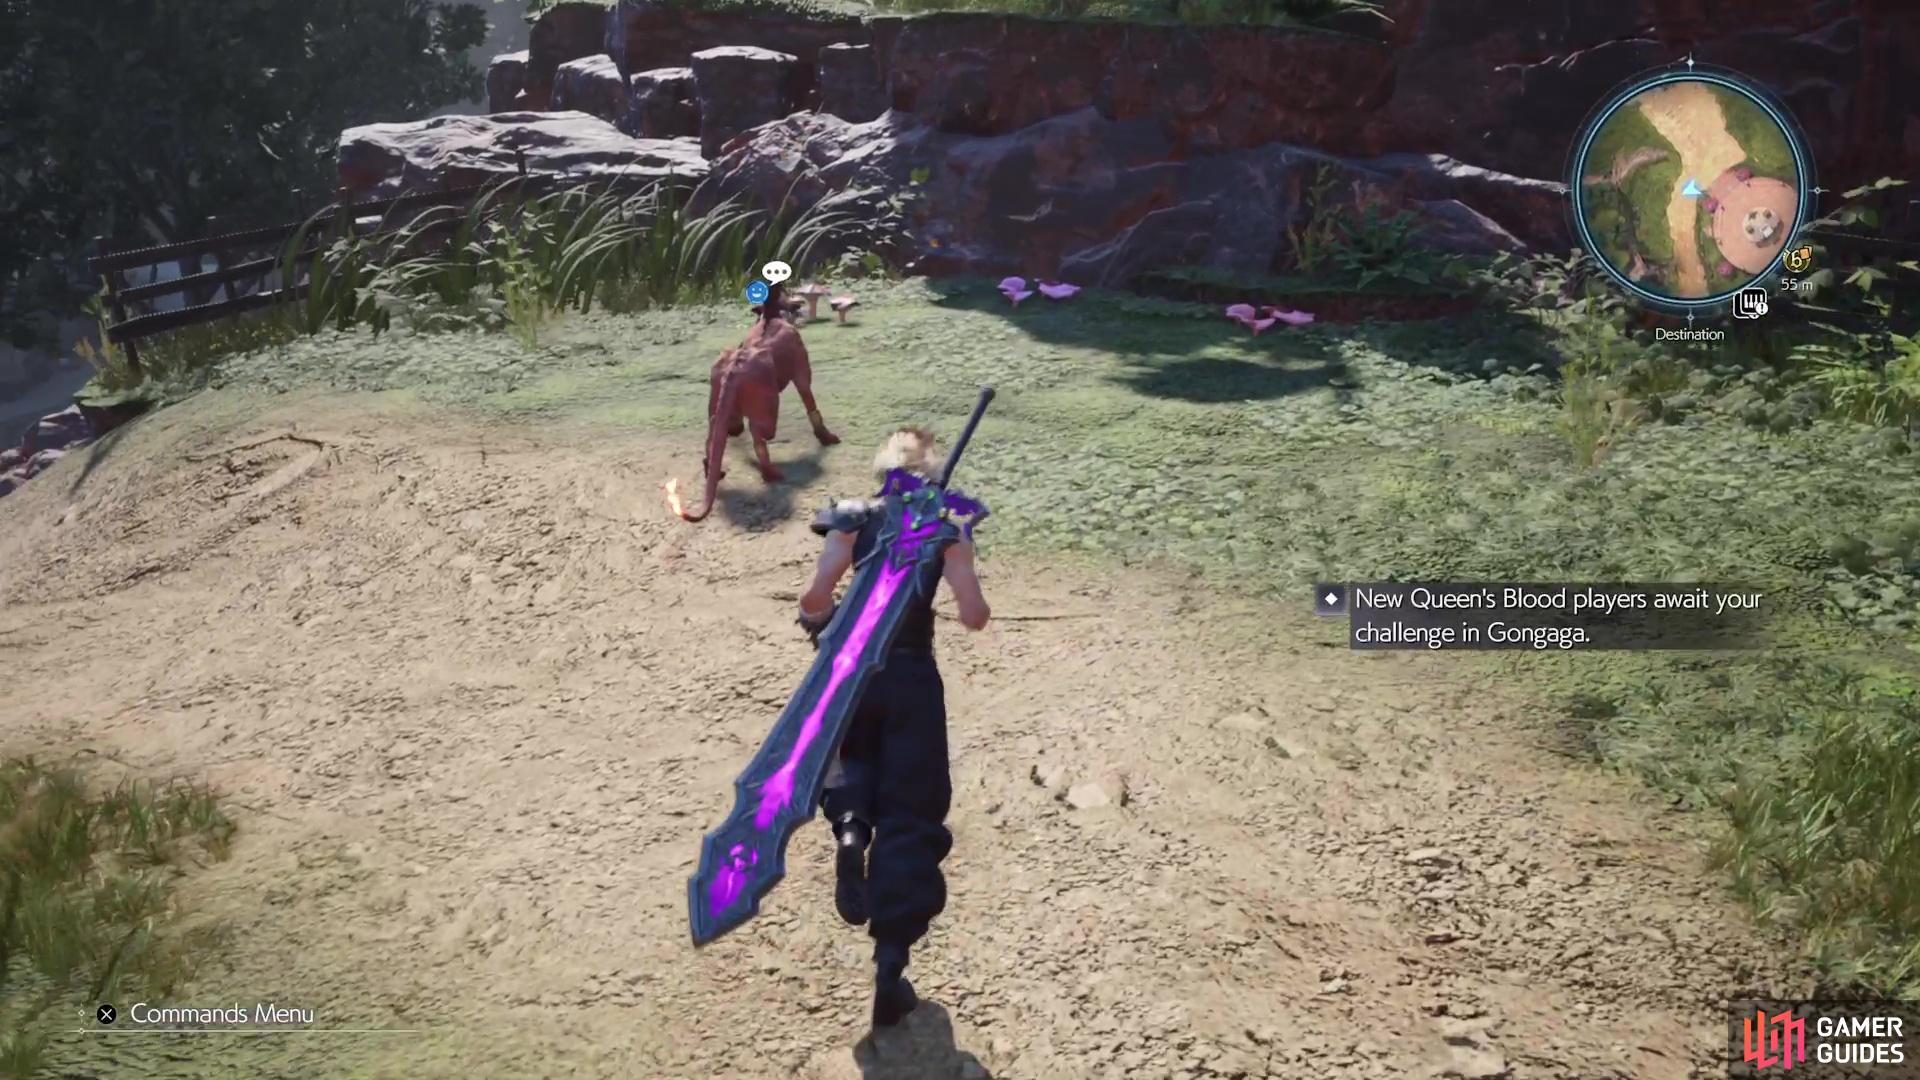
The path leading to the Gongaga Region is located on the southern side of South Corel, south and a little west of Activation Intel 4: Riverside Tower. You’ll know you’re on the right track whenever Cait Sith starts mentioning to keep your eyes peeled. It’s kind of difficult to get lost once you’re on the correct path, though, since there’s really nowhere else to go. When you finally reach the Rugged Shoals - Corel Shore, you simply need to cross the waters there to get to the Gongaga Region.
Finding Gongaga Village
The Gongaga Region is like a jungle, so you won’t be able to use your Buggy here, meaning you’ll have to make the trek to Gongaga Village on foot. The area can be a bit confusing to navigate, as there are a myriad of paths and like any other open world section, there are new pieces of World Intel to gather. However, it’s best to wait on going after the World Intel here, since you will need the Chocobo and that will come as part of the main story. When you do first step into the Gongaga Region, though, you will see the usual new VR Simulation stuff, like ![]() Kujata being available to fight.
Kujata being available to fight.
For now, though, the goal is to get to Gongaga Village. The best bet is to just keep heading south from your current position, as the village is a fair ways away from the shore. You will undoubtedly fight some enemies along the way, but none of them should really give you trouble, so use Assess to make things easier for yourself. Once you make it to the river, you can pretty much follow it as it bends, since it runs through Gongaga.


(1 of 2) The Suspension Bridge point of interest will be right outside of the village.

The Suspension Bridge point of interest will be right outside of the village. (left), You’ll see a cutscene occur as you approach Gongaga. (right)
If you stick to the western side of the map as you continue south, you will eventually run into a point of interest named Suspension Bridge. When you do, that’s pretty much right outside of the village, so cross it and you will be there.
Exploring Gongaga
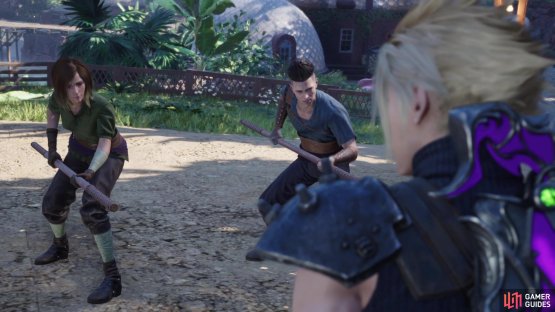
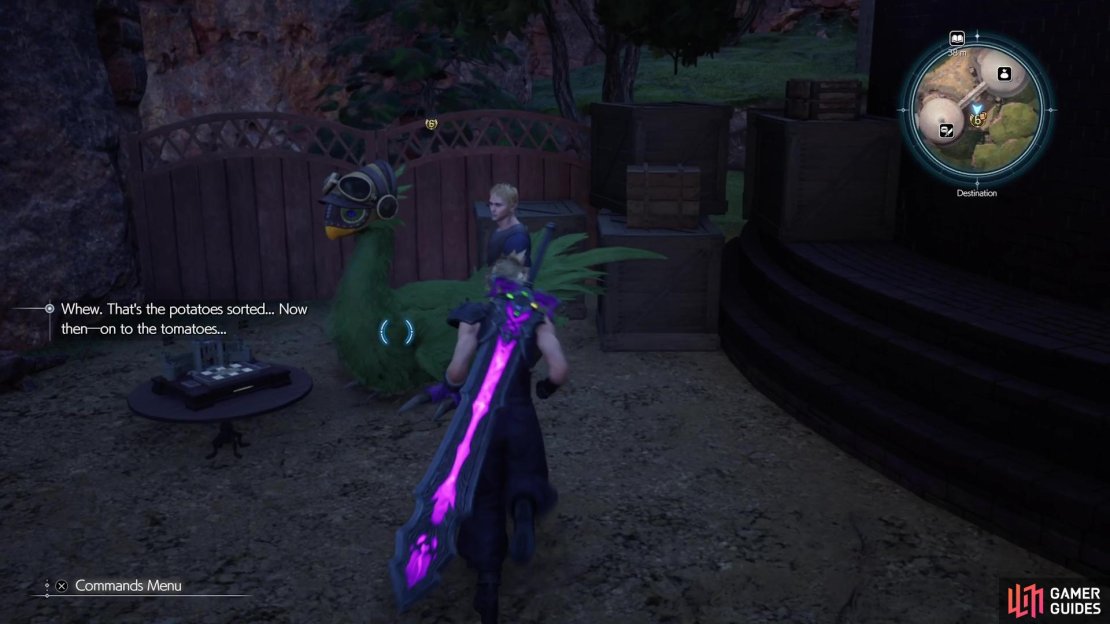
As you approach the village, a cutscene will play out and you’ll be introduced to a familiar face (if you’ve played Crisis Core). Cissnei mentions that you’ll get a clear view of the reactor from a nearby hill, so when you regain control, follow her to said hill for another scene. It is after this that you’ll have the privilege of staying at the village, so you can now have a look around the place. You will be able to find your party members around the village, where you can speak to them and gain a chance to improve your relationship with them (check the Character Relationships page for the best answers).
Note that you should save Aerith for last here, just in case it messes with any of the others. There are two Queen’s Blood opponents here, if you’ve been keeping up with the players. If you check the map, you should see the piano icon, which is where you’ll find the Cinco de Chocobo Sheet Music; this track can be difficult, as the actual music doesn’t perfectly match the notes you need to play. If you head to Cissnei’s house, you can find a purple chest inside that contains Yuffie’s ![]() Bird of Prey weapon.
Bird of Prey weapon.


(1 of 6) You can increase the relationships with your party members while in Gongaga.
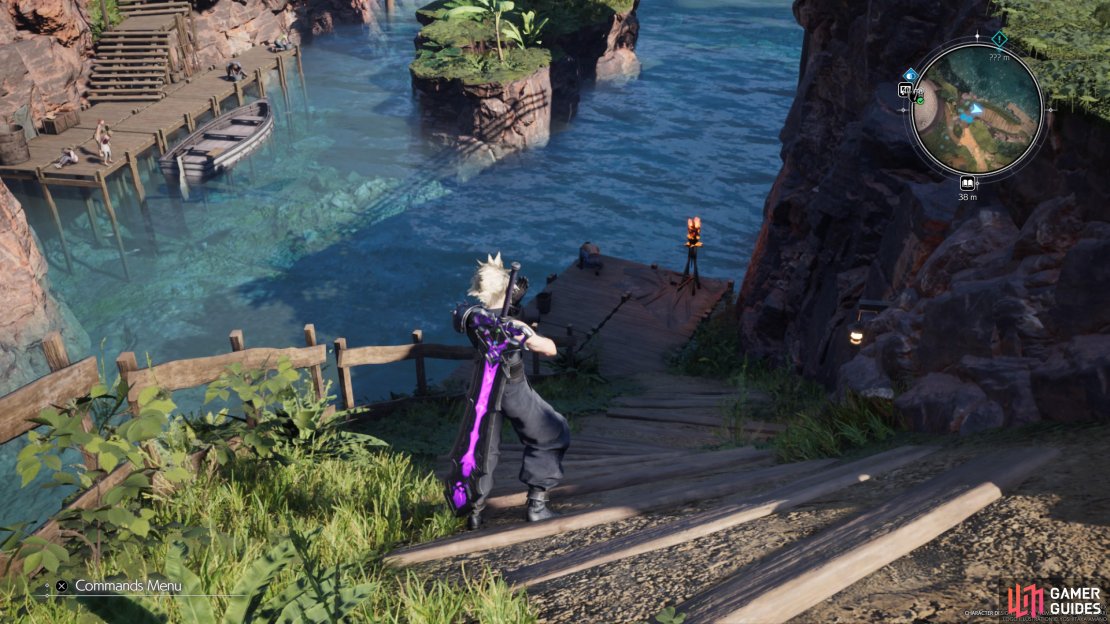
There’s one more weapon to be found in Gongaga, although it’s a little more hidden. Locate the river running through the village, then look for the docks. When looking at the map, you are heading for the southwestern corner of the river. There is a small cave found at that spot, which holds the treasure chest for the ![]() Red Megaphone, a new weapon for Cait Sith.
Red Megaphone, a new weapon for Cait Sith.
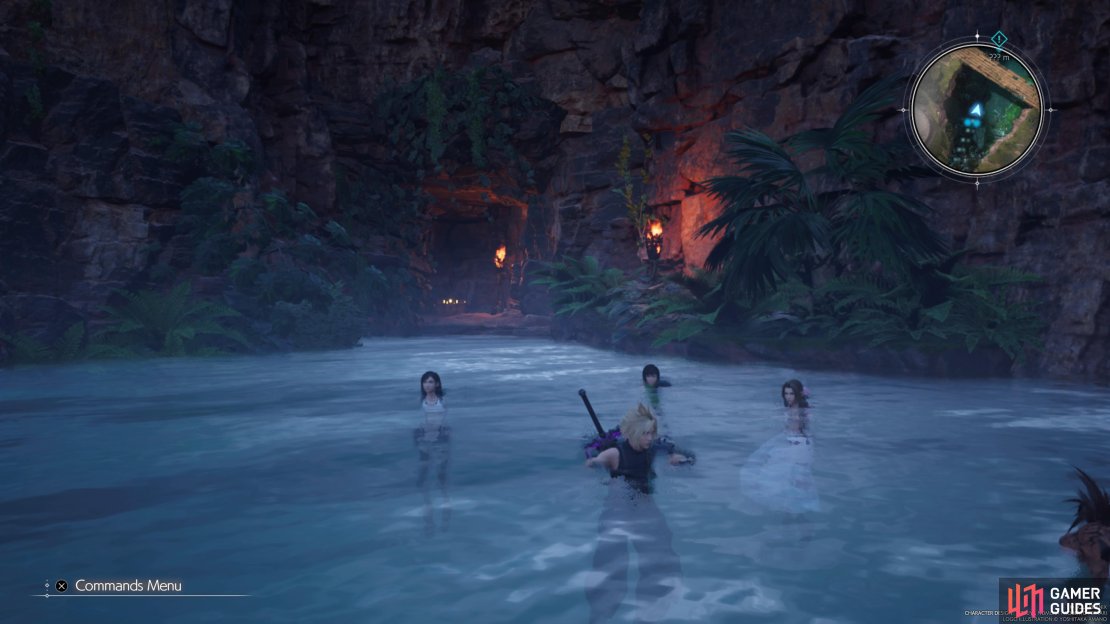
Once you’ve thoroughly explored, trigger the scene with Aerith, then you’ll be told to go and rest at Cissnei’s house. You’ll be woken up by a loud noise, so exit the house and follow Yuffie to the hill for a scene. Your party decides to split up, with one group staying in Gongaga, while the others (Cloud, ![]() Red XIII, Barret, and Cait Sith) go to check out the reactor.
Red XIII, Barret, and Cait Sith) go to check out the reactor.
No Comments