
Aerith managed to channel some of the powers of the Lifestream in her previous outing in the Hall of Life. After taking a rest because of the taxing nature of the powers, the game switched over to Cloud and his party, who ended up encountering two of the Turks, Reno and Rude. Thanks to some assistance from Aerith, Cloud emerges victorious and the game switches back to Aerith and her group, showing how everyone met back up with one another.
The second Aerith section will be a little bit of the same as the first portion.
Hall of Life Finale
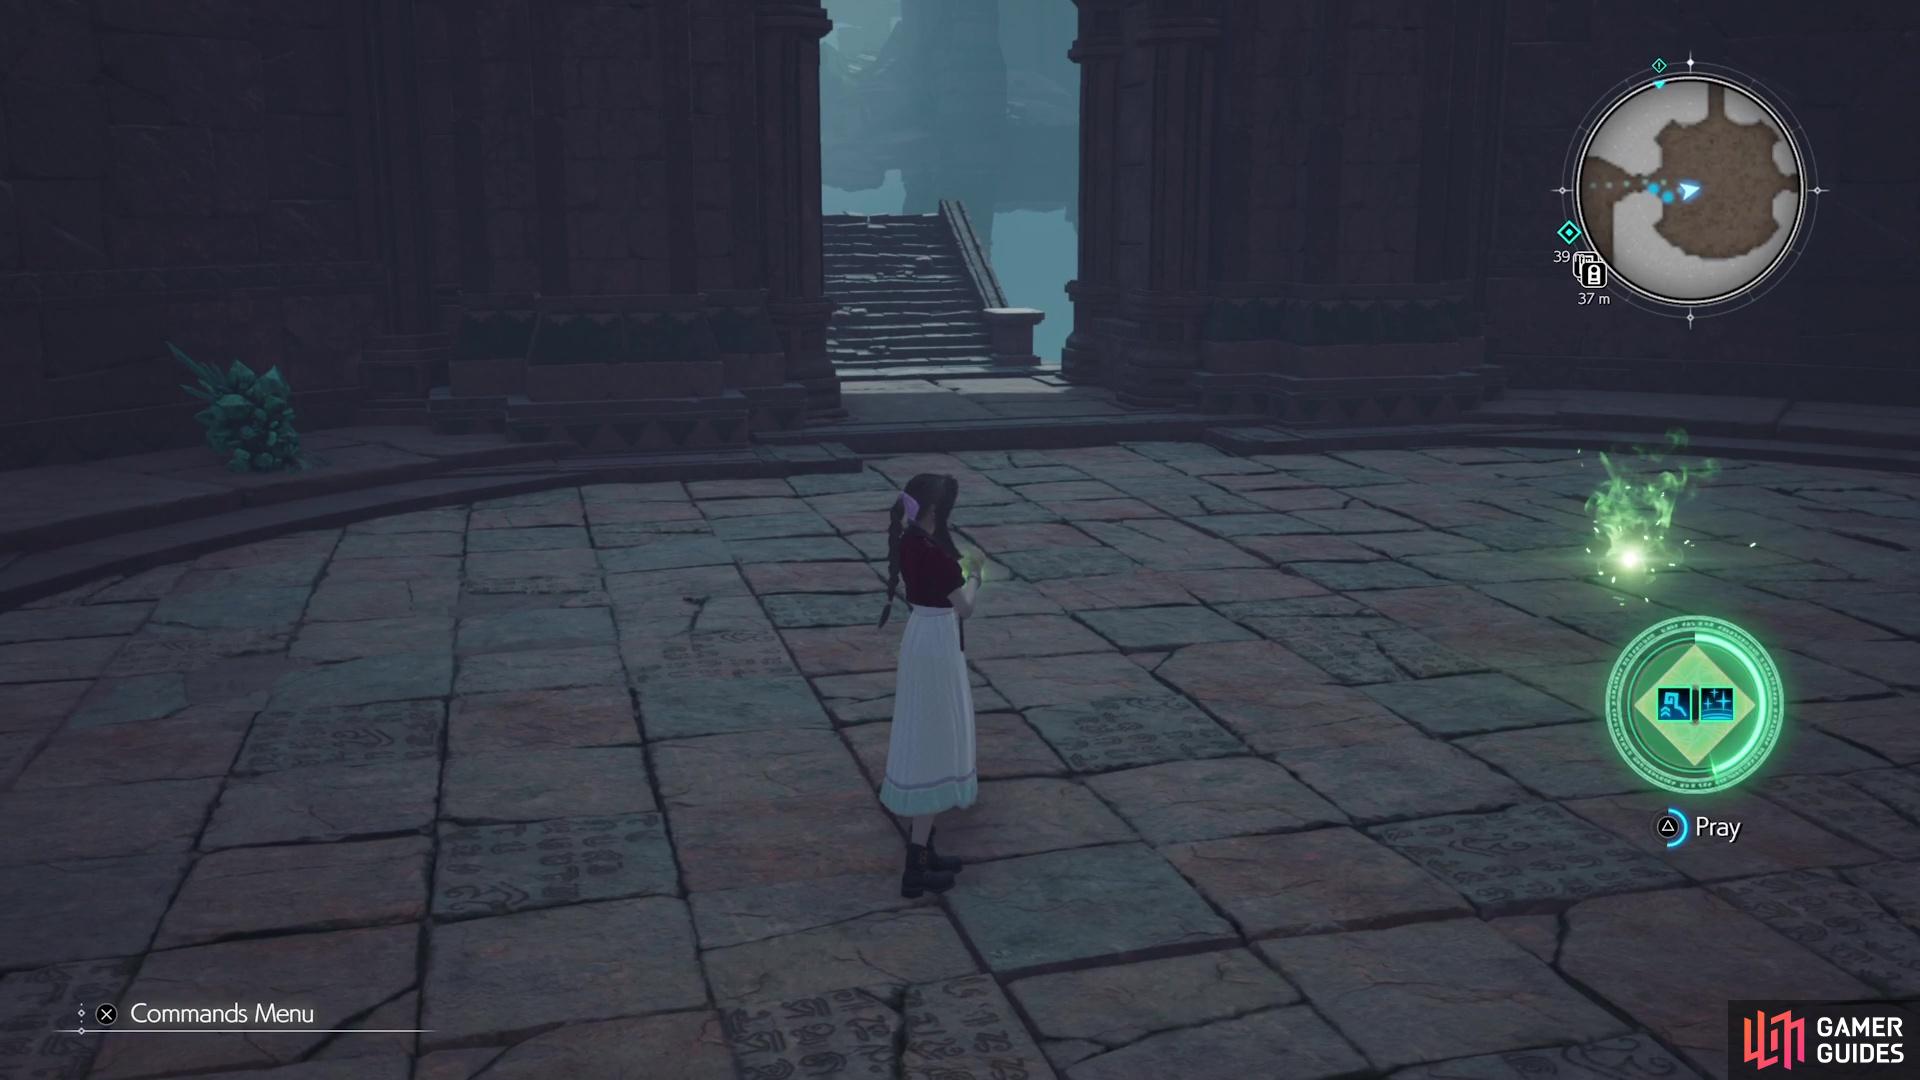
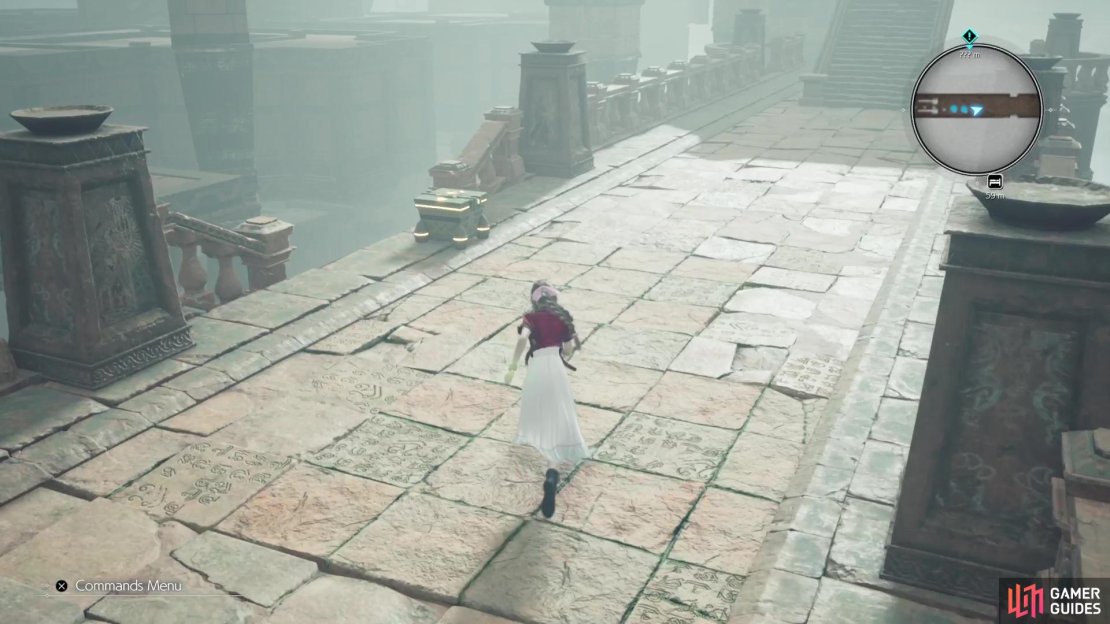
Once you regain control of Aerith, move forward and across the bridge. As you make your way towards the door, a lone Ancient Dragon will pop up and attack you, so do the usual to take it down. Absorb the energy after the battle, then approach the door and break the crystals to the sides to get some more. You’ll need some more energy in a bit, so it’s good to gather it. Pass through the door, where you will happen upon the final area, with the last Vessel of Life. While you will have some energy left over from the previous section, you might still need some more in order to activate the Vessel here. There are some crystals to break right by the entranceway, across from the rest stop.
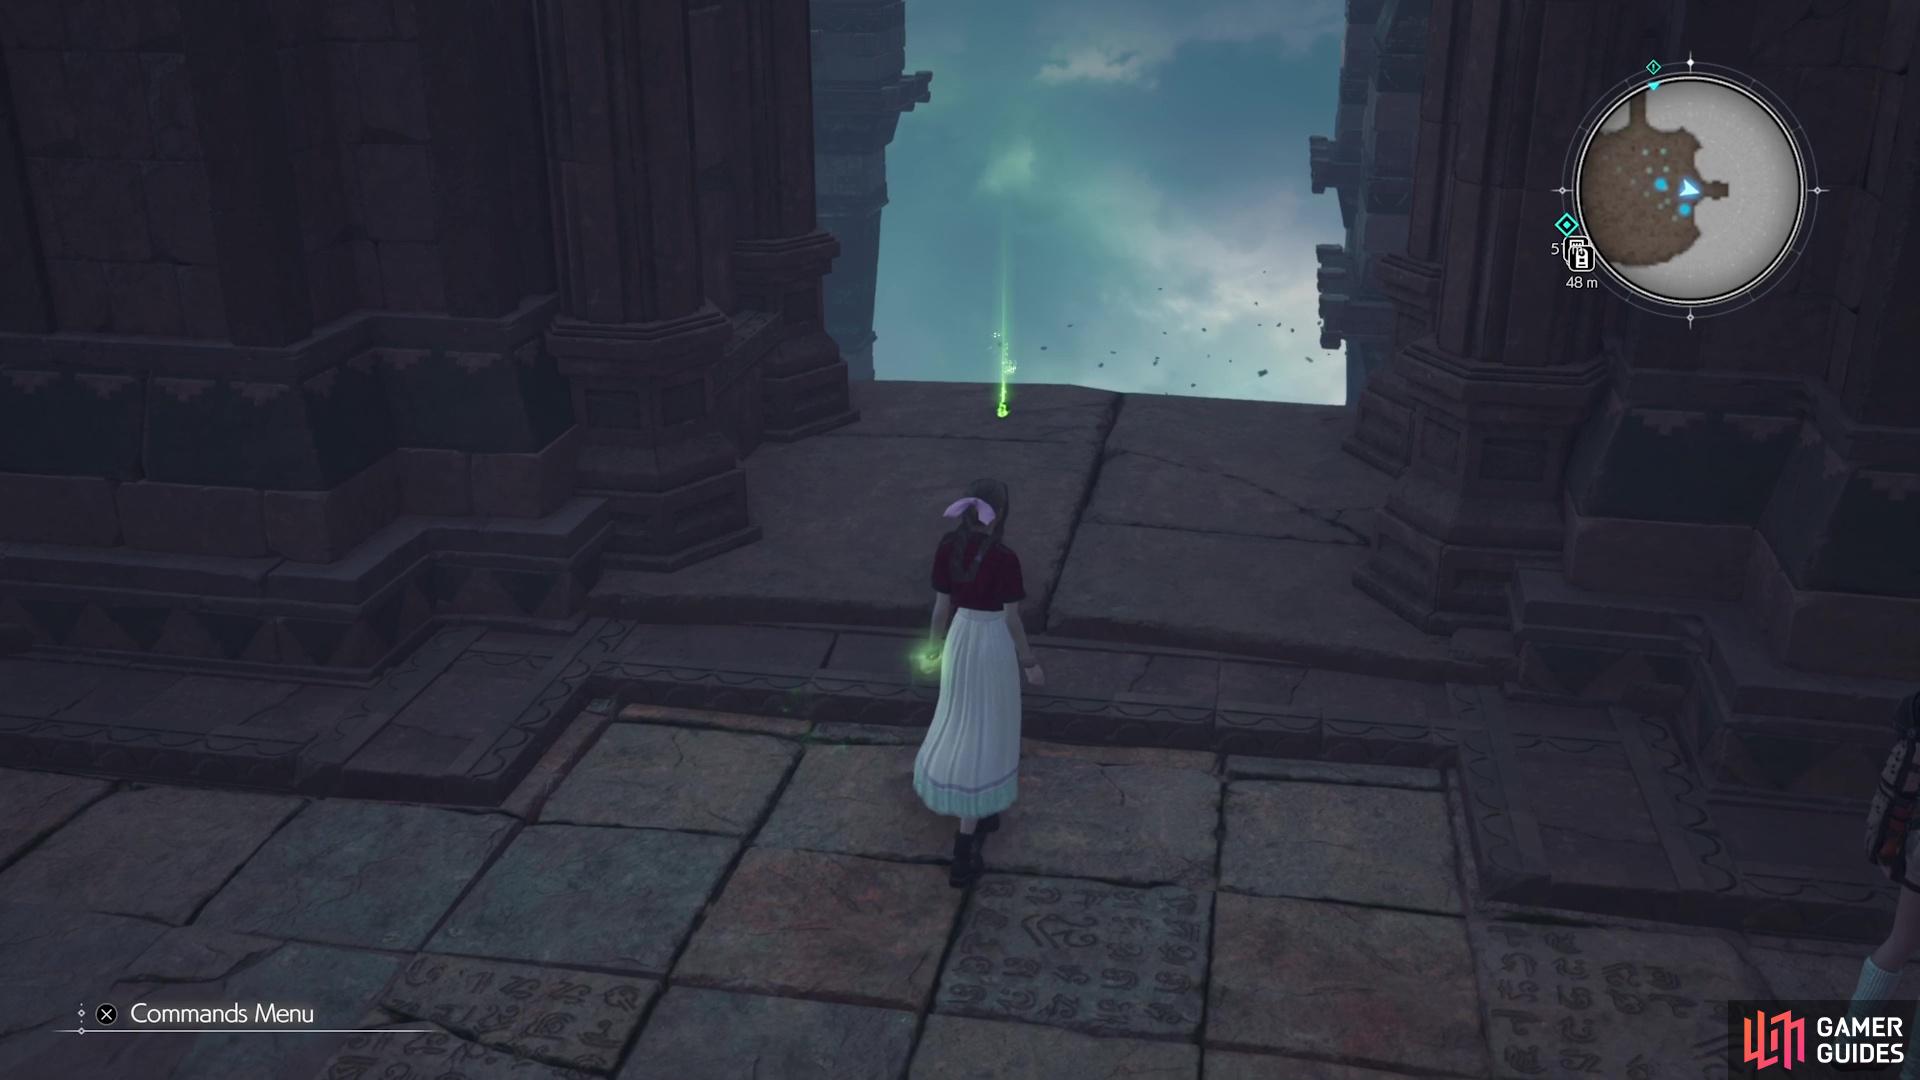
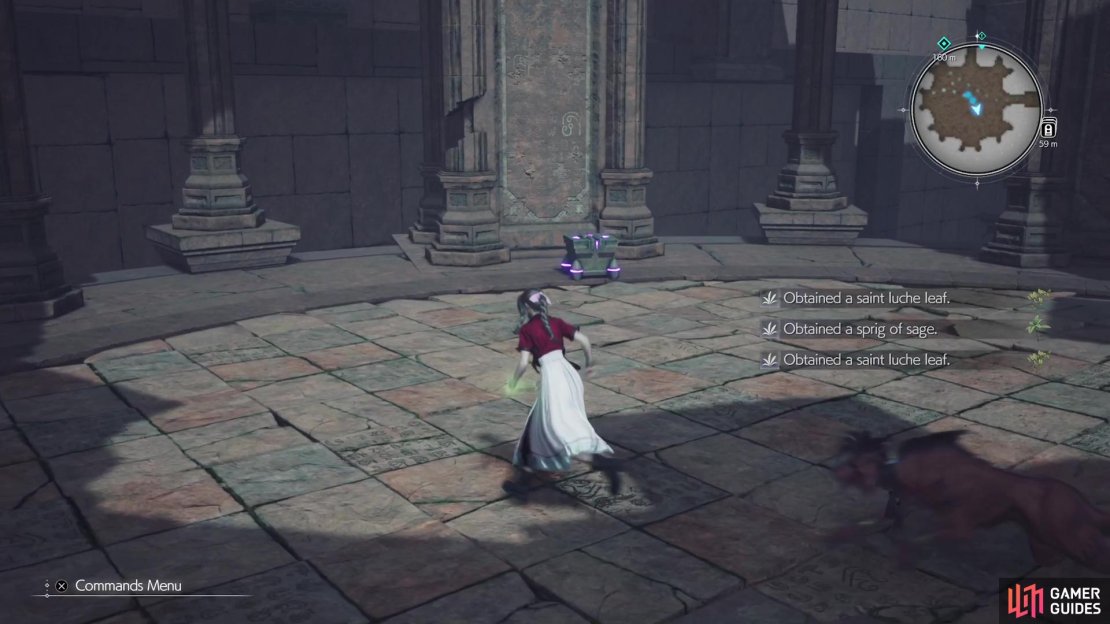
You will only have one way to go here, which is to the east, with some more crystals just outside of it. Go inside that area there to find a lone green orb to grab, as well as another crystal. Across from where you entered is a ![]() Subversion Materia on the ground, so pick it up and return to the red platform. The Vessel will be straight north, in the air, so fill it up with the energy you gathered, only to seemingly get stopped due to some enemies at certain spots. You will have a few ways to go here, but things can be done in any order.
Subversion Materia on the ground, so pick it up and return to the red platform. The Vessel will be straight north, in the air, so fill it up with the energy you gathered, only to seemingly get stopped due to some enemies at certain spots. You will have a few ways to go here, but things can be done in any order.
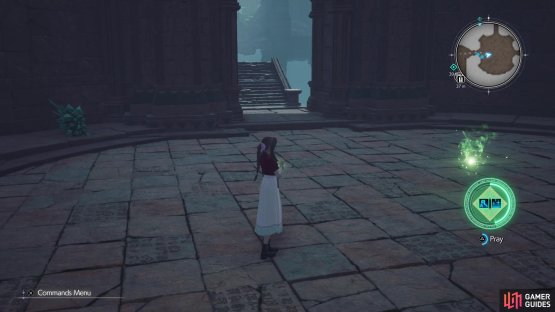

(1 of 2) You can find some extra energy to absorb to the east.
You can find some extra energy to absorb to the east. (left), There is also a Subversion Materia on the ground in the same area. (right)
Fighting Hecteyes
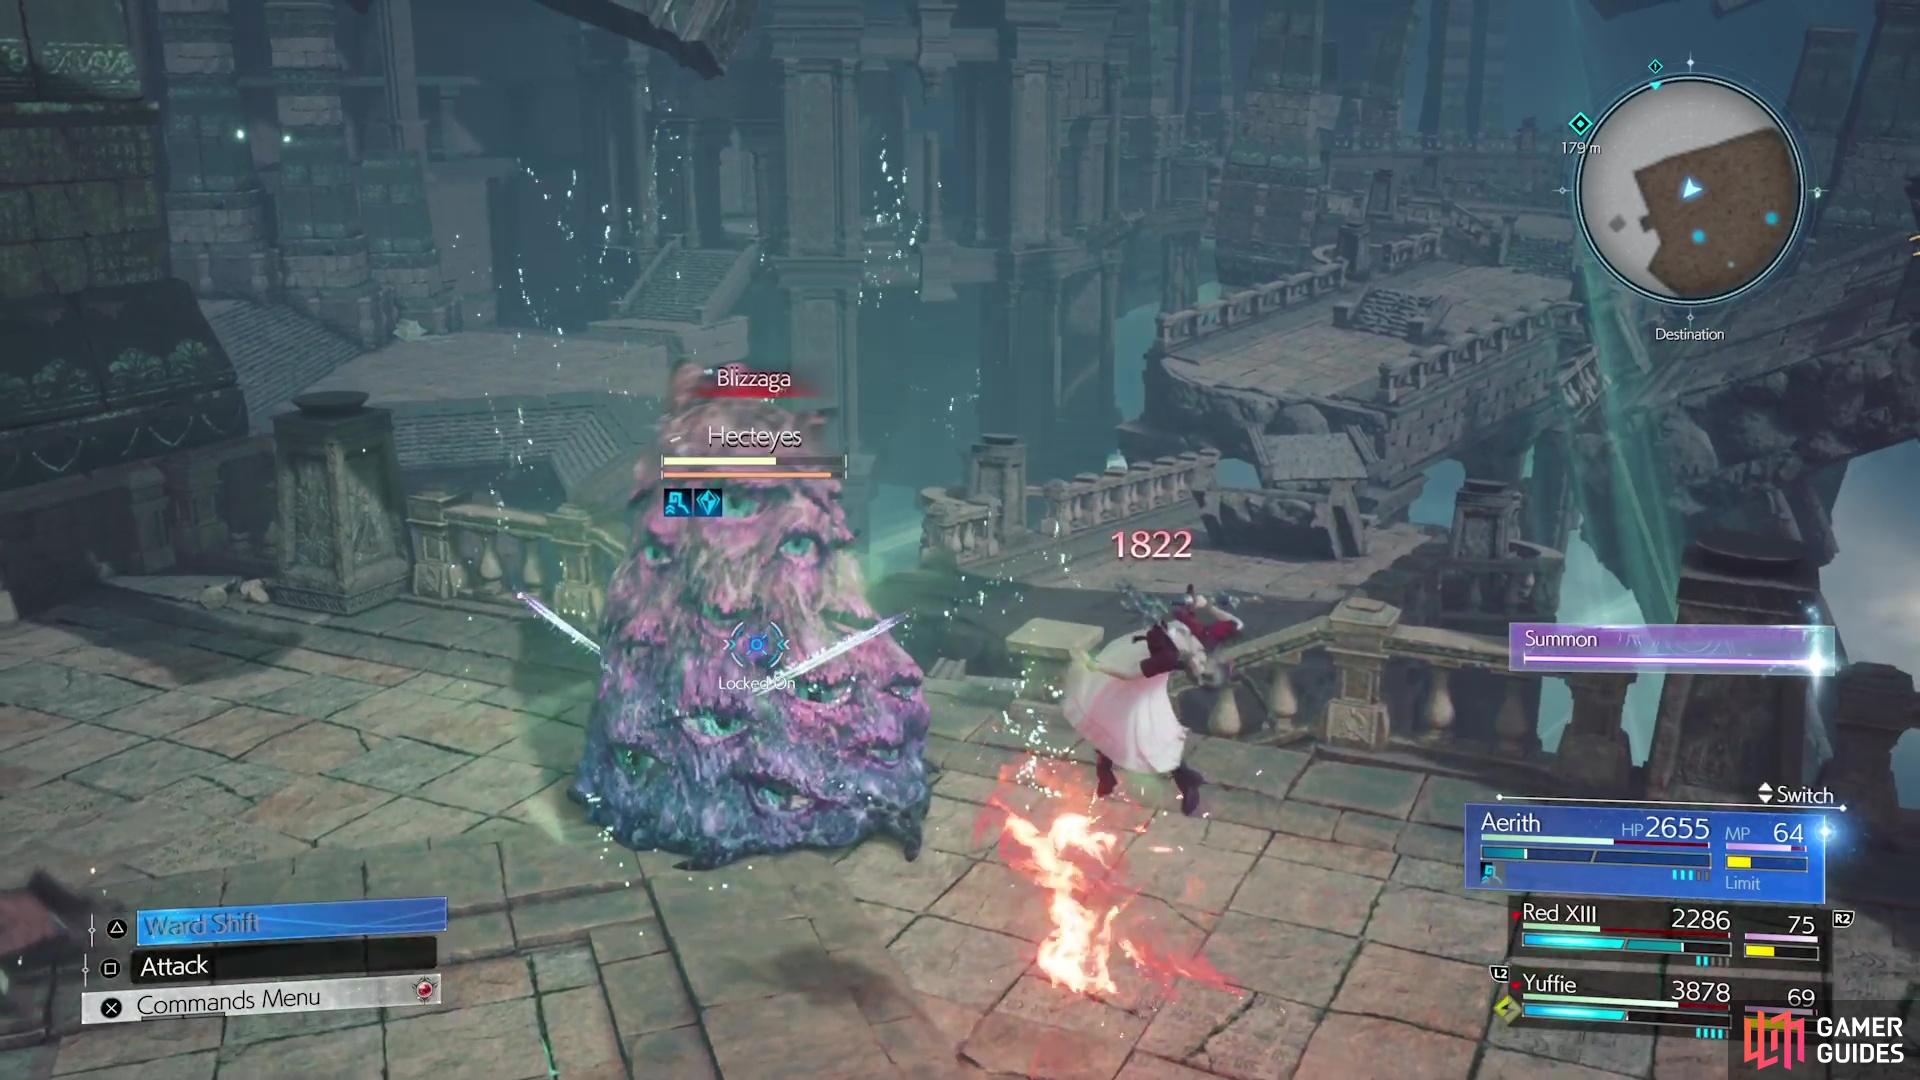
To start, go back to where you found the materia and head north this time, where you will encounter two enemies. One of them, the Floating Death, you’ve fought before with Aerith’s party. It is weak to lightning and not too challenging, so it might be a good idea to focus on that one first, since its attacks are a little more annoying. The other enemy is new, the Hecteyes, and while their abilities aren’t as bad, they can be more of a nuisance.
If you use Assess, you will notice they are weak to fire, ice and lightning, but that is a bit of a misdirection. Basically, they are weak to two of the three elements, while they will absorb the third one. You will want to wait until they use an elemental spell of their own, which will be the one they will be absorbing, then use one of the other two to pressure it. Of course, there is a slight problem with this, as they can use Sorcerial Reflection to reflect magic cast on them. So, you need to wait until they remove this, then quickly hit them with an element they don’t absorb.
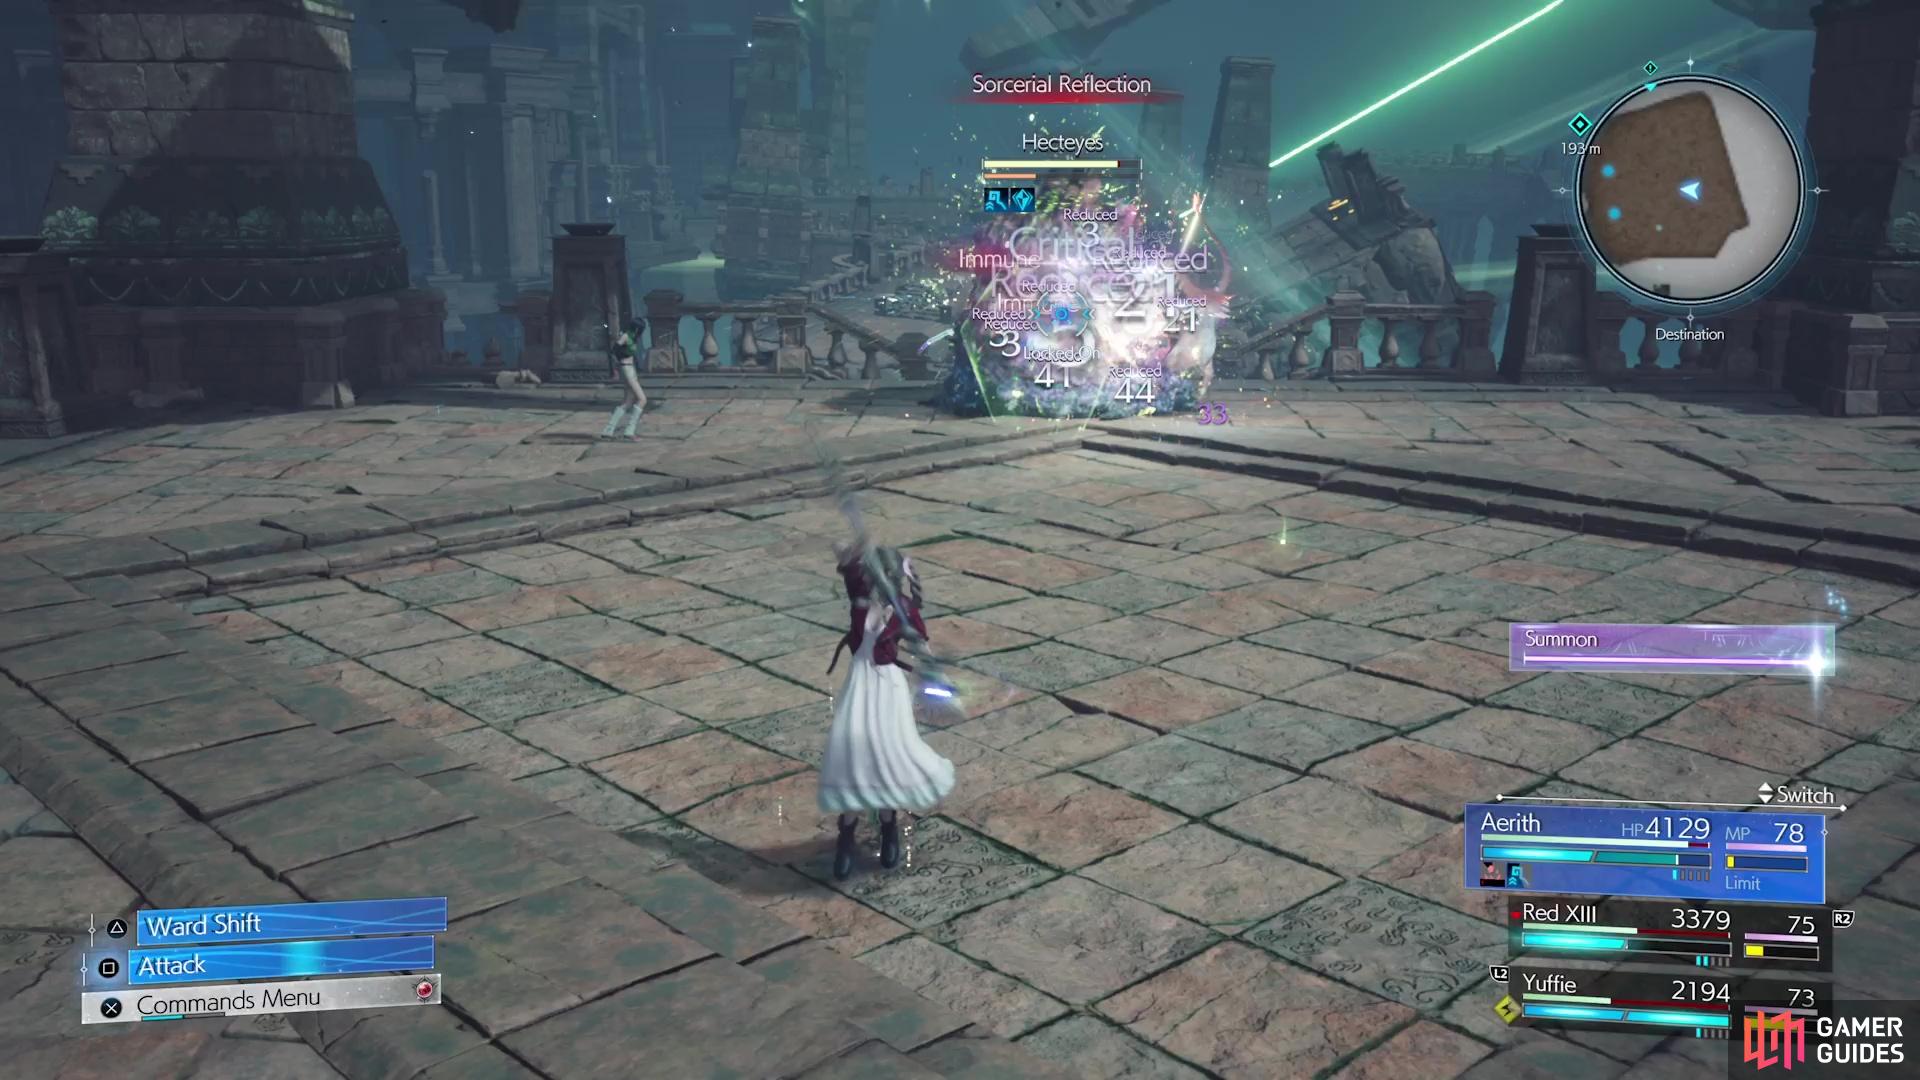


(1 of 2) The Hecteyes have a skill called Sorcerial Reflection.
The Hecteyes have a skill called Sorcerial Reflection. (left), It sounds just like it is, as your magic will be bounced back at the caster. (right)
Once you’ve defeated both enemies, the laser portal thing will return to normal, so that is one of the two fixed. From there, you can start heading west now. You will see a chest on a floating platform, but you can’t reach it right now, is ignore it and continue west. On the way, you will run into some Berserker Bees, so take them out (Yuffie’s ![]() Windstorm is great here) and venture south. This is the other path you could have taken from the Vessel platform at the start. On the southern side is a purple chest that contains the Brisingamen weapon for
Windstorm is great here) and venture south. This is the other path you could have taken from the Vessel platform at the start. On the southern side is a purple chest that contains the Brisingamen weapon for ![]() Red XIII.
Red XIII.
Return to the previous platform, then head west once more, where you can go in two different directions. Head south first, then west and through the doorway to find some more Bees and Frogs to fight. After defeating them all, open the nearby chest for a Cetran Armlet. Unlike the previous Cetran pieces of armor, which had no materia slots, this one does have the full eight slots, with them being linked, so it’s a fantastic piece of equipment.

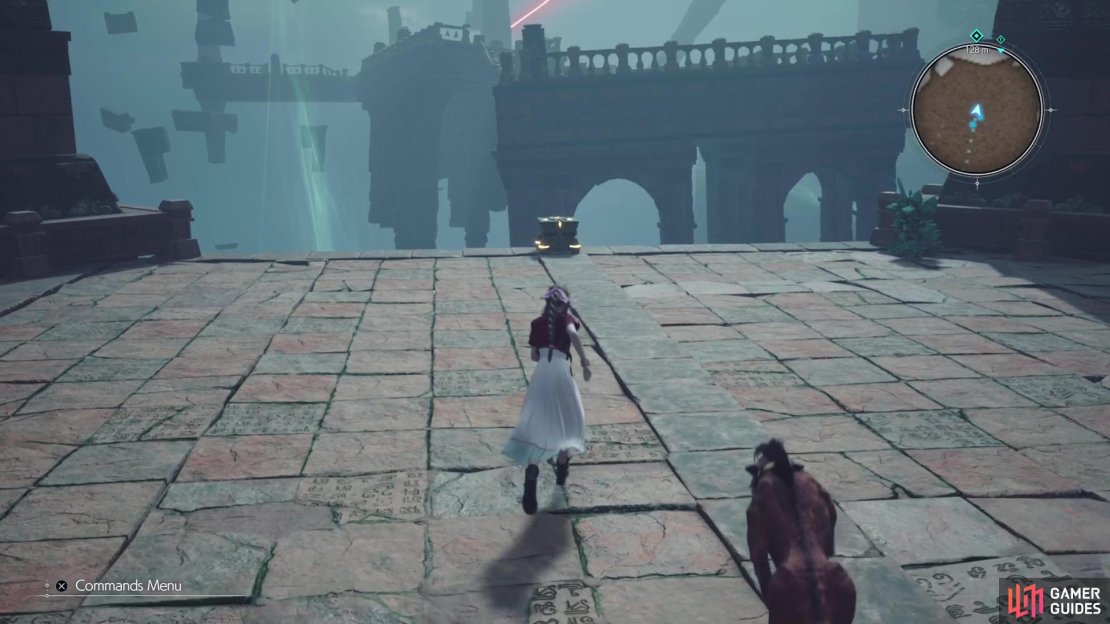
(1 of 4) There is a purple chest with a new Red XIII weapon on the western side.
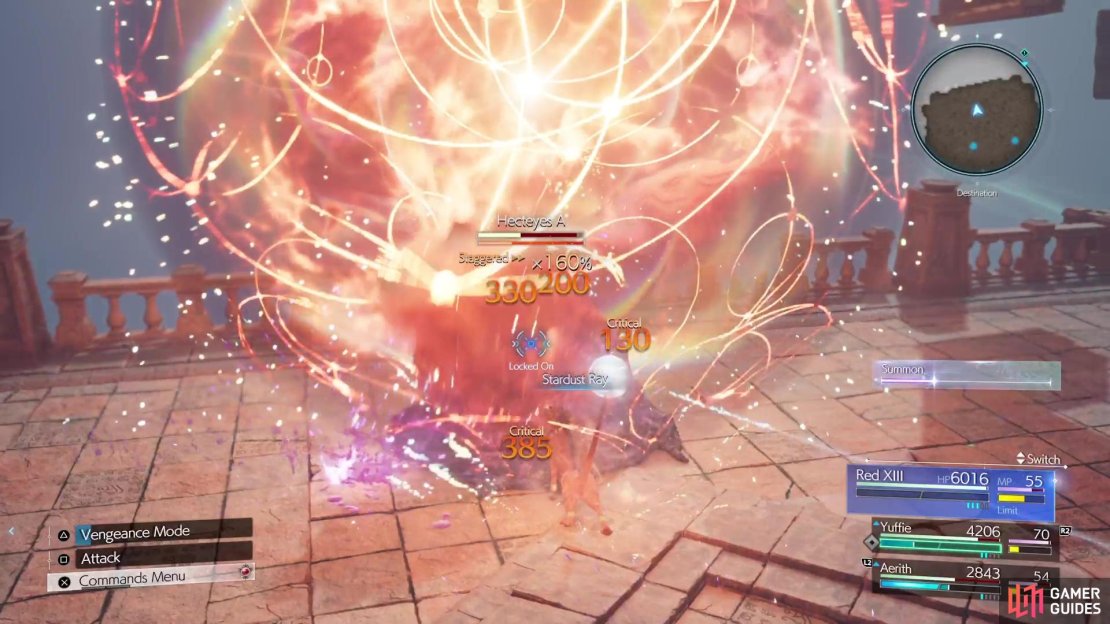
Double back to the previous path split and head north this time, where you can go all the way to the end to find the second blocked contraption. Of course, you’re fighting two Hecteyes this time, so things are a little more challenging. Concentrate on one and if you want some more oomph, have Red XIII use his ![]() Stardust Ray ability for big damage. Just avoid slinging spells when the reflection is up and you’ll do fine. When the enemies are dead, the device will fix itself and things should now be back to normal.
Stardust Ray ability for big damage. Just avoid slinging spells when the reflection is up and you’ll do fine. When the enemies are dead, the device will fix itself and things should now be back to normal.
You can now go back to the Vessel platform and deposit the energy into it, which will finally fix the terrain here. Once that’s done, go to the middle portion of the area and loot that one chest you couldn’t before, which contains an Astral Remnant. Back at the red platform, rest up, then take the stairs straight ahead going down, which will lead to a door and the next boss fight.
No Comments