
Gears and Gambits is one of the many minigames in Final Fantasy VII Rebirth, with it being the focal point of the Protorelic quest in the ![]() Cosmo Canyon Region. Similar to Fort Condor, you will unlock a Hard Mode upon completing all of them. You don’t really get anything for completing Gears and Gambits Hard Mode, other than paltry Party EXP (20 in total). However, it is needed to fully 100% the game and get that coveted Platinum Trophy. This page will detail all of the strategies needed to complete Hard Mode for Gears and Gambits.
Cosmo Canyon Region. Similar to Fort Condor, you will unlock a Hard Mode upon completing all of them. You don’t really get anything for completing Gears and Gambits Hard Mode, other than paltry Party EXP (20 in total). However, it is needed to fully 100% the game and get that coveted Platinum Trophy. This page will detail all of the strategies needed to complete Hard Mode for Gears and Gambits.
Gears and Gambits Hard Mode Loadout
Whenever you first try to play Hard Mode, you will see that you’ve unlocked a bunch of new gambits and actions for your little robots. These will help out a lot, as Hard Mode is definitely challenging. The goal is still the same, where you need to defeat the enemy leader in the center of the level, but one thing has been added to make things harder. Each of the stages will have a restriction on it, like only being able to deploy so many robots before you cannot deploy anymore. There is a different restriction for each of the stages, with each one of them creating opportunities for new strategies.
This loadout will carry you through all of the Hard Mode stages of Gears and Gambits.
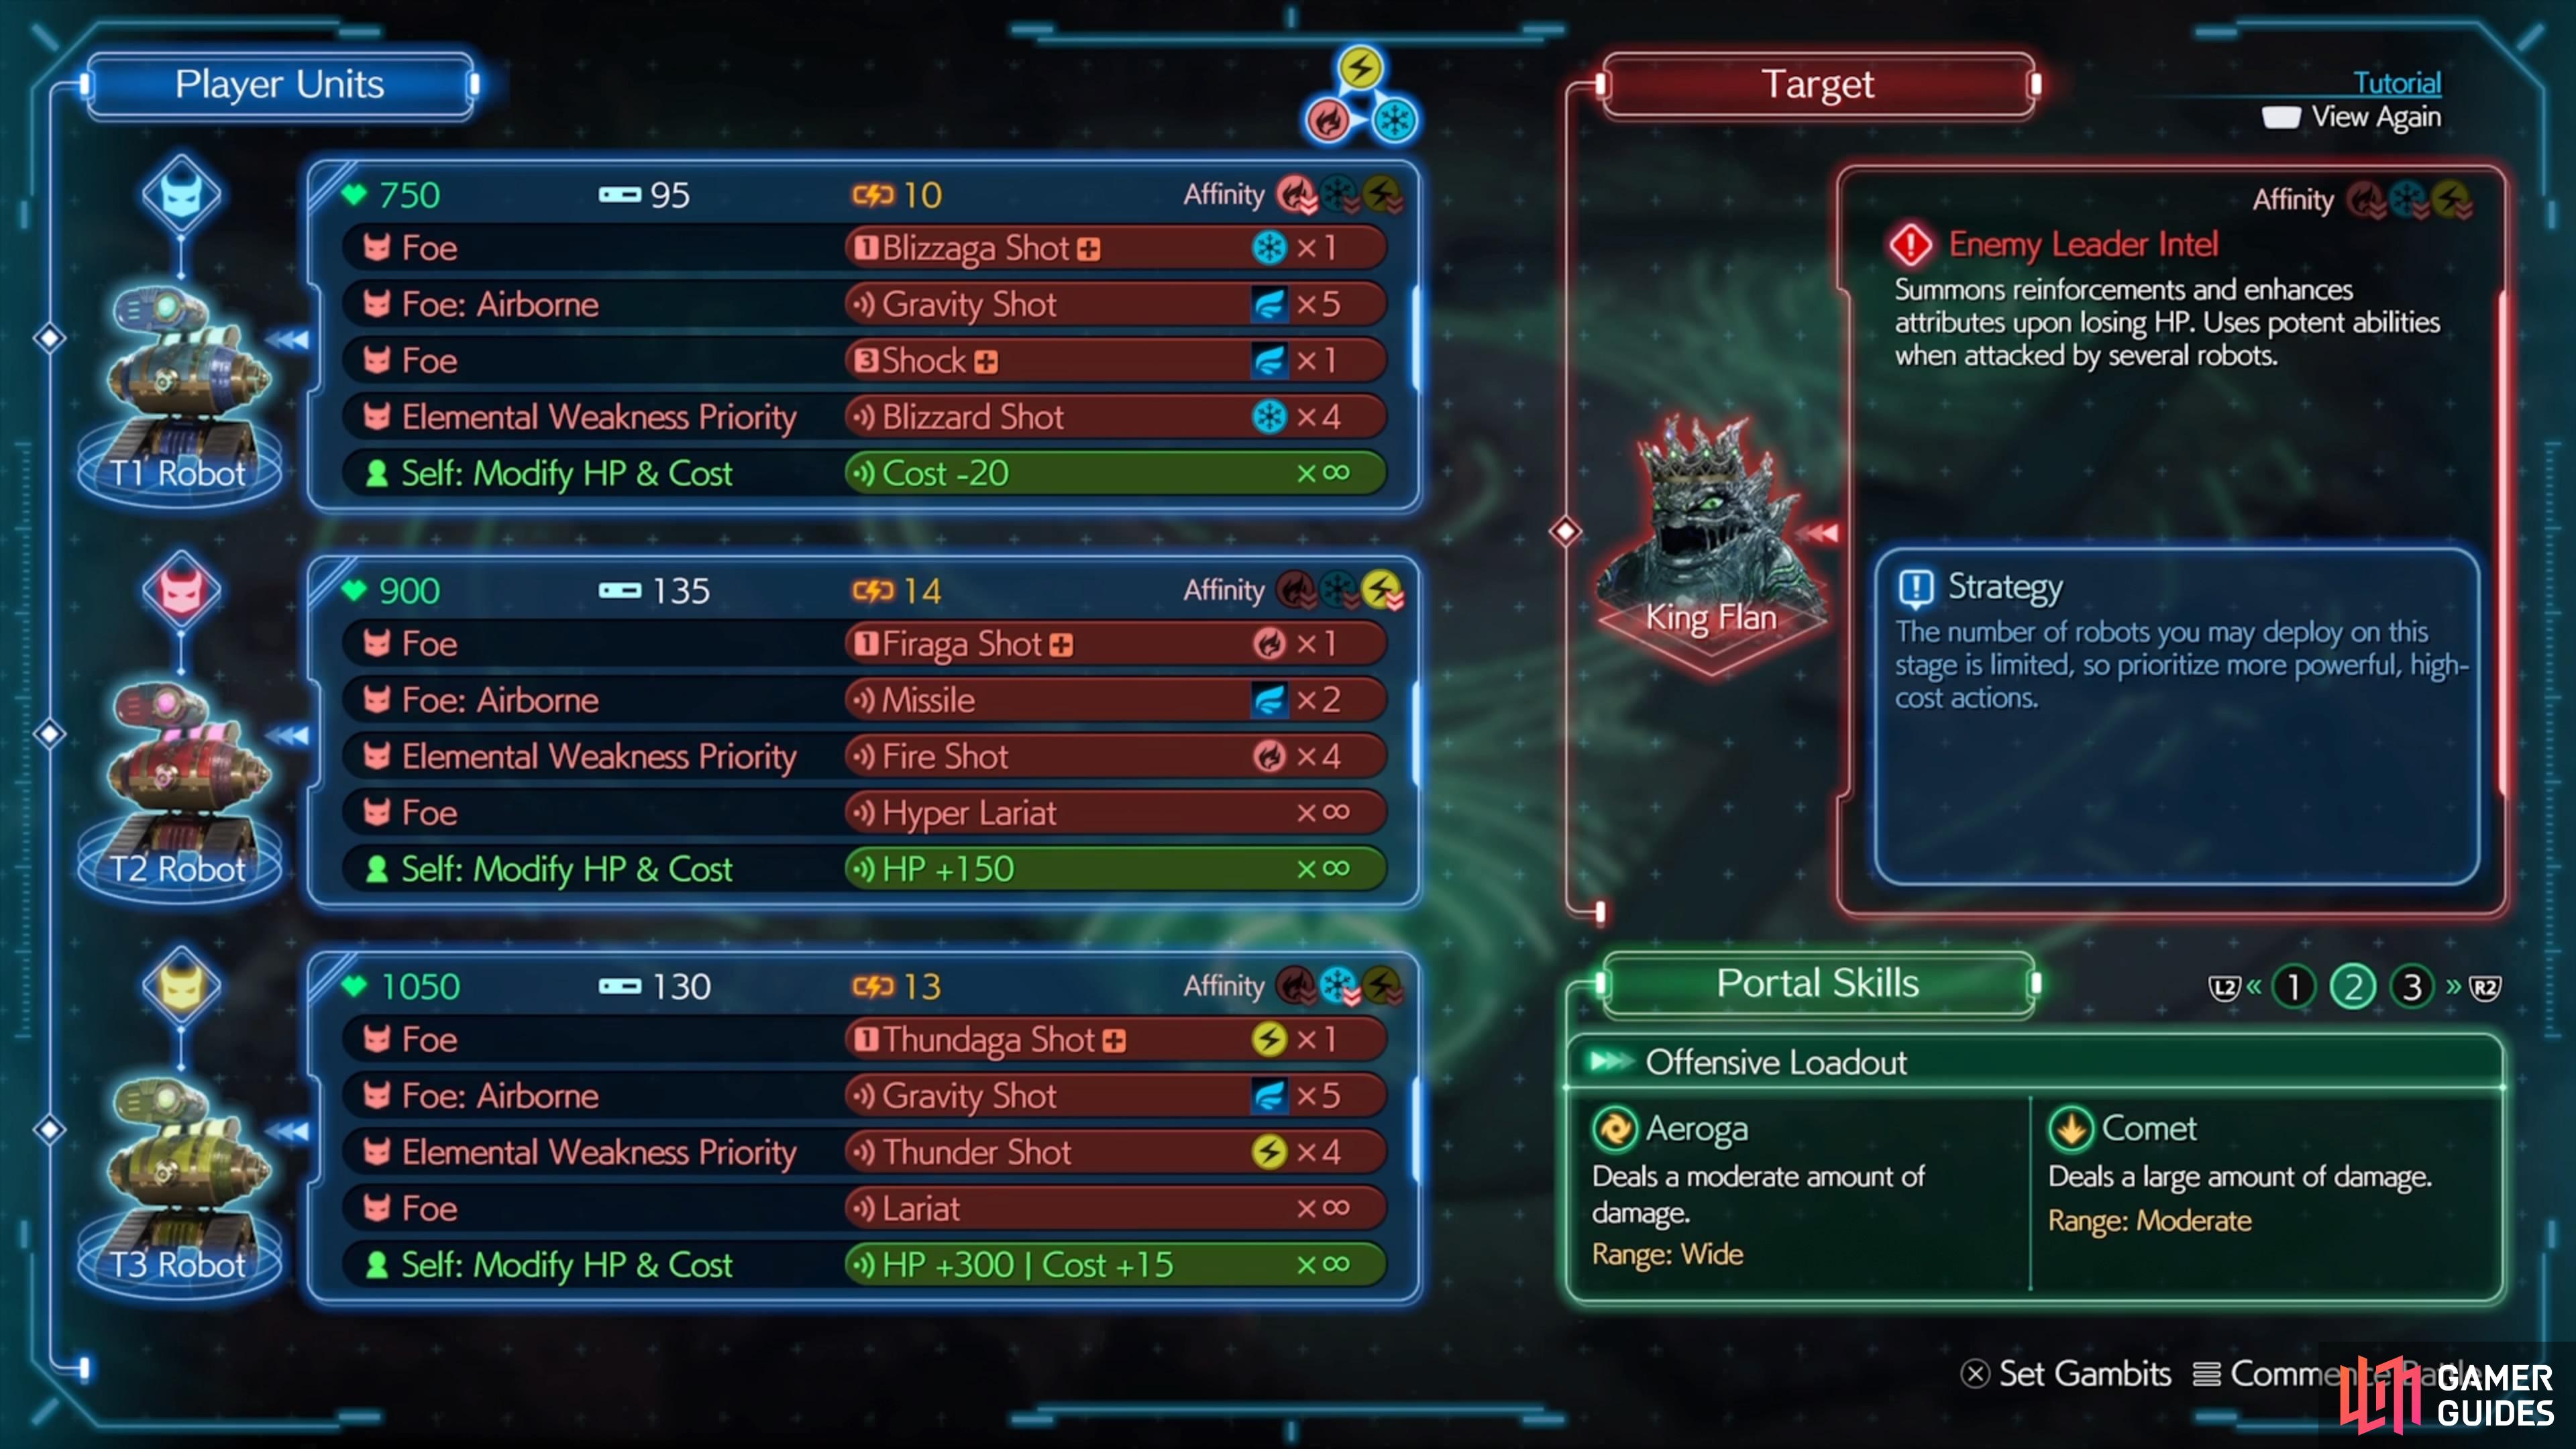
Despite each stage being different, there is one loadout that can work for the entirety of Hard Mode. For the Actions that have sub-conditions, you can set them all to Defeat one enemy. Also, you will be using the Offensive Loadout for the Portal Skills. These should only be used in emergencies, like multiple enemies attacking your portal, or if the boss only has a little bit of health left.
Robot 1
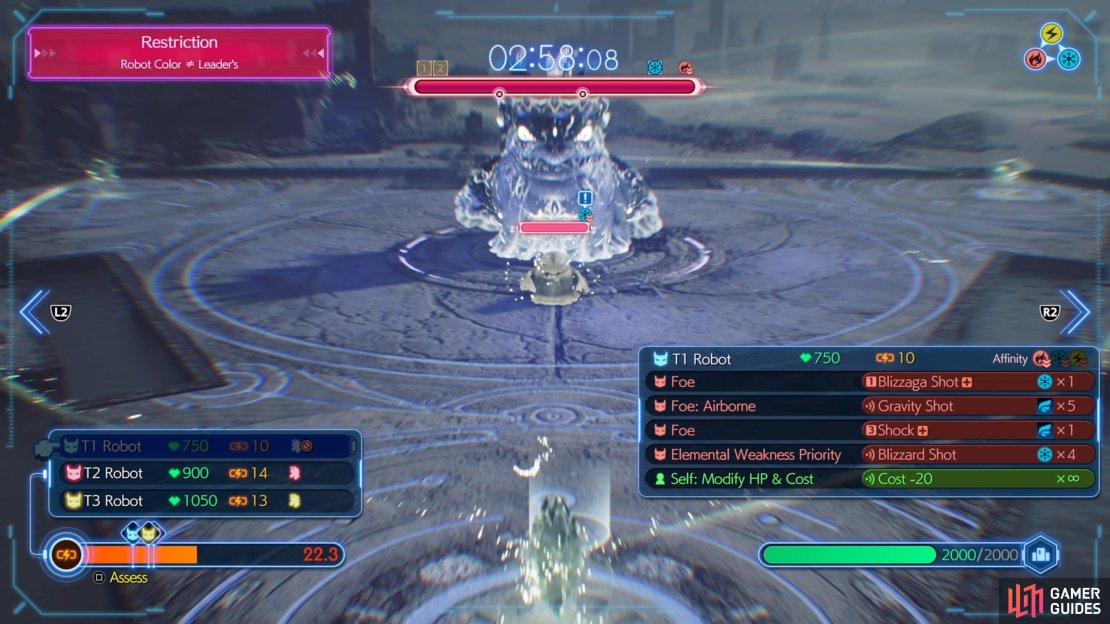
The first robot on this list will use ice attacks to target those weaknesses. It will also be the one with the lowest ATB costs.
| Target | Action |
|---|---|
| Foe | Blizzaga Shot |
| Foe: Airborne | Gravity Shot |
| Foe | Shock |
| Elemental Weakness Priority | Blizzard Shot |
| Self: Modify HP & Cost | Cost -20 |
Robot 2
The second robot will have the highest cost, with it being 14, and it will focus on delivering fire attacks. It will also be a little tankier than the base robot.
| Target | Action |
|---|---|
| Foe | Firaga Shot |
| Foe: Airborne | Missile |
| Elemental Weakness Priority | Fire Shot |
| Foe | Hyper Lariat |
| Self: Modify HP & Cost | HP +150 |
Robot 3
The third robot will specialize in exploiting the thunder elemental weakness, which means it will be weak to ice. It will also be your tankiest of the three, although it’s not by much.
| Target | Action |
|---|---|
| Foe | Thundaga Shot |
| Foe: Airborne | Gravity Shot |
| Elemental Weakness Priority | Thunder Shot |
| Foe | Lariat |
| Self: Modify HP & Cost | HP +300, Cost +15 |
Gears and Gambits: Hard Mode - Stage 1
The restriction for the first stage is that you are limited in the number of robots you can deploy. Specifically, you are only allowed to deploy three robots of each type, so that’s a total of nine across the whole stage. This might be one of the tougher challenges because of that, since you cannot just spam robots. For the first phase of the battle, the leader will use ![]() Regen if you have four robots in a lane, although you should never really do this, due to the limited numbers. It will also use One-Two Splat if it’s targeted by three of your robots.
Regen if you have four robots in a lane, although you should never really do this, due to the limited numbers. It will also use One-Two Splat if it’s targeted by three of your robots.
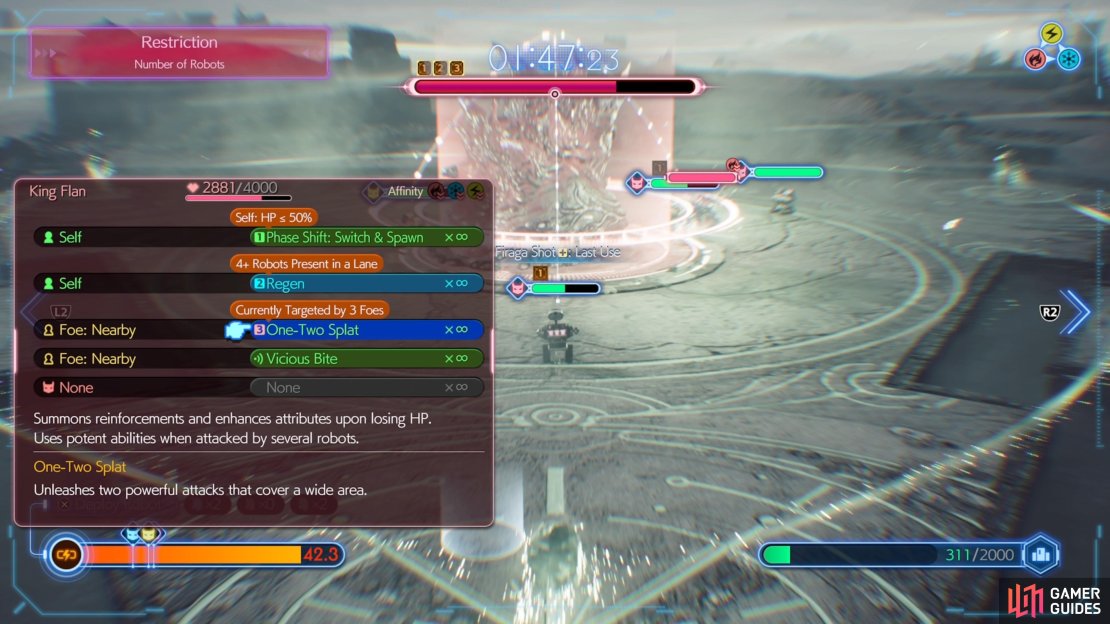
(1 of 4) The boss’ first phase does have Regen, but it’s easy to work around it.
At 50% HP or lower, it will switch over to a new phase, as well as spawn some enemies. Since you can’t really try and overwhelm the boss here, you will want to try and take things a little more slowly than usual. Only counter the enemies with their weaknesses with only a single robot at a time. The first two enemies will use Regen/Cure on themselves, so you might need to add an extra robot out there, although you should try not to do this.
You will want to try and save your portal spells for cases where you don’t want to deploy a robot for two enemies, or more, in a lane. Eventually, you will have your robots get to the boss and whittle down its health.
Gears and Gambits: Hard Mode - Stage 2
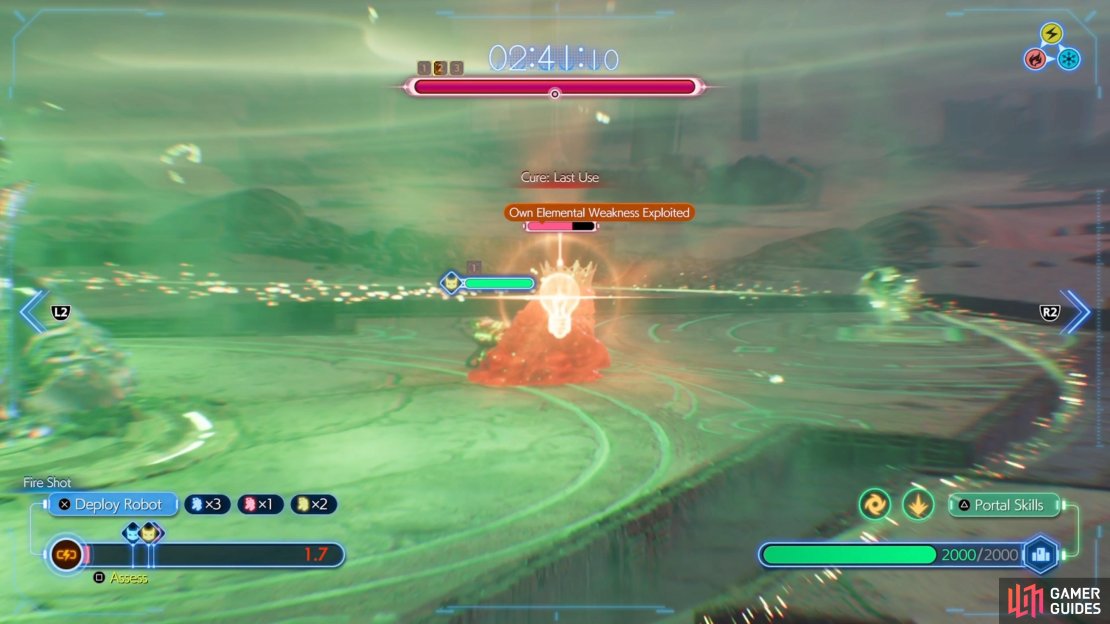
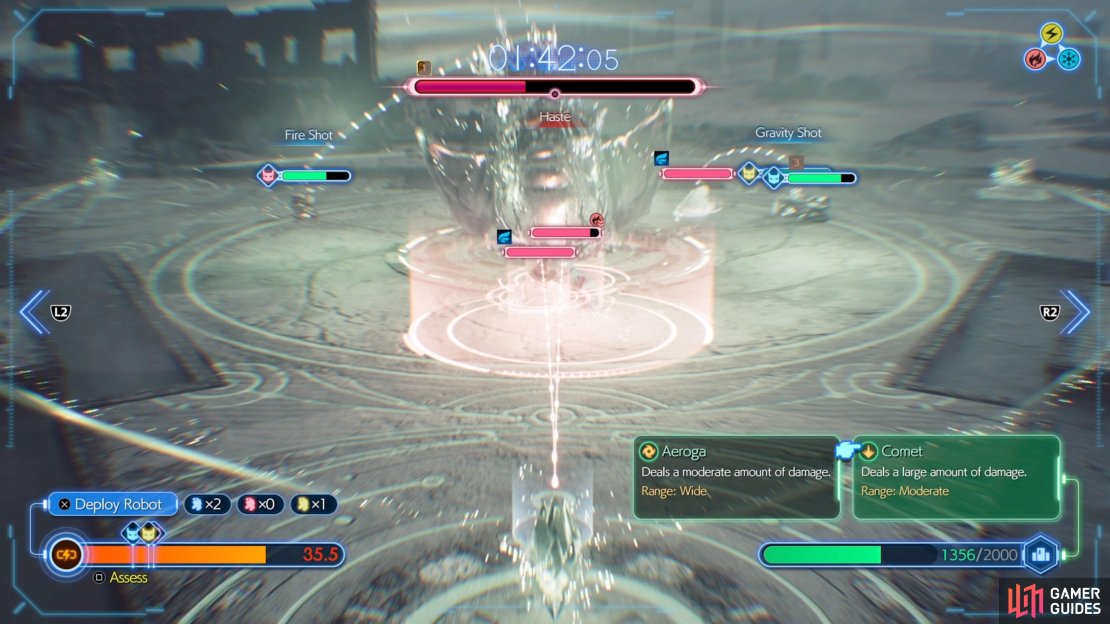
The second stage’s restriction will be that you can only deploy a certain number of robots per type at a time. For example, you can only have two ![]() Ice-types on the field at once, so if you wanted to put another of that same kind down, you’d have to wait until one of those got destroyed first. With that in mind, there’s actually no limit as to how many units you can deploy, so don’t worry about that. The boss will have two phase changes here, with the first one being fairly standard (two close attacks and one mid-range).
Ice-types on the field at once, so if you wanted to put another of that same kind down, you’d have to wait until one of those got destroyed first. With that in mind, there’s actually no limit as to how many units you can deploy, so don’t worry about that. The boss will have two phase changes here, with the first one being fairly standard (two close attacks and one mid-range).


(1 of 2) You are restricted to only using a certain number of the same-type robots.

You are restricted to only using a certain number of the same-type robots. (left), Things can become quite hectic during the course of this battle. (right)
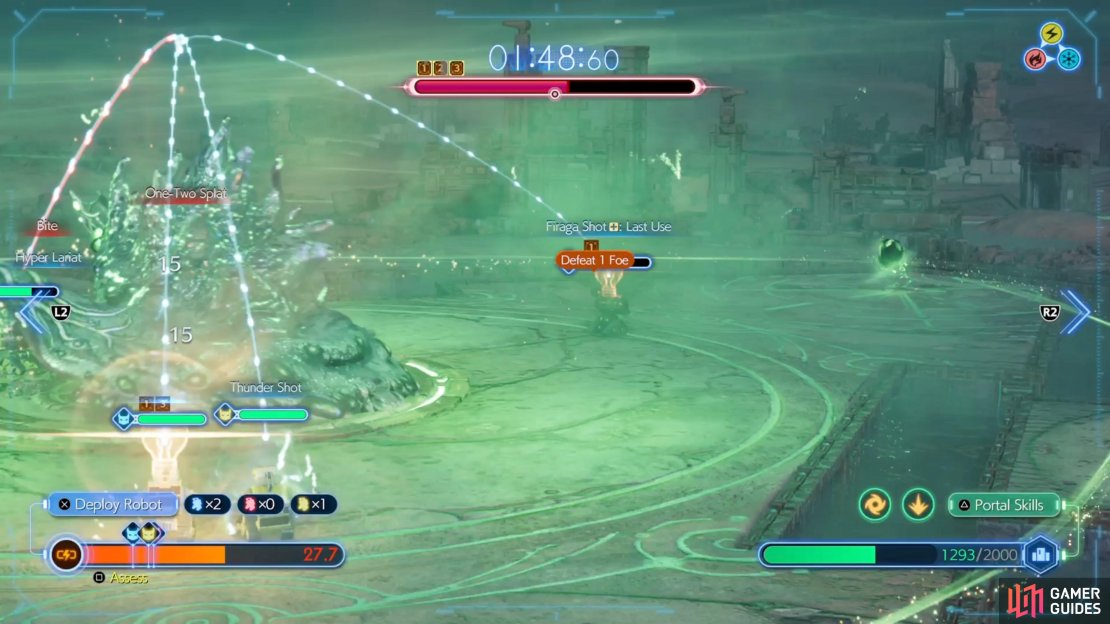
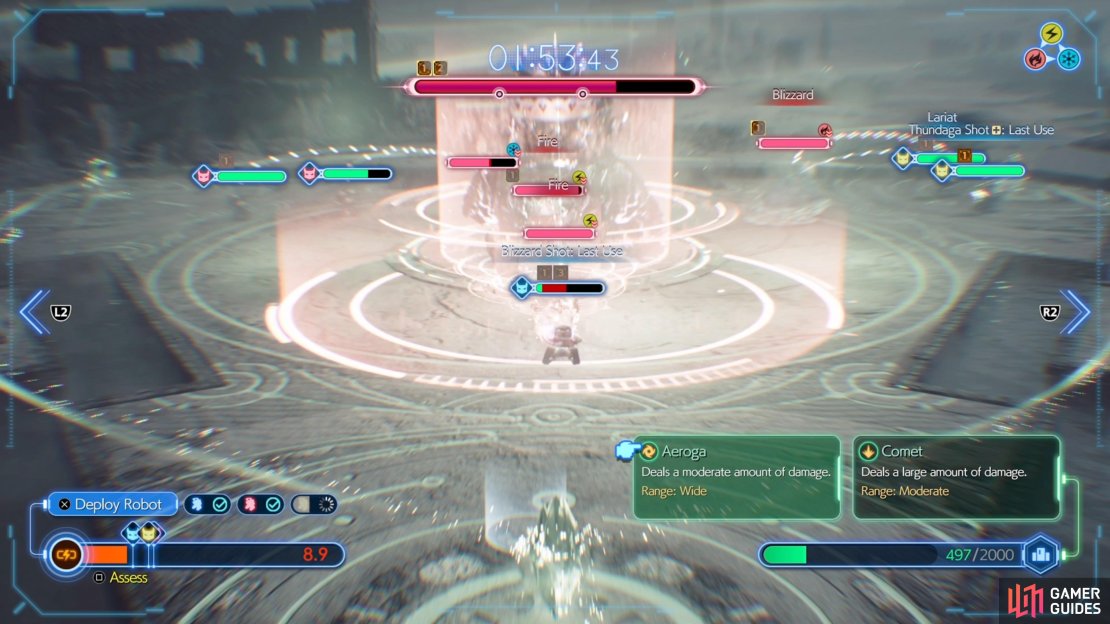
The stage starts out fairly normal, although the Marshmallows (larger ones) always go straight for the portal crystal, so prioritize those over the more basic ![]() Flans. It won’t be too long, though, where the game makes you start wishing you could summon more units of a specific type. In this case, you can simply deploy one that isn’t weak to the enemy in the lane. The boss will summon reinforcements on each phase shift and will gain the use of Regen in the last phase. If you haven’t used your portal spells yet, now might be a good time to avoid getting overrun, especially if the second set of reinforcements comes before you get rid of the first set.
Flans. It won’t be too long, though, where the game makes you start wishing you could summon more units of a specific type. In this case, you can simply deploy one that isn’t weak to the enemy in the lane. The boss will summon reinforcements on each phase shift and will gain the use of Regen in the last phase. If you haven’t used your portal spells yet, now might be a good time to avoid getting overrun, especially if the second set of reinforcements comes before you get rid of the first set.
Other than that, the boss isn’t really all too tough. Keep the pressure up by having the maximum number of robots out at the time, and you will fell it.
Gears and Gambits: Hard Mode - Stage 3
The restriction for the third stage is a little misleading, as it mentions that a certain amount of time must pass before deploying new units. This actually only pertains to robots of the same time, so if you deploy a lightning type, you’ll have to wait until enough time passes to deploy another lightning type. Overall, this is probably the least problematic restriction of the whole batch, since it’s just time-related.
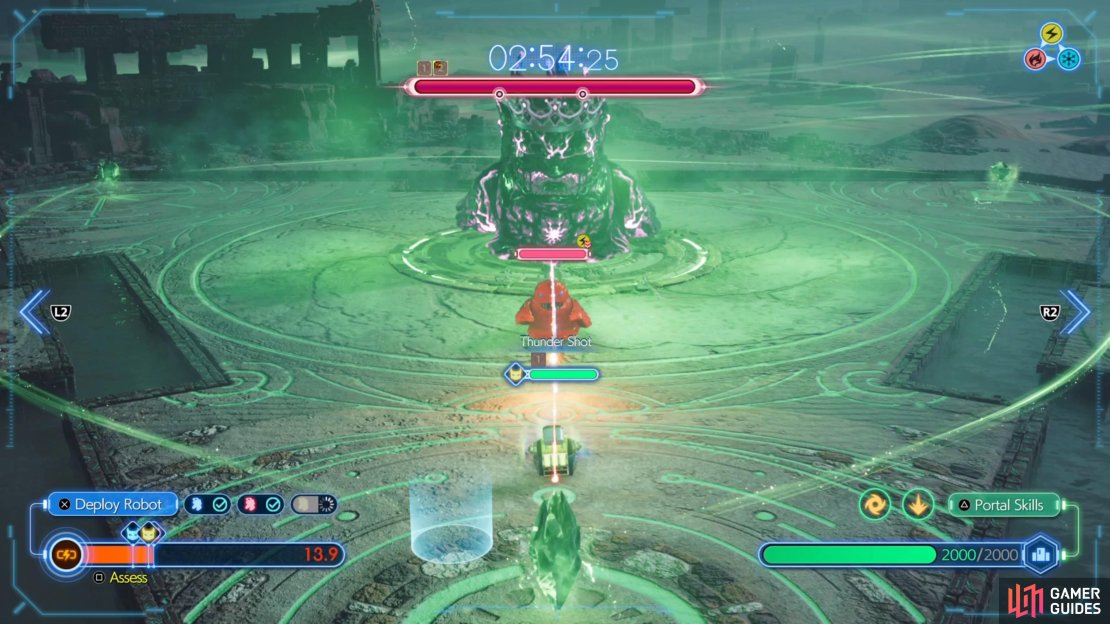

(1 of 4) You’ll have to wait before deploying same-type robots in the third stage.
For the first phase, avoid having four or more robots in a single lane, as this will trigger the boss to use Cure. If you get overwhelmed here, don’t forget about your portal spells. This should hopefully calm things down and get things back on track. The second phase for the boss will have it develop a weakness to lightning, so you can try to deploy some robots to use that element. It has access to Firaga at this stage, as well as Regen, so you want to keep up the pressure. Avoid having four or more robots in a single lane, since it can use ![]() Debrave.
Debrave.
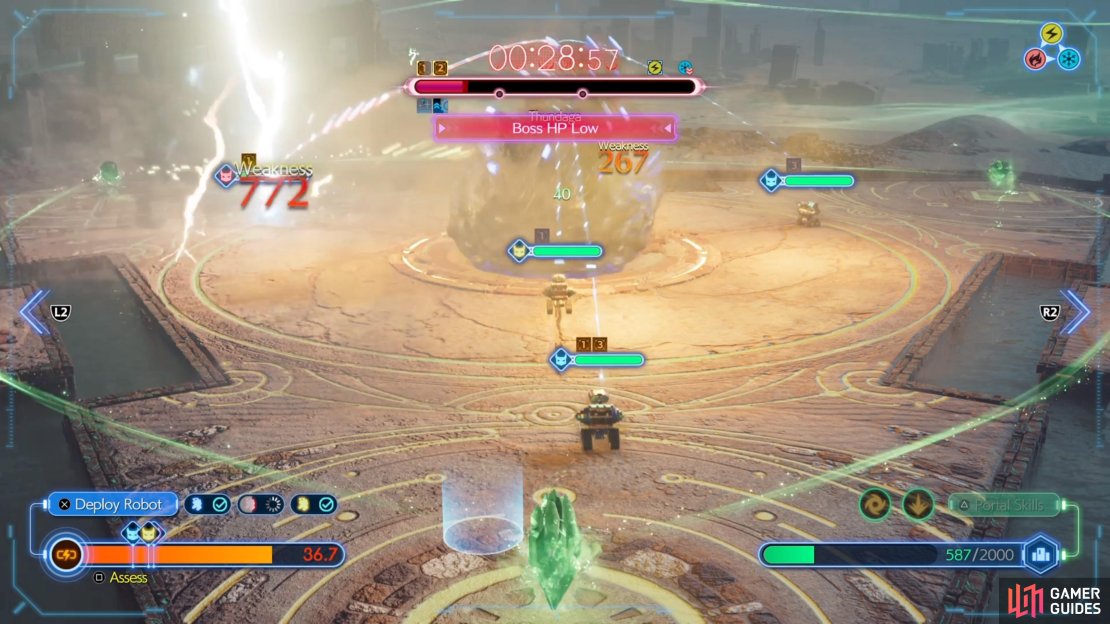
The final phase will make the boss weak to ice, so start focusing on those kinds of robots. It can use ![]() Haste at this point, as well as Thundaga, so it’s possible some robots will get one-shot by that spell. Just keep up the pressure and you will fell the boss in the center.
Haste at this point, as well as Thundaga, so it’s possible some robots will get one-shot by that spell. Just keep up the pressure and you will fell the boss in the center.
Gears and Gambits: Hard Mode - Stage 4
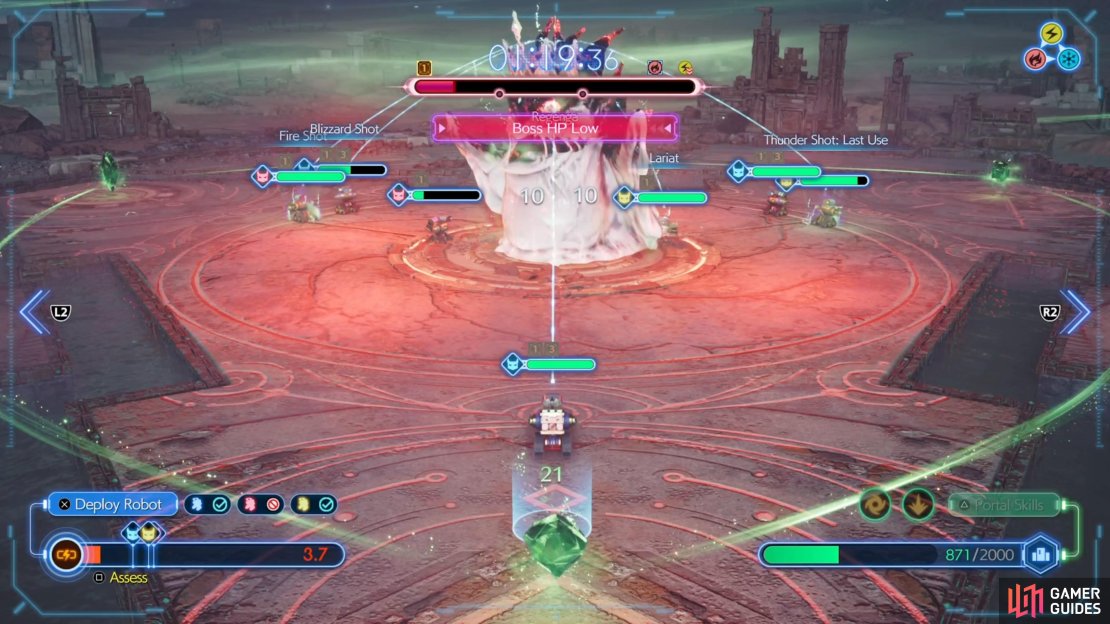
The final stage will have the boss go through each element, with the restriction being you cannot deploy robots of the same element as the boss. For example, the boss will start as ice, so you cannot deploy ice-elemental robots. Of course, the game will throw enemies weak to that element right from the start, so you’ll have to rely on non-weakness setups sometimes. Once you start setting up, though, it’s possible one or two enemies might get to your portals, so if you need to use a spell, do so.

(1 of 4) You won’t be able to use the same element as the boss’ type in the fourth stage.
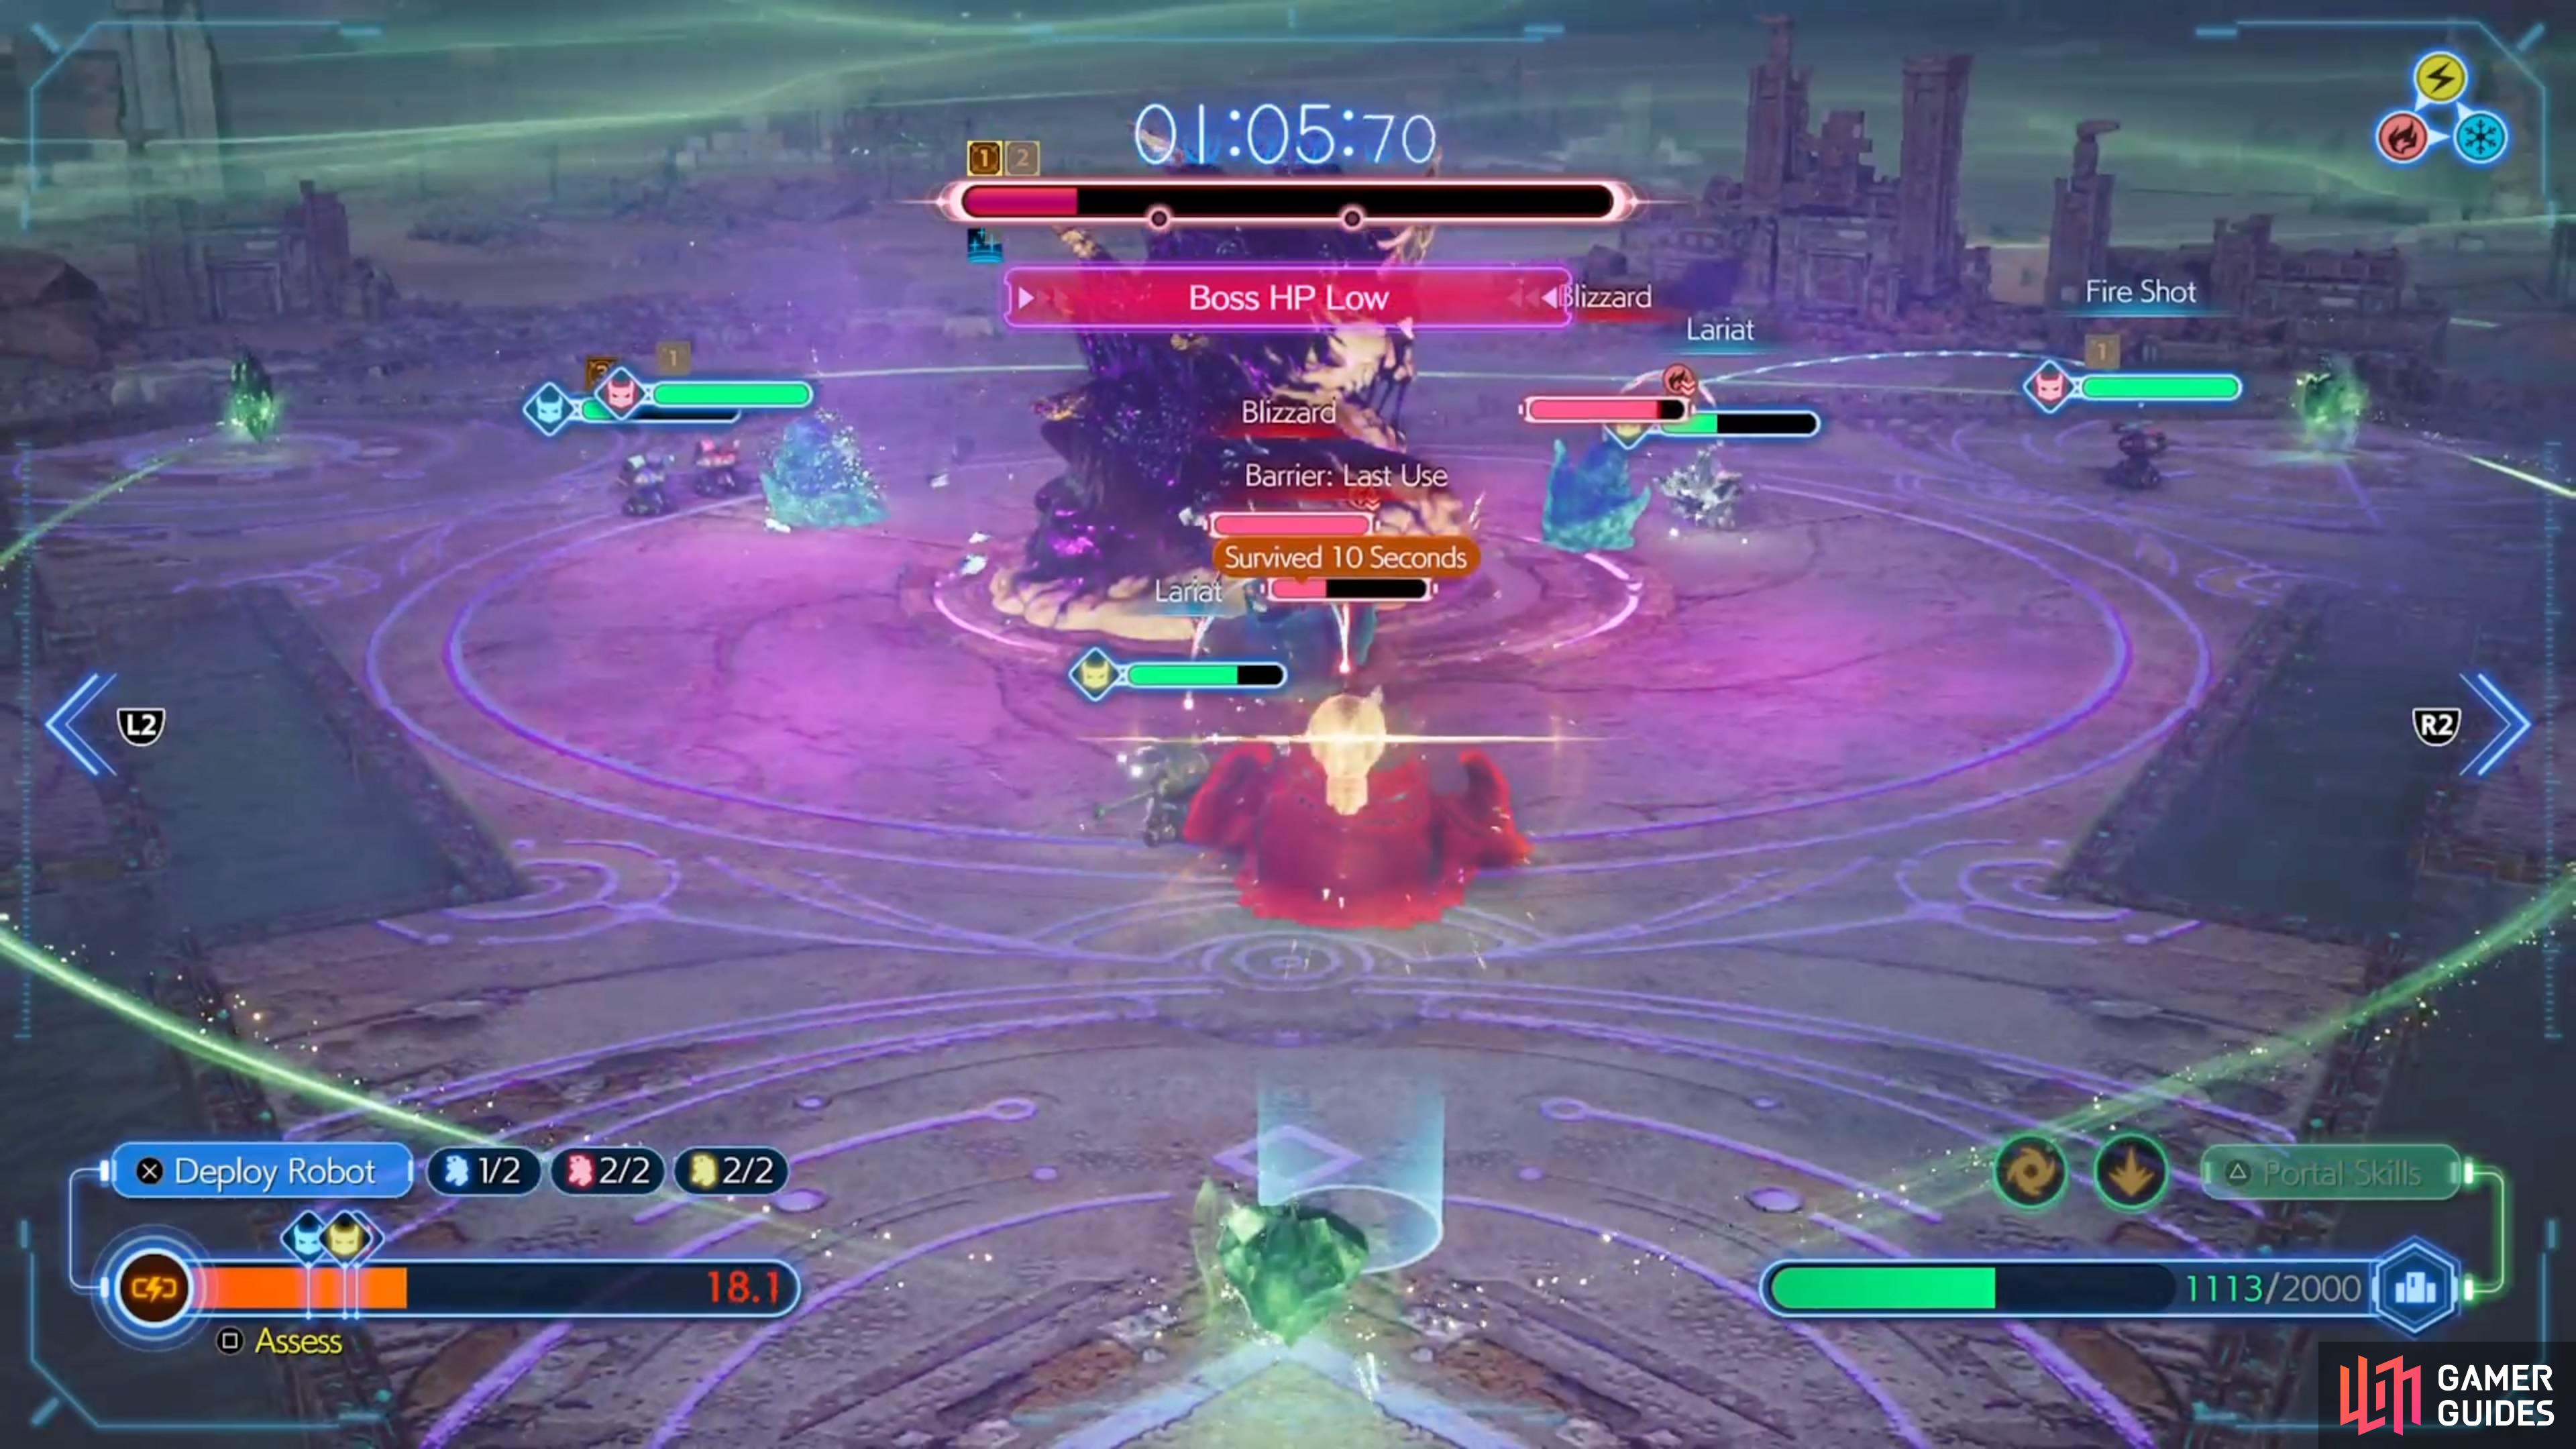
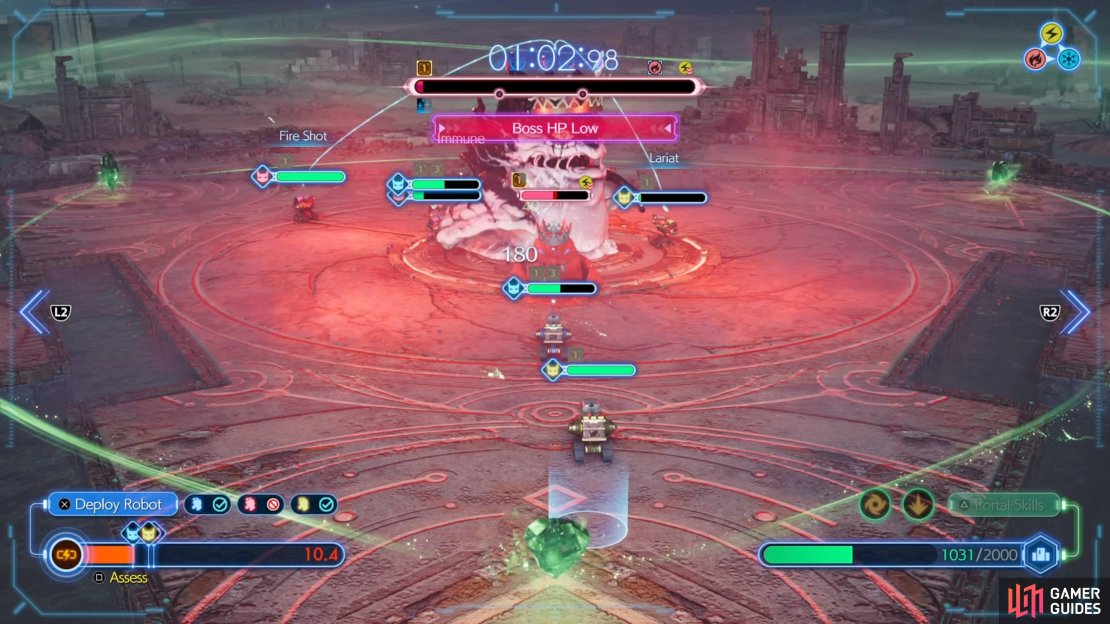
The second phase will switch the boss from ice to lightning, so it will be weak to ice. It has ![]() Barrier in this phase, as well as Thundaga, but neither should be too bad. The third phase will be fire, with it being weak to lightning. It will have Regenga here, which is not fun at all. Just keep spawning as many units as you can at this point, as you don’t want the boss to gain back too much health. One big tip for this stage is that you can cheat a tiny bit by summoning units of the blocked element before the boss actually switches.
Barrier in this phase, as well as Thundaga, but neither should be too bad. The third phase will be fire, with it being weak to lightning. It will have Regenga here, which is not fun at all. Just keep spawning as many units as you can at this point, as you don’t want the boss to gain back too much health. One big tip for this stage is that you can cheat a tiny bit by summoning units of the blocked element before the boss actually switches.
No Comments