
Woodland Vigil is a side quest that takes place in chapter 12 of Final Fantasy VII Rebirth. It’ll require you to investigate a variety of situations around the ![]() Gongaga Region and deal with them accordingly. On this page, we’ll navigate you through the necessary steps to dealing with the fiends.
Gongaga Region and deal with them accordingly. On this page, we’ll navigate you through the necessary steps to dealing with the fiends.
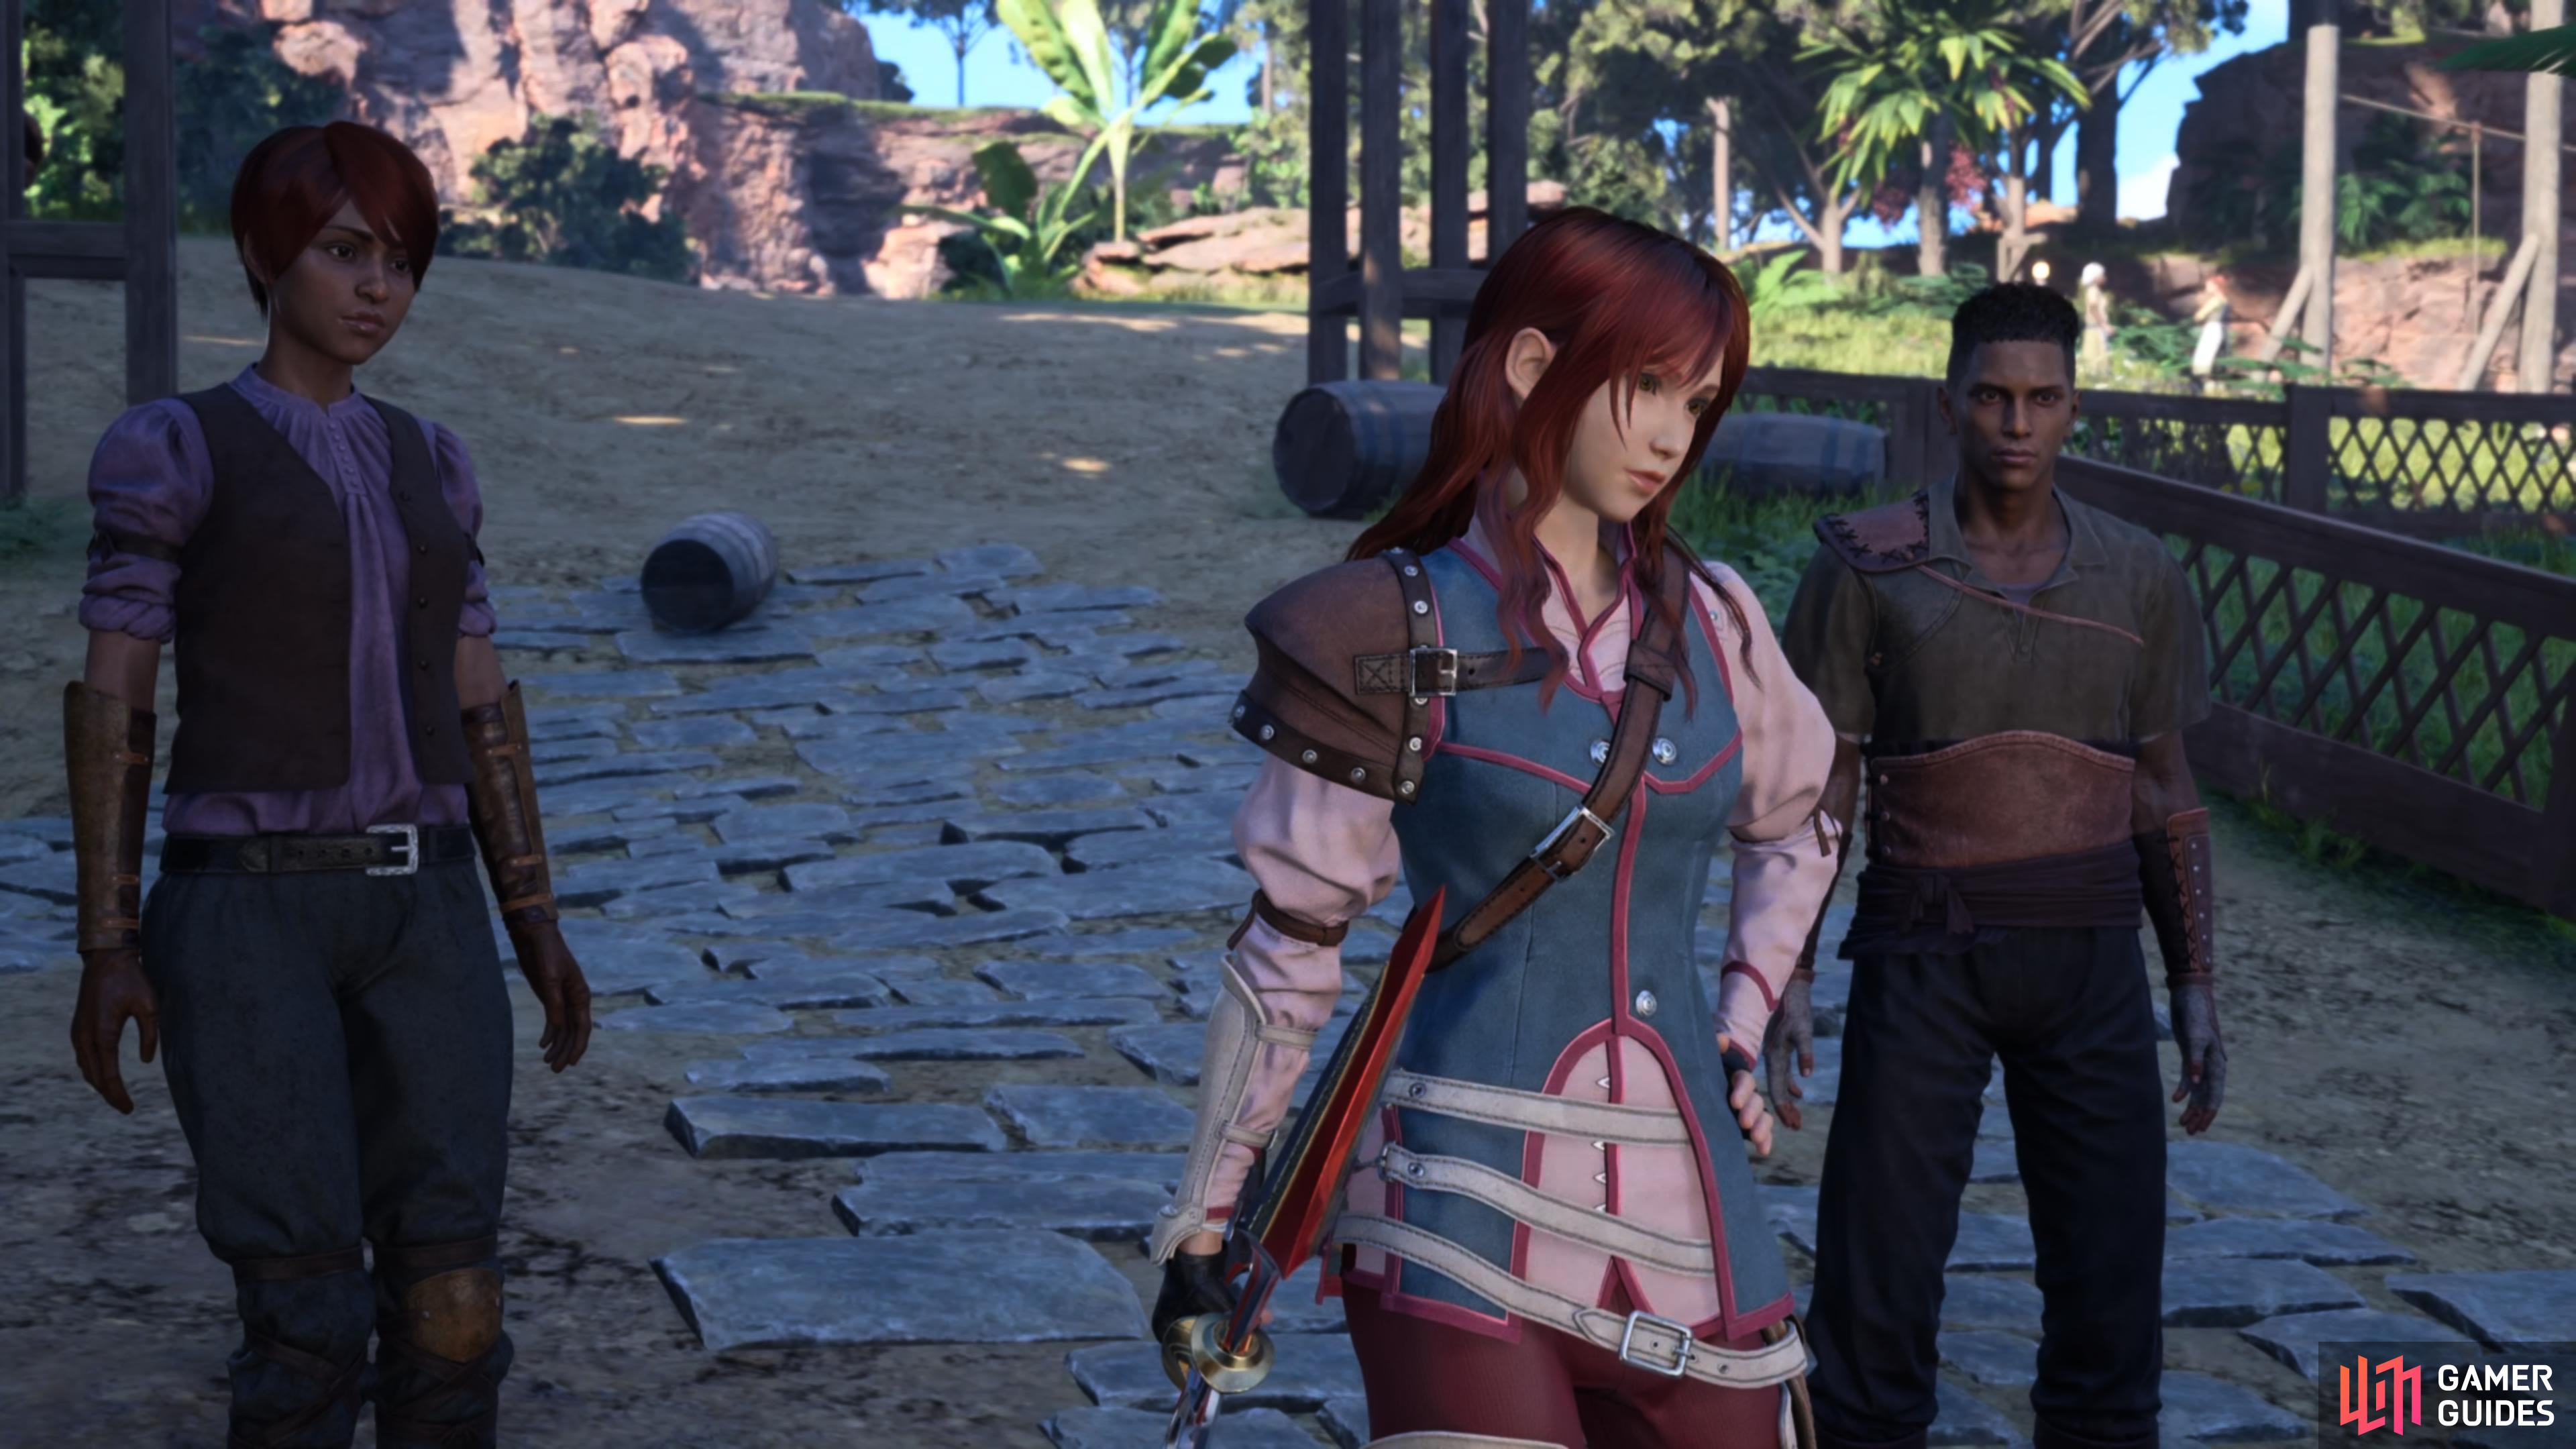
Cissnei has caught wind of some suspicious activity.
Attention GYC members-as you may have heard, we’ve received reports of especially dangerous fiends near the village. I’ve decided to personally look into this, so I’ll be heading to the observation tower. Unit leaders are in charge while I’m away.
How to Start the Woodland Vigil Side Quest
The Woodland Vigil Side Quest can be unlocked via the noticeboard, which is located in the Gongaga Region at the start of chapter 12. However, this won’t be available until you’ve completed the prerequisite quest: The Spice of Life. We recommend that you’re at least level 43, as you’ll need to defeat a Gigantoad towards the end of the quest which can be challenging. You can easily reach this level by completing the nearby world intel:
- All Gongaga Activation Intel
- All Gongaga Protorelic Locations
- All Fiend Intel Locations - Final Fantasy VII Rebirth
Survey The Surrounding Area
To complete this quest, you’ll have to head to an area where you can see the majority of the Gongaga region, and then head out to any threats.
Investigation #1: Frightflower
You’ll now want to fast travel over to the Observation Tower, but if you haven’t been to this area yet, then you can easily reach it by starting at the Verdant Plateau Tower and jumping across the gap to the east via the mushroom, then glide up to the tower via the branch to the west. Climb up to the top of tower and use the binoculars and zoom in on the suspicious activity by holding  .
.

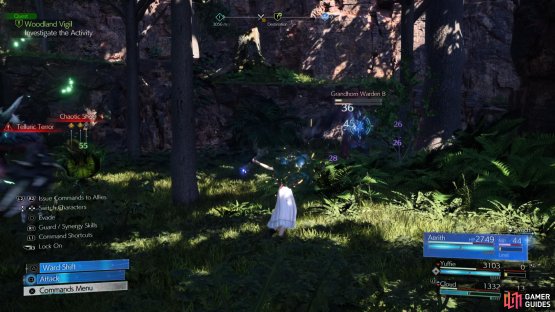
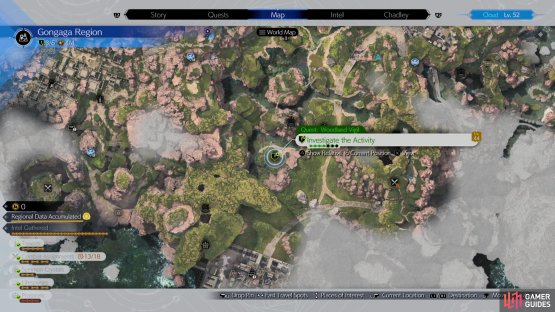
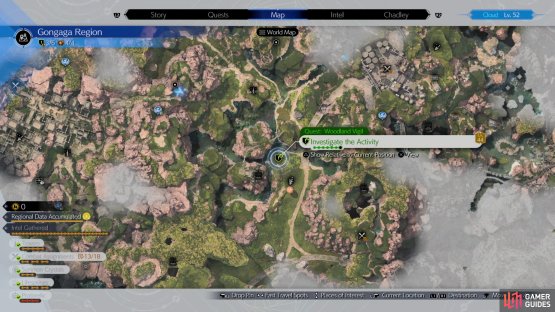
(1 of 2) Head to this location on the map
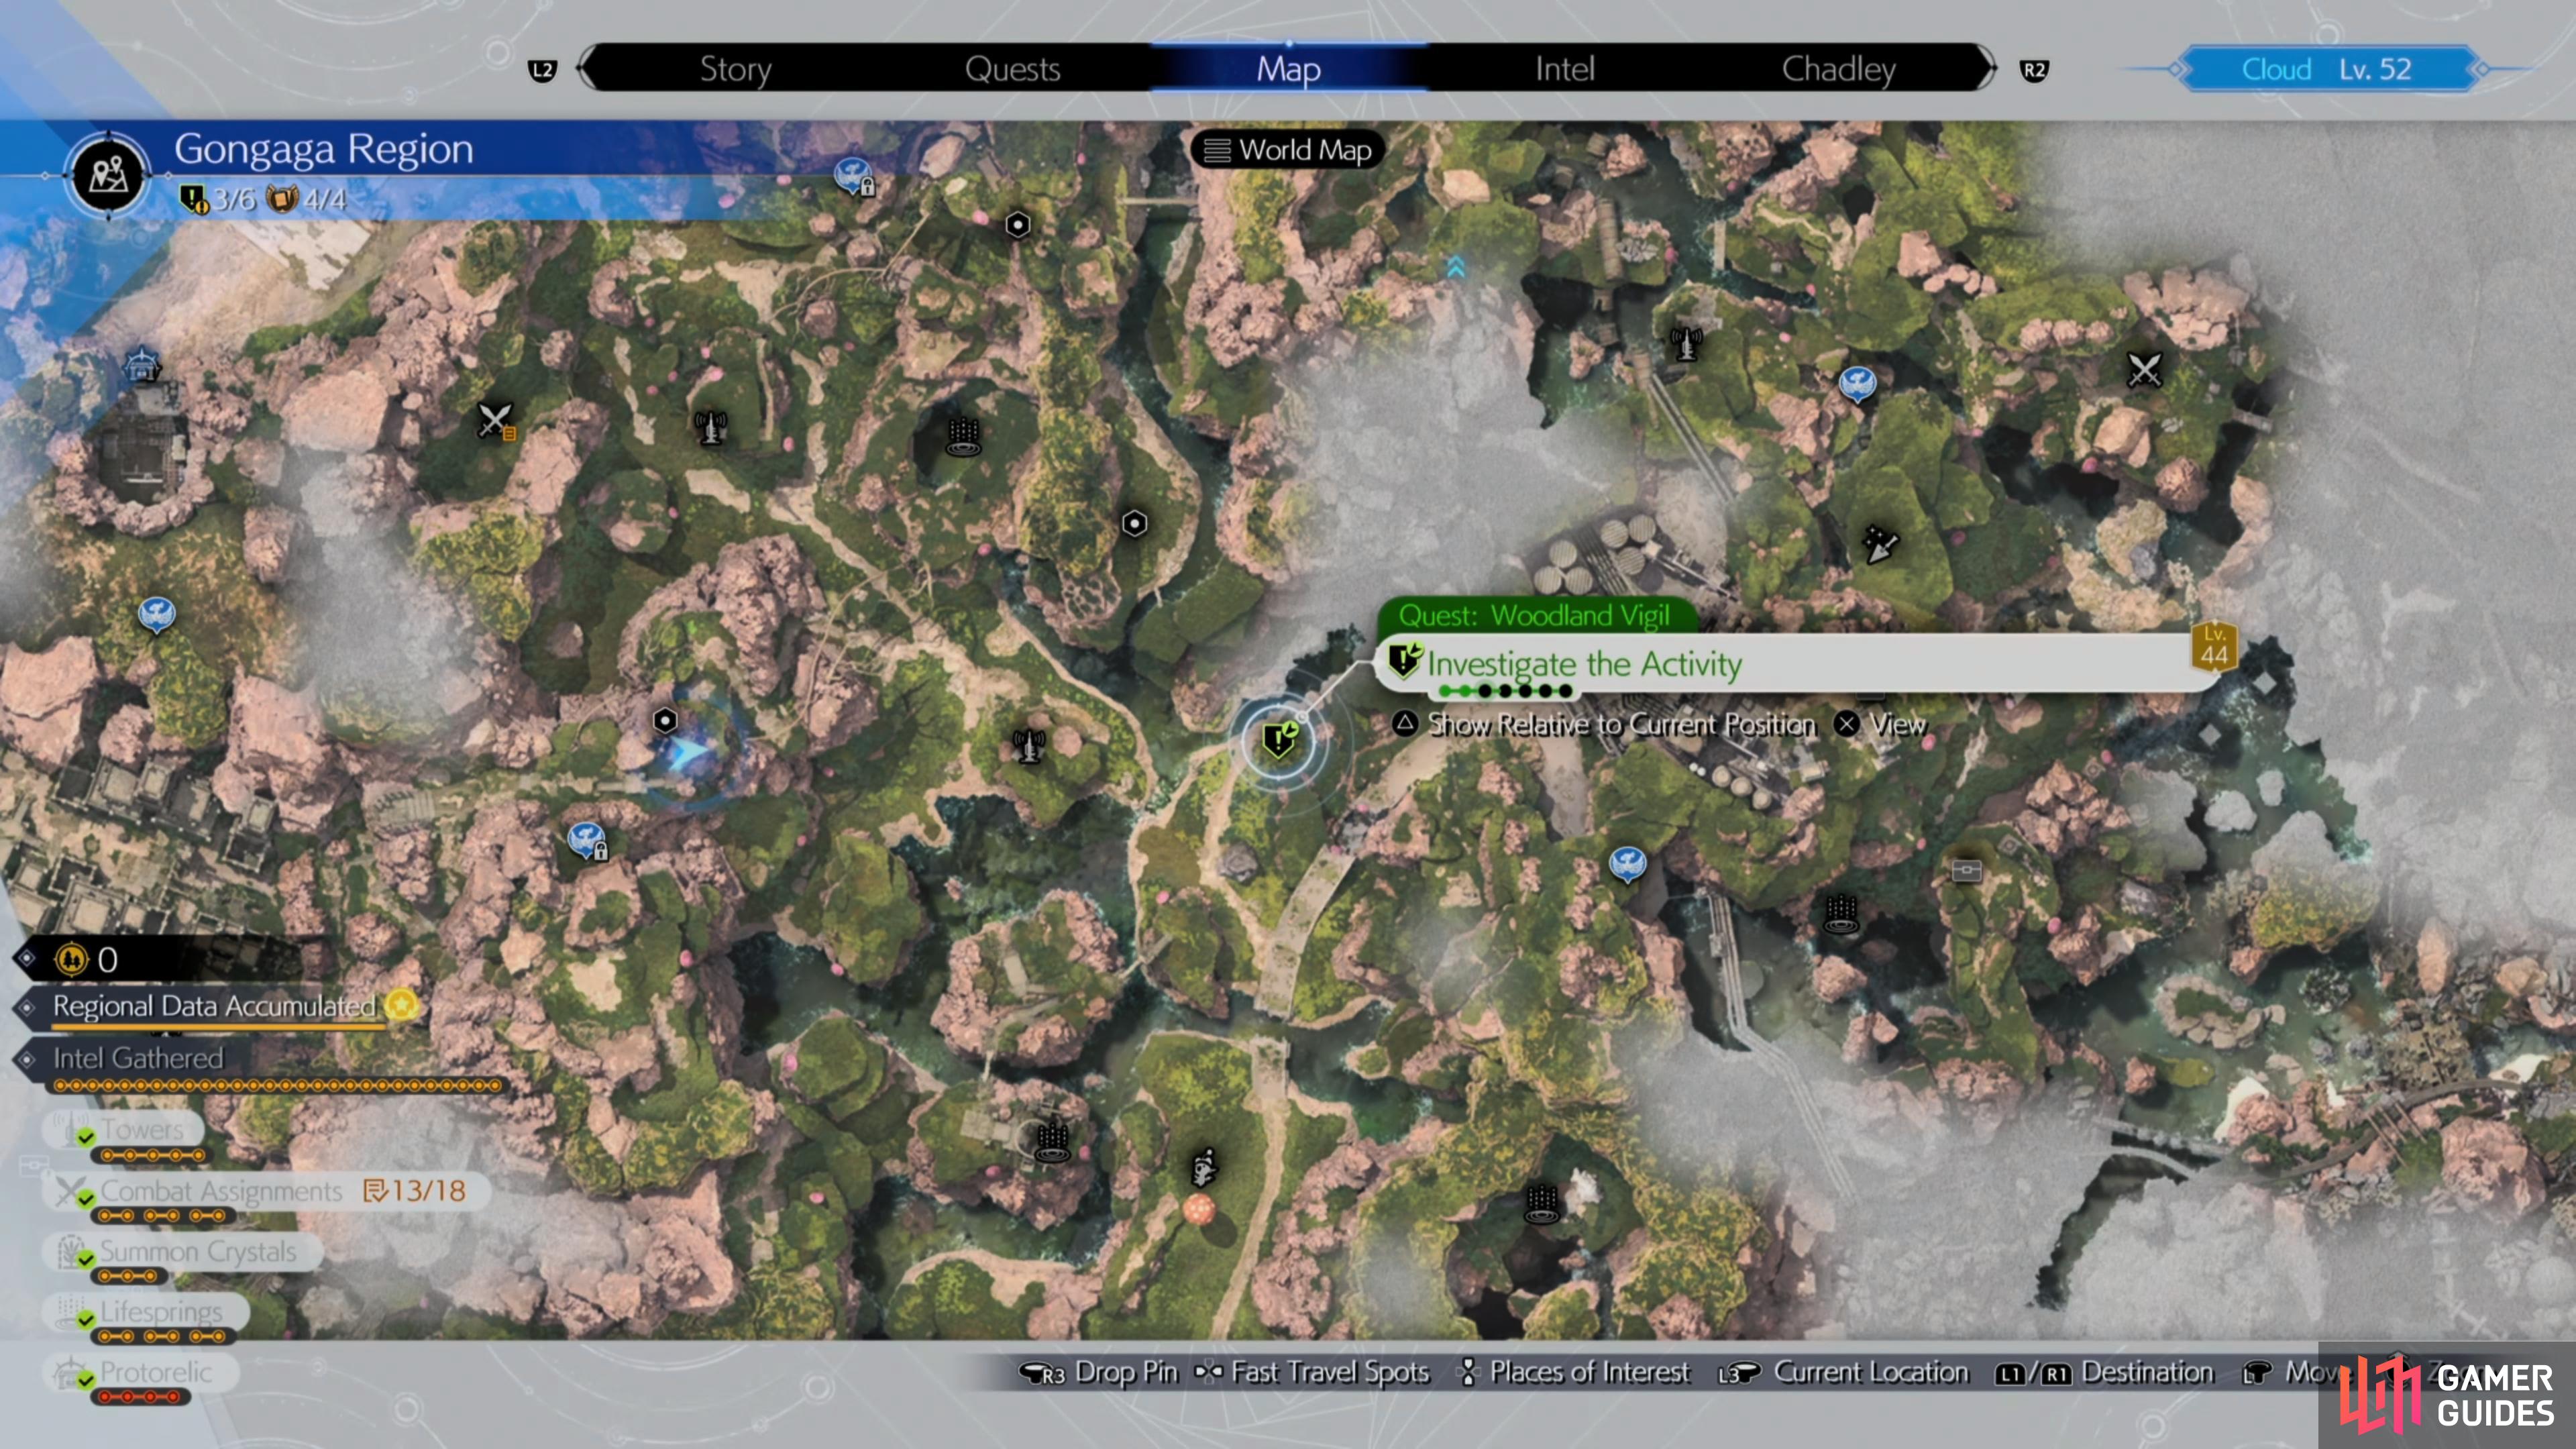

Head to this location on the map (left), and defeat the FrightFlowers (right)
Head east of the Fungi Forest Tower and you’ll come across some ![]() Frightflowers which you should be able to take down relatively quickly by hitting them with fire-based attacks like Firaga or
Frightflowers which you should be able to take down relatively quickly by hitting them with fire-based attacks like Firaga or ![]() Firebolt Blade as exploiting their elemental weakness will quickly pressure them. At this stage, you can use
Firebolt Blade as exploiting their elemental weakness will quickly pressure them. At this stage, you can use ![]() Focused Thrust to stagger it and then use any other attacks to finish them off.
Focused Thrust to stagger it and then use any other attacks to finish them off.
Investigation #2: Amphidex, Grangalan, and Grandhorn
Head back to the Observation Tower to reveal the next location and then make your way over to the southwest of the Woodland Moogle Intel to find ![]() Amphidex,
Amphidex, ![]() Grangalan, and
Grangalan, and ![]() Grandhorn, and as you may have guessed you’ll need to defeat them. Amphidex is by far the easiest of the three enemies and you can quickly take them down by hitting them with Blizzara. As for the Grangalan, you’ll need to continually hit them until a
Grandhorn, and as you may have guessed you’ll need to defeat them. Amphidex is by far the easiest of the three enemies and you can quickly take them down by hitting them with Blizzara. As for the Grangalan, you’ll need to continually hit them until a ![]() Grangalan Junior appears and then hit them a few more times to pressure/stagger it. You’ll want to wait until the Grandhorn is guarding and then hit them with powerful offensive abilities, such as Braver to pressure it.
Grangalan Junior appears and then hit them a few more times to pressure/stagger it. You’ll want to wait until the Grandhorn is guarding and then hit them with powerful offensive abilities, such as Braver to pressure it.

(1 of 2) Head to this location on the map

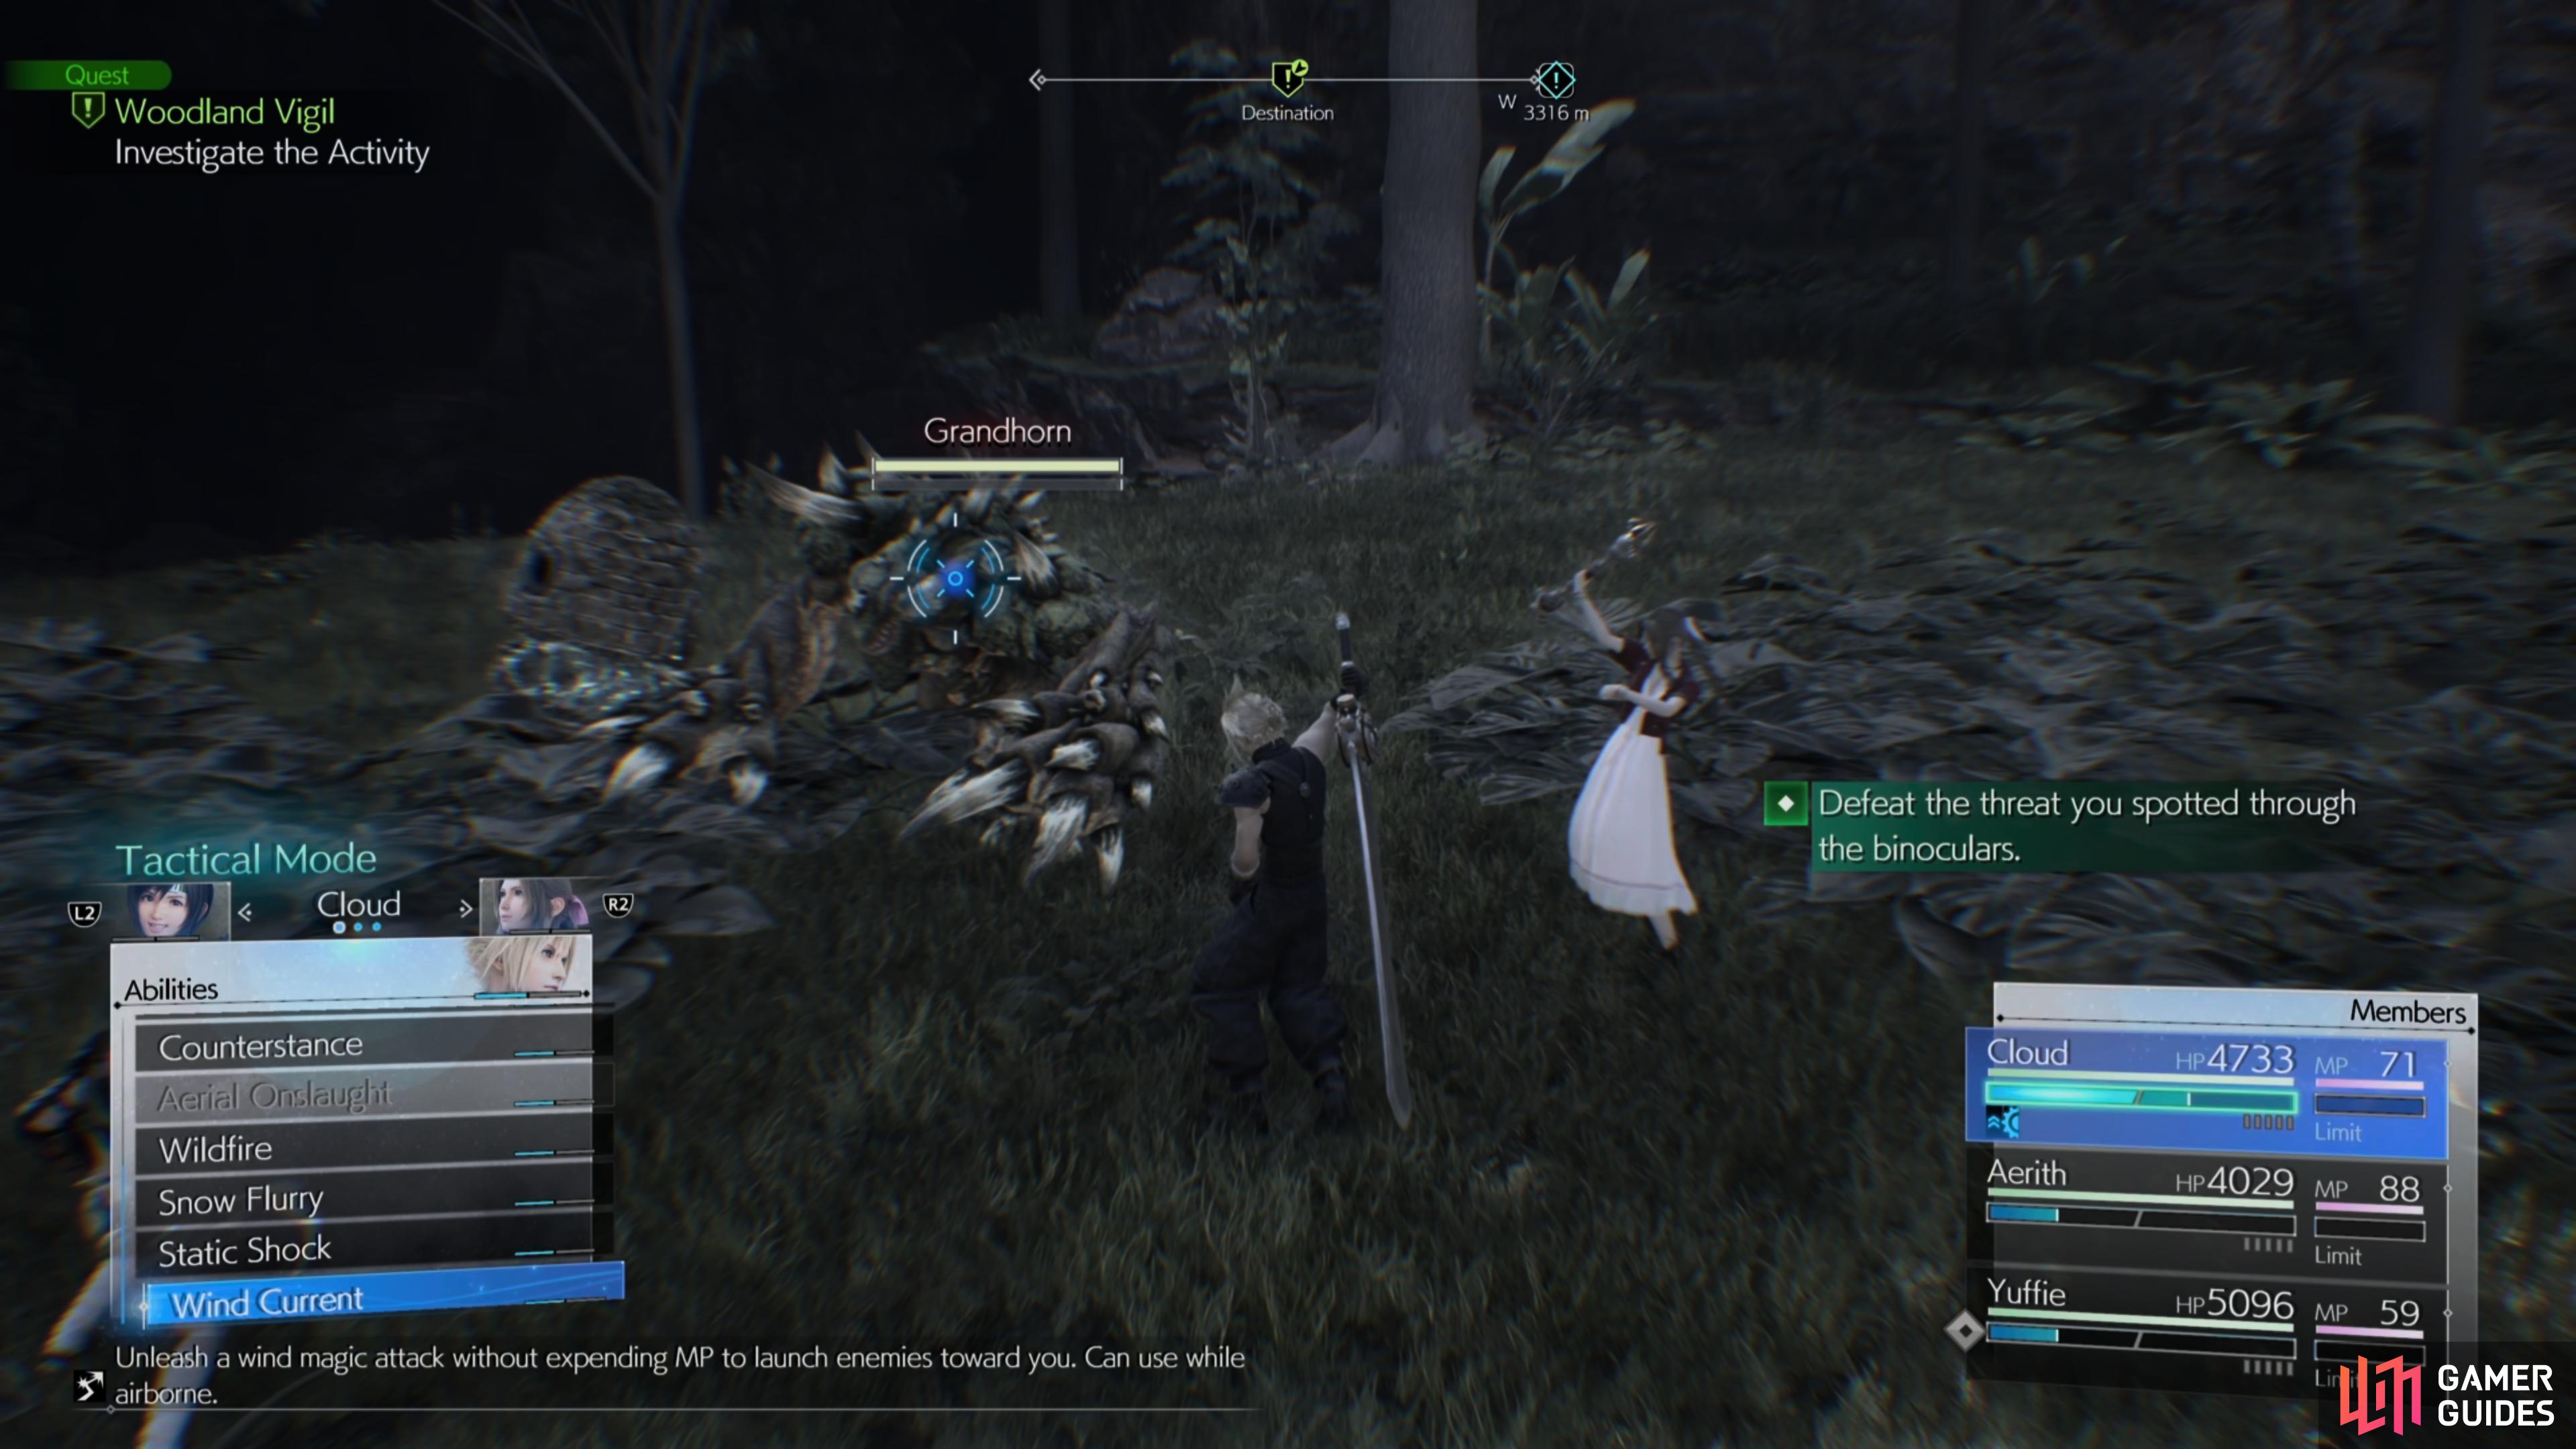
Head to this location on the map (left), and take down the Amphidex, Grangalan, and Grandhorn (right)
Investigation #3: Gigantoad
Make your way back to the Observation Tower for a third time to mark the next location on the map and then head northwest of the Woodland Moogle Intel to find the main event of this side quest, Gigantoad. The best way to defeat this fiend is by waiting until it exposes its tongue and then dealing lots of damage to it by using attacks like Braver to pressure it, then follow up with any of the Focused ![]() Attacks to stagger it.
Attacks to stagger it.
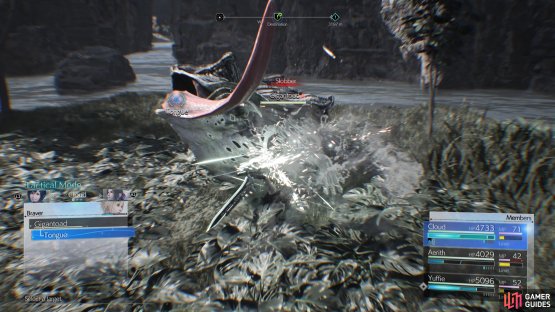
(1 of 2) Head to this location on the map


Head to this location on the map (left), to find the Gigantoad. (right)
At this stage, you’ll want to deal as much damage as possible to it by exploiting its elemental weakness (![]() Ice). You’ll want to try to avoid attacks like Amphibian Gunk and Salientian Slime as this will temporarily turn you into a toad. If you do get hit by this attack, then you can remove the status effect by using Esuna. With all of the fiends dealt with, a short scene will play out with Cissnei and the quest will come to a close.
Ice). You’ll want to try to avoid attacks like Amphibian Gunk and Salientian Slime as this will temporarily turn you into a toad. If you do get hit by this attack, then you can remove the status effect by using Esuna. With all of the fiends dealt with, a short scene will play out with Cissnei and the quest will come to a close.
More Final Fantasy VII Rebirth Guides
Rebirth has a large variety of side quests on offer and some of them can be rather tricky, so be sure to check out the links below for tips on how to complete them!
No Comments