
You’ve finally made it through the ![]() Temple of the Ancients, although there’s one last obstacle in your face before you get to the Black Materia. After learning all about the Cetra and their mission from the Mural Chamber, you eventually catch up to who seems like Sephiroth. Cloud gives chase, but ends up triggering the next boss, which is Demon Gate.
Temple of the Ancients, although there’s one last obstacle in your face before you get to the Black Materia. After learning all about the Cetra and their mission from the Mural Chamber, you eventually catch up to who seems like Sephiroth. Cloud gives chase, but ends up triggering the next boss, which is Demon Gate.
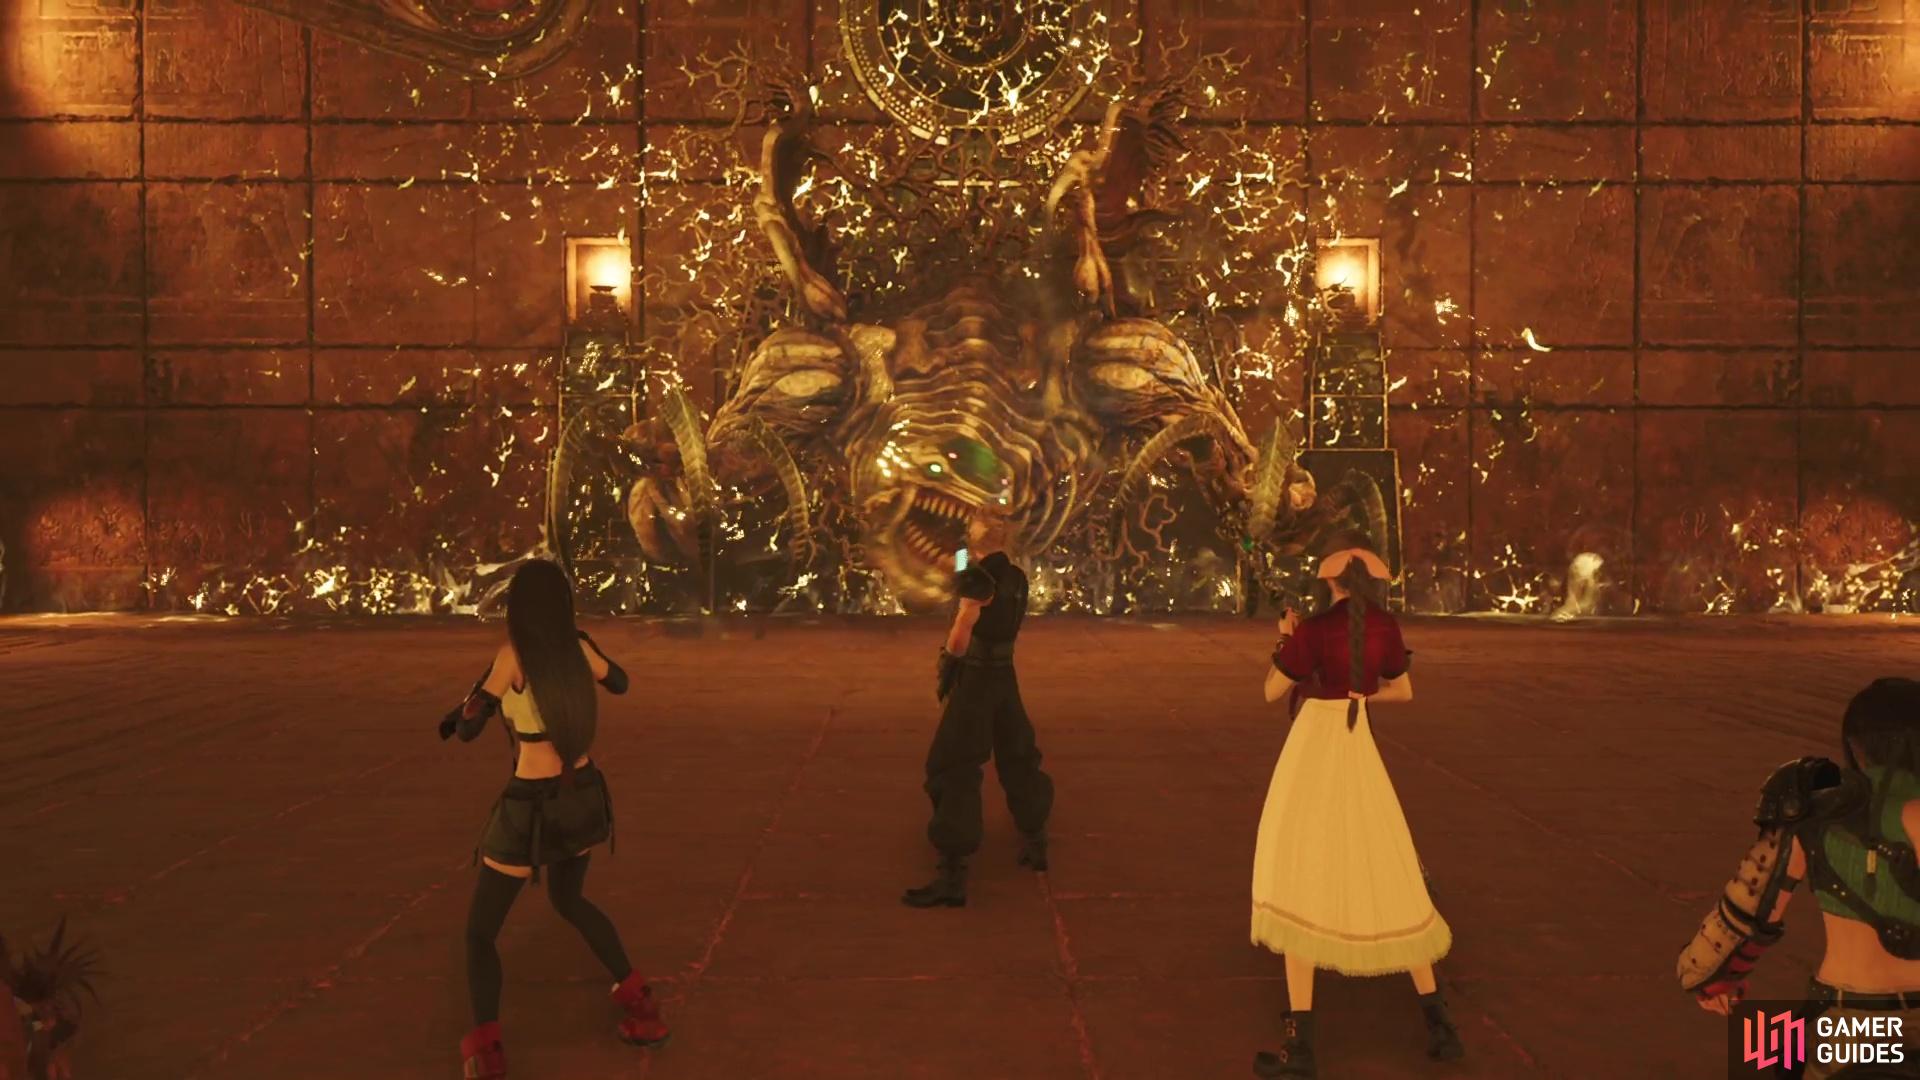
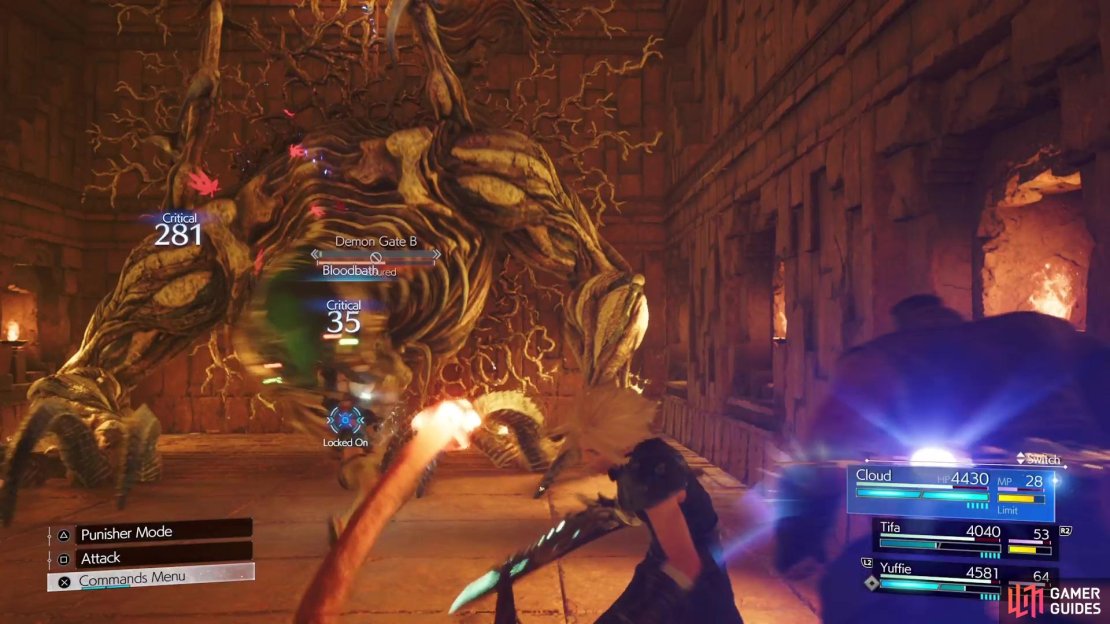
Demon Gate will be the final boss of Chapter 13.
All of Demon Gate’s Attacks
The Demon Gate is a two-phase battle, with the first phase either lasting only a little bit or triggered with about 50-60% HP remaining.
-
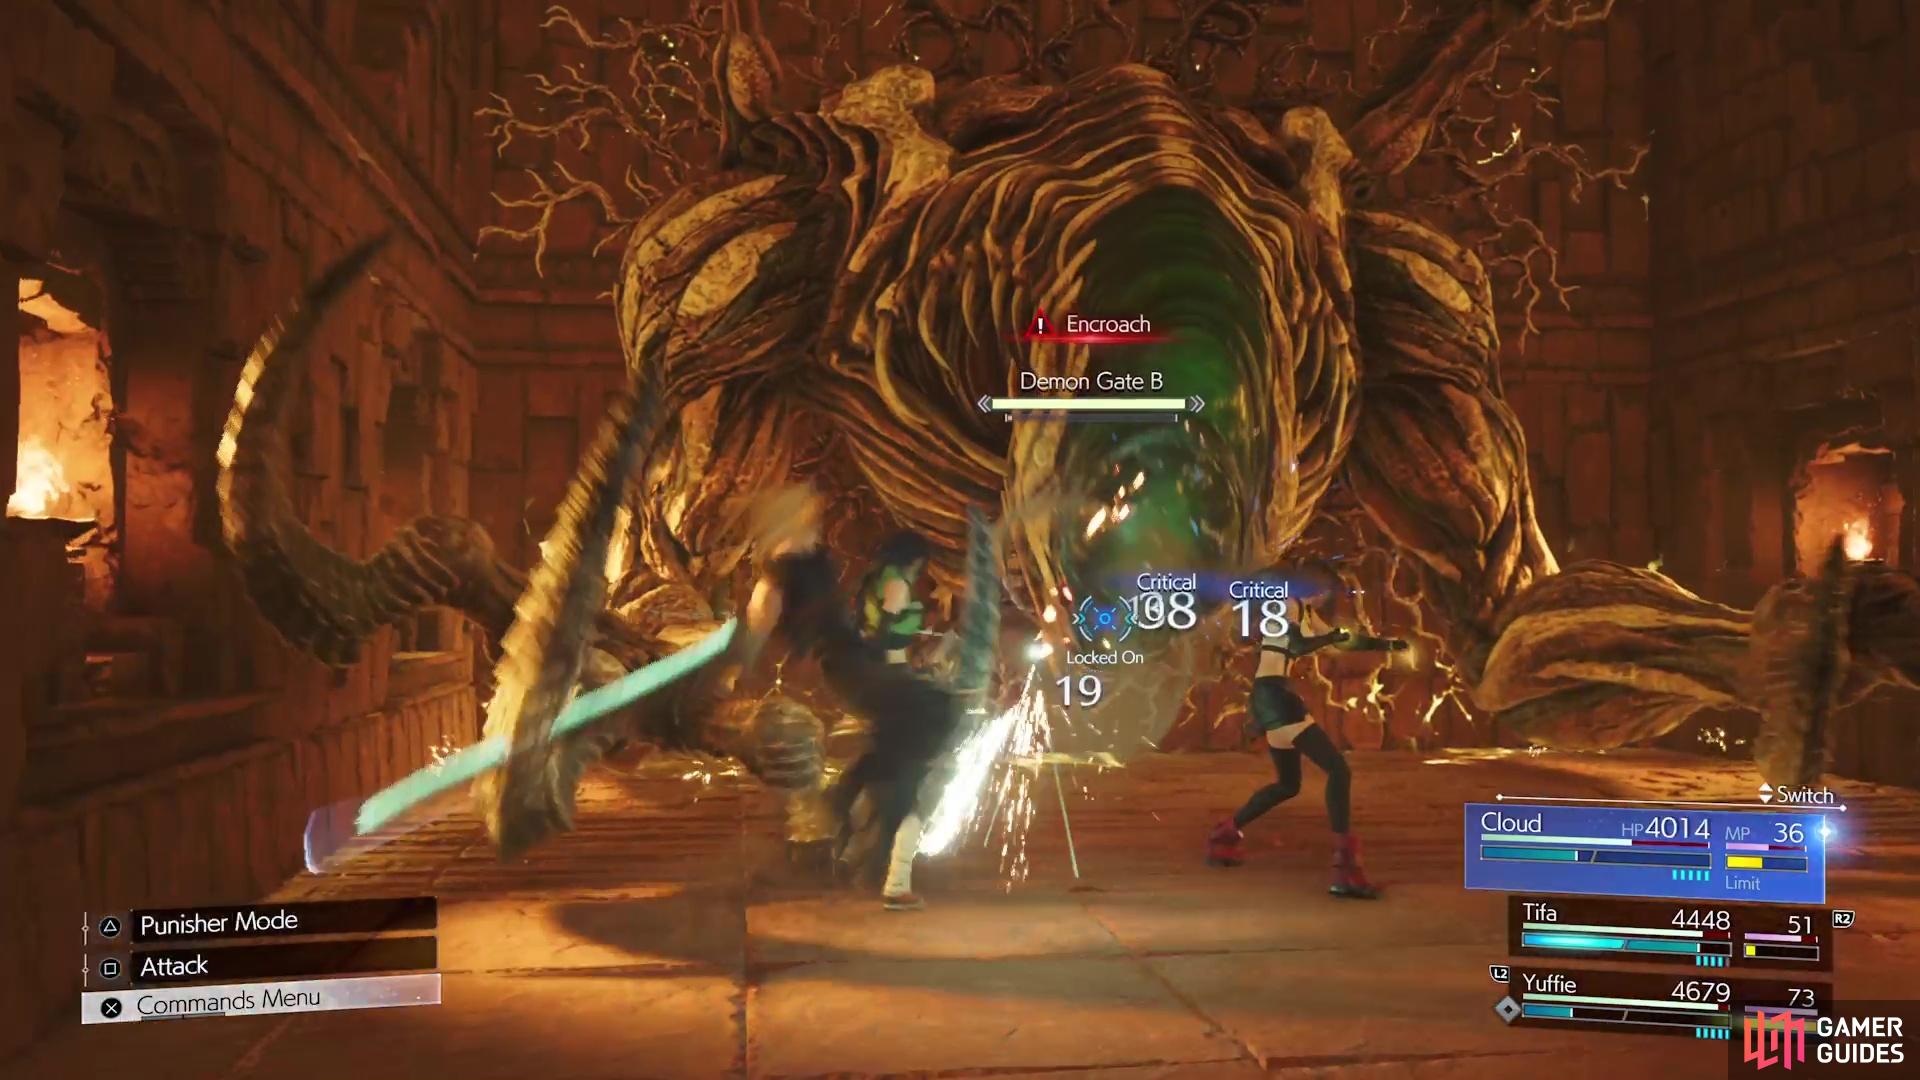
Encroach: The main ability for Demon Gate, which doesn’t actually do any damage in the first phase. If left alone, the Demon Gate will make the side walls move inward in the first phase. In the second phase, the boss itself will move, and this will deal damage.
-
Cave-In: Some markers will appear on the ground and after a second or so, large blocks will drop onto those markers. These can actually be blocked and depending on the size of the arena, you might have to do that.
-
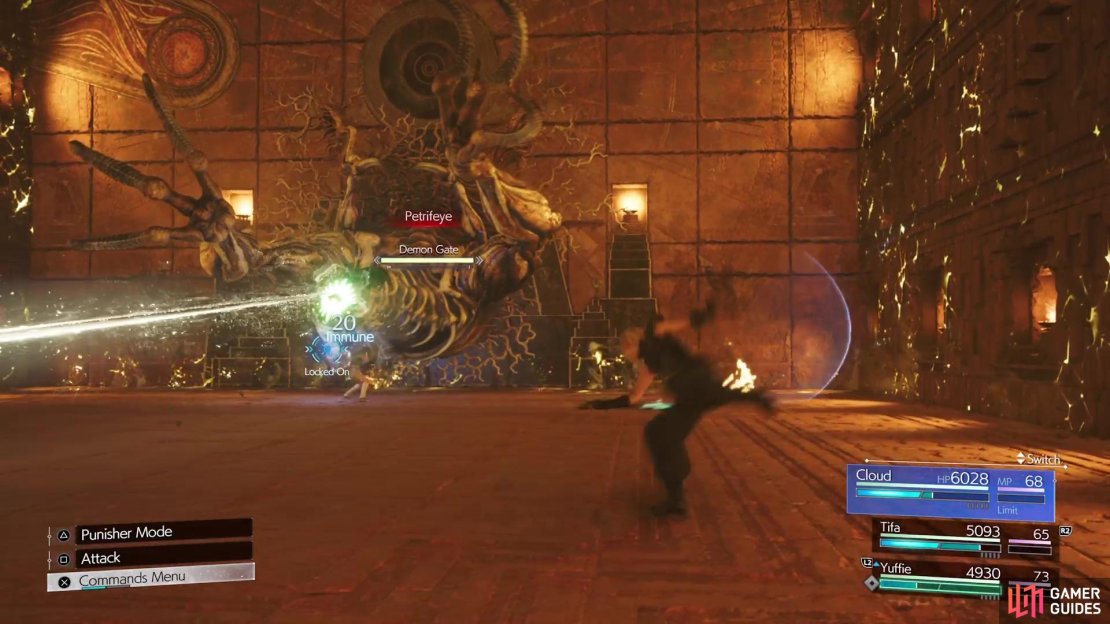
Petrifeye: A marker will appear that is set on a character, then after a few seconds, a beam will be fired. Not only does it do damage, but it also inflicts
 Petrify. Keep moving to avoid it.
 -
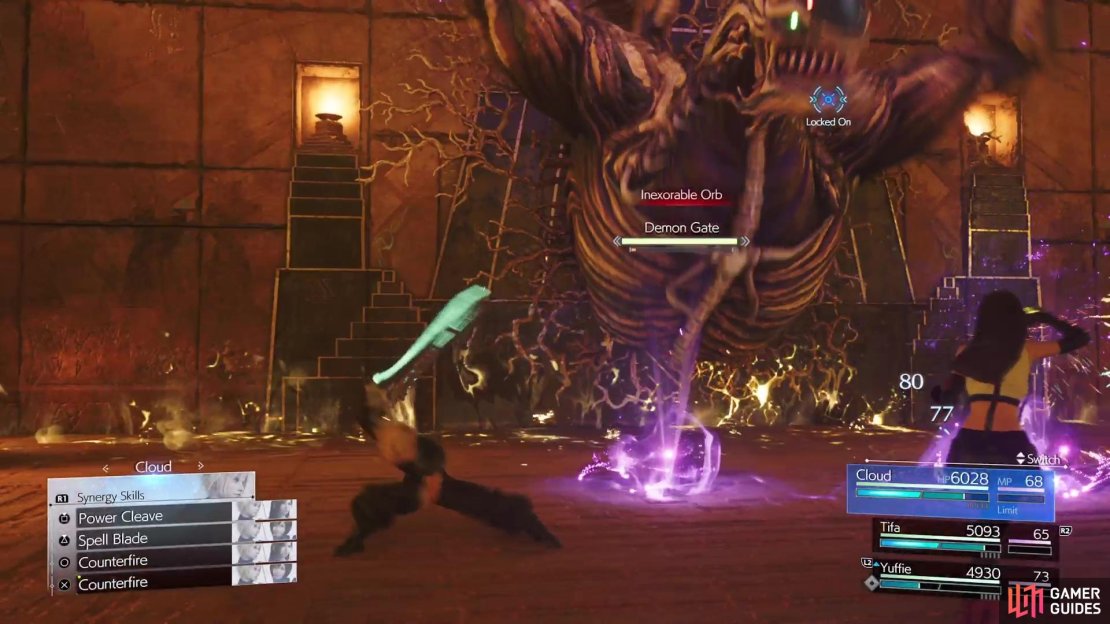
Inexorable Orb: Three markers will appear on the ground, then orbs will be fired out of those markers, with the orbs tracking your characters a bit.
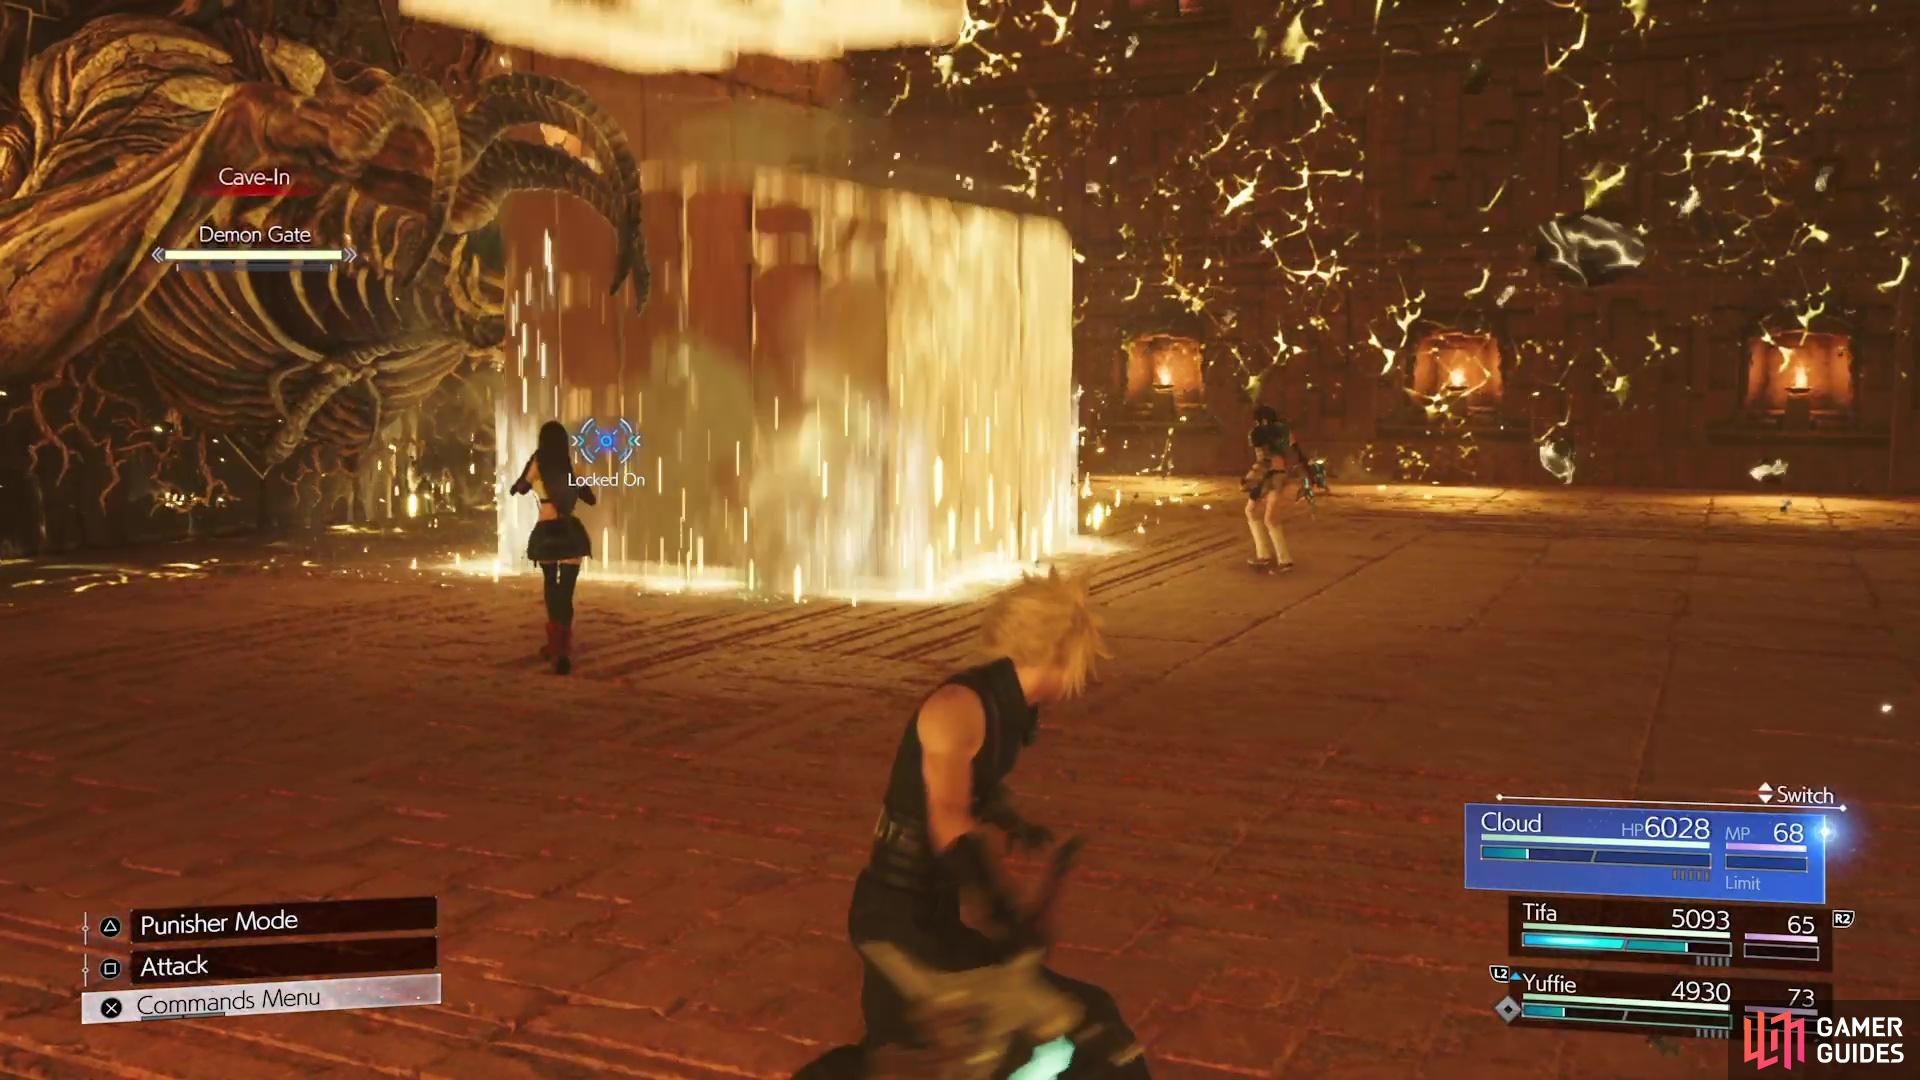

(1 of 3) It can be a little difficult to see the spots where Cave-In will hit.
-
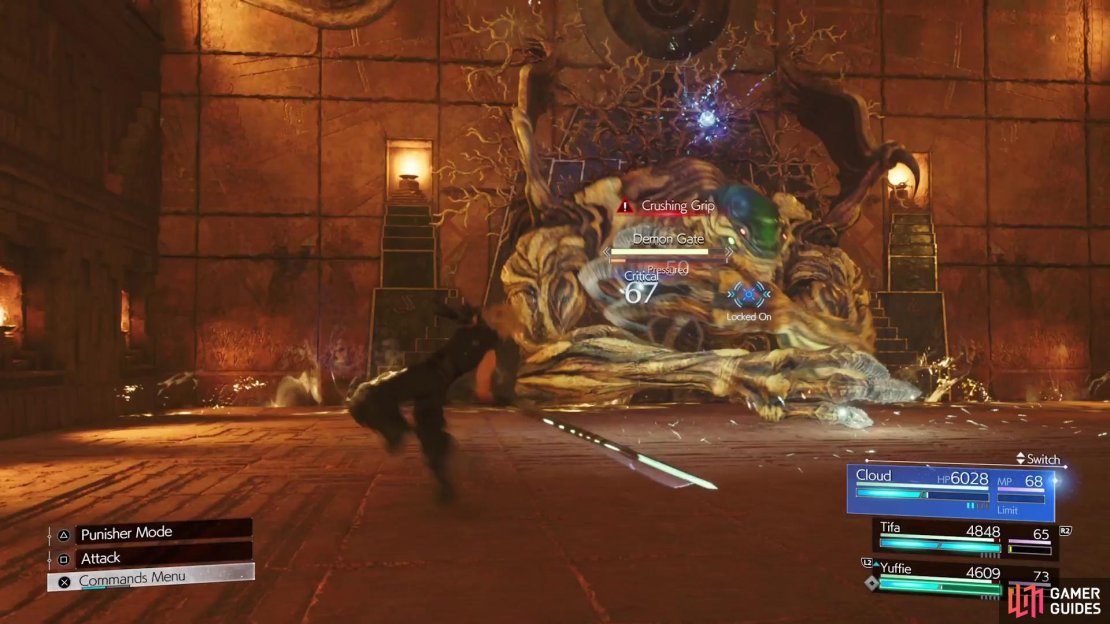
Crushing Grip:
 Unblockable. Demon Gate will attempt to grab a character. If it succeeds, then they will be bound for a few seconds, before being tossed to the ground.
 -
Repulsion: Unblockable. Demon Gate will just push you away from it with a large gust of air. This attack doesn’t deal any damage.
-
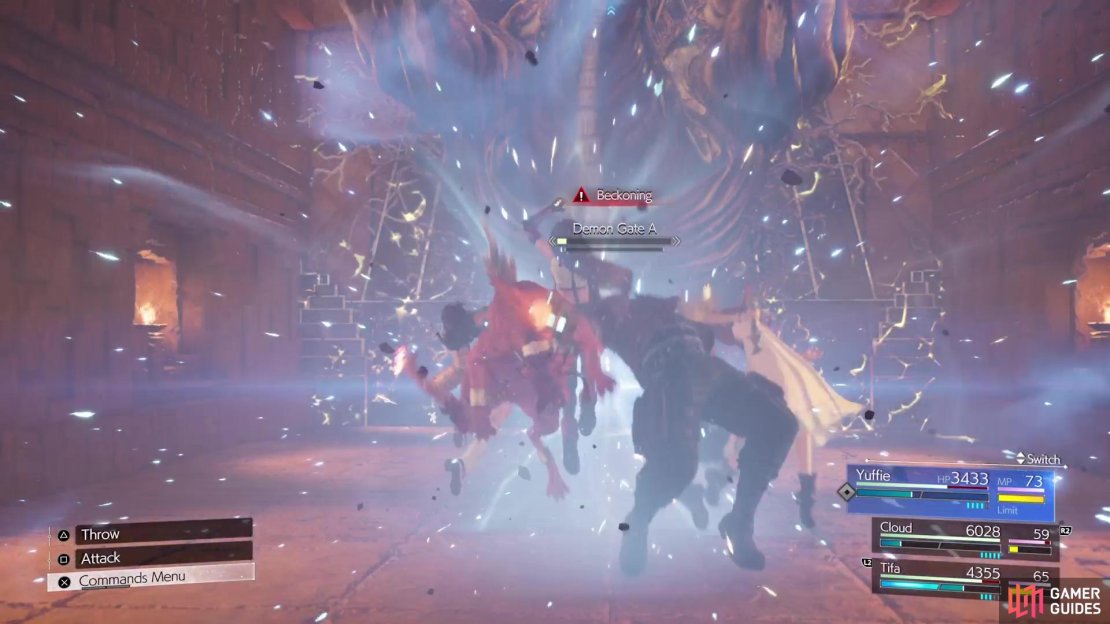
Beckoning: Unblockable. The opposite of Repulsion, where the boss will draw you towards it. Like the former attack, this also does no damage.
-
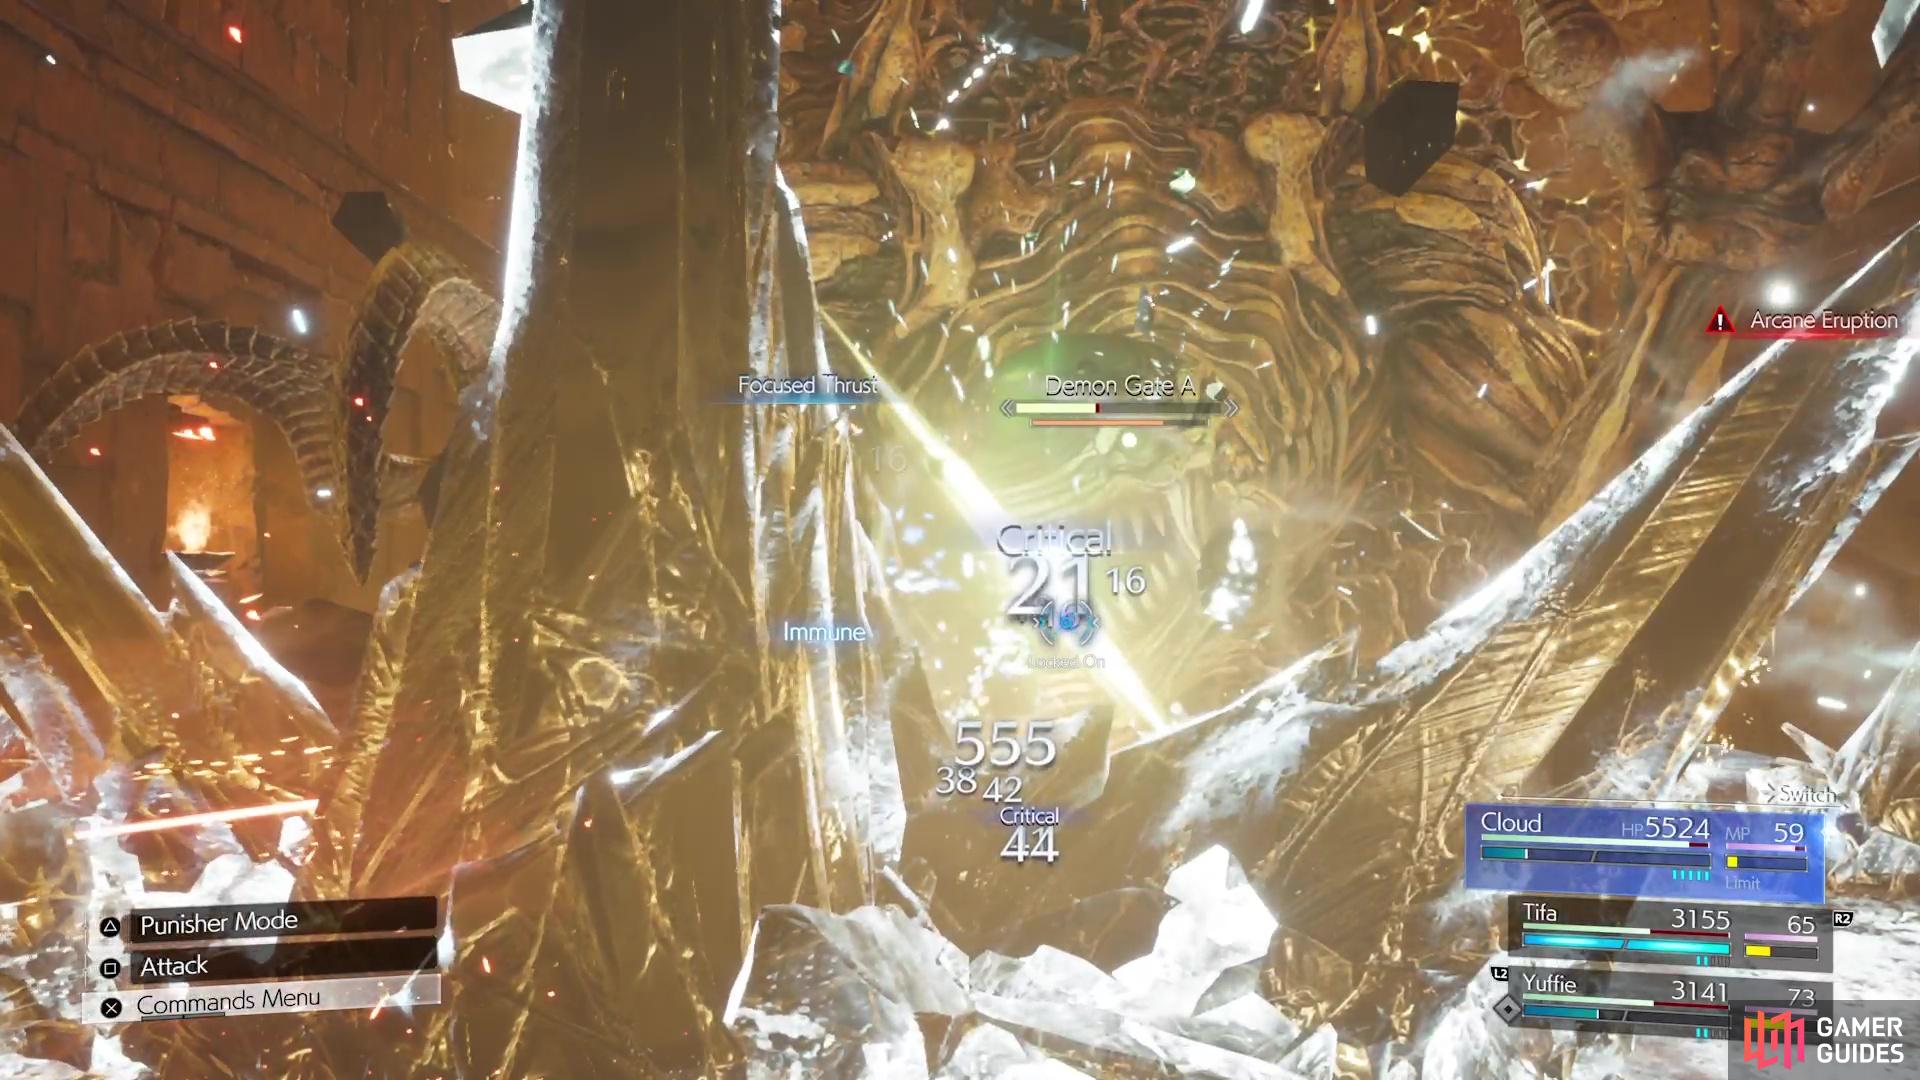
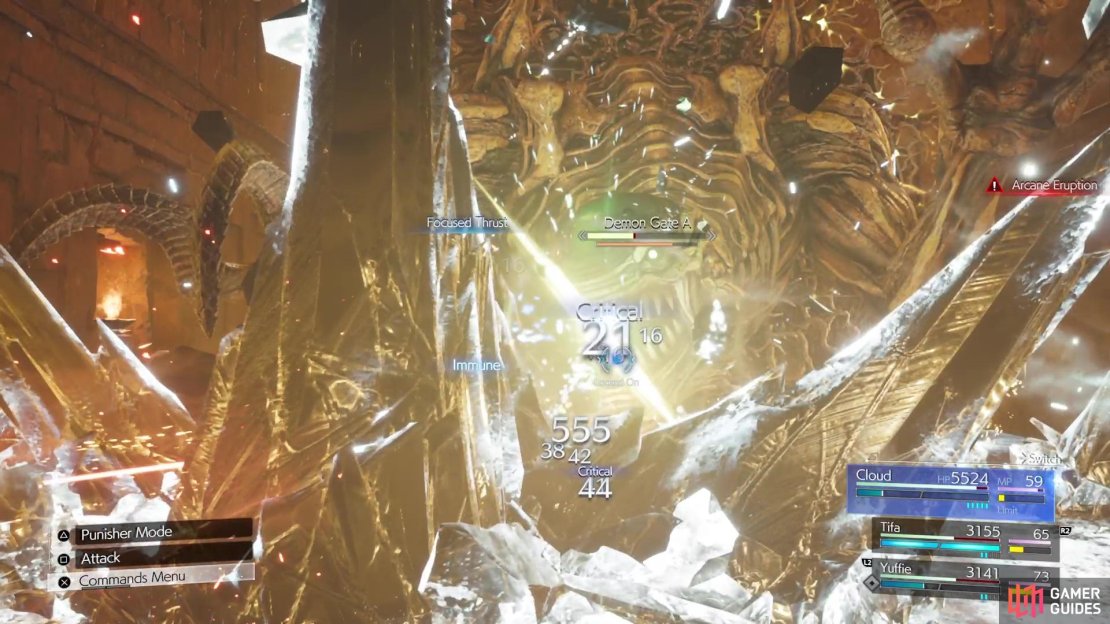
Arcane Eruption: Unblockable; Second phase. The boss will charge up a move, either with ice or lightning. You can use an opposing element to cancel the move, but if you don’t do it in time, they unleash the move and knock your characters into the air, for big damage.
-
Demonic Smash: Unblockable; Second phase. Only occurs if the walls have been moved in completely, including the bosses. Boss will quickly pound the ground, dealing massive damage, while also knocking your characters into the air.
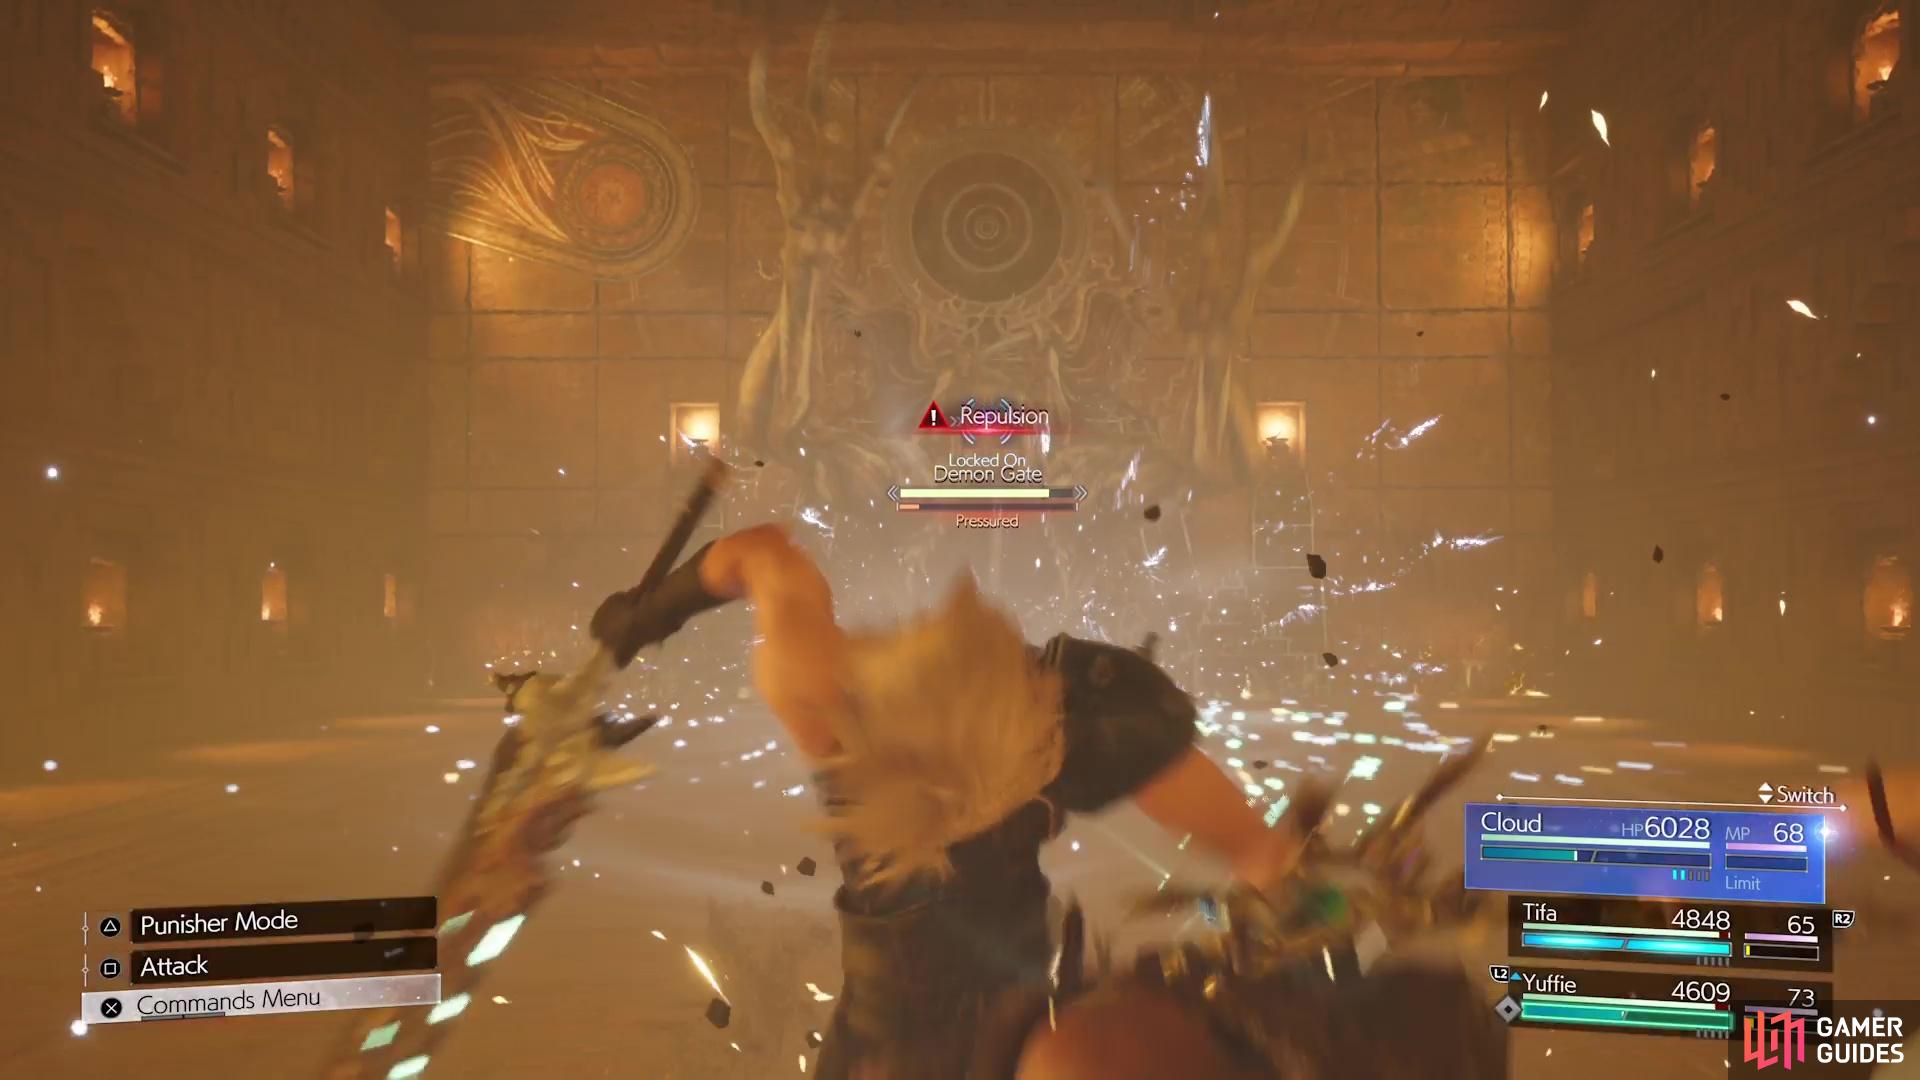

(1 of 3) Repulsion will push you away from the Demon Gate.
- Final Throes: Unblockable; Second phase. Used when the boss is at very low HP (under 5% or so). If they haven’t completely moved all the way forward, then they will do so with this move.
Demon Gate Boss Strategy
This boss can be quite difficult for you, depending on a few things. Being a giant demon inside a wall, it doesn’t move around, so that makes things easier when you’re doing certain abilities/skills. The main ability that you need to watch out for here is Encroach, where the Demon Gate will make the walls on the side move inward. If you perform powerful moves, like Braver as an example, then you can stop the Encroach from happening and also pressure the boss. Basically, you should save your ATB for this, but it’s also going to inevitably happen at some point.
As far as its moves are concerned, most of them aren’t too bad. Note that its hands/arms are pretty big, so watch out for the normal melee attack it has. One move you should watch out for is Cave-In, where the boss will drop giant pillars on designated spots on the ground. The spots will be highlighted before the pillars drop, but they might be hard to notice in the frantic action. Also, if the room gets smaller, then you have less room to maneuver, making the pillars harder to avoid. Inexorable Orb is kind of similar, although the energy orbs from this attack will track the characters a little bit.

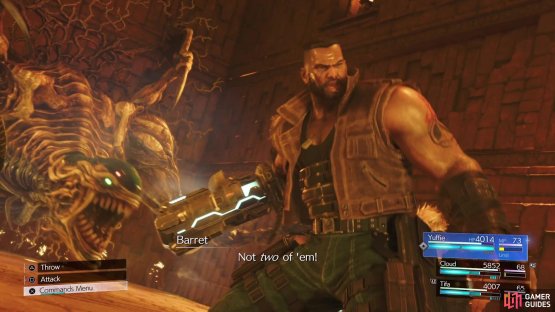

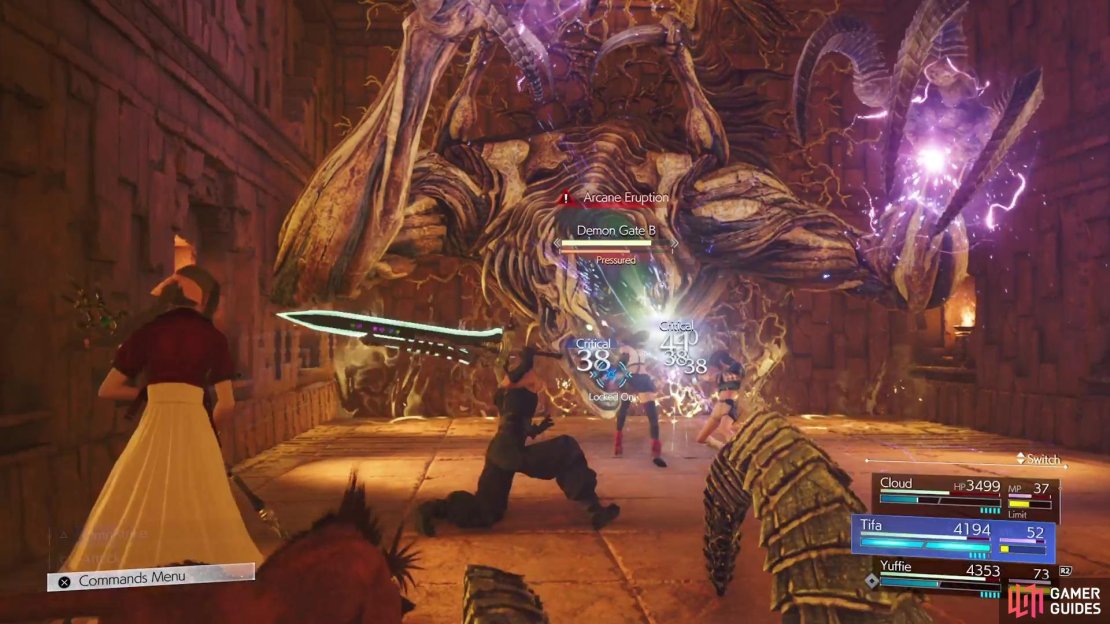
(1 of 2) The second phase will begin by adding a second Demon Gate to the battle!
The second phase will begin by adding a second Demon Gate to the battle! (left), In the second part, Encroach will entail the actual boss moving forward. (right)
Outside of Crushing Grip, though, the rest of the attacks in the first phase that deal damage can be blocked, so keep that in mind. The second phase will begin when one of two conditions is met. The first that can occur is through a health threshold, as the battle will shift if you get the Demon Gate’s HP low enough (around 50-60%). The second condition is if the walls on the side move in enough, so you will want to make sure you stop this from happening, as you will see below.
The second phase begins as a second Demon Gate will spawn behind you. This Demon Gate is completely new and doesn’t share the same health as the first, which is now called Demon Gate A. You should still concentrate on the first Demon Gate, especially if you triggered the phase change with the HP threshold. A large portion of the moves will stay the same, but Encroach will work a little differently now. Instead of the side walls moving in closer, the actual bosses will start moving inward now, and they will actually deal damage to you if you get hit by their movements.
The arena will now be getting smaller, so that means the area in which you’ll be able to maneuver is getting lesser. While the idea is to simply focus on one Demon Gate until it’s dead, both of the bosses will be able to use a move prior to actually being defeated. Final Throes, assuming the Demon Gates haven’t moved all the way forward via Encroach, will ensure that they do move all the way forward. While this ability is being used, you won’t be able to truly defeat the Demon Gates and have to wait until after they use it (notice the null symbol underneath the health bar).
Another new move they will gain during the second phase is called Arcane Eruption, where they charge up a big elemental attack and then unleash it. The nice thing about this is you’re able to actually stop it. First, pay attention to the element being used while they’re charging; it can only be either ice or electric. What you want to do is cast a spell of the opposing element to the one used, so if it’s ice, then you would use ![]() Fire (Fira probably would be better, but not clear if just the element or damage is required to stop it).
Fire (Fira probably would be better, but not clear if just the element or damage is required to stop it).

(1 of 4) Arcane Eruption is a powerful skill that you can actually stop from happening.
The last new move only seems to occur if the room is at its smallest, which means the side walls and bosses have moved all the way inward. This move, named Demonic Smash, is very quick and hurts a lot, while also knocking your characters into the air. If both bosses are alive and one pulls this off, then things will get very messy and it might be hard to recover. The best thing to do is just concentrate on one Demon Gate, preferably the first one if it’s health is lower after the phase change, while trying to dodge to the best of your abilities. Stopping the Encroach and Arcane Eruption skills should be a top priority, but sometimes both of the bosses will do the latter at the same time, so it’s a little difficult to stop both.
Upon defeating both Demon Gates, the battle will be over and there will be a scene. Watch forward to the altar once you have control, then a lot more cutscenes will take over from here. Note that at one point, you will need to run back to the entrance, but you won’t encounter anything along the way, so it’s just following the rest of the party. More story will take place, then there’s more walking/chasing here. Eventually, the chapter will finally be over and you’ll move onto Chapter 14, the final one for the main story.
No Comments