
Cloud and company finally got out of the ![]() Corel Region and found the
Corel Region and found the ![]() Gongaga Region. It is there they made it to the village of Gongaga, met with Cissnei and had a small break from their grand adventure. However, while resting, Cloud is woken up by Yuffie, with everyone hearing noises coming from the Gongaga Reactor. Thinking it’s a Weapon, the party splits up, and Cloud,
Gongaga Region. It is there they made it to the village of Gongaga, met with Cissnei and had a small break from their grand adventure. However, while resting, Cloud is woken up by Yuffie, with everyone hearing noises coming from the Gongaga Reactor. Thinking it’s a Weapon, the party splits up, and Cloud, ![]() Red XIII,
Red XIII, ![]() Cait Sith, and Barret all head towards the reactor.
Cait Sith, and Barret all head towards the reactor.
Reaching the Gongaga Reactor
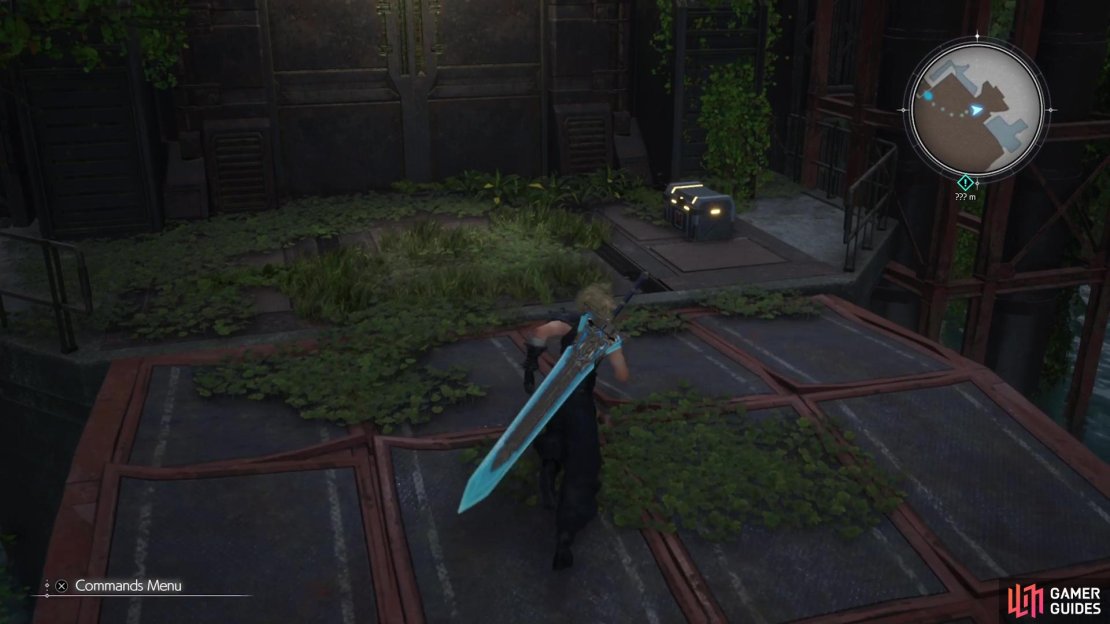
Once you have control, make sure all your equipment, items and Materia are in order, then head for the southern gate in Gongaga. The guard will let you through and you can begin making the trek to the southeast, towards the objective marker. Generally, you want to avoid climbing upwards while moving towards the reactor, since you need to stay low. Remember that the giant mushrooms with a marker on them are used for this region’s Chocobo, which you won’t unlock for a little while.

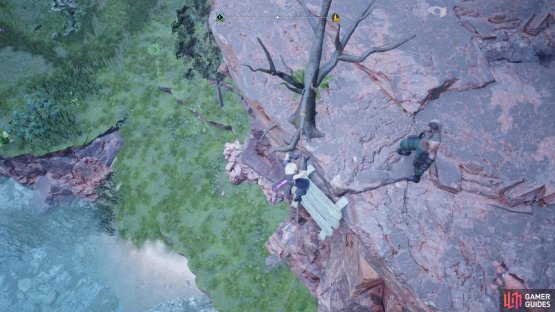
(1 of 2) You’ll need to go down some ropes to reach the reactor.
You’ll need to go down some ropes to reach the reactor. (left), Once you reach it, the Whispers will guide you into the ruined building. (right)
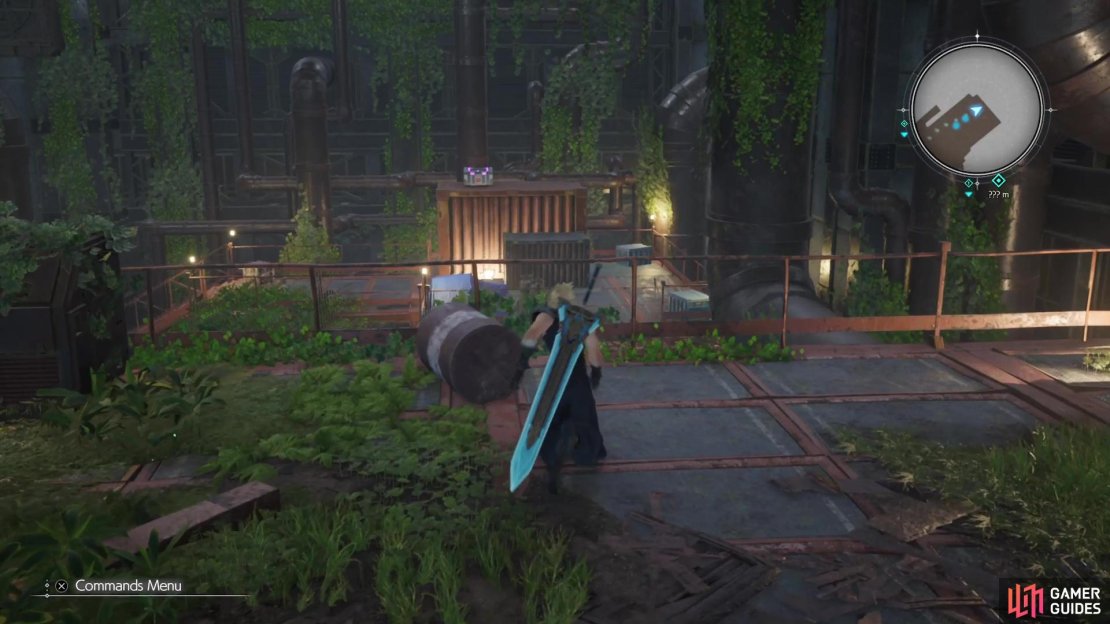
If you follow the river, it should bring you to a waterfall and right next to it is a rope you can climb to a lower elevation. There will be another similarly placed rope by another waterfall, which will take you to the very bottom. From here, you can simply follow the water to swim under some debris and arrive at the front entrance to the reactor. Head inside for some scenes, then you will be able to enter the actual reactor.
Inside the Gongaga Reactor
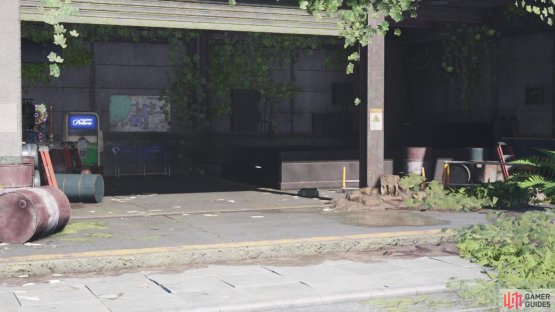
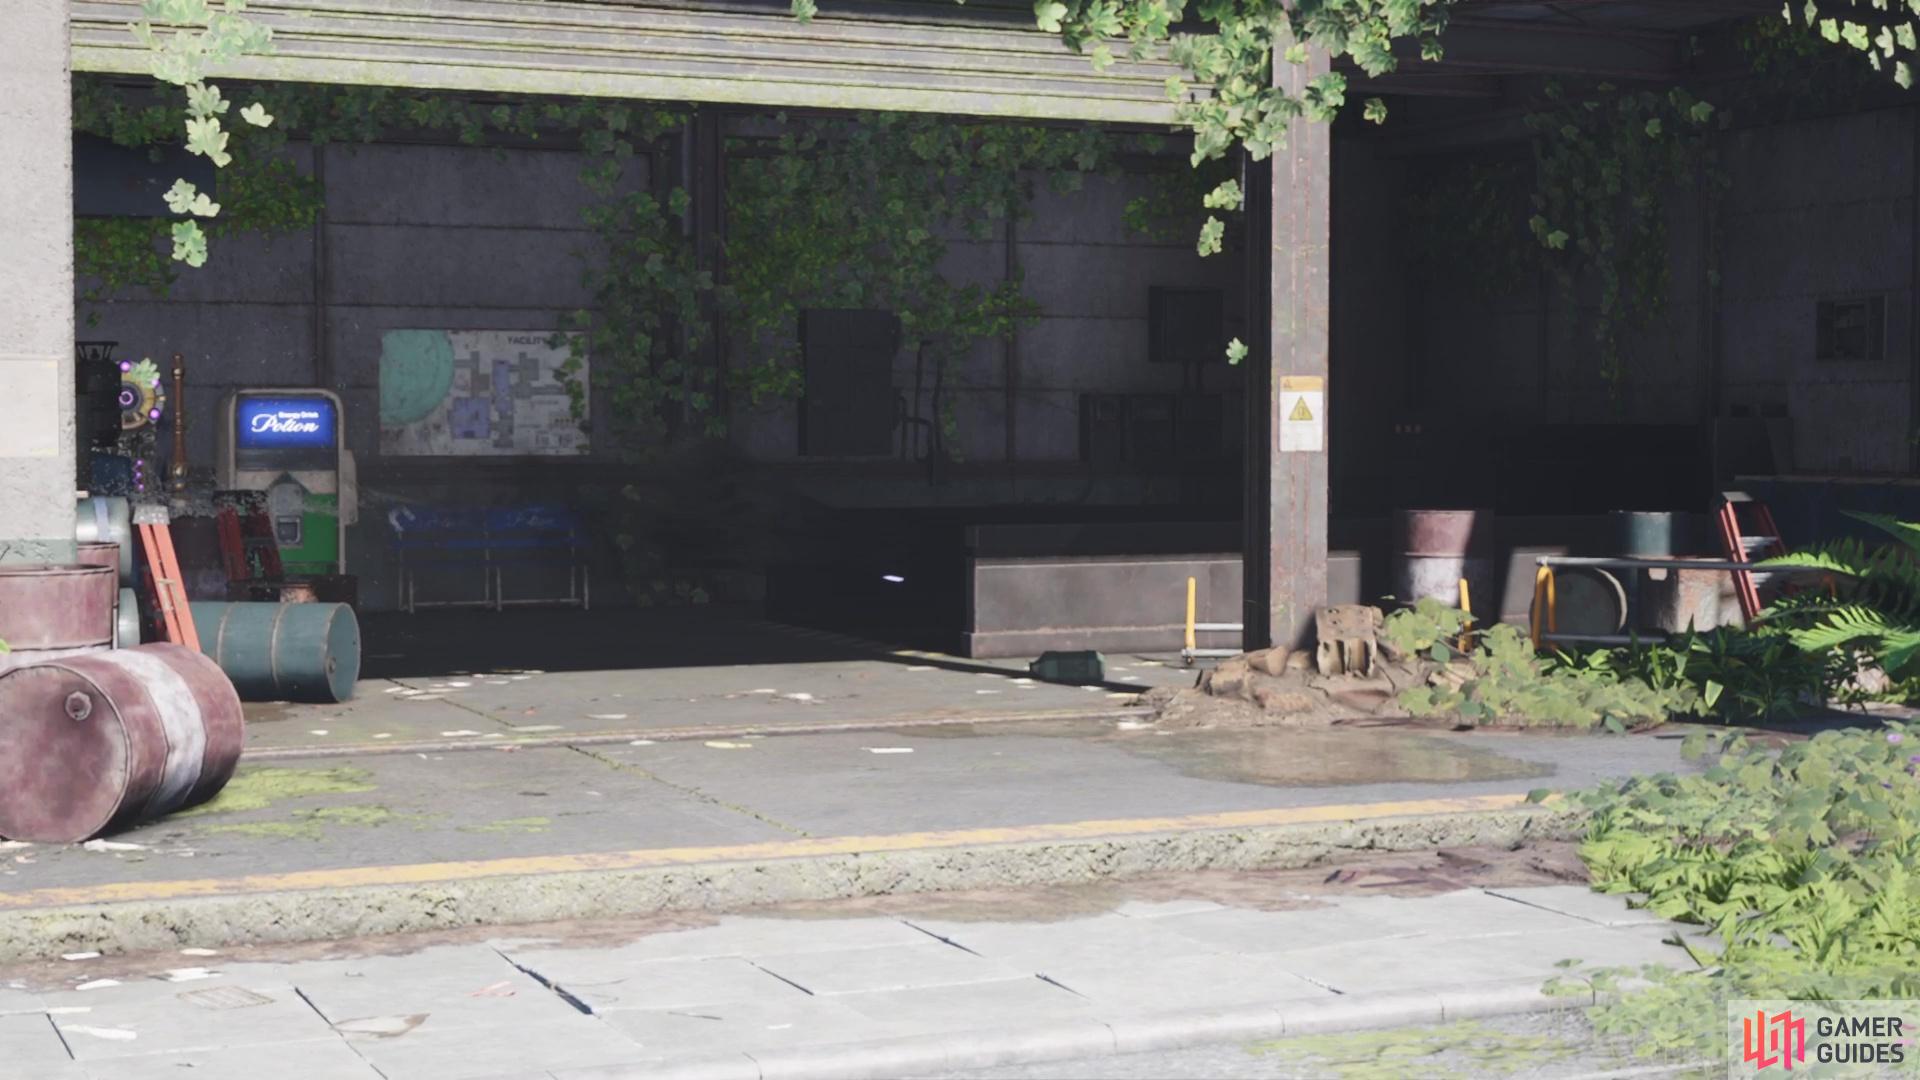
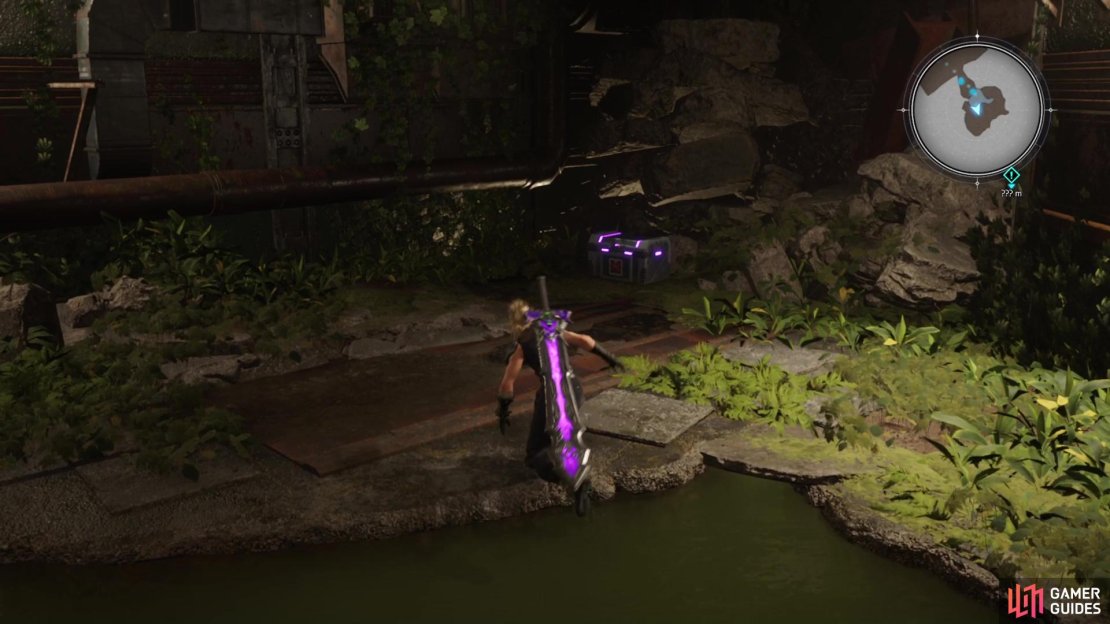
There will be a vending machine, Folio machine, and a bench right by the stairs, so use them if needed, then head inside the reactor. When you reach the first room with enemies, take them out, then head into the next room to the southeast. There will be a purple chest inside, which will yield a new weapon for Cloud, the ![]() Crystal Sword. Return to the previous room and look for the slightly opened door on the side, which will bring you further into the dungeon.
Crystal Sword. Return to the previous room and look for the slightly opened door on the side, which will bring you further into the dungeon.

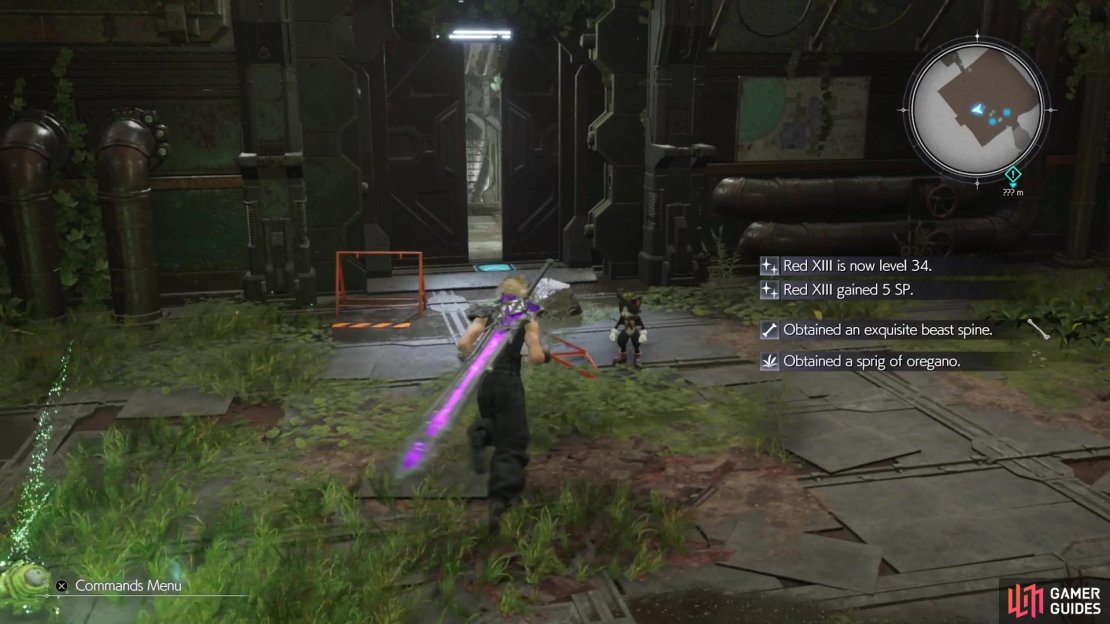

Keeping an eye on your minimap, crawl under the second entrance to your north, where you’ll encounter some ![]() Grangalan enemies. These egg-shaped foes will replicate, releasing smaller versions of itself, so be careful about constantly switching targets and focus on single enemies until they’re defeated. Once the coast is clear, continue northeast to find a chest that contains a
Grangalan enemies. These egg-shaped foes will replicate, releasing smaller versions of itself, so be careful about constantly switching targets and focus on single enemies until they’re defeated. Once the coast is clear, continue northeast to find a chest that contains a ![]() Sapphire. Return to the main hallway and head along the southern route now, which will bring you to a catwalk.
Sapphire. Return to the main hallway and head along the southern route now, which will bring you to a catwalk.
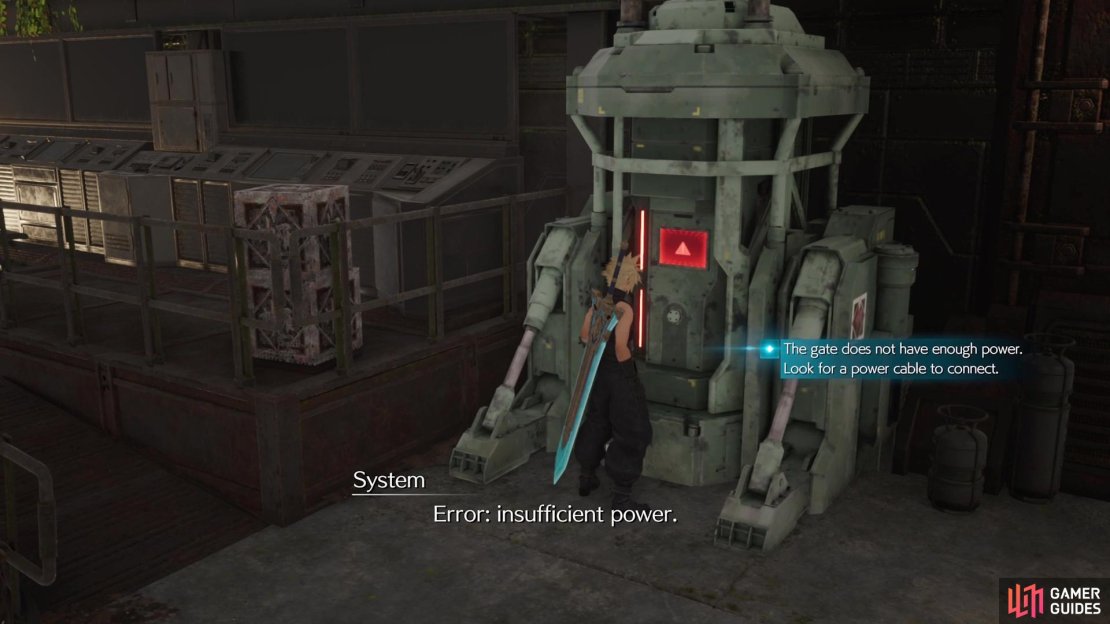
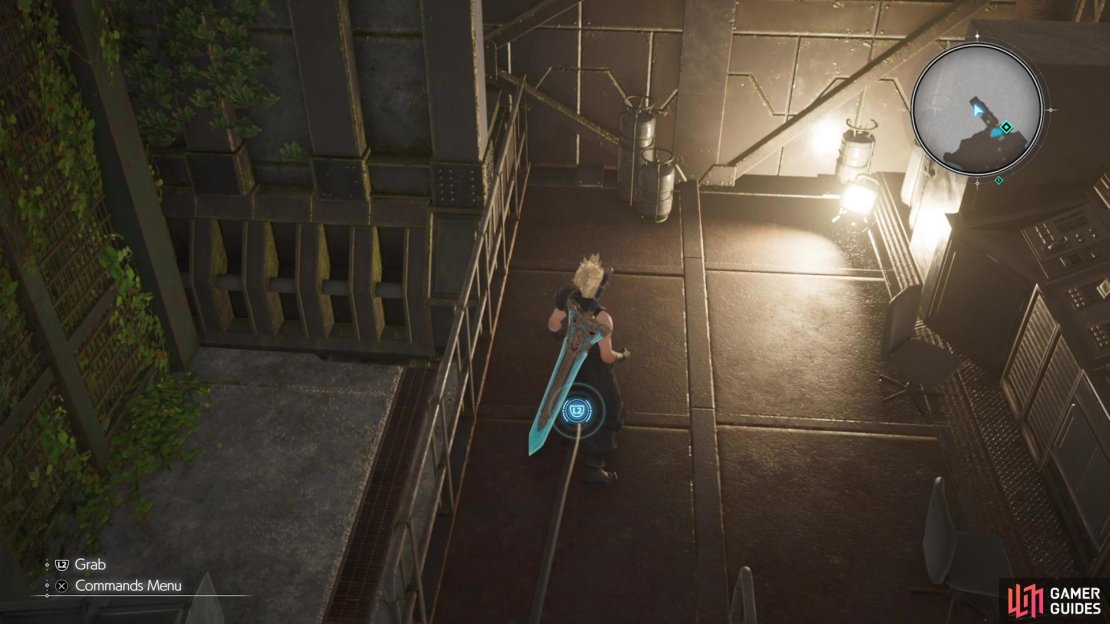
There’s nothing on the catwalk, so either take the stairs down to the bottom, or hop off one of the ends. As you make your way to the northern side, you’ll be ambushed by some enemies, so be aware of that. At the far end, there will be a locked gate, with the generator right next to it not supplying enough power to it. Locate the nearby wire and pick it up, then plug it into the generator. This will open the door, allowing you to continue.
Follow the path into the next room, where you’ll encounter a ![]() Chimera mimic and
Chimera mimic and ![]() Gagighandi. Defeat both of them, then hop over the concrete barricade to enter the main hallway again. There are two ways to go here, but head northeast first for a dead end with a treasure chest (x3
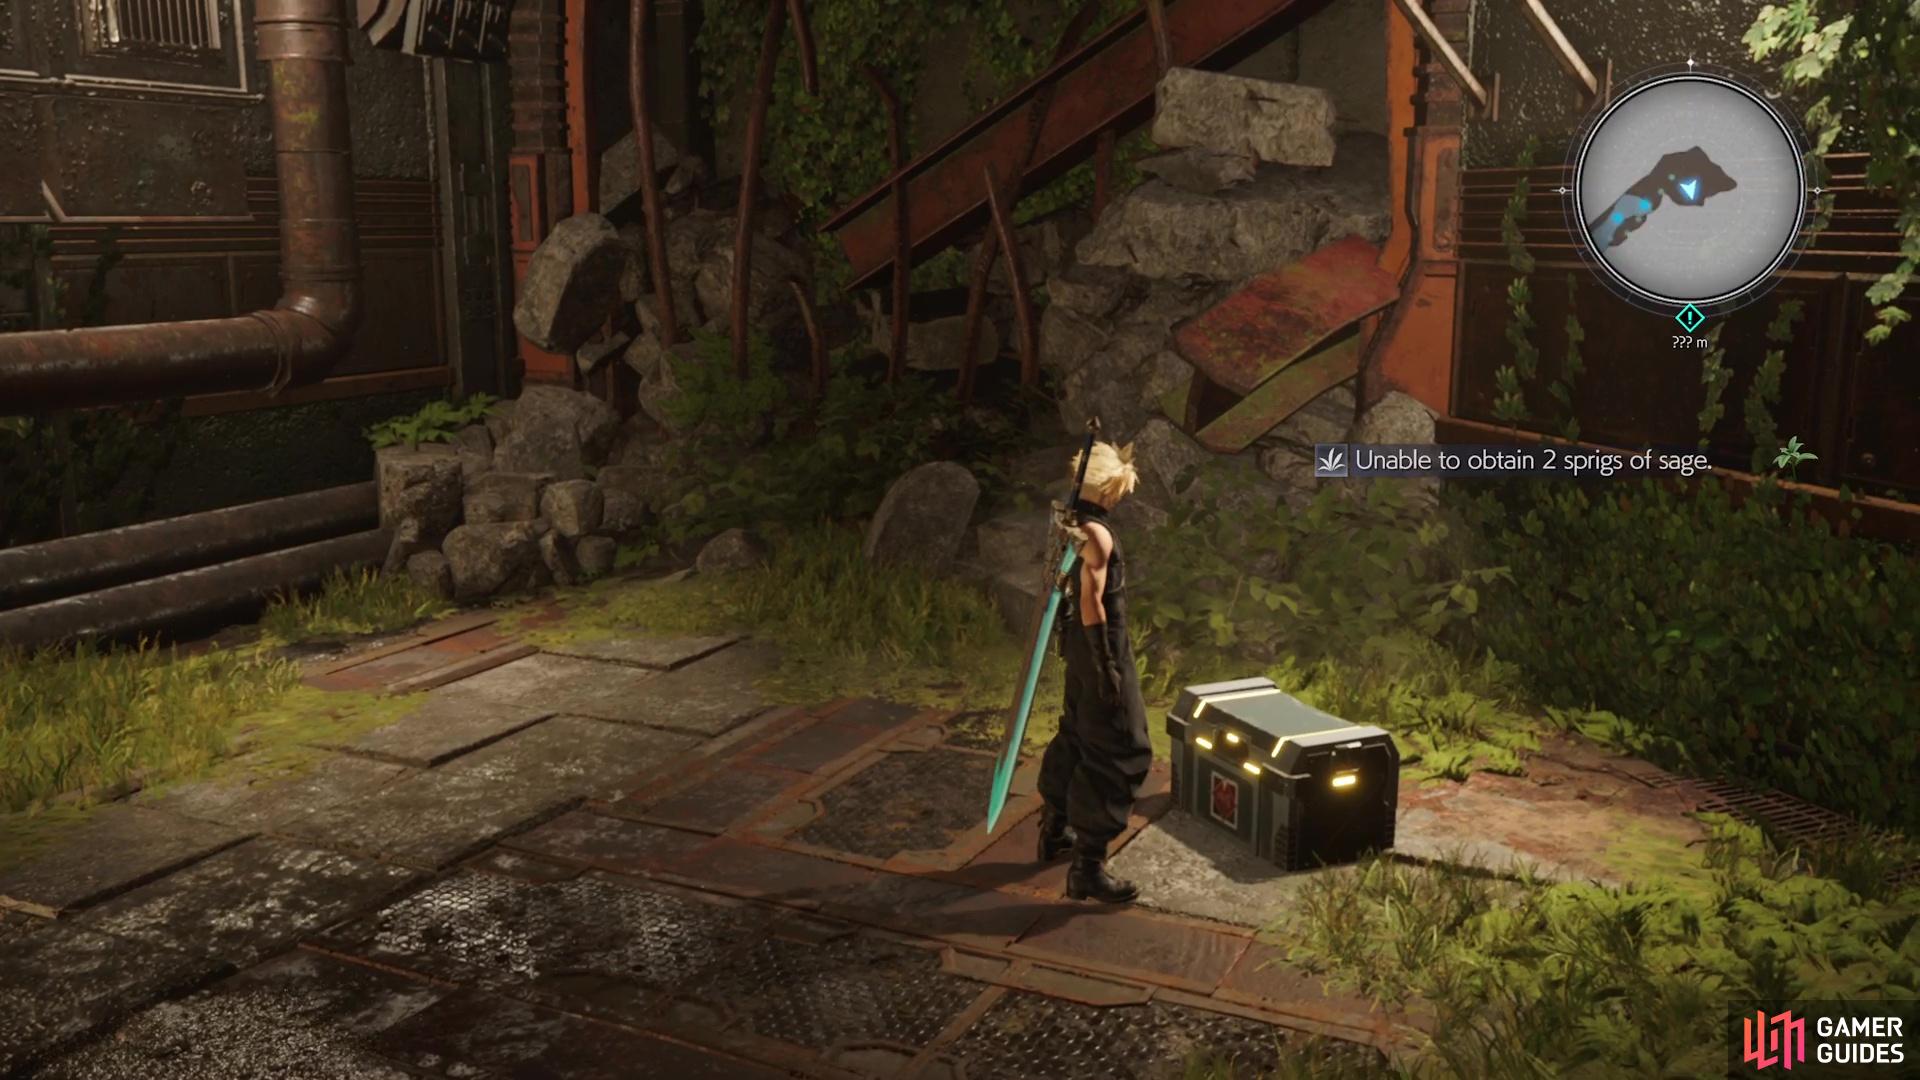
Gagighandi. Defeat both of them, then hop over the concrete barricade to enter the main hallway again. There are two ways to go here, but head northeast first for a dead end with a treasure chest (x3 ![]() Hazardous Material). Return to the split and take the southeastern path, leading to the Coolant Control room. Jump in the water here and swim to the far end, in the northeastern corner. There is a spot to jump out of the water here, complete with a chest that contains a
Hazardous Material). Return to the split and take the southeastern path, leading to the Coolant Control room. Jump in the water here and swim to the far end, in the northeastern corner. There is a spot to jump out of the water here, complete with a chest that contains a ![]() Sage Armband.
Sage Armband.

(1 of 3) The chest with the Hazardous Materials is at a dead end after opening the one door.
Double back to the main platform and start moving upward, where you’ll encounter some ![]() Grandhorns. After getting rid of them, venture over to the broken bridge, where you will see the Whispers once more. They want you to follow them, but you can’t reach the other side. Jump into the water below and go to the southeastern corner for a platform, as well as a ladder. Some more stairs will be waiting at the top, so climb them for more enemies. If you look to the northeast, you should see another purple chest across the way, but you can’t get to it from here.
Grandhorns. After getting rid of them, venture over to the broken bridge, where you will see the Whispers once more. They want you to follow them, but you can’t reach the other side. Jump into the water below and go to the southeastern corner for a platform, as well as a ladder. Some more stairs will be waiting at the top, so climb them for more enemies. If you look to the northeast, you should see another purple chest across the way, but you can’t get to it from here.
Water Level
Instead, look for the cracked doorway and squeeze through it, with it leading to a control room. You’ll have to connect another plug here into the generator, but the cord isn’t long enough. There is a movable block that is restricting the cord, so you’ll have to pull it towards the dead-end portion of the room. If you pull the block back as far as possible, you should notice some indicators on it, meaning you can use it to jump on the red container. This will allow you to pass through a small air duct and reach the purple chest you saw a little while ago; this contains a ![]() Golden Collar for Red XIII.
Golden Collar for Red XIII.
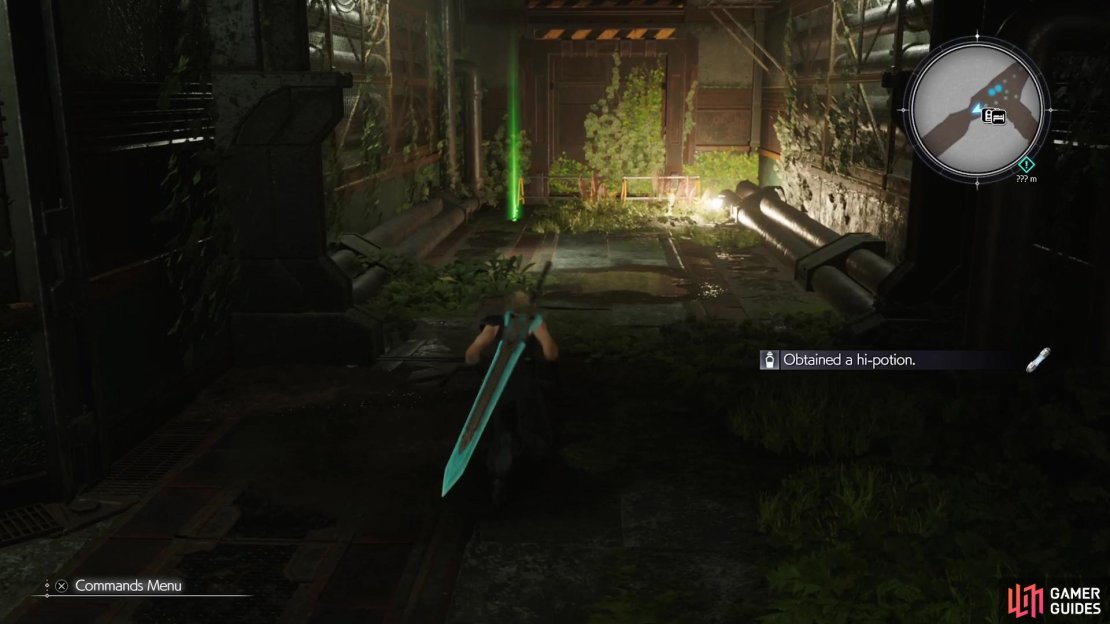
Make your way back to the control room and plug in the cord that should now have enough slack on it. Access the terminal to raise the water level in the previous room, which allows you to swim across the broken bridge section. Follow the hallway on the other side, taking a pit stop at the side room for a quick battle and chest (![]() Remedy). Return to the hallway and towards the end will be a resting station. Make sure you grab the
Remedy). Return to the hallway and towards the end will be a resting station. Make sure you grab the ![]() Subversion Materia right beside the bench, then use it to rest up, as there’s a boss coming up, but not before a bit of trouble.
Subversion Materia right beside the bench, then use it to rest up, as there’s a boss coming up, but not before a bit of trouble.


(1 of 5) You’ll have to pull this box out of the way to allow the cord enough slack to reach the generator.
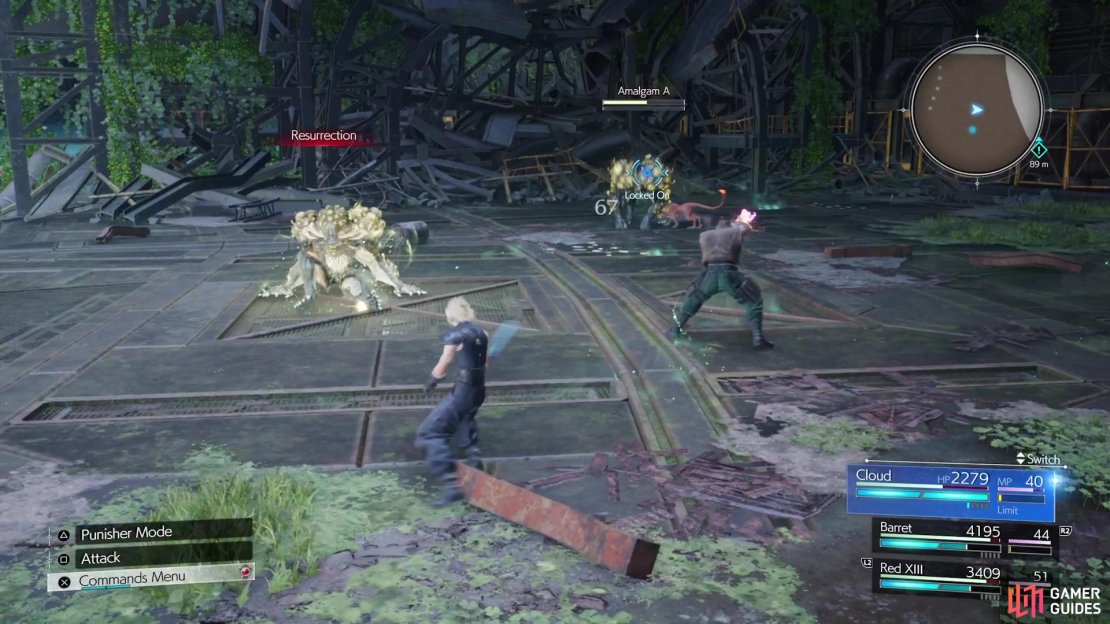
When you enter the large room beyond the resting spot, watch the cutscene, before Shinra sic some creations on you. You will be fighting some ![]() Amalgams at first, which are tricky enemies that revive themselves up to two times. However, they are weak to fire and if you defeat them while they’re burning, they won’t come back. There will be two sets of these, and then Shinra will send a big baddie right after that!
Amalgams at first, which are tricky enemies that revive themselves up to two times. However, they are weak to fire and if you defeat them while they’re burning, they won’t come back. There will be two sets of these, and then Shinra will send a big baddie right after that!
No Comments