
Corel will be the third region you will visit in Final Fantasy VII Rebirth, although you don’t get to explore the whole map here on your first visit in Chapter 7. You will have to wait until Chapter 9 to be able to fully explore the region. The map will be split into two sections, a grassy area right outside of Costa del Sol, and then a desert section that occupies the rest of it. Like the other regions thus far, you will be able to activate some Remnawave Towers that allow you to find other pieces of World Intel. This page will guide you to all of the locations of the Remnawave Towers in the Corel region.
Activation Intel 1: Costa Port Tower
The first two towers are located right outside of Costa del Sol, so you will be able to activate them in Chapter 7. For this first one, follow the path out of town and when it happens upon the split, look straight south. The tower will be on the hill, so clear the enemies out of the way, then climb to the top to find the switch.

(1 of 2) The first tower is fairly close upon exiting from Costa del Sol.

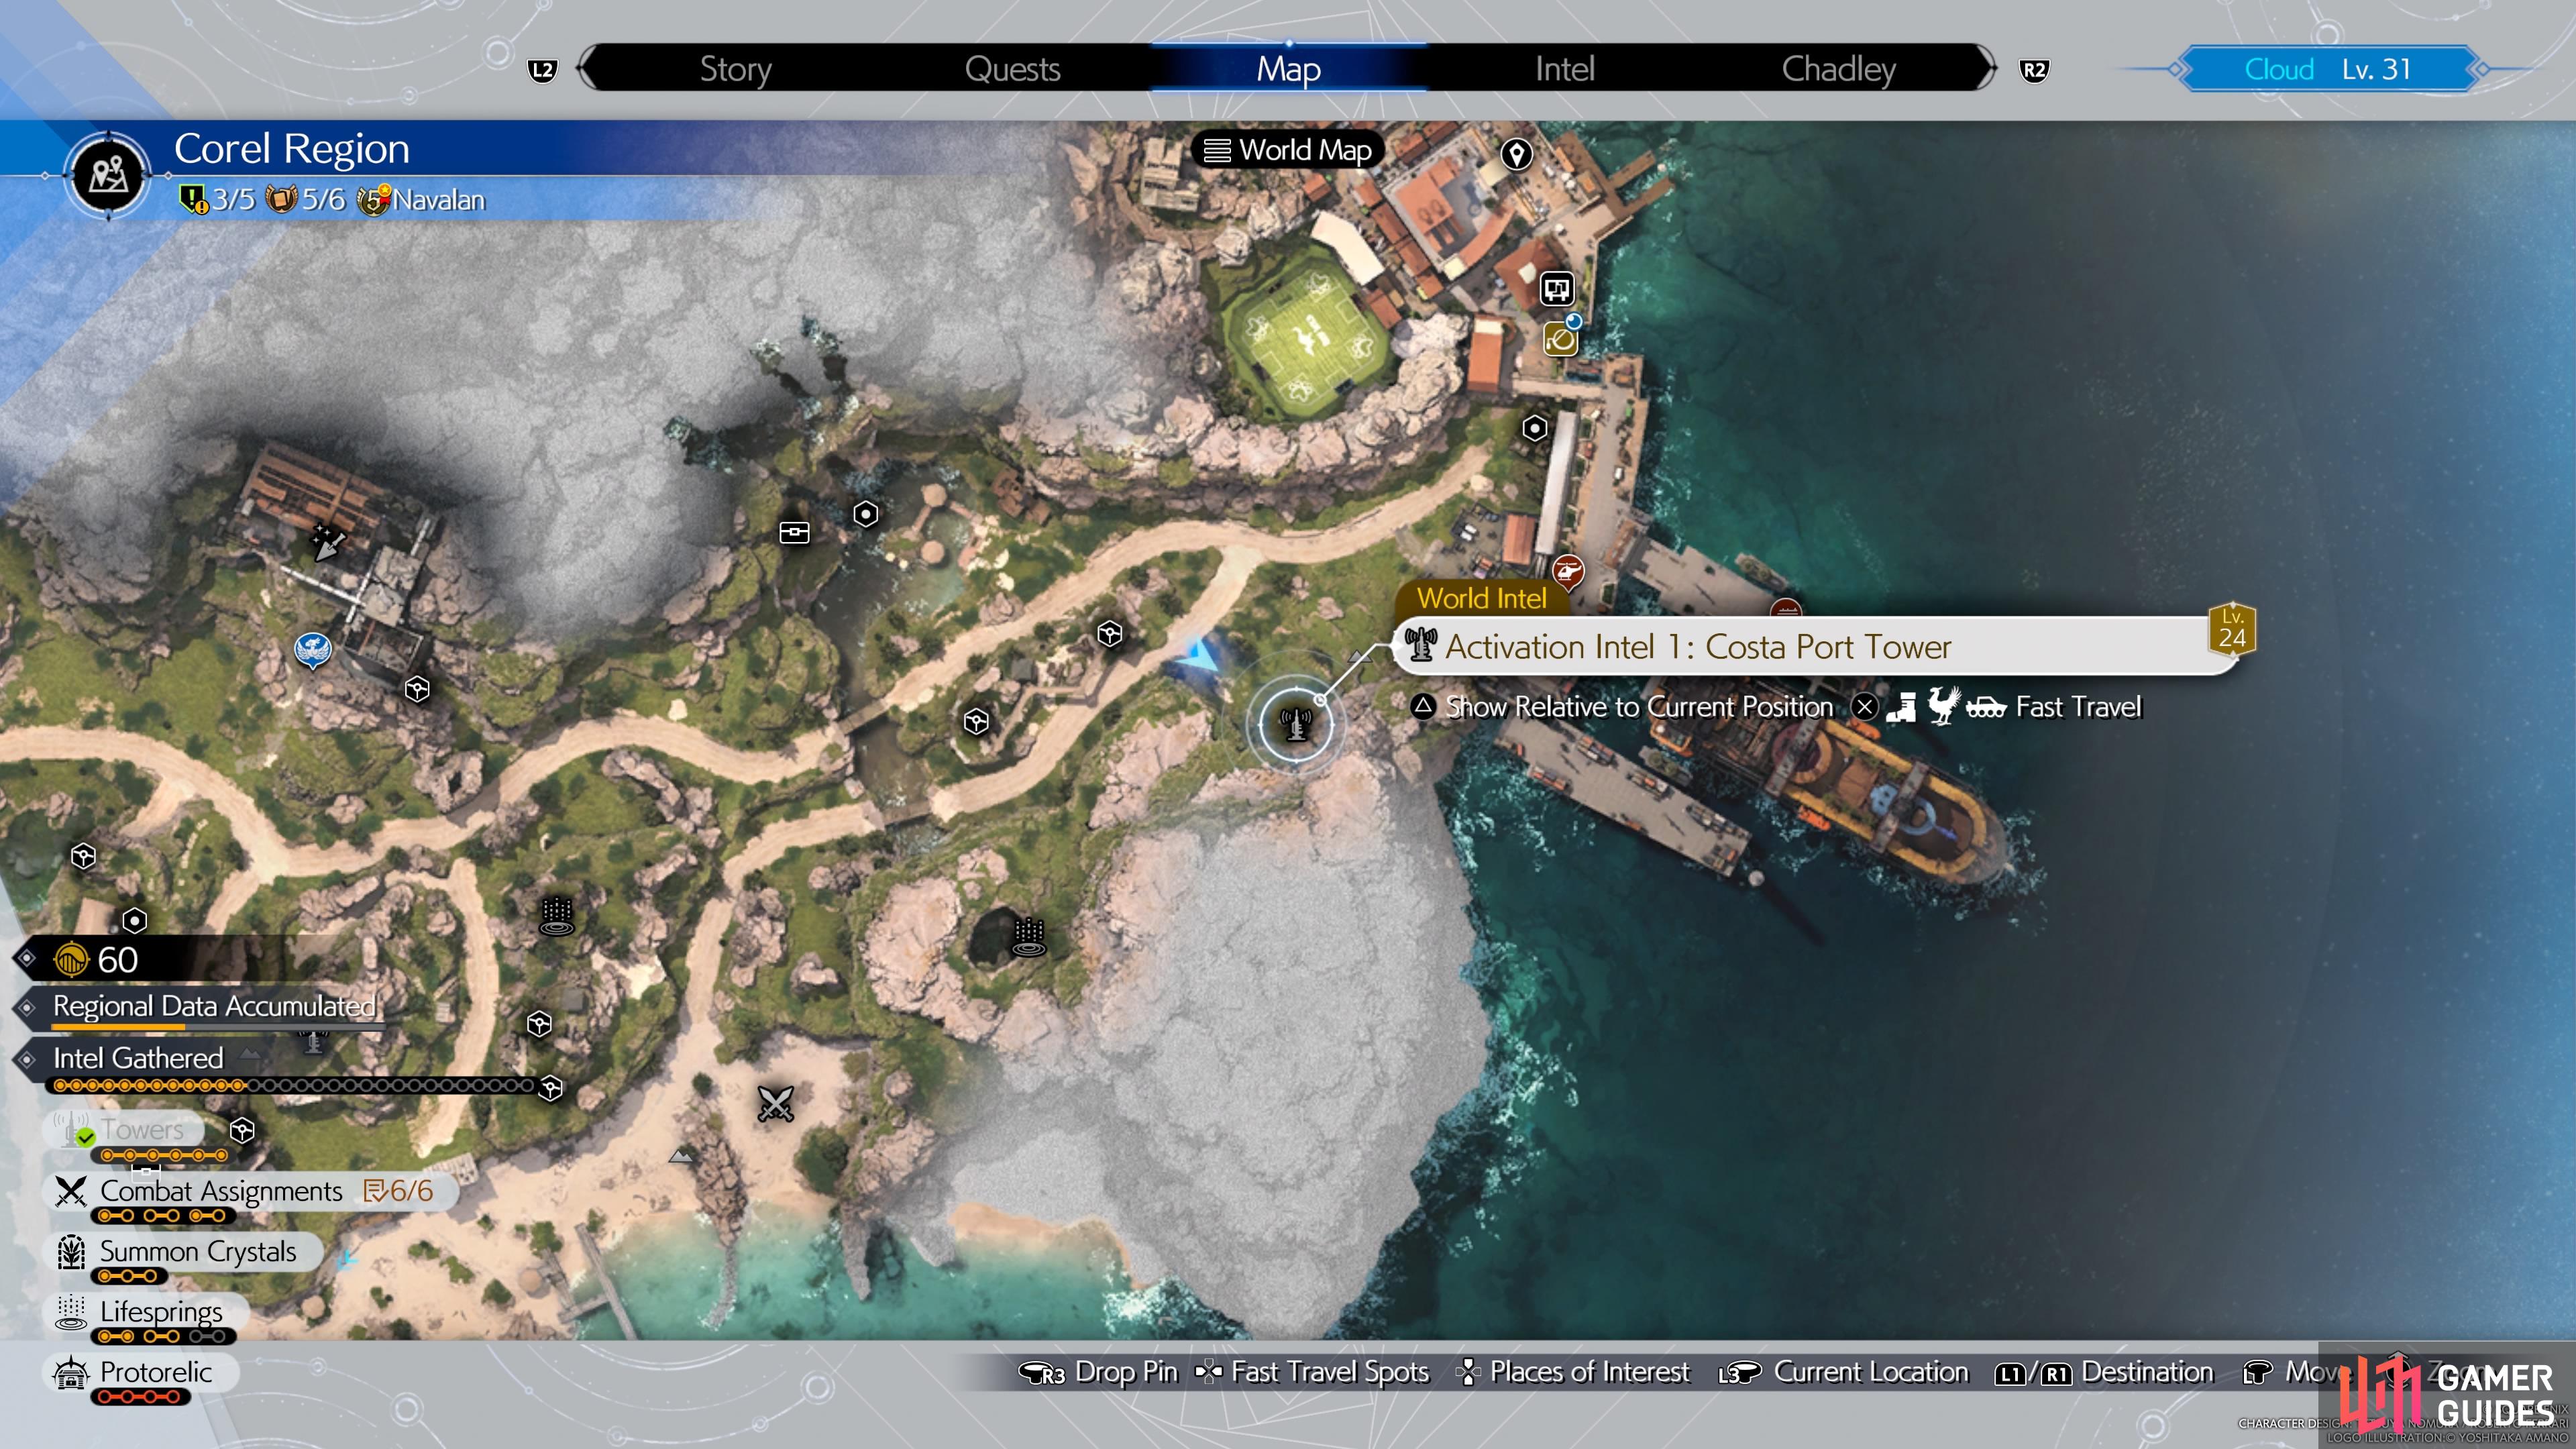
The first tower is fairly close upon exiting from Costa del Sol. (left), The location of the first tower on the map. (right)
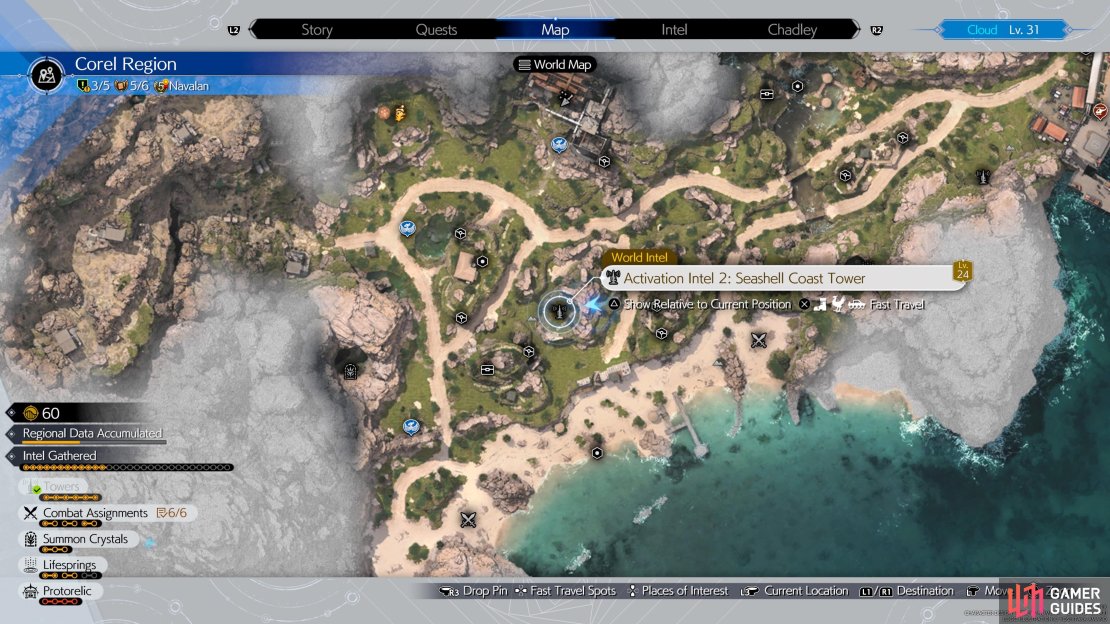
Activation Intel 2: Seashell Coast Tower
The second tower is located a little further to the west. If you did the Rendezvous in Costa del Sol quest, then you should have the Clamshell Beach location already unlocked, so fast travel to that. Upon regaining control, there will be some stairs to your north-northwest, so take them to get to the main area. Follow the main path here to the north, until you see some more stairs off to the west (they will be behind you as you run north).
Go up those stairs and look through the little archway there to spot the tower. You’ll have to go all the way to the top, then slide down one more ladder to get to the switch that activates the tower.
(1 of 3) Go to the eastern side to find some stairs to reach the second tower.
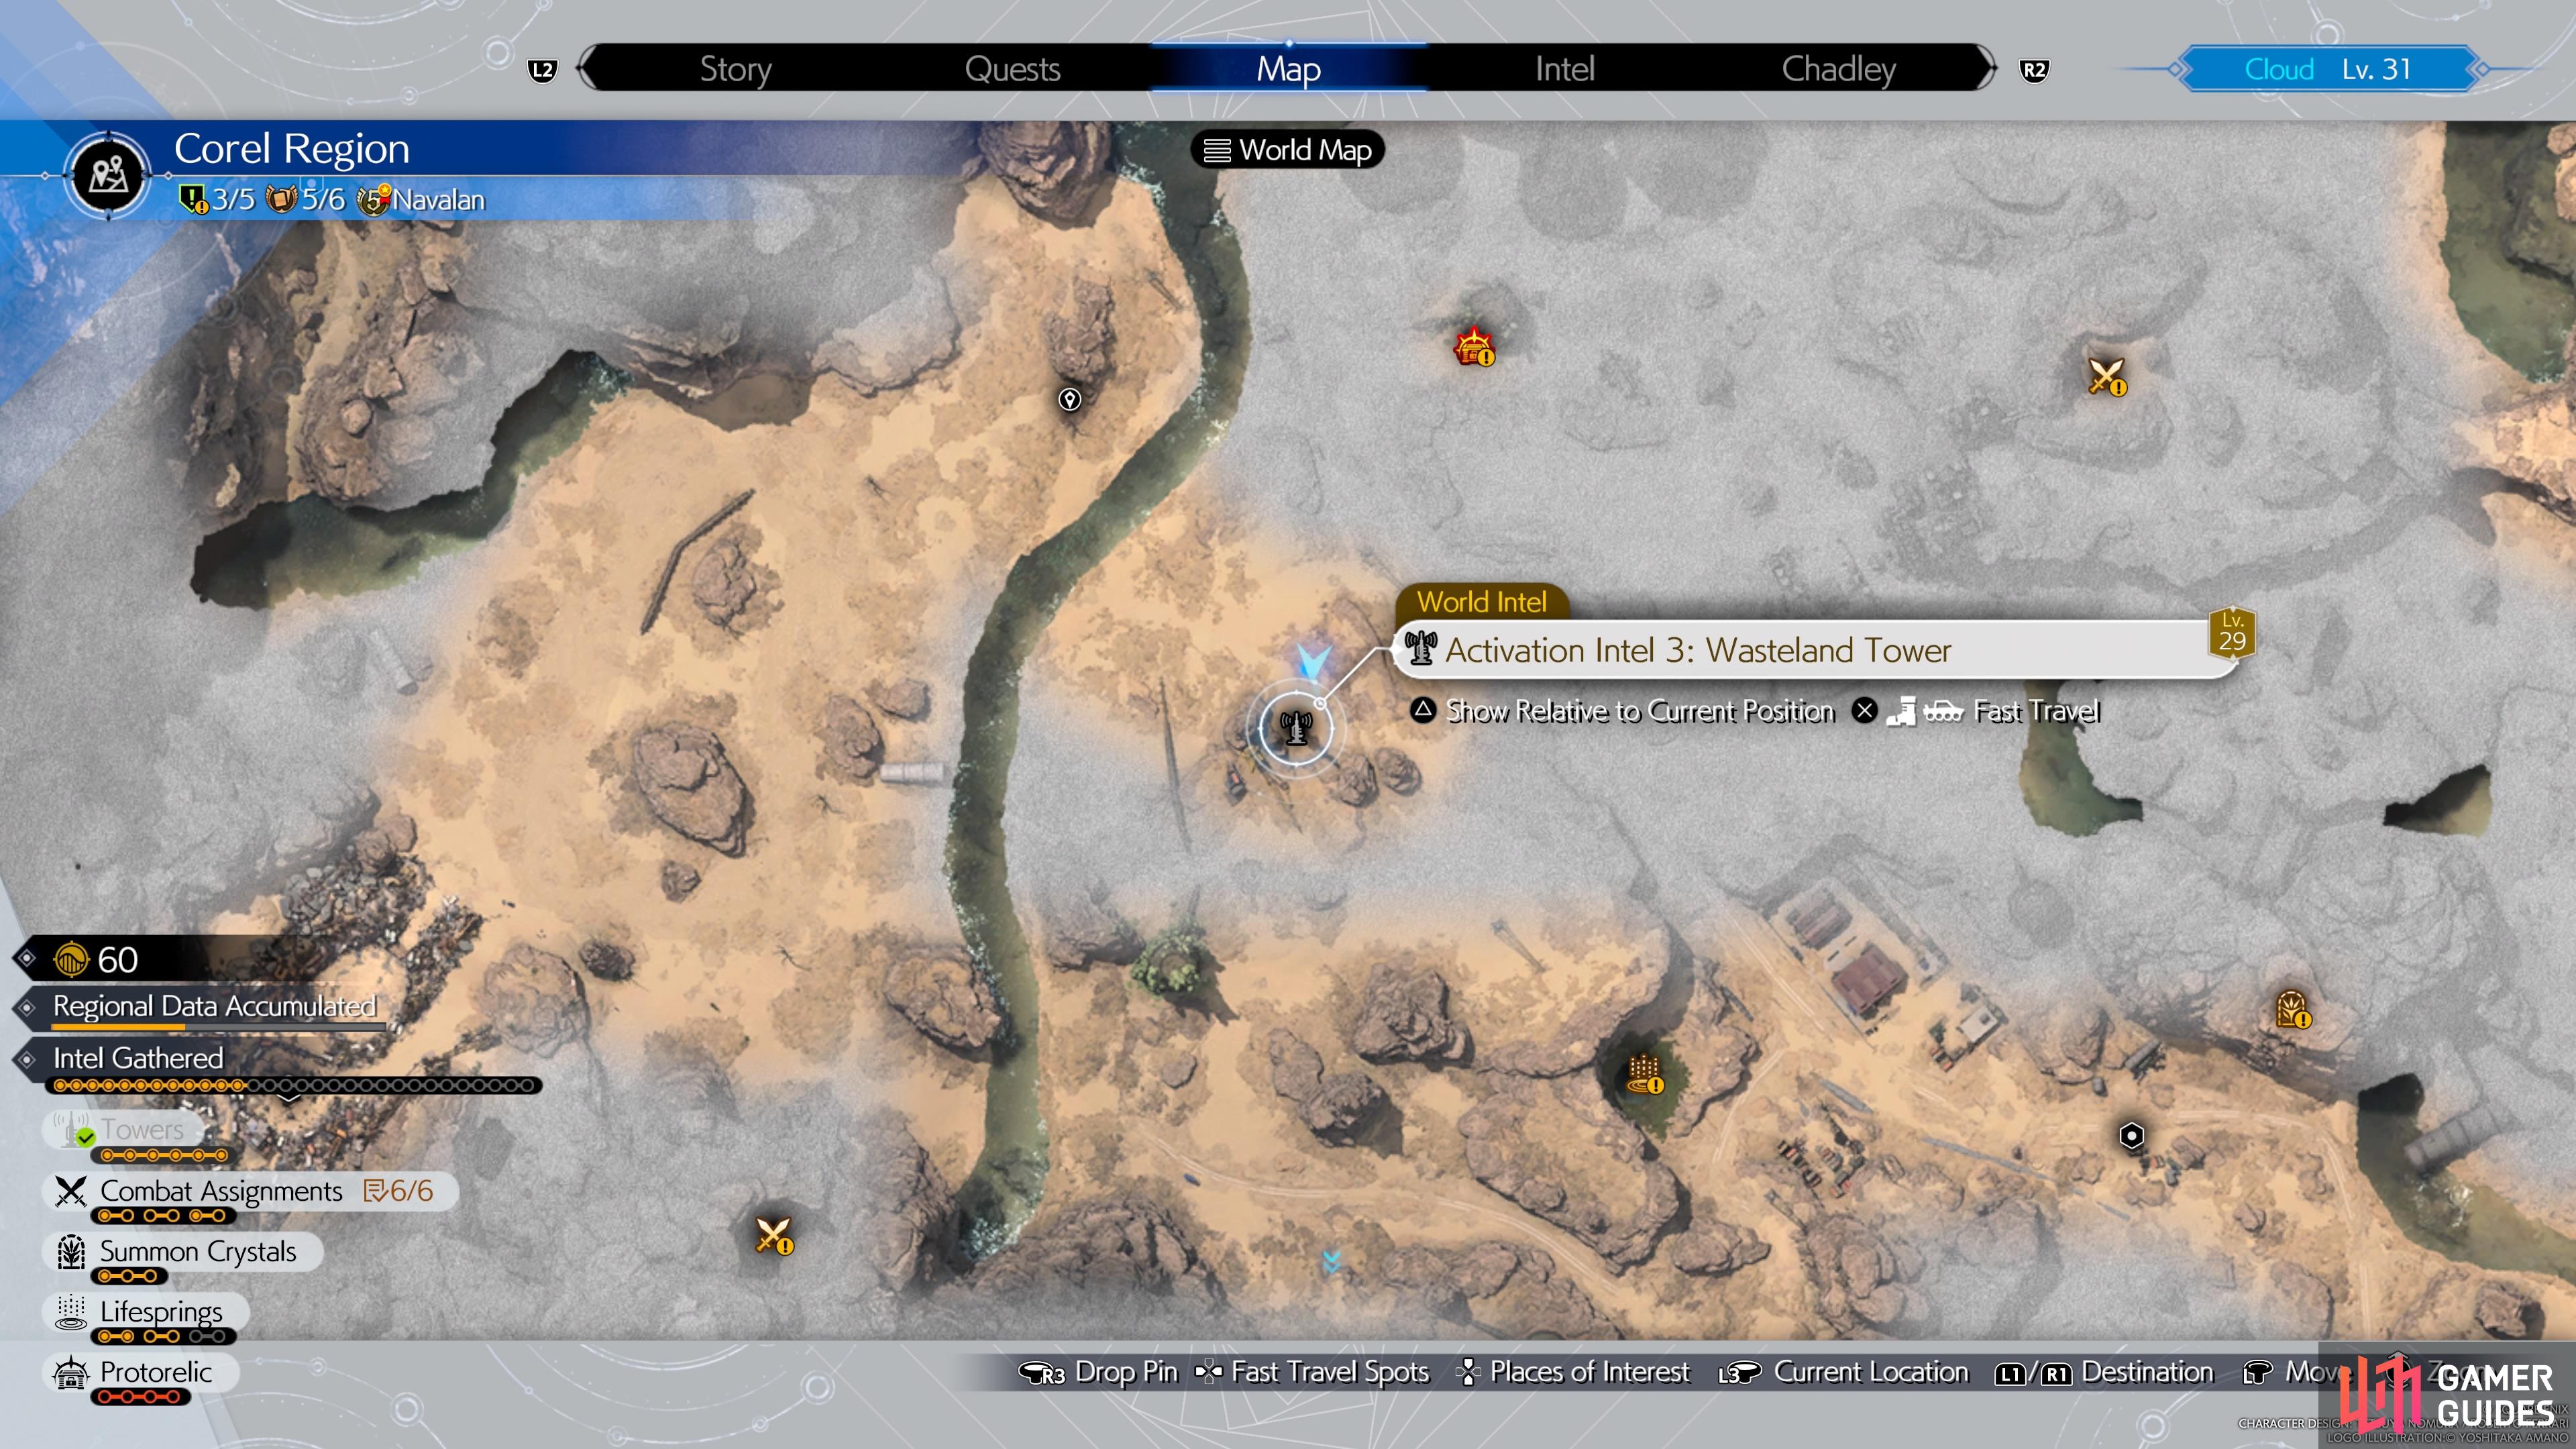
Activation Intel 3: Wasteland Tower
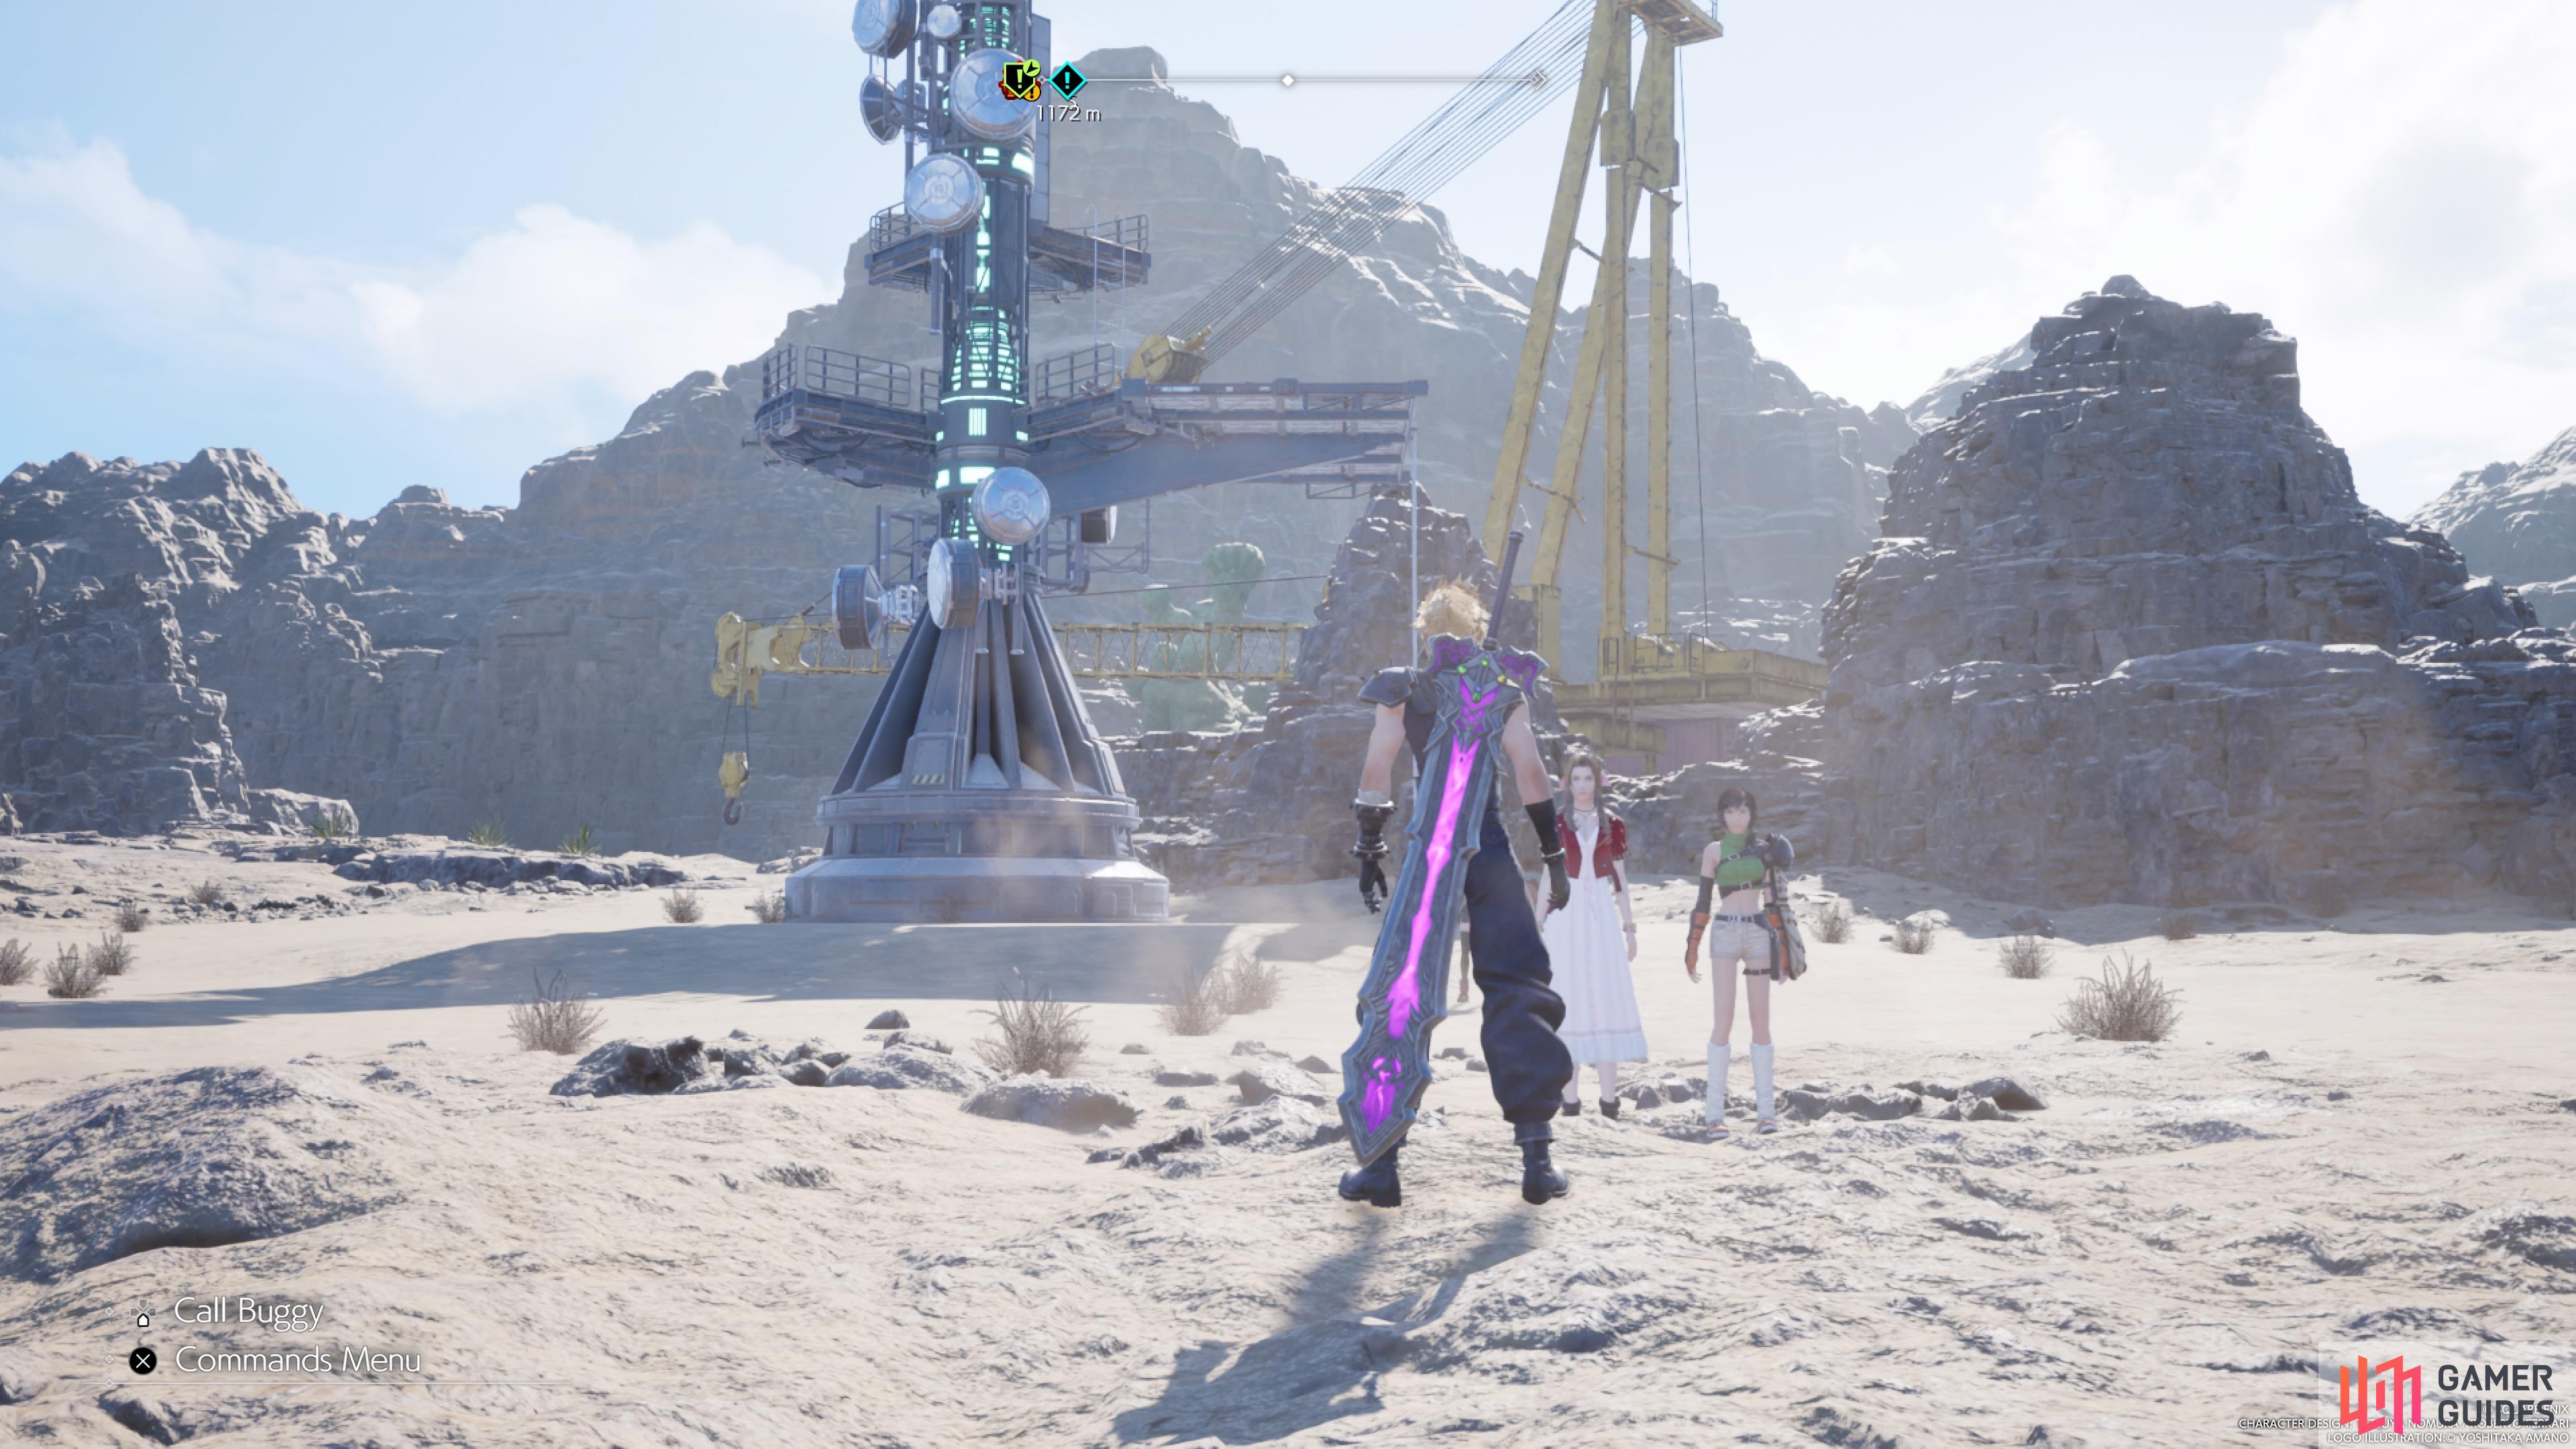
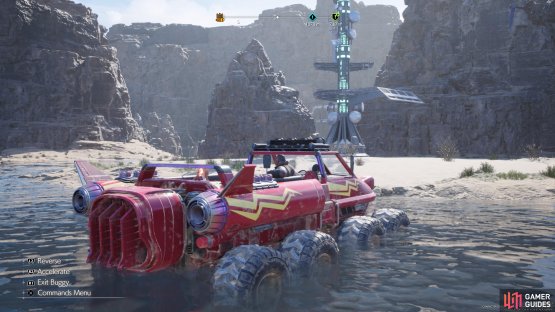
Once you have reached Chapter 9 and have the Buggy, fast travel to the Outcast Underpass location on the western side of the desert. You’ll need the Buggy in order to cross the water here. Head southeast from the fast travel point and you should see the tower right out in the open. The switch to activate the tower will be found at the top of the tower.


(1 of 2) You’ll have to wait until Chapter 9 to get the remaining towers in the Corel Region.
You’ll have to wait until Chapter 9 to get the remaining towers in the Corel Region. (left), The location of the third tower on the map. (right)
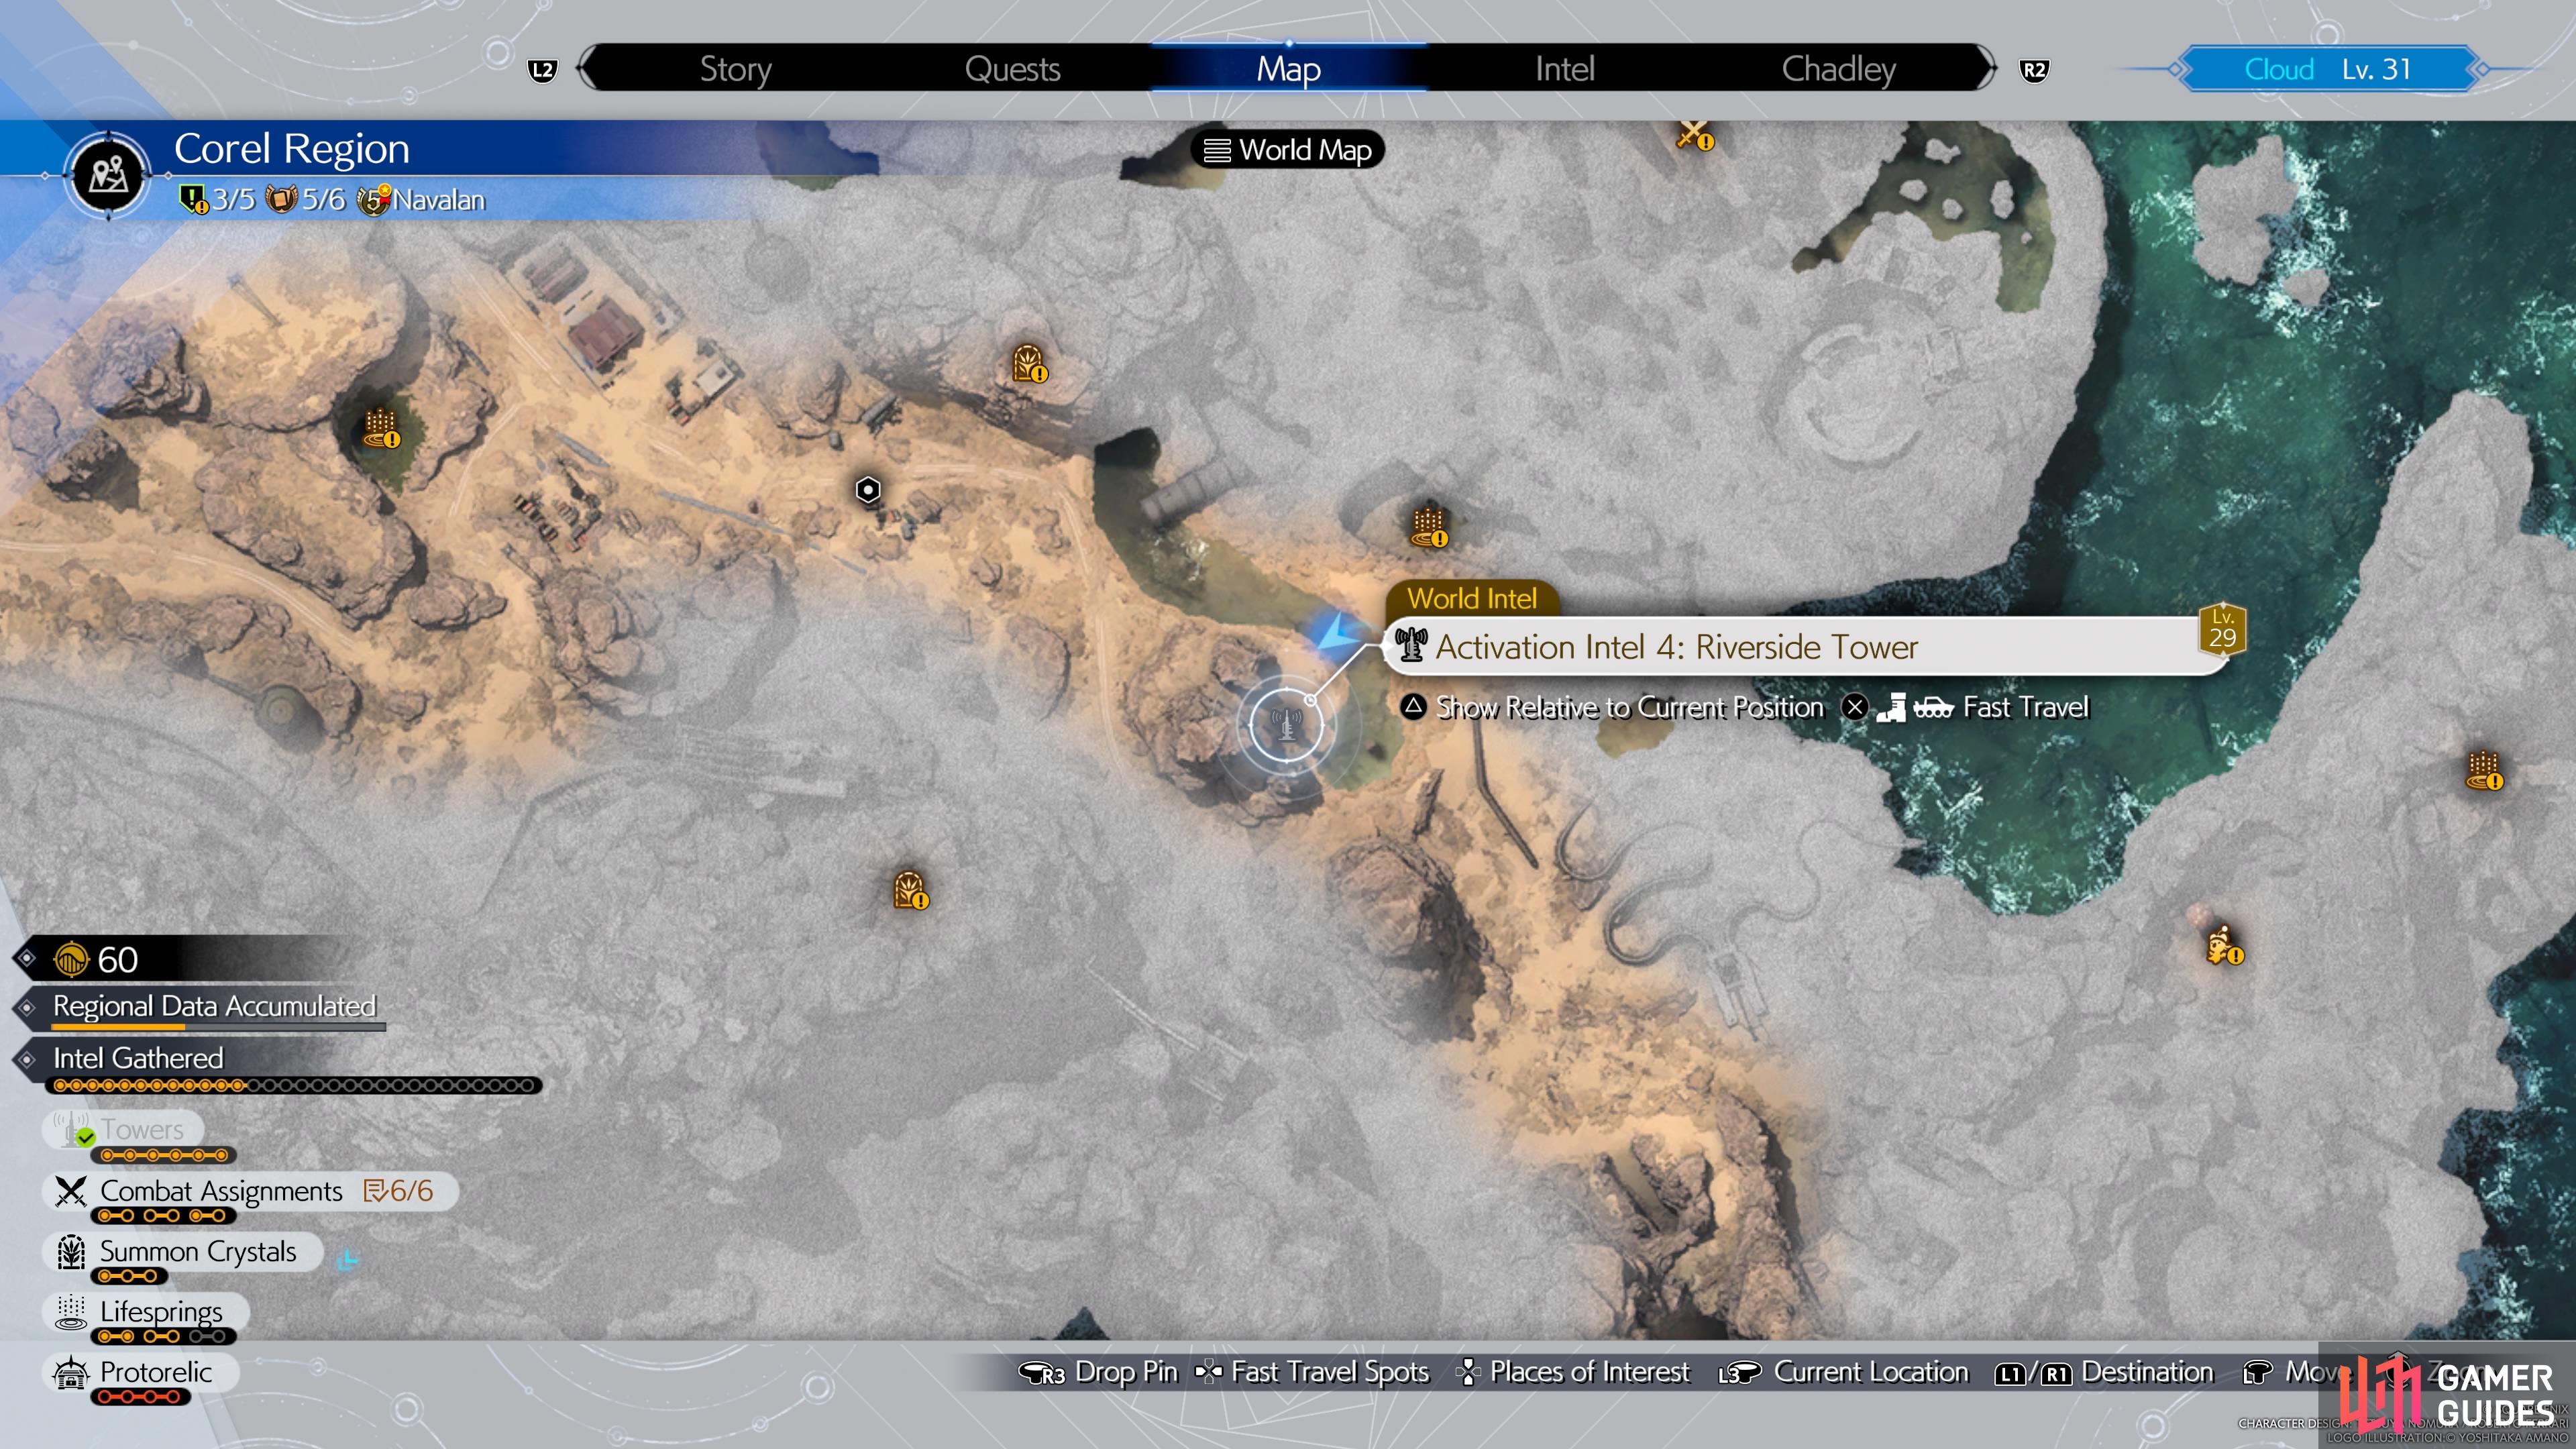
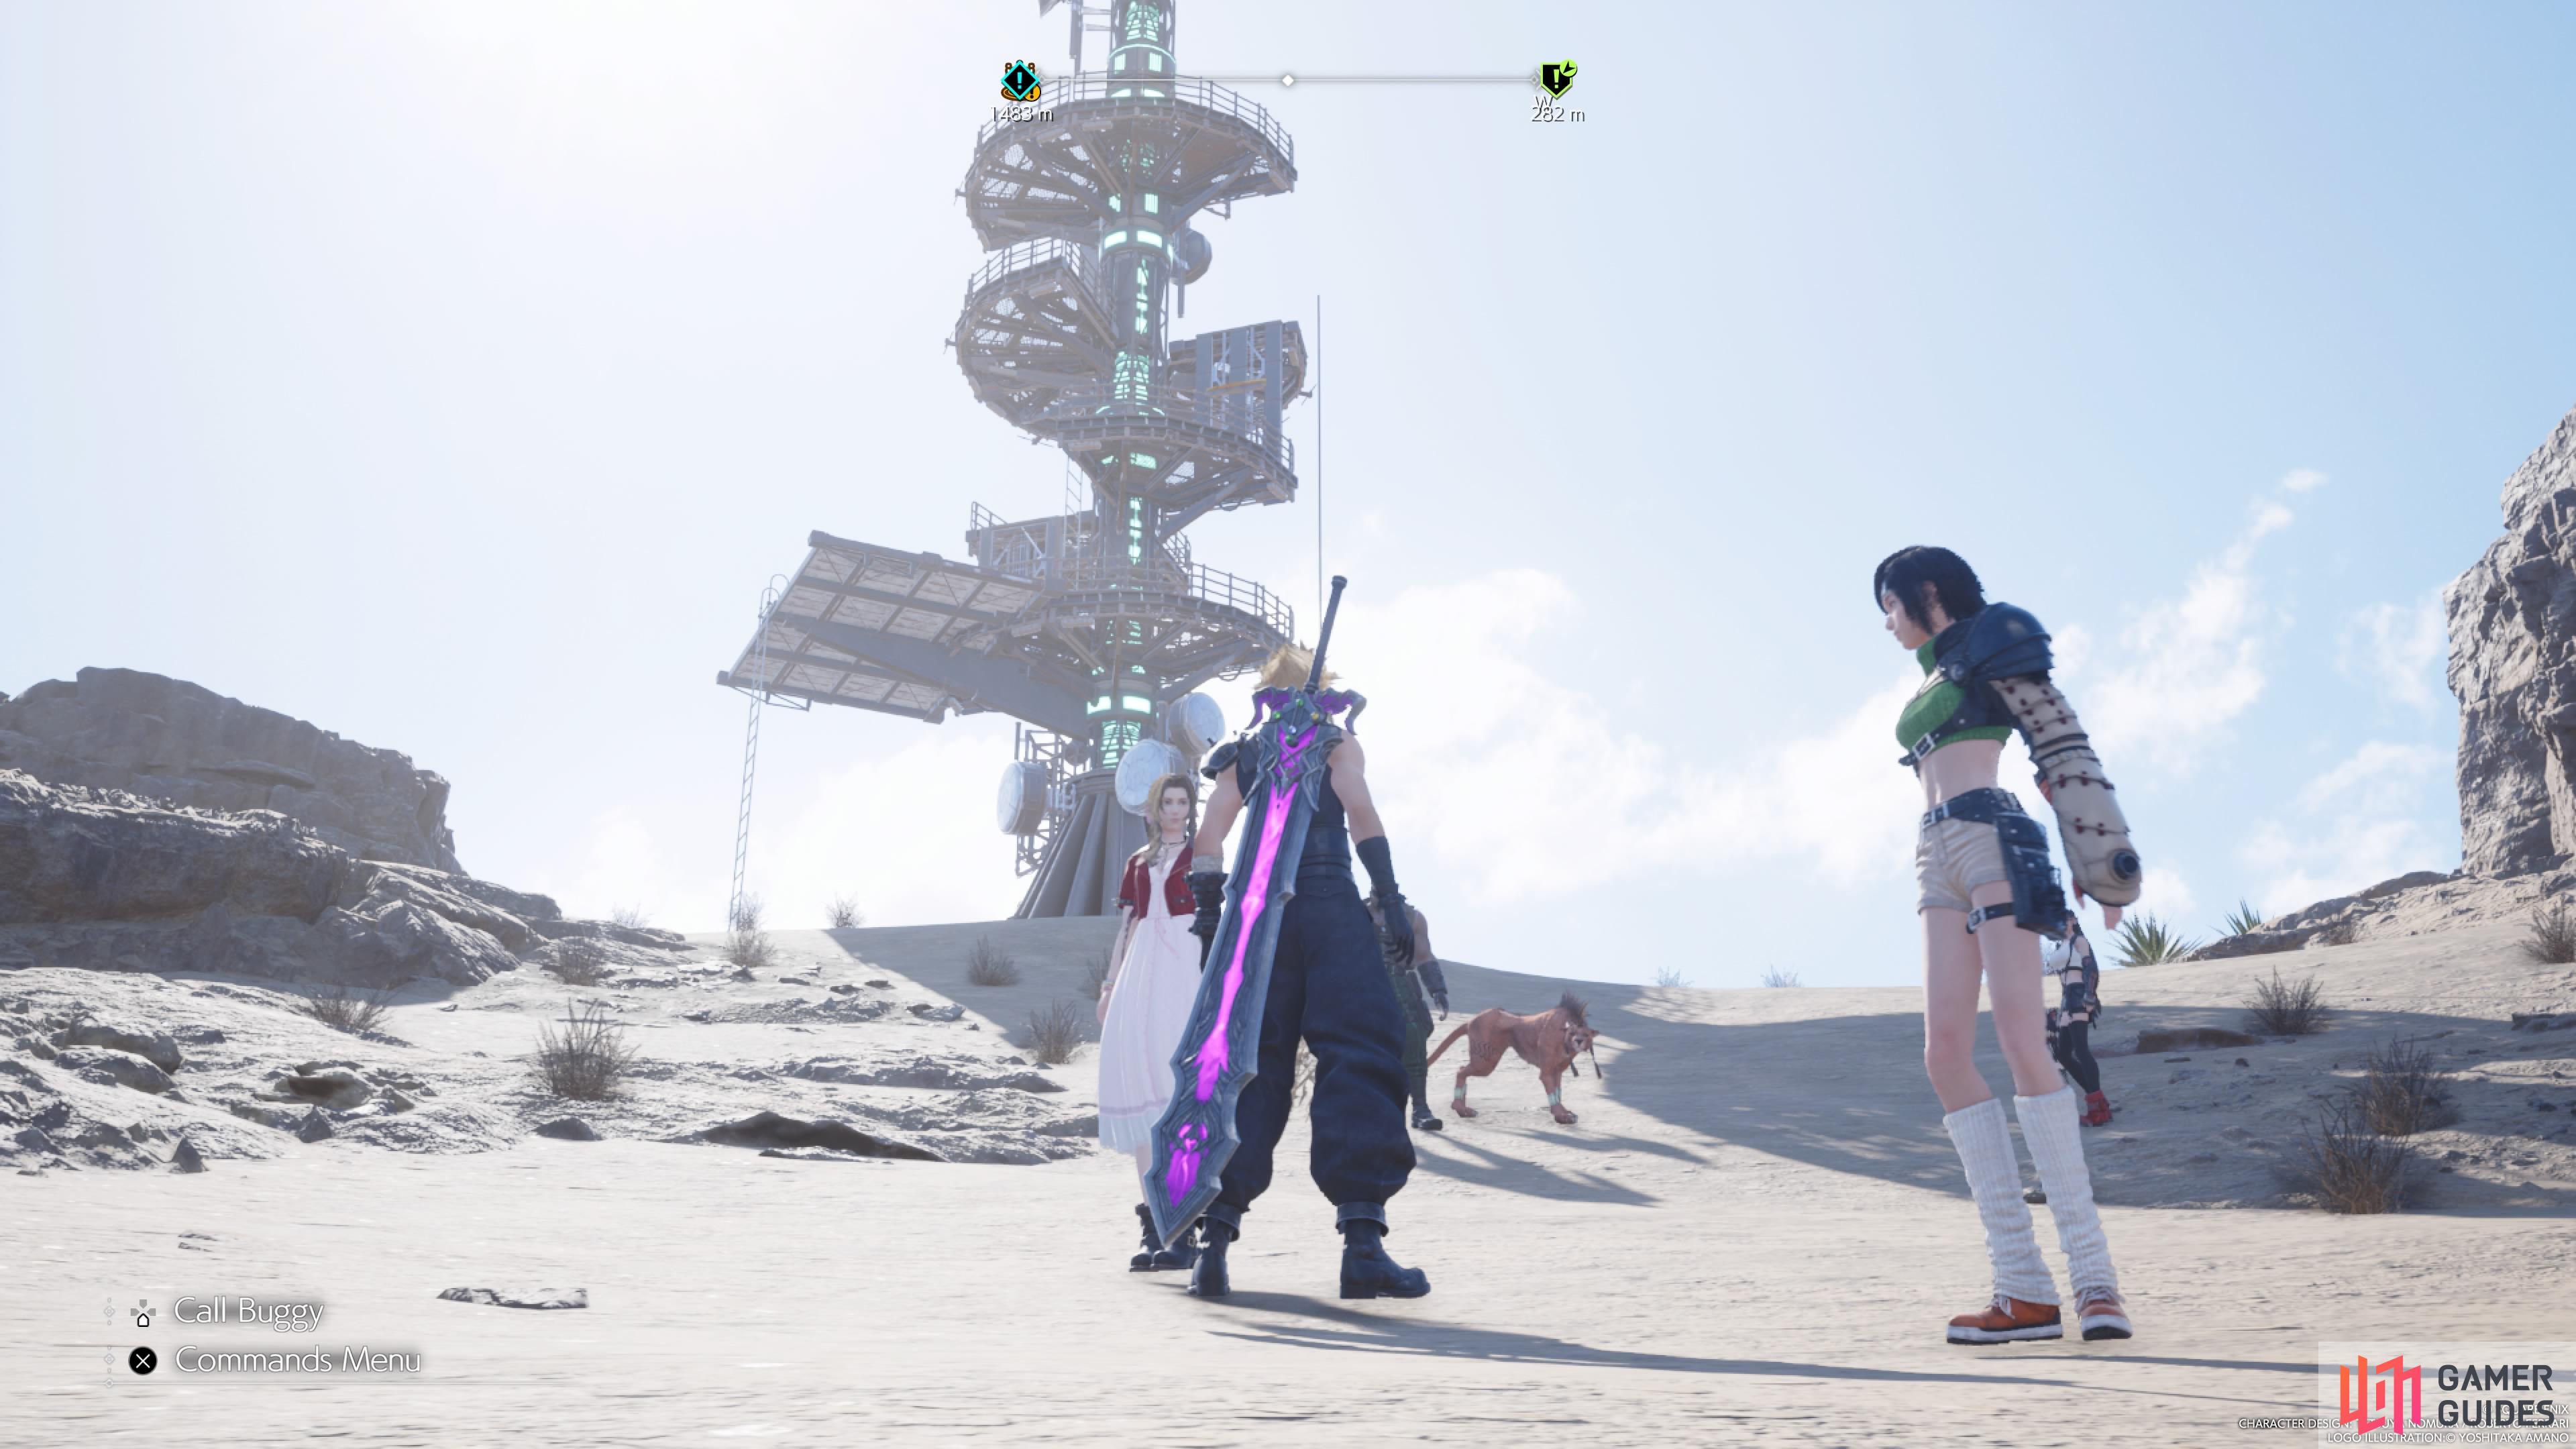
Activation Intel 4: Riverside Tower
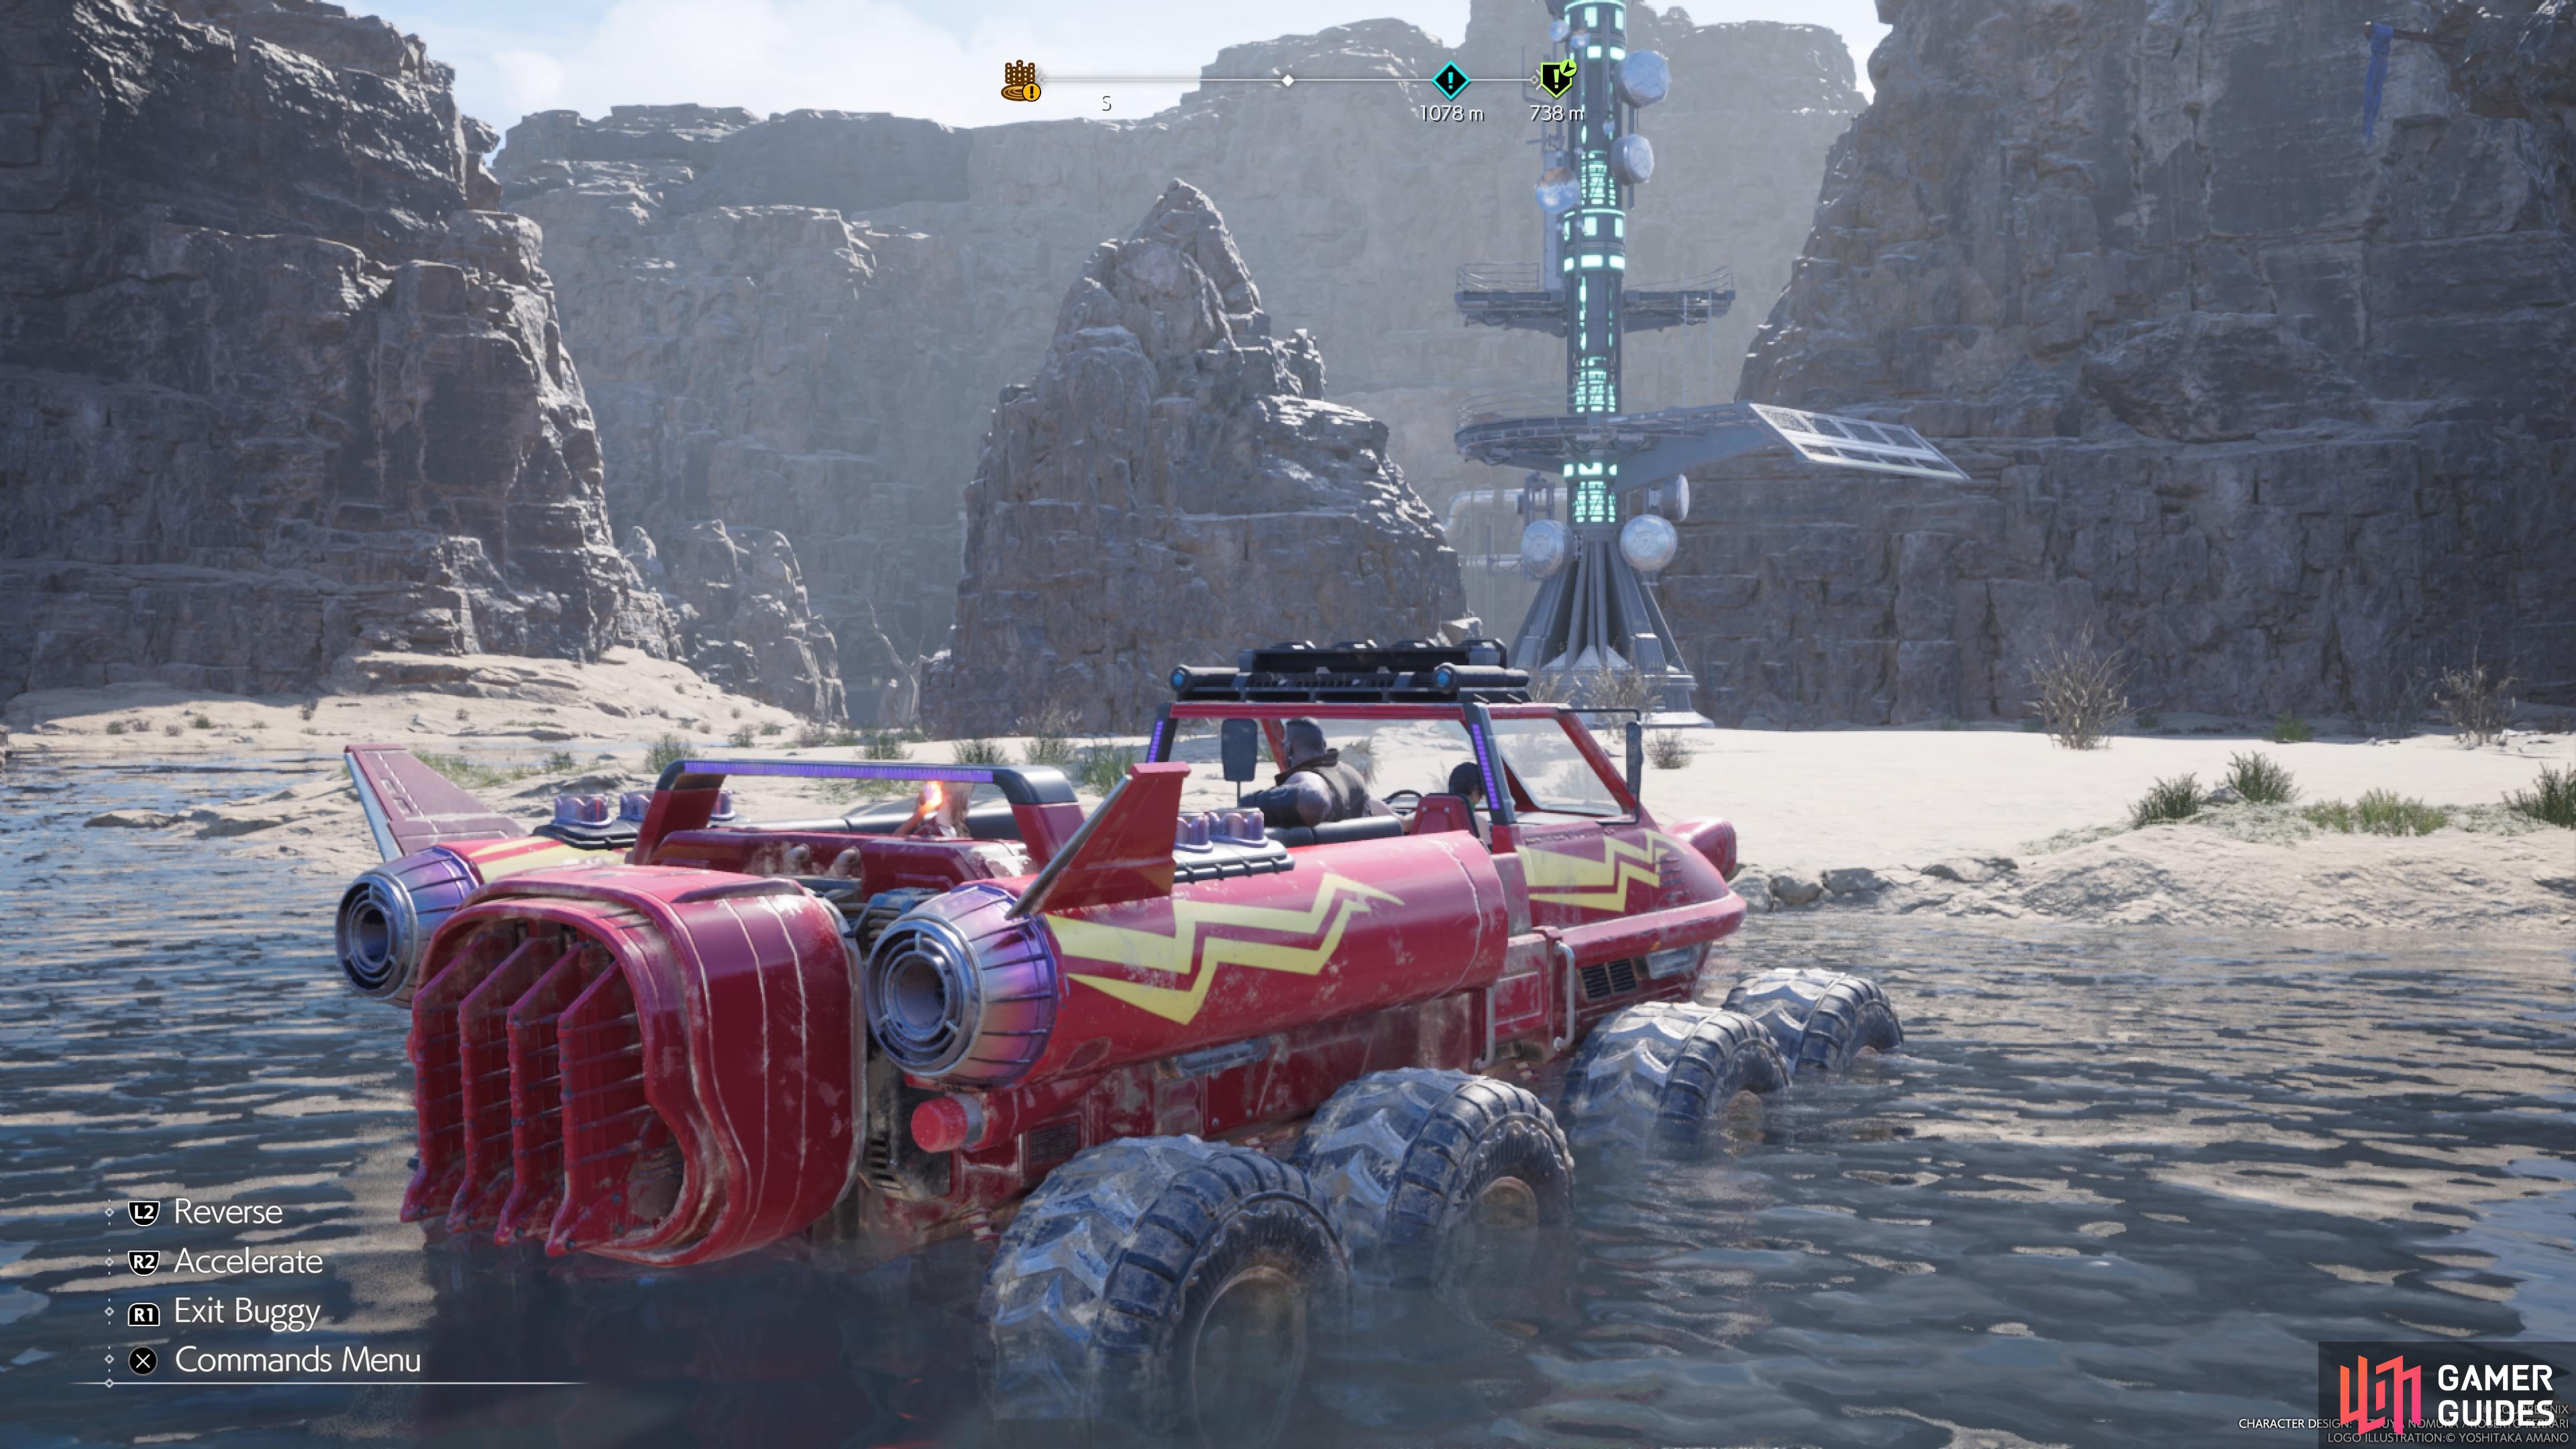
This tower is difficult to describe, as it’s located around the middle of the desert. To start, head to Phenomenon Intel 1 and look for the Chocobo Stop a little southwest of it. There is a road here that heads southeast, so follow it. You will pass a cache location, named Sundappled Storehouses, but keep moving past it. If you take a look at your map, you should uncover the Corel Desert Waypoint fast travel spot.
From that marker on your map, there is a little river to your east-southeast. Go to that river and follow it until it bends to the south. You will see the tower to your right, so defeat the enemies at the base first. Just north of the tower is a wall you can climb, so do that and look up to spot a grapple hook beam. This allows you to swing over to the tower, where a simple climb up a ladder presents the activation switch.

(1 of 2) You’ll find the fourth tower slightly tucked away behind some rocks.
You’ll find the fourth tower slightly tucked away behind some rocks. (left), The location of the fourth tower on the map. (right)
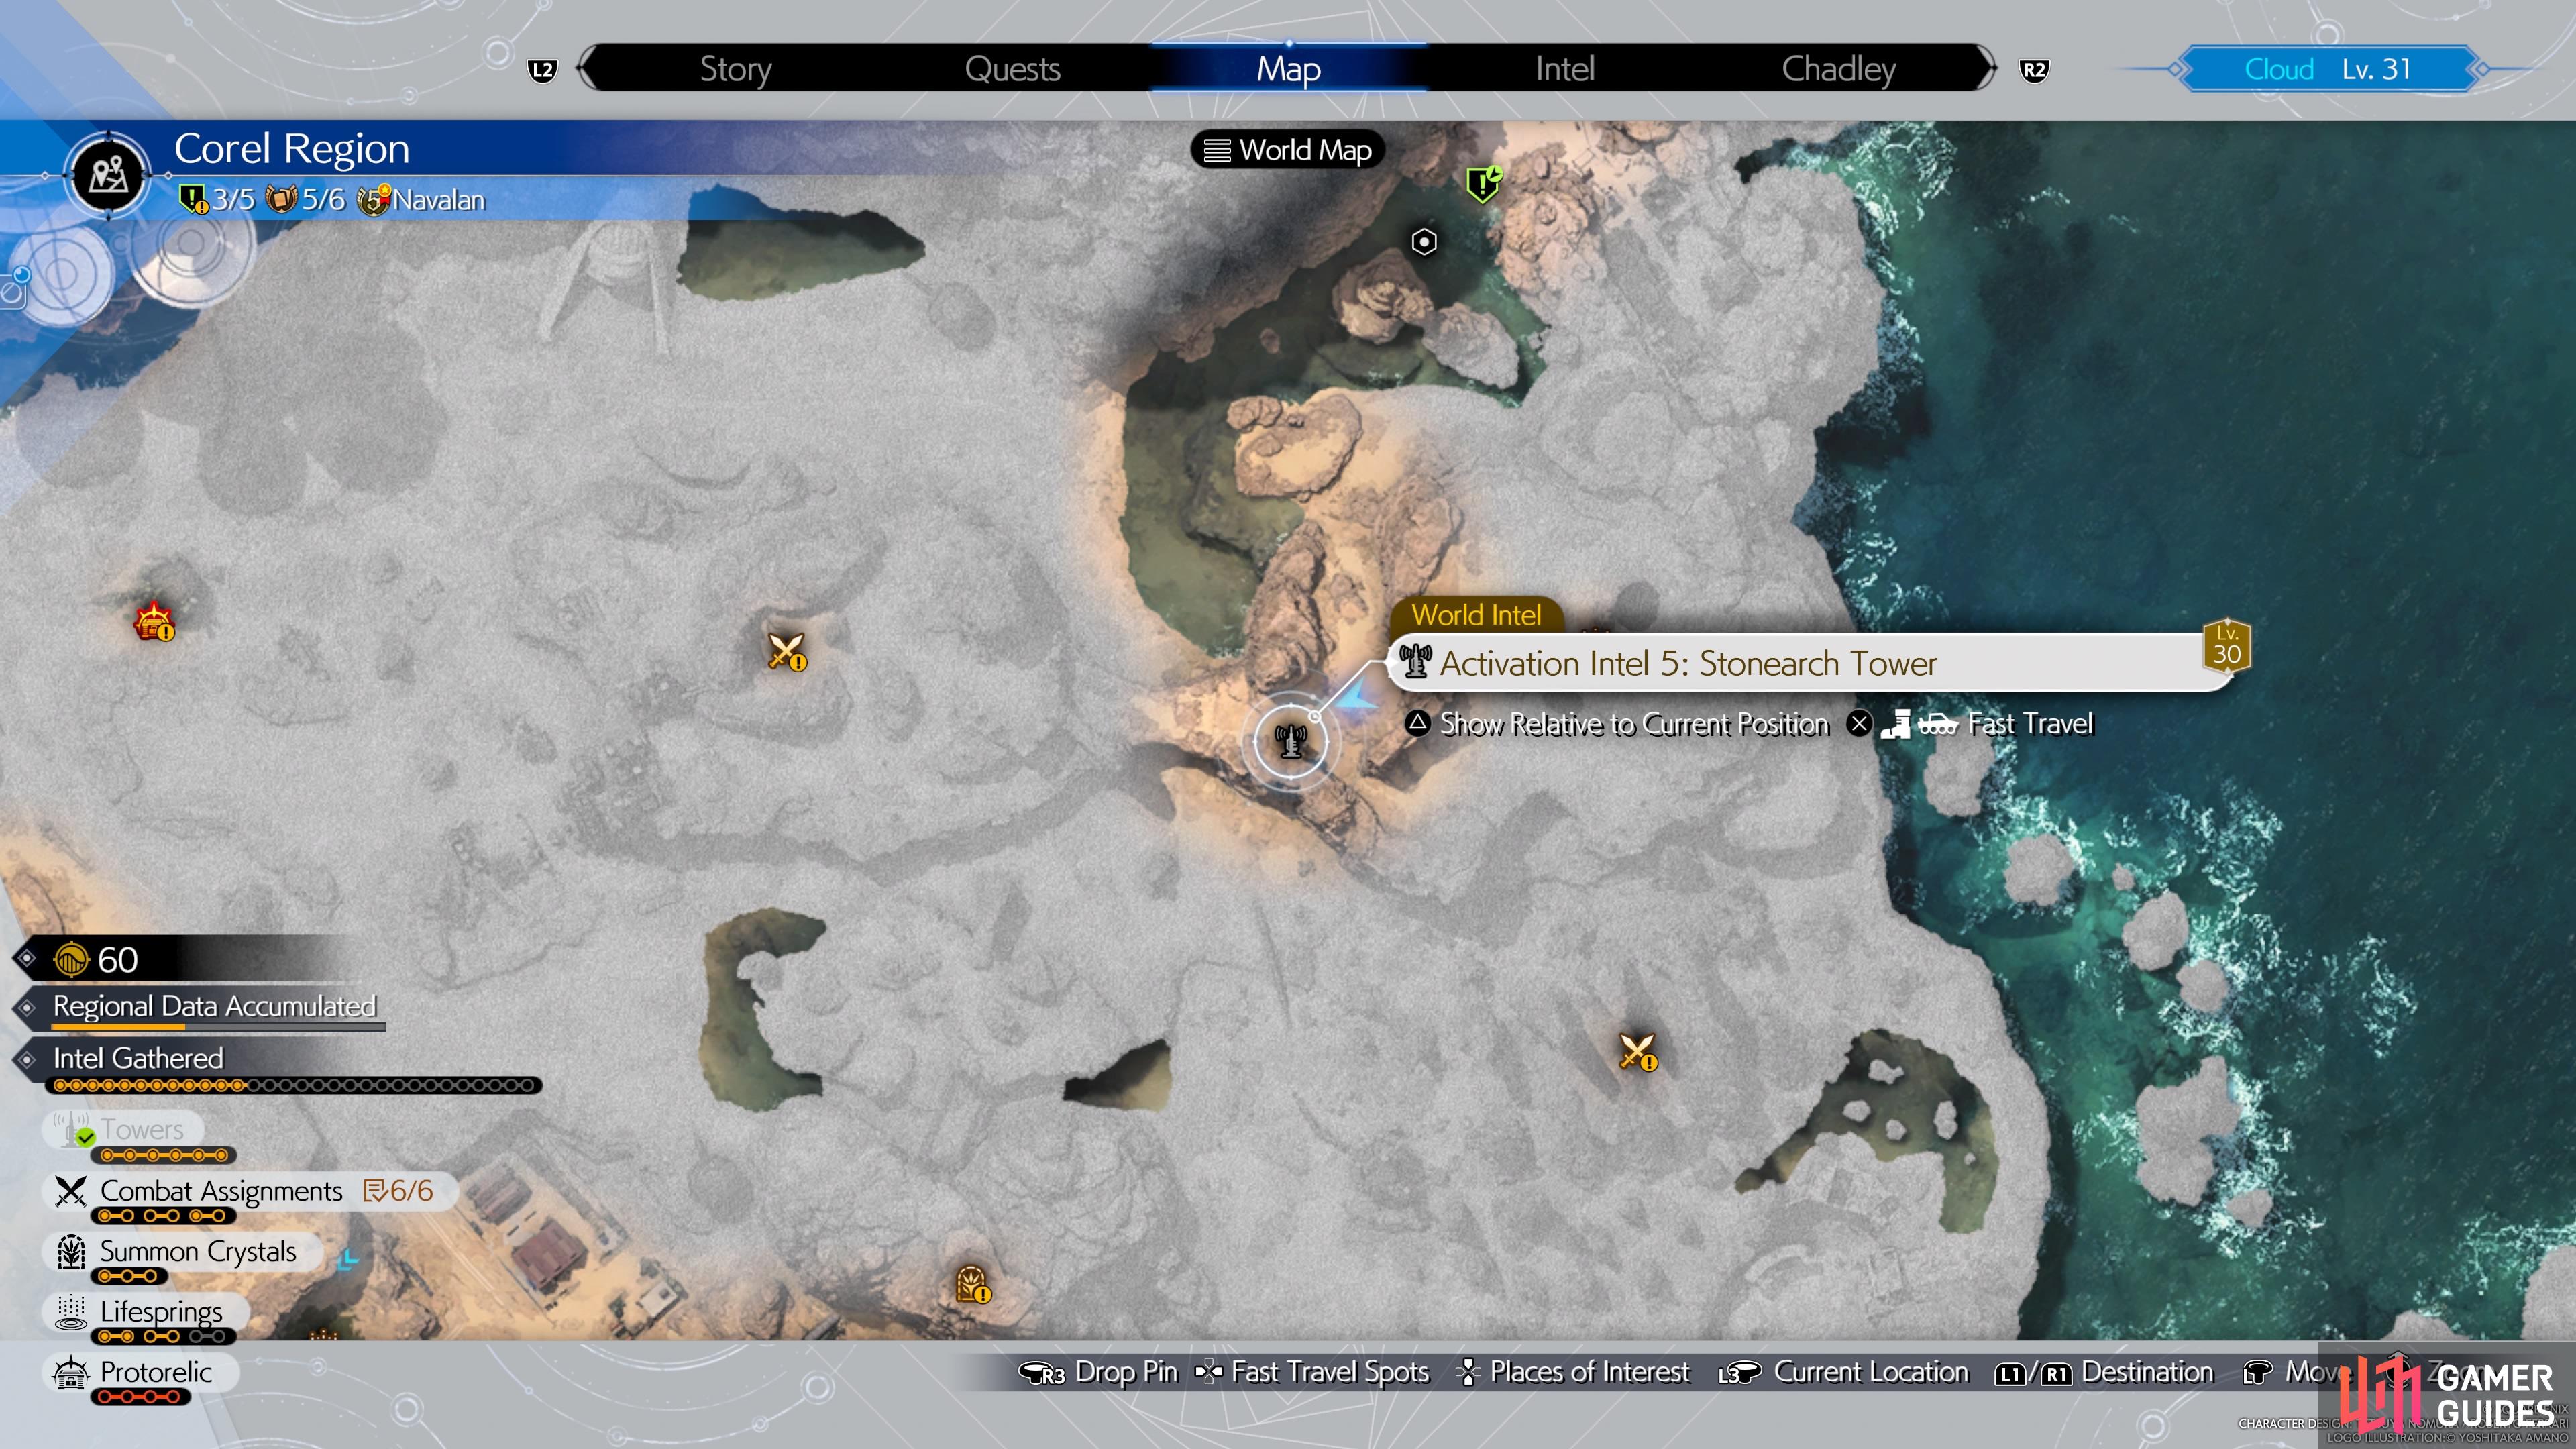
Activation Intel 5: Stonearch Tower
Head to The Borderland, which is the water crossing by Johnny’s double in the southwest corner of the Costa del Sol section of the region. Call your Buggy and start crossing the water there, keeping a lookout for a hill on the southern side. You will want to go up that hill, because as soon as you do, you will see the tower. Climb up the first ladder, then do the same with the second ladder (the wall just leads to some crates you can destroy). Near the top is where you’ll find the switch to activate the tower.


(1 of 2) The fifth tower isn’t too far from The Borderland, near the Costa del Sol section.
The fifth tower isn’t too far from The Borderland, near the Costa del Sol section. (left), The location of the fifth tower on the map. (right)
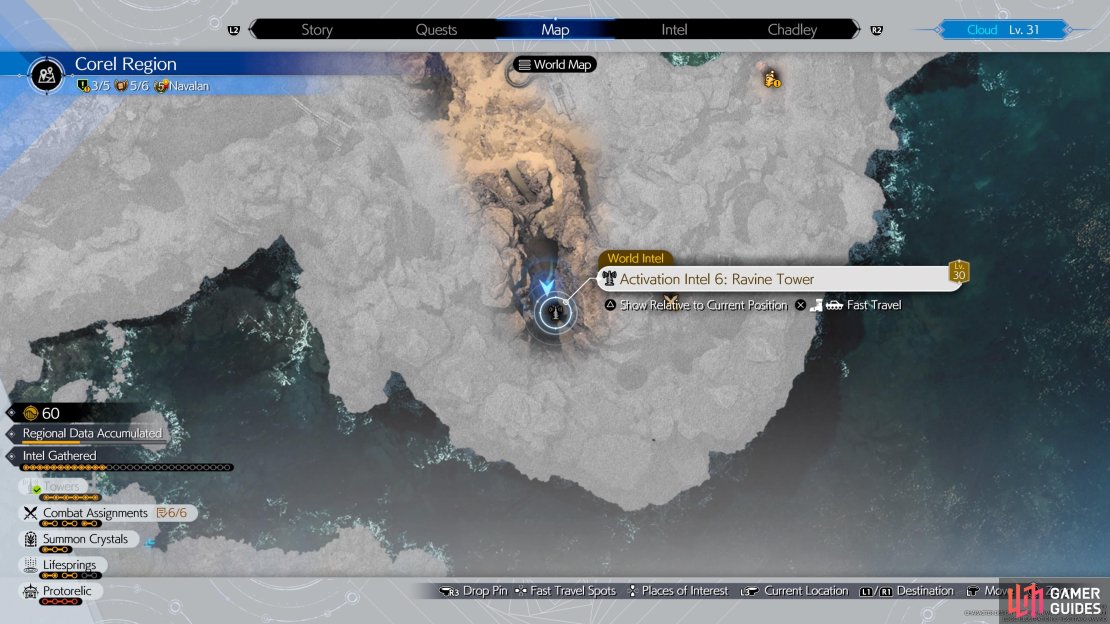
Activation Intel 6: Ravine Tower
If you head southeast from the fourth tower, you will eventually reach a little ravine, where you should see this tower in the near distance. You can drop off the cliff with the Buggy or look for the nearby hill that takes you to a short tunnel that reaches the same area. From there, look up and use your grappling hook to get to a second tree, then over to the ledge with the tower. Climb as high as you can go, then look for another grapple point nearby, which will allow you to get to the top of the tower to activate it.


(1 of 3) You’ll have to use your grappling hook to get to the area with the tower.
More Final Fantasy VII Rebirth Guides
If you’re looking for help in other aspects of Final Fantasy VII Rebirth, then make sure to check out the pages below:
No Comments