
The ![]() Nibel Region will be the sixth region you adventure through in Final Fantasy VII Rebirth, but you won’t be able to fully explore it until you get your hands on this region’s exclusive Chocobo. Fiend Intel is one of the many world Intel activities available here, and there are four to track down and complete. On this page, we’ll navigate you through the necessary steps to finding and defeating all of the Fiend Intel in Nibel.
Nibel Region will be the sixth region you adventure through in Final Fantasy VII Rebirth, but you won’t be able to fully explore it until you get your hands on this region’s exclusive Chocobo. Fiend Intel is one of the many world Intel activities available here, and there are four to track down and complete. On this page, we’ll navigate you through the necessary steps to finding and defeating all of the Fiend Intel in Nibel.
Fiend Intel 1: Roaring Flames
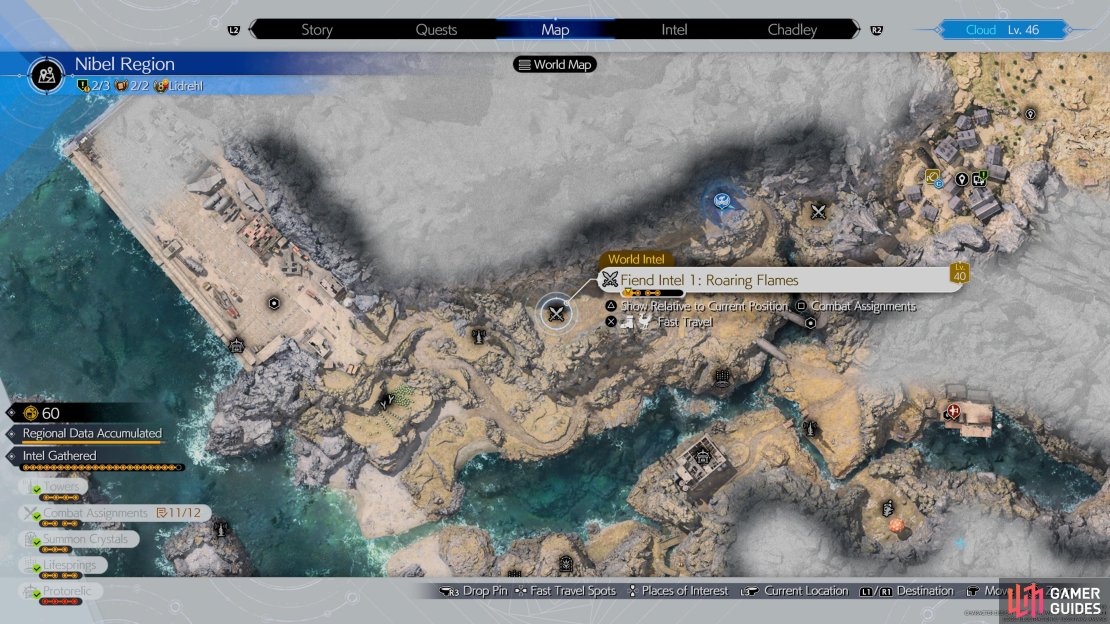


(1 of 3) Head to this location on the map to find the Roaring Flames Fiend Intel
- Pressure an enemy
- Stagger an enemy
- Defeat All Enemies within the time limit
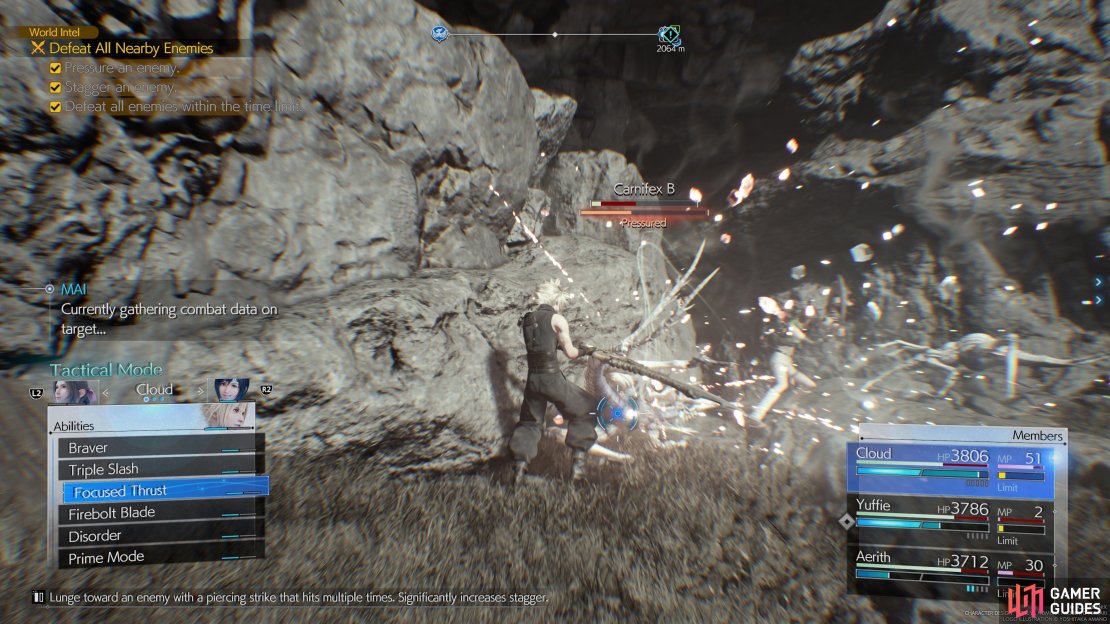
The Roaring Flames Fiend Intel can be found to the northeast of the Airstrip Tower which is located at the northernmost portion of the map. Here you’ll find yourself facing three Pyretails which aren’t difficult foes as they don’t have much HP, but what you may find tricky is completing all three of the sub-objectives before they die. However, you can easily do this by waiting until they’re covered in a blue flame before using Cloud’s ![]() Firebolt Blade to pressure it, and then quickly follow up with a
Firebolt Blade to pressure it, and then quickly follow up with a ![]() Focused Thrust to stagger them.
Focused Thrust to stagger them.
Fiend Intel 2: Gluttonous Devourer

(1 of 3) Head to this location on the map to find the Gluttonous Devourer Fiend Intel
- Pressure an enemy
- Stagger an enemy
- Defeat All Enemies within the time limit
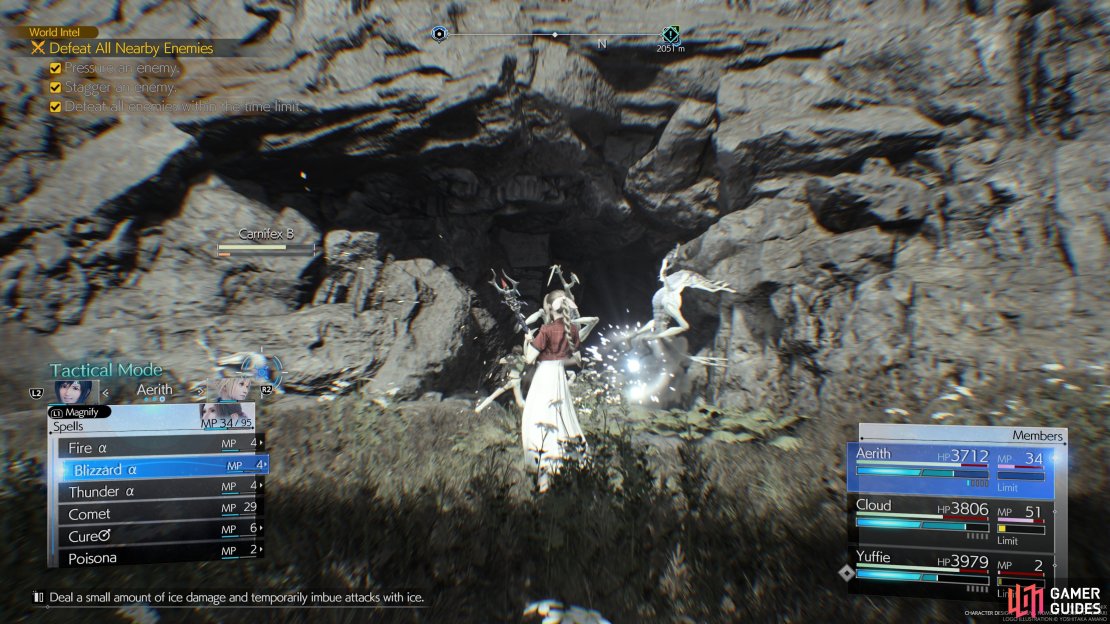
The Gluttonous Devourer Fiend Intel can be found to the north of the Gull Bridge Tower. It can reached by following the stream until you enter a small cave, then fly up via the chocojet by pressing  to reach a small area where the fiend intel takes place. When you arrive, you’ll find four Carnifex ready to strike. Like the previous Fiend Intel, the hardest part of this is completing the optional objectives before you accidentally kill them. You can pressure them by using their elemental weaknesses against them (
![]() Ice) and we recommend that you have Aerith use Blizzard as she tends to output higher magical damage, and then follow up with any of the focused attacks to stagger them.
Ice) and we recommend that you have Aerith use Blizzard as she tends to output higher magical damage, and then follow up with any of the focused attacks to stagger them.
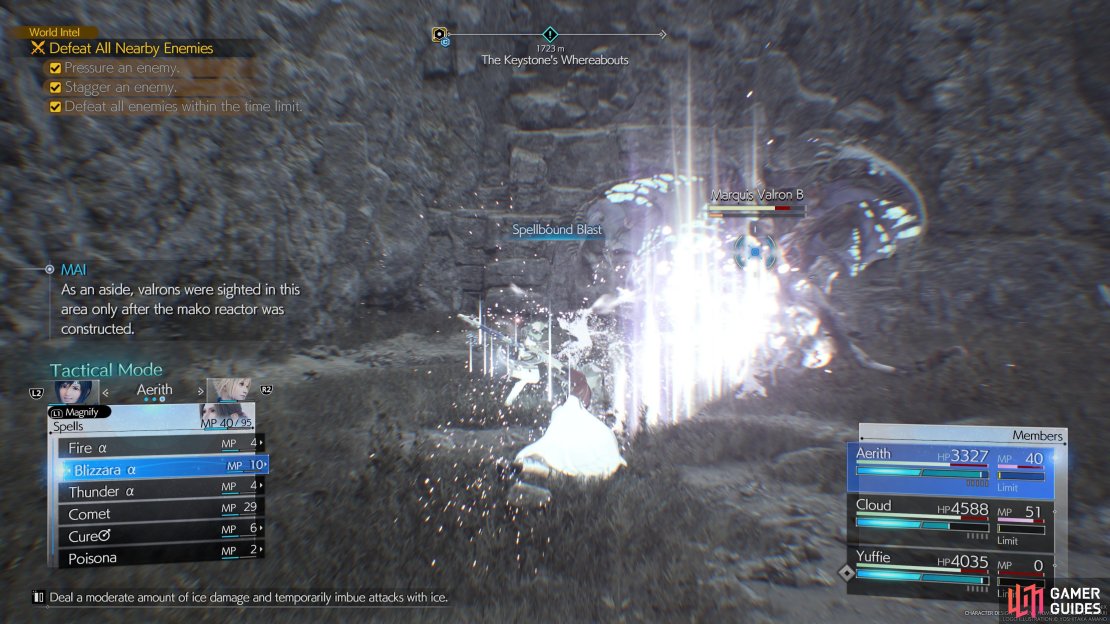
Fiend Intel 3: Mako-Cursed Abomination
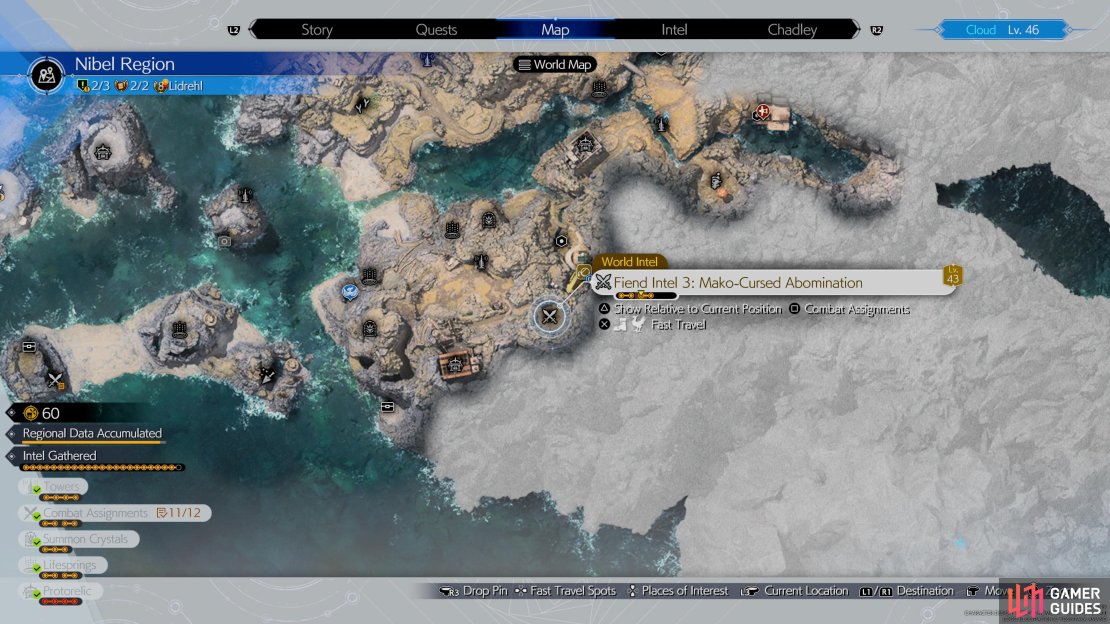

(1 of 3) Head to this location on the map to find the Mako Cursed Abomination
- Pressure an enemy
- Stagger an enemy
- Defeat All Enemies within the time limit
The Mako-Cursed Abomination Fiend Intel can be found to the southeast of the Beacon Hill Tower. Upon arrival, two Marquis Valrons will be waiting for a scrap and as always, you’ll need to pressure and stagger them. These are weak to Ice, so you’ll want to switch over to Aerith and use Blizzara or use Yuffie’s Ninjutsu and then follow up with a Focused Thrust. Throughout the battle, Marquis Valrons can use Graviga against you and this will take your health down to critical, so you’ll want to avoid using that character so the enemy doesn’t continue to attack them and quickly use a Curaga to restore their health.
Fiend Intel 4: Stone-Cold Spitter
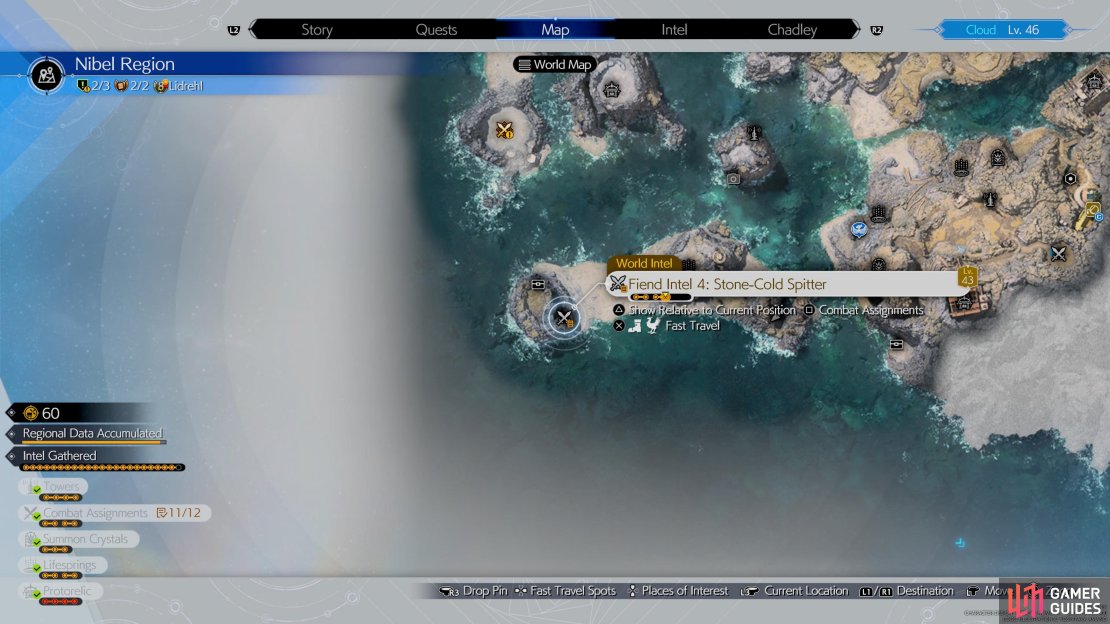

(1 of 3) Head to this location on the map to find the Stone Cold Spitter Fiend Intel.
- Pressure an enemy
- Stagger an enemy
- Defeat All Enemies within the time limit
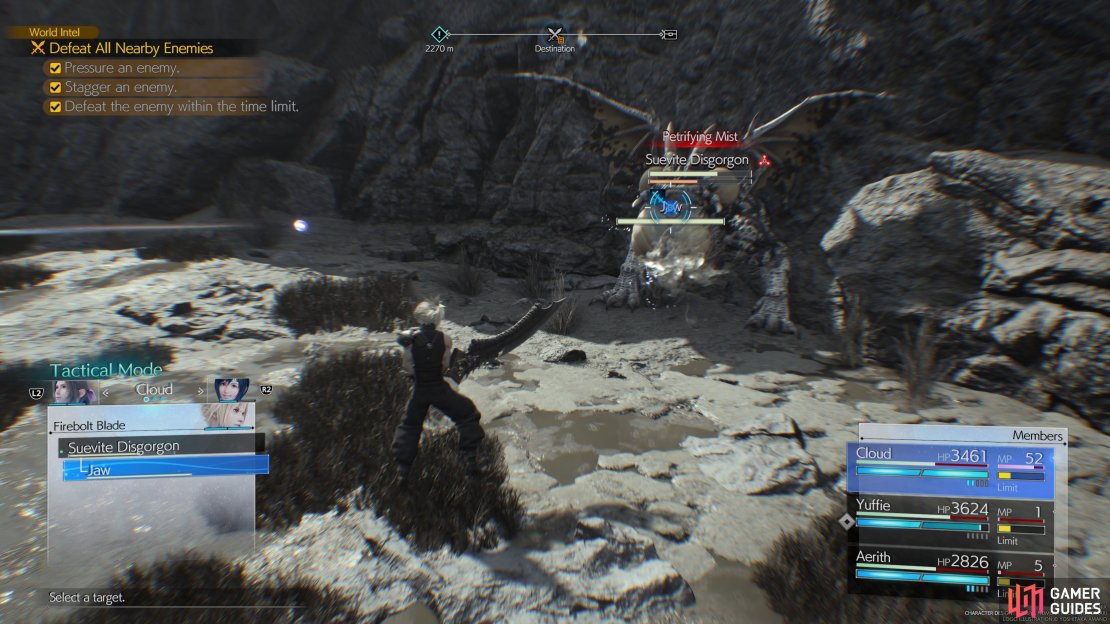
The Stone-Cold Spitter can be found on a medium-sized island to the southwest of the Whitecap Reef Tower. It can be reached by swimming around to the east side of the island until you come across a large opening in the cliff face, then use the chocojet to boost yourself up to the top of the island. This is by far the hardest fiend intel challenge in the Nibel Region as you’ll be up against a Suevite Disgorgon, but it can be made simpler once you understand how to pressure it. To do this, you’ll want to wait until it starts to do the Petrifying Mist attack and then use Firebolt Blade or Braver to destroy its exposed jaw which will pressure it.
With the Suevite Disgorgon pressured use Focused Thrust to stagger it and then you’ll want to deal as much damage as possible during this time by using synergy abilities, limit breaks, and Cloud’s ![]() Infinity’s End. Additionally, when you are able to summon, you’ll want to call Shiva as she deals lots of damage to your opponent’s elemental weakness. There are a couple of attacks you’ll want to watch out for, such as Toxic Shot and Petrifying Mist. If you get hit by Petrifying Mist then the
Infinity’s End. Additionally, when you are able to summon, you’ll want to call Shiva as she deals lots of damage to your opponent’s elemental weakness. There are a couple of attacks you’ll want to watch out for, such as Toxic Shot and Petrifying Mist. If you get hit by Petrifying Mist then the ![]() Petrify status effect will be placed onto the character and you’ll want to remove it quickly by using a
Petrify status effect will be placed onto the character and you’ll want to remove it quickly by using a ![]() Gold Needle or Esuna otherwise, they’ll be turned to stone.
Gold Needle or Esuna otherwise, they’ll be turned to stone.
More Final Fantasy VII Rebirth Guides
If you’re looking for help in other aspects of Final Fantasy VII Rebirth, then make sure to check out the pages below:
No Comments