
Final Fantasy VII Rebirth has a fairly robust “Manual” in the menu, and engaging in Chadley’s VR missions can help you learn the basics and polish your skills (to say nothing of the Nibelheim tutorial). That said, there are some tips, tricks, and strategies that aren’t readily apparent, and others which are worth reinforcing. This page will provide some insights that can help beginners get their bearings in Final Fantasy VII Rebirth.
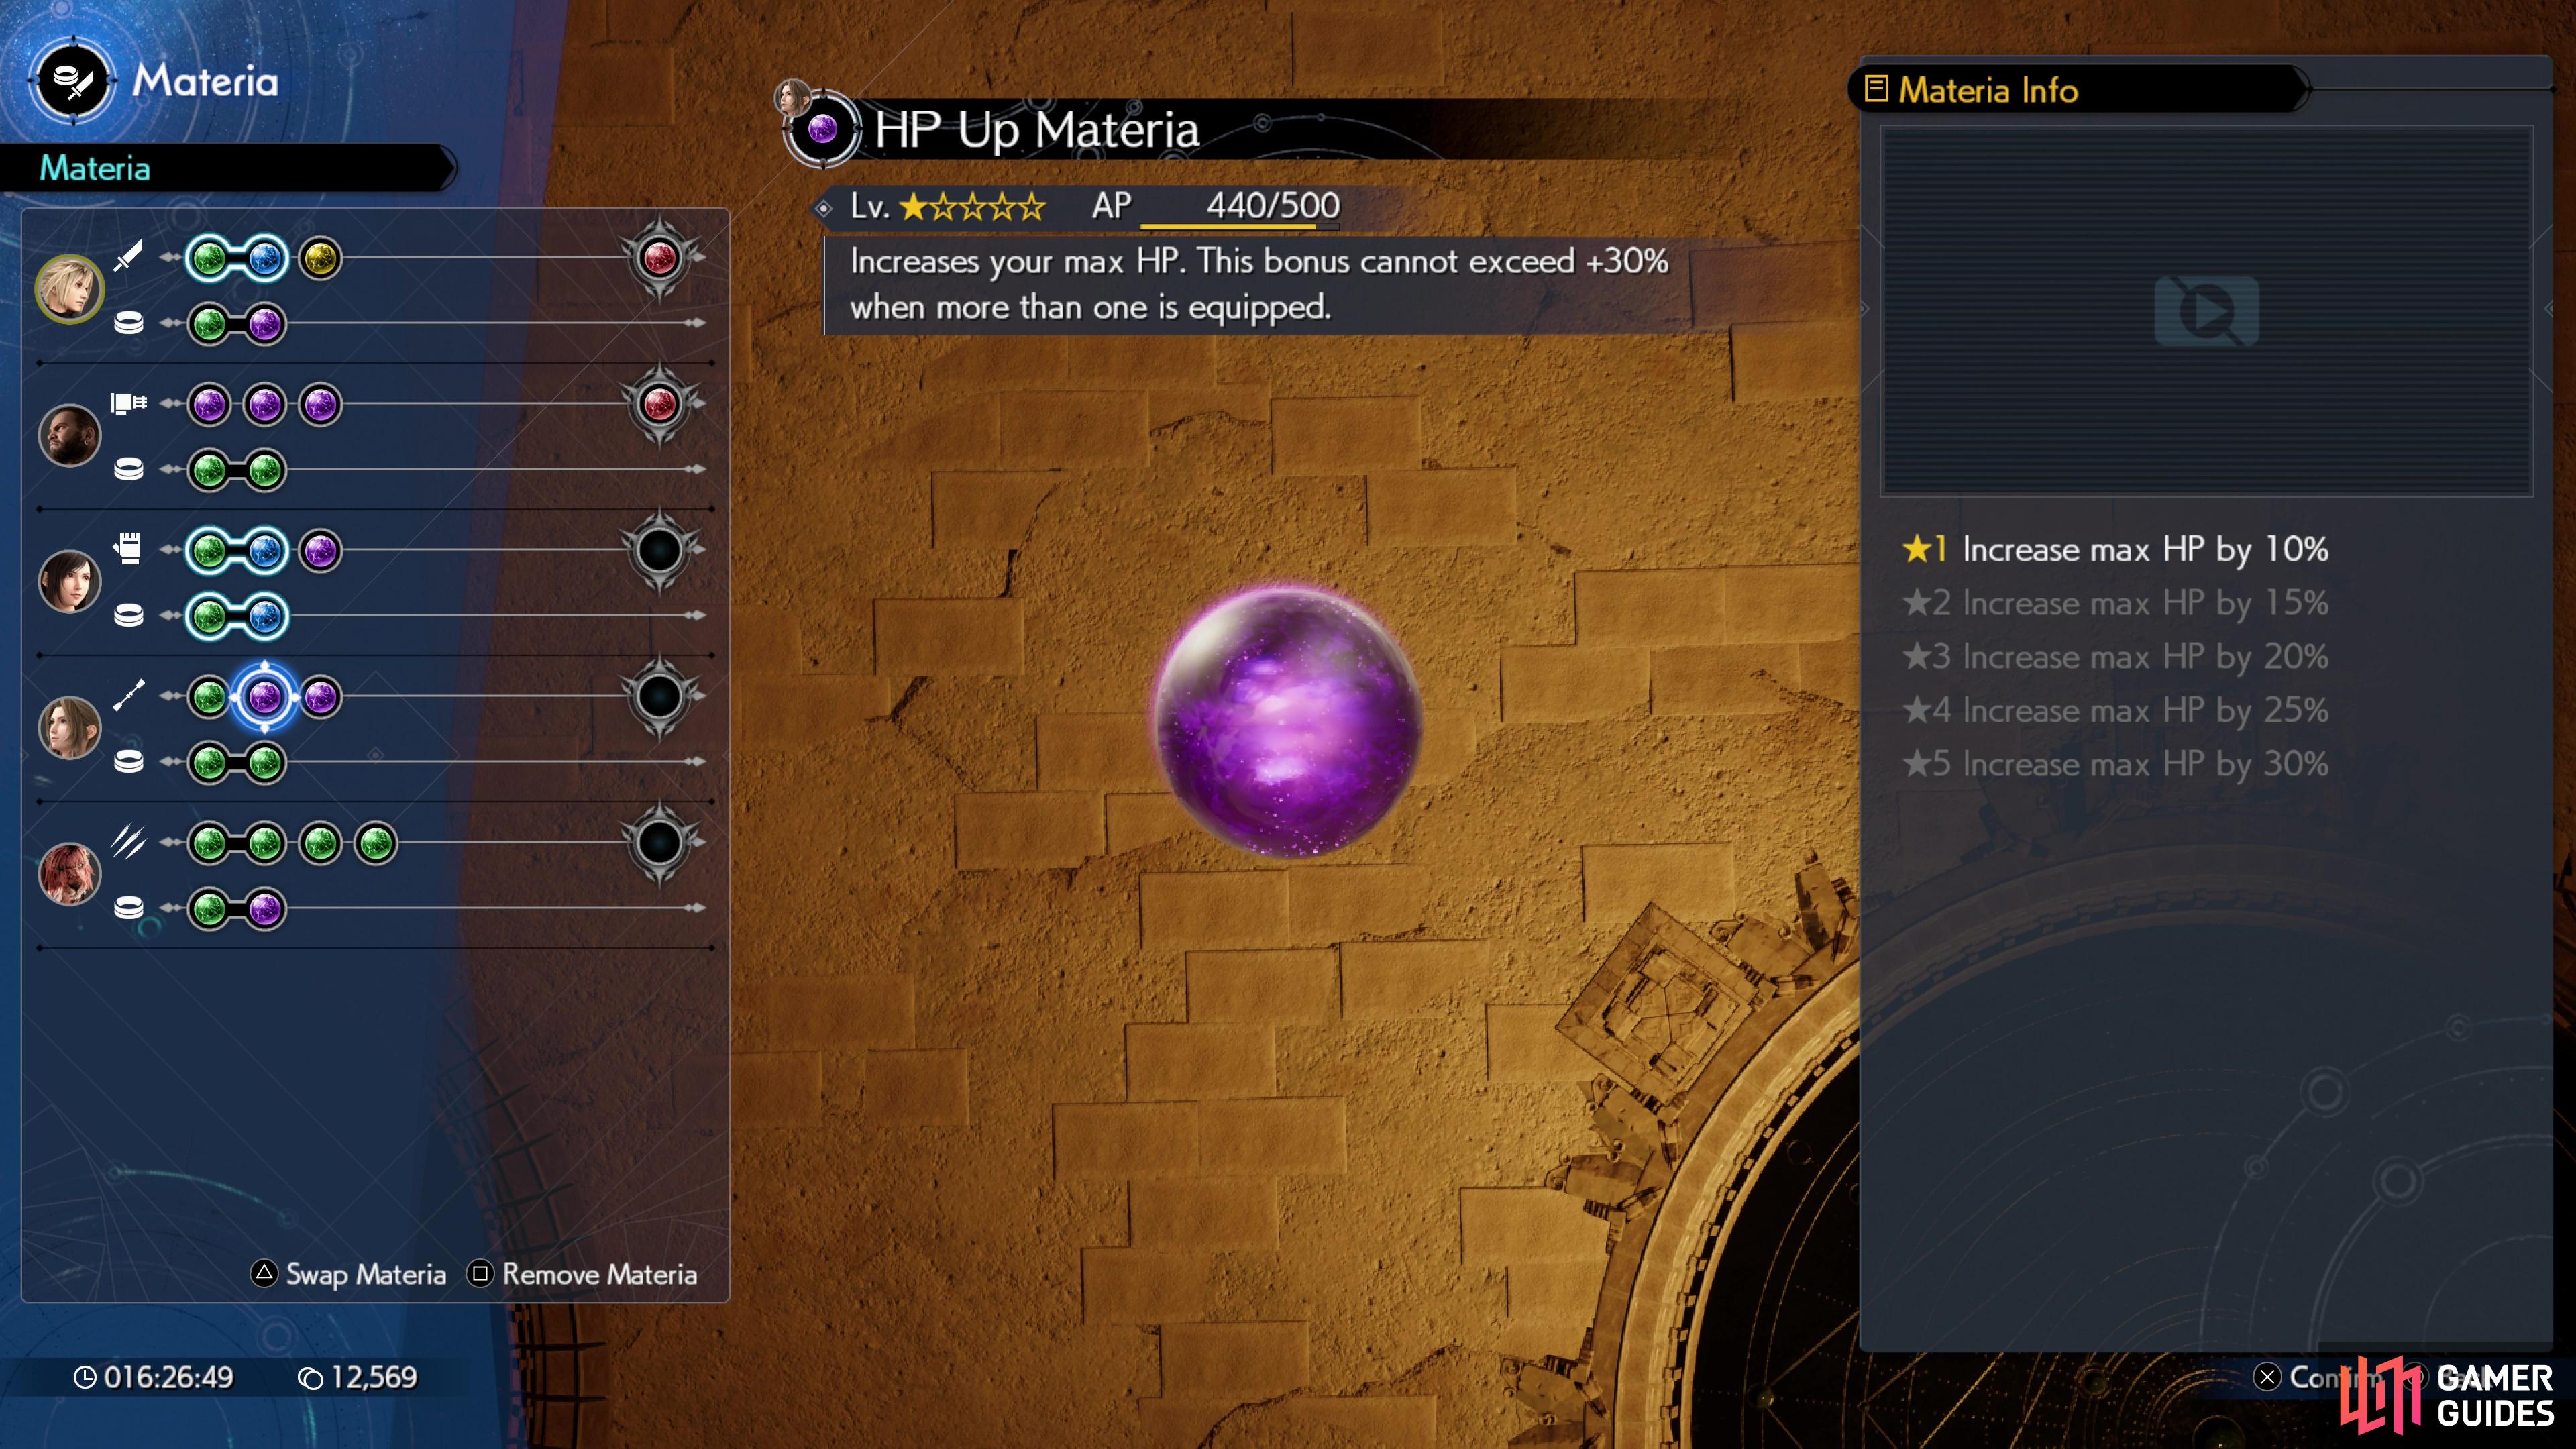
All equipped materia gains AP, even for backline characters. Optimize them for materia growth and ensure their materia sockets are always filled.
Party Tips
-
All characters gain XP and AP from combat, even if they’re not in your active party. There’s no good reason not to have everybody’s materia sockets full, even with materia you don’t otherwise care about - you’re just leaving AP on the table.
-
Inactive party members can cast healing spells outside of combat, and all characters, whether they’re in your party or not, benefit from Cure + Magnify spells. No reason to burn through the MP of your preferred party members when inactive characters can be used to heal you up.
-
You can create up to three party rosters via the Combat Settings menu. Once done you can switch between these on the fly on the field by pressing the X button (
 ) and R1/L1 (
 /
/  ).
).
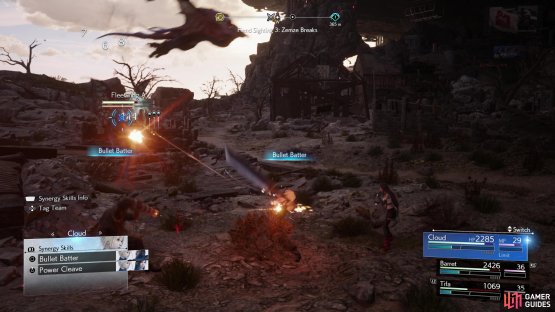

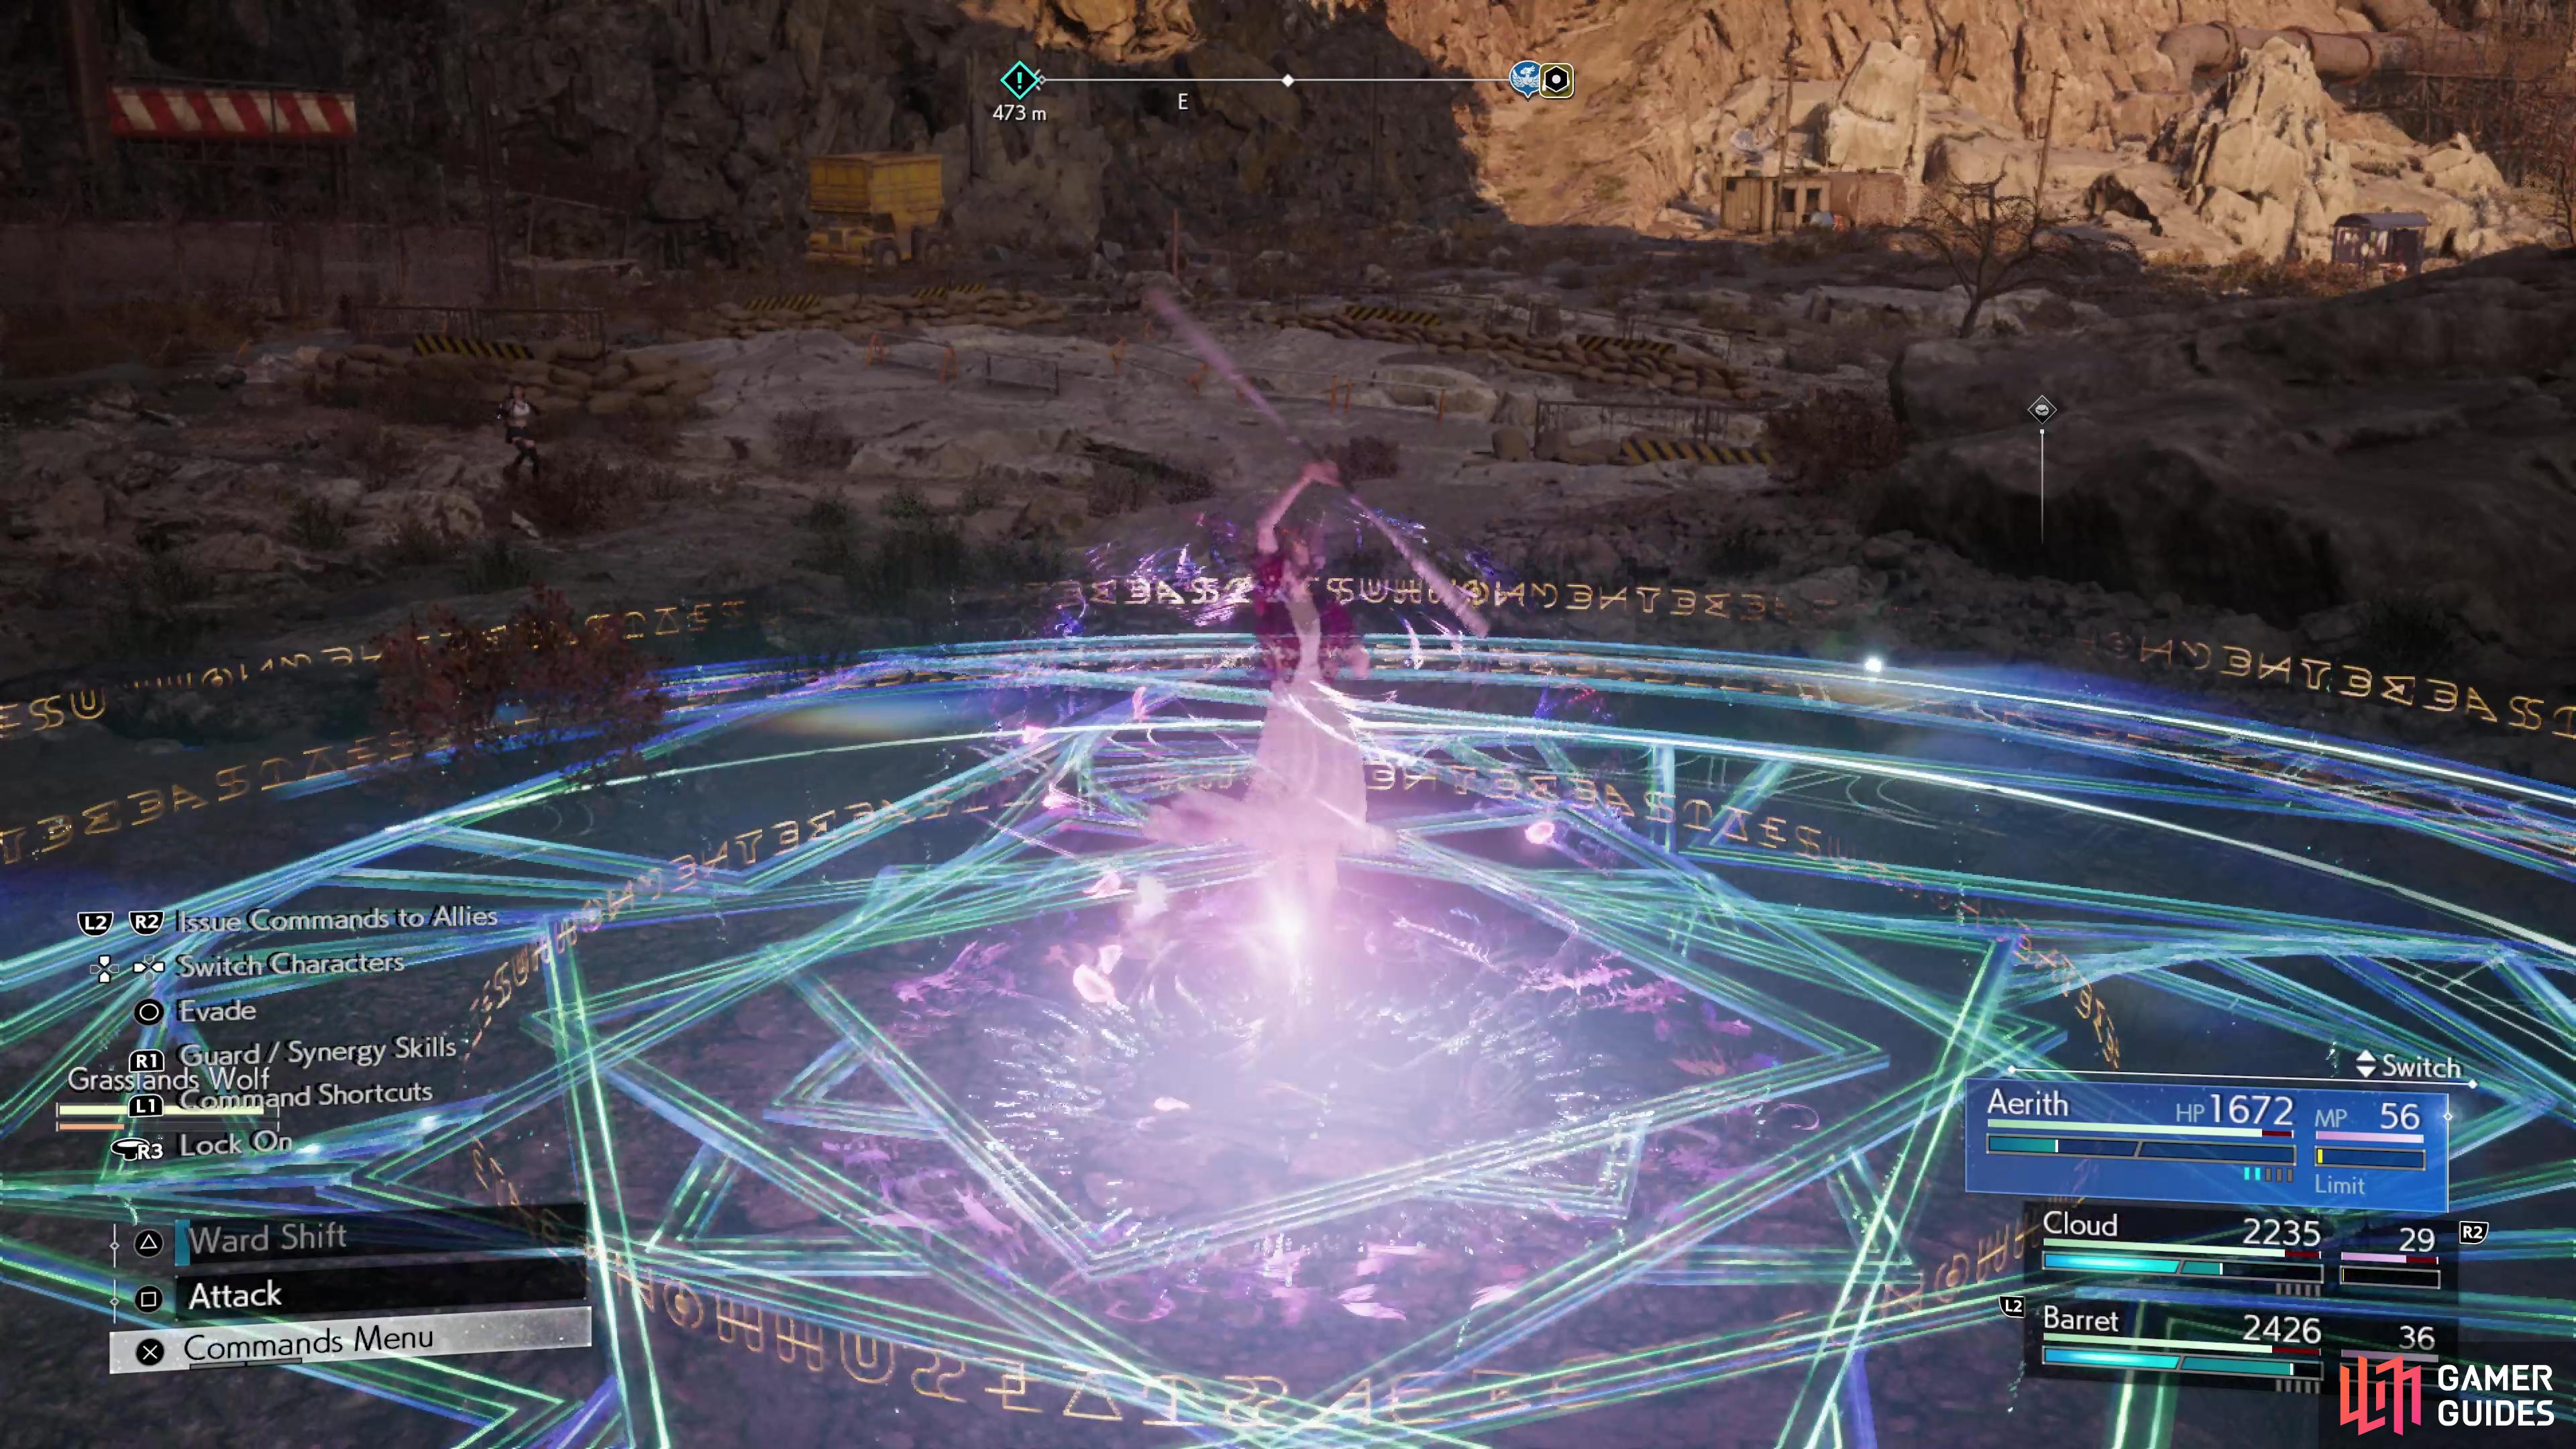
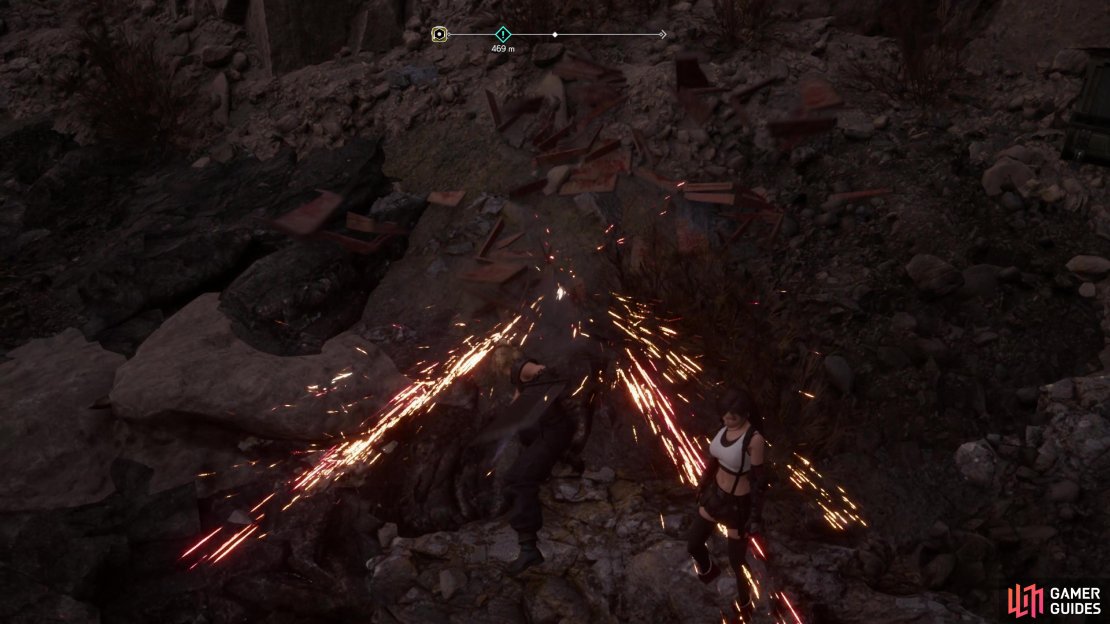
(1 of 2) Synergies skills boost the ATB gauges of both participants
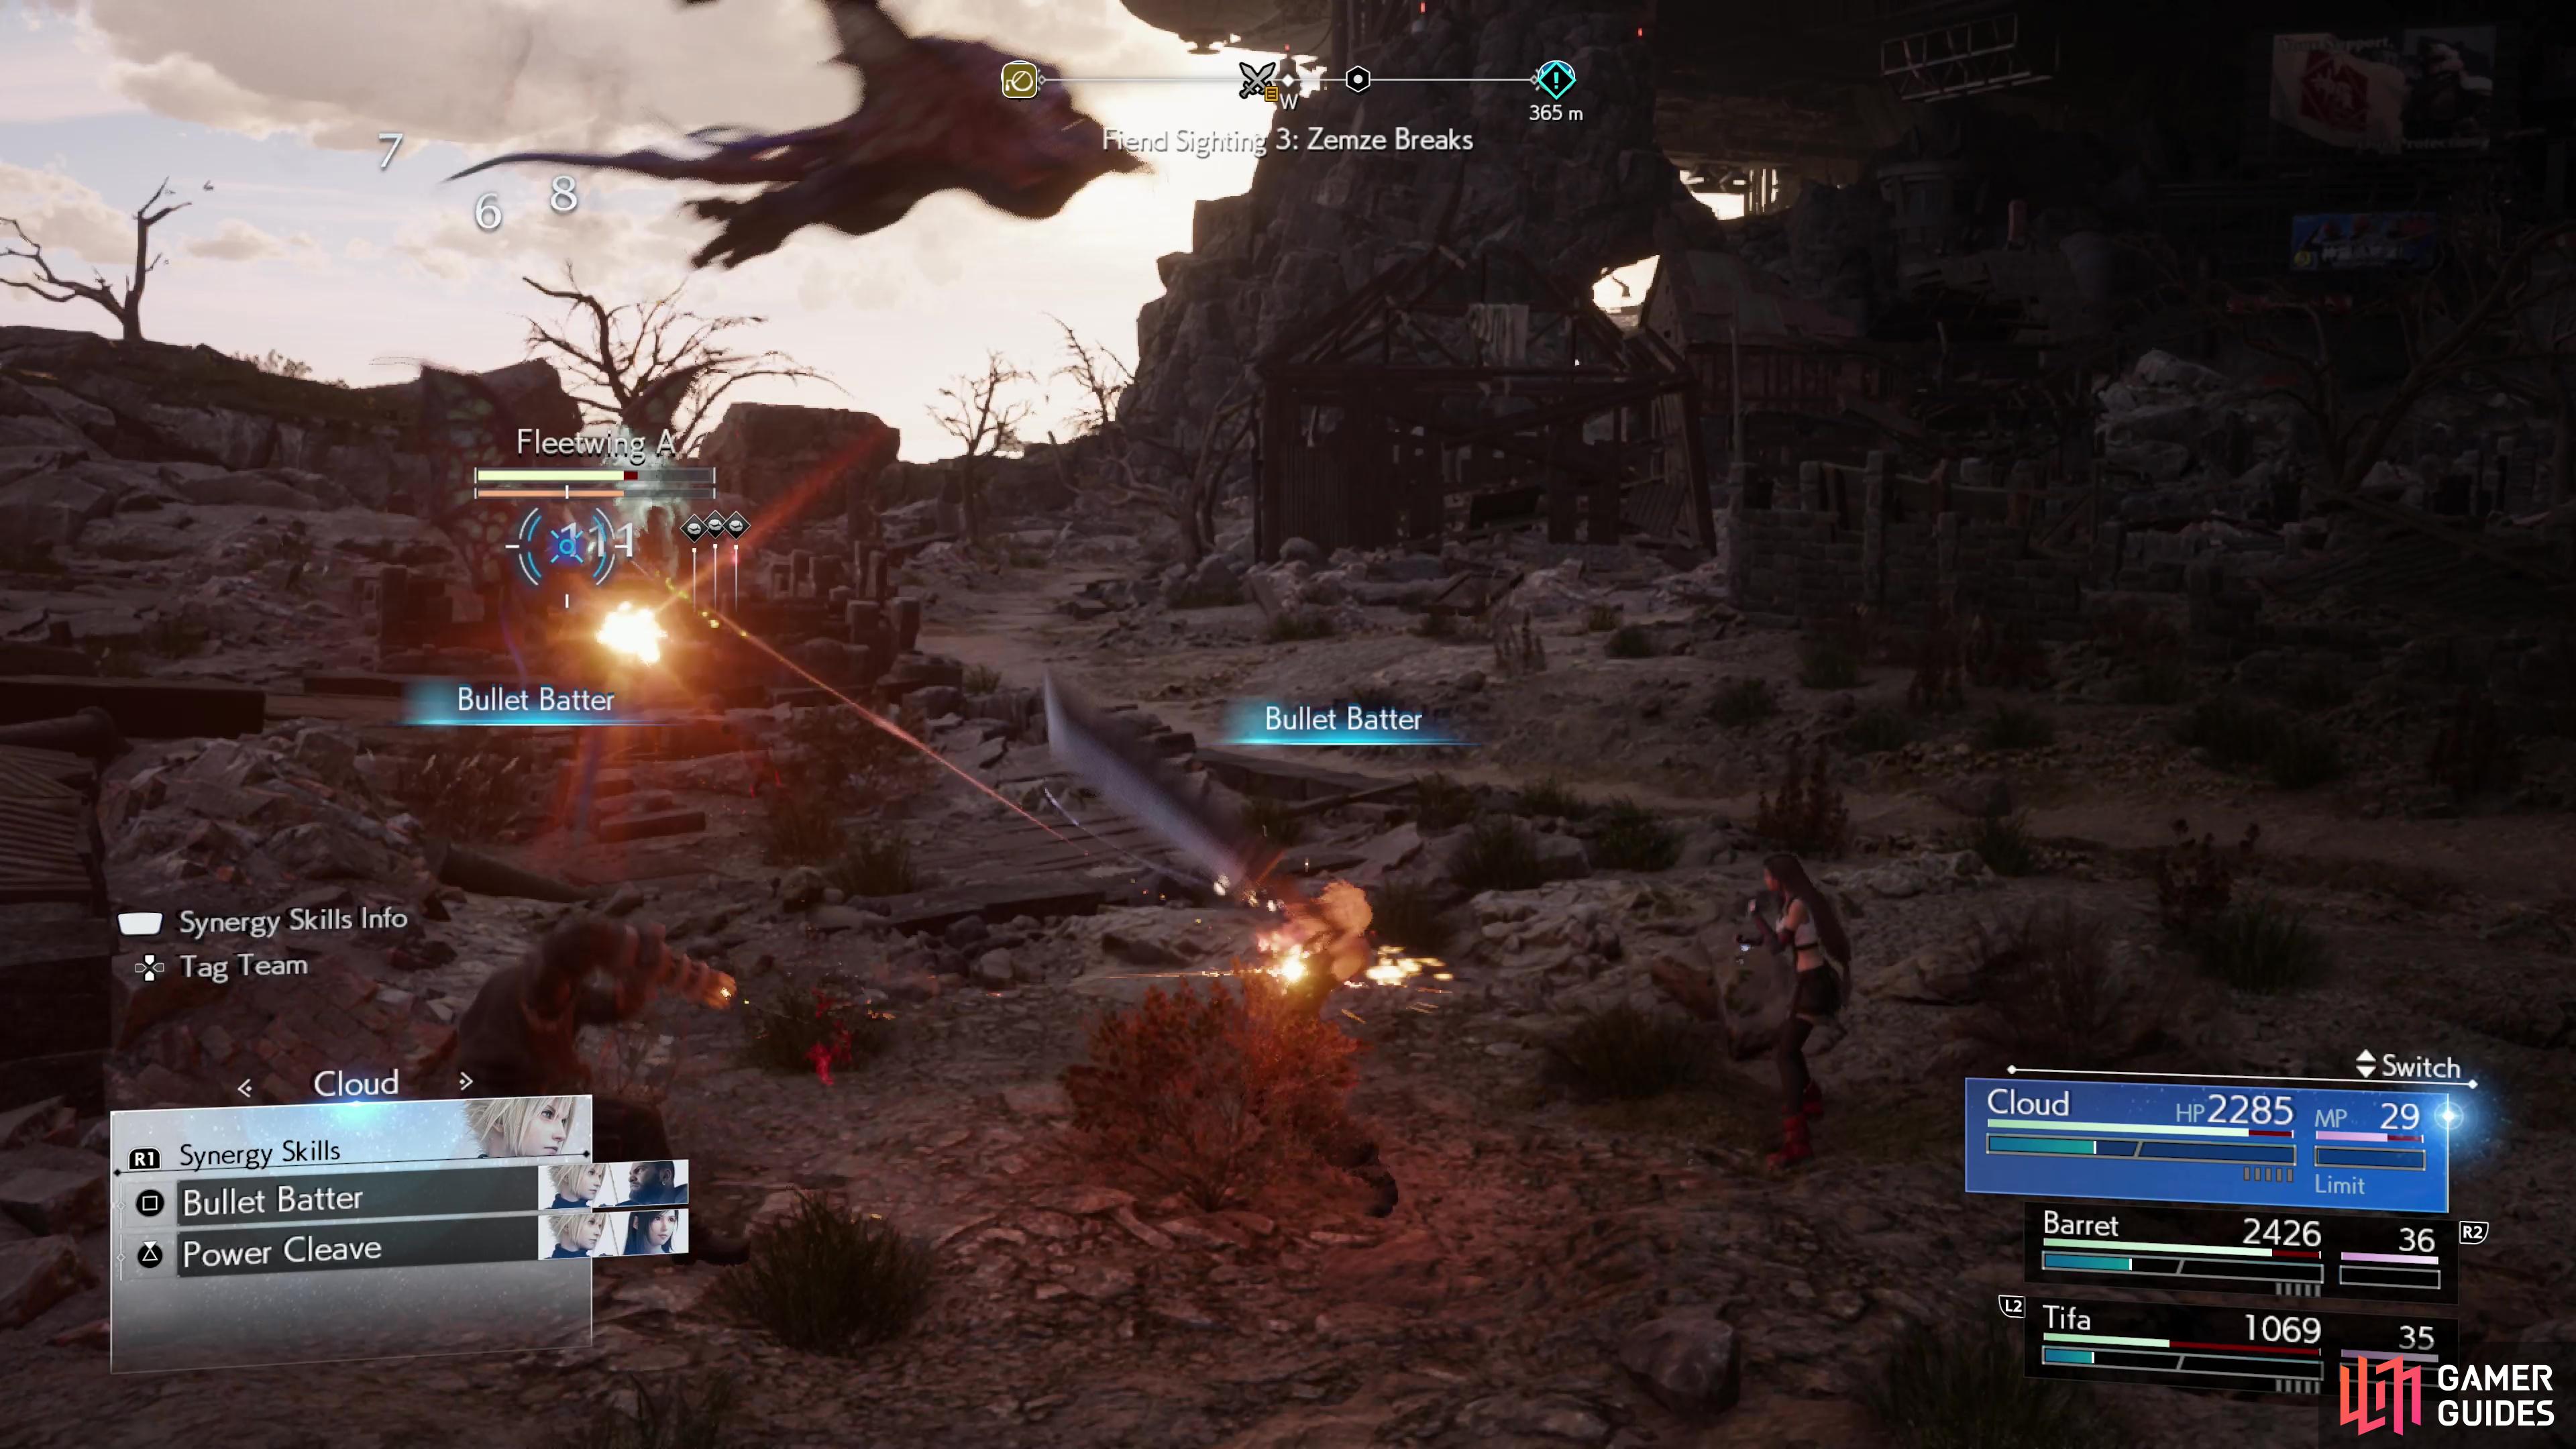
Synergies skills boost the ATB gauges of both participants (left), and can be used to allow characters to reach distant or aerial enemies. (right)
Character Tips
-
Cloud’s Punisher Mode automatically blocks and parries melee attacks when activated, so you can switch to this mode as a defensive maneuver. If you see an enemy about to land a melee attack, just switch to Punisher to mitigate damage, counterattack, and build up your ATB gauge in one fell swoop!
-
Barret is a great supplemental character for any party. When another character is getting pressured, during attack/ability/synergy/limit animations, or any free moment you can switch to him, hold down the Square button (
 ) to unload a salvo into enemies, then finish up with Overcharge. This will almost certainly fill his ATB gauge, which you can then spend to damage (Maximum Fury), stagger (Focused Shot), tank (Steelskin), or just save for a rainy day. Do this regularly and you’ll find Barret’s got great utility and doesn’t need much direct attention to contribute in most fights.
Aerith is somewhat slow, but you can shed aggro by warping between her wards.
-
Aerith attacks and dodges slowly, and is pretty fragile, which can make her difficult to control in combat. You can make her significantly more evasive - especially against slow enemies with limited ranged options - by putting down an Arcane Ward and Radiant Ward on different ends of the battlefield. Aerith can teleport to existing wards by pressing the Triangle button (
 ), and this makes her considerably more maneuverable. Even with only one ward, her ability to teleport allows her to stay mobile while not ceding her wards to encroaching enemies - a significant liability in Final Fantasy VII Remake.
 -
While characters like Cloud and Red XIII are arguably better suited to block attacks than other characters, a perfect block negates all damage and even a poorly timed block mitigates damage and fills the ATB bar. Don’t neglect blocking - it always leaves you in a better position afterward.
-
Synergy Skills are powerful and can charge the ATB gauges of all participating characters. Don’t neglect to use them!
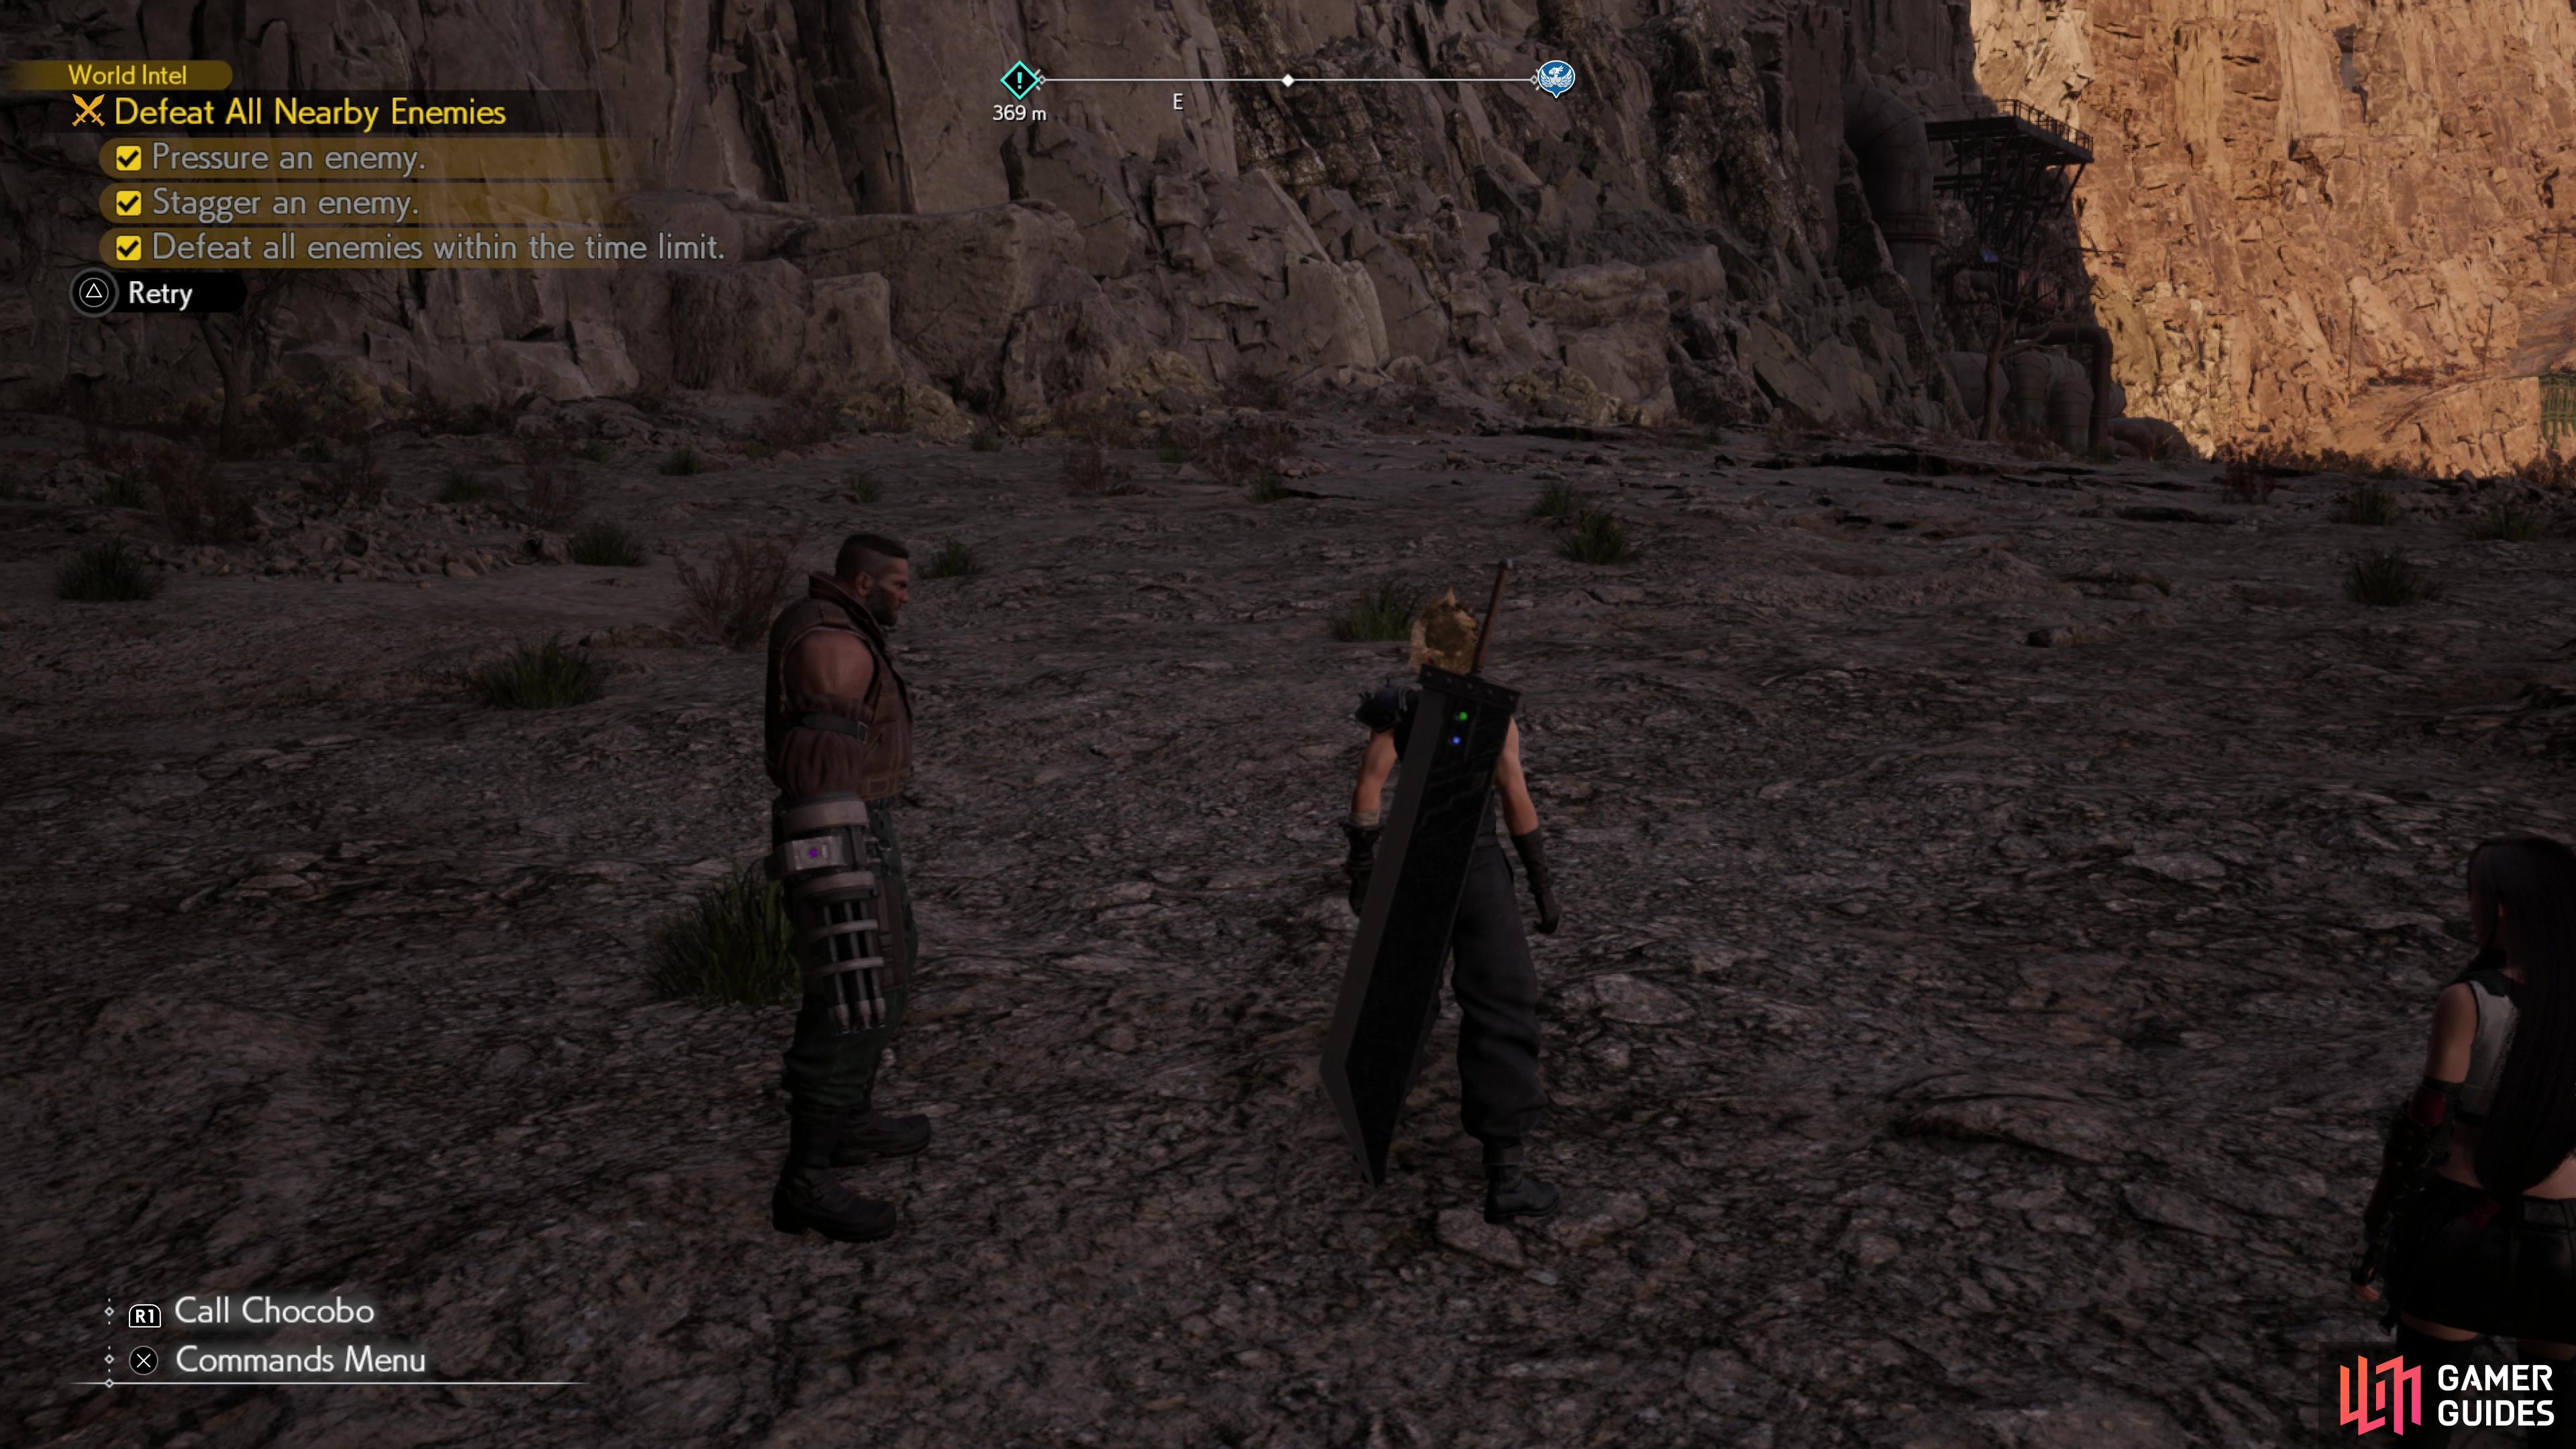
You can retry Fiend Sighting encounters and attempt to complete their objectives individually.
Enemy and Boss Tips
-
Enemies tend to aggro whichever character the player is controlling. This is a general rule, and it may take some enemies time to switch focus, and certain abilities generate or shed aggro, but the tendency to focus on the player isn’t subtle. This encourages you to switch characters often, using slower, less mobile characters just long enough to get out a signature attack or two before swapping again.
-
Many bosses will enter a second phase when their HP is reduced below 50%, and they can become significantly more dangerous at this point. The less time they spend rampaging with low HP, the better your odds of success are, and to this end, you may want to refrain from throwing the kitchen sink at them the first time you stagger them. Be strategic, try to get them to 50% HP, then stagger them again and try to finish them off before they can recover.
-
Be sure to Assess enemies. Not only does this reveal enemy weaknesses, but the descriptive text of each battle often warns you about special attacks or gives hints on how to pressure enemies. Battles are often like puzzles and Assess is basically a free hint on how to solve these puzzles.
-
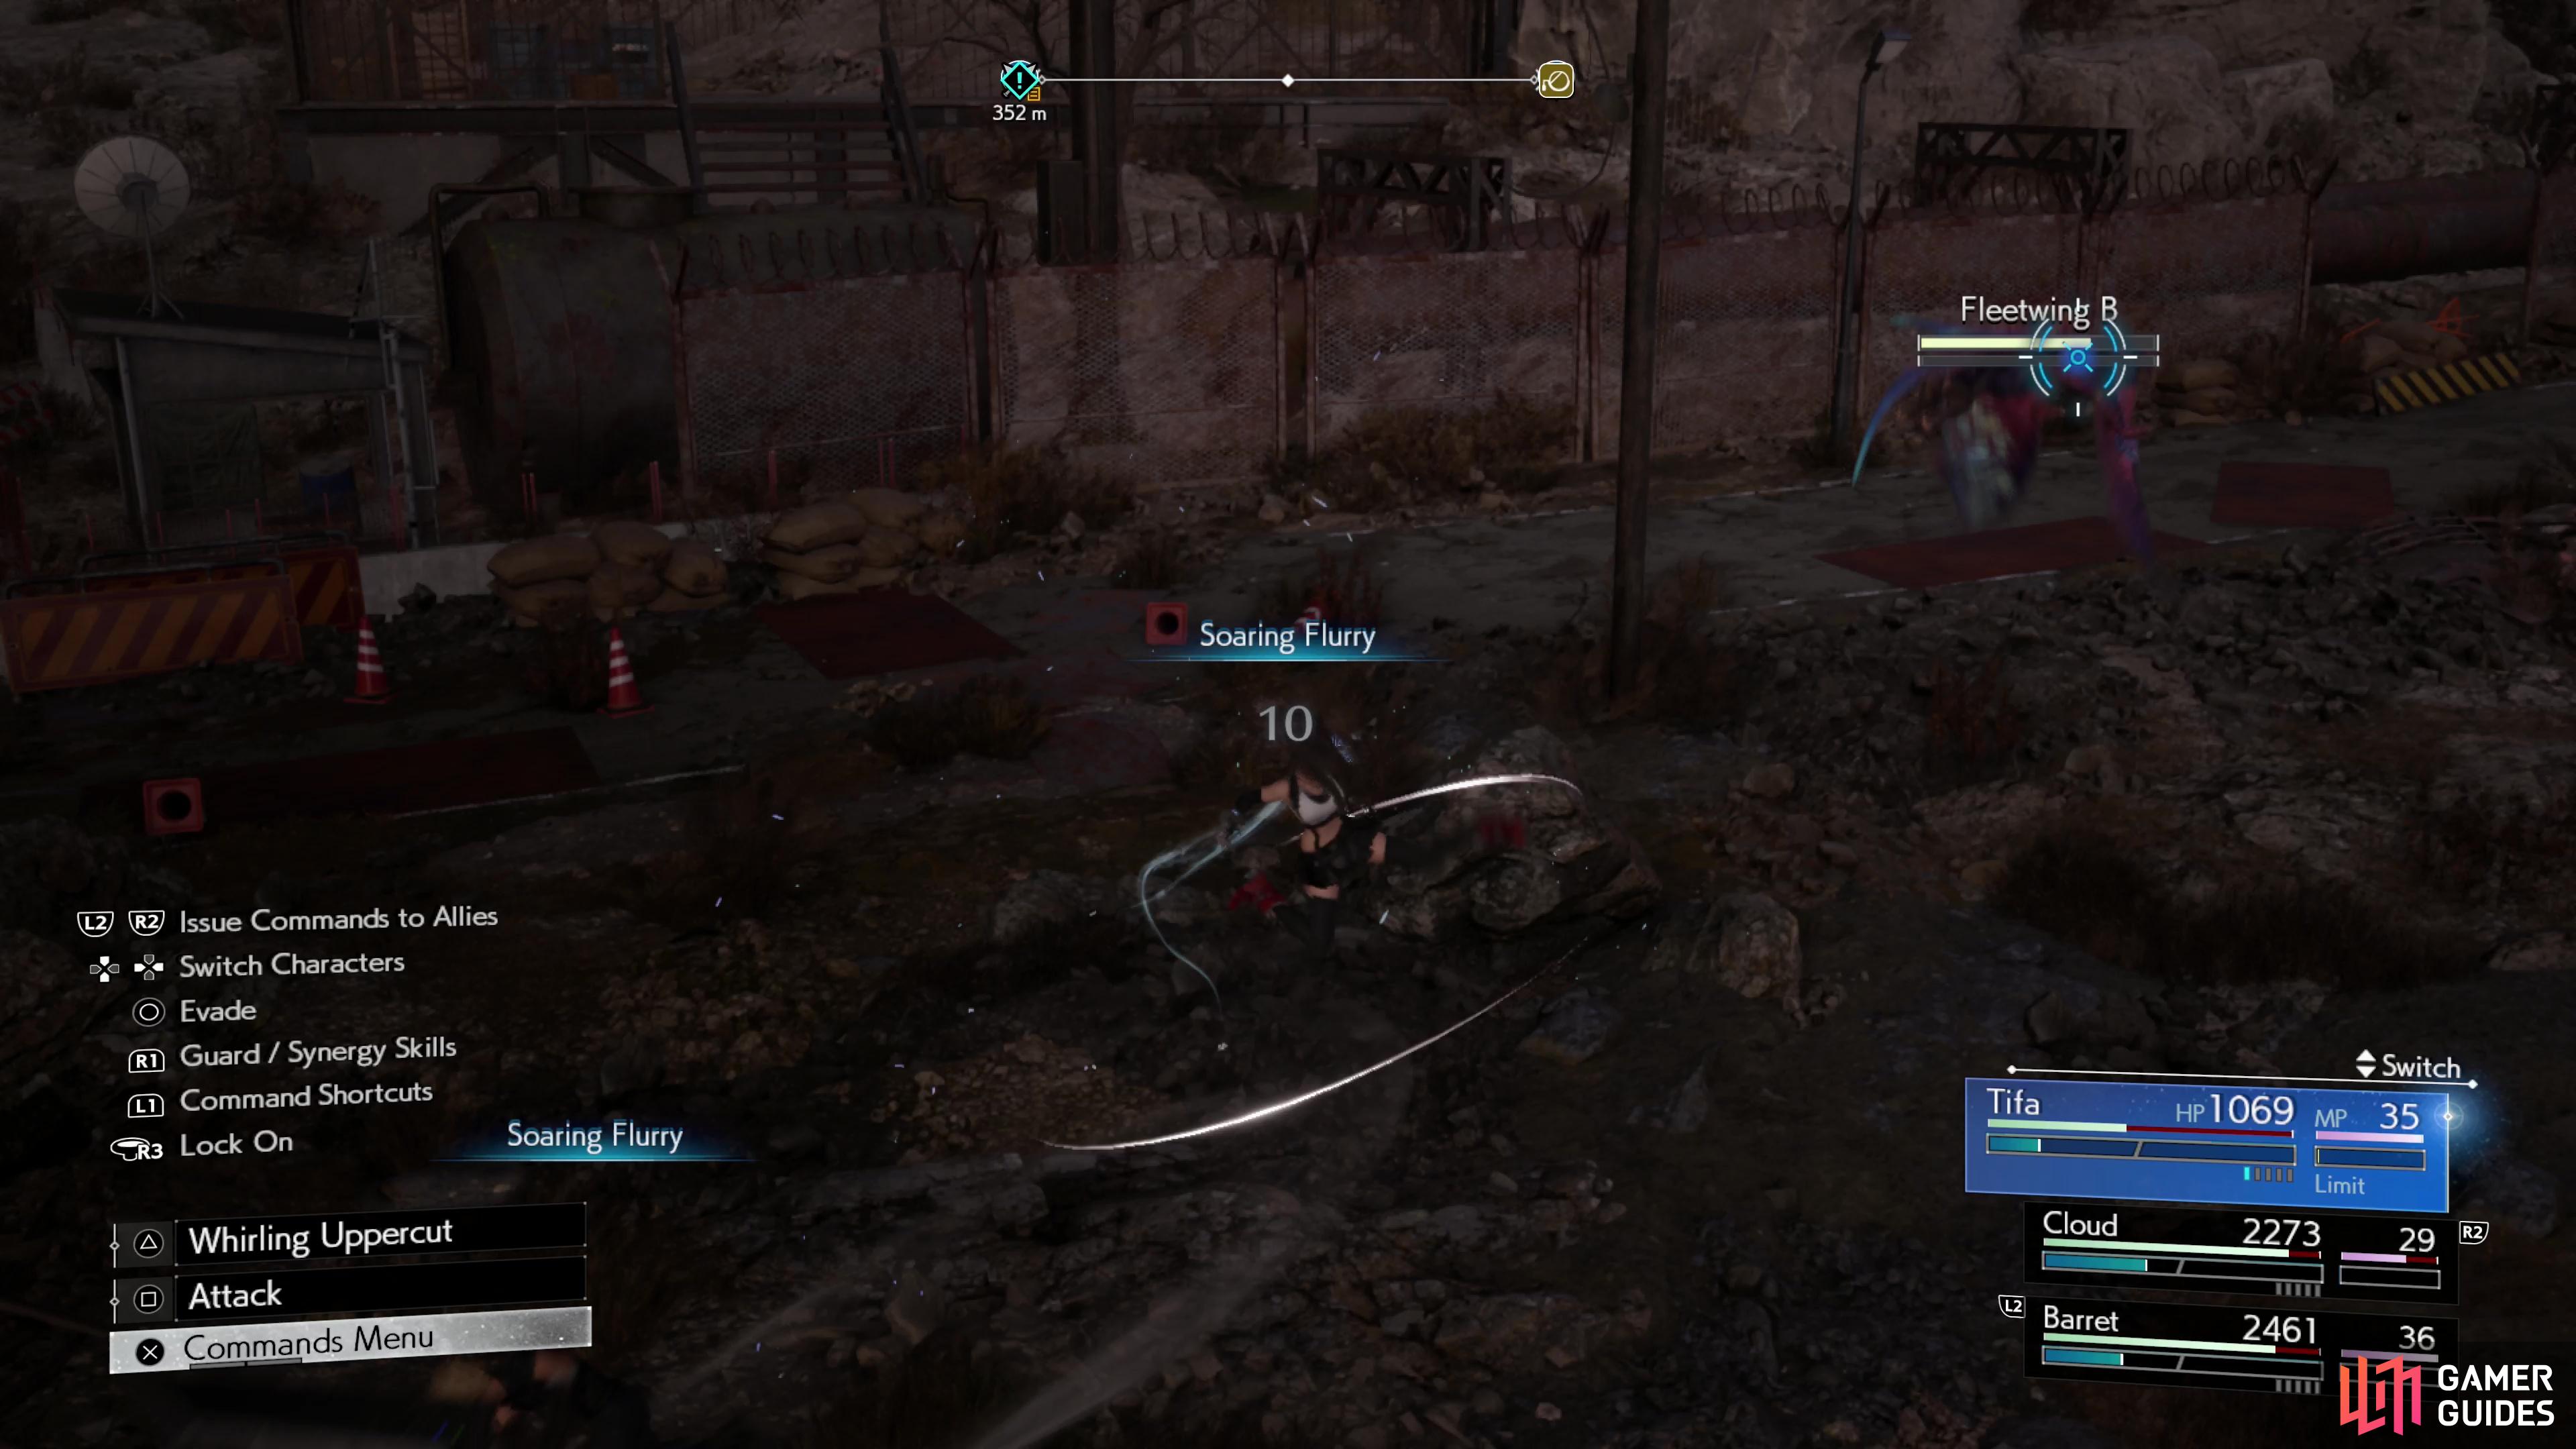
Some enemies are capable of flight and can be tricky for some characters to attack. Aerith and Barret both have ranged attacks that can strike distant targets by default, but other characters like Cloud, Tifa and Red XIII need to make use of Synergy Skills like Bullet Batter, Soaring Flurry or Heavenly Ascent to strike otherwise out-of-reach enemies.
-
When you fight enemies at Fiend Sighting locations, you’ll usually have several objectives. You do not have to complete all these objectives in a single fight, and you can retry finished fights any time you wish. It may be easier to focus on one or two objectives at a time - go for the time limit on one fight, meet stagger/pressure requirements the next fight, etc.
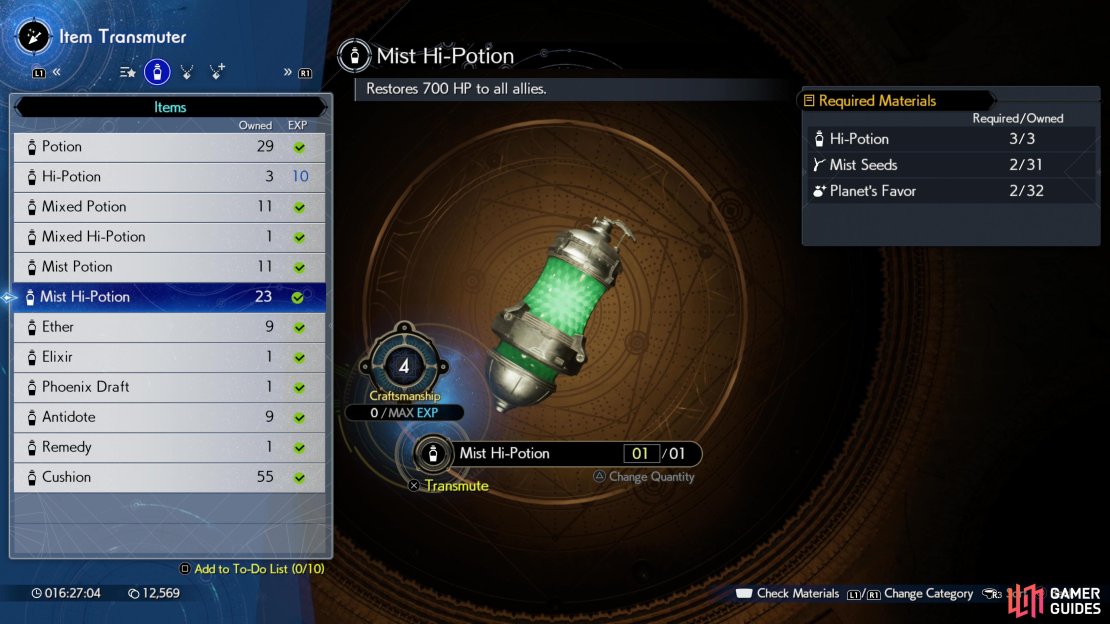

(1 of 4) You can craft potent restoratives which, at least in the early game, far surpass Healing Materia.
Exploration Tips
-
It doesn’t matter if you’re a grizzled veteran of Final Fantasy VII Remake, be sure to replay Chadley’s VR tutorial battles. Some characters have changed, and even if you know what you’re doing, Chadley often rewards you with materia for your trouble.
-
Shinra crates will respawn if you save/load your game. It’s probably never going to be necessary, but if you really need to scrounge for drops, you can just save scum boxes.
-
Craft early, and craft often. Not only will you gain Craftsmanship XP every time you craft a new item, increasing the number of items you can craft, but some craftable consumables are quite potent, especially early on. A Mist Hi-Potion that restores 700 HP to the entire party for 1 ATB segment and no MP cost is one of the best early gaming healing options.
-
You can only carry 99 of any item, including armor, consumables, and crafting materials. If you’re diligent about grabbing items on the field, keep track of how much plunder you’re carrying and sell off excess materials so they don’t go to waste.
-
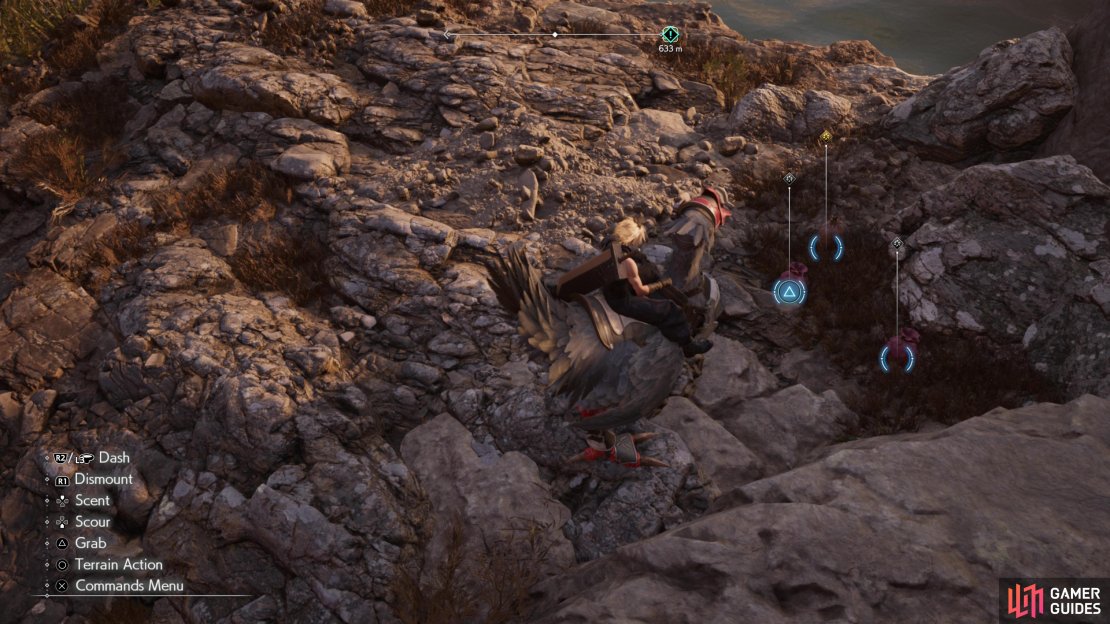
You’ll gather materials faster while riding Chocobos - instead of having to pick up each item, you’ll gather entire clusters with one button press!
-
You can fully recover HP and MP at Chocobo Stops, even without restoring them, you just need to provide a Cushion and sit on the bench. Of course, there’s no reason not to restore Chocobo Stops, as this unlocks them as fast travel points.
-
Magnify Materia is great, allowing you to heal the entire party or damage all enemies with one cast… when it levels up. Early on, Magnify Materia is a trap, as low early-game stats, weak linked materia, and Magnify Materia’s -60% potency reduction all conspire to drain the materia of its utility. There’s rarely a good reason to burn an ATB bar to heal the party for 100~ damage. Keep Magnify Materia equipped, because it does become really potent, but you shouldn’t expect too much out of it until it has been leveled a bit.
No Comments