
The Cave of the Gi is where ![]() Red XIII will undertake his trial. On this page, we’ll provide you with the necessary steps to defeating the Gi Lancer and finding the Altar Statues needed to proceed into the depths.
Red XIII will undertake his trial. On this page, we’ll provide you with the necessary steps to defeating the Gi Lancer and finding the Altar Statues needed to proceed into the depths.
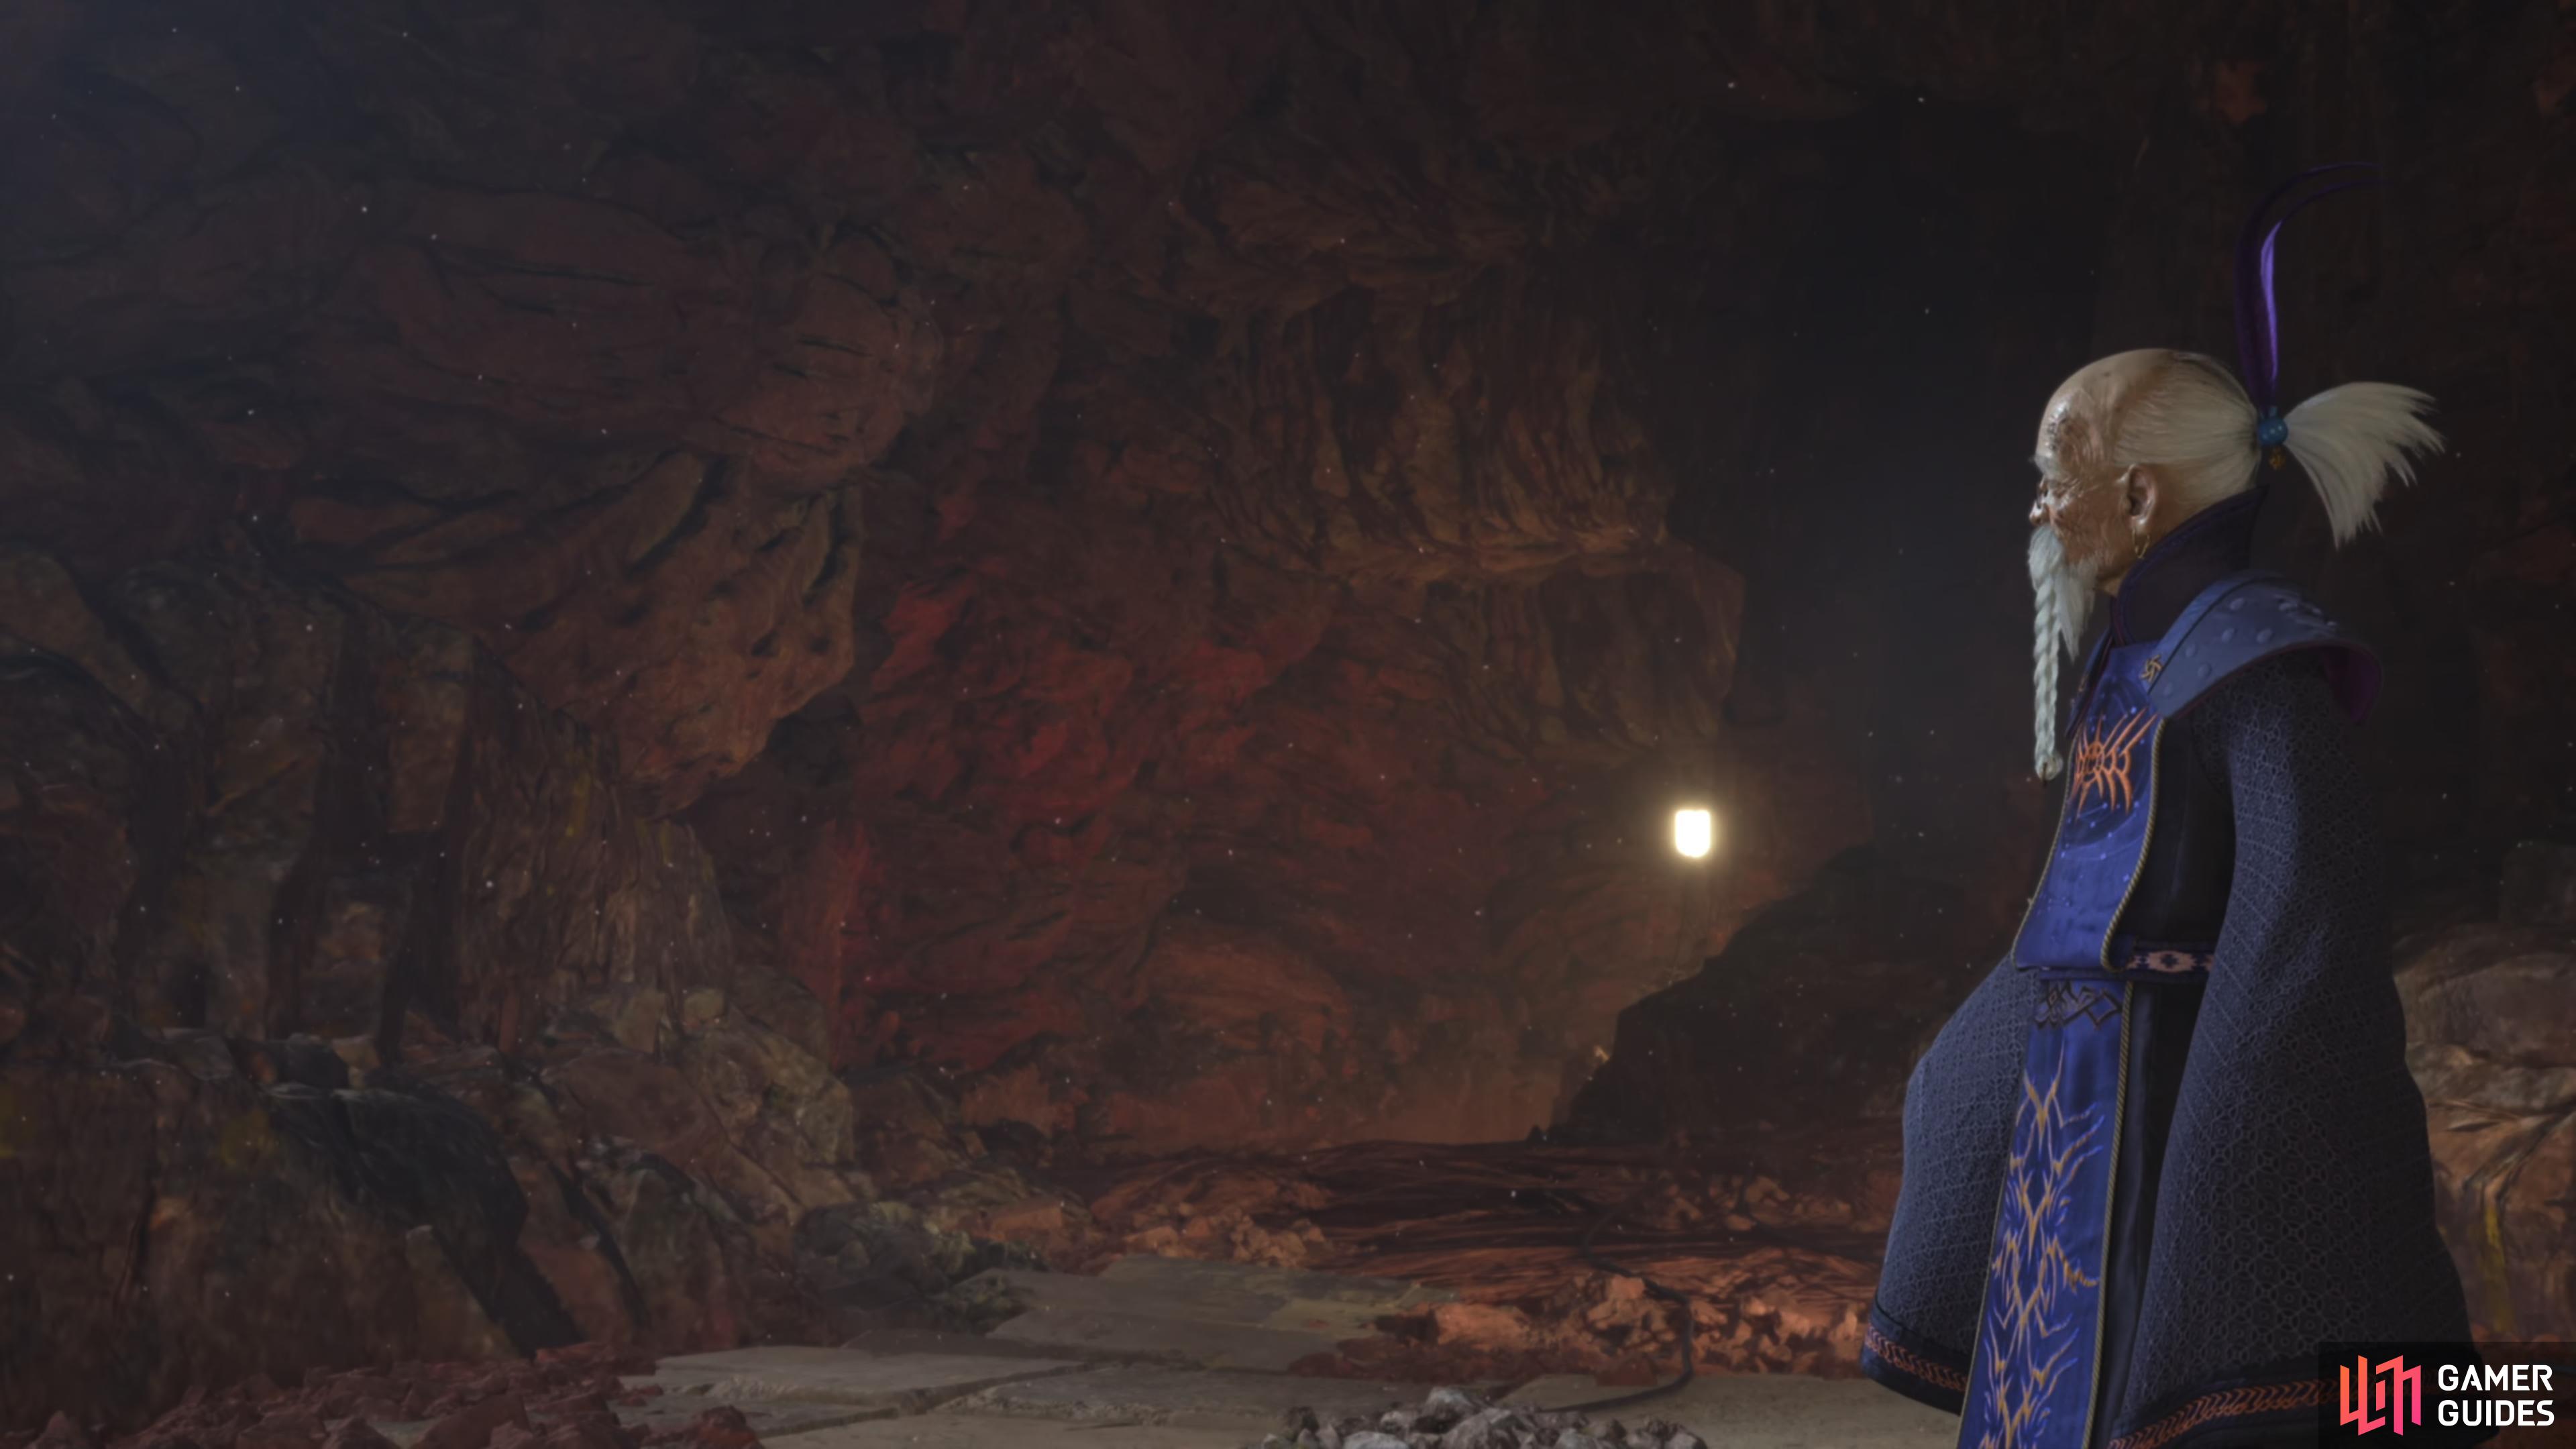
Bugenhagen overlooks the trial.
Let the Trials Begin
Once you’ve entered the Cave of the Gi, follow Bugenhagen deeper until you reach the Chamber of Deception and then Red XIII and Barrett will have to undertake the trial. You’ll now want to work your way through the cavern while making sure you climb all of the walls to find several chests that contain the following: ![]() Hi-Ether,
Hi-Ether, ![]() Revival Earrings, and Mist Mega Potion. Eventually, a wall will block your path so you’ll need to climb up the wall to the southwest of the wall and interact with the rope to destroy it.
Revival Earrings, and Mist Mega Potion. Eventually, a wall will block your path so you’ll need to climb up the wall to the southwest of the wall and interact with the rope to destroy it.
The First Trial
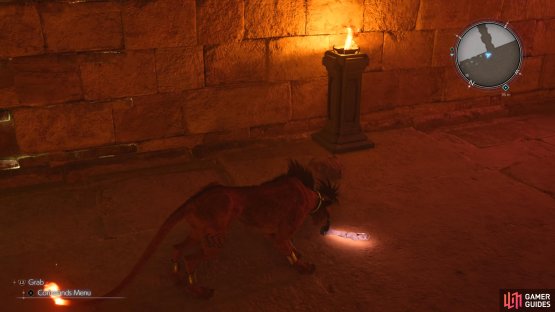
Head through the doorway and follow the path until you reach another open room and then open the chest on the opposite side of the room for a Celestial Bangle, which we recommend equipping on Aerith as it increases ![]() Magic Defense. Work your way down to the bottom floor and proceed into the next room to commence the First Trial. Climb up to the platform above the door and pick up the relic by holding
Magic Defense. Work your way down to the bottom floor and proceed into the next room to commence the First Trial. Climb up to the platform above the door and pick up the relic by holding  , then bring it back to Bugenhagen. But before you do, we recommend bringing the other items to Bugenhagen first, as these can reward you with some useful items, such as
 ![]() Healing Materia and the Mystic Collar.
Healing Materia and the Mystic Collar.
Gi Lancer Boss Strategy

(1 of 2) Bring the relic to Bugenhagen
Bring the relic to Bugenhagen (left), and the Gi Lancer battle will begin. (right)
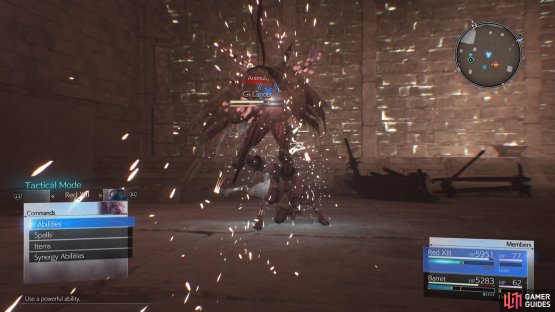
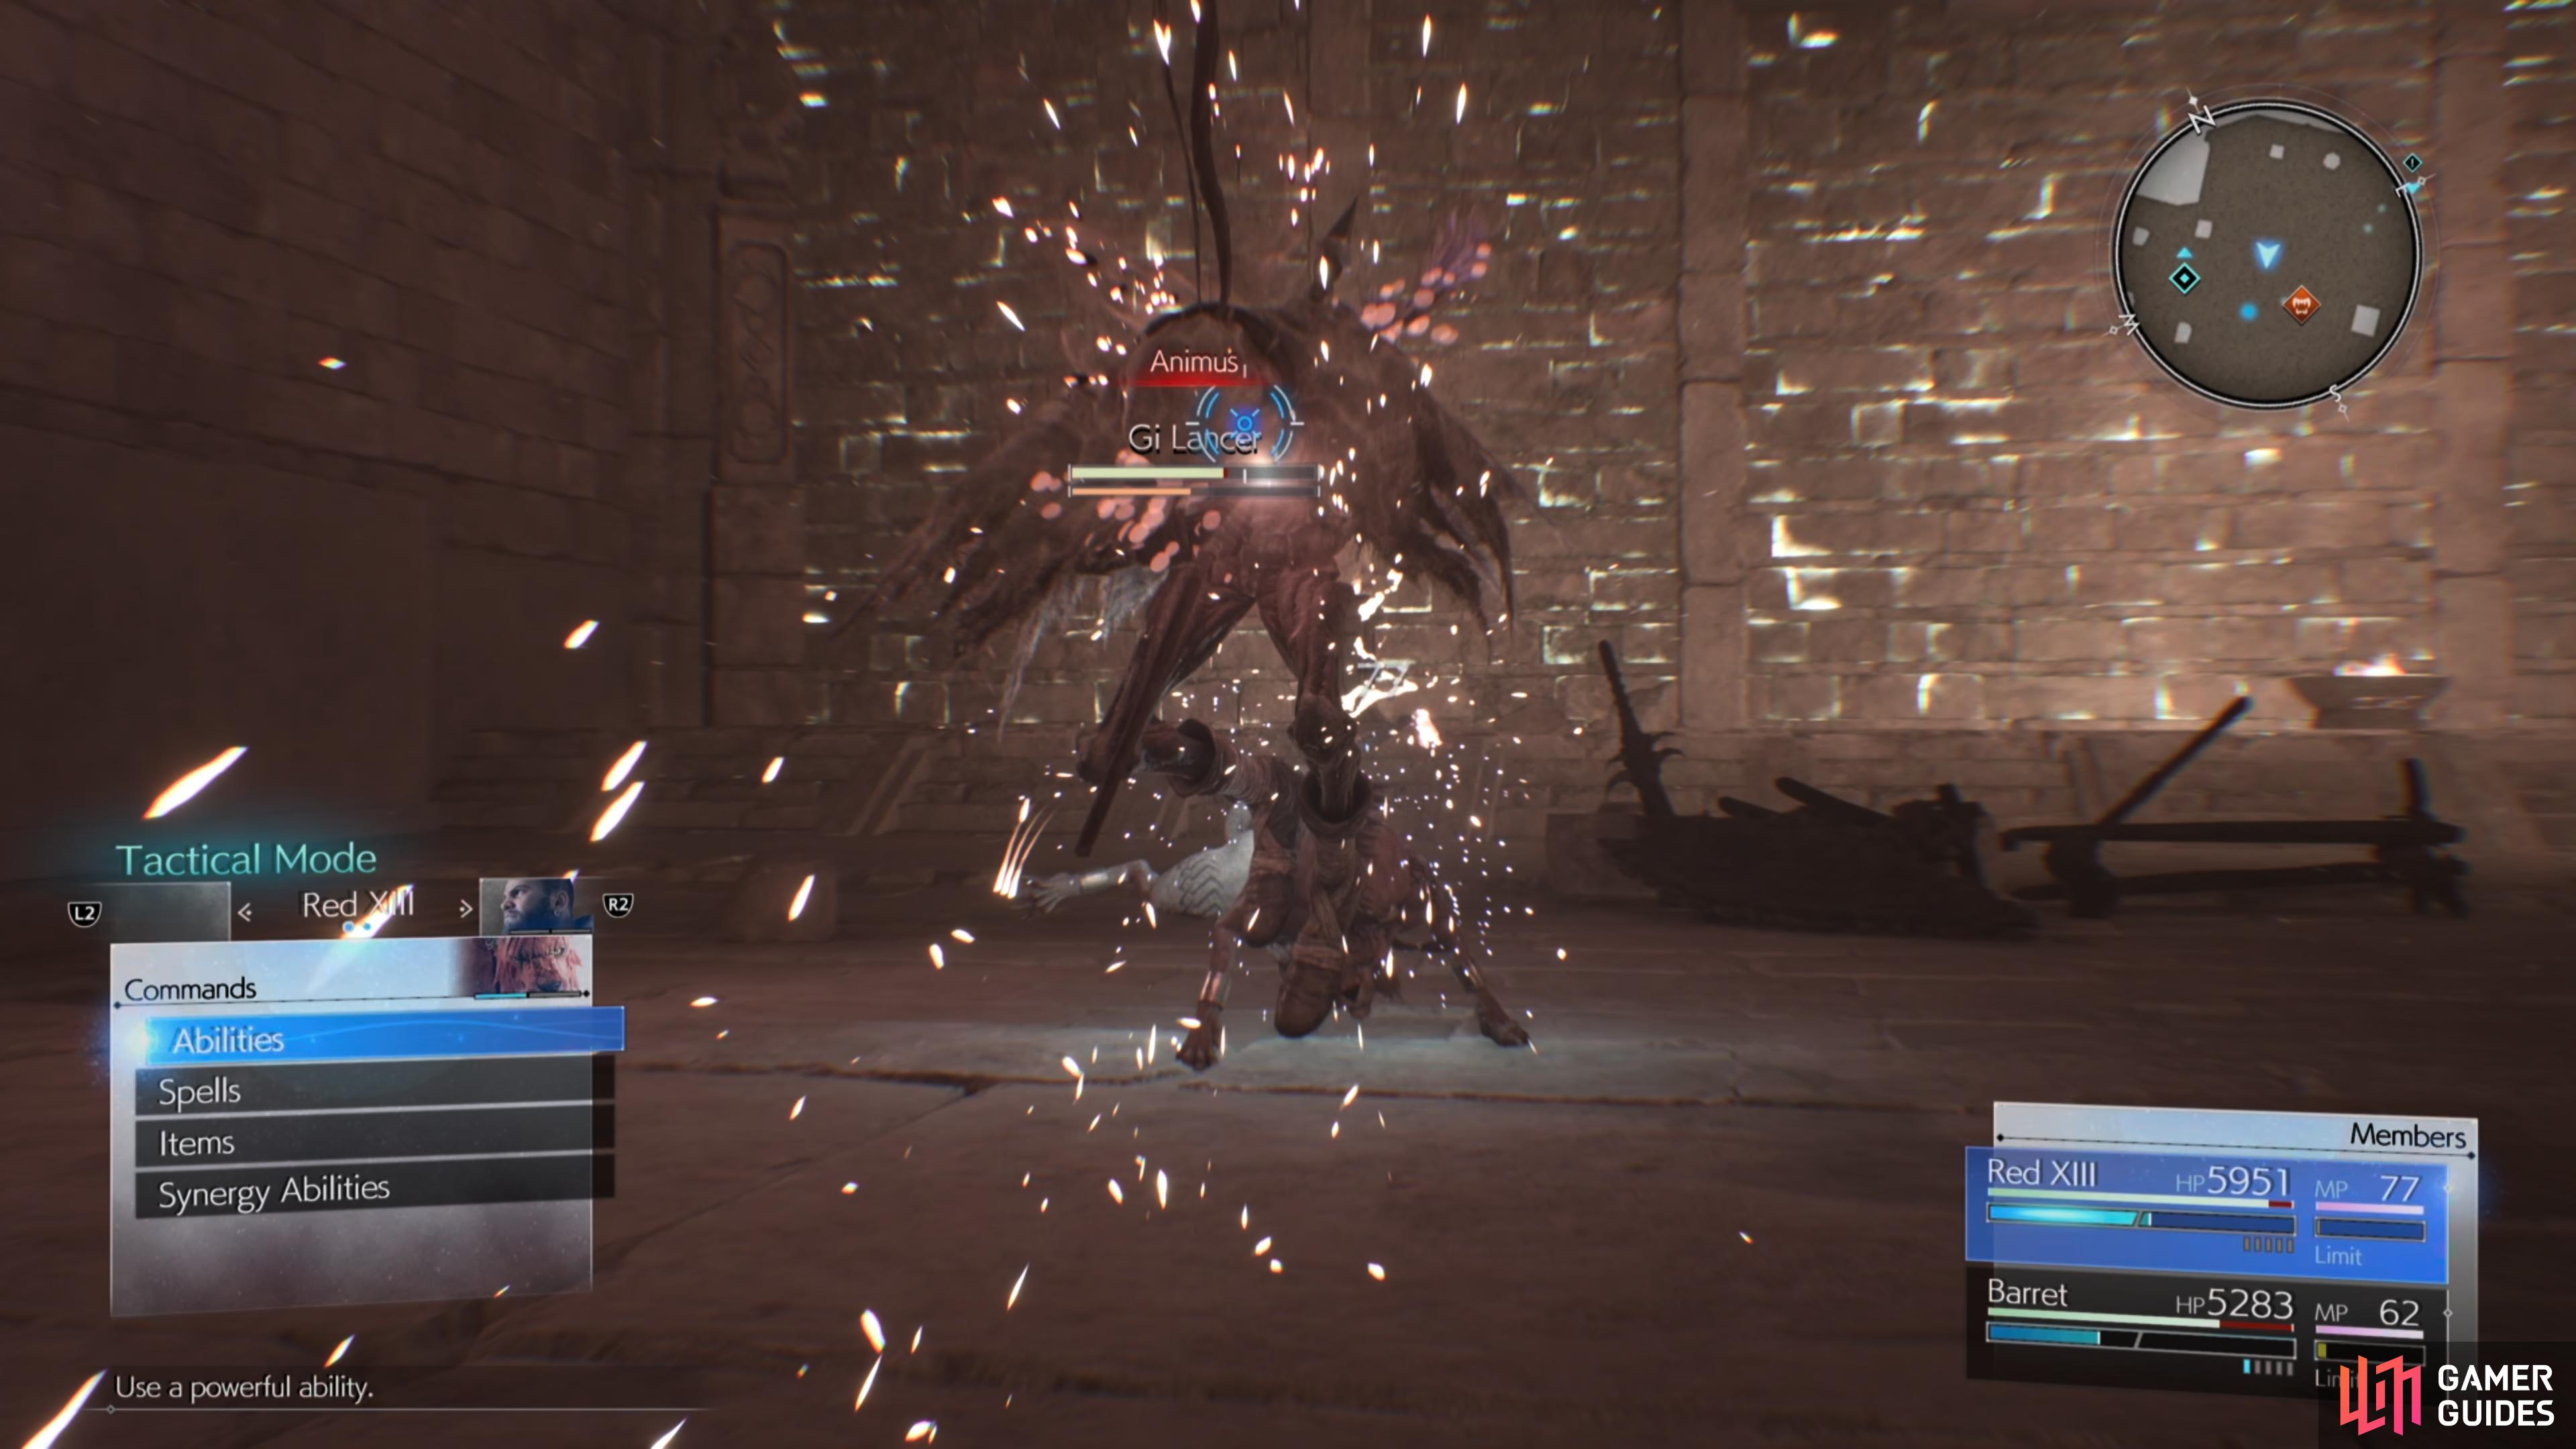
The Gi Lancer will deflect ranged physical attacks, so you’ll want to keep your distance and chip away at the pressure gauge by hitting it with either ![]() Fire or Healing Spells. Once you’ve managed to stagger it, start hitting it with your strongest attacks and use synergy abilities to deal as much damage as possible. As for attacks it can use, Skewer, Animus (which will inflict
Fire or Healing Spells. Once you’ve managed to stagger it, start hitting it with your strongest attacks and use synergy abilities to deal as much damage as possible. As for attacks it can use, Skewer, Animus (which will inflict ![]() Petrify and this will slowly turn you to stone if you don’t cure it by using a
Petrify and this will slowly turn you to stone if you don’t cure it by using a ![]() Remedy or Esuna) and Resurrection.
Remedy or Esuna) and Resurrection.
The Voice Within
Once you’ve defeated the lancer, grab the ![]() Ruby Gi Statue from the floor and continue into the Walk of Insolence and open the nearby chest for five
Ruby Gi Statue from the floor and continue into the Walk of Insolence and open the nearby chest for five ![]() Exquisite Beast Hides before heading down to the Ceremonial Altar. You’ll now need to track down The
Exquisite Beast Hides before heading down to the Ceremonial Altar. You’ll now need to track down The ![]() Emerald and Amber Statues in order to open the door ahead, but before you do head up the eastern stairs and open the chest for some Cosmonite Ore. Head back down and grab the Amber Gi Statue which can be found on the floor directly in front of its dedicated pedestal.
Emerald and Amber Statues in order to open the door ahead, but before you do head up the eastern stairs and open the chest for some Cosmonite Ore. Head back down and grab the Amber Gi Statue which can be found on the floor directly in front of its dedicated pedestal.
Now follow the path along down to the north until you reach a fork in the path, and then take the western path first to find a chest that contains a Plume of ![]() Phoenix Down before taking the eastern path to find the Emerald Gi Statue. Deal with the Gi Lancer and place the Emerald Gi Statue on the pedestal, then follow Bugenhagen through the Chamber of Sacrifice, but make sure you open the chest to the left of the stairs for two
Phoenix Down before taking the eastern path to find the Emerald Gi Statue. Deal with the Gi Lancer and place the Emerald Gi Statue on the pedestal, then follow Bugenhagen through the Chamber of Sacrifice, but make sure you open the chest to the left of the stairs for two ![]() Giga-Potions along the way.
Giga-Potions along the way.
The First, Second, and Third Gates
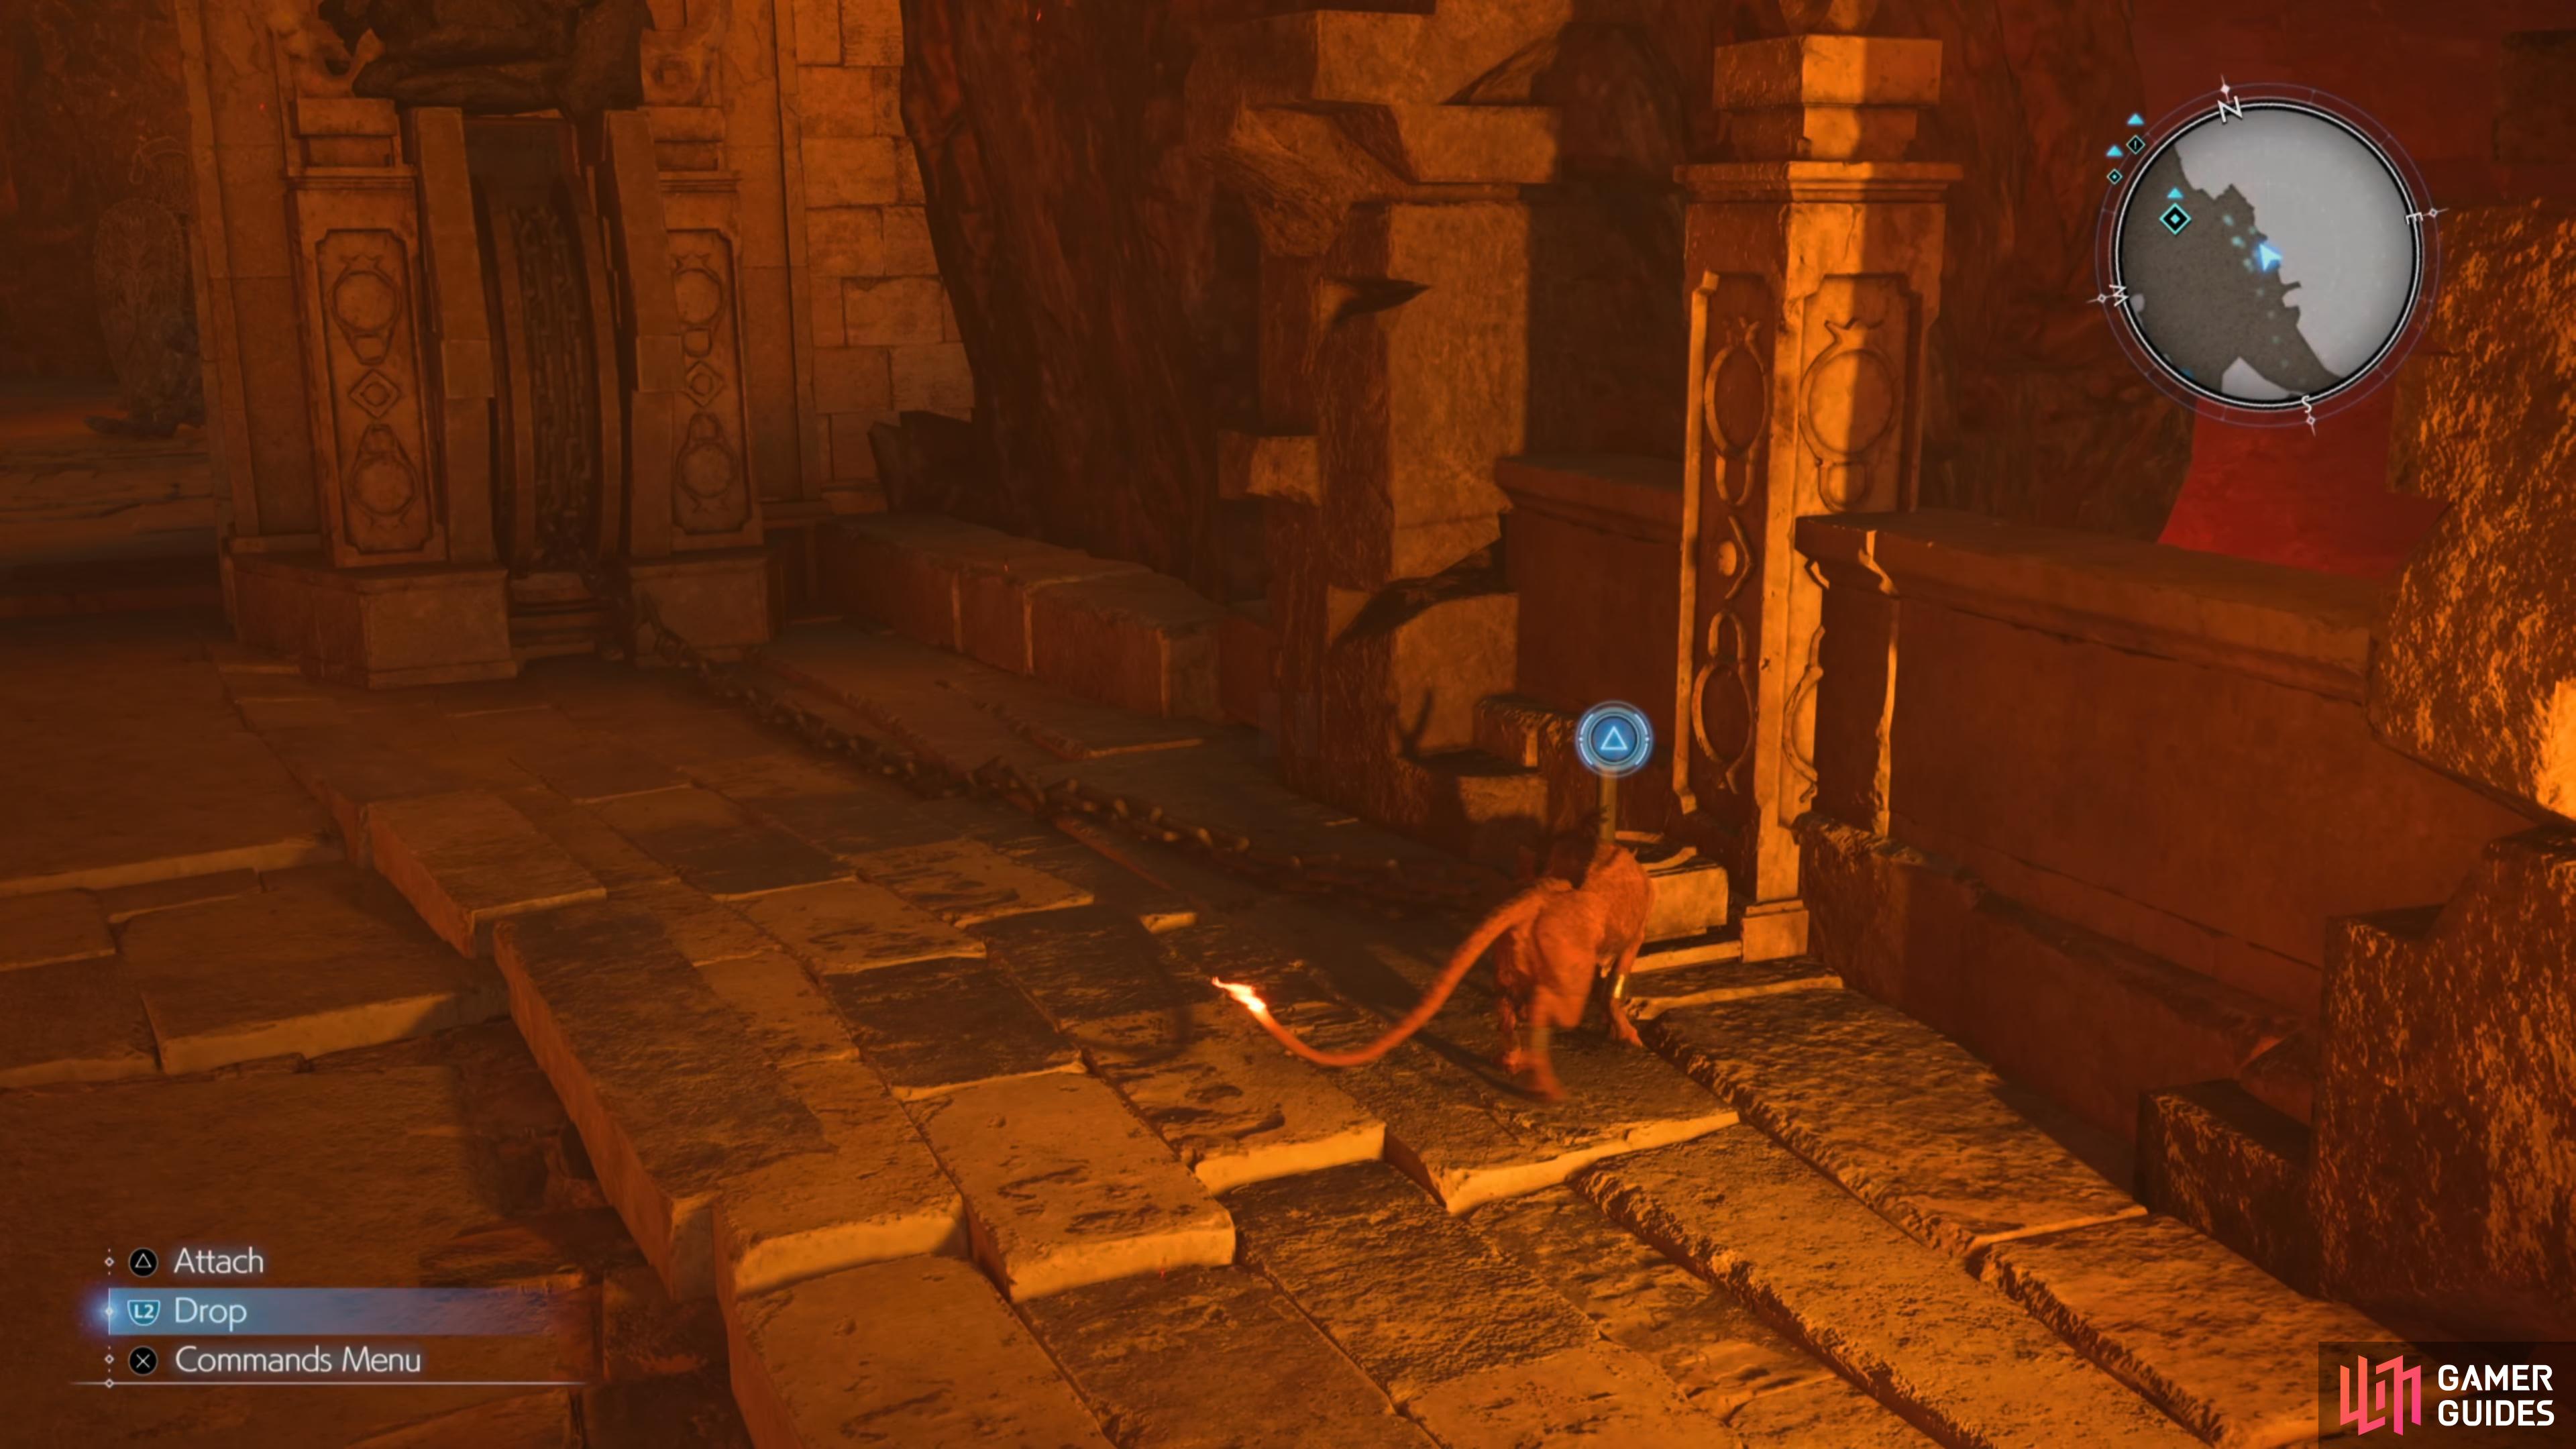
Head all the way down the stairs until you reach a split in the path, then take the left path first to find a chest that contains some ![]() Ether. Continue down the next set of stairs and open the chest on the left for 5,500 Gil, then interact with the chain to the right of the gate and pull it as far back as possible to open it. Head through the gate and take down the Gi Lancer and Archer, then go down the stairs to the left and pull the chain to create a platform across.
Ether. Continue down the next set of stairs and open the chest on the left for 5,500 Gil, then interact with the chain to the right of the gate and pull it as far back as possible to open it. Head through the gate and take down the Gi Lancer and Archer, then go down the stairs to the left and pull the chain to create a platform across.

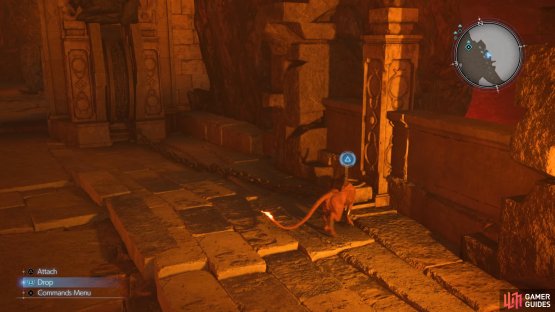
(1 of 2) Pull the chain
Pull the chain (left), and lock it into place to keep the gate open. (right)
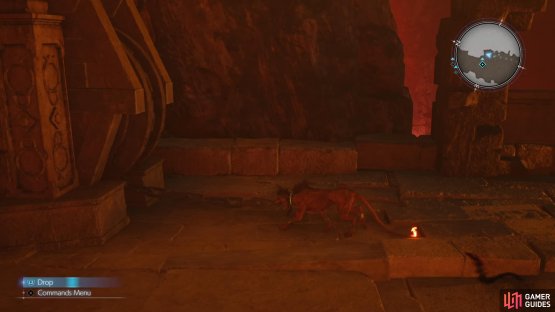
Follow the platform up to the next gate while opening the chest along the way to obtain three ![]() Gold Needles, then pull the chain on the gate and attach it to the post nearby to keep it open. You’ll now need to take down a Gi Lancer, Sorcerer, and Archer, but make sure you take down the Sorcerer first otherwise it’ll resurrect the other enemies. Now you’ll need to climb up the wall on the right to obtain a
Gold Needles, then pull the chain on the gate and attach it to the post nearby to keep it open. You’ll now need to take down a Gi Lancer, Sorcerer, and Archer, but make sure you take down the Sorcerer first otherwise it’ll resurrect the other enemies. Now you’ll need to climb up the wall on the right to obtain a ![]() Empowerment Materia, then approach the next gate.
Empowerment Materia, then approach the next gate.
Pull the chain back and jump onto the platform and then climb up the wall on the right and pull another chain, this allows you to climb the wall on the left and open the chest for 2,600 Gil. Now you’ll want to grab the stick in the corner and place it in the hole and then pull the chain and lock it into place via that stick. Finally, rest up using the nearby bench and then proceed into the next to challenge the one and only Gi Nattak. After the battle, follow the linear path ahead and interact with the boat to proceed to a flashback scene.
No Comments