
Fiend Intel takes you around the open world to fight various monsters. These challenges range in difficulty from easy to mildly frustrating. To beat them, you will truly need to understand the ins and outs of each character. The guide below goes over each Fiend Intel location in the ![]() Grasslands area of Final Fantasy VII Rebirth.
Grasslands area of Final Fantasy VII Rebirth.
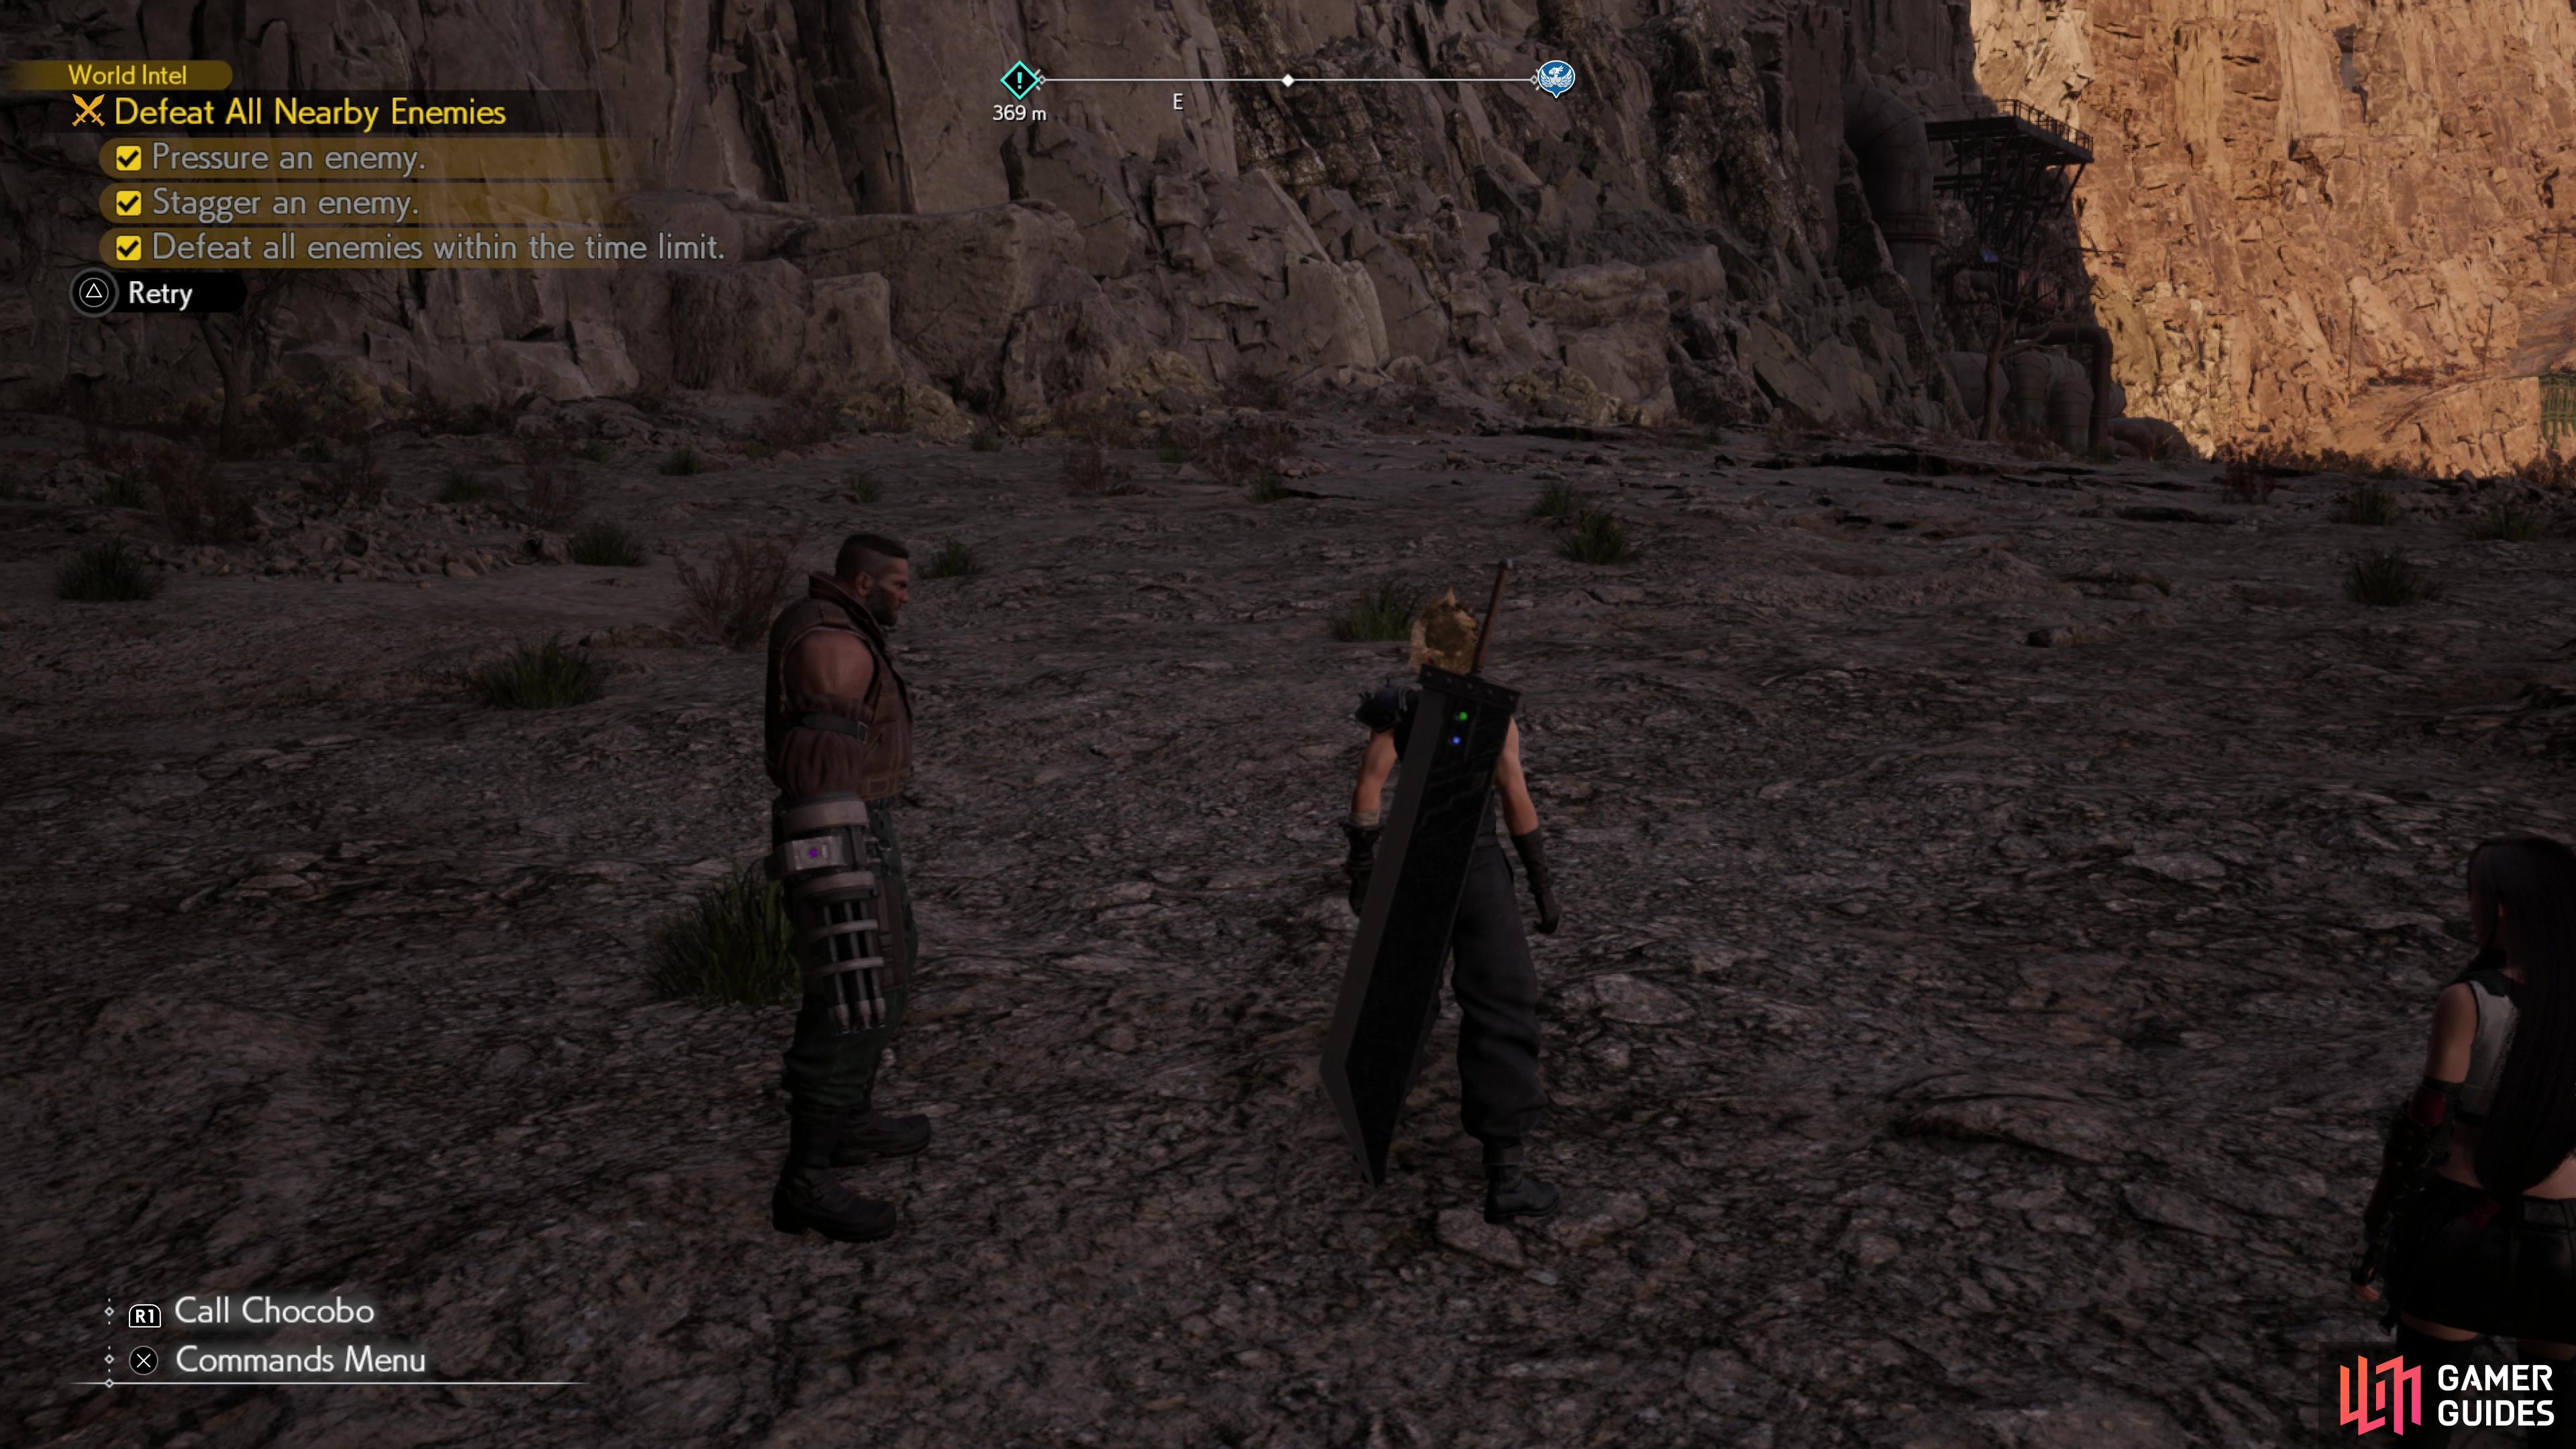
You can retry Fiend Sighting encounters and attempt to complete their objectives individually.
All Fiend Intel in The Grasslands
There are six Fiend Intel locations in the Grasslands, and some of them are rather annoying to complete. Each intel location gives you three clear objectives. This usually consists of tasks such as beating the enemy in a certain time limit or stunning them. To truly clear each challenge, you need to overcome all three challenges. You have the ability to clear one challenge at a time as the fight can be retried with the push of a button. For more information on intel, check out our helpful guide here.
Voracious and Venomous – Venorat Fiend Intel #1
Objectives:
For this mission you will want to head to the northeast of Bill’s Farm. Once you are near the seaside, there will be a small path you follow down to a ruined building with the Voracious and Venomous fight. Inside of this path, you will find the two Venorats. Fighting and beating the creatures is rather easy as they are the weakest Fiend Intel fight in the area. This, however, presents a challenge in the fight.
You can easily wail on both Venorats to keep them from poisoning you and in doing so, you will likely stagger them. The real challenge comes in when you try to pressure one. To do this use ice spells as this particular creature is only pressured through elemental weakness. If you do this right at the start of battle, you can hit all three objectives with ease.
Bearer of Grudges – Enmidunk Fiend Intel #2
Objectives:
- Pressure the
 Enmidunk
 - Stagger the Enmidunk
- Beat the Enmidunk in time limit
The two Enmidunk are annoying enemies to deal with. Not only can they hit decently hard, but they are tanks. The Bearer of Grudges Fiend Intel is located southeast of Bill’s farm. You will find a small path here that leads up to the two enemies. Once again this enemy can be pressured with ![]() Ice. The downside to this is that when an Endmidunk is pressured it will raise it’s defense making it even harder to defeat within the time limit.
Ice. The downside to this is that when an Endmidunk is pressured it will raise it’s defense making it even harder to defeat within the time limit.
You can use Focus Thrust to get the stagger bar down. If you would like to avoid the bolstered defense even more, then wait and summon Shiva near the end of the battle to inflict pressure near the end of the battle. When the Enmidunk is staggered, it will take much more damage. Save all of your larger attacks for this point. Keep in mind that you will need to do this with both Enmidunk’s and they rarely like to stick together making it harder to whittle them down at the same time.
Keepers of the Burrow – Mi Fiend Intel #3
Objectives:
- Pressure both
 Mi types
 - Stagger Mi
- Defeat Mi in the time limit
This time you will be going southwest of Bill’s Farm near the swamp. Here you will be fighting three different enemies, Two Ice Mis and one Fire Mi. This fight is annoying as they are a bit weaker, and you will need to hit the Ice Mi with fire and the Fire Mi with Ice. The biggest problem being that they burrow in and out of the ground. This makes it easy to miss an elemental attack, and if you need to build your ATB gauge you may accidentally kill a Mi before being able to pressure it.
For this battle, remember that it’s easier to kill off one of the Ice Mi than it would be to kill off the only Fire Mi. If you lose both Ice Mi or the Fire Mi before pressuring them both then you won’t complete the associated challenge. Focus on building your ATB and using the opposing elemental spell as soon as possible. You may even find that this is a challenge best done in parts as the Mi are a frustrating enemy.
Wailing Weed – Mandrake Fiend Intel #4
Objectives:
- Keep
 Mandrake from using Quick Nap
 - Stagger Mandrake
- Defeat Mandrake within the time limit.
This is another easy fight, much like the Venorats in Fiend Intel #1. The Wailing Weed Fight pits you against a couple of Mandrakes, a weaker enemy type. They can be pressured using fire, keeping them from using Quick Nap. Essentially the strategy here is to pressure and stagger them until they are defeated within the time limit. This way there is no chance that you can fail one of the three objectives.
Picky Eater – Aggrevrikon Fiend Intel #5
Objectives:
- Pressure the
 Aggrevrikon
 - Stagger the Aggrevrikon
- Defeat the Aggrevrikon within the time limit
Following the trend from Fiend Intel #2, the Picky Eater is an annoying fight. This Fiend Intel is found southwest of ![]() Kalm, in the bottom section of the Wasteland. This isn’t a strong enemy, but it does have the ability to turn your party members into a frog. While you are a frog, you can’t use spells, meaning you can’t pressure the Aggrevrikon or hit them with strong attacks.
Kalm, in the bottom section of the Wasteland. This isn’t a strong enemy, but it does have the ability to turn your party members into a frog. While you are a frog, you can’t use spells, meaning you can’t pressure the Aggrevrikon or hit them with strong attacks.
Aggrevrikon also has the ability to pick up rocks, when this is done the rock will protect it from frontal attacks, making it harder to deal damage. Luckily, the enemy has two elemental weaknesses, ice and fire. The best way to go about this battle is to go all out with attacking, and use an elemental attack as soon as possible. Repeat this until the Aggrevrikons are defeated.
Voltaic Canine – Thunderclaw Fiend Intel #6
Objectives:
- Pressure the
 Thunderclaw
 - Stagger the Thunderclaw
- Defeat the Thunderclaw within the time limit
The Voltaic Canine Fiend Intel is located southwest of Kalm in the westernmost part of the Wastelands. This time you will be fighting several Thunderclaws. There’s no huge trick here other than the fact that there are no elemental weaknesses. You will need to pressure them using status effects. This can be done by poisoning, putting them to sleep, or by stunning a Thunderclaw. It’s pretty easy to defeat them all within the time limit making this an easier group of challenges.
No Comments