
Lifeline in Peril is one of the first few side quests you’ll come across in the ![]() Grasslands of Final Fantasy VII Rebirth. It’ll require you to hunt down a hotshot mercenary and deliver a message for the mayor. On this page, we’ll navigate you through the necessary steps to finding the parts and defeating the
Grasslands of Final Fantasy VII Rebirth. It’ll require you to hunt down a hotshot mercenary and deliver a message for the mayor. On this page, we’ll navigate you through the necessary steps to finding the parts and defeating the ![]() Noxicaps.
Noxicaps.
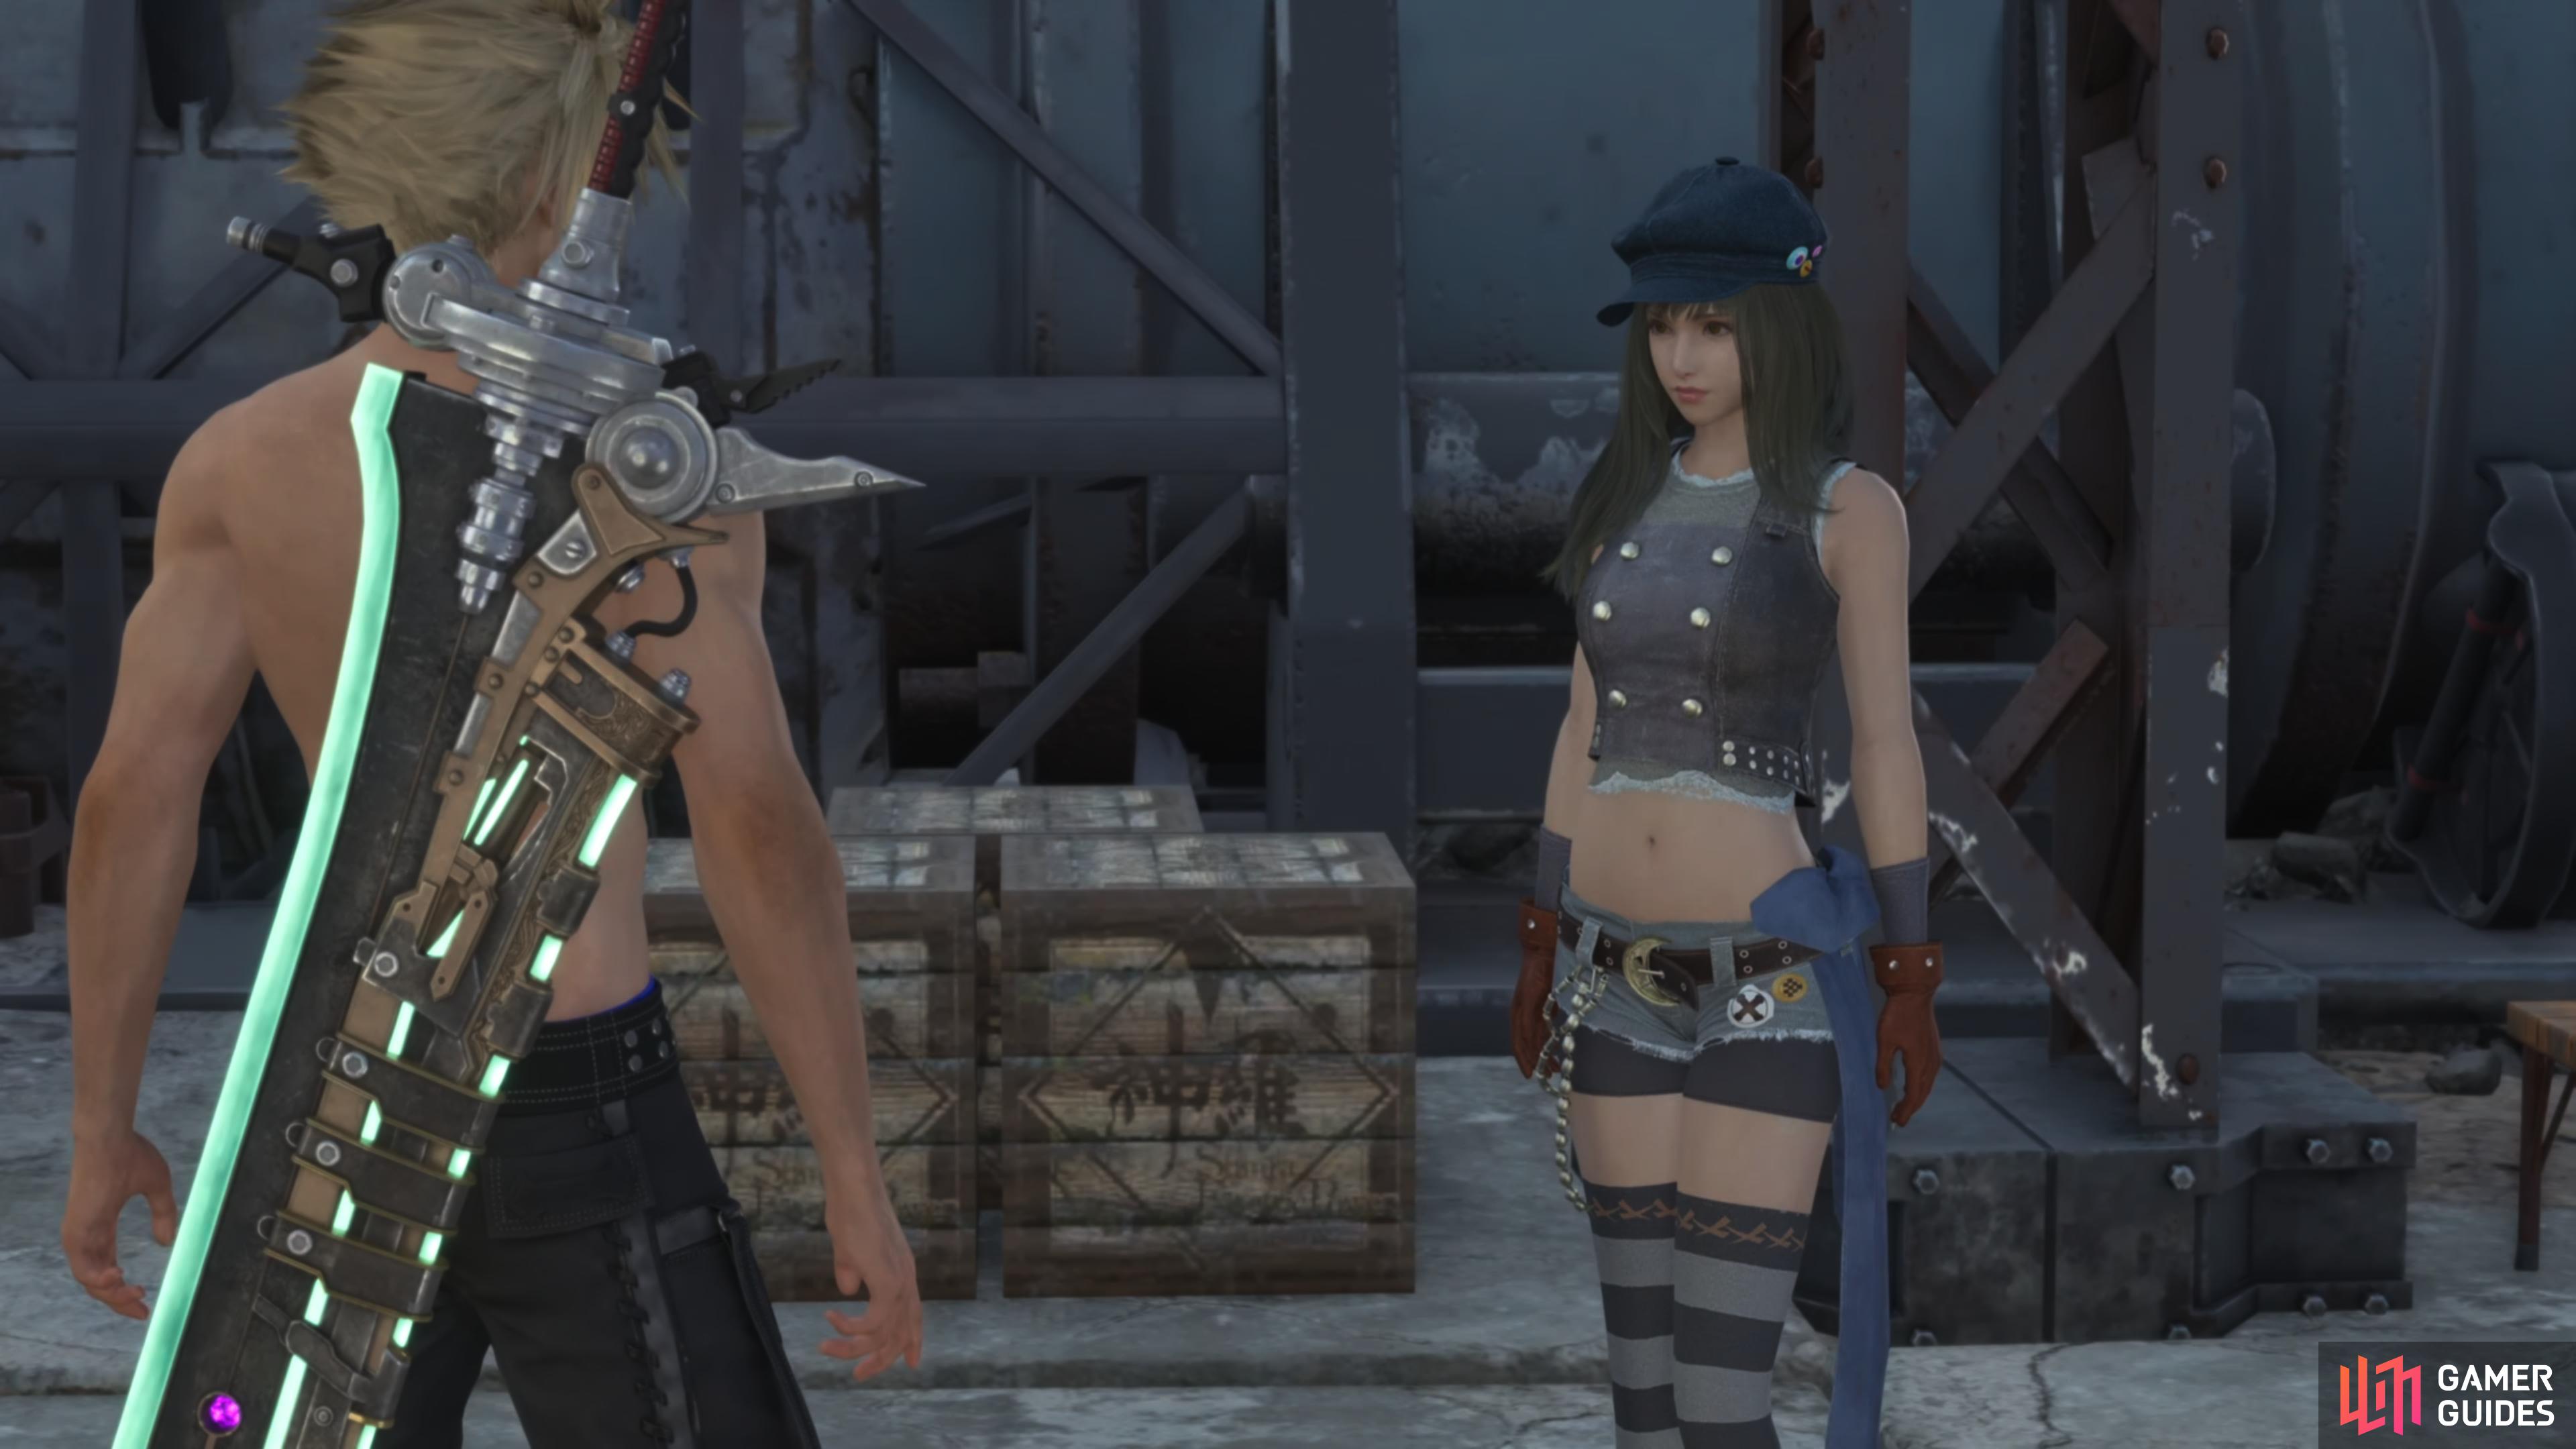
Kyrie is doing some unauthorized merc duties.
Starting the Lifeline in Peril Side Quest
The Lifeline in Peril Side Quest can be unlocked via the noticeboard which is located in the northern portion of ![]() Kalm once you’ve completed the main story quest Break in the Saddle. If you aren’t level 18 when you accept this quest, then we recommend that you do some world intel activities in the Grasslands to gain some levels before you continue. You’ll also want to make sure you’ve got the strongest weapons available for your party at this stage of the game.
Kalm once you’ve completed the main story quest Break in the Saddle. If you aren’t level 18 when you accept this quest, then we recommend that you do some world intel activities in the Grasslands to gain some levels before you continue. You’ll also want to make sure you’ve got the strongest weapons available for your party at this stage of the game.
| Name | Locations |
|---|---|
| Chest at the Abandoned Dock in the |
|
Gather The Parts Needed to Repair the Mako Pipeline
Once you’ve accepted the side quest, head to the Mako Pipeline Maintenance Warehouse which is located to the southeast of the Wastelands Tower. When you arrive you’ll be greeted by Kyrie and she needs your help tracking down 1-3 Slabs of Rusted Sheet Metal and 2-5 Corroded Nails before she can repair the Mako Pipeline. You can progress the side quest by finding the minimum amount, but if you find the full set, then you’ll be rewarded with 3,000 gil.
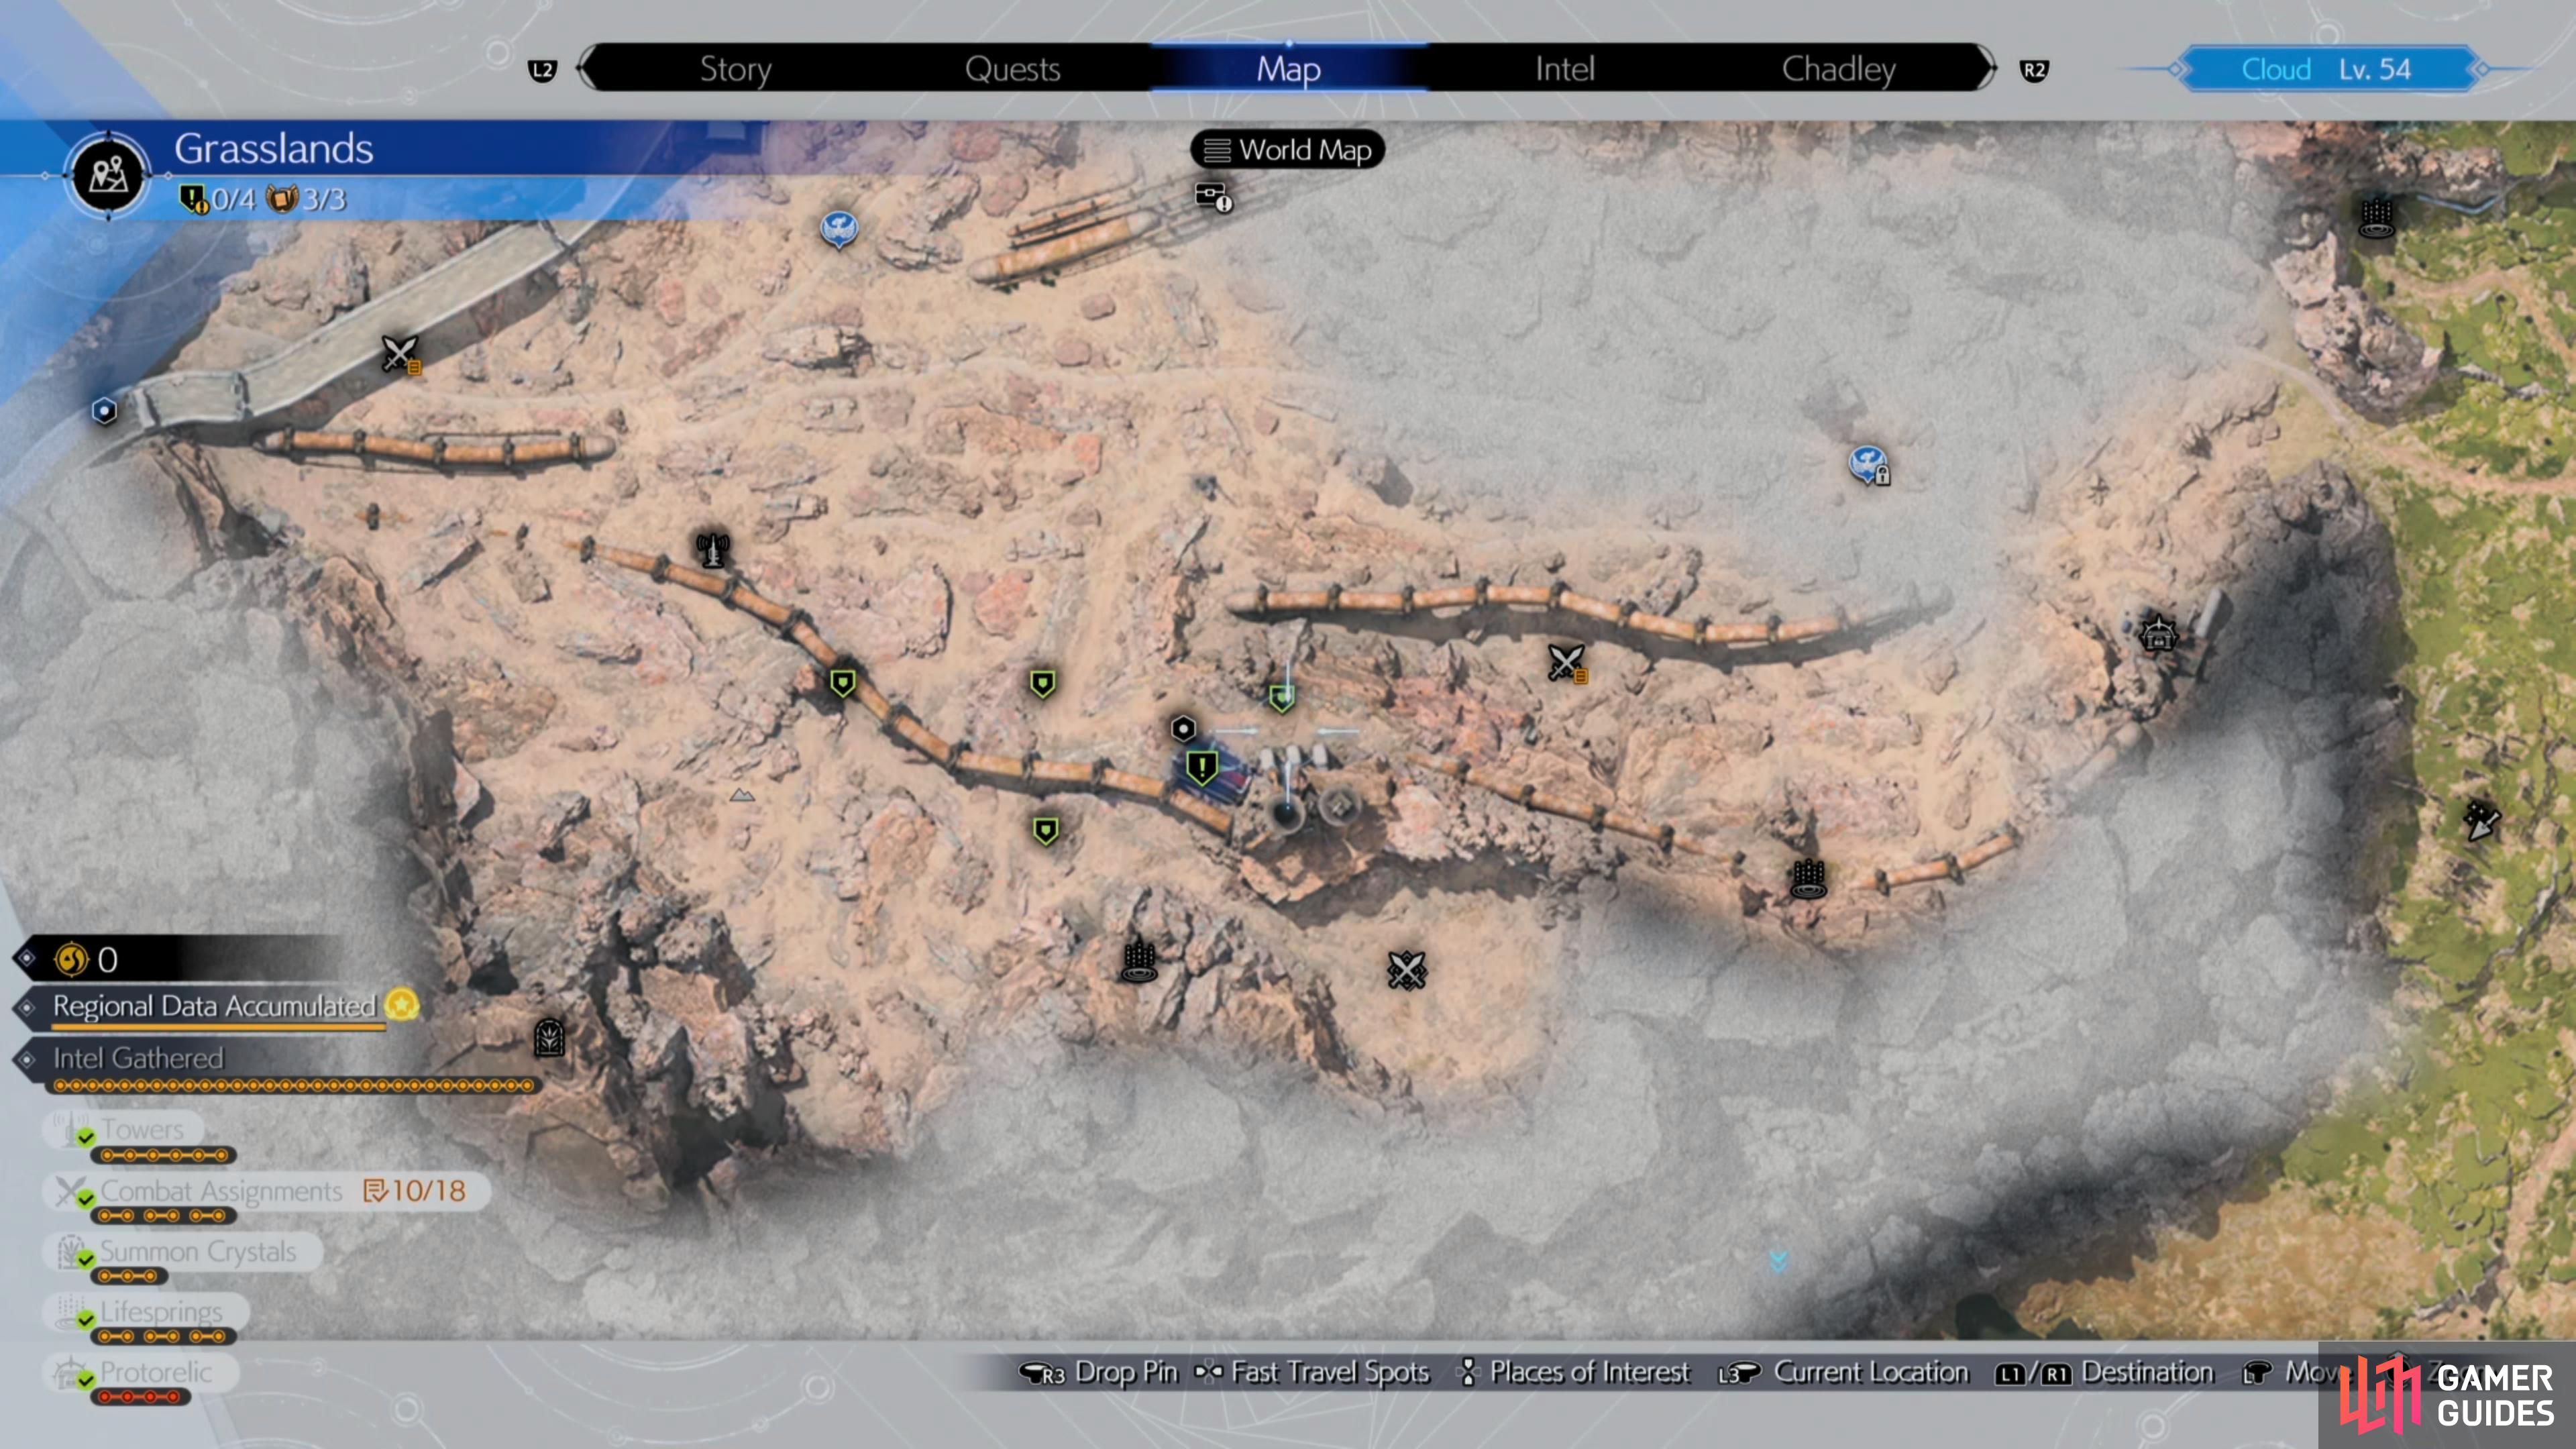

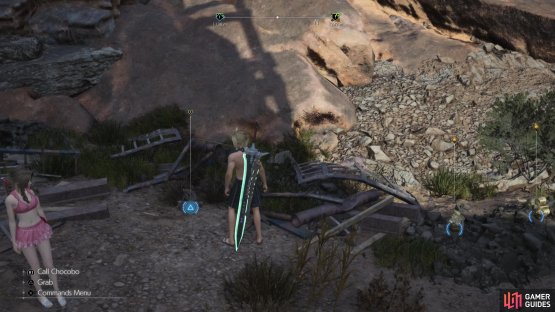
(1 of 2) Head to the marked locations around the warehouse

Head to the marked locations around the warehouse (left), and collect the parts. (right)
Quickly gather the parts by heading over to the marked locations around the warehouse, then deliver them to Kyrie. You’ll now want to follow her to the damaged pipe while clearing out any fiends along the way and then you’ll need to take down multiple Noxicaps while she makes the repairs. These can be easily dealt with by pressuring them with ![]() Fire Spells then follow up with Cloud’s
Fire Spells then follow up with Cloud’s ![]() Focused Thrust to stagger it. Once the repairs have been successfully made, return to Kalm and inform the mayor to bring the quest to a close. Completing this side quest will reward you with 3000 gil.
Focused Thrust to stagger it. Once the repairs have been successfully made, return to Kalm and inform the mayor to bring the quest to a close. Completing this side quest will reward you with 3000 gil.
No Comments