
In Chapter 6 of Final Fantasy VII Rebirth, you will arrive in Costa del Sol, which is located in the Corel region. However, you won’t get a start with exploring the Corel region until Chapter 7 and even then, it’s pretty limited. It isn’t until Chapter 9 that the entirety of Corel opens up to you. Like with other regions, there are plenty of World Intel to find, including Expedition Intel. There are six pieces of Expedition Intel to find in Corel, two of which you can get as soon as Chapter 7, and the other four become available in Chapter 9.
Expedition Intel 1: Secluded Grotto Lifespring
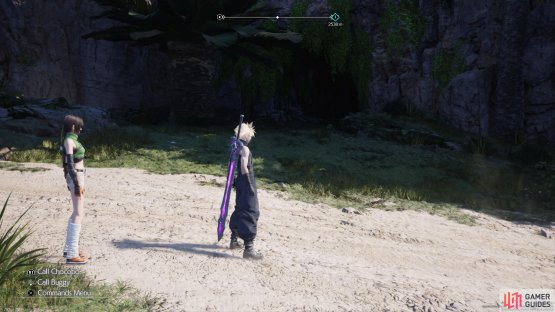
The first two Lifesprings can be found in the area right outside of Costa del Sol. Follow the path from the exit of Costa del Sol, until you get to the split, where you should head south. While traversing this path, you will see a wooden structure to your north. Once you reach the western end of that structure, look to the south. Although it’s difficult to see, there’s actually a cave entrance here, right next to a short tree. Pass through this small cave to find the Lifespring on the other side.
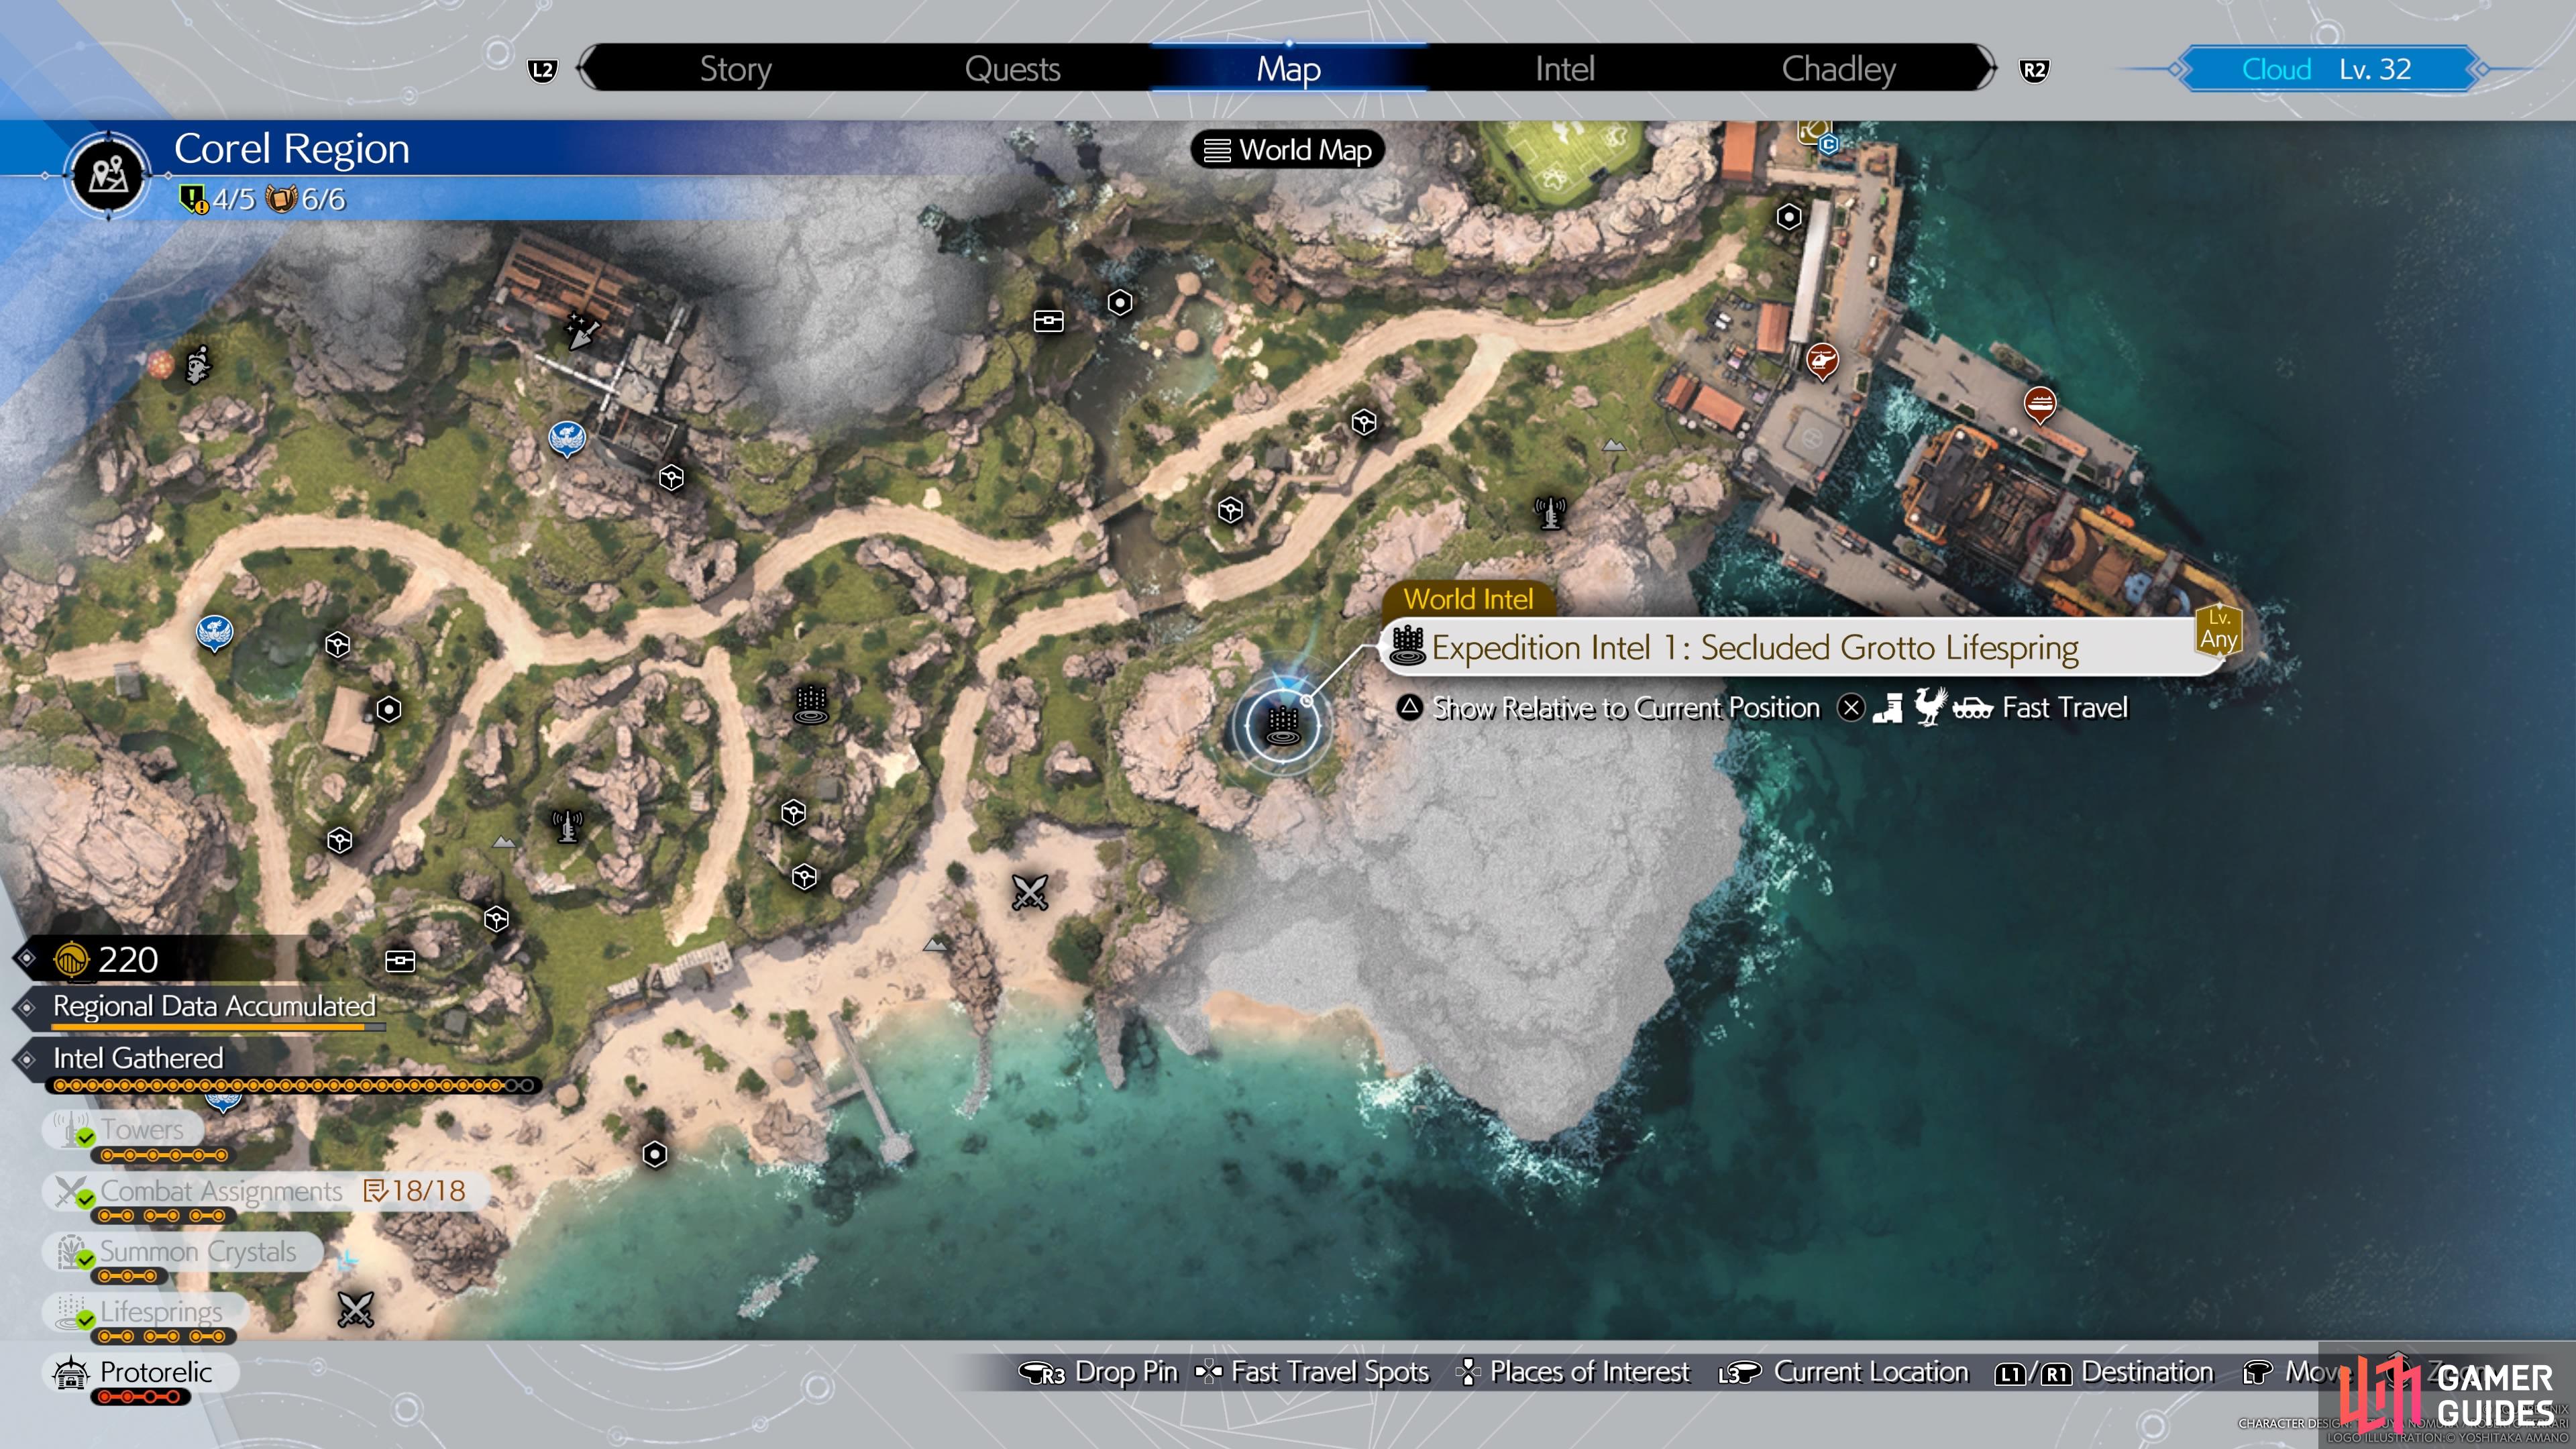

(1 of 2) The location of the first Lifespring on the map.
The location of the first Lifespring on the map. (left), Go through this small cave next to the short, fat ttree, to find the Lifespring. (right)
Expedition Intel 2: Glencross Lifespring
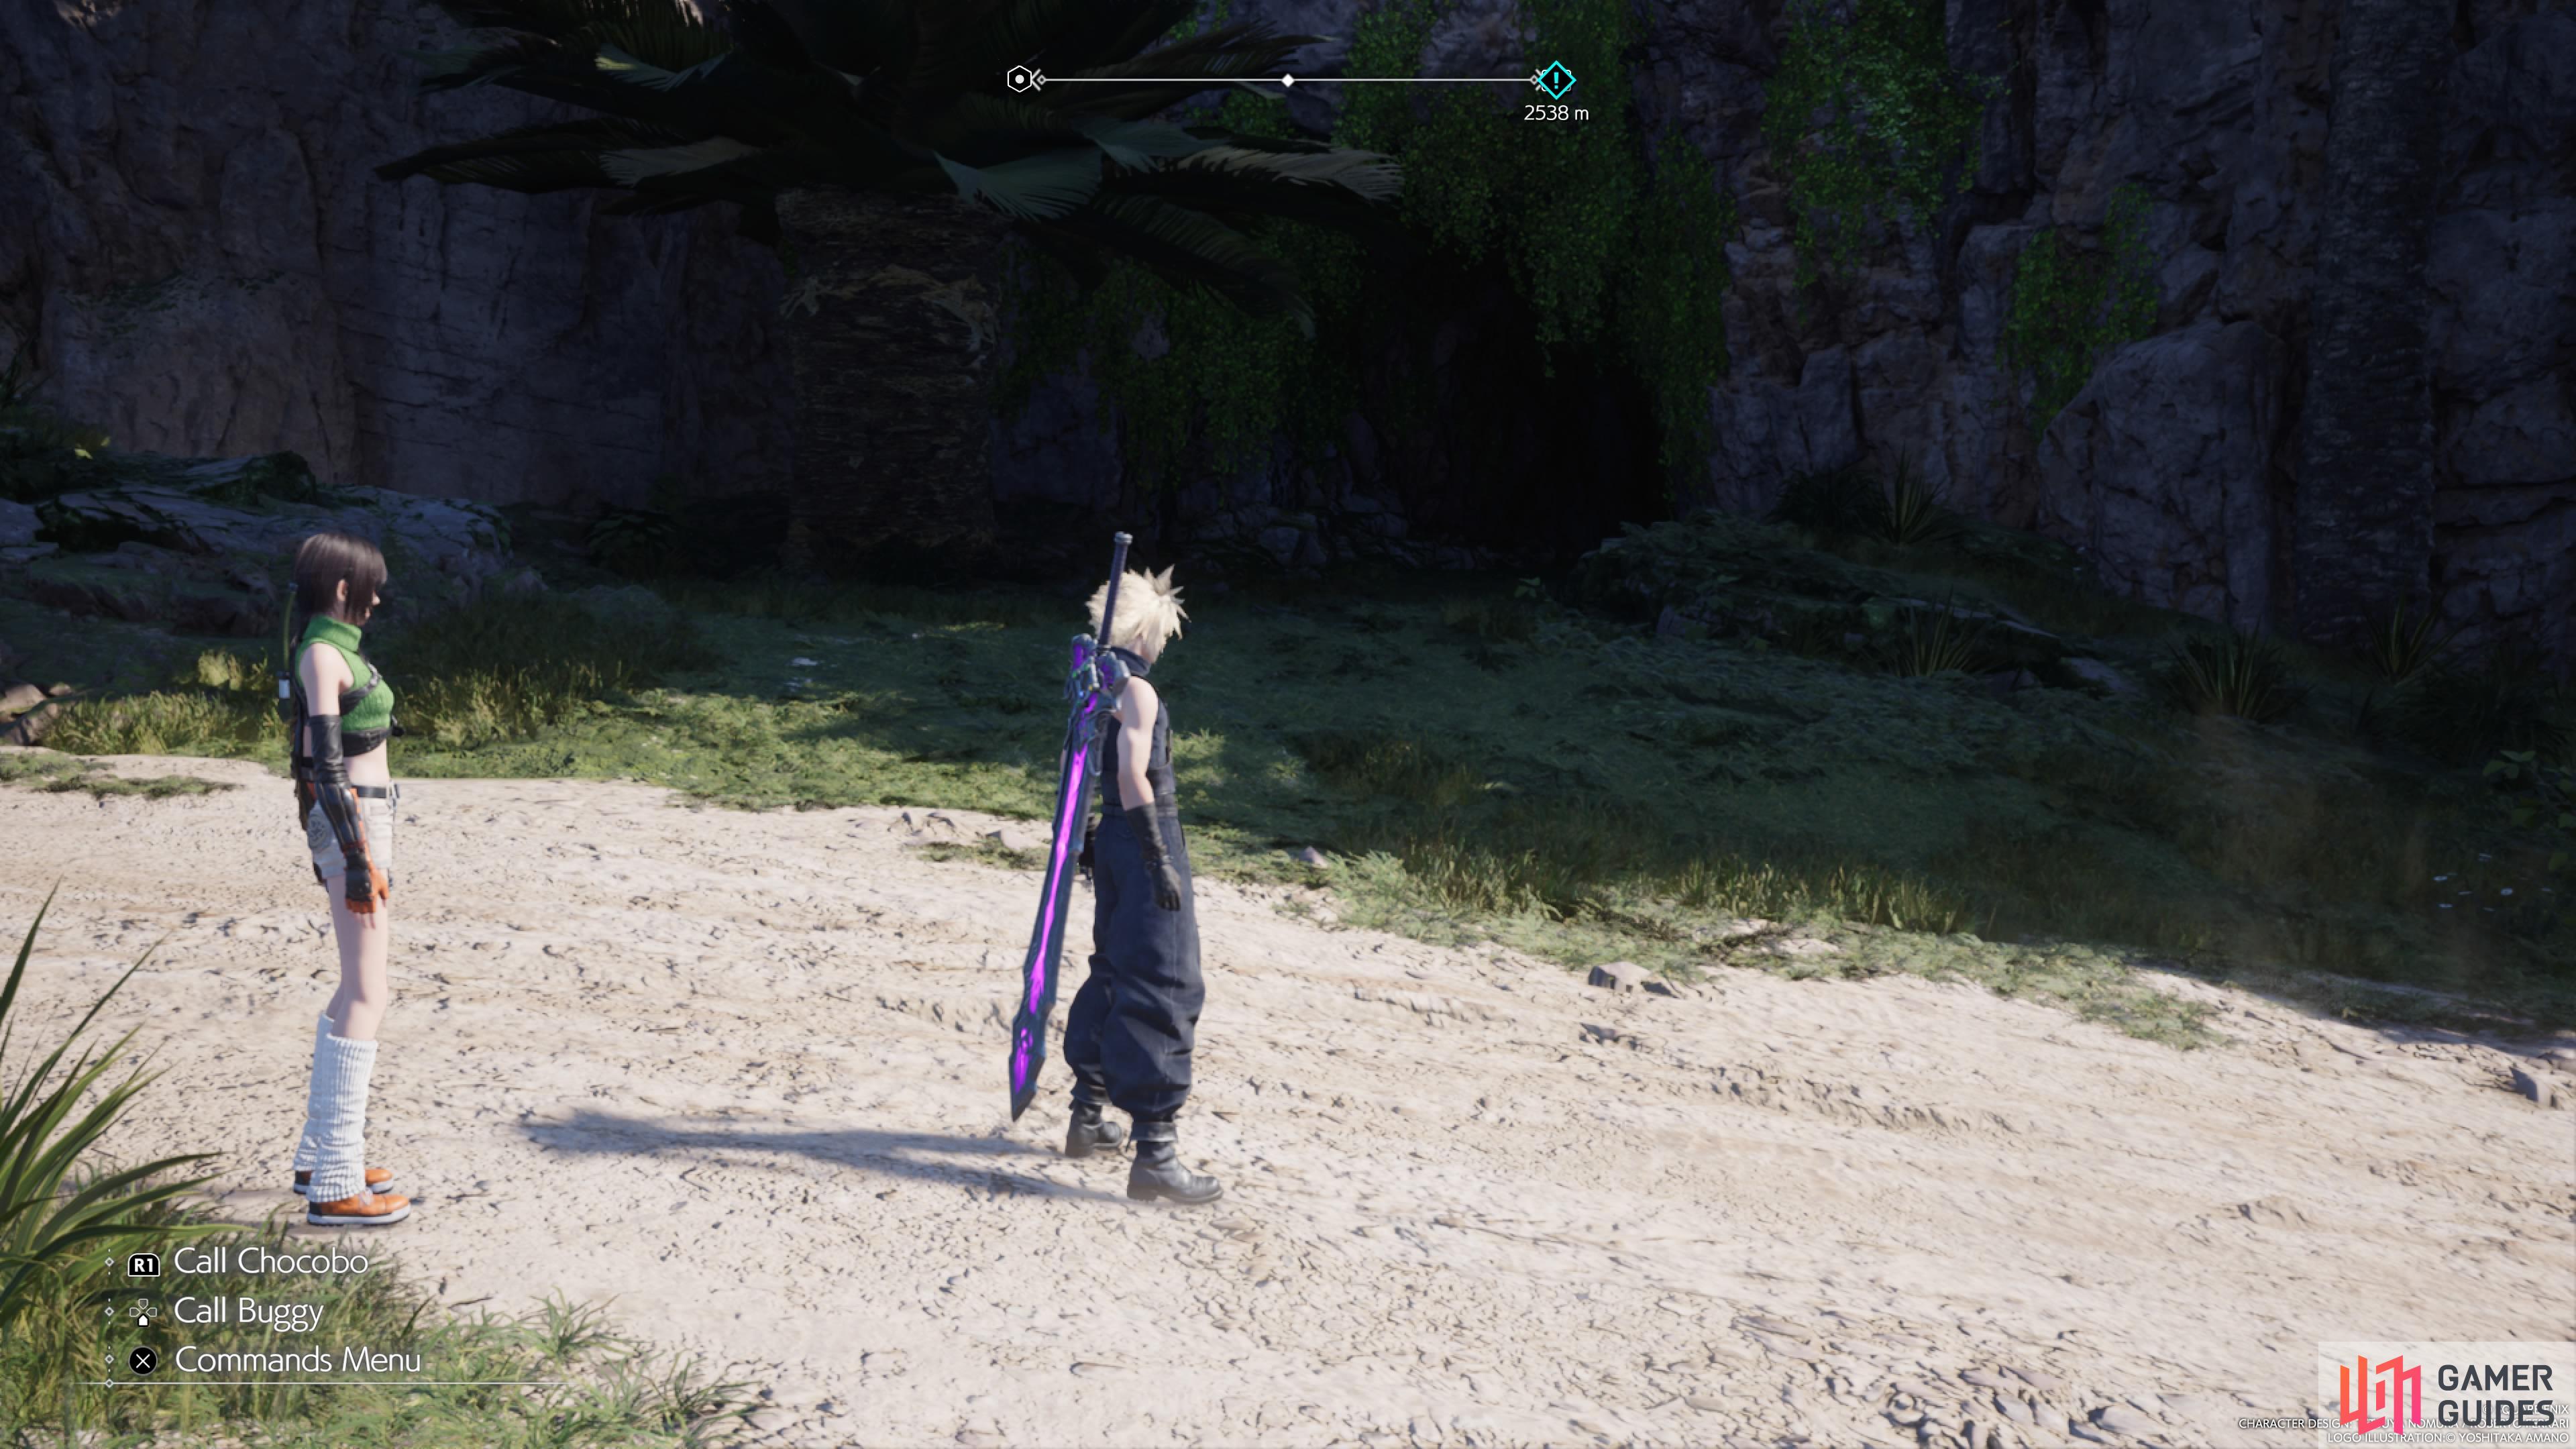
From the first Lifespring, get back on the path and cross the small bridge to the west. As the path bends to the south, you will see a climbable wall on your right. Go up that, take the rightmost path (there should be three to choose from), and then immediately look to the left to spot the Lifespring.
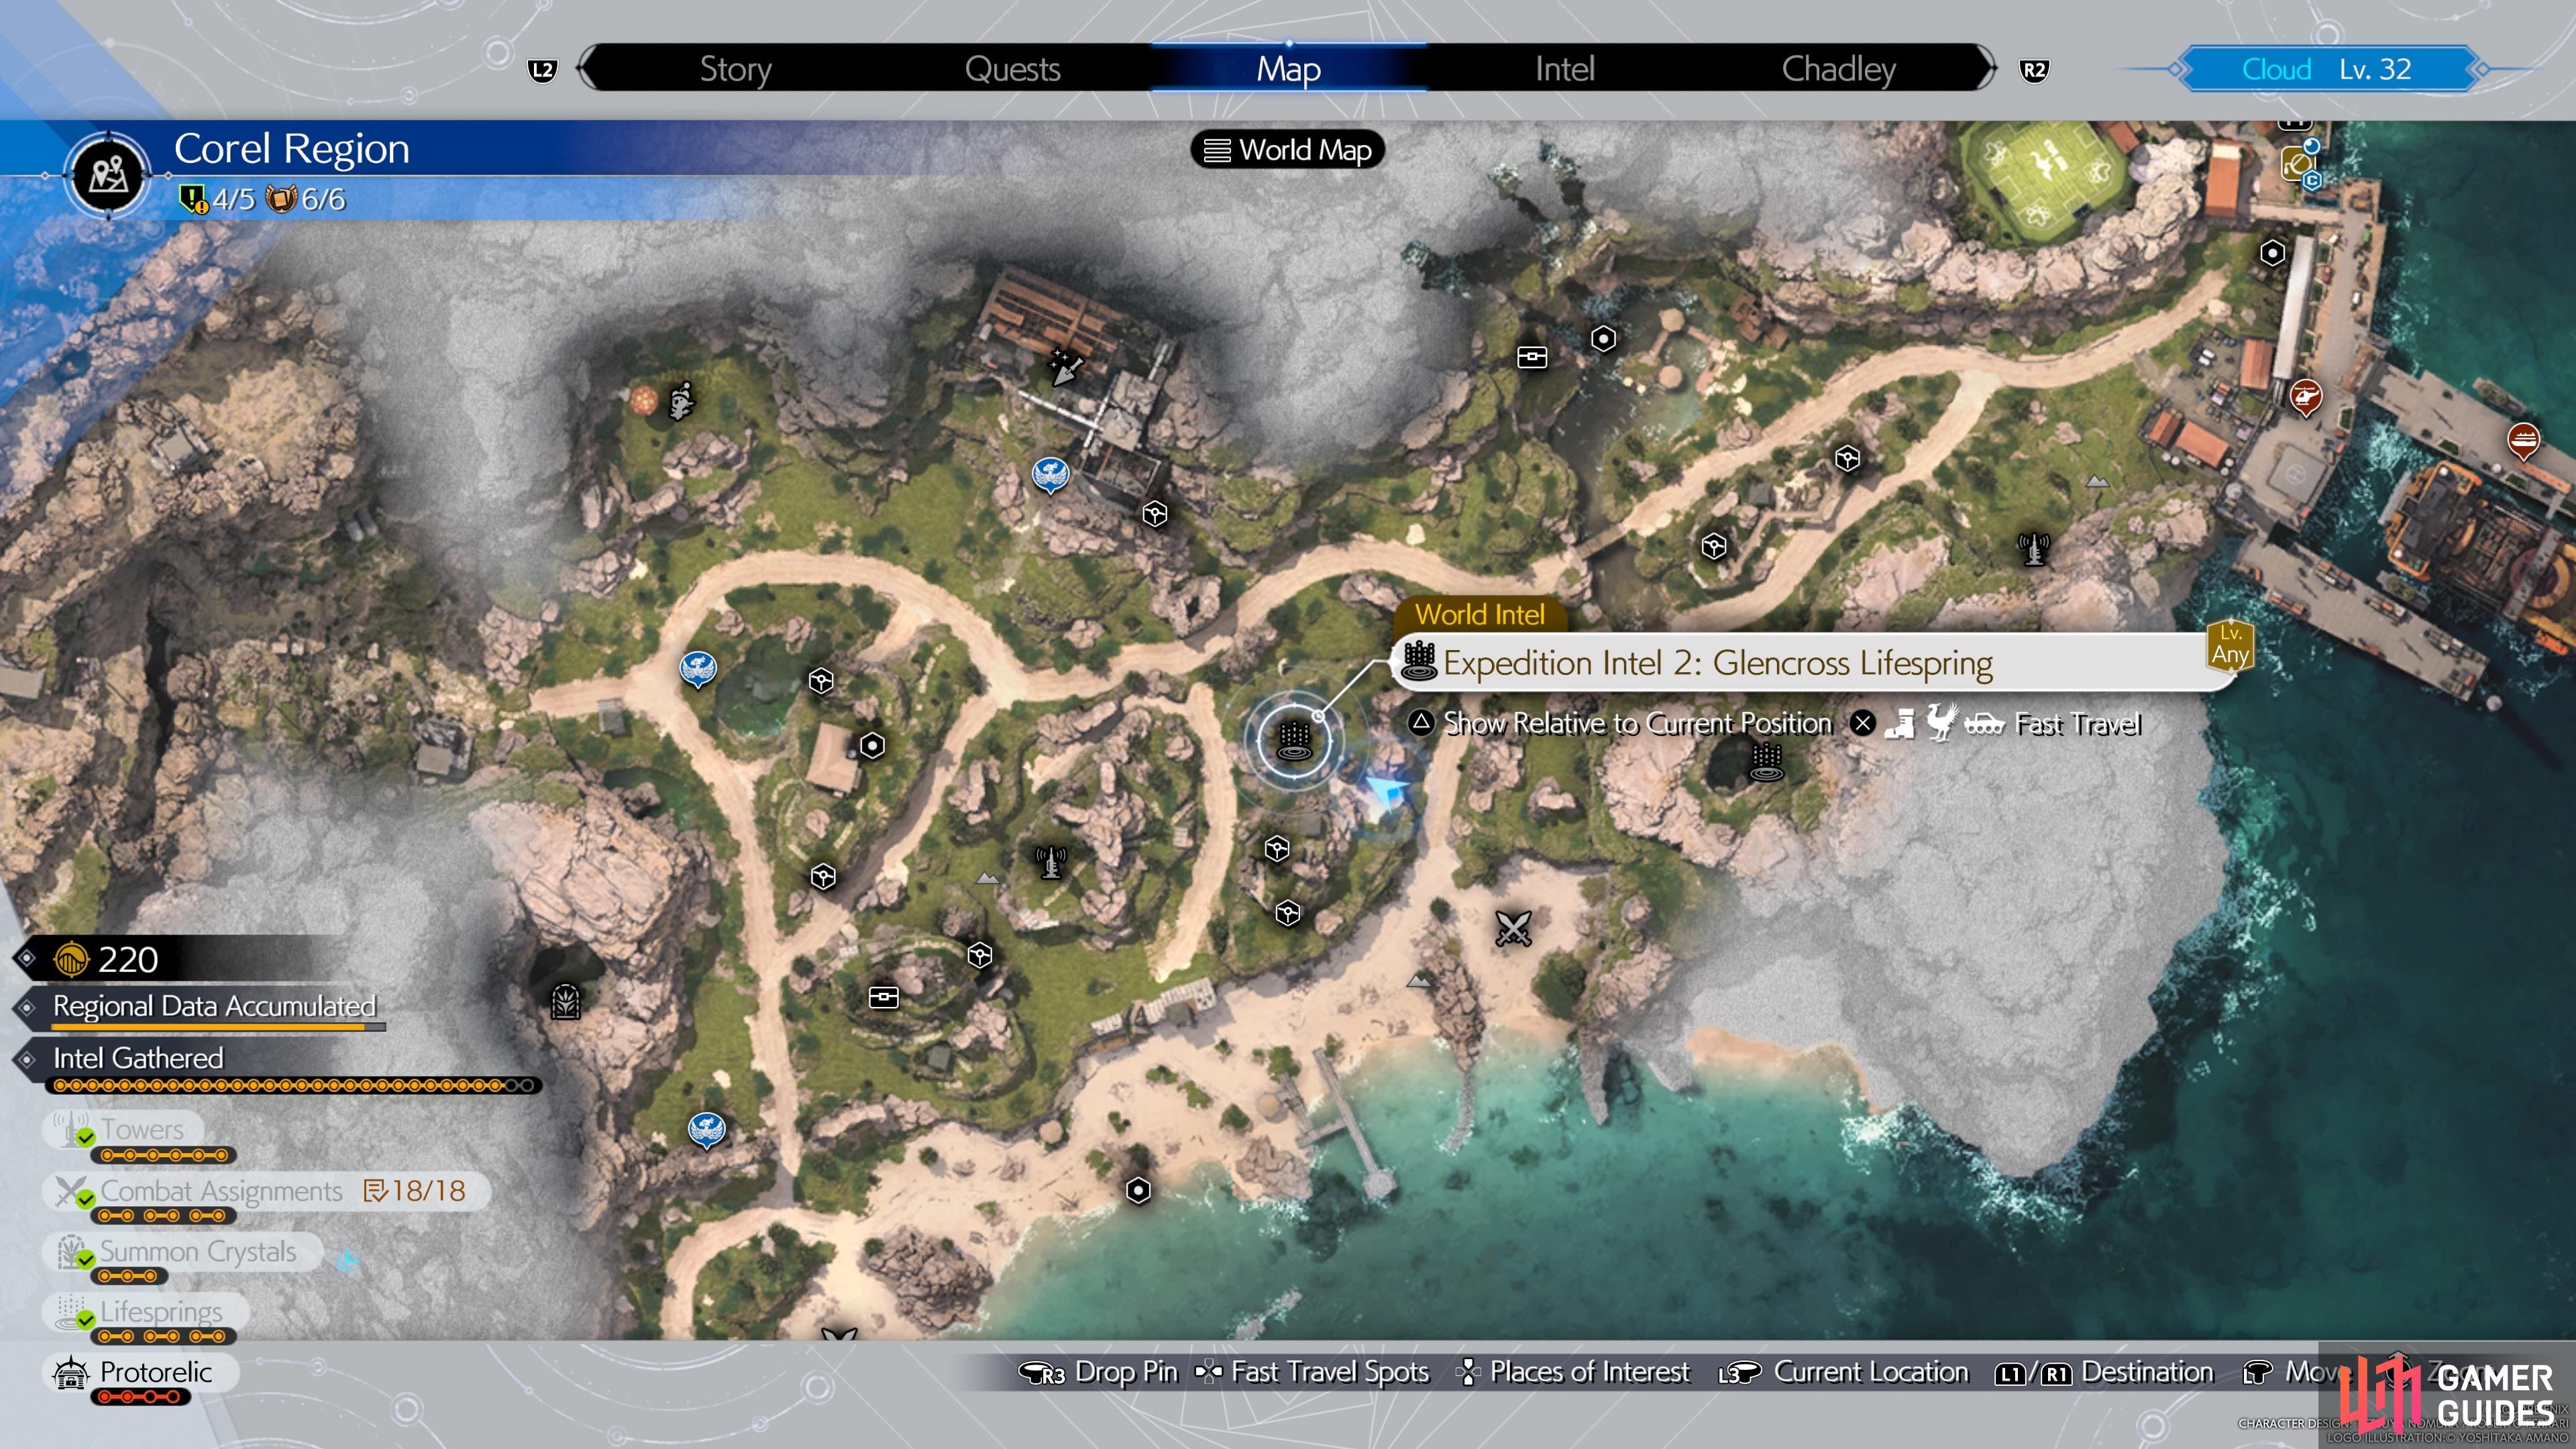

(1 of 3) The location of the second Lifespring on the map.
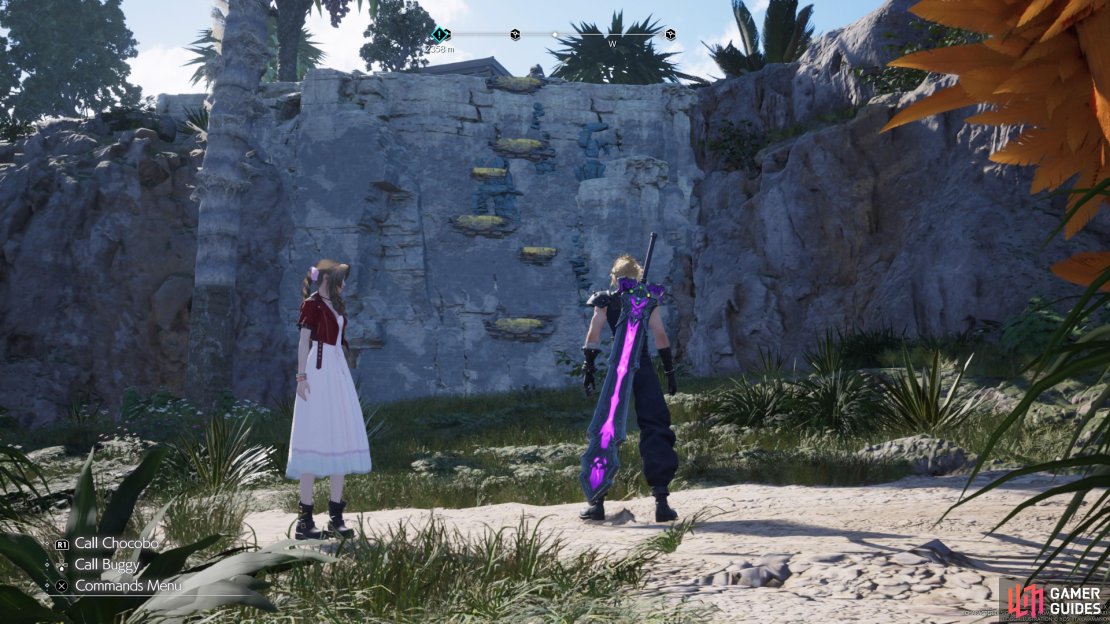
Expedition Intel 3: Oasis Lifespring
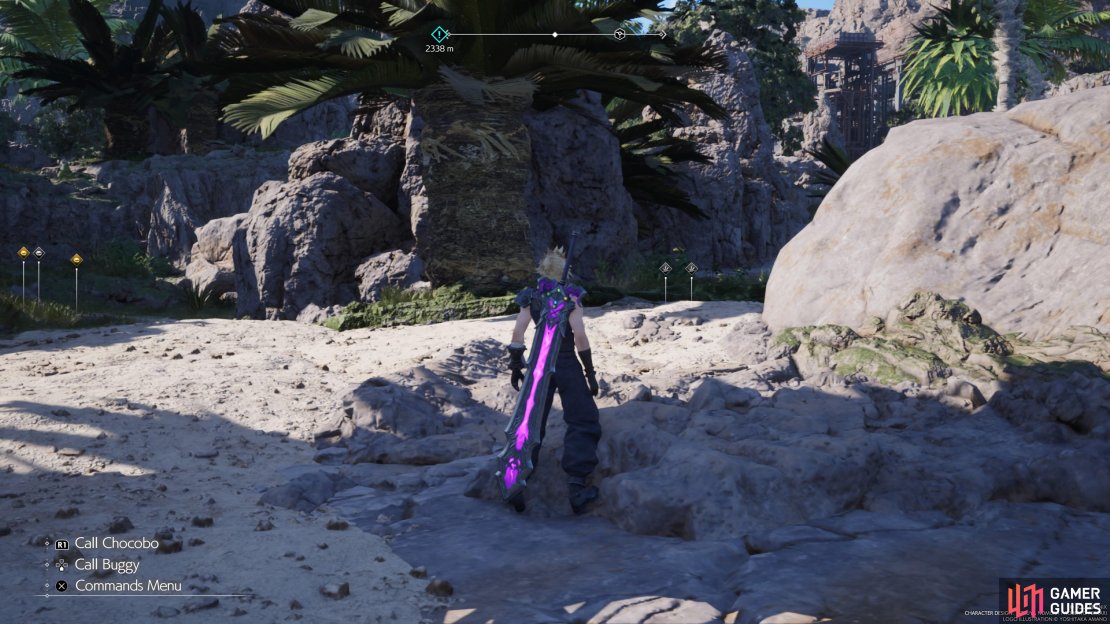
The rest of the Lifesprings in the Corel region cannot be gotten until Chapter 9. For the third one, start from the third tower (Wasteland Tower) and find the road just east of it. When you reach the Sundappled Storehouses cache location, you will be able to go directly southwest of it to find this Lifespring out in the open.
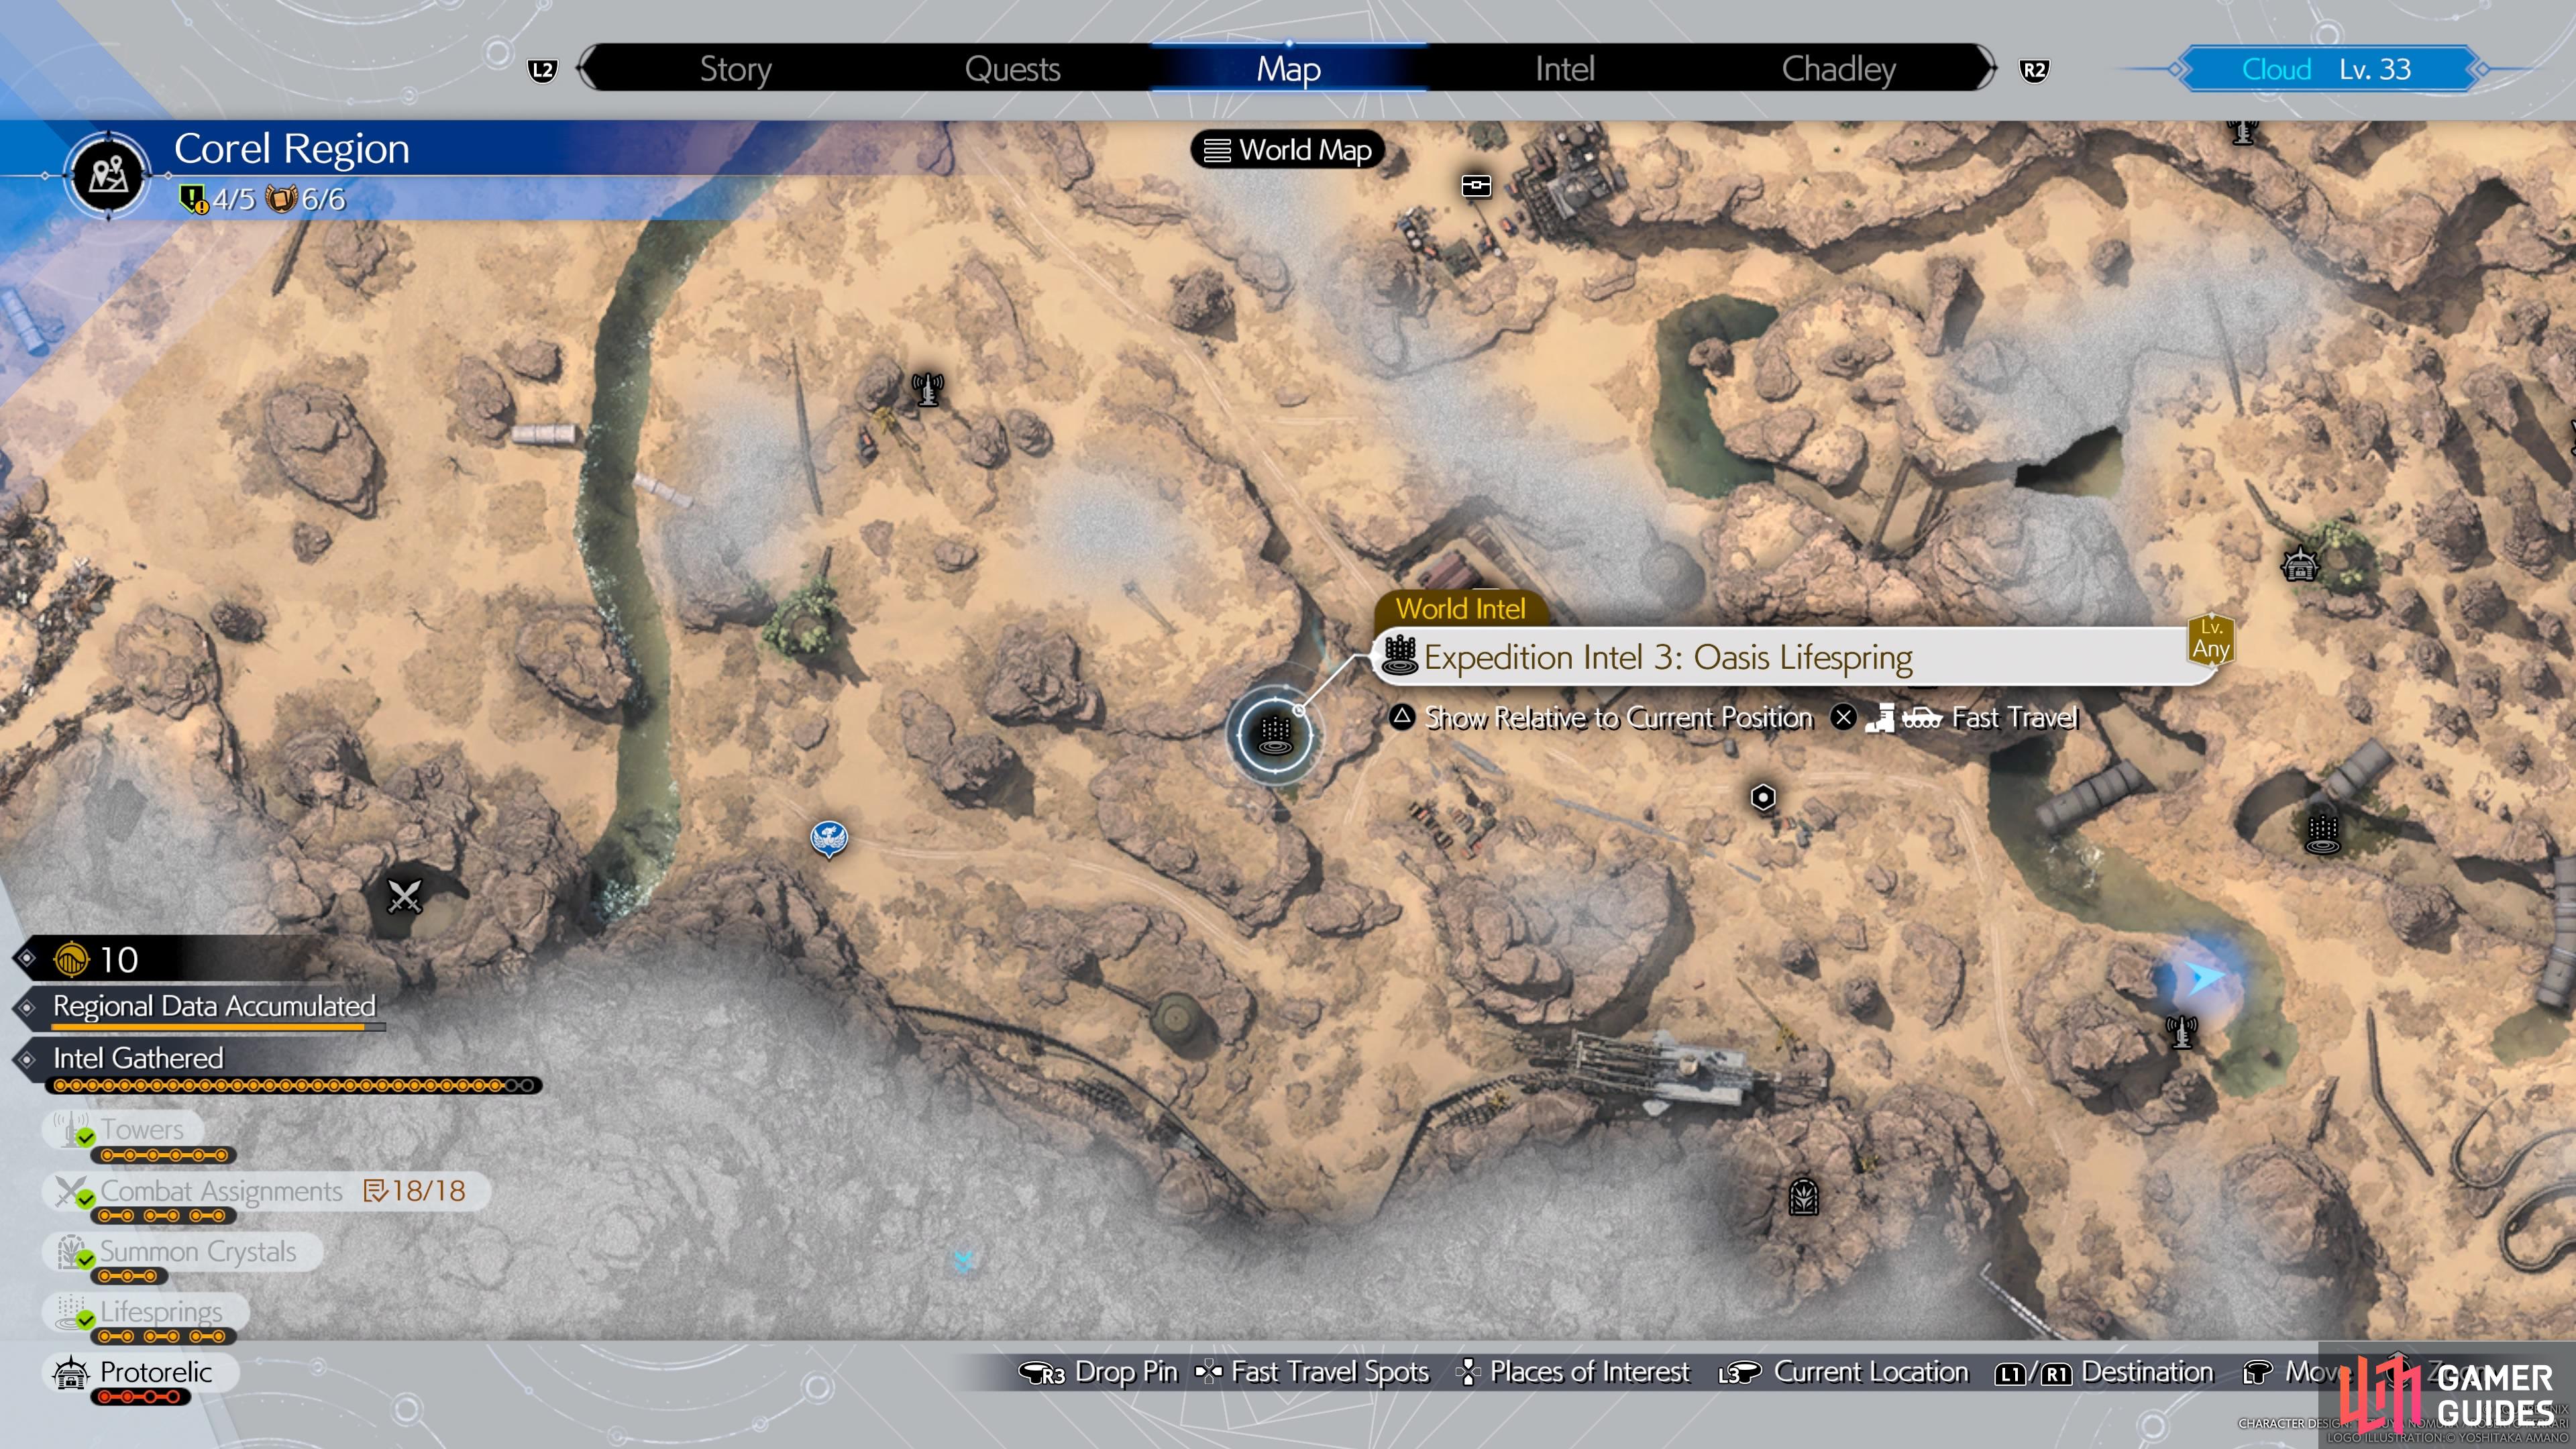


(1 of 2) The location of the third Lifespring on the map.
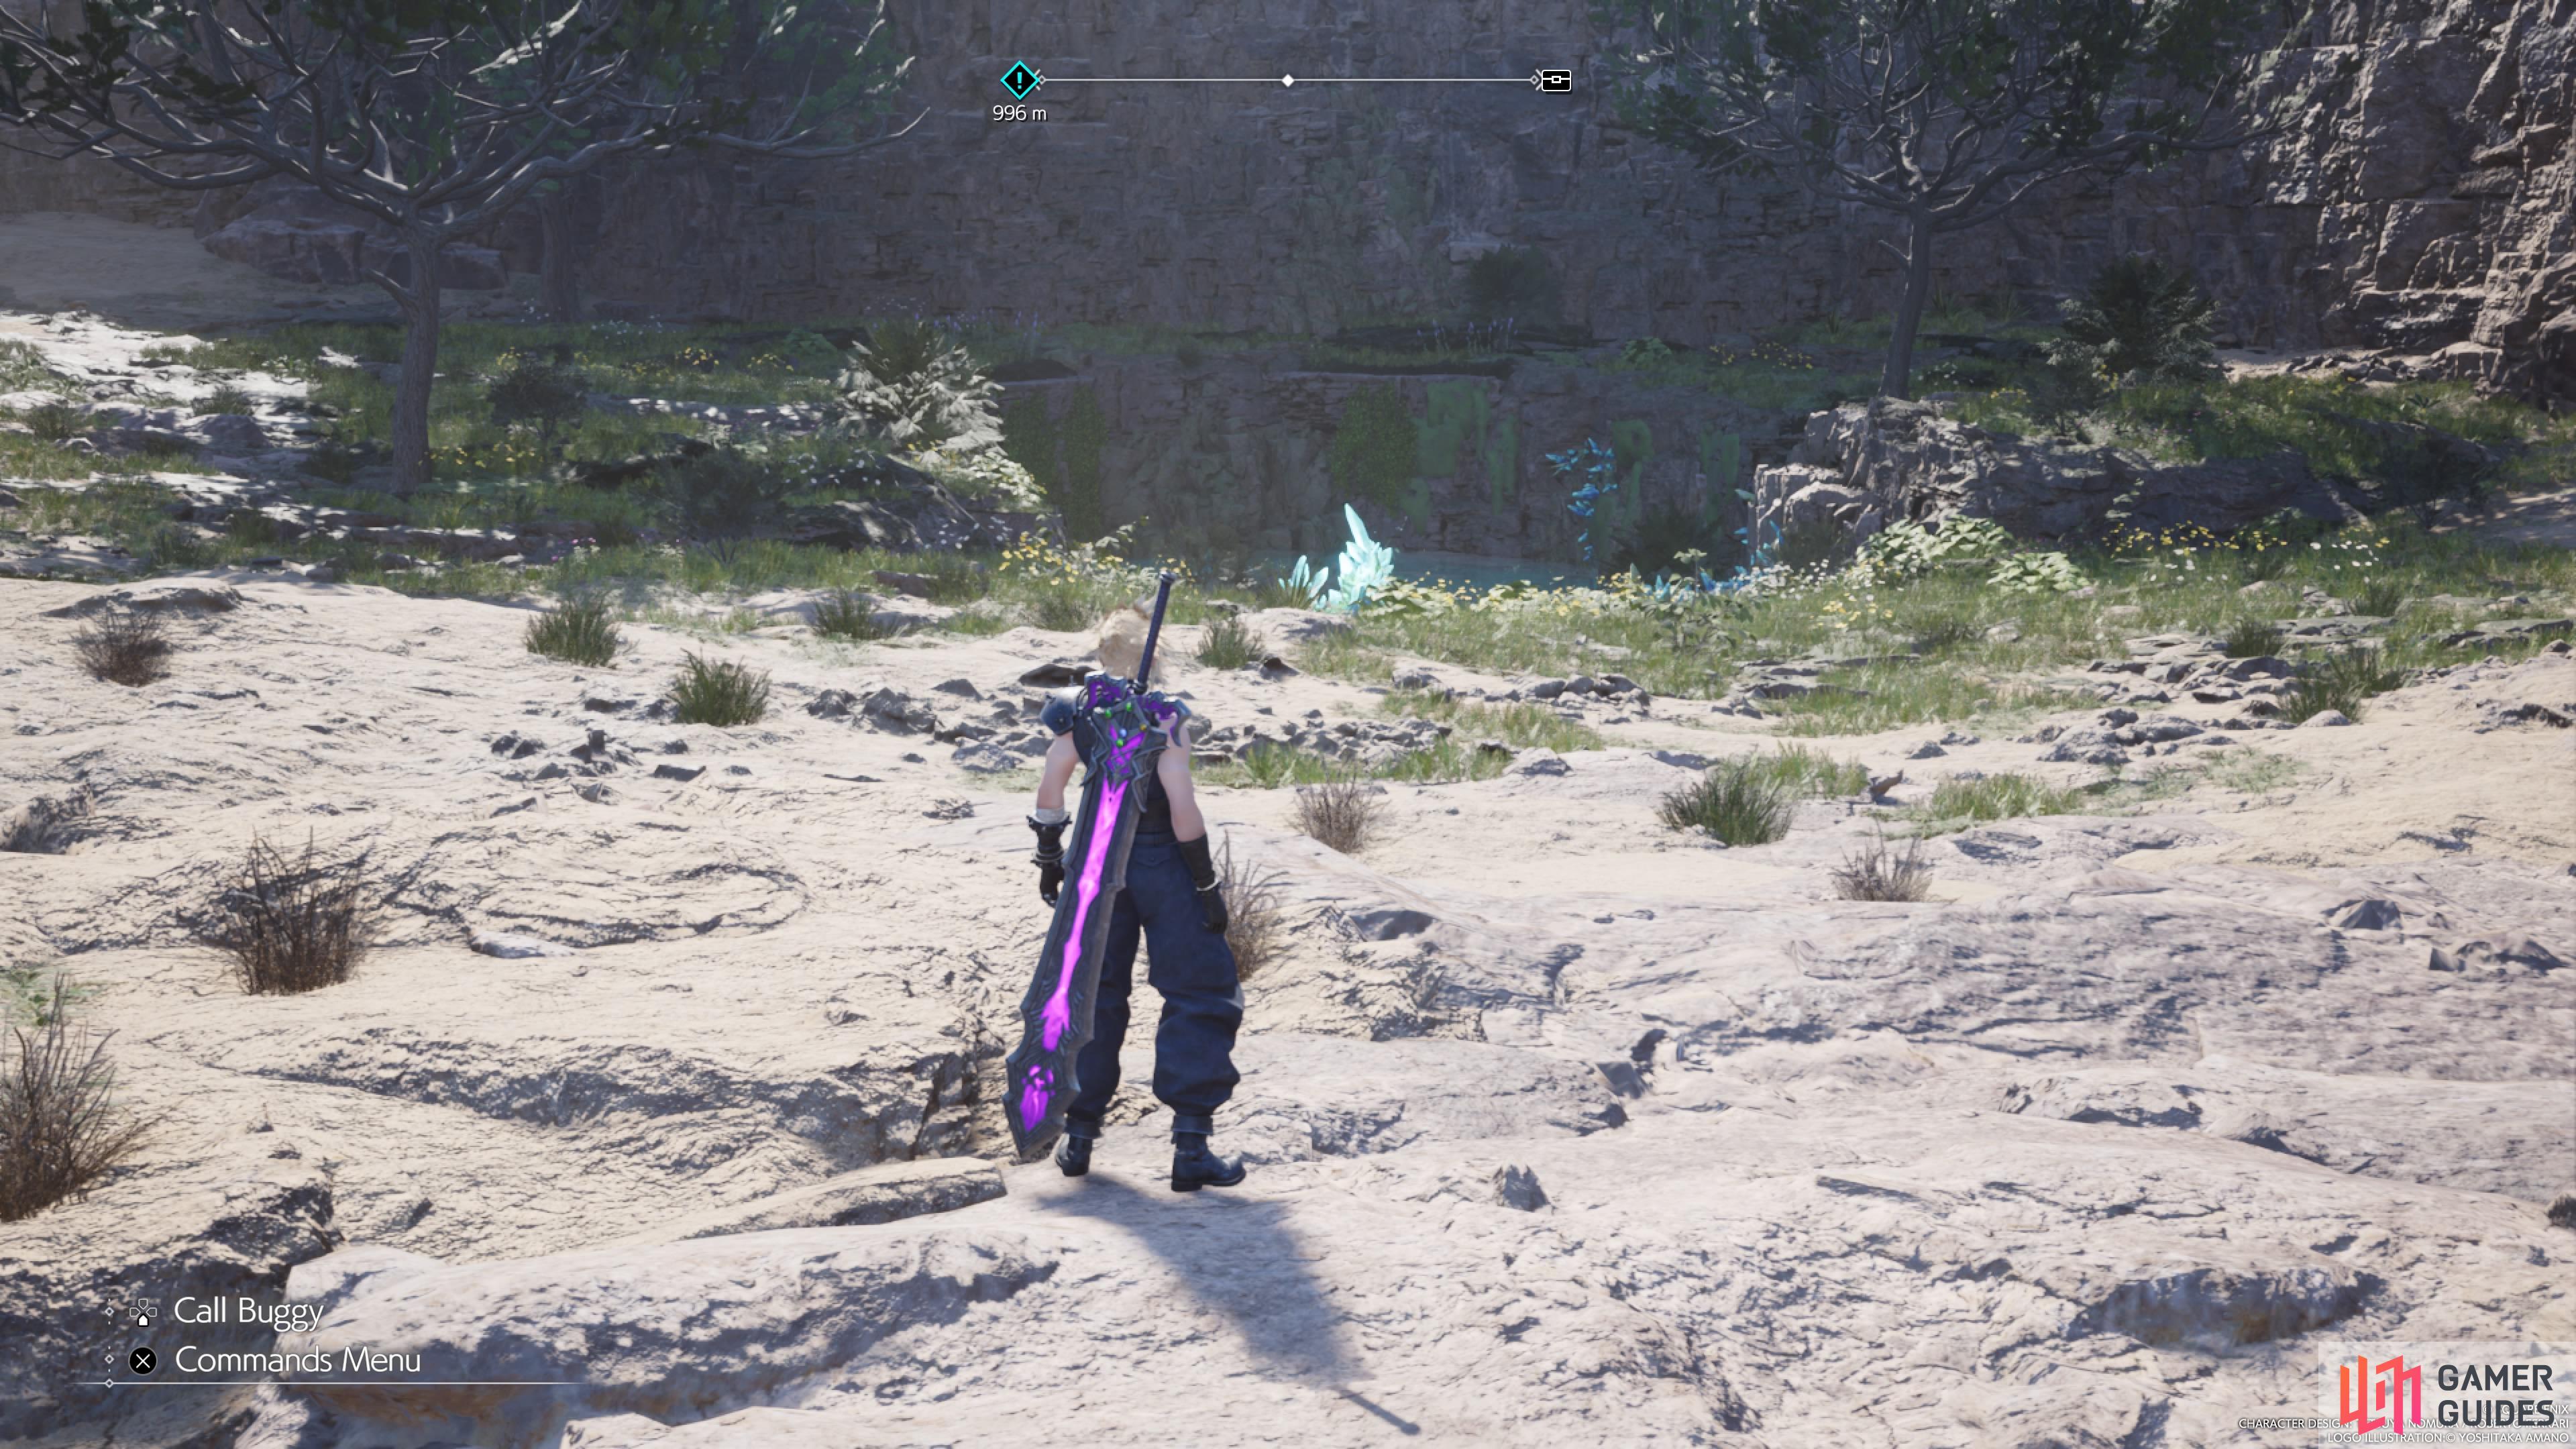
The location of the third Lifespring on the map. (left), It will be just southwest of the Sundappled Storehouses cache location. (right)
Expedition Intel 4: Watermain Lifespring
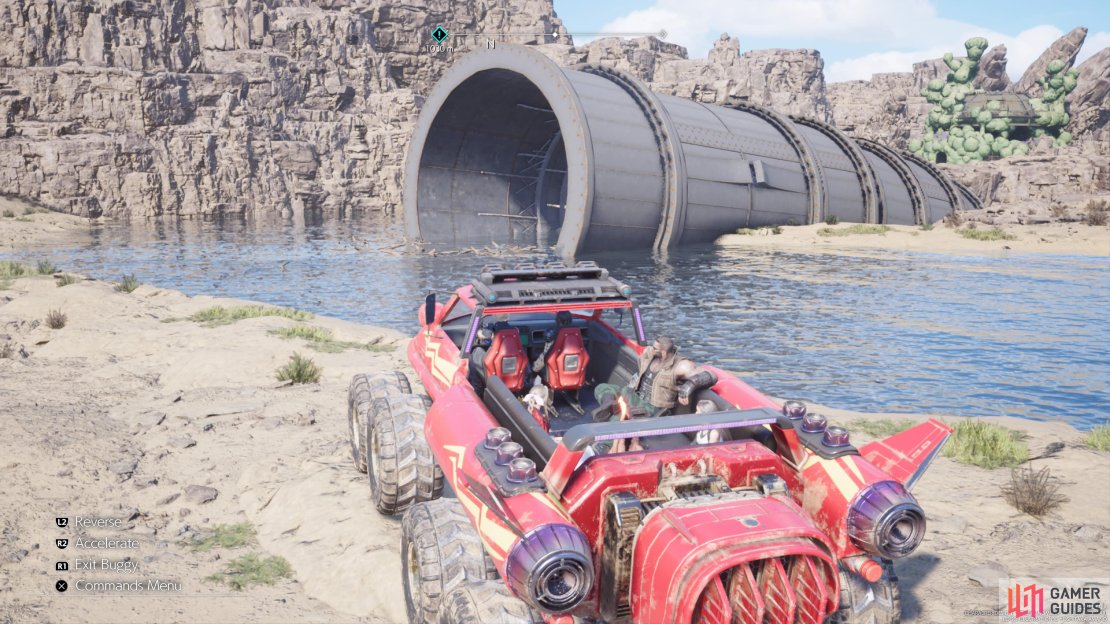
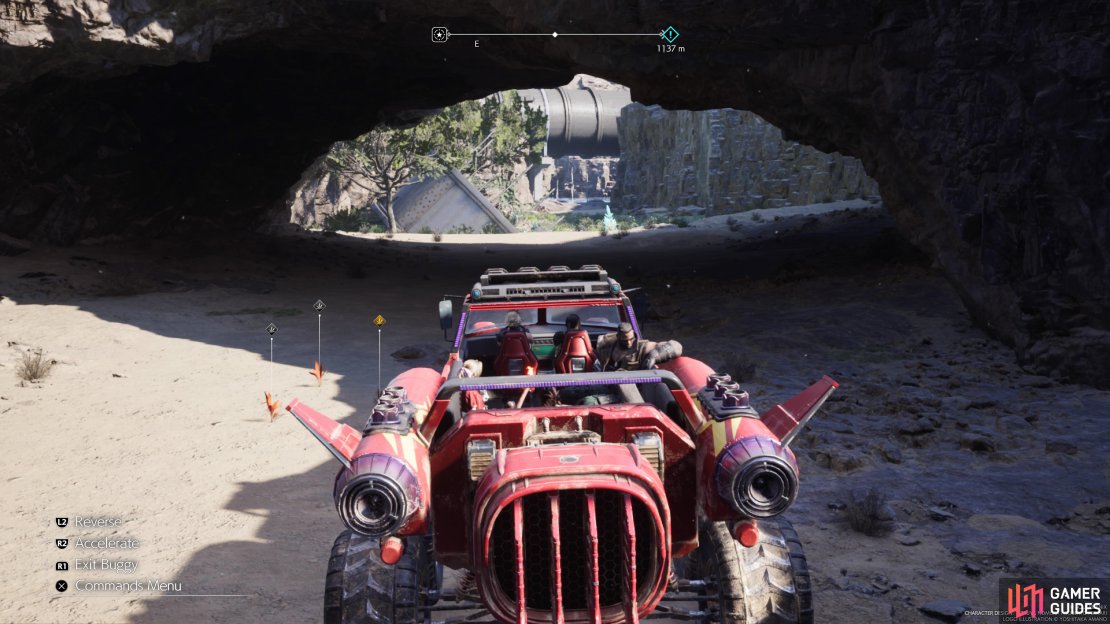
The fourth Lifespring is found close to the fourth tower, Riverside Tower. It’s just a little bit northeast of it, but the Lifespring will be in a ravine. To get to it, look northwest of the tower for a large metal tube. Use your Buggy to drive through this tube, then head a little southeast to reach the Lifespring.
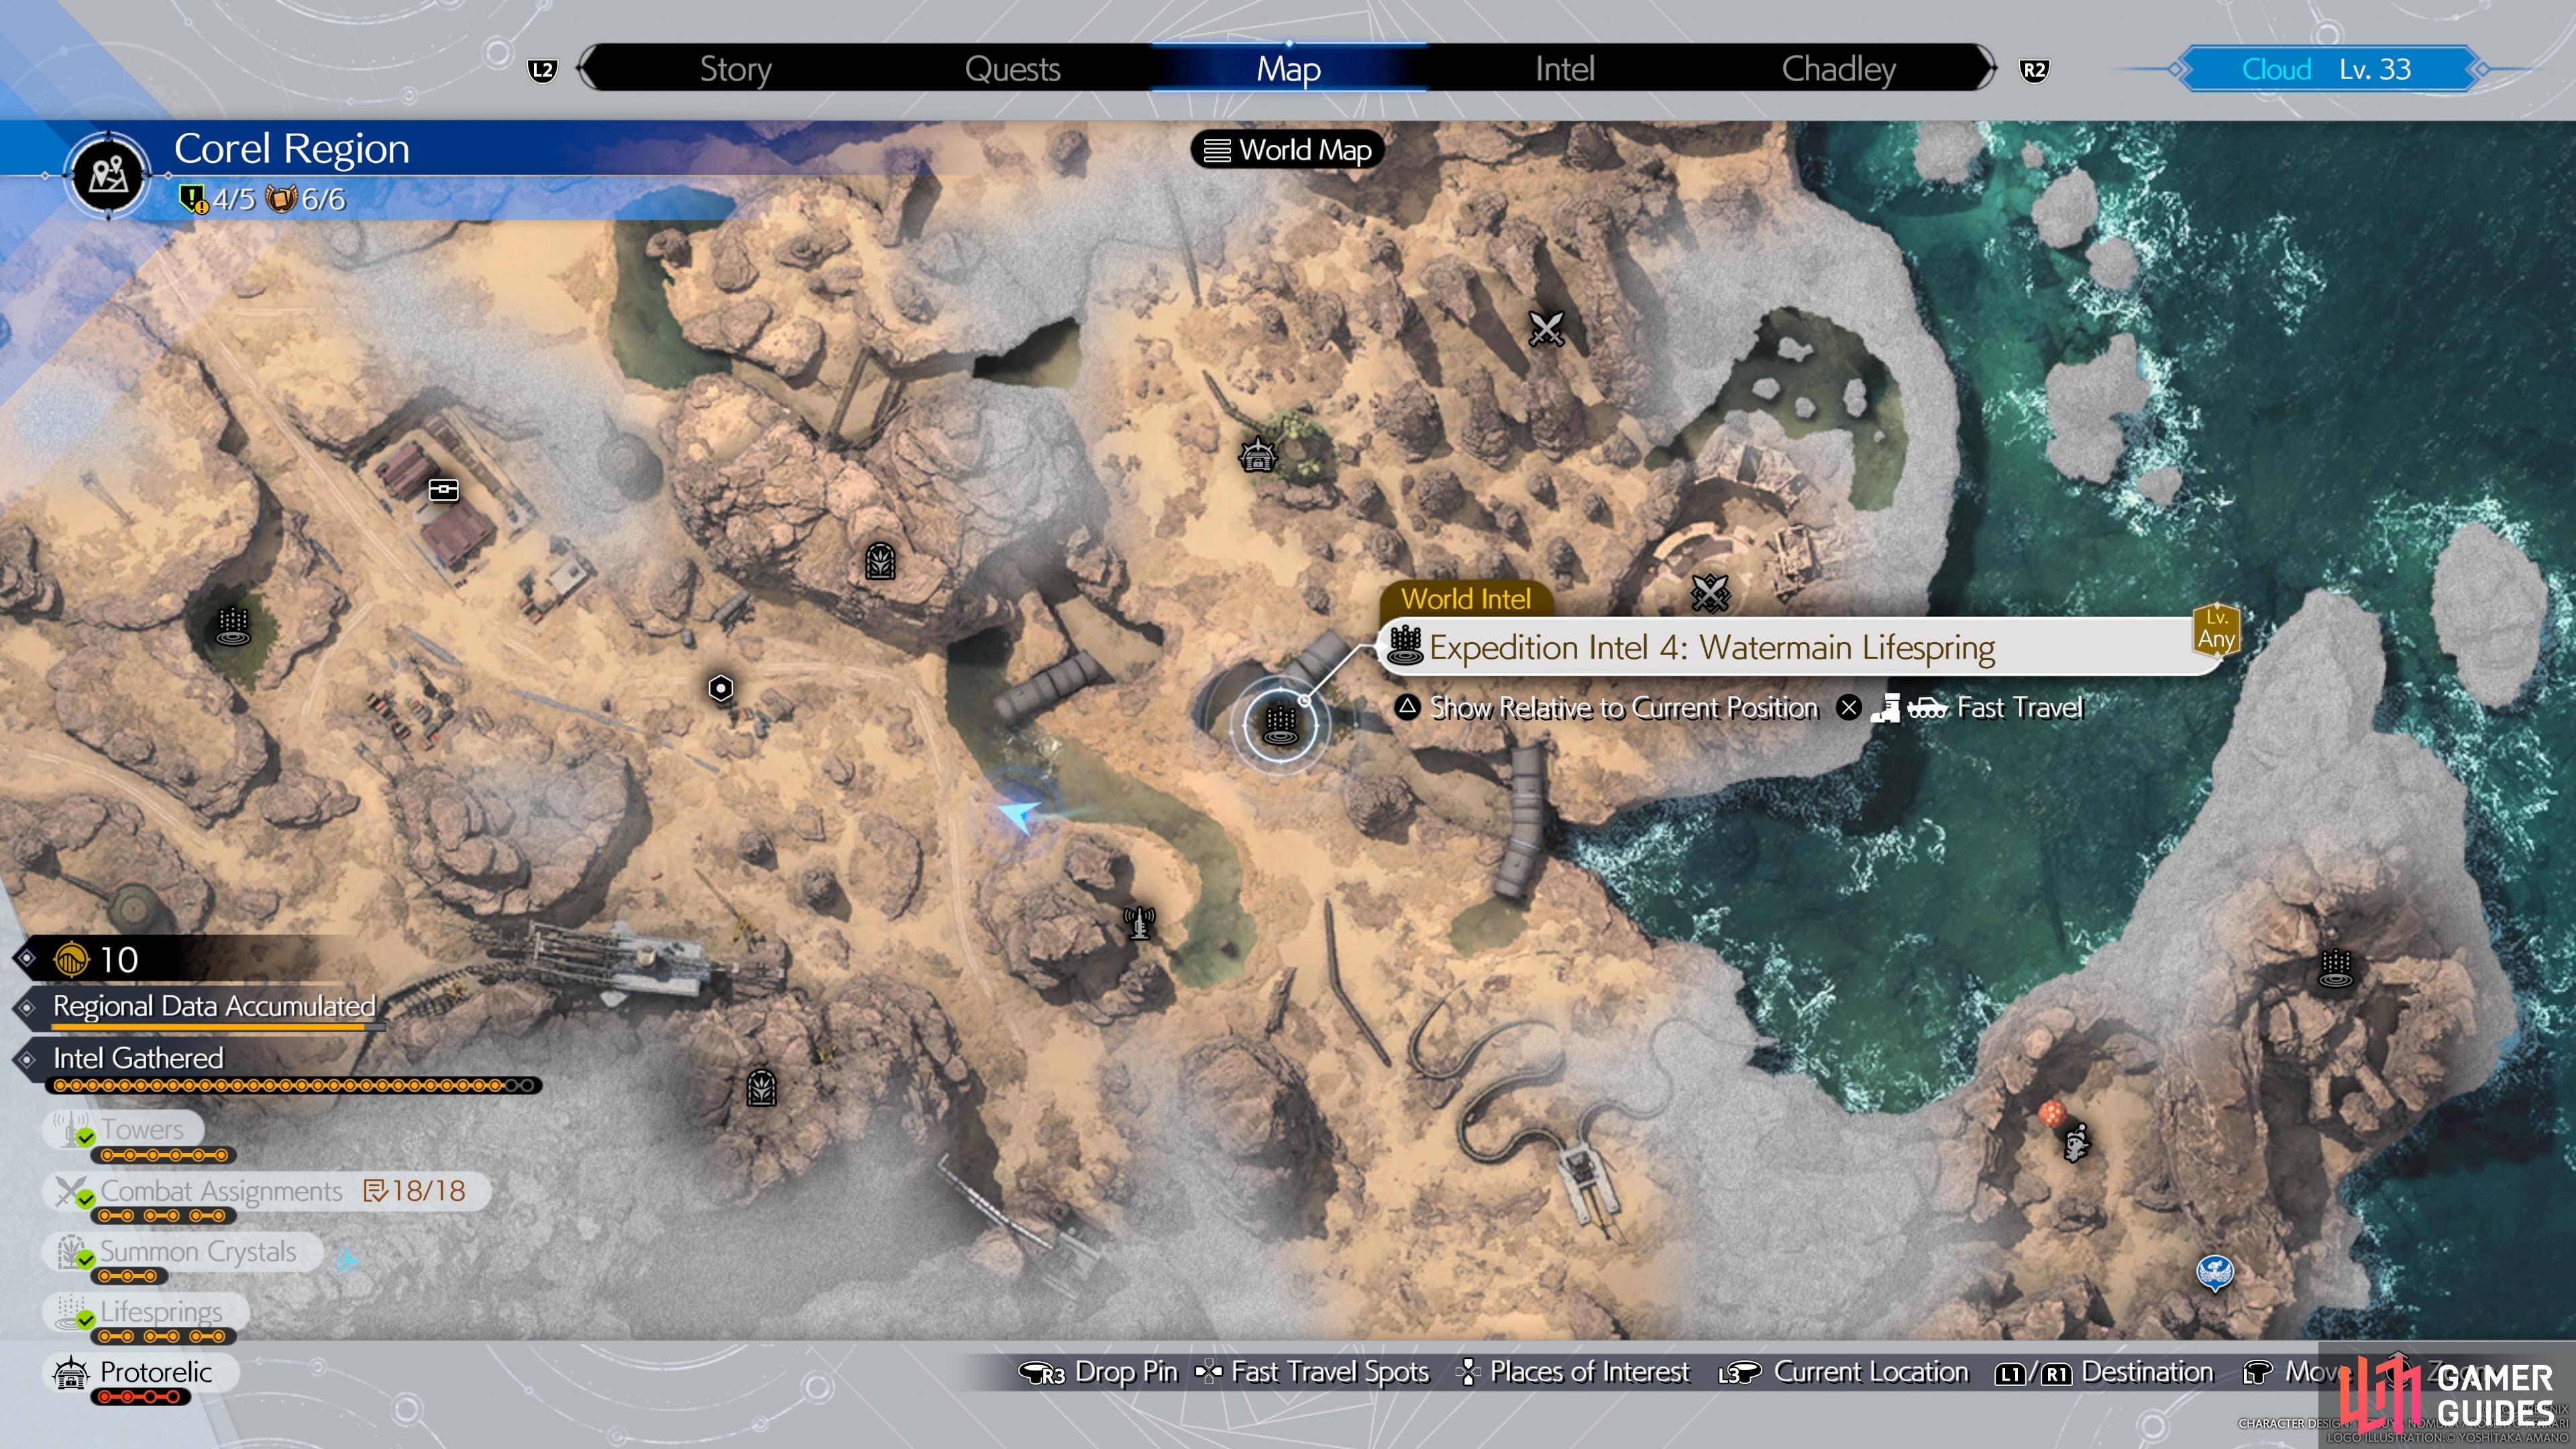
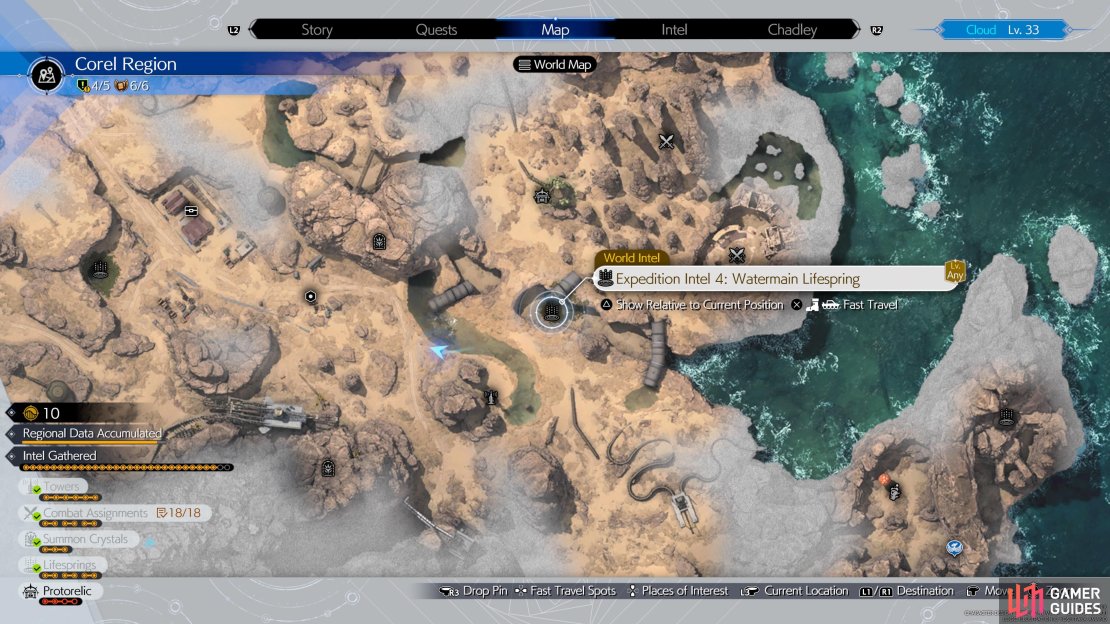
(1 of 3) The location of the fourth Lifespring on the map.
Expedition Intel 5: Stonebowl Lifespring
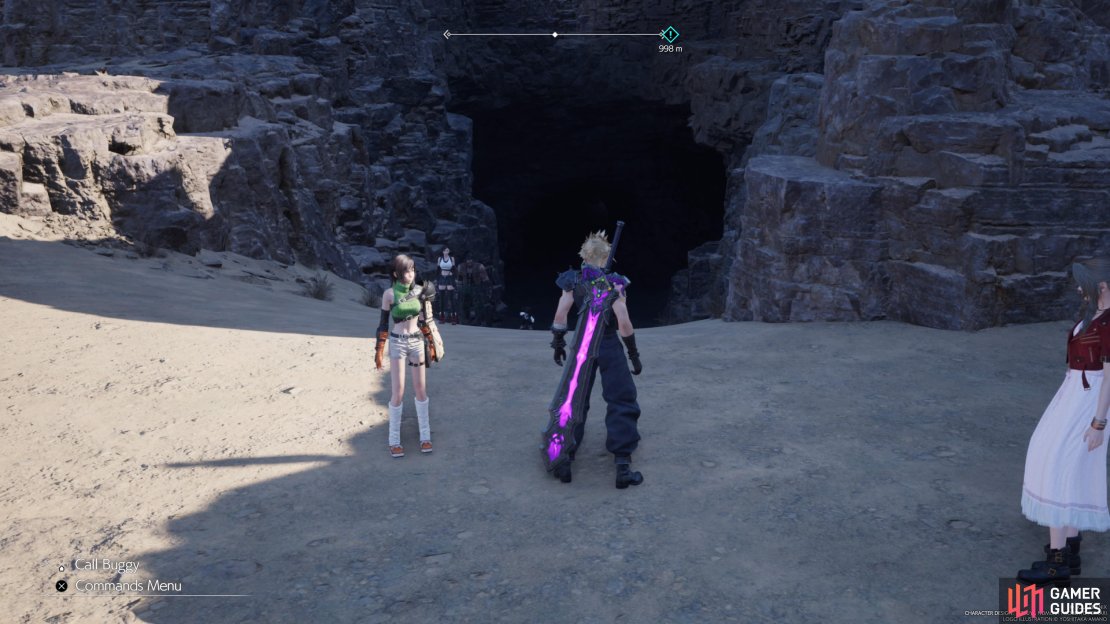
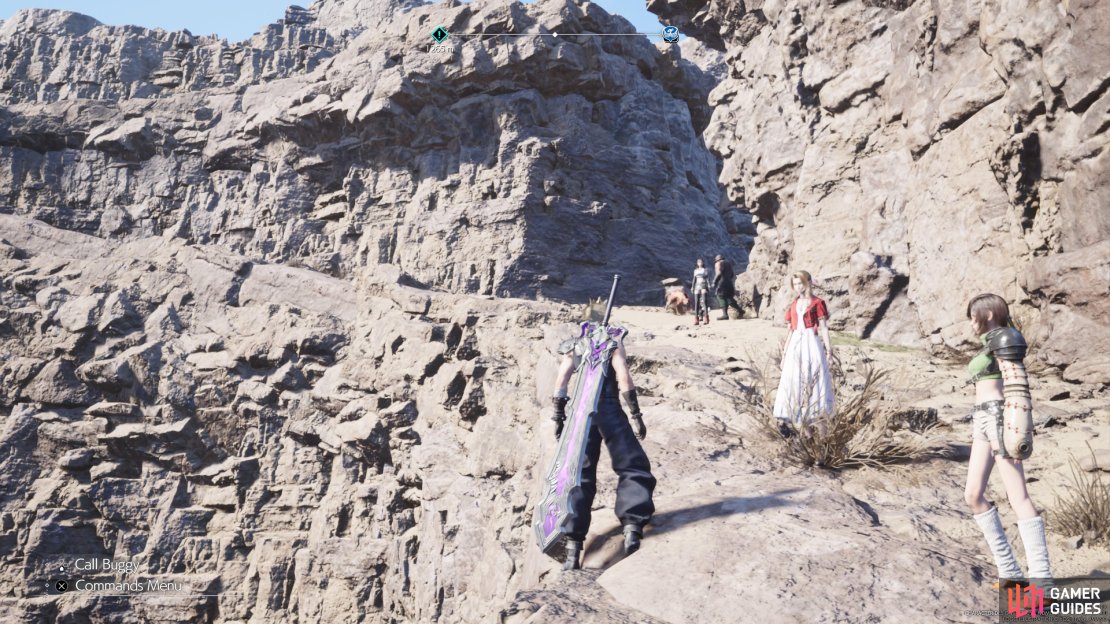
The fifth Lifespring is to the east, and a little north, of the fifth tower (Stonearch Tower). This will be close to The Borderland fast travel point. If you fast travel to the tower, you should be able to spot a cave right next to it. Go through this short cave and you will re-emerge on the other side, right next to the Lifespring.

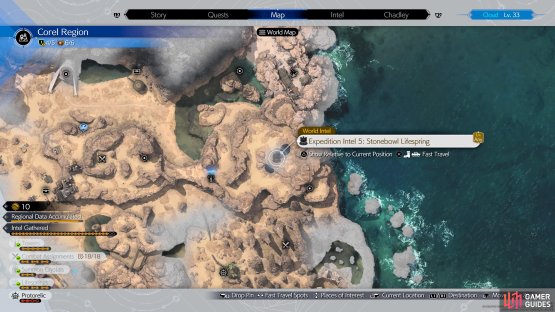

(1 of 2) The location of the fifth Lifespring on the map.
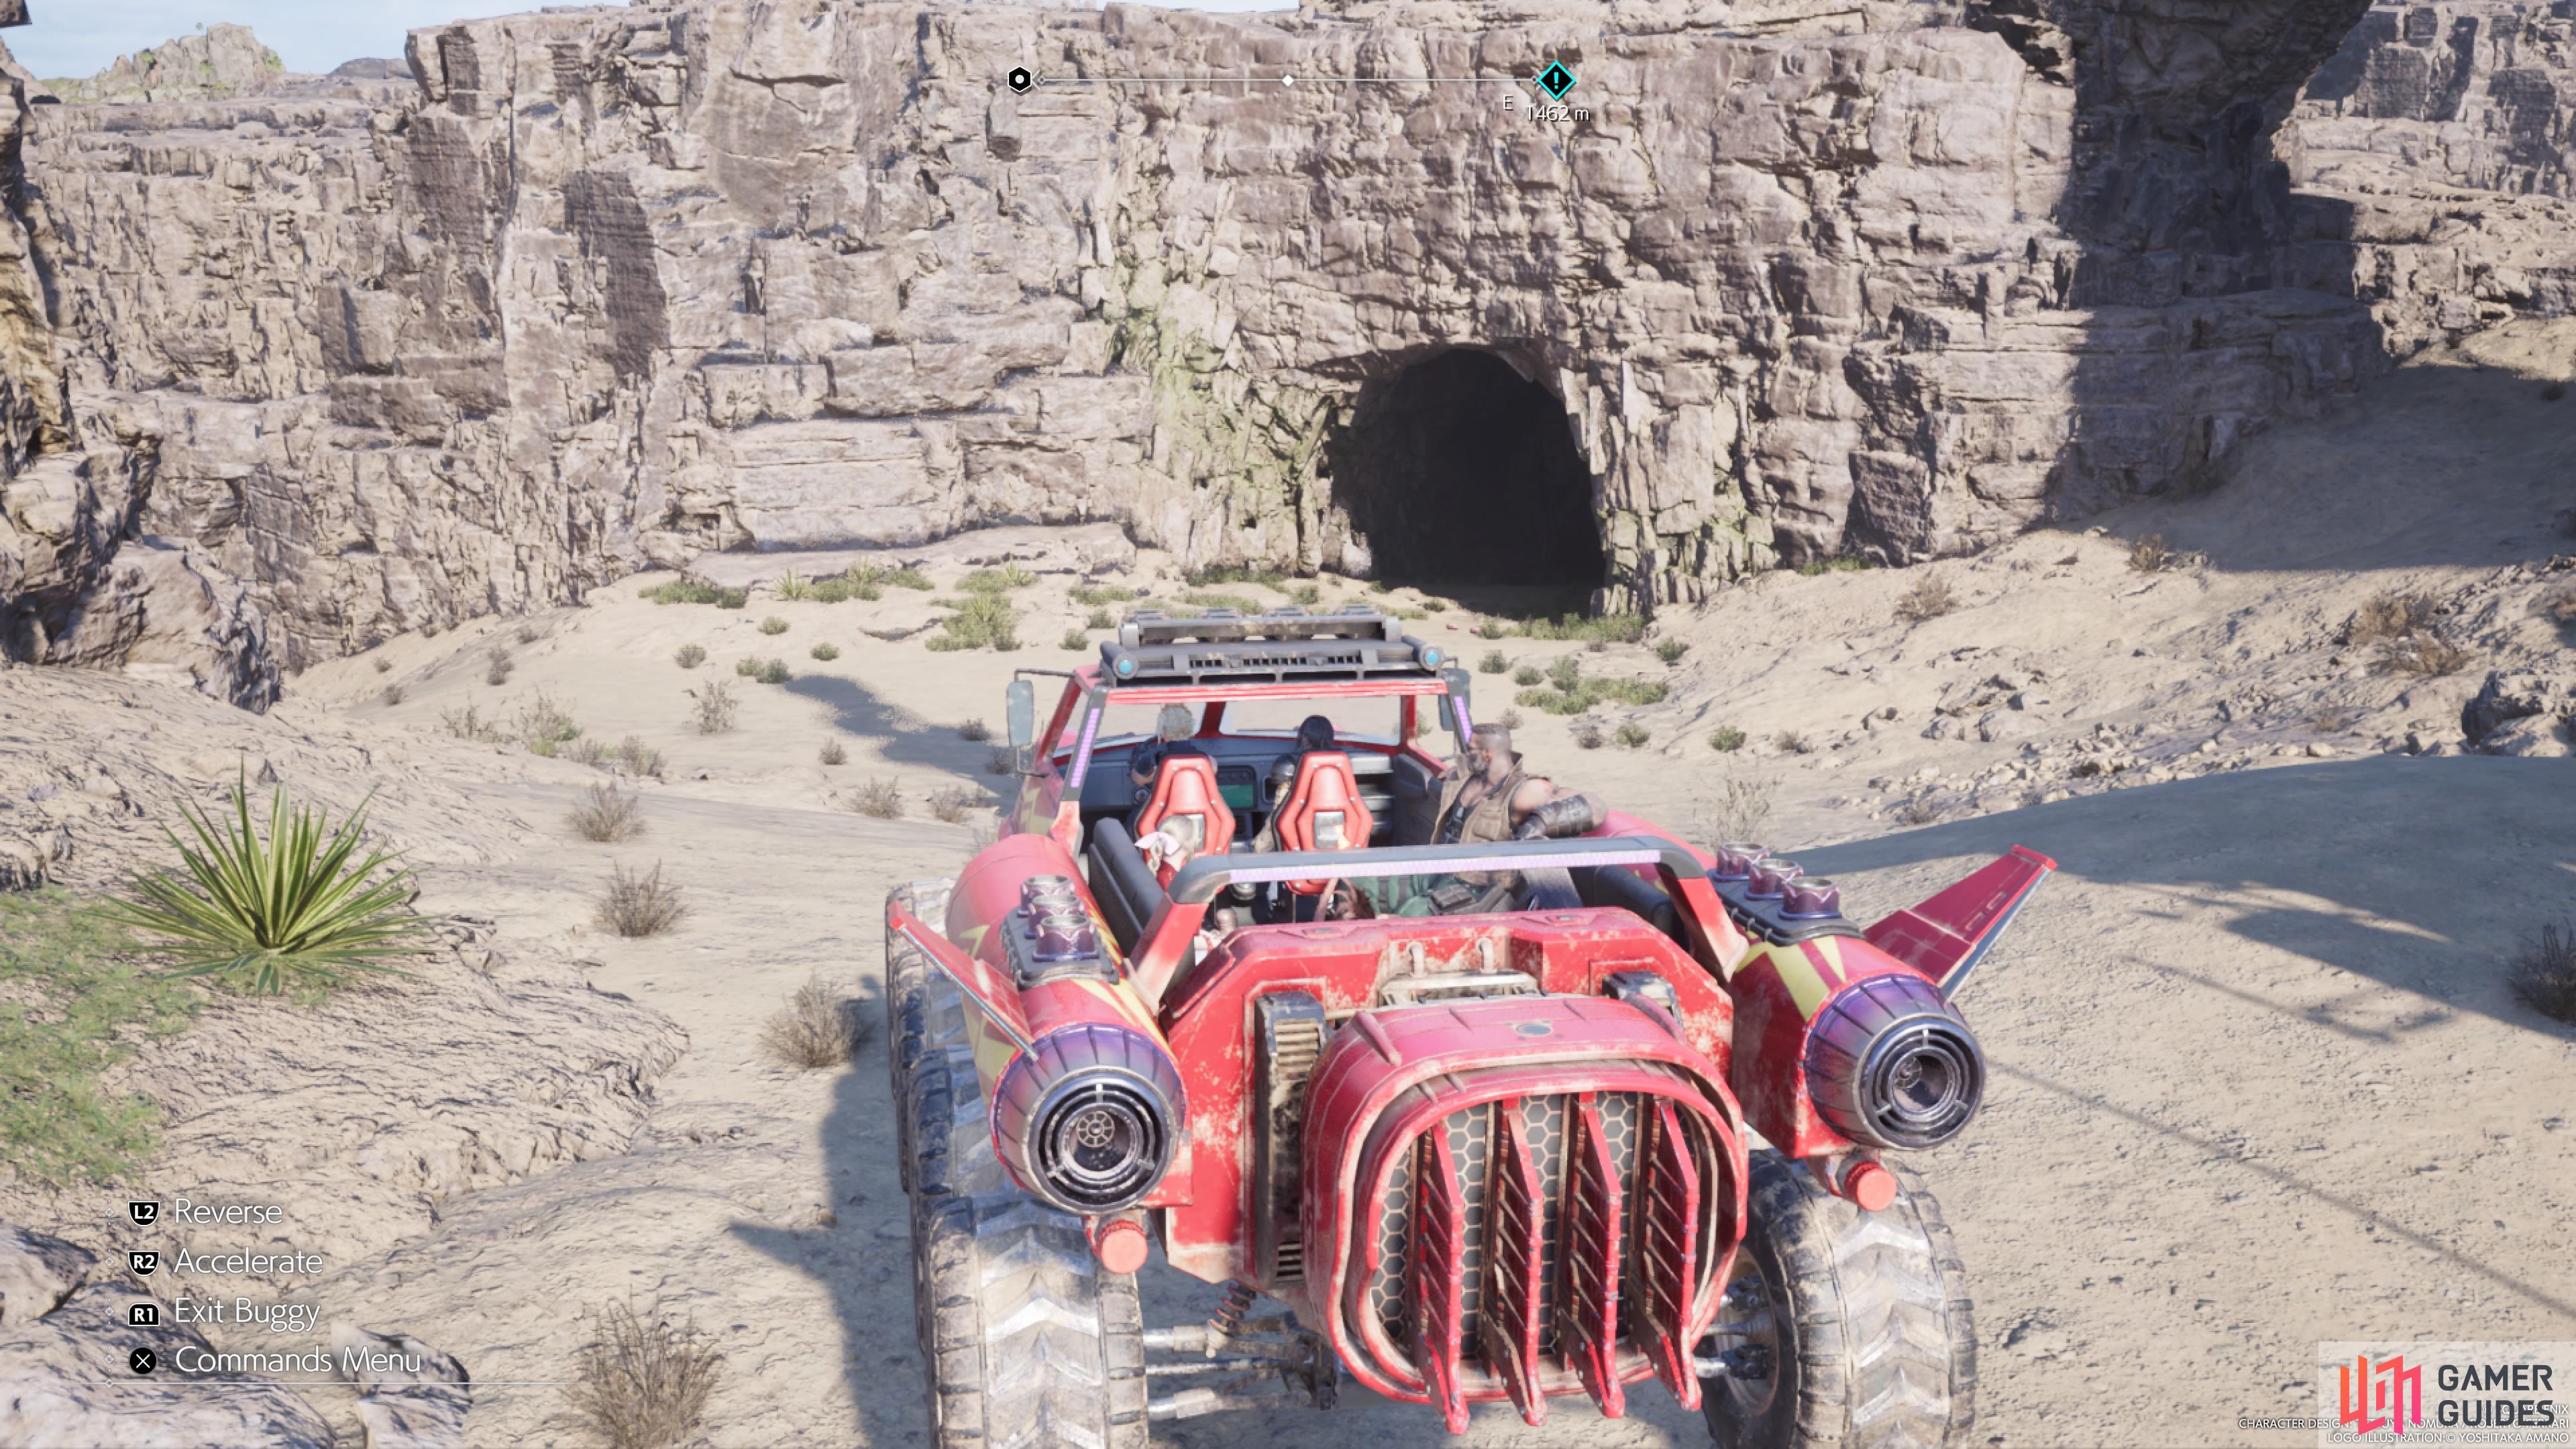
The location of the fifth Lifespring on the map. (left), Look for this cave right by the fifth tower, which will bring you straight to the Lifespring. (right)
Expedition Intel 6: Rockspout Lifespring
The sixth Lifespring is located in the southeastern corner, which is only accessible via a path behind the sixth tower, Ravine Tower. Go southeast from the fourth tower and look for a path going down, where you can grapple up to the ledge with the sixth tower. The path is fairly linear here, but when you go up a hill in the circular area, opt to take the opening about halfway up. You’ll know you’re in the right area if you see a Chocobo Stop and can also see the Moogle house to the northwest. Venture northeast and keep going in that direction until you find the Lifespring in a cave.


You will unlock an Excavation Intel for completing two Lifesprings, then another for two more after that (four total). Once you have found all six Lifesprings, you will unlock the Classified Intel: Heavy Lies the Crown, against the ![]() Tonberry King. It should be noted that both Excavation Intel are needed for Quests, and the Tonberry King is also needed for another Quest (well, it’s the same quest as one of the Excavation Intel). So, if you wish to do all of the side quests in the Corel region, then you’ll have to find all of the Lifesprings.
Tonberry King. It should be noted that both Excavation Intel are needed for Quests, and the Tonberry King is also needed for another Quest (well, it’s the same quest as one of the Excavation Intel). So, if you wish to do all of the side quests in the Corel region, then you’ll have to find all of the Lifesprings.
No Comments