The ![]() Junon Region is the second major region in Final Fantasy VII Rebirth which means there is more optional content available (although not as much as the
Junon Region is the second major region in Final Fantasy VII Rebirth which means there is more optional content available (although not as much as the ![]() Grasslands). On this page, we’ll provide the necessary steps to tracking down Belle and reaching Upper Junon.
Grasslands). On this page, we’ll provide the necessary steps to tracking down Belle and reaching Upper Junon.
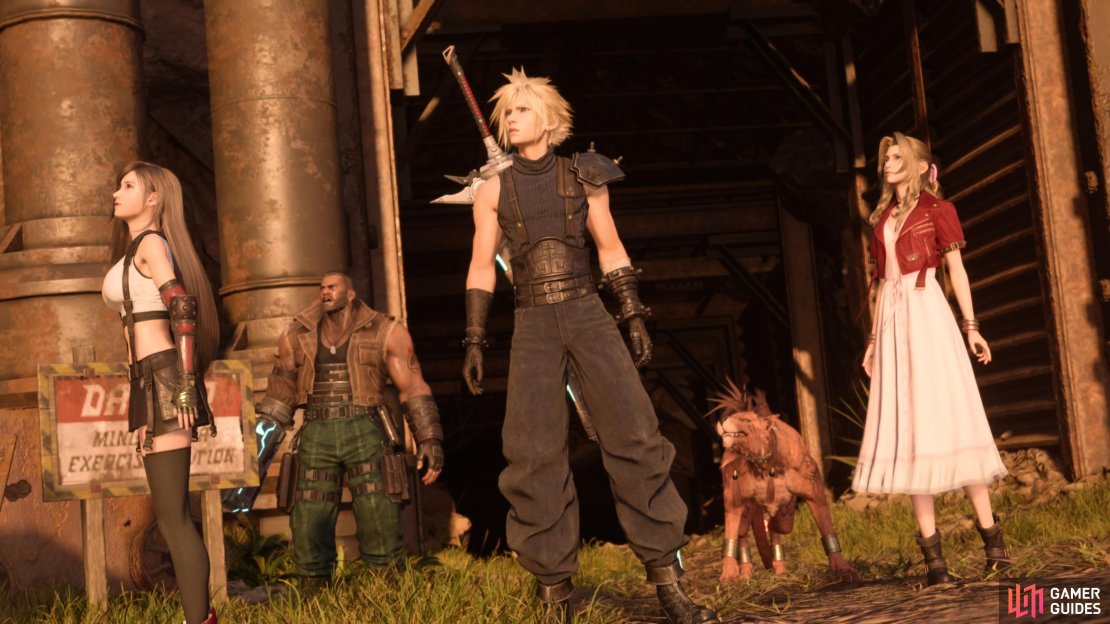
The team set of on an adventure into the Junon Region.
The Fortress
Once you’ve made it out of the ![]() Mythril Mine, you’ll find yourself in the Junon Region. The main story points you toward
Mythril Mine, you’ll find yourself in the Junon Region. The main story points you toward ![]() Under Junon (northwest from the starting point), but ignore that for now and instead make your way over to
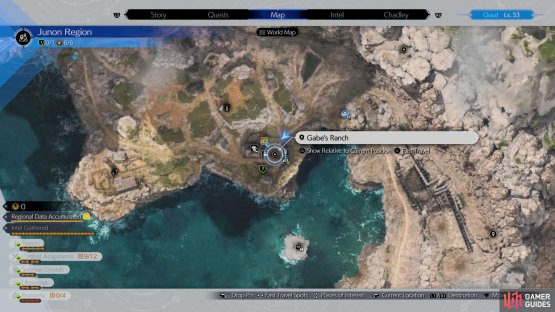
Under Junon (northwest from the starting point), but ignore that for now and instead make your way over to ![]() Gabe’s Ranch and complete the chocobo intel to get this region’s exclusive chocobo, Belle. Unfortunately, she’ll be a lot trickier to capture compared to Piko as you’ll have to deal with maneuvering minecarts to reach her undetected. If you having trouble with this, consider checking out our How to Catch the Junon Region Chocobo for some tips.
Gabe’s Ranch and complete the chocobo intel to get this region’s exclusive chocobo, Belle. Unfortunately, she’ll be a lot trickier to capture compared to Piko as you’ll have to deal with maneuvering minecarts to reach her undetected. If you having trouble with this, consider checking out our How to Catch the Junon Region Chocobo for some tips.
(1 of 2) Head to this location on the map and complete the chocobo intel to unlock Belle
Head to this location on the map and complete the chocobo intel to unlock Belle (left), She’ll be able to scale the mountains. (right)
With Belle by your side, you’ll now be able to scale the various cliff faces around the Junon Region which means you can start knocking out the majority of the optional content, such as the Phoenix Divine Intel, Fiend Intel, Active Intel, and Expedition Intel as a result.
Additionally, you can do the next step of the proterelic questline in this area which requires you to play and win multiple matches of ![]() Fort Condor. It shouldn’t cause you too much trouble on the default difficulty, but you can always lower your difficulty to easy to make the pawns recharge faster. For those wanting more of a challenge, then the Hard Mode will become available after beating the normal mode and is needed to be completed if you’re aiming for the Platinum Trophy.
Fort Condor. It shouldn’t cause you too much trouble on the default difficulty, but you can always lower your difficulty to easy to make the pawns recharge faster. For those wanting more of a challenge, then the Hard Mode will become available after beating the normal mode and is needed to be completed if you’re aiming for the Platinum Trophy.
Under Junon
After your exploration session in the Junon Region has concluded, head to the northwest of the map and follow the path into Under Junon, where you’ll be greeted by ![]() Rhonda at the entrance. She knows that you’re wanted fugitives, but she doesn’t intend on turning you in thankfully, so head further into the town and speak with your party members to see if they have any useful information on the black-robe. You’ll now want to visit the notice board and accept and complete the side quest Stuck in a Rut before entering the Inn to progress the story.
Rhonda at the entrance. She knows that you’re wanted fugitives, but she doesn’t intend on turning you in thankfully, so head further into the town and speak with your party members to see if they have any useful information on the black-robe. You’ll now want to visit the notice board and accept and complete the side quest Stuck in a Rut before entering the Inn to progress the story.
Defeating Terror of the Deep
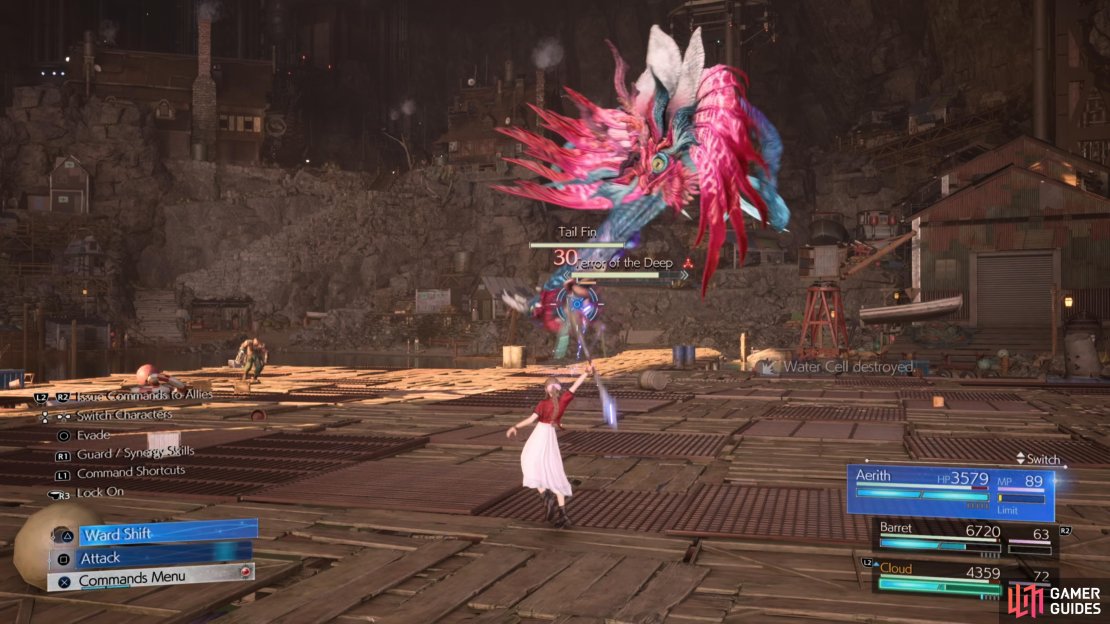
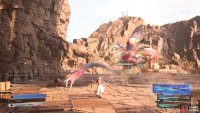
The receptionist will notice some trouble brewing outside, so head back outside and work your way down the stairs to the cove where you’ll notice Yuffie being attacked by the ![]() Terror of the Deep. You’ll need to come to the rescue and the best way to defeat it is by switching over to Barret (for the ranged attacks) and focus fire at its head until it becomes pressured and then switch to Cloud or Tifa and use their Focused Attacks to quickly stagger it. You’ll want to use this opportunity to deal as much damage as possible, so we recommend using thunder-based spells to hit its elemental weakness.
Terror of the Deep. You’ll need to come to the rescue and the best way to defeat it is by switching over to Barret (for the ranged attacks) and focus fire at its head until it becomes pressured and then switch to Cloud or Tifa and use their Focused Attacks to quickly stagger it. You’ll want to use this opportunity to deal as much damage as possible, so we recommend using thunder-based spells to hit its elemental weakness.
However, The Terror of the Deep has six attack ups its sleeve (three of them are unblockable) which you need to try to avoid in order to prevent taking unnecessary damage:
- Spiral Spurge
Terror of the Deep will hop into the air and dive bomb across the wooden platform, so you’ll want to wait and spam the dodge button while moving to the side to avoid it.
- Tail Lash
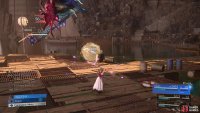
Terror of the Deep will hover above your current active character and perform a spin attack with it, so simply dodge backwards to avoid it.
(1 of 3) Watch out for the Tail Fin
- Water Jet
Terror of the Deep will shoot water out of its mouth in a line directly in front of it, so you’ll want to get as far back as possible to get out of range.
- Grasping Tail
Terror of the Deep will pick up one of your party members with its tail and cause them to gradually lose HP, so you’ll want to switch to another character and attack the fin to cause it to drop them.
- Water Cell
Terror of the Deep will place one of your party members in a bubble which will make then unable to attack and leave them open to attacks, so you’ll need to quickly switch over to another character and attack to remove it.
- Oceanic Tornado
Terror of the Deep will create a water tornado in the center of the platform once you get it down to 50% HP. Avoid this by sticking to the outer edge until it disappears.
Washed Ashore
Once you’ve successfully defeated the Terror of the Deep, head back to the shore and make your way back up to the inn to trigger a scene with Yuffie, then enter the inn and claim your room for the evening, but before you hit the hay you’ll want to enter each of the rooms and select the best dialogue choices (found here) to improve your relationship status. Additionally, you’ll be able to get your hands on Aerith’s ![]() Empress’s Scepter Weapon from the purple chest in her room.
Empress’s Scepter Weapon from the purple chest in her room.
The following morning, head back outside to trigger a cutscene and then you’ll want to find a way to get to Upper Junon, but before you do that you’ll want to accept and complete the side quest When Words Won’t Do as this will make the ![]() Crow’s Nest area accessible and open up the following side quests:
Crow’s Nest area accessible and open up the following side quests:
| Side Quest | Reward |
|---|---|
| The Hardest Sell | Merc Legwraps, Merc Overalls, and Merc Cap |
| Dreaming of Blue Skies | |
| Calling All Frogs |
Once you’re ready to go to Upper Junon, head back down to the cove and speak with Priscilla, then hop onto the dolphin and complete the course by following the arrows. At the end of the course, press the sequence of buttons shown on screen to successfully complete the jumps and then you’ll find yourself topside.



No Comments