
When you first visit the ![]() Gold Saucer in Final Fantasy VII Rebirth, you are unable to do anything at the Chocobo Square. It isn’t until later in Chapter 8 that you will get your first taste of Chocobo Racing, which is required. However, you aren’t able to do anymore until you reach Chapter 9, when it opens up to allow you to do much more racing. At first, you only have Grade III races to do, with more becoming available later in the story.
Gold Saucer in Final Fantasy VII Rebirth, you are unable to do anything at the Chocobo Square. It isn’t until later in Chapter 8 that you will get your first taste of Chocobo Racing, which is required. However, you aren’t able to do anymore until you reach Chapter 9, when it opens up to allow you to do much more racing. At first, you only have Grade III races to do, with more becoming available later in the story.
Chocobo Racing is a full-blown minigame that is plenty of fun!
Chocobo Racing - Which Chocobo and Gear to Choose?
Upon starting out, you will be able to choose your Chocobo from the ones you’ve already tamed. Piko has all-around stats and his ability is Speed Burst, which might be the best ability of the bunch. Belle favors speed, weight and strength, with her ability being Rock Solid. This gives you better traction and prevents you from being knocked back during collisions. Kyma isn’t so good with speed or weight, but her other stats are great. Her ability is Birdshot, enabling you to shoot three projectiles in a straight line that can disorient any other racers they hit.
There are more Chocobos to be unlocked later, but Piko is fine and was used to finish every race on our side. The extra speed Piko can get from its special ability is always good. As for gear, it really doesn’t matter, but those that can enhance your speed is always nice to have. Remember that the gear you can choose is dependent on what you have collected throughout the main game.
Chocobo Racing Basics
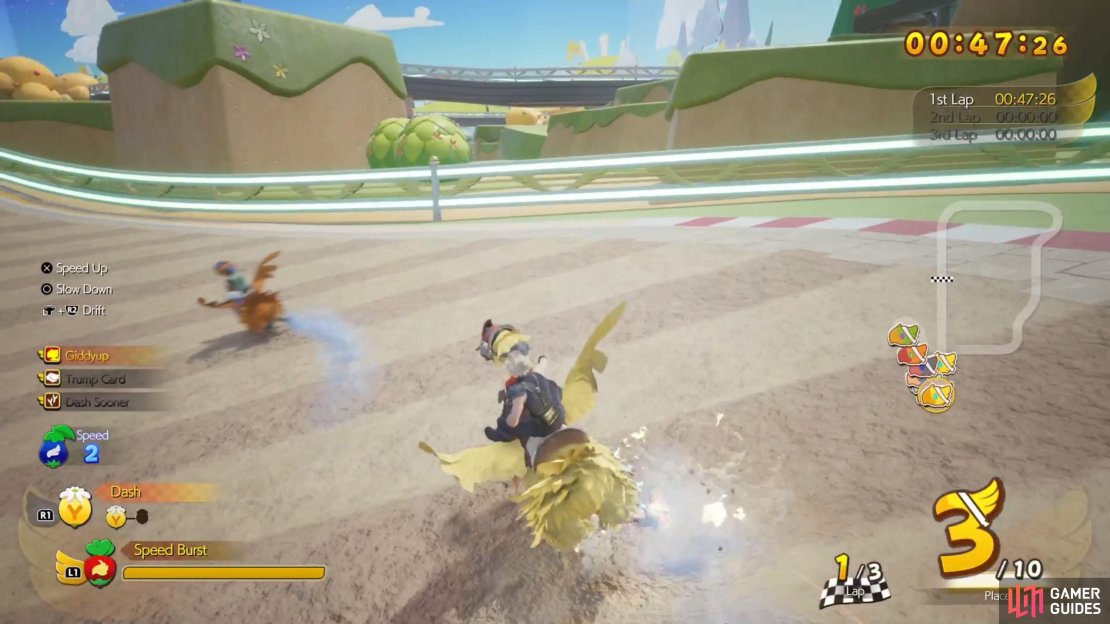
Upon first starting a race, you can get a little boost off the line. What you need to do is press and hold the X button whenever you first see the “2” appear. You’ll know you’ve done it right if your Chocobo rears back. Outside of that, the usual racing mechanics apply to this minigame. You can drift with the  button and if you drift enough, you can get a little speed boost coming out of it.
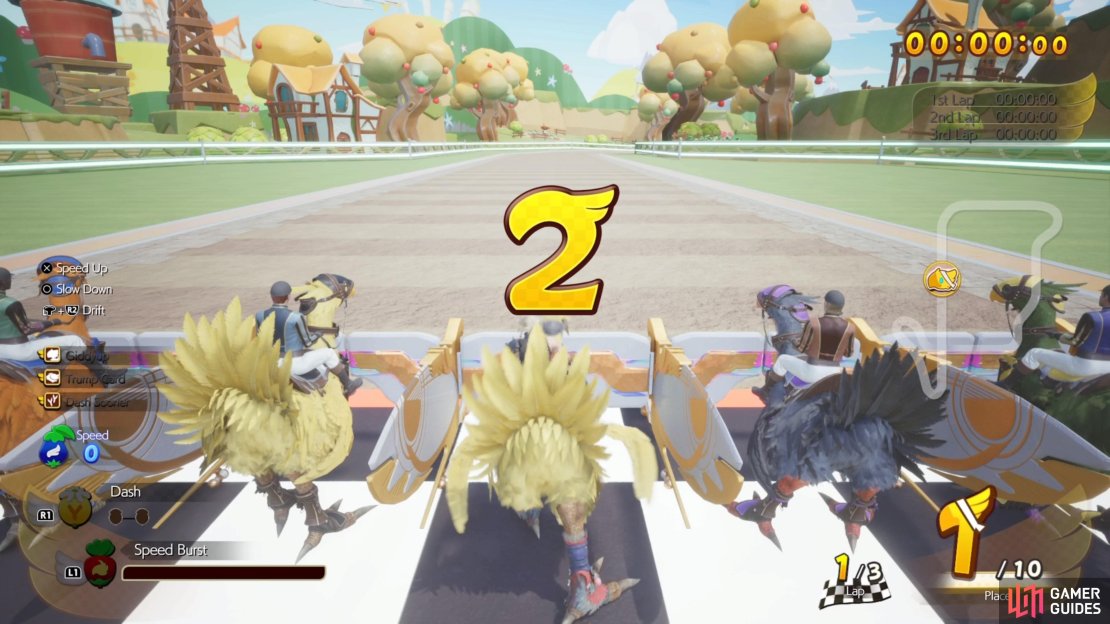
(1 of 3) Hold down the X button when you first see “2” appear to get a boost off the starting line.
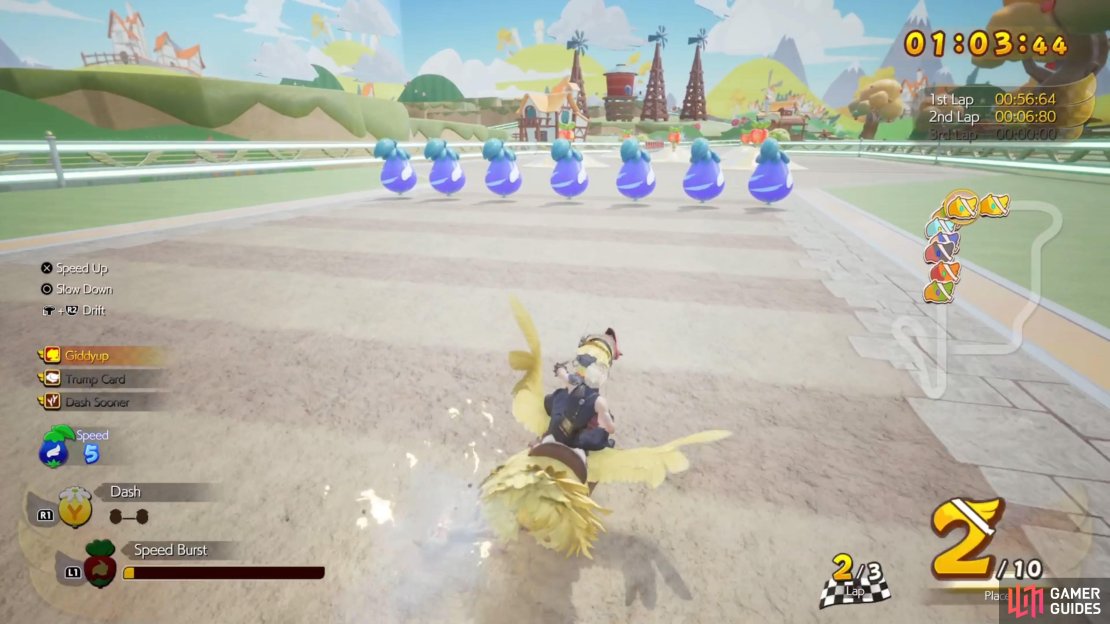
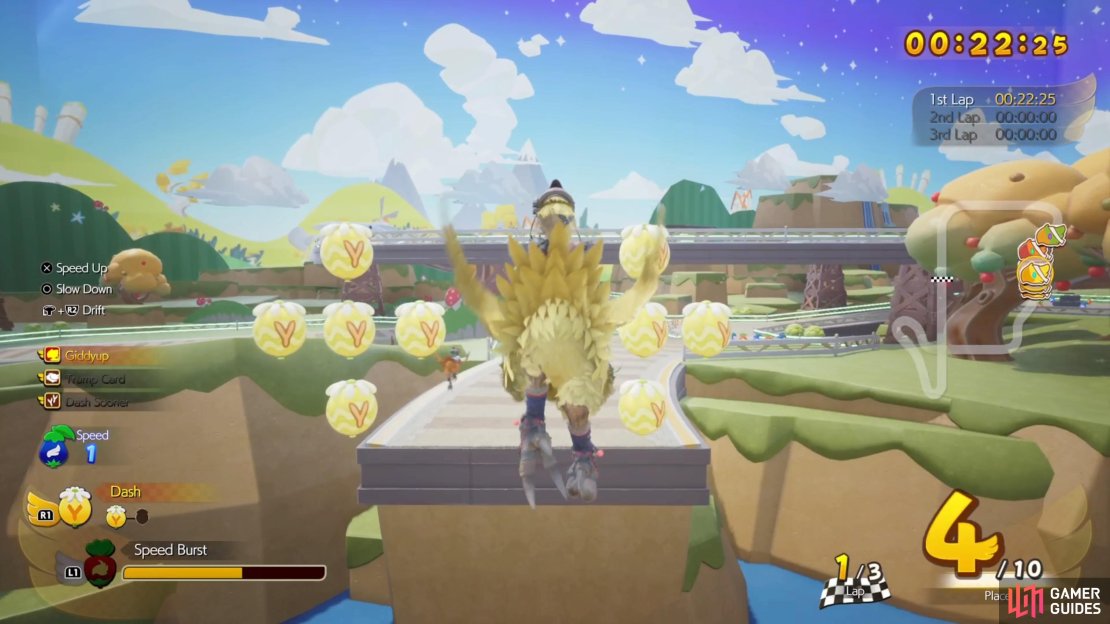
The blue balloons are used to help give an increase in speed, with the max amount being 10. If you hit a wall or another racer, though, then you will lose one of these, so it’s important to keep tabs on them from time to time. The red balloons are used to increase the meter used for your special ability. This is located in the bottom left corner and once full, hit the  button to activate it. The yellow balloons are used for boosting and whenever you have one, you can press
  to use one.
The Carbuncle Classic
The first race on the list, The Carbuncle Classic is a fairly easy race, which is good for getting used to the mechanics. There aren’t any obstacles in the race, so the only thing you need to worry about is the actual racing and your other opponents. The second turn likely requires you to drift a little bit, after which, there will be a little jump that has some boost balloons during it. You should start to learn how to drift in this race, as the stakes aren’t too high.
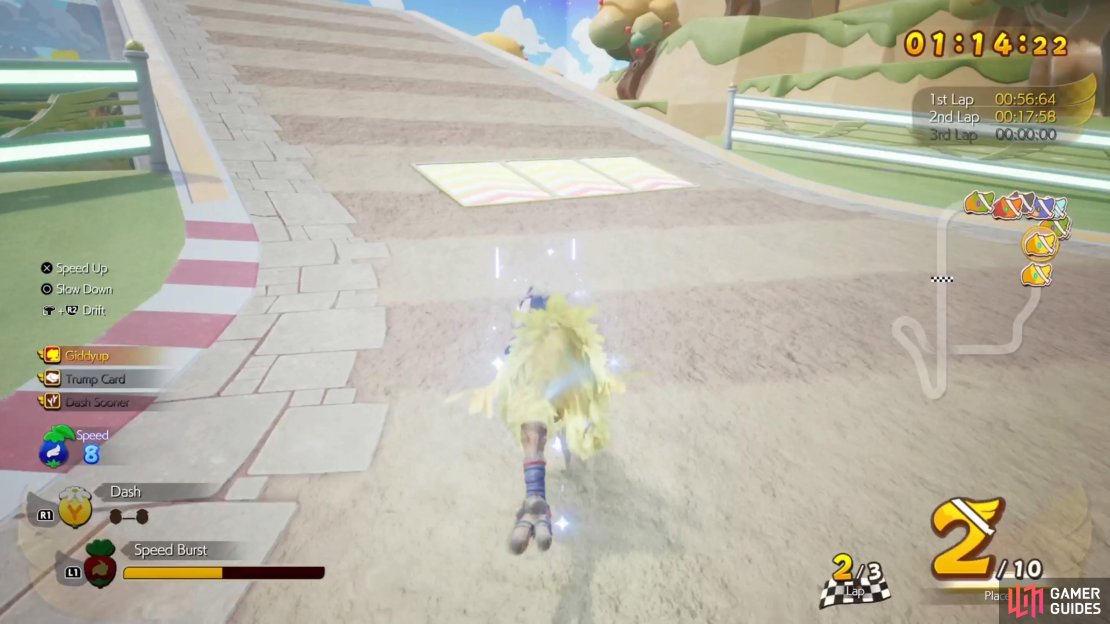

(1 of 4) Drifting will become very important in these races, since you get a speed boost when you do it well.
The Moogle Oaks
The second race is a little more challenging than the first, although it shouldn’t be that much more difficult. When you jump up into the air and are floating down, you can actually head straight ahead and clear the railings. This is an important thing to notice during some races, as this will allow you to gain a much needed advantage over the other racers. There will also be conveyor belts a little later, so pay attention to the direction the arrows are pointing, as you don’t want them pointing in your direction.
The Cactuar Derby
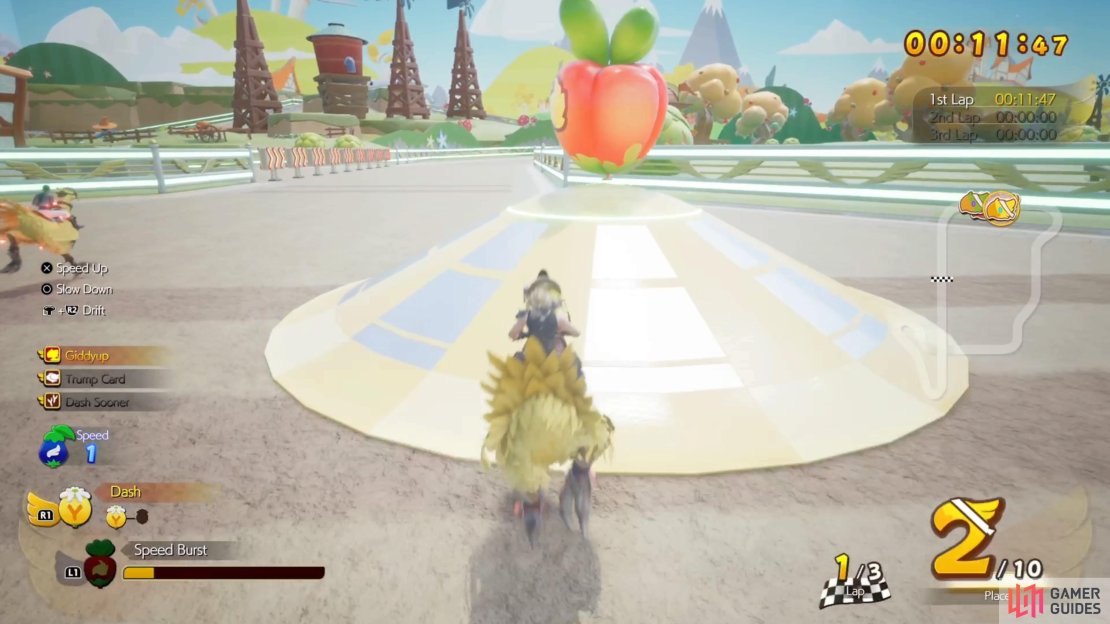
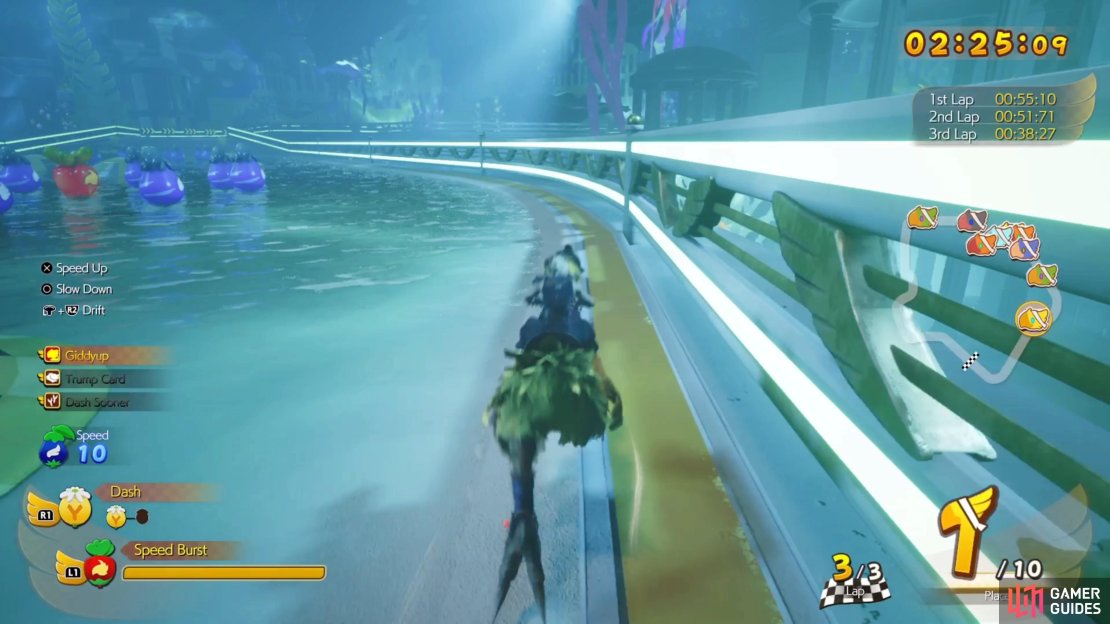
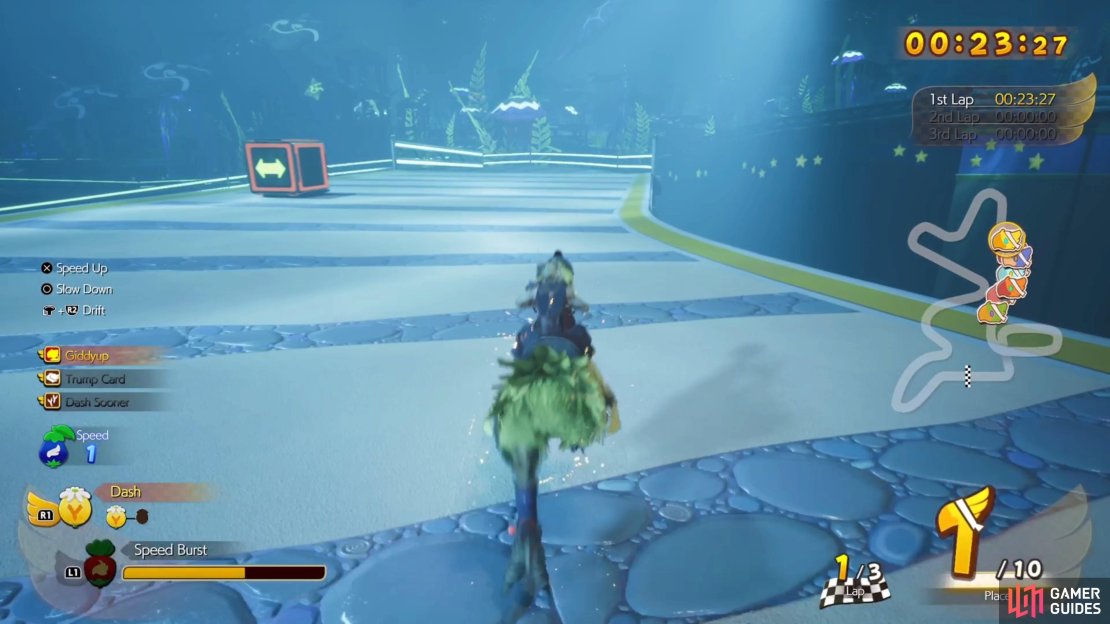
This is the exact same race you did as part of the story, so you should be a little familiar with it. When you come to the split, the left path will have some Dash balloons, so it might be worth it to head down there. The spinning saucers can be annoying, as you want to go in the direction they are spinning. If they are going clockwise, then go on the left side, and vice versa. This race also introduces water, which will slow down your Chocobo by a good bit. You can ride along the edge of the track to keep your full speed, but you’d have to be careful not to bump into the wall and lose the speed powerups.
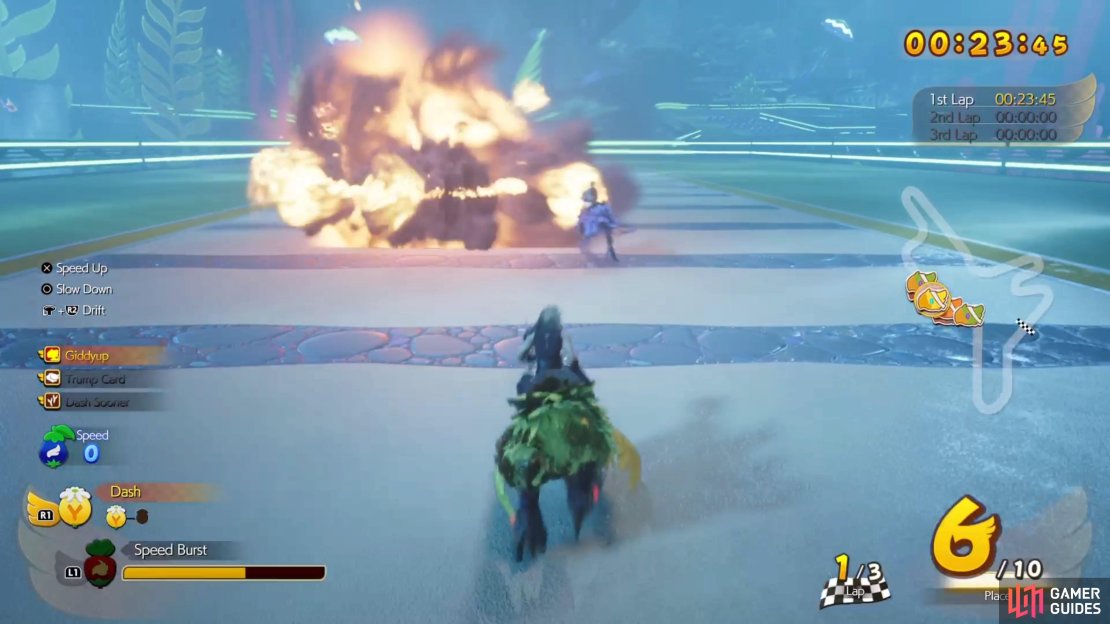
The Bomb Blowout
You won’t find too much difference with this track over the previous one, although it will introduce the Bomb balloons. These blow up if you hit them, leaving you dazed for a few seconds. You definitely don’t want to hit them at all, as you can be set back by a good bit and require near-perfect racing to get back into a top position. You will find more water on this map, too, so either try the trick above or just power through it.
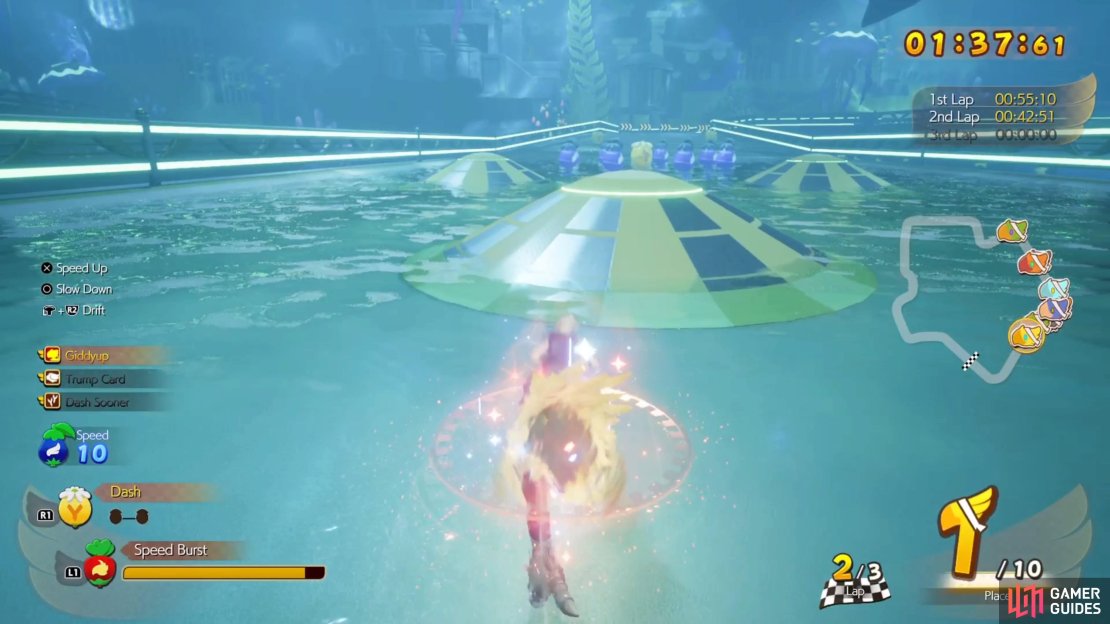
(1 of 3) Water will slow you down whenever you run through it.
The Malboro Memorial
This track will introduce bumpers into play, with them being in the water section close to the beginning. They are more an annoyance than anything, since you just bounce off of them, but they can make getting through the water section a little more tricky, so be careful. There is a little bit of a shortcut in the latter half of the track, which really only nets you a Dash balloon, if you take it.
The Tonberry Derby
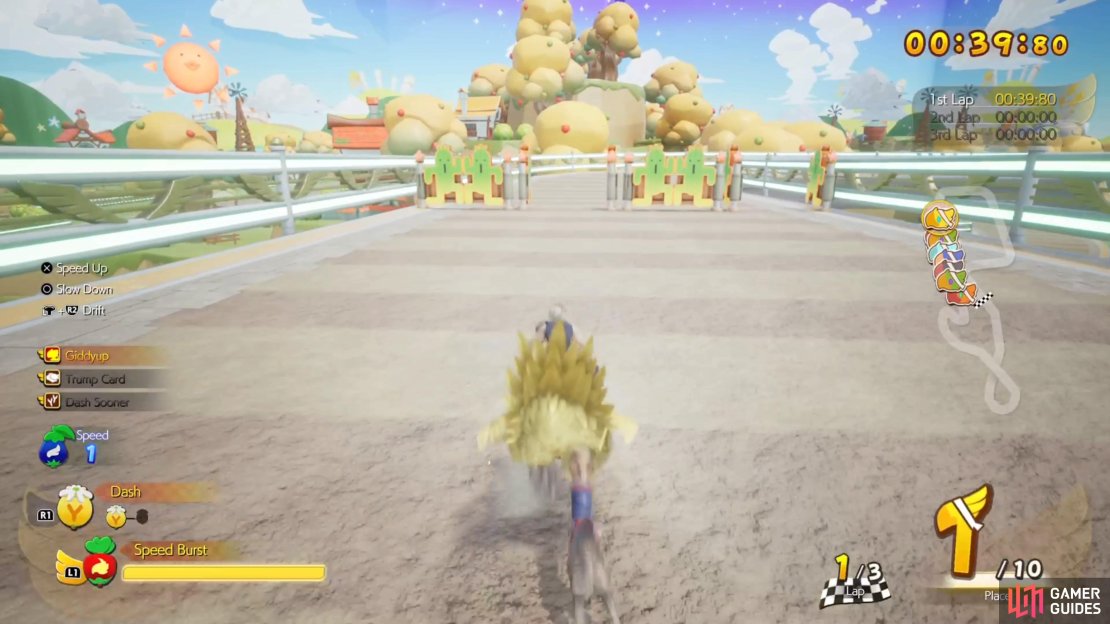
The Tonberry Derby is when the difficulty kicks up a notch, as one of the more annoying stage hazards debuts here. Cactuar Gates are a set of gates that open and close at set intervals. They come in sets, so while one set is open, the other will be closed. It can be difficult to judge exactly when one will close and another will open, especially if one set is open already upon approaching them. If one just opens as you’re approaching them, then that makes things easy. The first jump in the race can create a nice shortcut for you, if you head straight instead of following the track.
The Coeurl Championship
The first two major turns on this race can be dangerous, as it’s easy to fall off after the first, due to being unable to see the track from the fog. The Coeurl Championship also introduces another stage hazard, the dreaded spinning orbs. They are on posts and rotate, with there usually being multiple in a stretch. They can be hard to avoid, as you tend to have to weave through them. You will find two sets of these orbs on this track, so be wary of them.

(1 of 4) Cactuar Gates are one of the worst hazards, due to sometimes not knowing when they’ll close.
The Behemoth Grand Prix
One more hazard will show up here, the moving blocks. They are literally just square blocks with arrows on them, signaling the direction they will move back and forth on the track. They can be pretty easy to avoid, although if you’re around other racers, they might be a little more challenging. Other than that, there will be one set of Cactuar Gates on this track as well.
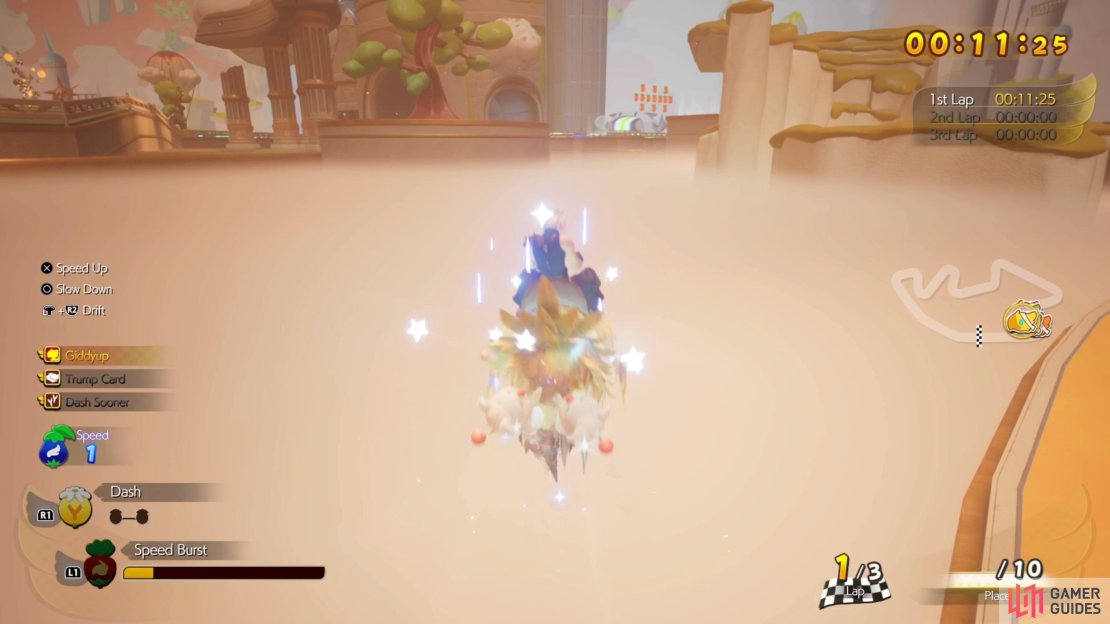
The Ultima Stakes
The Ultima Stakes is the final race in the Grade III set, with it being a culmination of everything else up to this point. Be careful with the Bomb balloons among the spinning saucers, and you’ll want to stay on the left side when you reach the spinning orbs. There’s really not much else to say at this point, as if you’ve been getting first places on the other races, then you really shouldn’t be having too much trouble with this one.
Drifting is a big part of becoming good at the first set of Chocobo races, so you will want to practice that a lot. Unfortunately, you will have to wait until Chapter 12 to unlock more races, so there’s a bit of story to go in between when you unlock this first set and then.
More Final Fantasy VII Rebirth Gold Saucer Guides
If you need help on other Gold Saucer minigames, then check out the following pages:
No Comments