
Cloud and his friends are chasing after Sephiroth, which leads them to procuring a Chocobo to cross the swamps. It is there they encounter a large serpent in the water, disguising itself as some land. After defeating ![]() Midgardsormr, you will arrive at the entrance of a mine, which turns out to be the
Midgardsormr, you will arrive at the entrance of a mine, which turns out to be the ![]() Mythril Mine. Their journey continues through here, as they continue pursuing the robed figures.
Mythril Mine. Their journey continues through here, as they continue pursuing the robed figures.
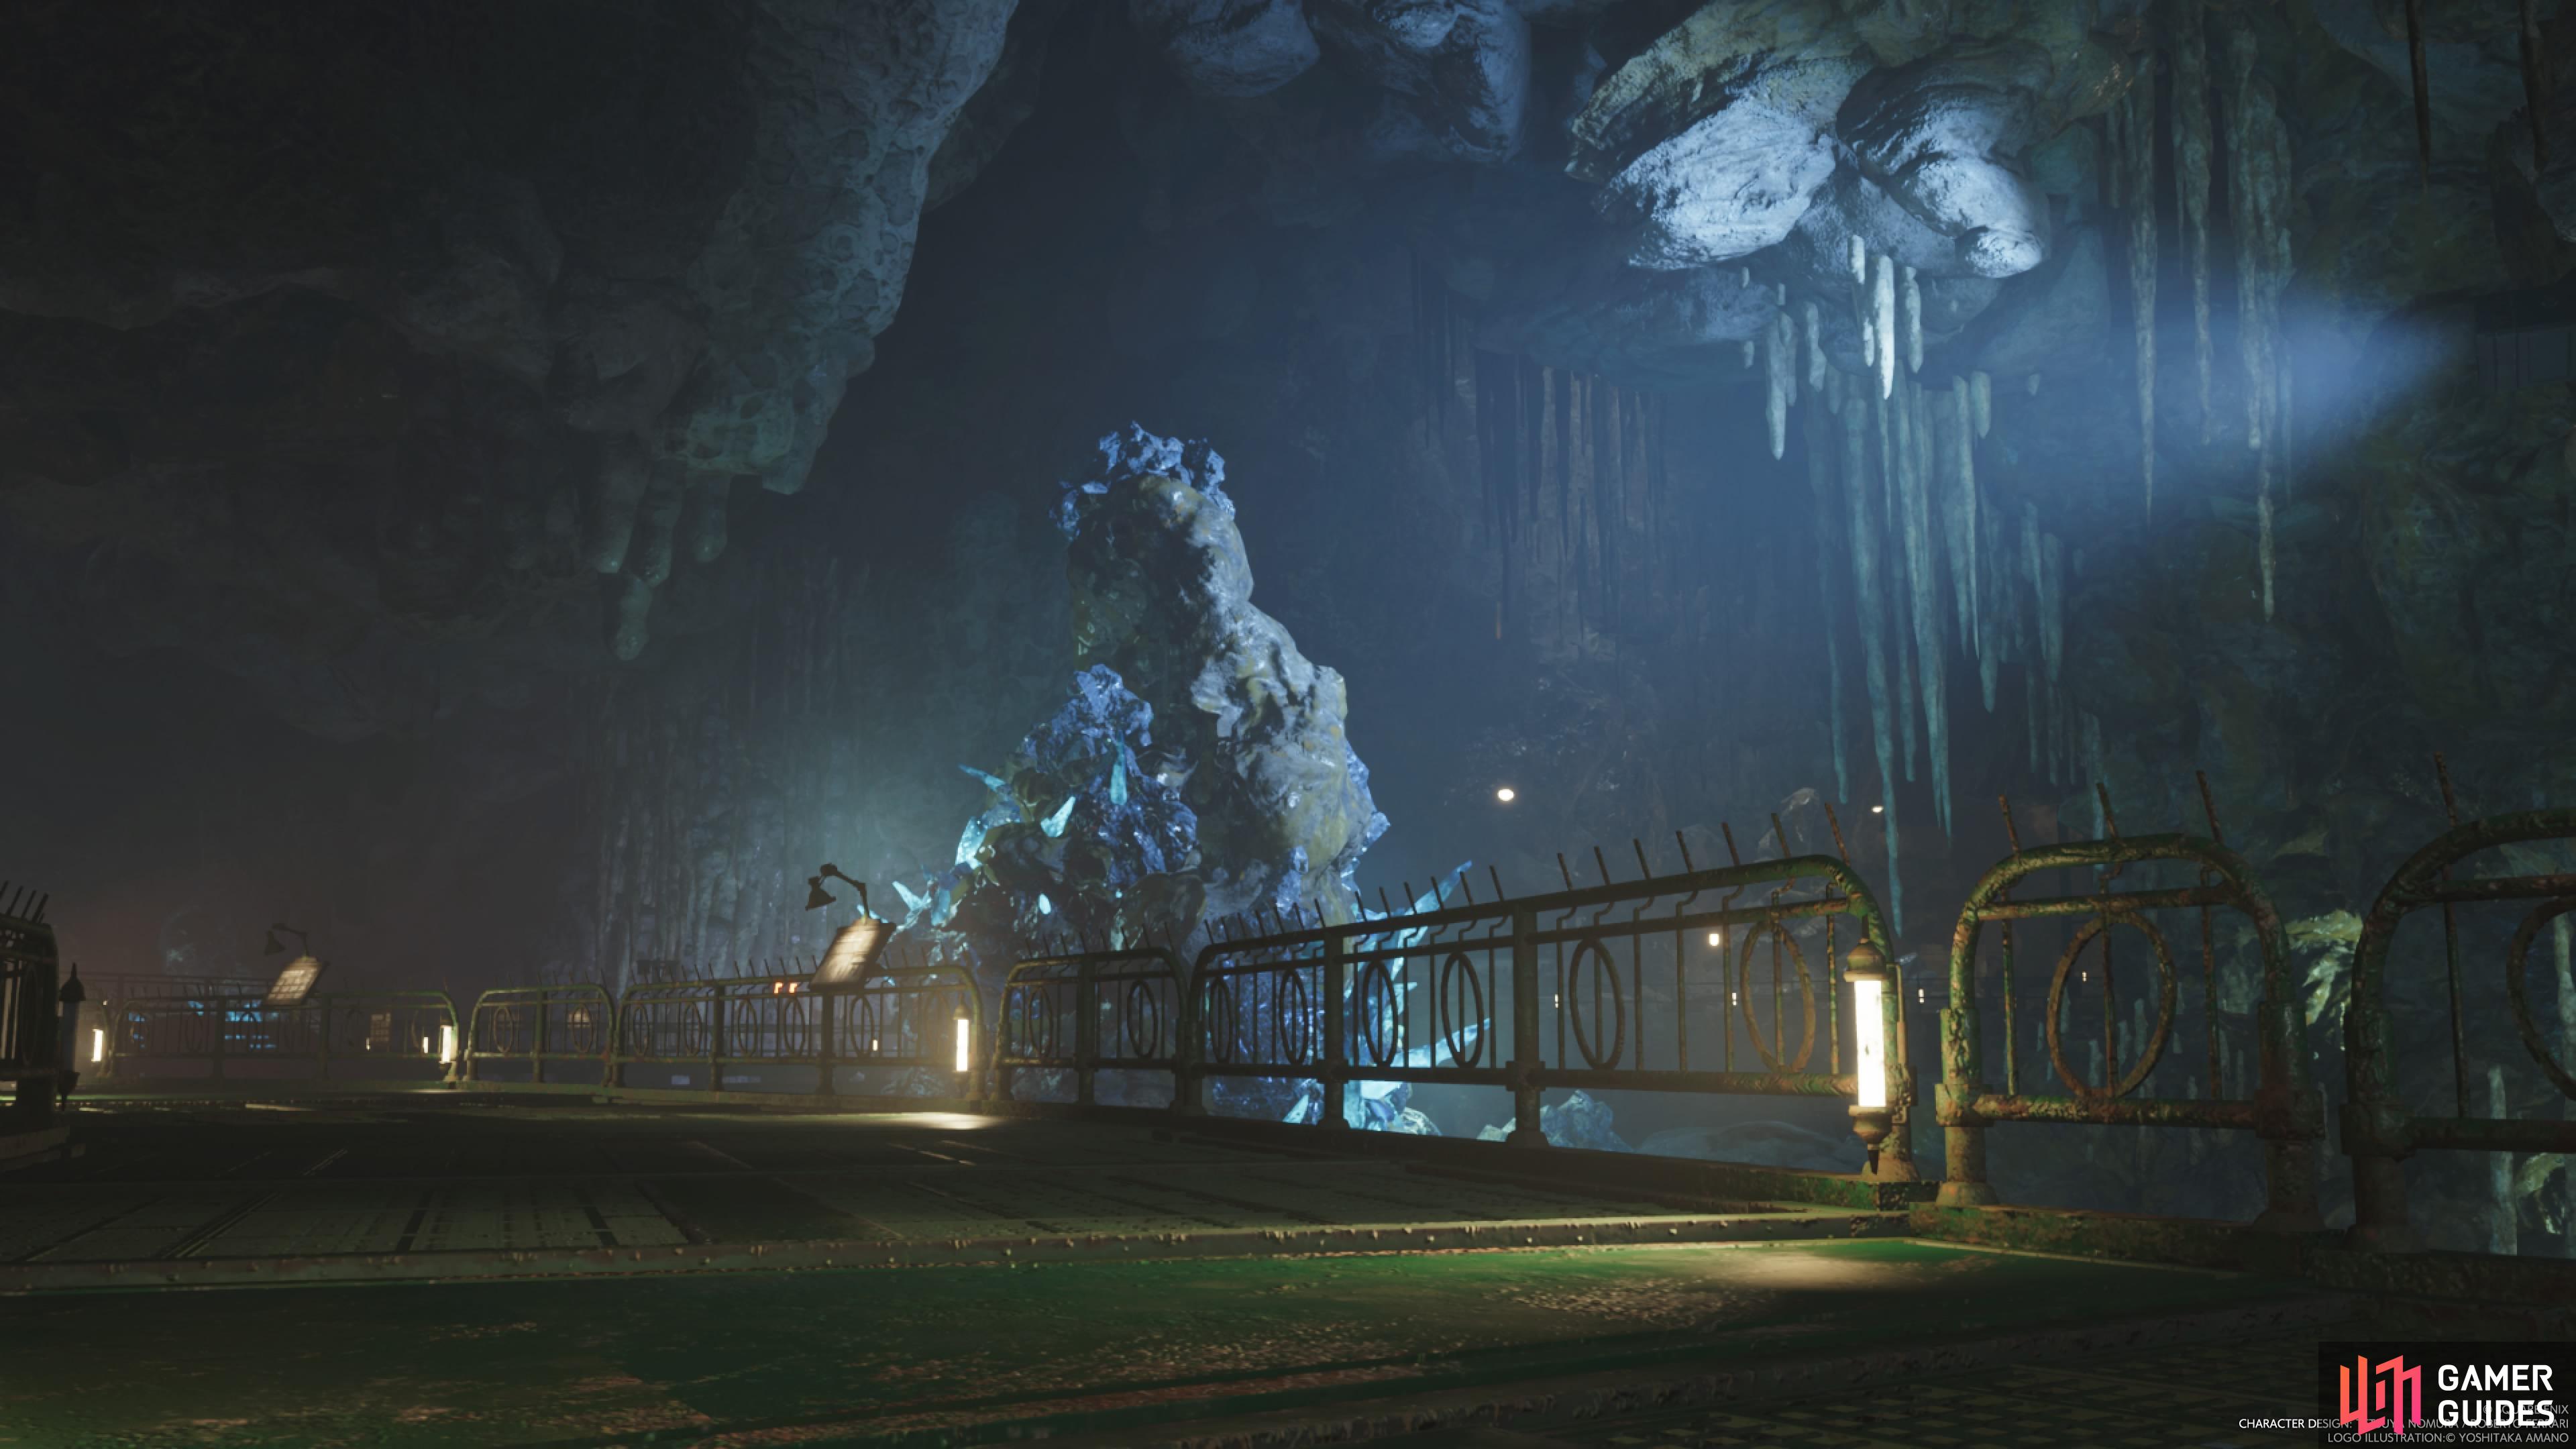
Your chase of the robed men will take you through the Mythril Mine.
Enemies in Mythril Mine
The following table lists all of the enemies you will encounter inside the Mythril Mine.
| Enemy | Weakness |
|---|---|
Items in Mythril Mine
This table will list all of the important items you will find in the Mythril Mine, such as those from treasure chests.
| Item |
|---|
| 1,000 Gil |
Mythril Mine - Cloud, Tifa, and Aerith
When you first arrive at the Mythril Mine, there isn’t really much to do or see, so just follow the only path and take in the sights. Eventually, you will happen upon a bench, as well as the Maghnata Automat and vending machine. The latter will have some cheap ![]() Hi-Potions, so make sure you nab them if you have the gil. Once you’re ready, continue past those (you’ll start seeing material pickups here) until you find the robed men. A scene will take place here and one of the robed men meets an unfortunate accident.
Hi-Potions, so make sure you nab them if you have the gil. Once you’re ready, continue past those (you’ll start seeing material pickups here) until you find the robed men. A scene will take place here and one of the robed men meets an unfortunate accident.
(1 of 2) Climb up this set of broken stairs and follow the narrow path

Climb up this set of broken stairs and follow the narrow path (left), which will take you to a spot with this AP Up Materia. (right)
The party will split up at this point, with Barret and ![]() Red XIII following the robed man and Cloud, Aerith, and Tifa staying topside. You’ll be controlling the latter party right now, and you should see a pop-up right then, indicating that fast travel is now unavailable. Basically, you’ll be stuck in the mine, so you’ll have to wait until you finish it before you can head back to the
Red XIII following the robed man and Cloud, Aerith, and Tifa staying topside. You’ll be controlling the latter party right now, and you should see a pop-up right then, indicating that fast travel is now unavailable. Basically, you’ll be stuck in the mine, so you’ll have to wait until you finish it before you can head back to the ![]() Grasslands. Keep pushing forward through the tunnel and your first enemies will present themselves, two
Grasslands. Keep pushing forward through the tunnel and your first enemies will present themselves, two ![]() Crawlers. Make quick work of them, then look for some broken stairs off to the side.
Crawlers. Make quick work of them, then look for some broken stairs off to the side.
Climb up the broken stairs and find the narrow pathway, taking it to the other side of this room, where you’ll find an ![]() AP Up Materia. When you set this in a linked slot on a weapon or armor, the linked materia will gain 100% more AP. It might be a good idea to link this with something like Prayer or a Healing materia. There will be a ladder next to the materia, so take it down to find some more enemies, a
AP Up Materia. When you set this in a linked slot on a weapon or armor, the linked materia will gain 100% more AP. It might be a good idea to link this with something like Prayer or a Healing materia. There will be a ladder next to the materia, so take it down to find some more enemies, a ![]() Crystalline Crab and two more Crawlers. The former is a little tankier than the Crawlers, but Blizzard will take it down quickly.
Crystalline Crab and two more Crawlers. The former is a little tankier than the Crawlers, but Blizzard will take it down quickly.
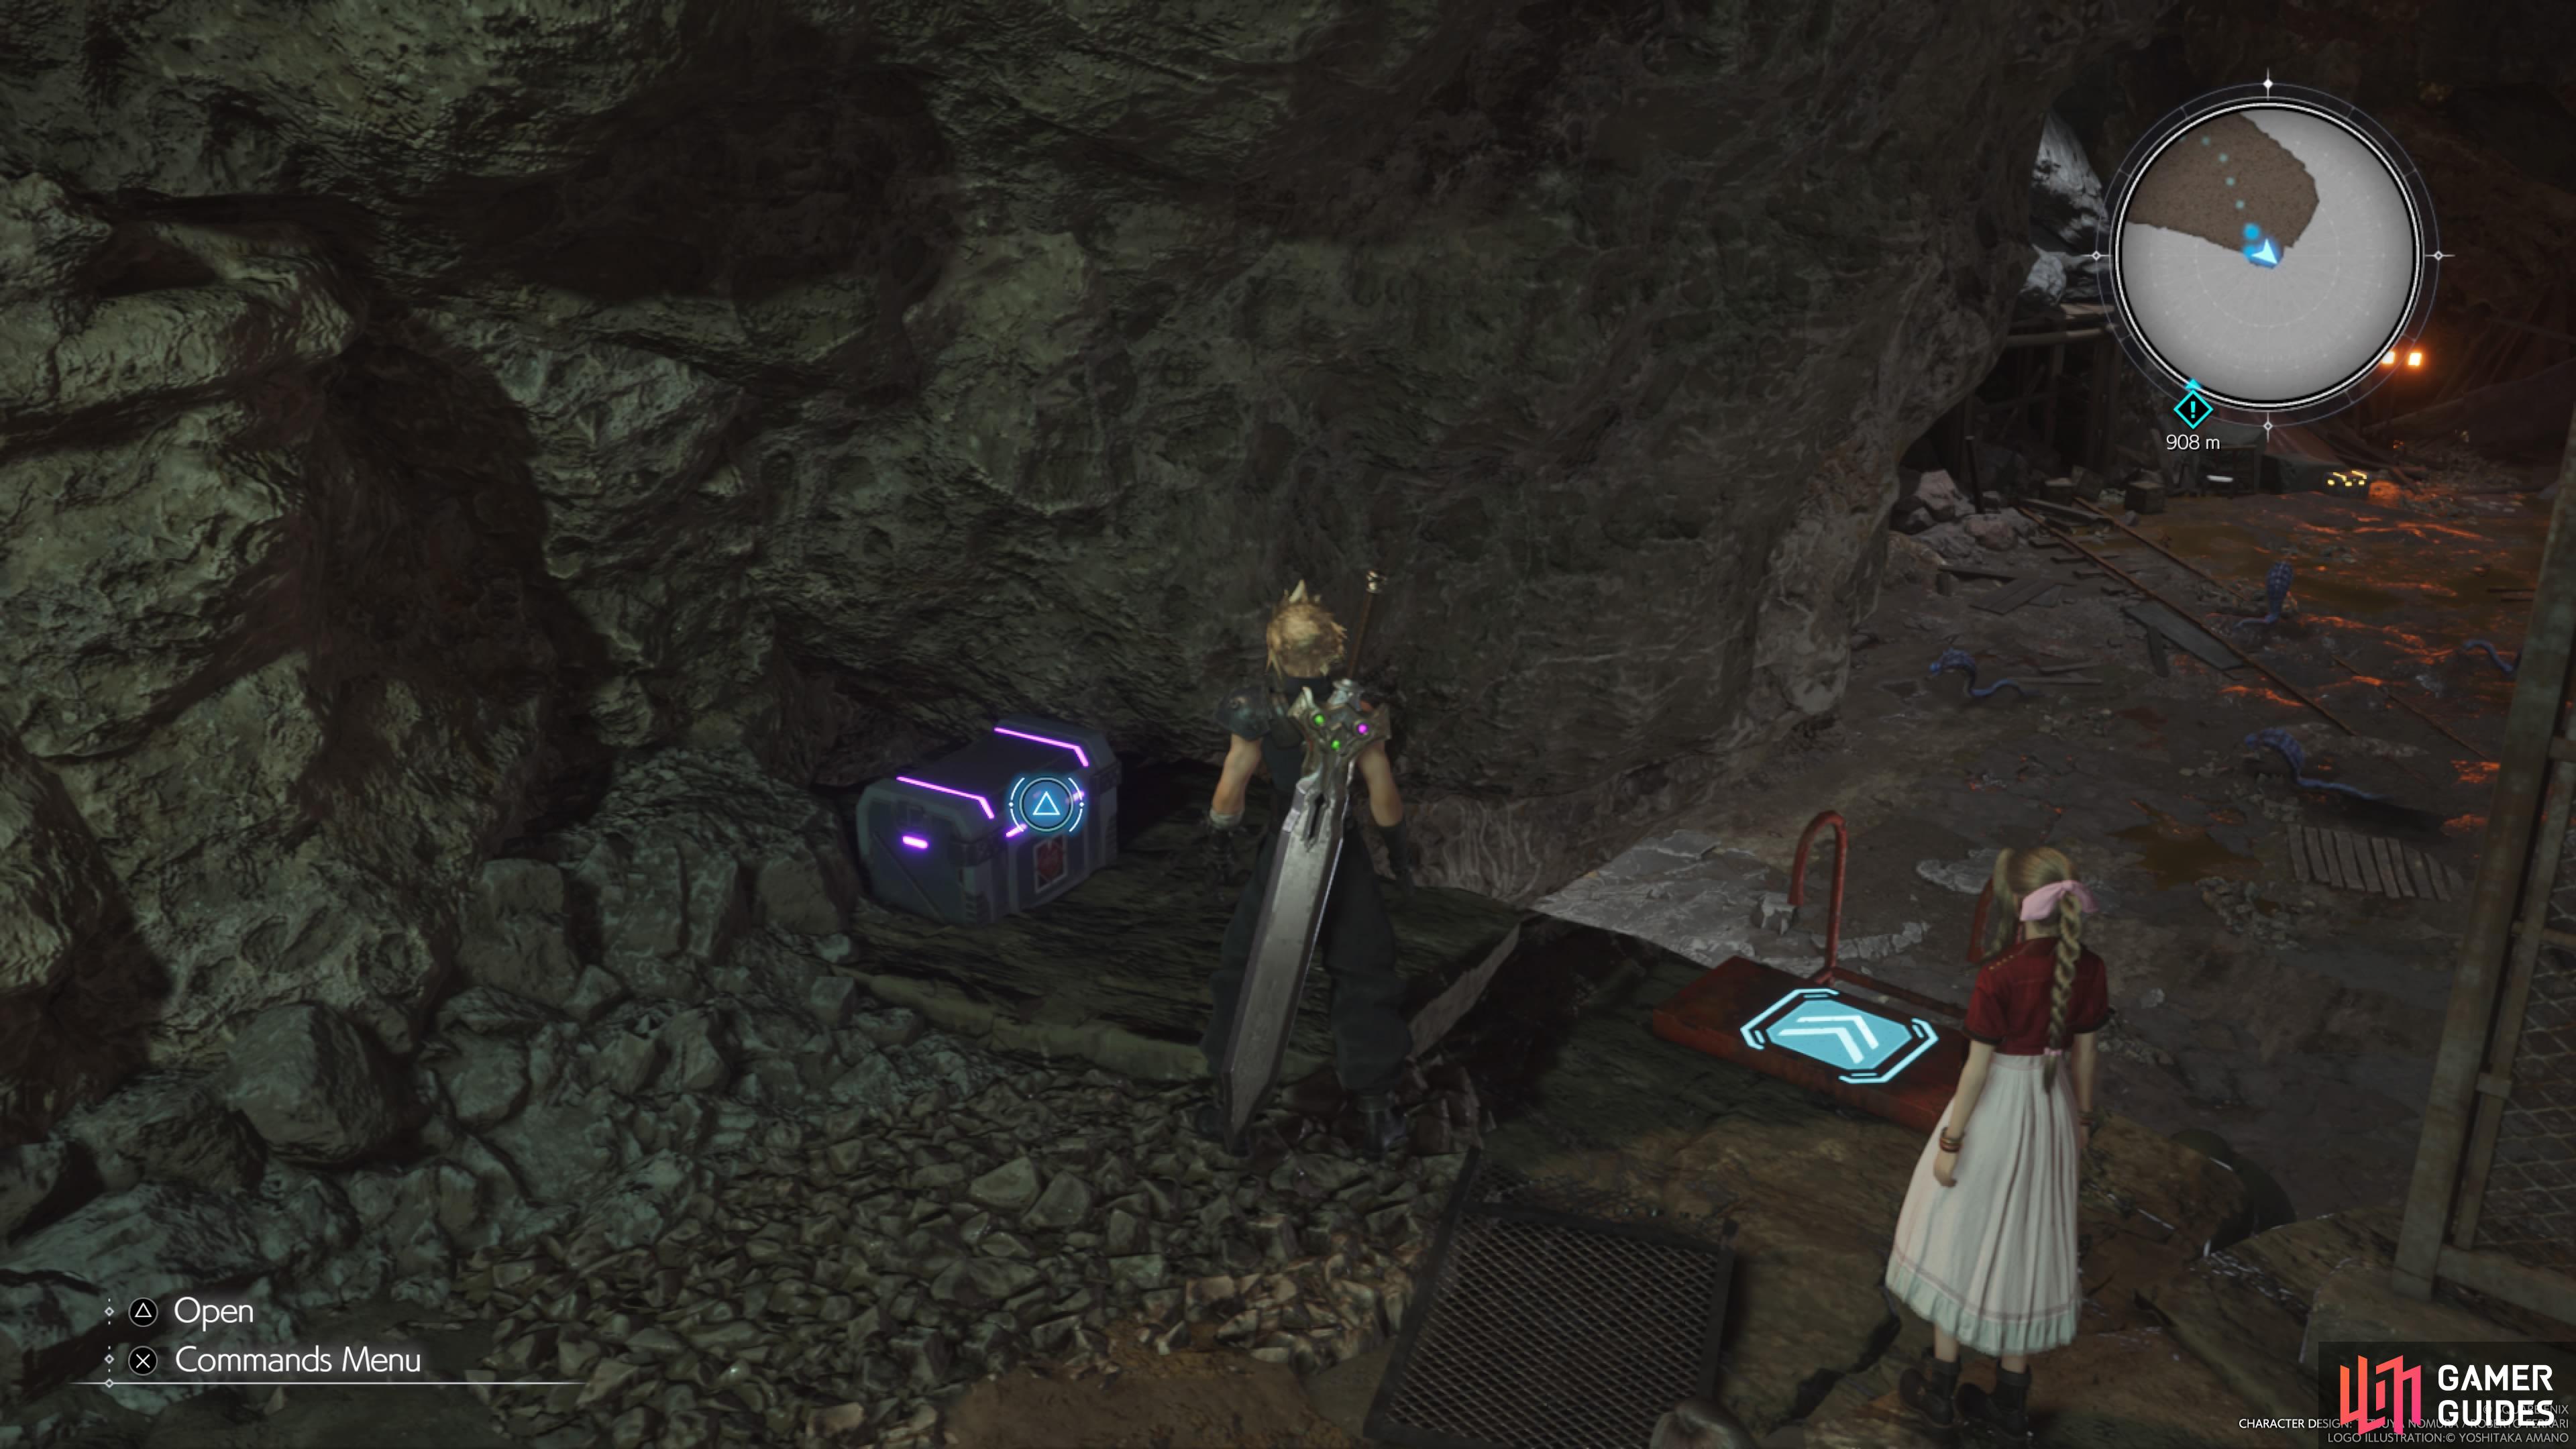
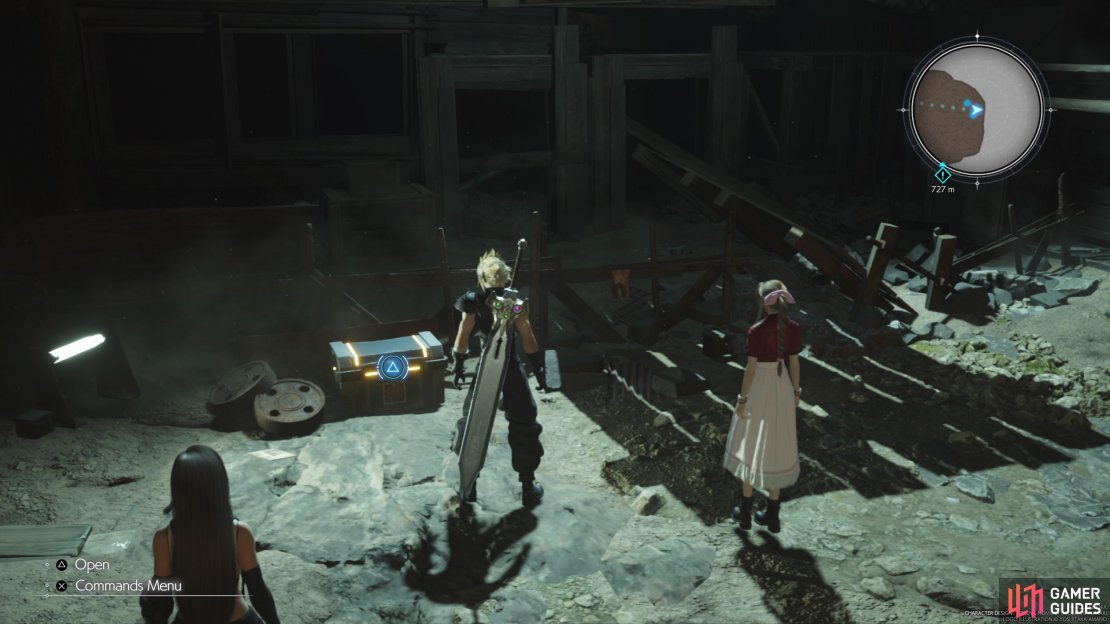
This purple chest right by the ladder will contain the Sylph Gloves for Tifa.
On the eastern side of this little area is another ladder and right next to it will be a purple chest. If you forgot, these will contain new weapons for your characters, with this particular chest yielding some ![]() Sylph Gloves for Tifa. If you learned the ability from her
Sylph Gloves for Tifa. If you learned the ability from her ![]() Leather Gloves already, then make sure to equip these new gloves, which can teach her
Leather Gloves already, then make sure to equip these new gloves, which can teach her ![]() Reverse Gale. This will probably have one more materia slot, too, so don’t forget to set one and also put a weapon skill on it. Slide down the nearby ladder to find another large room, with four Crawlers on the southern side.
Reverse Gale. This will probably have one more materia slot, too, so don’t forget to set one and also put a weapon skill on it. Slide down the nearby ladder to find another large room, with four Crawlers on the southern side.
Mythril Quarry - 2nd Tier
Open the chest past them after the battle for an ![]() Ether, then backtrack a tiny bit to take the northwestern tunnel. The next room will have some more Crawlers, then you have a choice on which path to take. The southern one has a small hill to go down and find not much of importance, other than some Shinra Boxes and materials. You can either climb the nearby wall or head back up to get to the other path. A new enemy will be waiting for you here, the
Ether, then backtrack a tiny bit to take the northwestern tunnel. The next room will have some more Crawlers, then you have a choice on which path to take. The southern one has a small hill to go down and find not much of importance, other than some Shinra Boxes and materials. You can either climb the nearby wall or head back up to get to the other path. A new enemy will be waiting for you here, the ![]() Ogre. One of two normal enemies that might give you trouble here, the Ogre has more health and bigger attacks.
Ogre. One of two normal enemies that might give you trouble here, the Ogre has more health and bigger attacks.

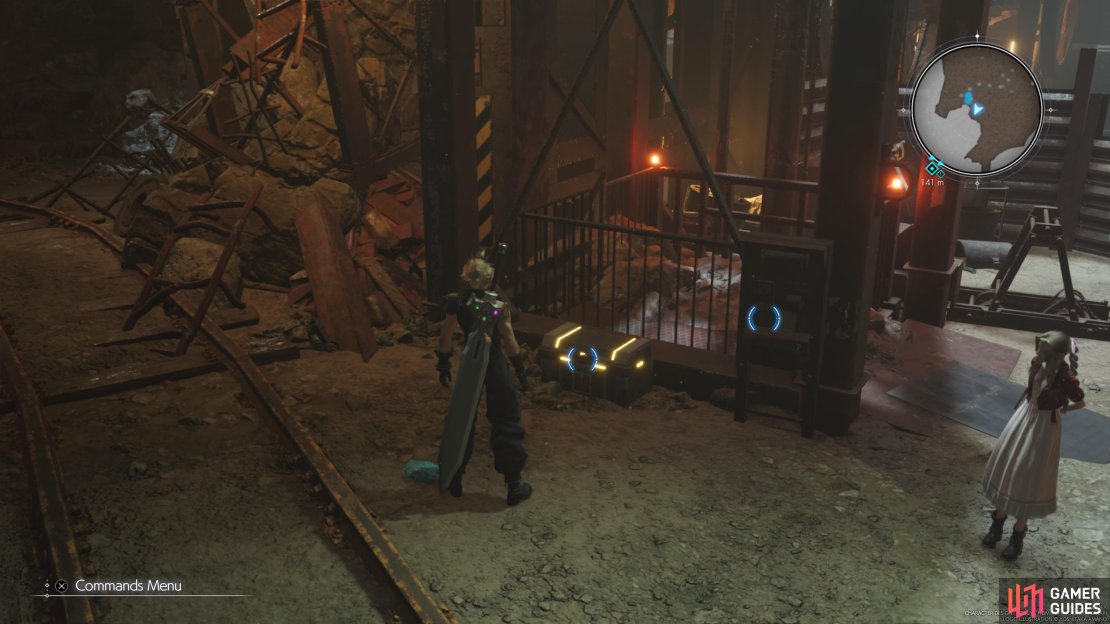
(1 of 2) This chest after the four Crawlers contains an Ether.
This chest after the four Crawlers contains an Ether. (left), The Ogre’s Brutish Tremor has a fairly large range on it. (right)
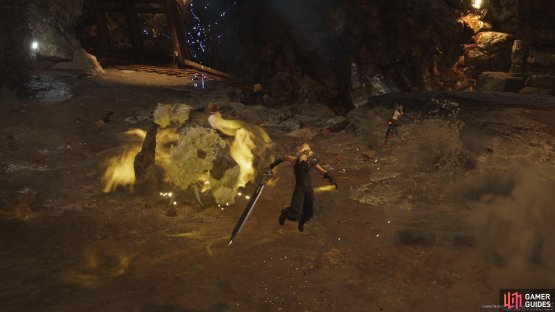
Blocking their club attacks will pressure them, but be on the lookout for the ground pounds, as well as Brutish Tremor. It is weak to fire, so that will help take out bigger chunks of health. There will be nothing else in this room, so follow the tracks to the next section, stopping when you see a side area. The other troublesome enemy will be here, the ![]() Archdragon. As a flying enemy, it might be tougher for Tifa to connect attacks, unless you’ve unlocked her synergy skill that launches her into the air. It is weak to wind, though, so hopefully you have access to Aero.
Archdragon. As a flying enemy, it might be tougher for Tifa to connect attacks, unless you’ve unlocked her synergy skill that launches her into the air. It is weak to wind, though, so hopefully you have access to Aero.
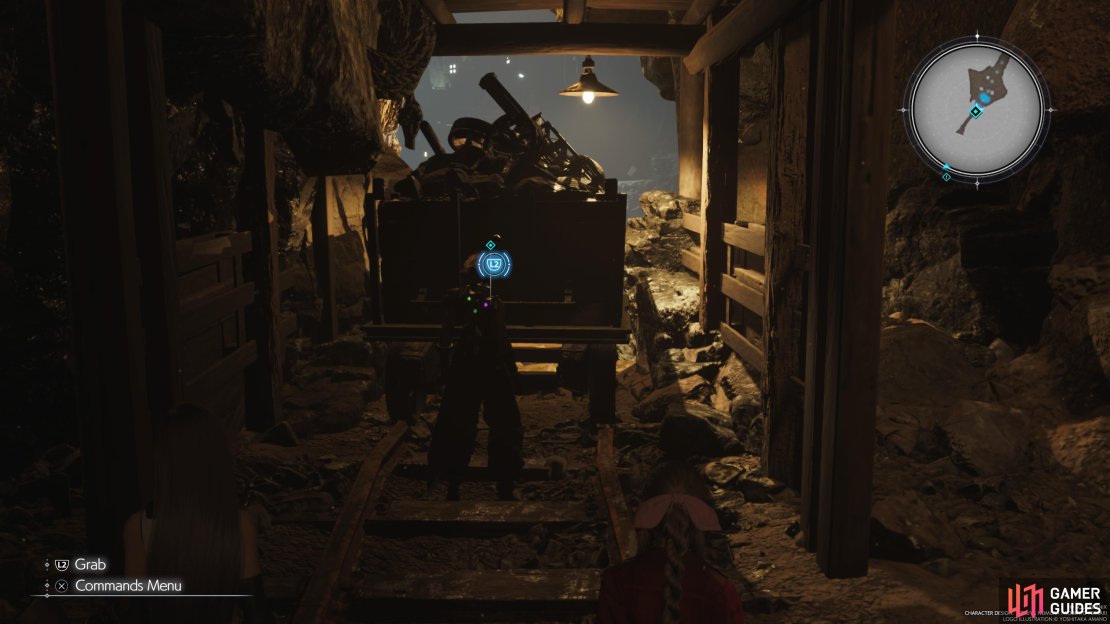
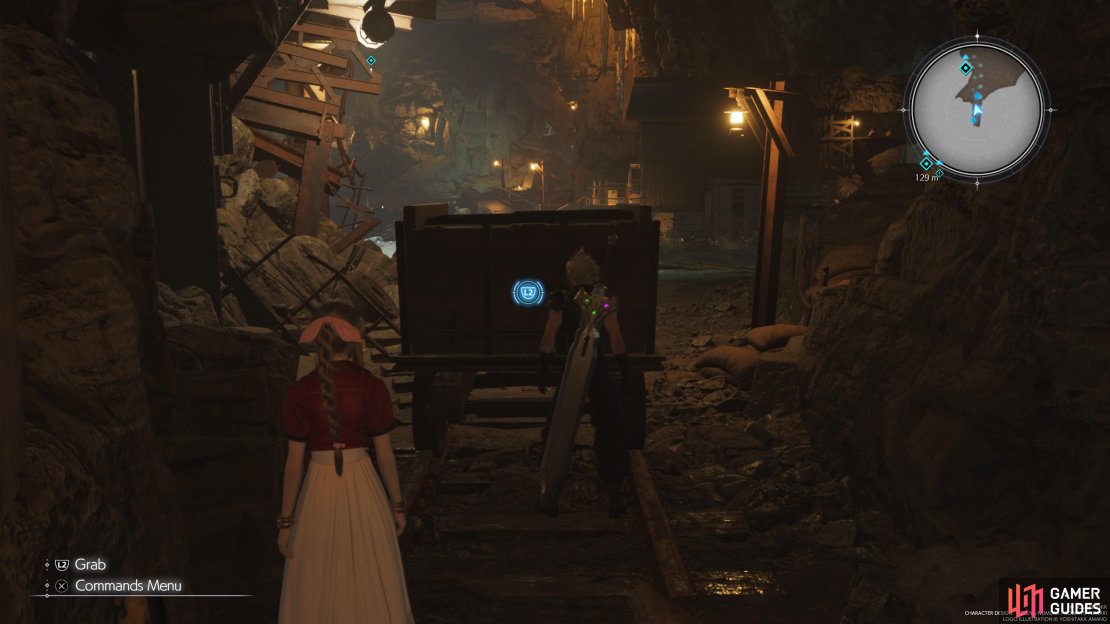
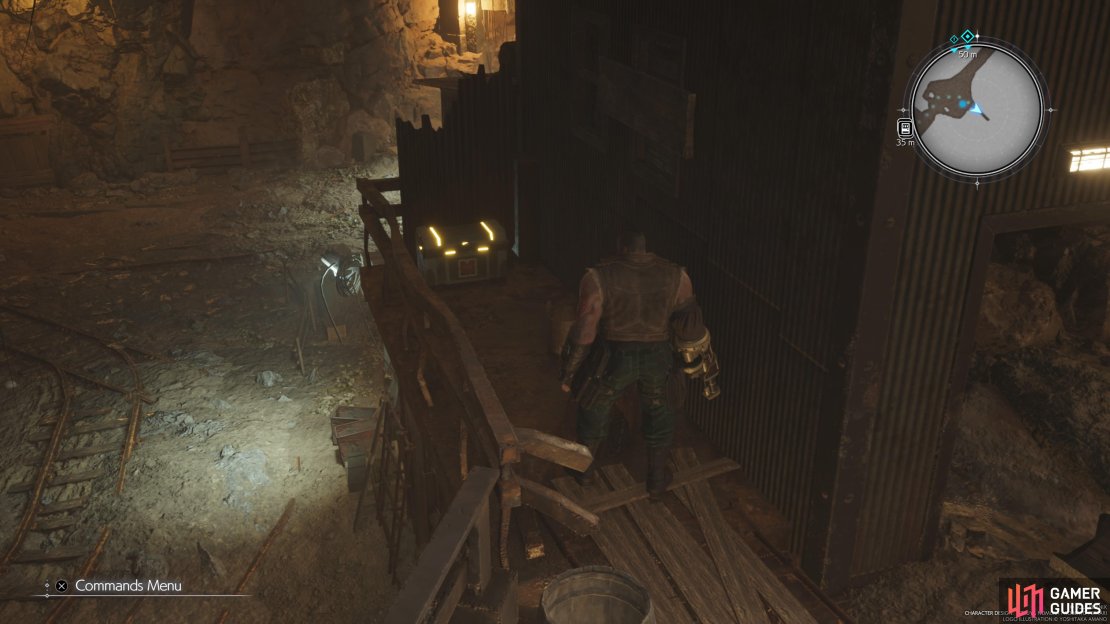
Loot the chest it was guarding for 5 pieces of ![]() Iron Ore, then get back on the main path. The tunnel will eventually lead you to a mine cart blocking the exit. Walk up to it to see a button prompt appear, so hold down L2 and pull it towards you until Cloud can get past it. There’s a little scene in the next room, then you can get back to exploring. The western dead end has nothing of importance, other than some materials, so continue east for more Crawlers. There’s another chest next to the broken elevator switch (3x Hi-
Iron Ore, then get back on the main path. The tunnel will eventually lead you to a mine cart blocking the exit. Walk up to it to see a button prompt appear, so hold down L2 and pull it towards you until Cloud can get past it. There’s a little scene in the next room, then you can get back to exploring. The western dead end has nothing of importance, other than some materials, so continue east for more Crawlers. There’s another chest next to the broken elevator switch (3x Hi-![]() Potions), and a little past that, the game will draw attention to the broken ladder.
Potions), and a little past that, the game will draw attention to the broken ladder.
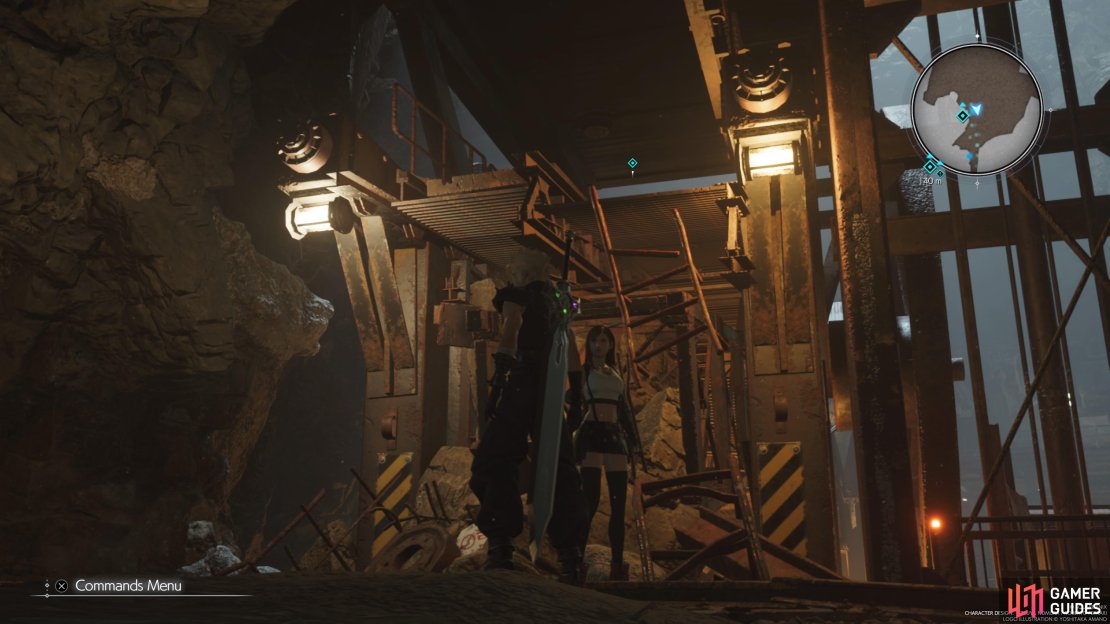
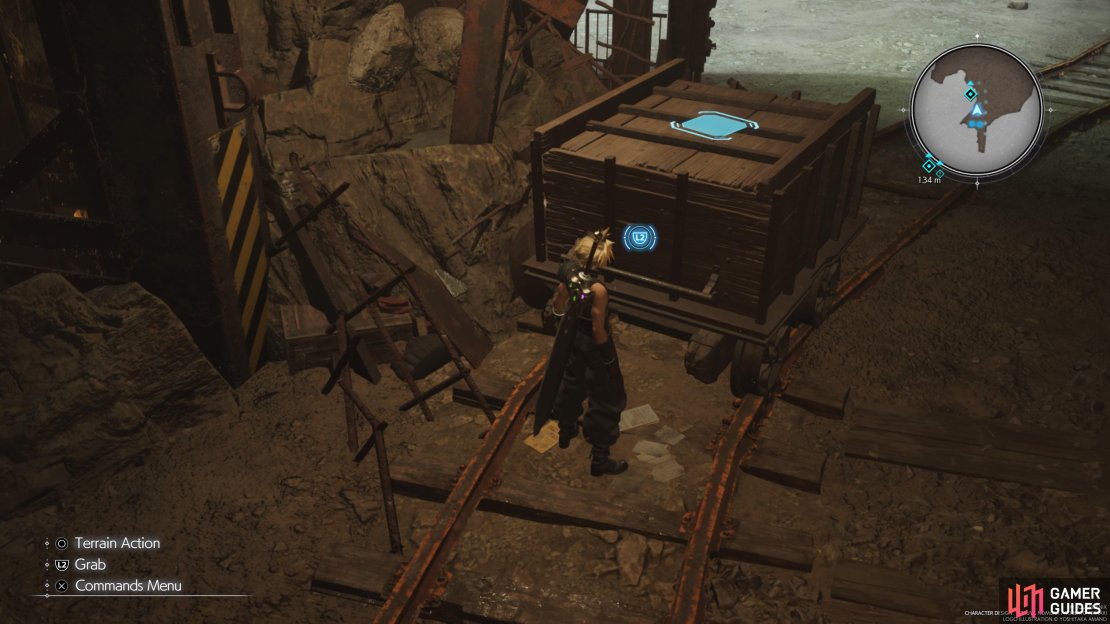
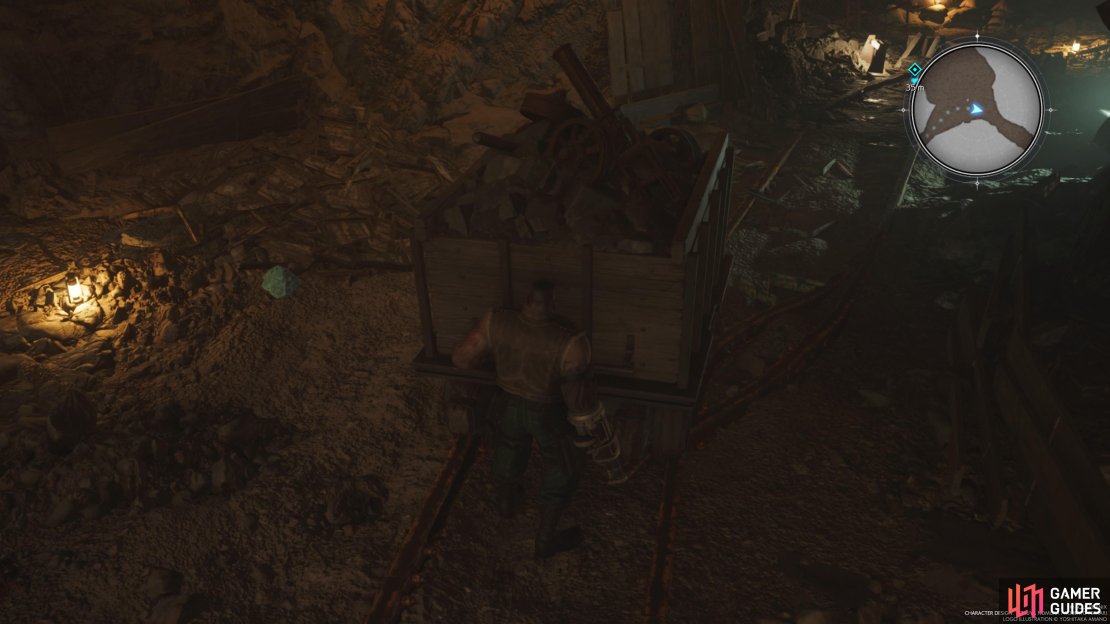
Past the broken ladder will be a dead end, but there is another mine cart you can push here. It is only pushable from the back side, so get behind it and push it until you see a marker on top of it, indicating you can climb on the cart and get on the track above. Ignore the ramp on the far side, opting to drop down to the left of it. There are a good number of materials here, as well as a chest inside the broken elevator (3 chunks of ![]() Lea Titanium). Go to the north and turn the corner to see some enemies inside the building here (Crystalline Crab and some Crawlers), but they aren’t guarding anything but some materials.
Lea Titanium). Go to the north and turn the corner to see some enemies inside the building here (Crystalline Crab and some Crawlers), but they aren’t guarding anything but some materials.
To the right of the opening is a ladder, which will take you to where the previously mentioned ramp would bring your party. Two Ogres are ahead, which can be an annoying battle, especially if they do Brutish Tremor together, or one stunlocks you with their normal ground pound. Concentrate on one to quickly take it down, which will make the battle much easier. Just past them is another ladder, leading to a path that will present you with a rest room. Sit on the bench to recover, then take a look at the vendor for the sales. A boss will be coming up, so make sure you have access to both wind and lightning attacks; not one or the other, but both, as there are two bosses.
When you’re ready, head up the stairs and follow the path for a scene, then the bosses.
Rude and Elena Boss Guide - Mythril Mine
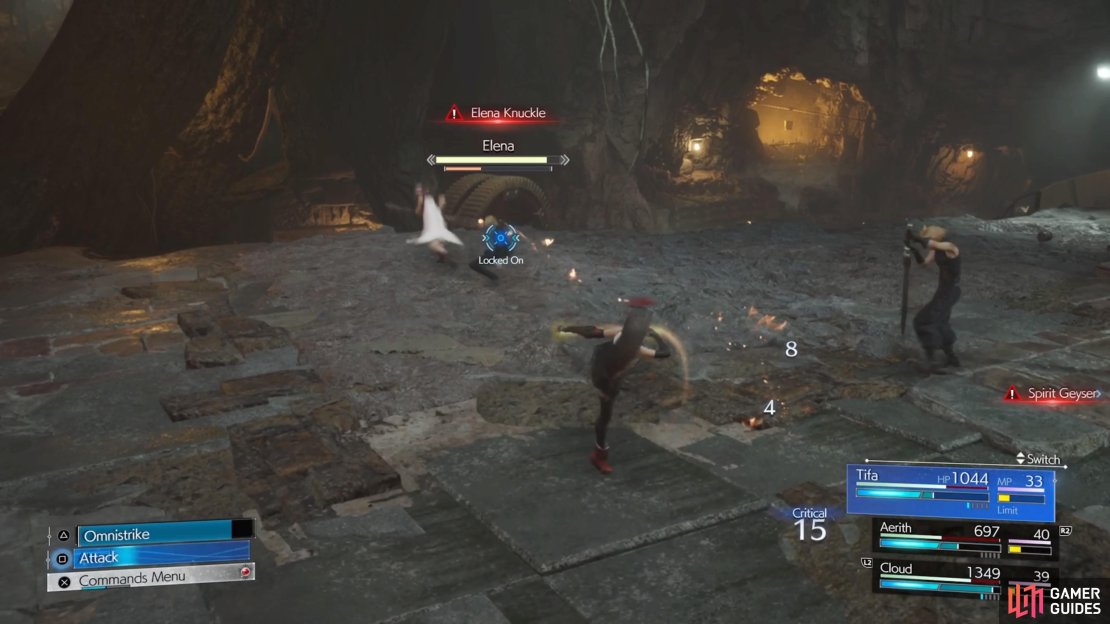
The Turks are back, although ![]() Elena is new to things and is quite energetic to put the kibosh on your party. You will be fighting both Elena and
Elena is new to things and is quite energetic to put the kibosh on your party. You will be fighting both Elena and ![]() Rude here and if you remember Rude from Remake, you recall how he was more annoying than challenging. Of the two opponents, Elena is definitely the weaker of the two, so you should probably concentrate on her first. Rude will be weak to wind, while Elena is weak to lightning. Elena has Backflip Barrage, where she’ll backflip while tossing some stun grenades forward and then fire a machine gun at a character.
Rude here and if you remember Rude from Remake, you recall how he was more annoying than challenging. Of the two opponents, Elena is definitely the weaker of the two, so you should probably concentrate on her first. Rude will be weak to wind, while Elena is weak to lightning. Elena has Backflip Barrage, where she’ll backflip while tossing some stun grenades forward and then fire a machine gun at a character.

(1 of 4) Backflip Barrage has Elena launch stun grenades, as well as shoot her gun.
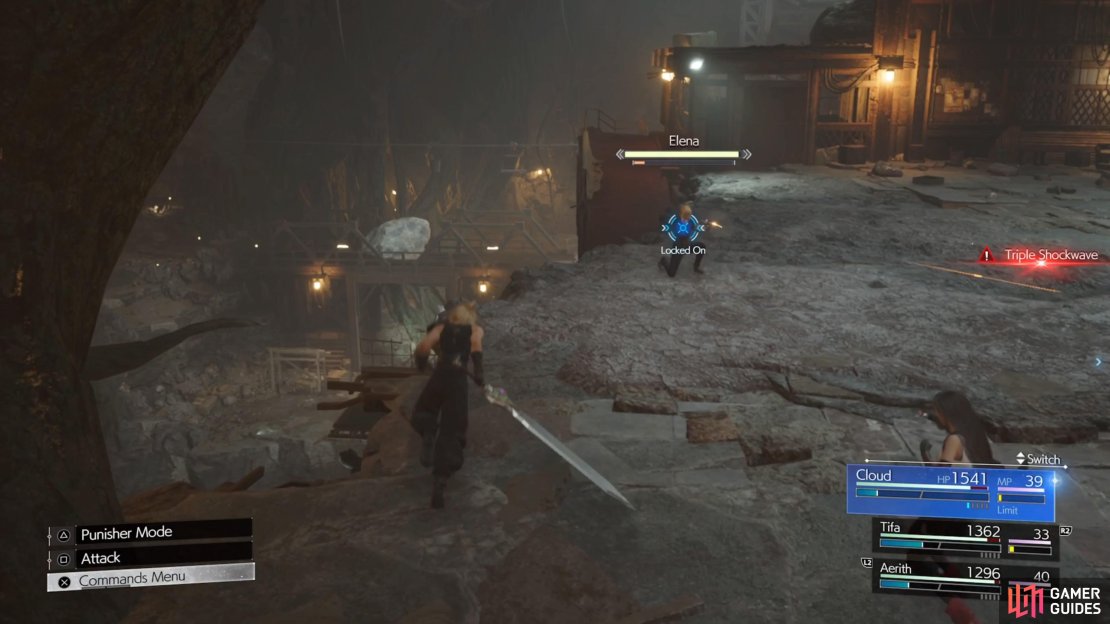
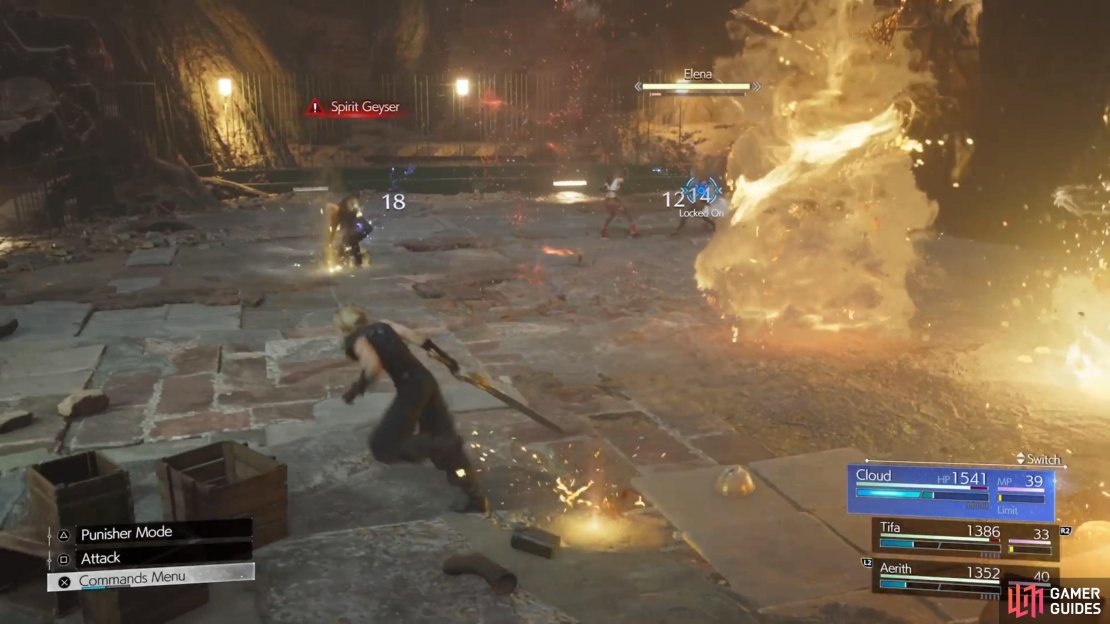
Avoid these, as they will actually stun you for a few seconds. Her other special move is Elena Punch, where she charges up a dashing punch that is super easy to avoid. Rude, on the other hand, will do a lot of blocking, like he did in Remake. If you keep attacking him while he’s blocking, he will retaliate with either some melee attacks (in melee range) or with Shockwave (if ranged). ![]() Spirit Geyser is where he punches the ground and causes mini-eruptions that follow a specific character. He also has a Triple Shockwave that shoots out three of them in a fan-shaped pattern.
Spirit Geyser is where he punches the ground and causes mini-eruptions that follow a specific character. He also has a Triple Shockwave that shoots out three of them in a fan-shaped pattern.
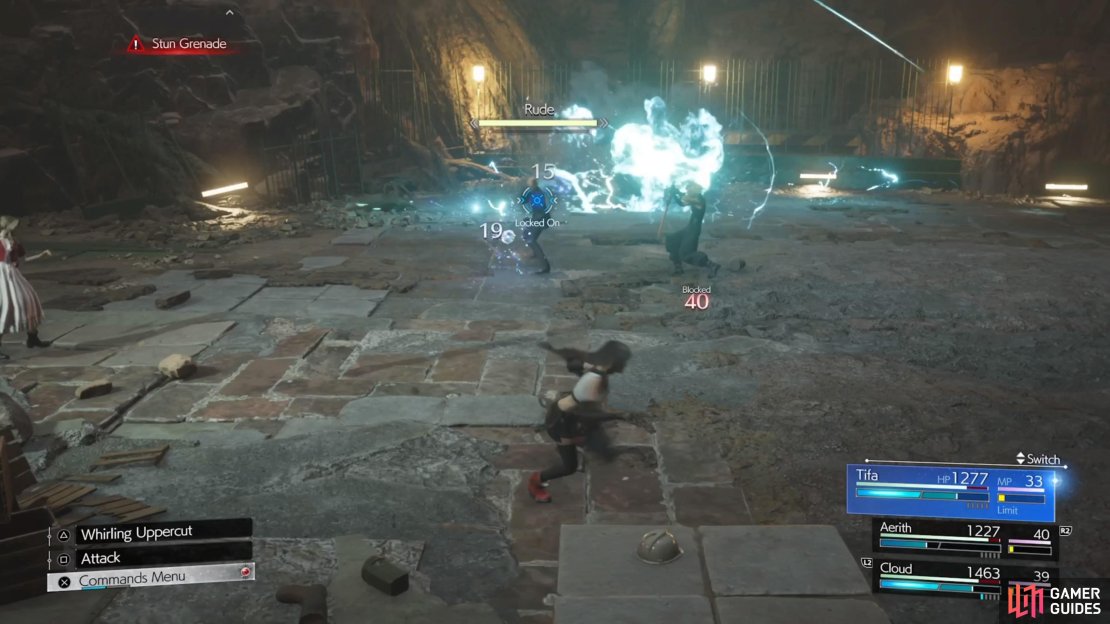
At some point during the fight, one of the two will jump out of the battlefield and perform a special attack, while the other one will stay put. Elena will do ![]() Stun
Stun ![]() Grenade, where she tosses all kinds of grenades around the battlefield. Rude will do Spirit Surge, which is similar to Geyser, but they don’t seem to follow any of your characters. Just concentrate on the boss on the field, while dodging the attacks that happen.
Grenade, where she tosses all kinds of grenades around the battlefield. Rude will do Spirit Surge, which is similar to Geyser, but they don’t seem to follow any of your characters. Just concentrate on the boss on the field, while dodging the attacks that happen.


(1 of 3) When one of the Turks leaves the field, they will do a special attack.
When you bring one of the two bosses to around half health, a cutscene will play and they will begin charging for a synergy attack. Rude will be out in front, in Atlas Stance, while Elena will be behind him. If you unleash all kinds of powerful attacks here, you will break the stance and pressure both of them. If you don’t do this in time, you will see Petite Powerhouse, a cinematic attack that hits all characters for okay damage. They can do this whole thing more than once, but the attack doesn’t really do all that much damage.
Overall, if you take down Elena first, you should have a pretty easy time with this duo, despite Rude’s guarding annoyance. You’ll receive a ![]() Mega-Potion for your troubles, as well as 50 Party XP. A cutscene will take over here and once all is said and done, Barret and Red XIII will be on their own, in a deeper part of the mine.
Mega-Potion for your troubles, as well as 50 Party XP. A cutscene will take over here and once all is said and done, Barret and Red XIII will be on their own, in a deeper part of the mine.
Mythril Mine - Escaping the Depths with Barret and Red XIII
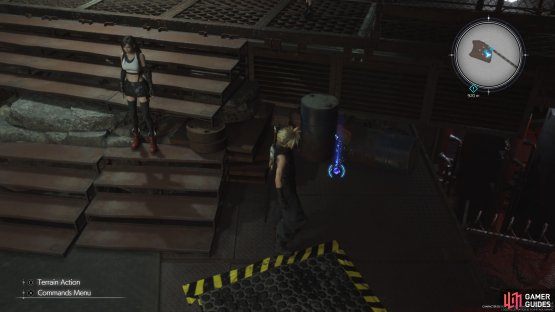
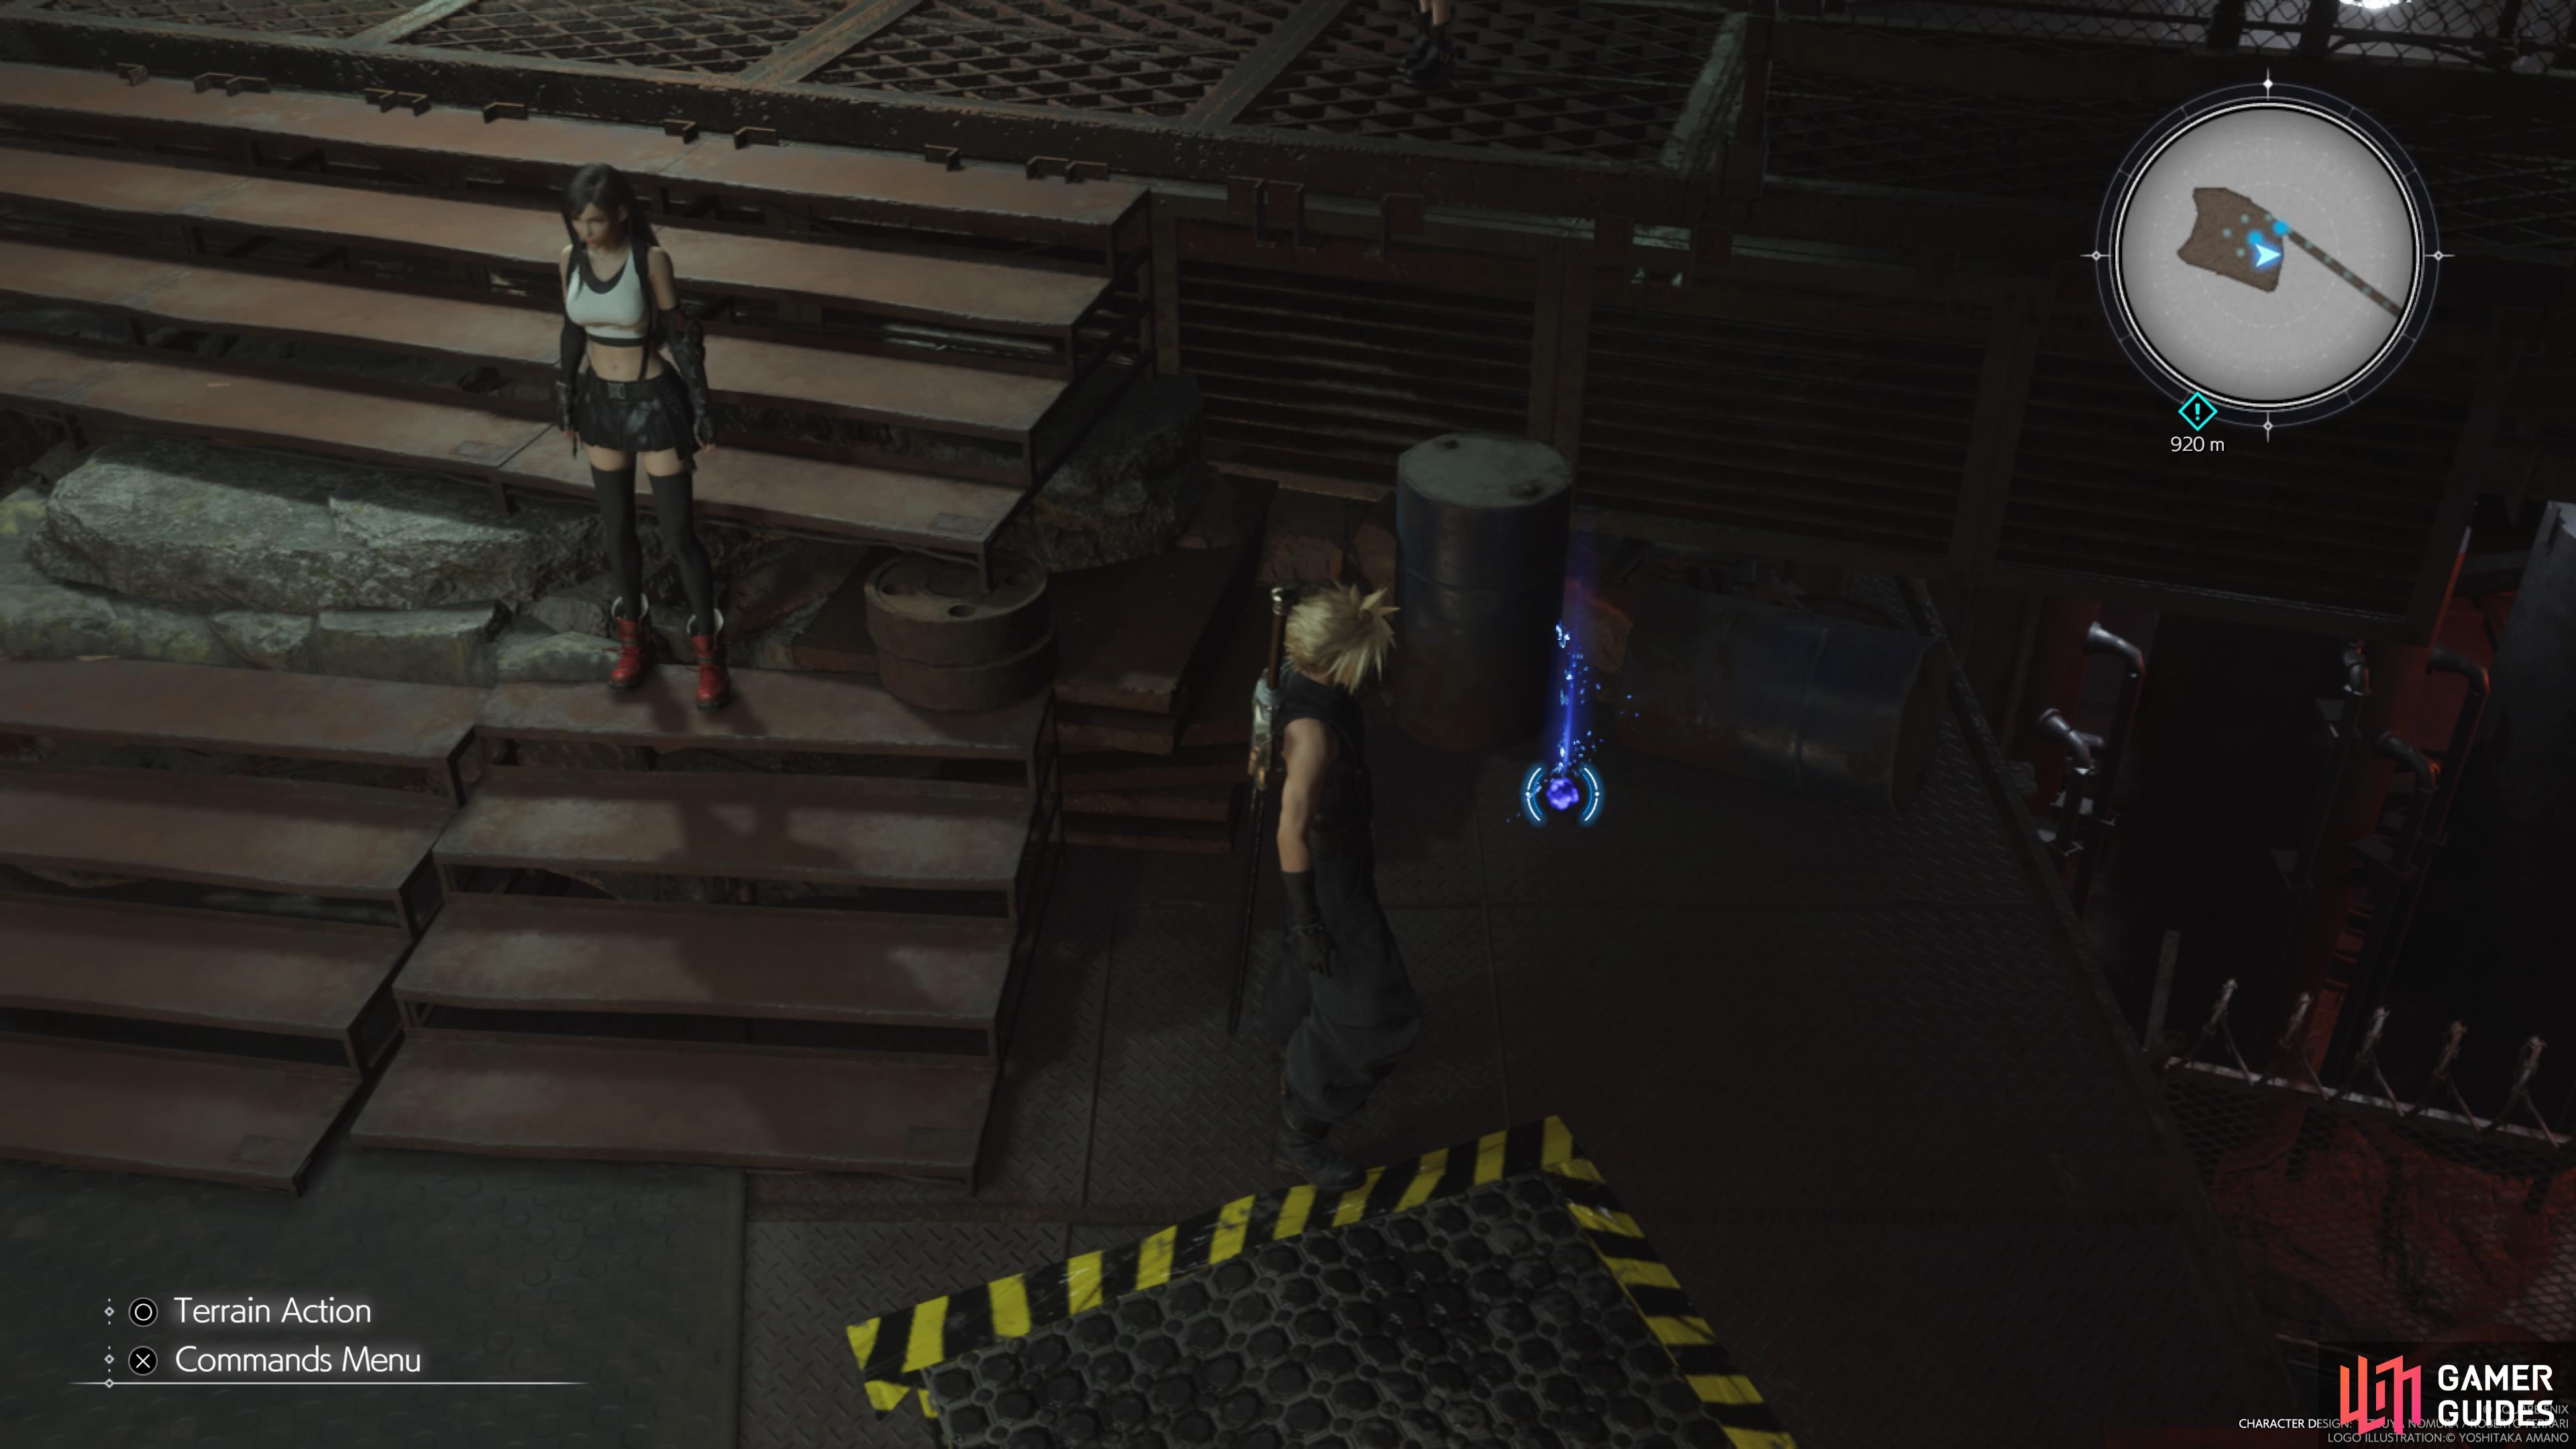
The first thing you should do, as soon as you have control, is switch around any good armor and materia, since you won’t be playing as the others until you meet back up with them later. You will likely want Assess, some elemental materia, and a Healing materia. One of the first things the game will show upon regaining control is that Barret can shoot various objects for materials and other smaller pick-ups. So, whenever you see the circle with the arrow on the outside, look in that direction to find stuff to shoot.
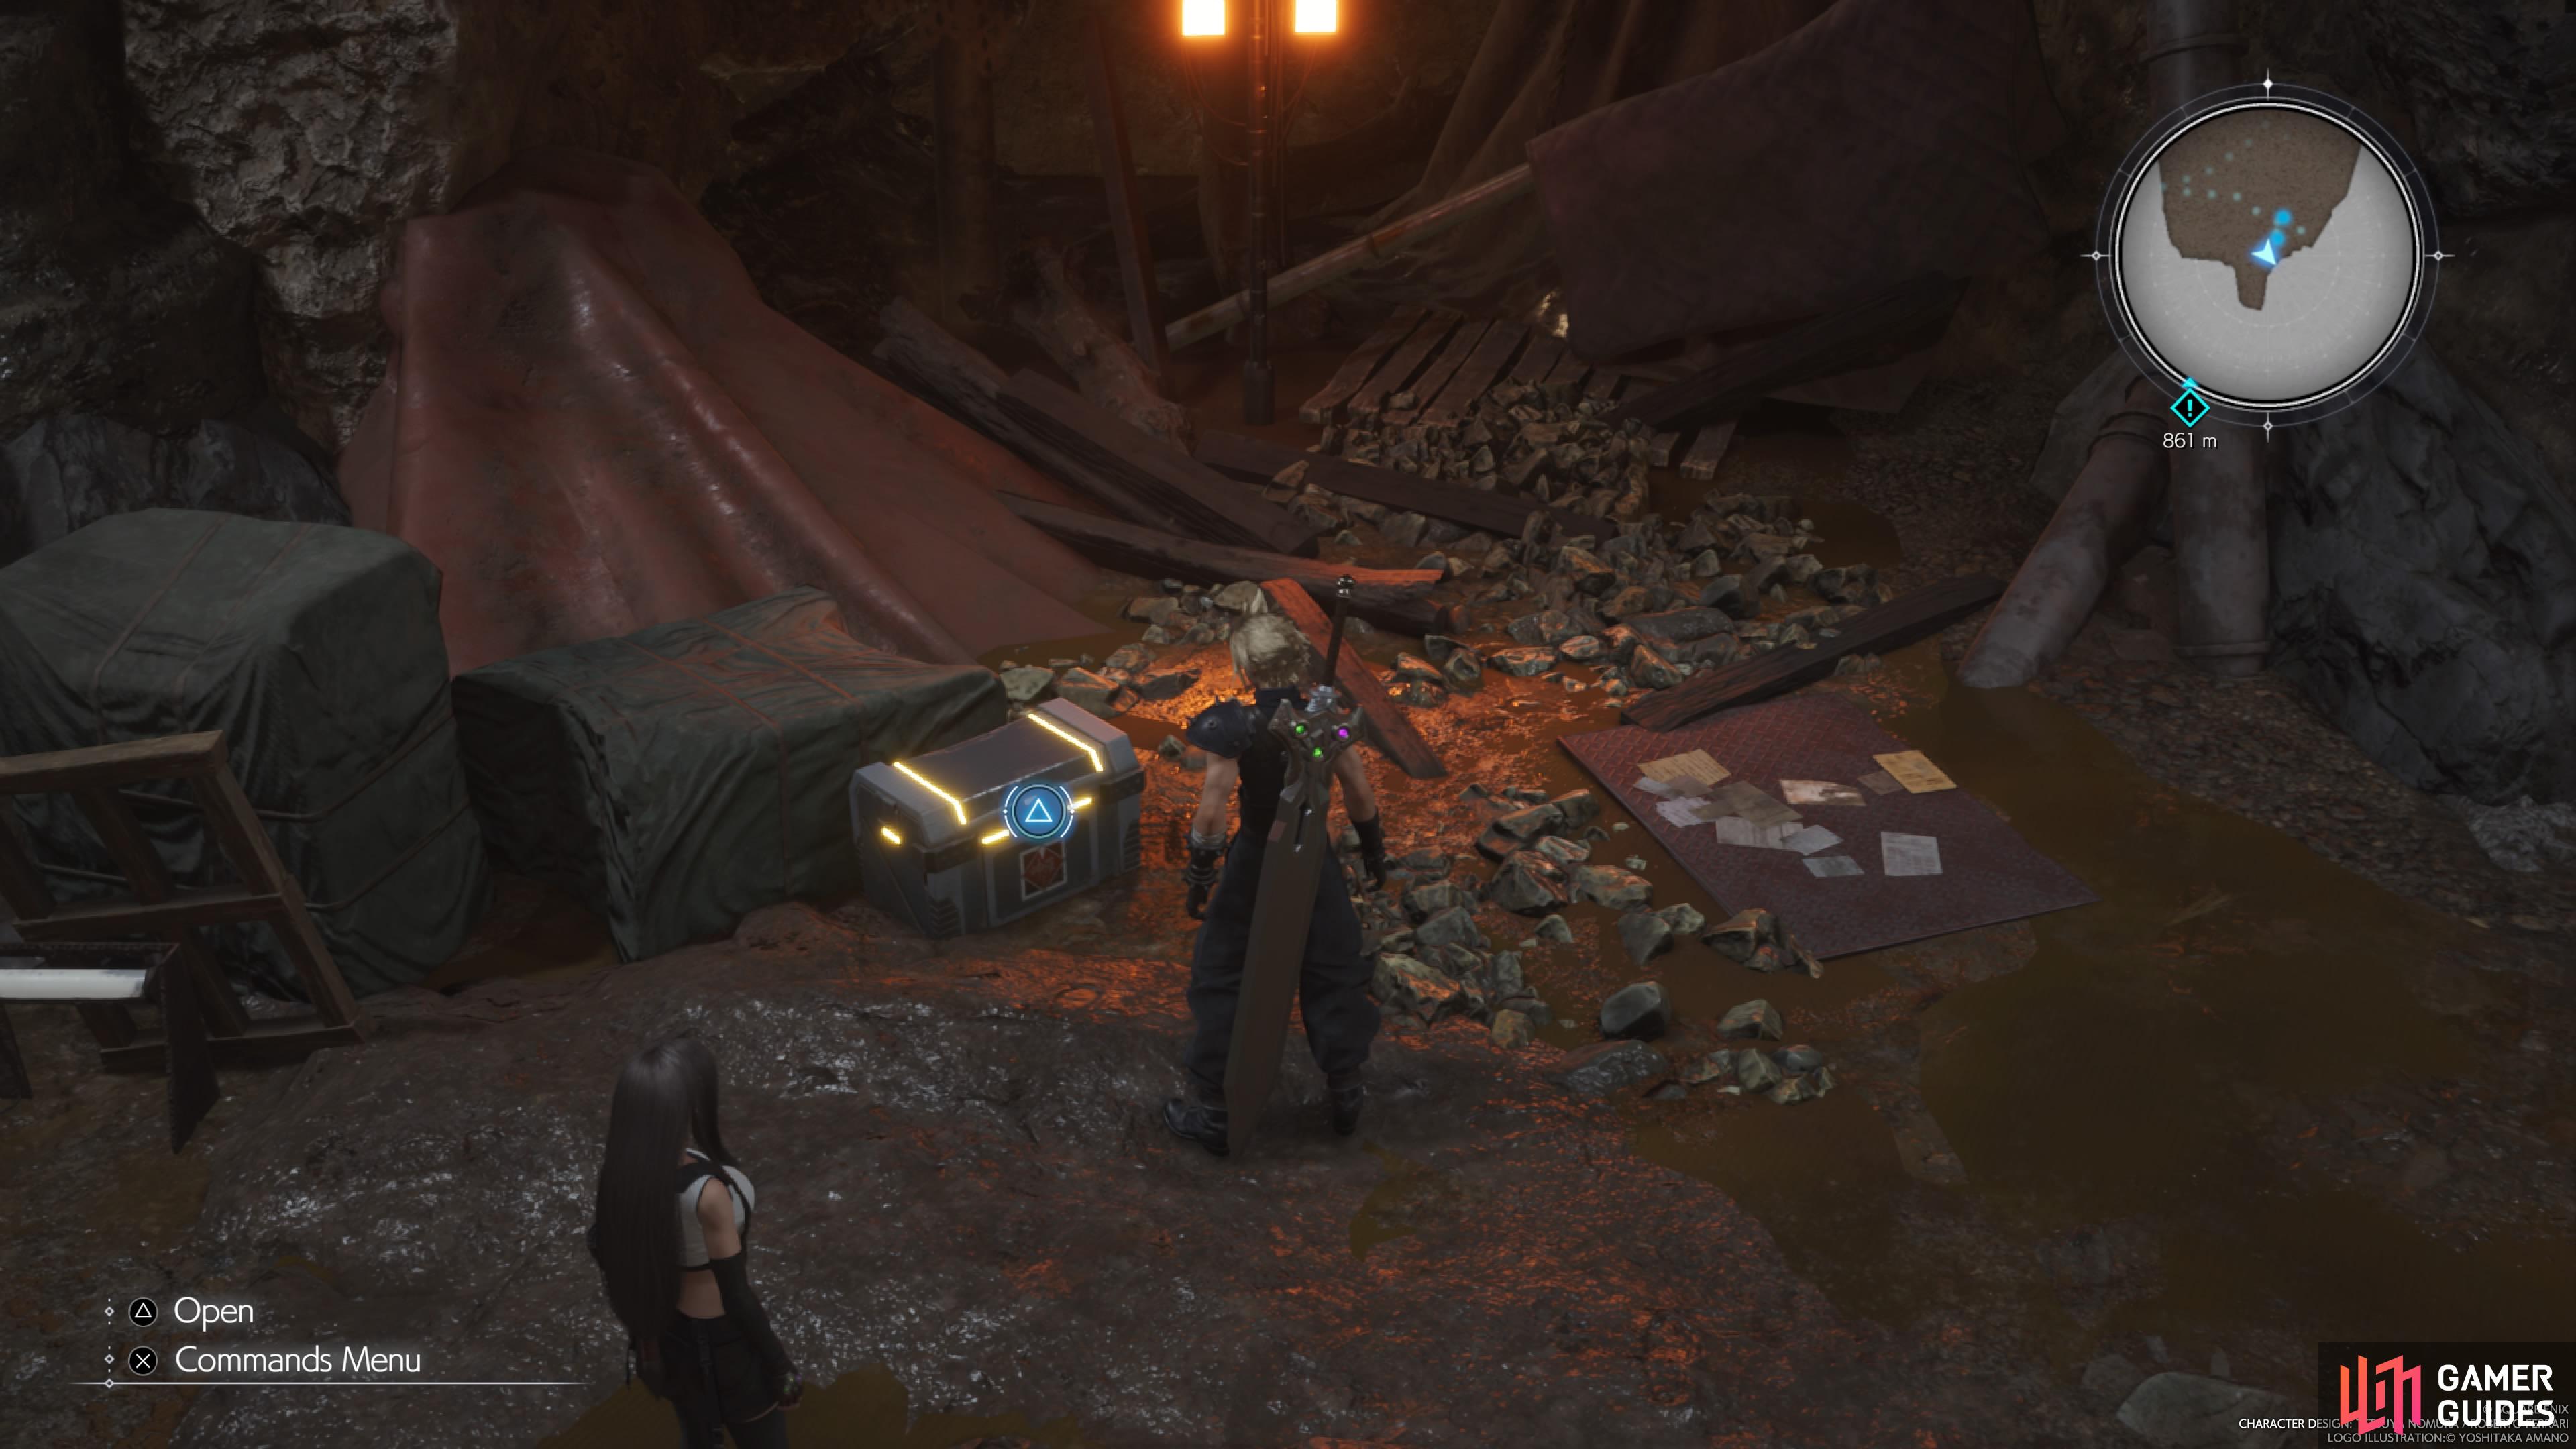
In the first area where you start, look for the nearby bench, as well as a vending machine and automat. There’s also a purple chest next to them, so open it for a ![]() Renegade’s Collar, a new weapon for Red XIII. The vending machine should also have some stuff for sale. When you’re ready, start moving to the east and you’ll run into your first enemies down here pretty much right away, two
Renegade’s Collar, a new weapon for Red XIII. The vending machine should also have some stuff for sale. When you’re ready, start moving to the east and you’ll run into your first enemies down here pretty much right away, two ![]() Flans. If you have Barret’s
Flans. If you have Barret’s ![]() Hi-Caliber Rifle, the
Hi-Caliber Rifle, the ![]() Bonus Round ability will do great work against them. Otherwise, you’ll have to use magic (weak to fire) to pressure/stagger them, as they are quite resilient against physical attacks.
Bonus Round ability will do great work against them. Otherwise, you’ll have to use magic (weak to fire) to pressure/stagger them, as they are quite resilient against physical attacks.
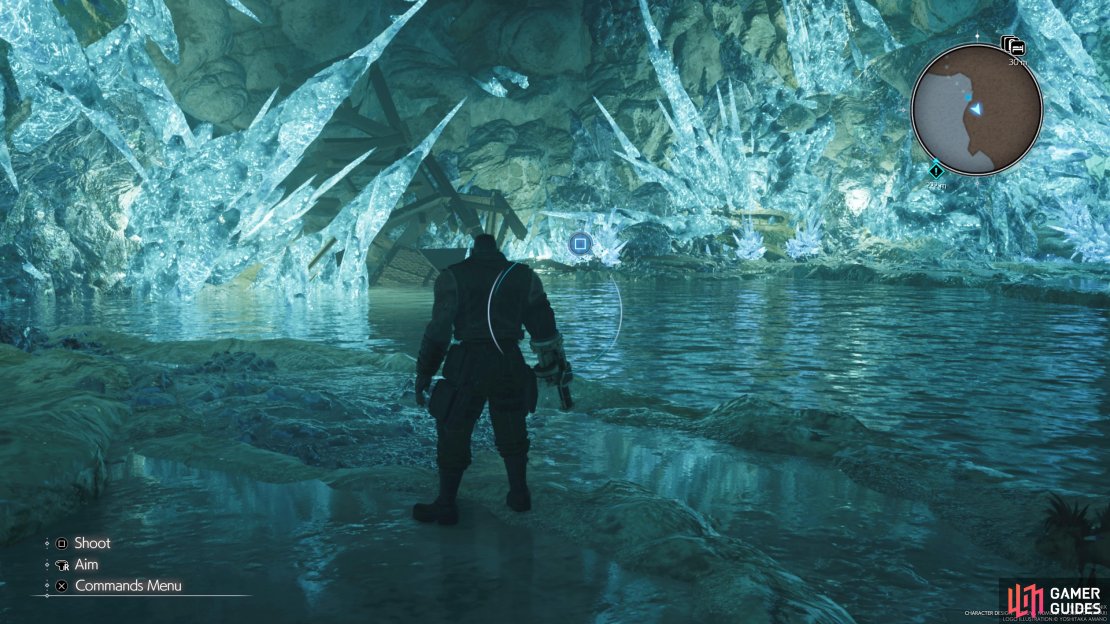
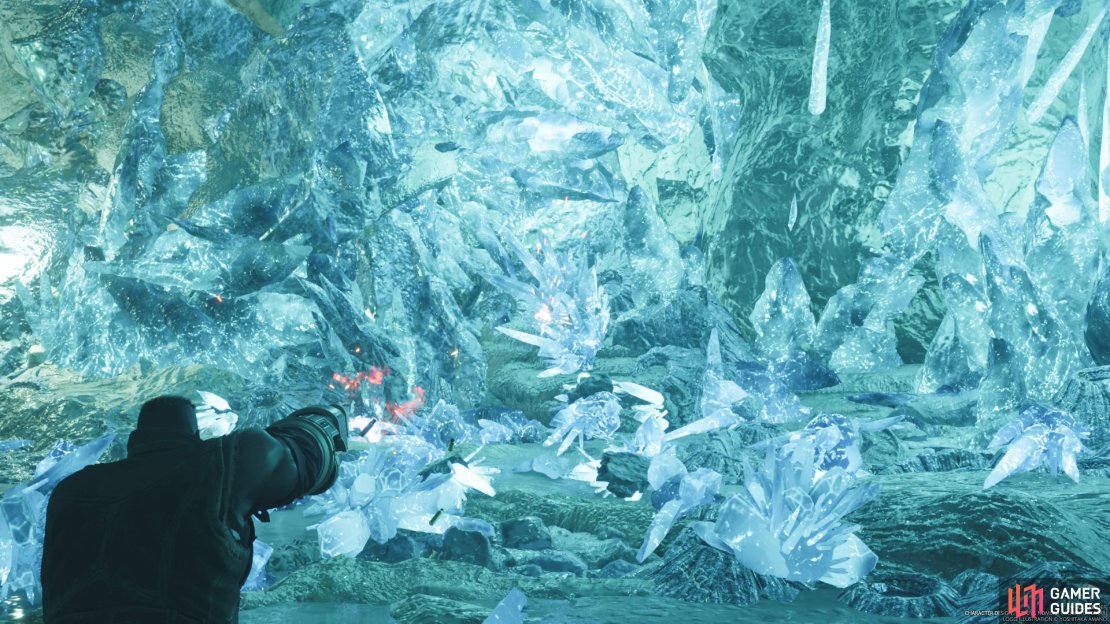


(1 of 4) When you see the circle on your screen, that means you can shoot something with Barret.
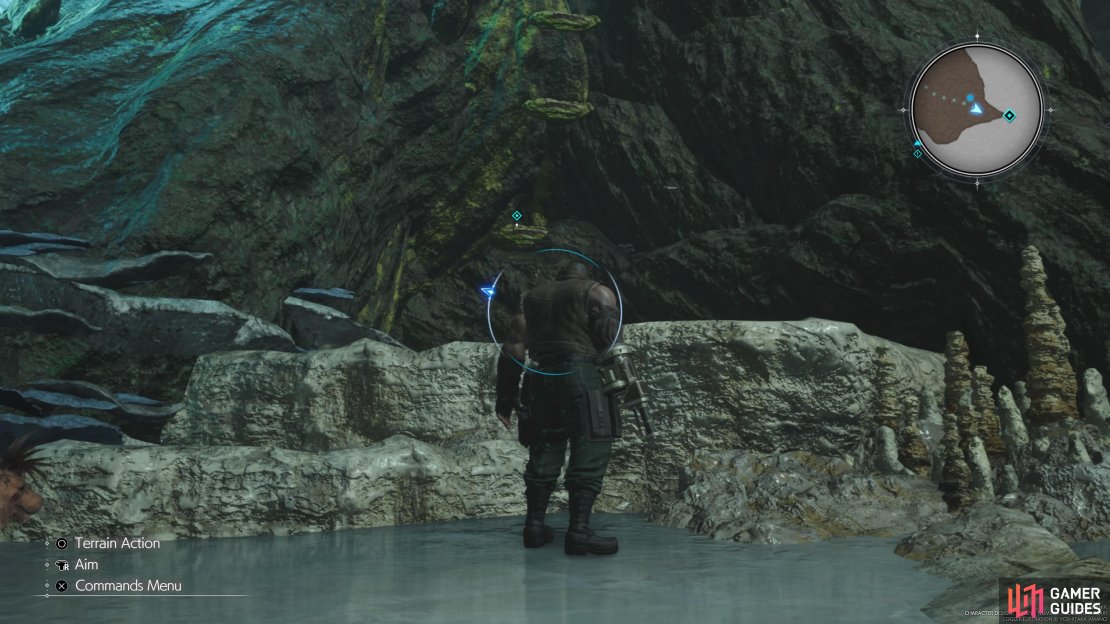
A little past the Flans, the game will draw attention to a cliff you can scale, which is the way out of here, but there are other things to explore first. If you look at your map, the eastern half of this large area has a section to the south. So, drop down in the water and swim over to the land to the south. Continue to the southeast corner piece of land and climb the ledges to find a ![]() MP Up Materia sitting on the ground. Backtrack a little bit and scale the ledges on the same piece of land to get on the main path, only going backward to fight the enemies you passed (Crystalline Crab and Flan).
MP Up Materia sitting on the ground. Backtrack a little bit and scale the ledges on the same piece of land to get on the main path, only going backward to fight the enemies you passed (Crystalline Crab and Flan).
As you’re climbing the wall at the end, you should stop a little before the top and look to see some handholds leading to an alternate path. This will just take you to a small pool of water up here, with a bunch of materials. Make the climb all the way to the top now and shoot the large rocks there, with one covering your way forward and the other allowing you to get more materials. More climbing will ensue, and then you’ll be back in the proper part of the mine.
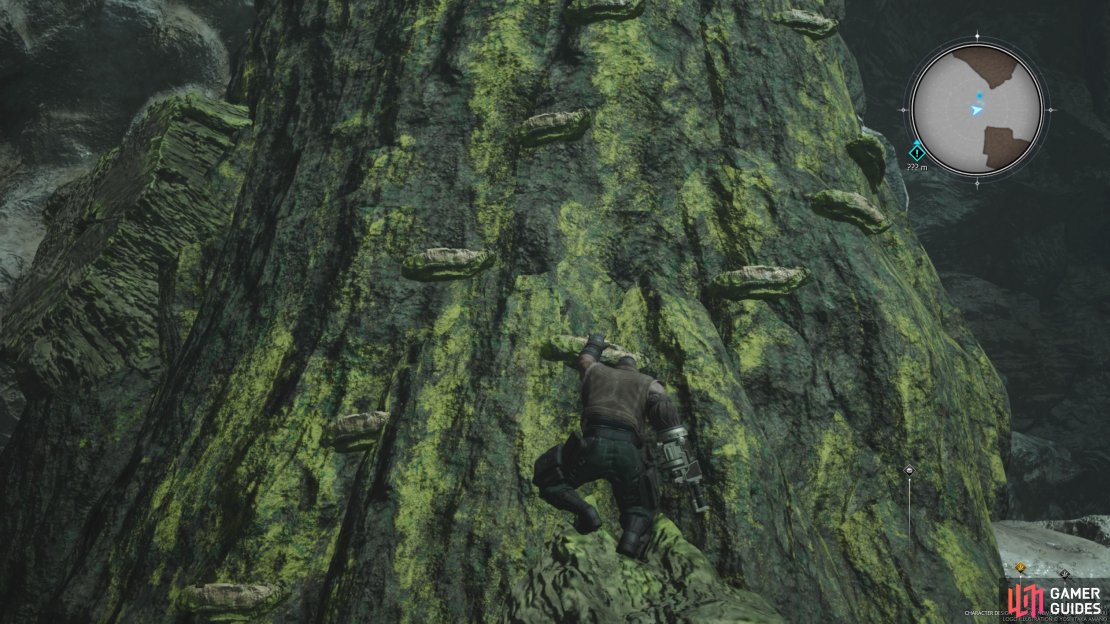
(1 of 3) You’ll have to do some climbing to get out of the initial area.
Mine Depths - Upper Layer
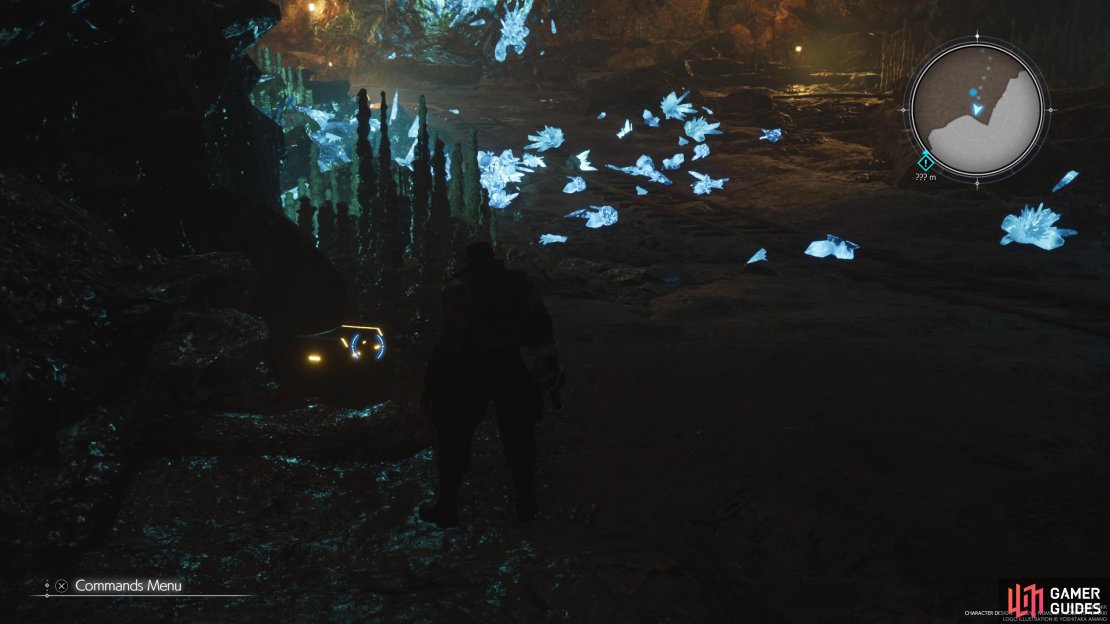
Follow the trail to a room with an Archdragon waiting for you, so either fight it or sneak around the creature. The initial large area doesn’t have anything in it, other than more crystals to shoot with Barret. As you continue west, though, you’ll find more Crawlers off to the south, and they will be guarding a chest with 5 ![]() Beast Bones inside it. The path to the north has nothing, although some more Crawlers are lurking about there.
Beast Bones inside it. The path to the north has nothing, although some more Crawlers are lurking about there.
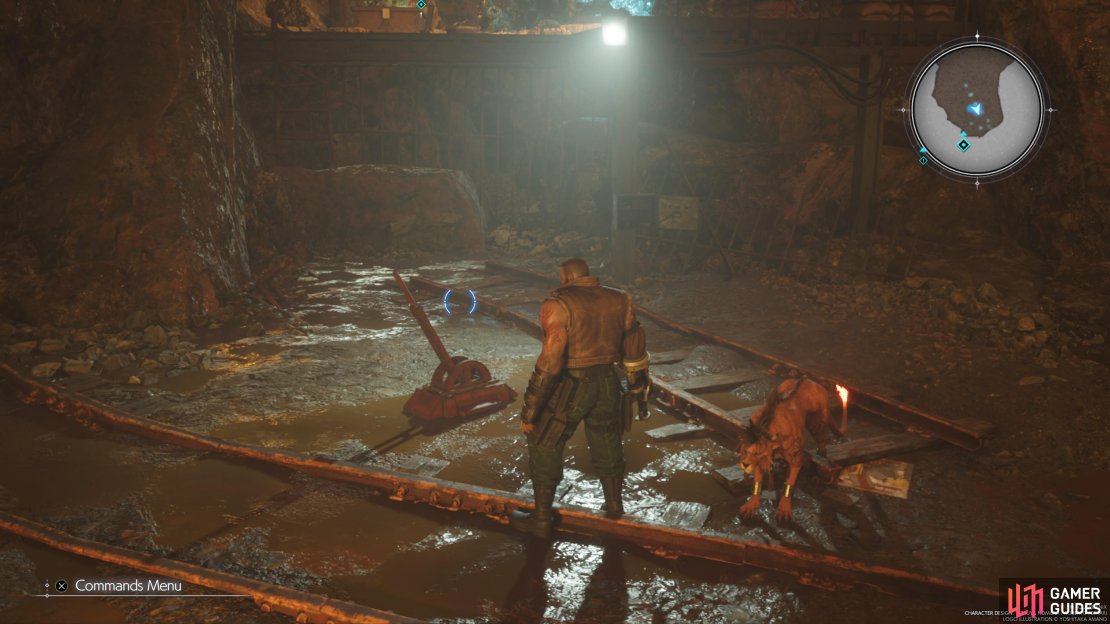
You will eventually happen upon another minecart and beyond that is a ledge with a chest, as well as another ledge that is the path forward. There is also a lever that you can use to switch the tracks, but for now, leave it alone. Push the minecart over to the left side, then climb up and open the chest for a ![]() Bulletproof Vest. Hop back down, push the cart back, past the junction and use the lever to switch the tracks. Push the cart forward, to the right ledge, then climb up and continue into the next area.
Bulletproof Vest. Hop back down, push the cart back, past the junction and use the lever to switch the tracks. Push the cart forward, to the right ledge, then climb up and continue into the next area.
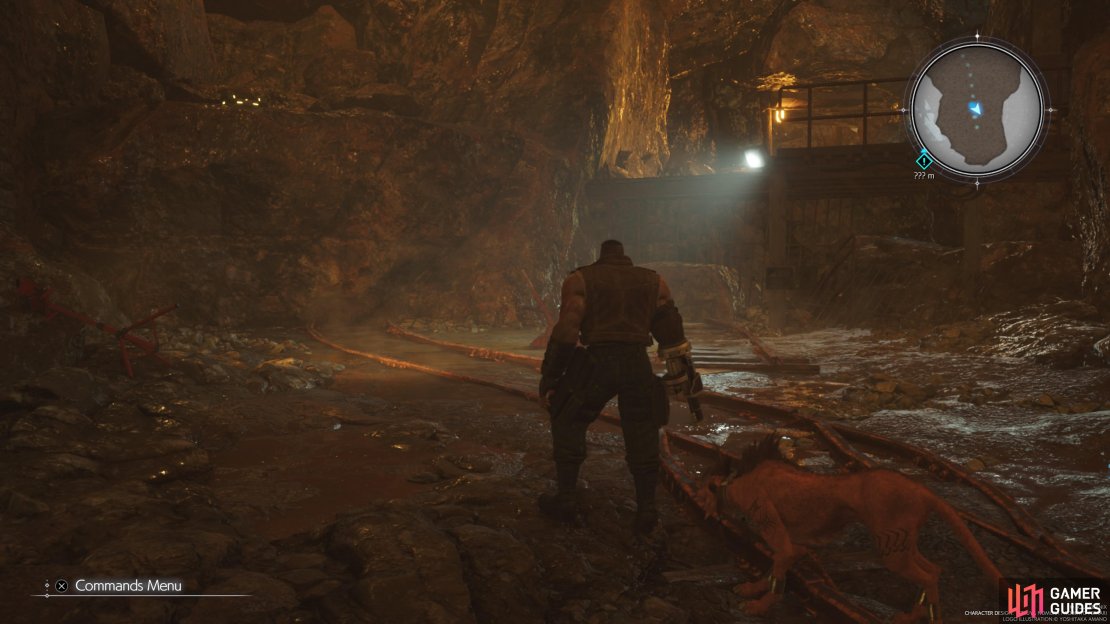


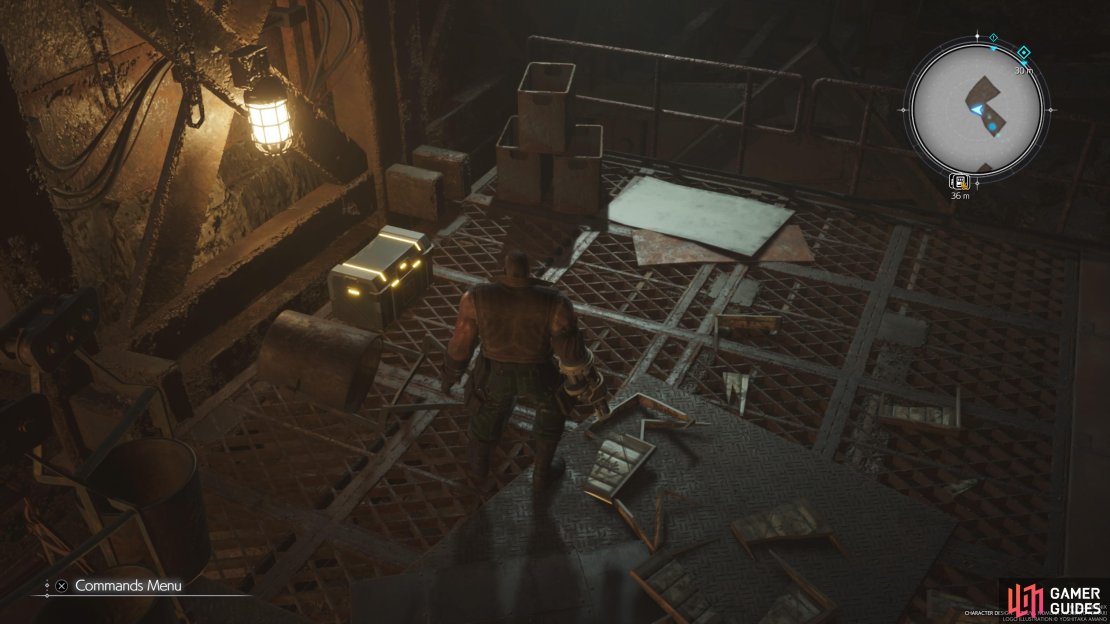
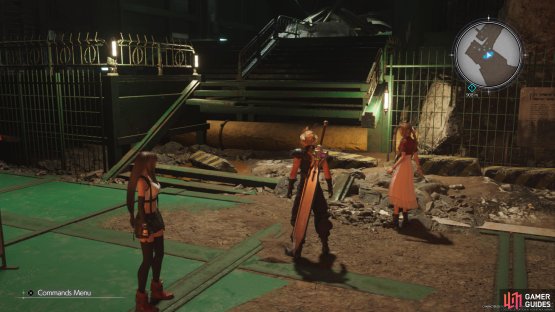
There will be an Ogre here, but it shouldn’t give you much trouble. Other than Shinra boxes and materials, there’s nothing else here, so locate the big rock to the northwest. Shoot it with Barret and you’ll meet up with the others, who are on the other side of the cliff. Their way is blocked, so you will need to find a way to help them. The only way to go is to the west, where you’ll find two ladders you can shoot with Barret. The one to the northwest leads to a little spot with a chest (1,000 Gil), while the other is the way forward.
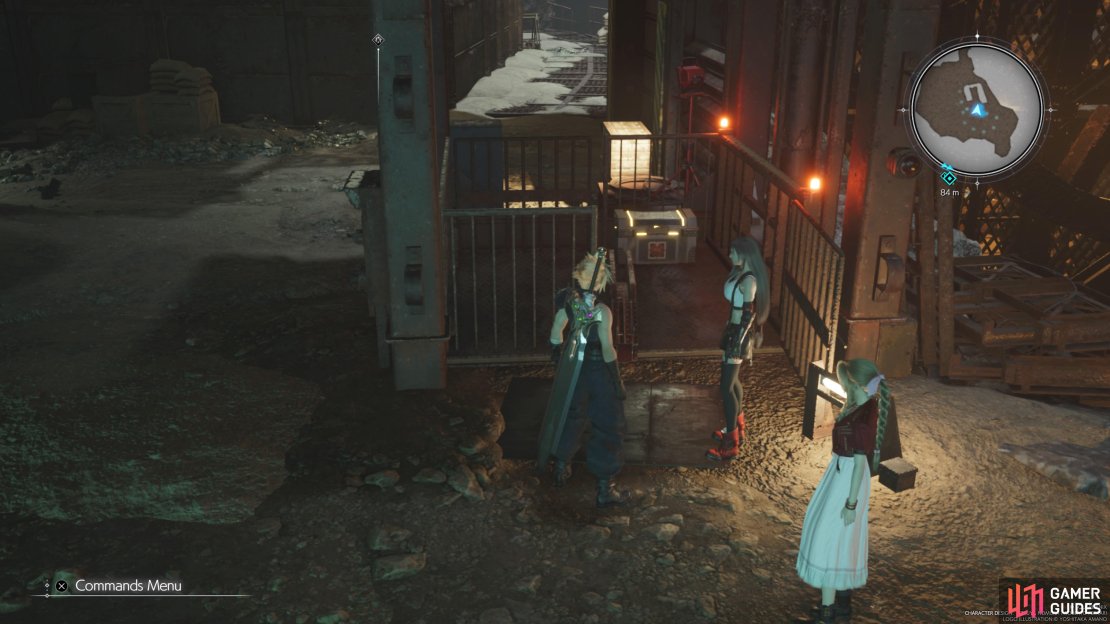
There will be a rest spot here, complete with a bench, automat, and vending machine. There is a gate at the southern end, complete with a green materia behind it, as well as another gate on the northern end. Ignore the southern one and look next to the northern gate for a lever. Open the gate with the lever, then check the narrow path to the southeast for another chest (![]() Hi-Ether). On the nearby bridge is a large rock to shoot, which clears the way for you to now push the minecart back into the rest area.
Hi-Ether). On the nearby bridge is a large rock to shoot, which clears the way for you to now push the minecart back into the rest area.
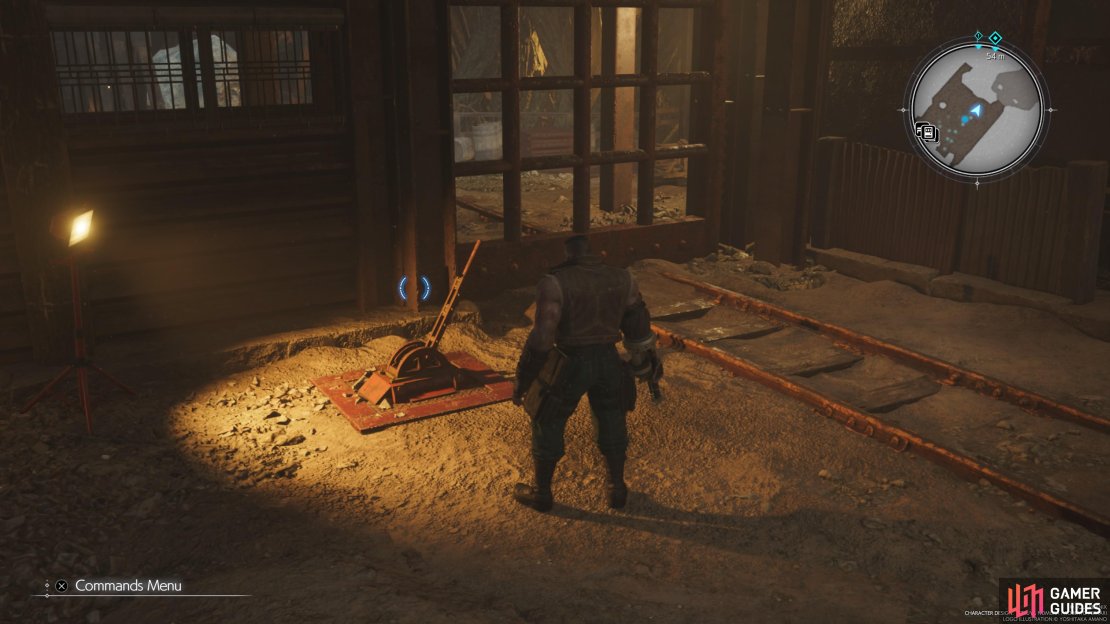
(1 of 3) Use the lever to open the northern gate in the rest room.
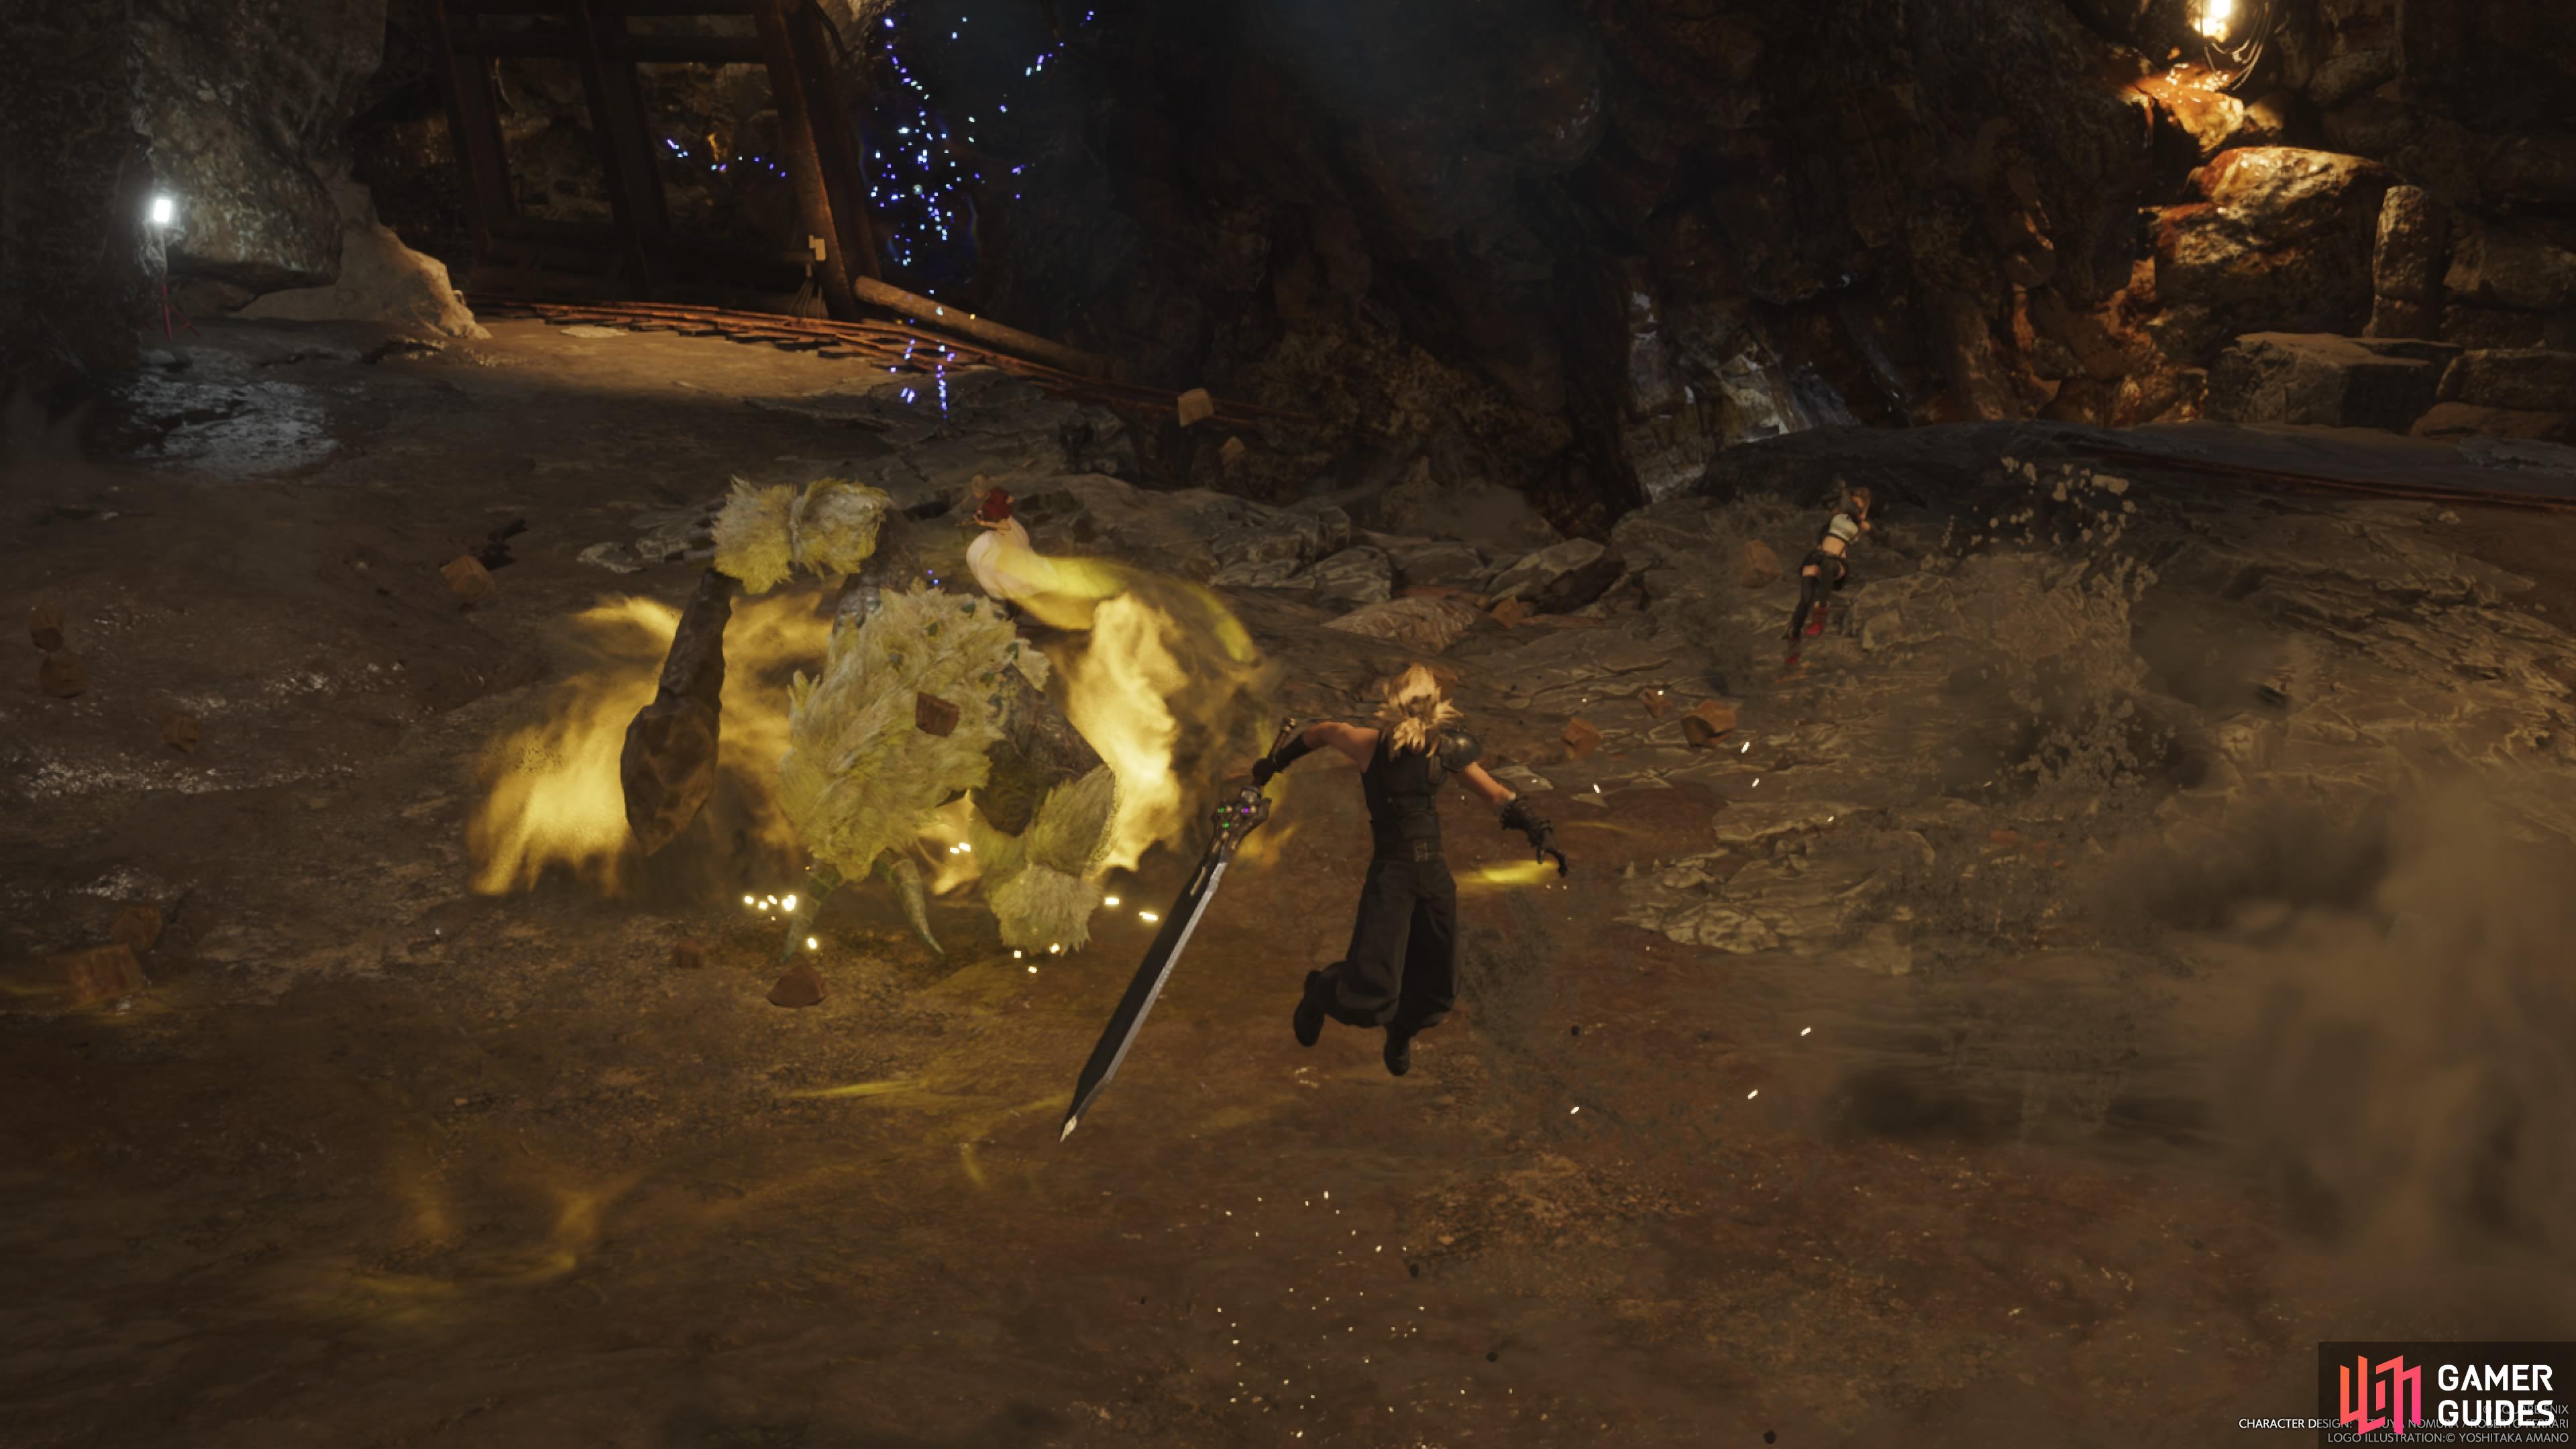
The car should go in the little alcove, allowing you to use the nearby lever to switch the tracks. From there, you can finally push the cart off the edge, dislodging the container and pulling the bridge up for the others. You can backtrack to the rest room now, where the other party will open up the southern gate for you. Pick up the materia (![]() Lightning Materia), then push onwards to a large, open room, where you’ll be fighting another boss, the
Lightning Materia), then push onwards to a large, open room, where you’ll be fighting another boss, the ![]() Mythril Golem!
Mythril Golem!
No Comments