
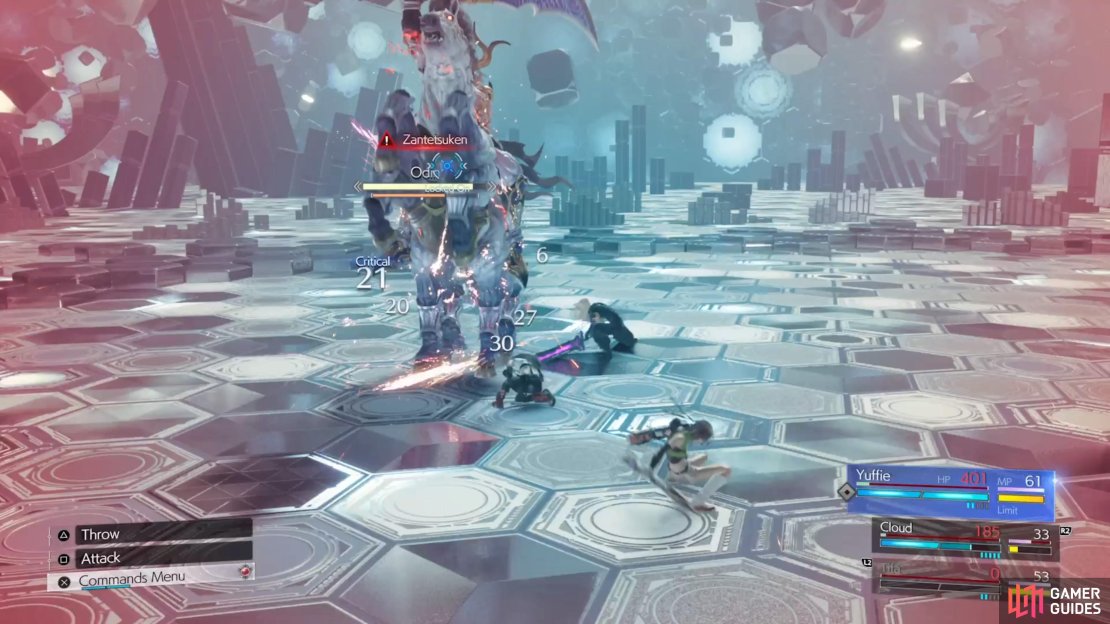
You will gain new Summon Materia in Final Fantasy VII Rebirth by defeating them in the Combat Simulator. One of the last summons you can get is Odin, but he can be a tricky fight. The reason for this is because he can use Zantetsuken, a move that will instantly kill all of your characters, due to doing 9,999 damage. This page will detail the boss fight against Odin, showcasing how you can try to avoid Zantetsuken altogether.
- How do you avoid Odin’s Zantetsuken in Final Fantasy VII Rebirth?
- You can prevent Odin from using Zantetsuken by avoiding his attacks while keeping up the assault on him. This will have him use Sleipnir’s Furor that Pressures him.
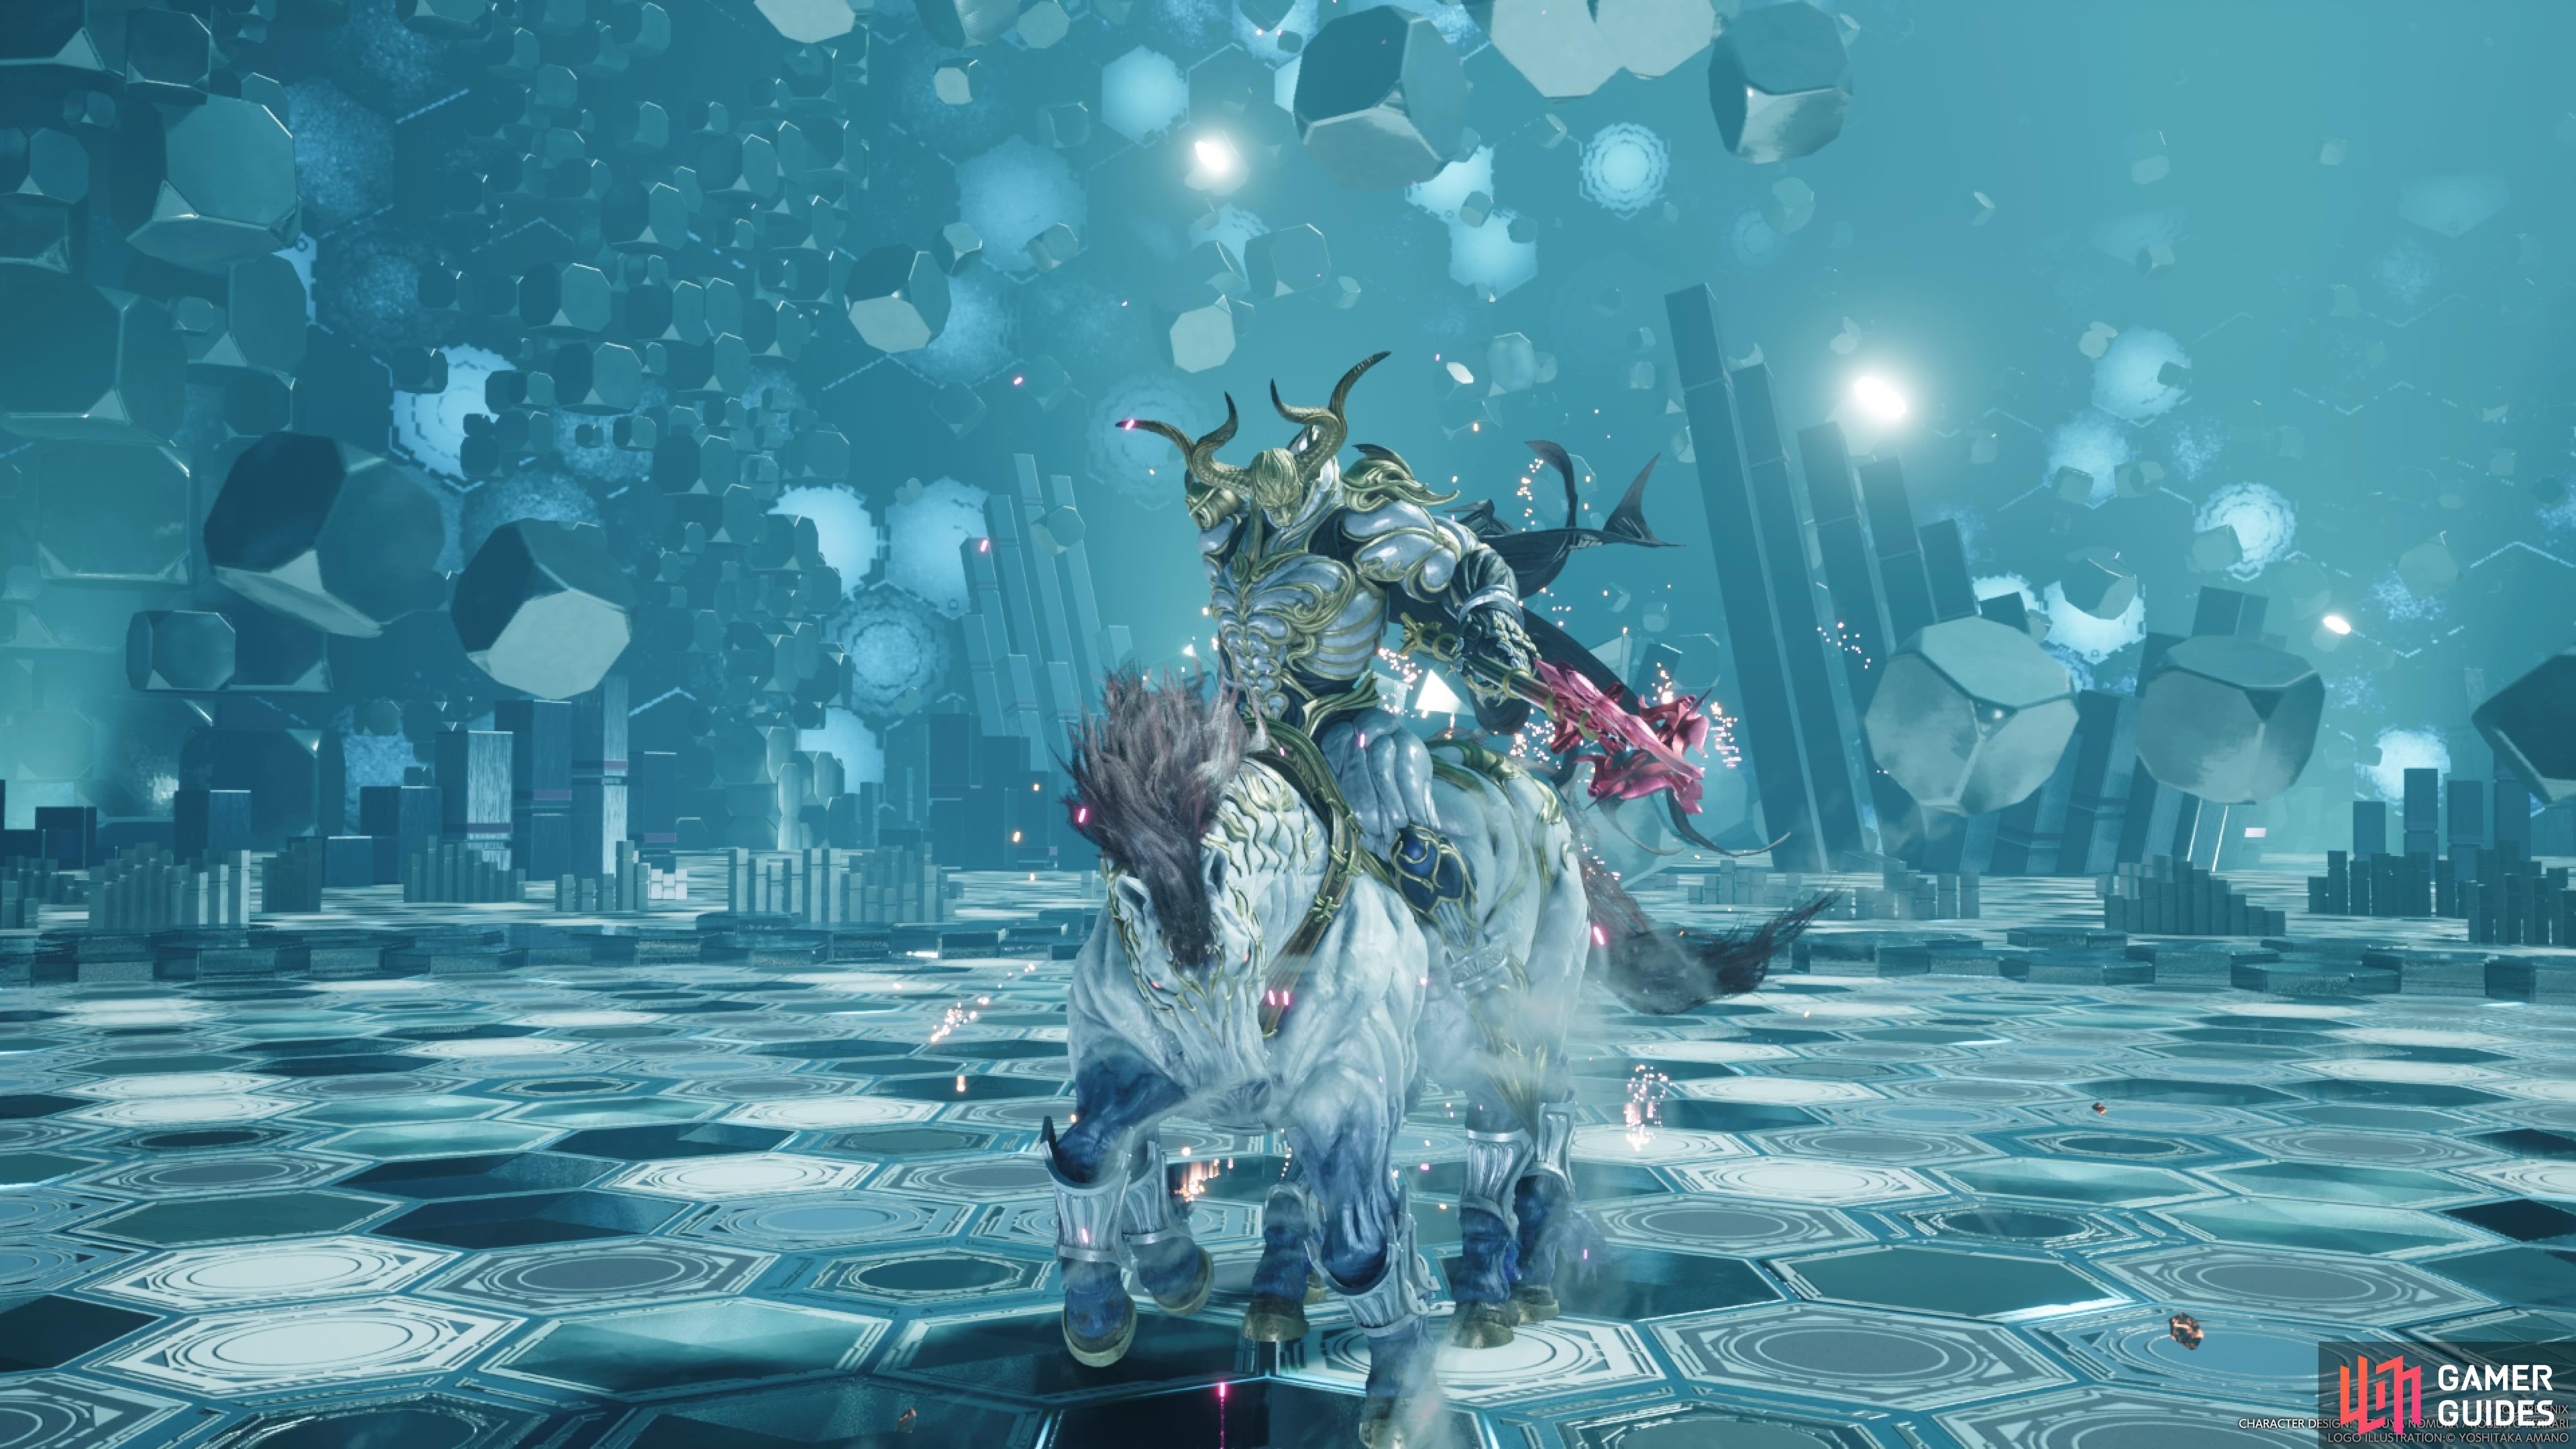
Odin can definitely be the most challenging single summon battle.
Preparations for Odin - FFVII Rebirth
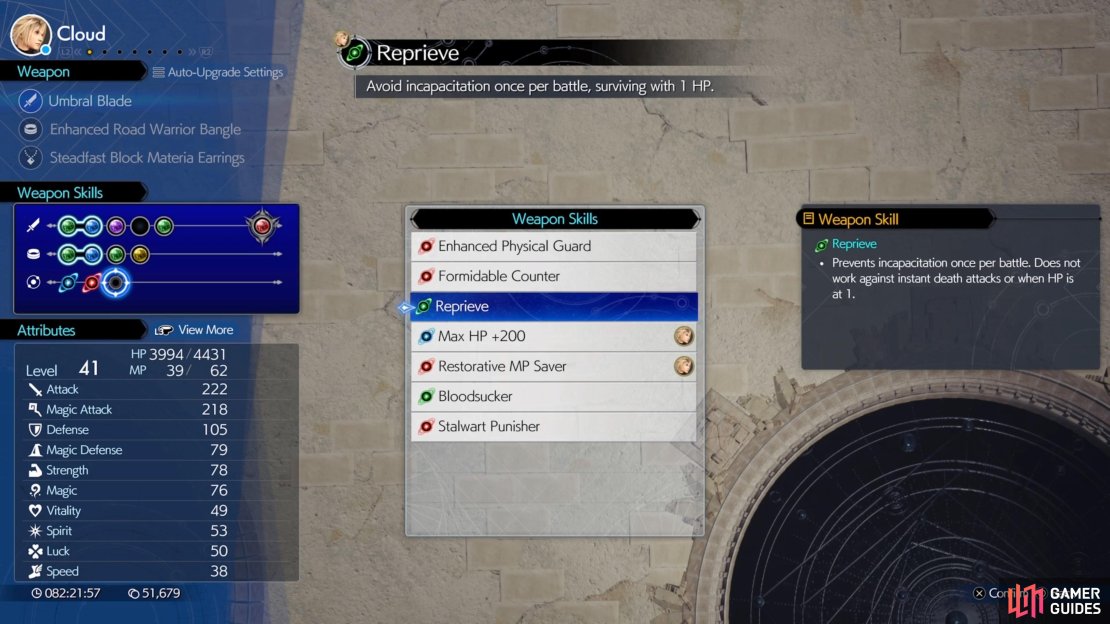
Odin can be a tough boss, simply because you need to learn the battle first and once you do that, you can prepare for it. First and foremost, if you have any weapons with ![]() Reprieve on them, equip it. Same can be said for getting it in a character’s Folio, should they have it. For those that don’t have Reprieve, then you can equip
Reprieve on them, equip it. Same can be said for getting it in a character’s Folio, should they have it. For those that don’t have Reprieve, then you can equip ![]() Revival Earrings on them. These will help you recover a little bit, just in case Odin does use Zantetsuken.
Revival Earrings on them. These will help you recover a little bit, just in case Odin does use Zantetsuken.
As long as one character can be brought back after Zantetsuken, then they can equip the Revival Materia (you should have one on everyone, though). Likewise, ![]() Phoenix is a great summon materia to use, especially if you maxed out its level via its Divine Intel. This will allow it to use Reraise on your characters for an additional chance to come back and save the fight. Otherwise, you can go with your staple materia set here, although elemental magic ones aren’t going to do anything, as Odin isn’t weak against anything.
Phoenix is a great summon materia to use, especially if you maxed out its level via its Divine Intel. This will allow it to use Reraise on your characters for an additional chance to come back and save the fight. Otherwise, you can go with your staple materia set here, although elemental magic ones aren’t going to do anything, as Odin isn’t weak against anything.
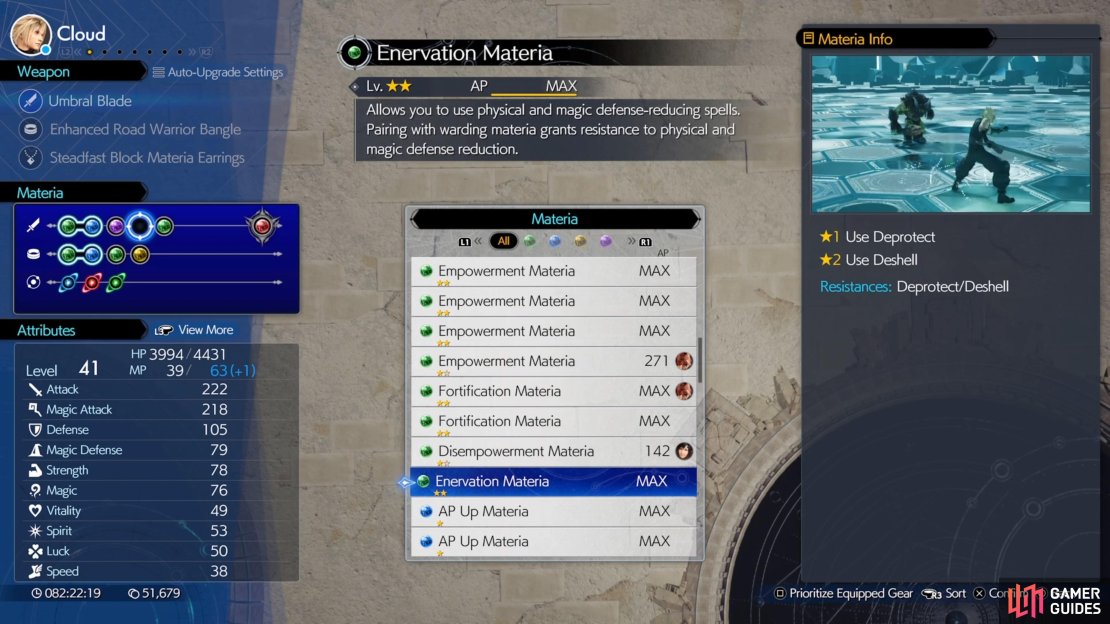
You will also want to outfit someone with a ![]() Disempowerment Materia and someone else with an
Disempowerment Materia and someone else with an ![]() Enervation Materia. Preferably, these should be mastered, so you have access to both debuff spells. If you have more than one of them, feel free to toss them on other characters, too, as it definitely helps.
Enervation Materia. Preferably, these should be mastered, so you have access to both debuff spells. If you have more than one of them, feel free to toss them on other characters, too, as it definitely helps.
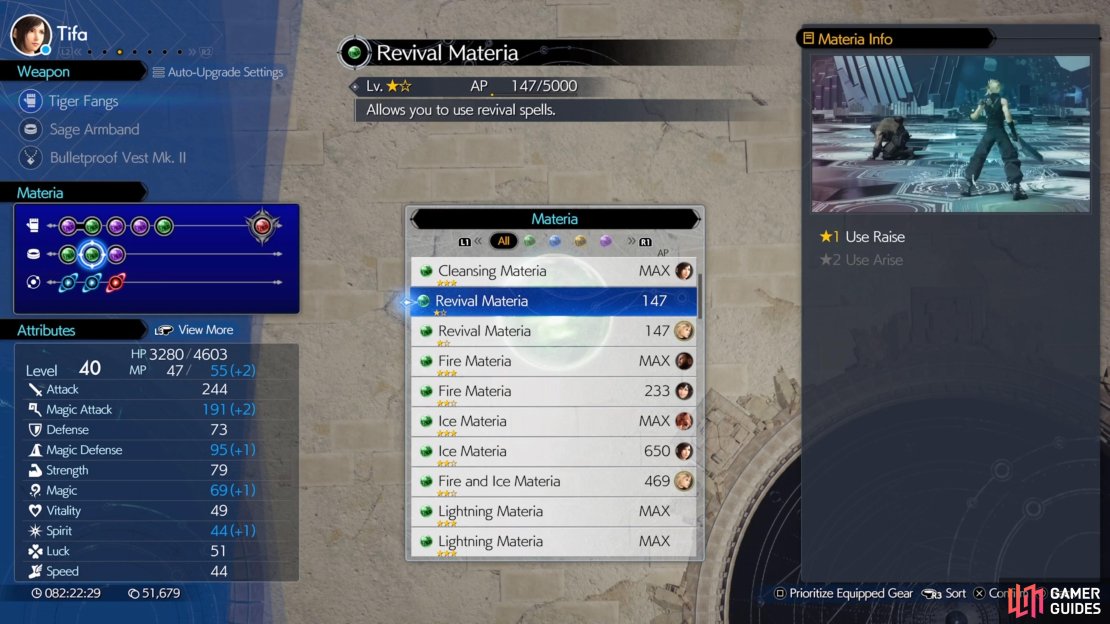
(1 of 3) Having Revival Materia on each of your characters is a good idea.
All of Odin’s Attacks in FF7 Rebirth
Odin will go through different phases in this battle, which will have him change weapons. Each phase will have its own moves, with some of them in the last phase just being combinations of earlier ones.
Spear Only
-
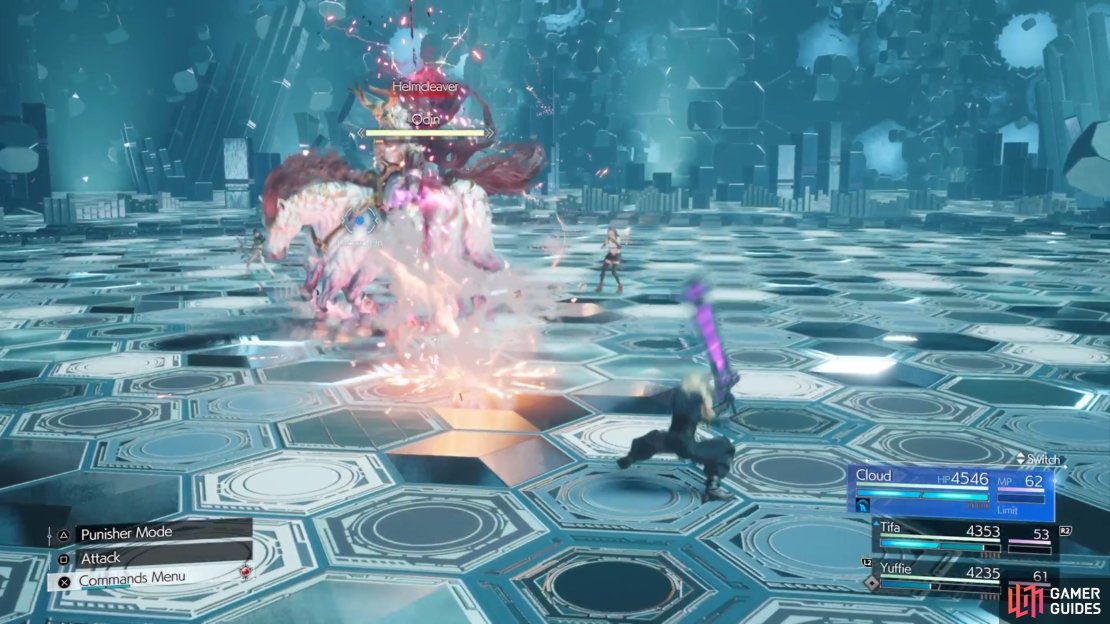
Helmcleaver: Odin will raise his spear into the air, then bring it down, slamming it into the ground. This is similar to his normal attack in this mode.
-
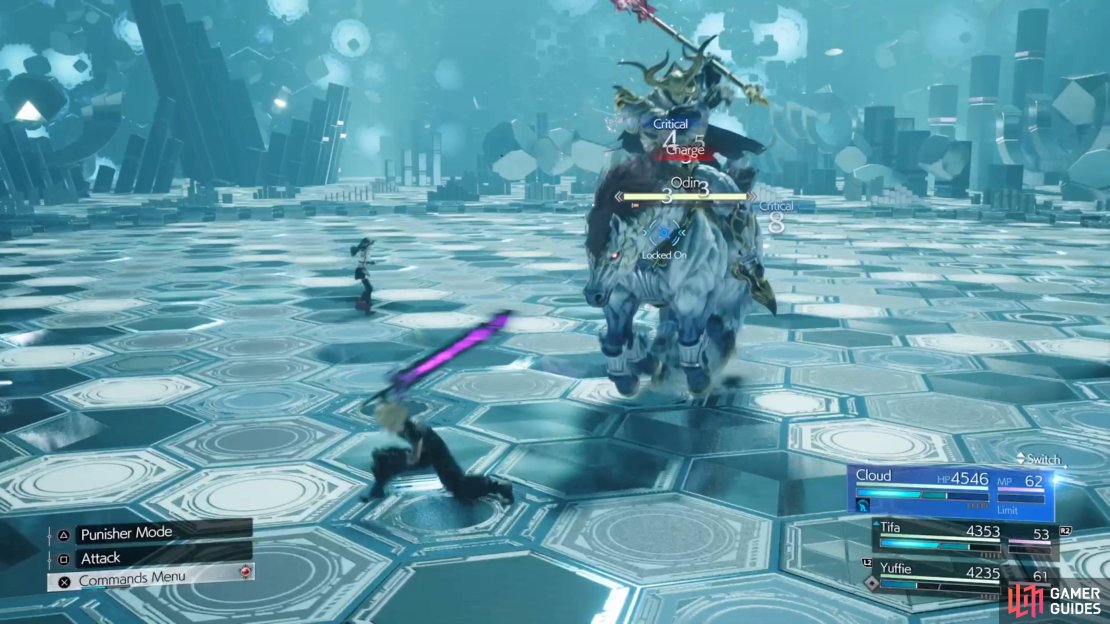
Charge: Odin will charge towards one of your characters and do a quick slash with the spear.
-
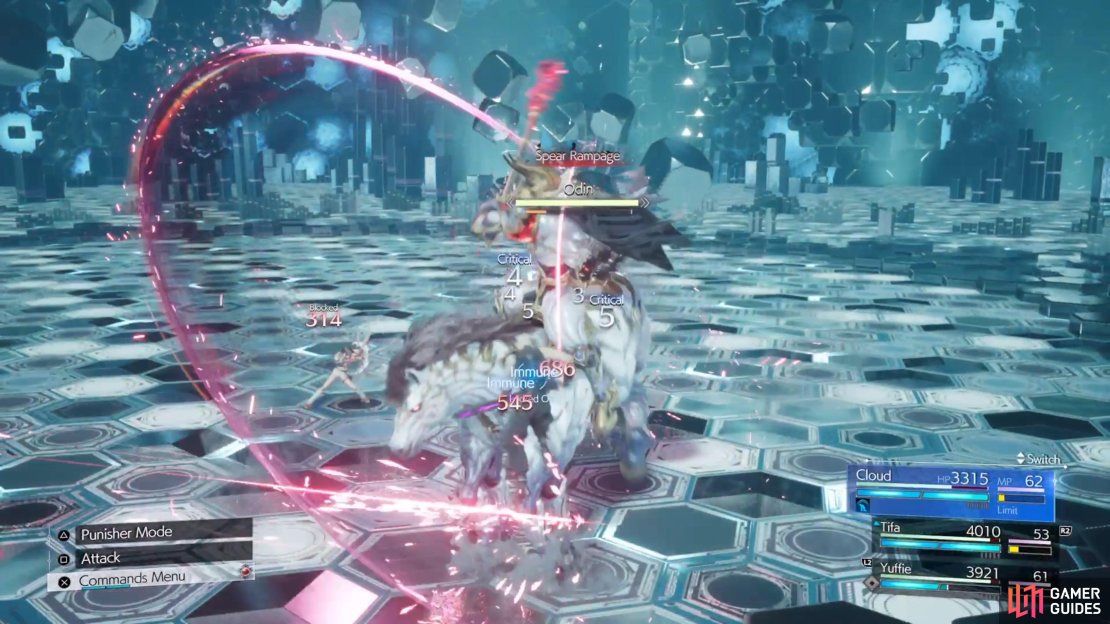
Spear Rampage: One of the more annoying moves in the first phase, Odin will do a quick spin (this can hurt) and then attempt to strike one of your characters with his spear.
-
Soaring Spear: Odin will simply throw his spear at you from a distance. This is pretty quick, so it’s hard to know it’s coming sometimes.
-
Scintillating Spear: Pretty much the same move as Soaring Spear, only Odin’s spear seems to have an aura around it, which might increase the range a tiny bit when it hits the ground.
(1 of 3) The goal of the battle is to try and not get hit as much as possible.
-
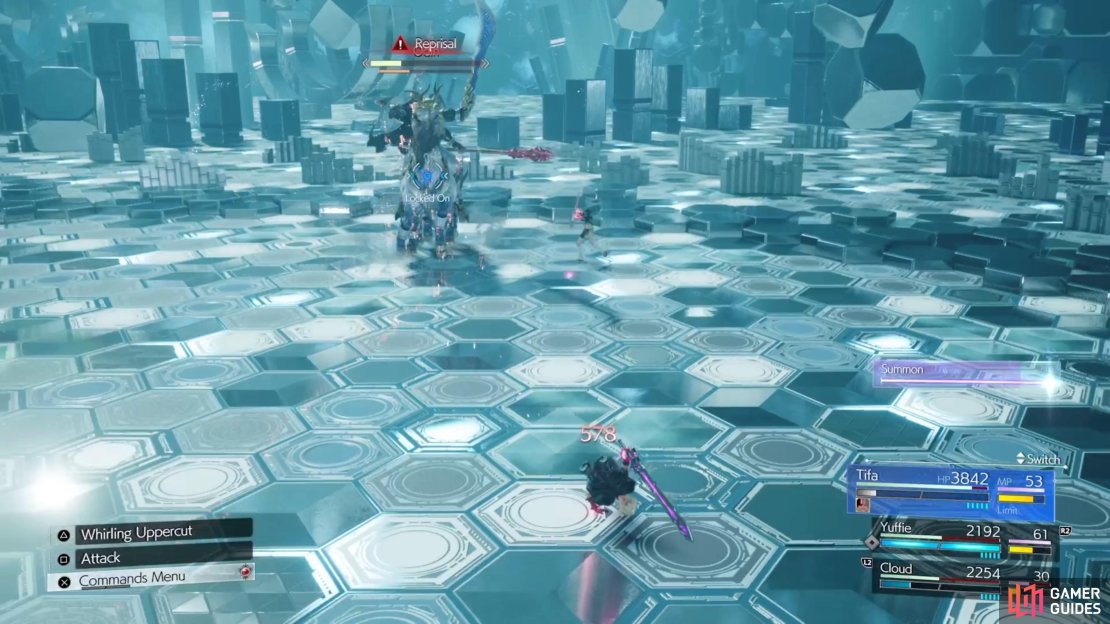
Reprisal: This is something that you will see throughout the entire fight. Sometimes, whenever you use something that costs ATB, Odin will simply instantly counter it with this move. If it’s a melee attack, then Odin will use his current weapon. If it’s a ranged ability, then Odin will very quickly toss a spear at you. There’s really no way to know what triggers this, as he will sometimes stop doing one of his moves and instantly use this.
-
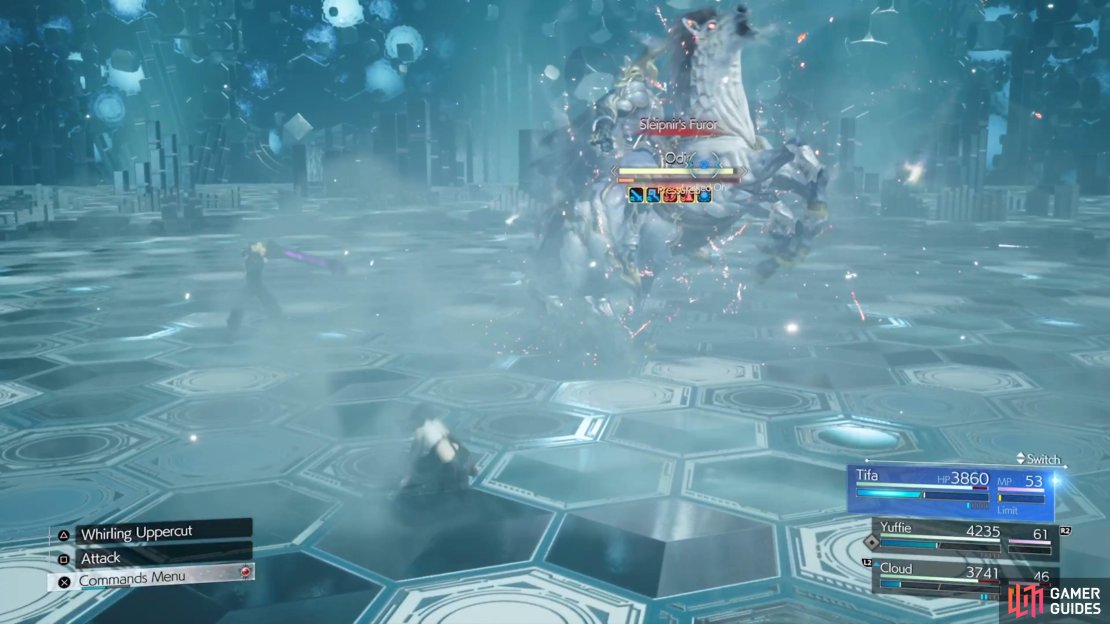
Sleipnir’s Furor: This is what you want to see, as it means you’re doing the battle right. Odin will buff himself and become pressured, so this will be your chance to get him staggered. Note that whenever he buffs himself, it can hurt you if you’re too close.
-
Gjallarhorn’s Warning: The one thing you never want to see in this battle, as it signals that Zantetsuken will be coming.
Sword Only
-
Lord of the Blade: This is the move you will see whenever Odin phase shifts and draws out his sword. It appears to happen at around 60% or so HP.
-
Tyrannical Onslaught: Odin will initially do a quick sword swipe, then delay by a second before following up with another two slashes.
-
Illusory Blade: Odin will charge up his sword and do two sword slashes to the side.
-
Shimmering Blade:
 Unblockable. Odin will do a rising sword slash and if it hits, he’ll follow up with more slashes.

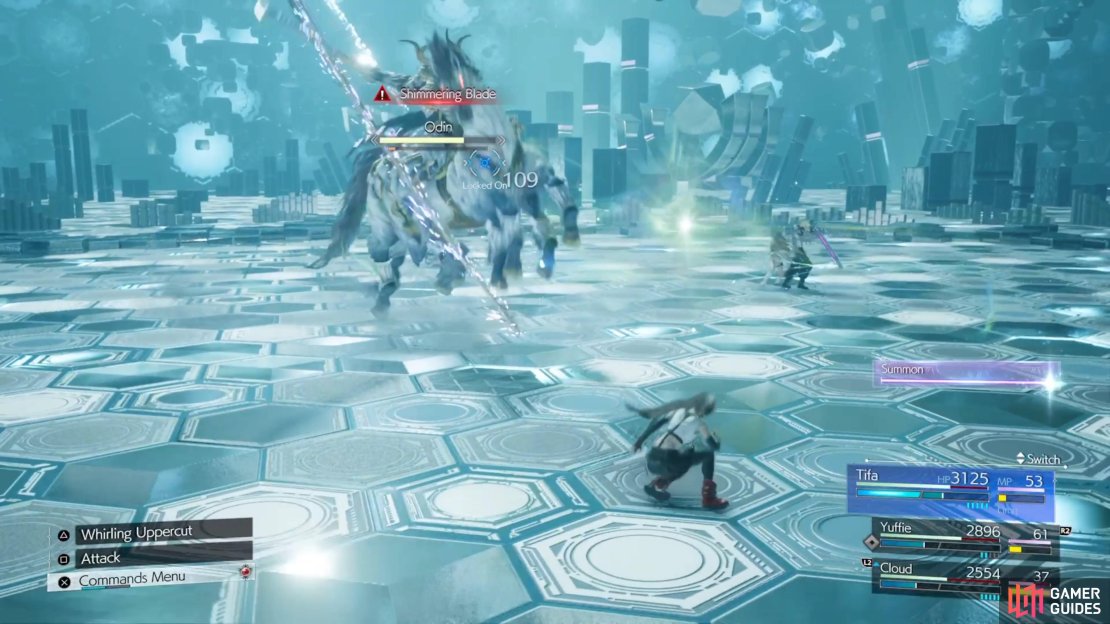
(1 of 4) There are multiple attacks with more than one hit in the second phase.
-
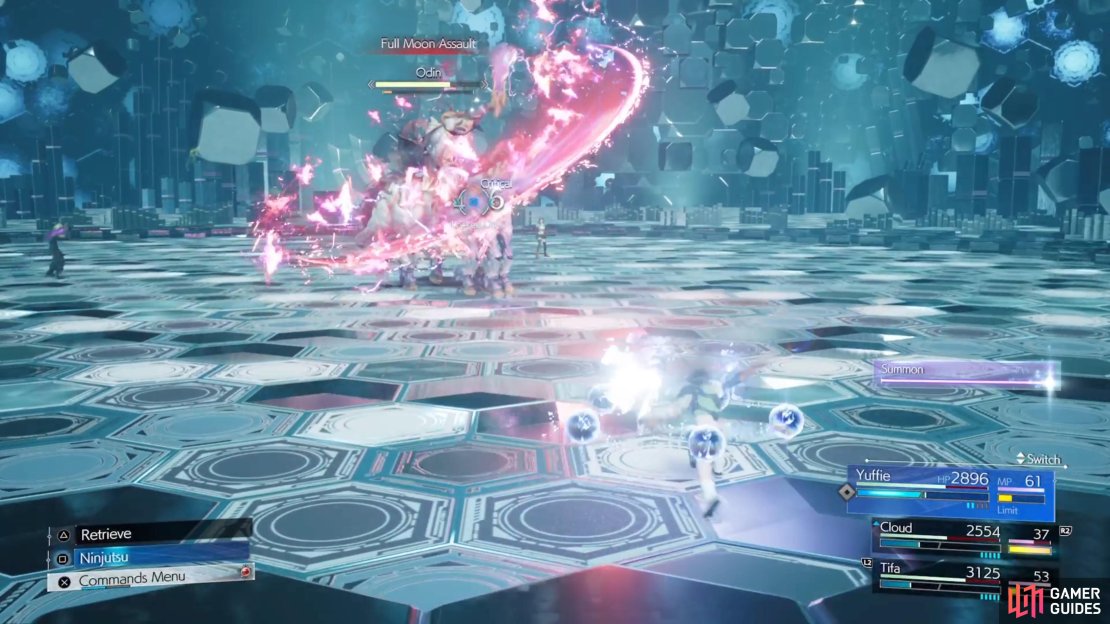
Full Moon Assault: Pretty much the same as Tyrannical Onslaught, but the sword will have some flames on it.
-
Leaping Cleave: Odin will jump into the air, targeting one of your characters, then come down with an overhead sword slash. Simply dodge towards him to avoid the move.
-
Swift Punishment: Odin will do a jump attack towards one of your characters, trying to slash them.
Sword and Spear
-
Ruthless Conquest: Combination of Full Moon Assault and Helmcleaver. There’s another variation of this called Allmighter’s
 Fury.
Fury. -
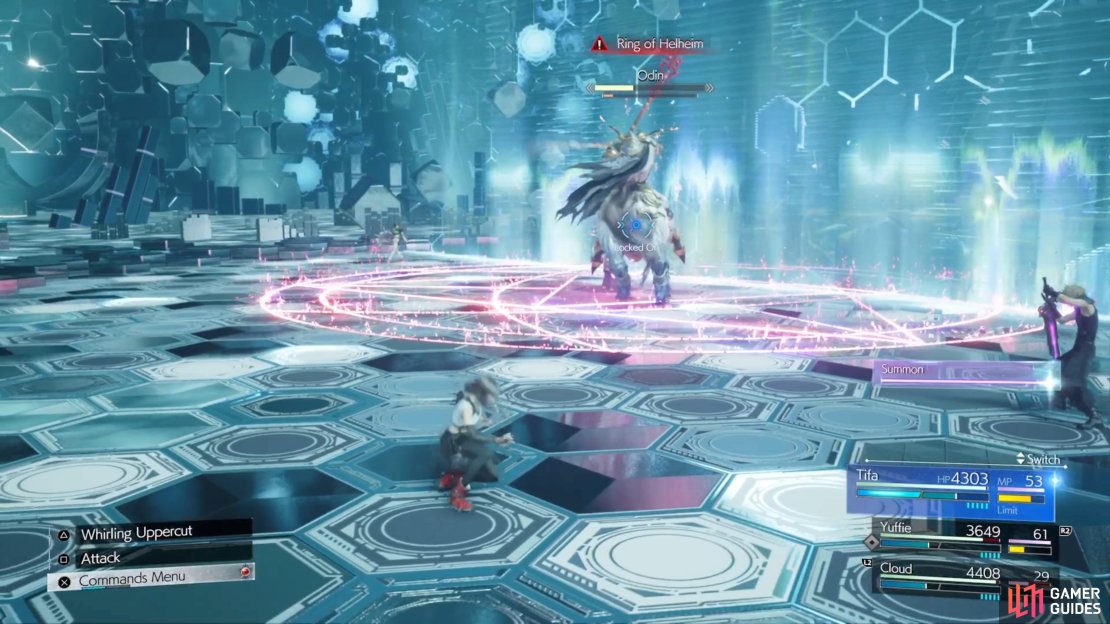
Ring of the Helheim: Odin conjures a circle on the ground around him, which will have a huge explosion inside its range after a few seconds. Simply move away as soon as you see this move.
-
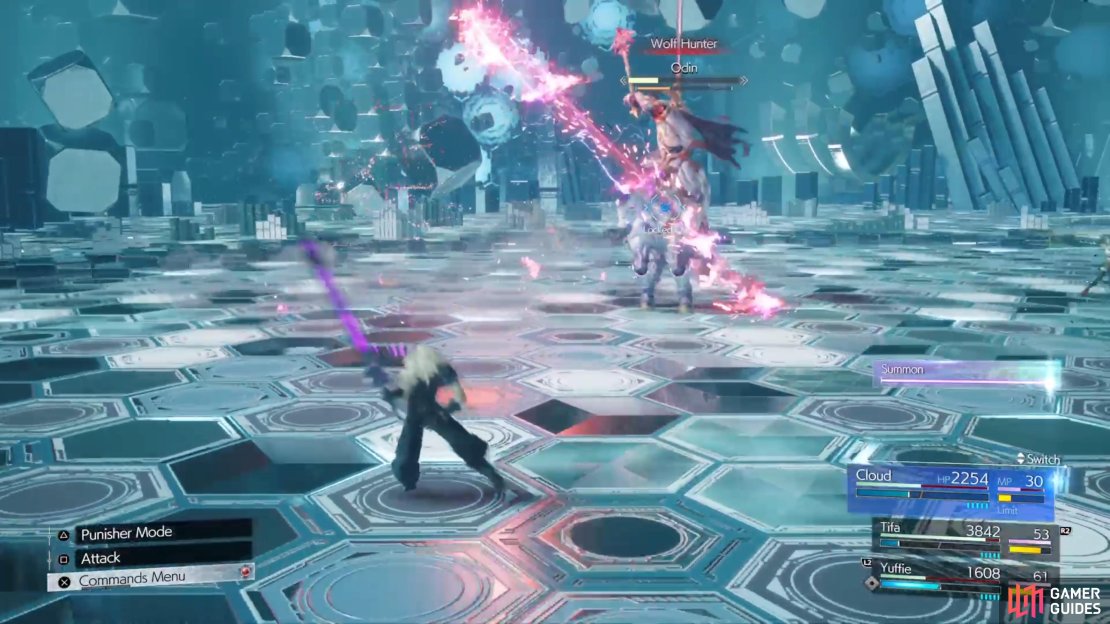
Sleipnir’s Grace: Combination of Spear Rampage and Swift Punishment. There’s another variation of this called Wolf Hunter.
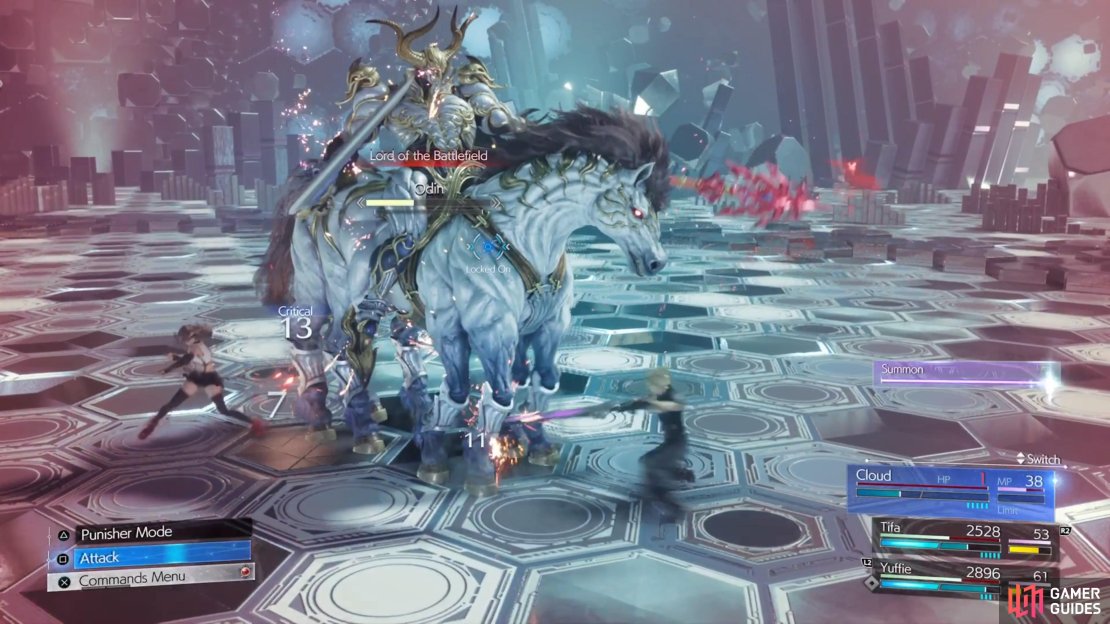

(1 of 7) Lord of the Battlefield is the last phase, where Odin uses both weapons.
-
Rampaging Warhorse: Combination of Charge and Scintillating Spear. There’s another variation of this called Charging Steed.
-
Grim Executioner: Combo of Scintillating Spear and Leaping Cleave.
-
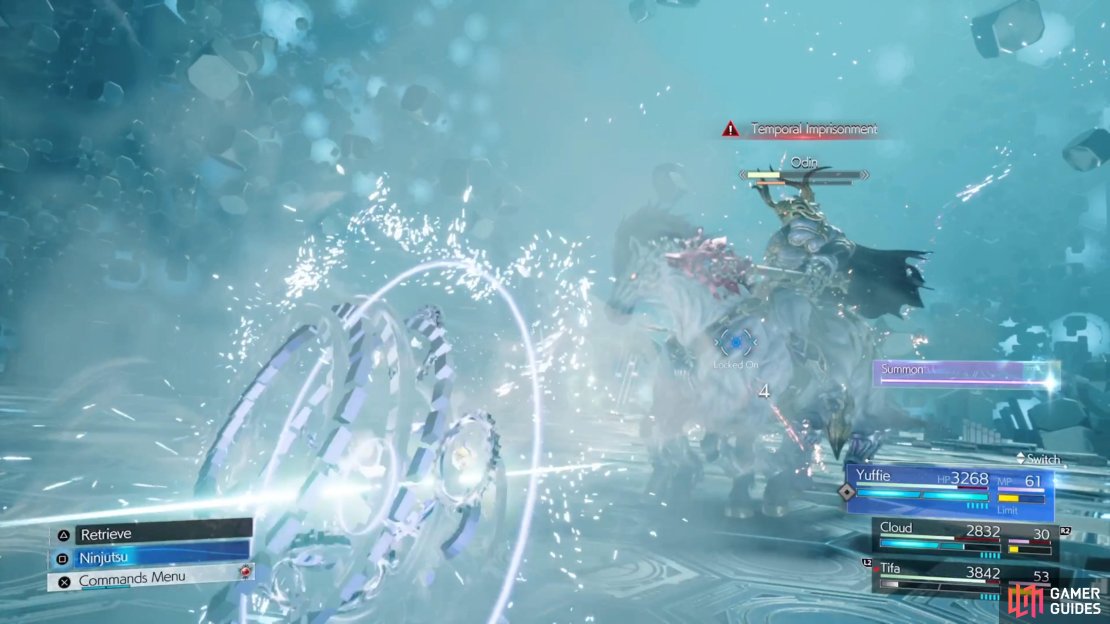
Temporal Imprisonment: Unblockable. Odin will stand there and seemingly do nothing, but there will be a little scene, with one of your characters being inflicted with
 Stop.
Stop.
How to Avoid Odin’s Zantetsuken - Final Fantasy VII Rebirth
The three main rules of this fight are to not get hit, strike Odin with offensive abilities that use ATB, and apply debuffs to him. You need a good balance of all three here, as just concentrating on one thing, like not getting hit, will not get the job done. If you see Odin use Gjallarhorn’s Warning at all, then you might as well restart the fight, as Zantetsuken is coming. Odin will be susceptible to ![]() Deprotect,
Deprotect, ![]() Deshell,
Deshell, ![]() Debrave, and
Debrave, and ![]() Defaith. The first two will be on the Enervation Materia, while the latter two are on the Disempowerment Materia.
Defaith. The first two will be on the Enervation Materia, while the latter two are on the Disempowerment Materia.

(1 of 3) Using debuffs on Odin will help keep him from using Zantetsuken.
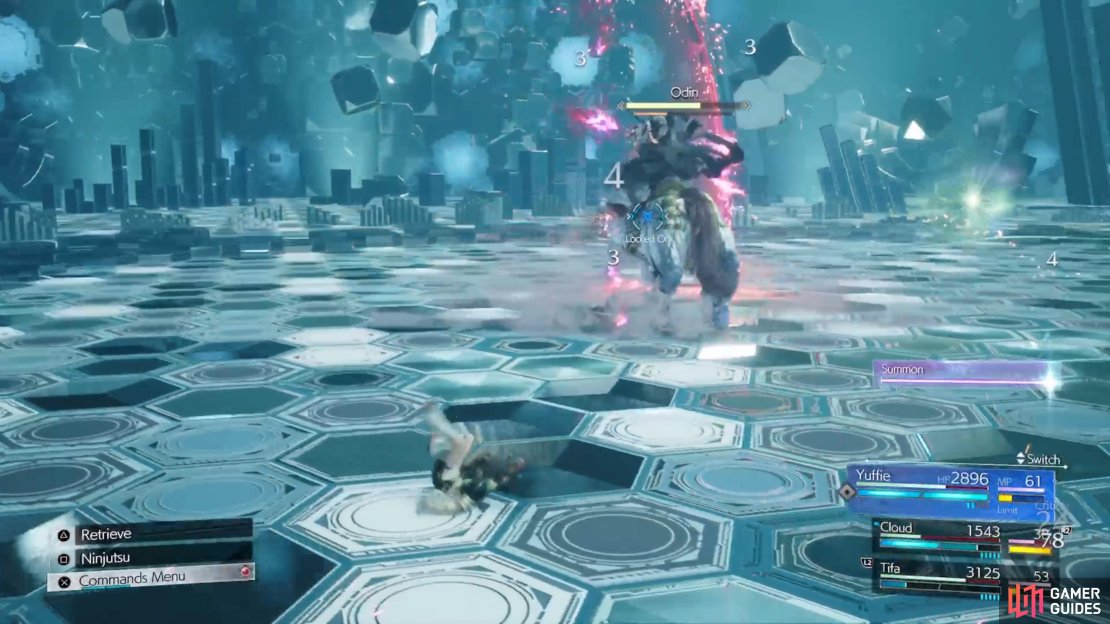
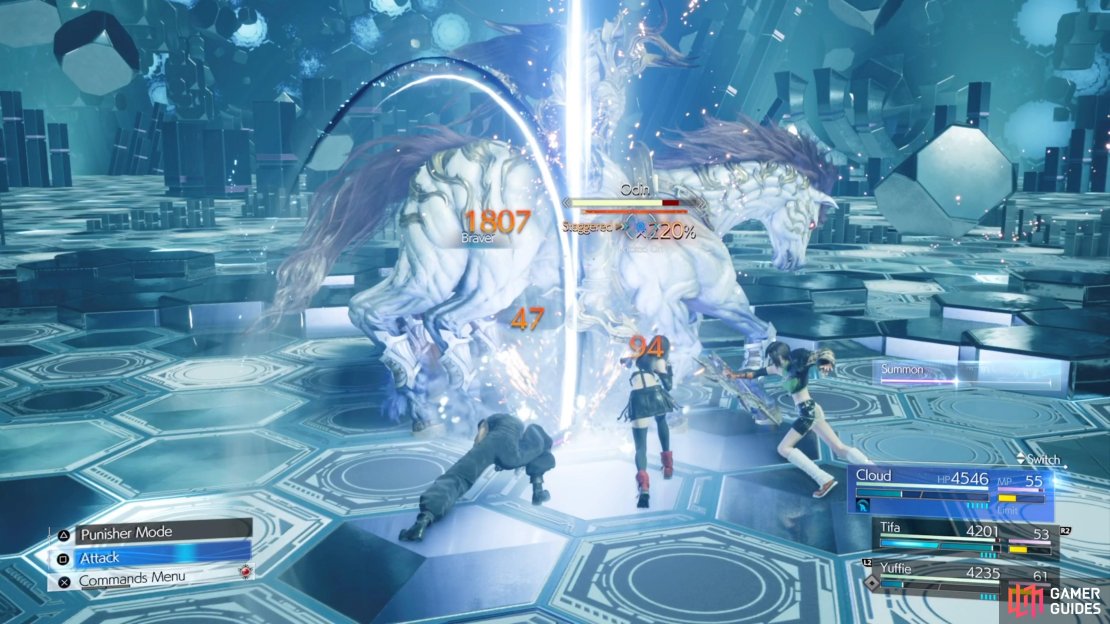
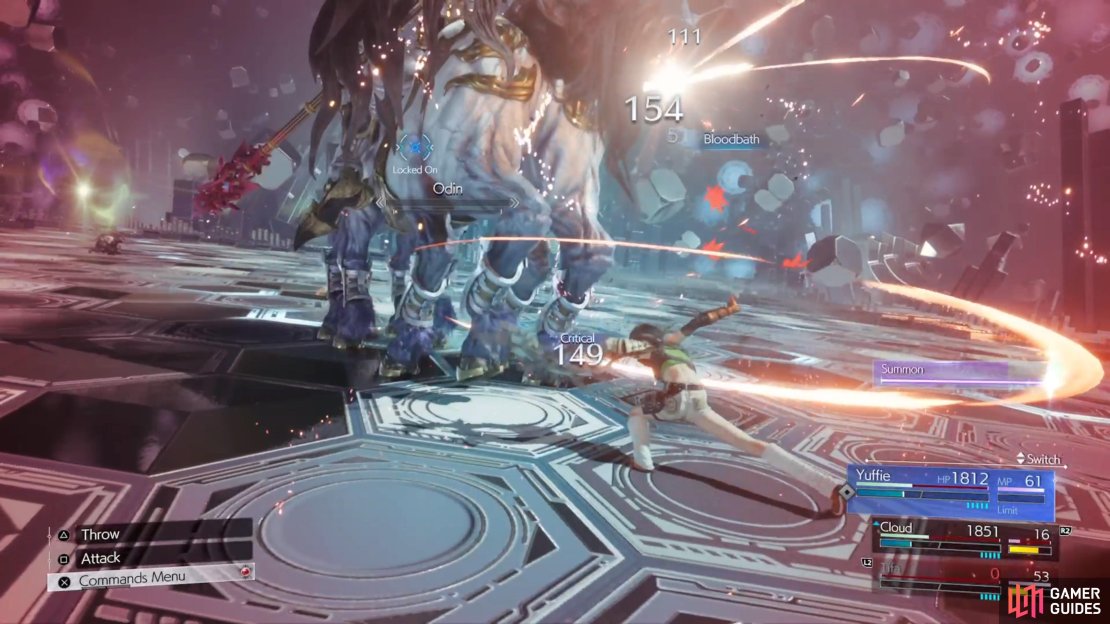
The hardest part will definitely be not getting hit, as Odin has plenty of attacks in his arsenal and things just get more challenging to avoid in the final phase of the fight. The next part is hitting Odin with ATB abilities, but there’s a catch with this. Odin has an ability called Reprisal, which can completely negate the attack being used. It can be done from melee range, as well as from far away, with there being two different animations. The move is so quick that you’re almost guaranteed to get hit.
The only problem with Reprisal is that it’s not exactly clear what triggers it. A good idea is to only use ATB attacks during the middle of Odin’s moves, or right at the tail end of them. You know you’re doing things right if you see Odin use Sleipnir’s Furor. This will grant a few buffs to Odin, but it also pressures him at the same time, allowing you to continue the attacks and try to stagger Odin. The battle will change slightly as you continue lowering his HP.
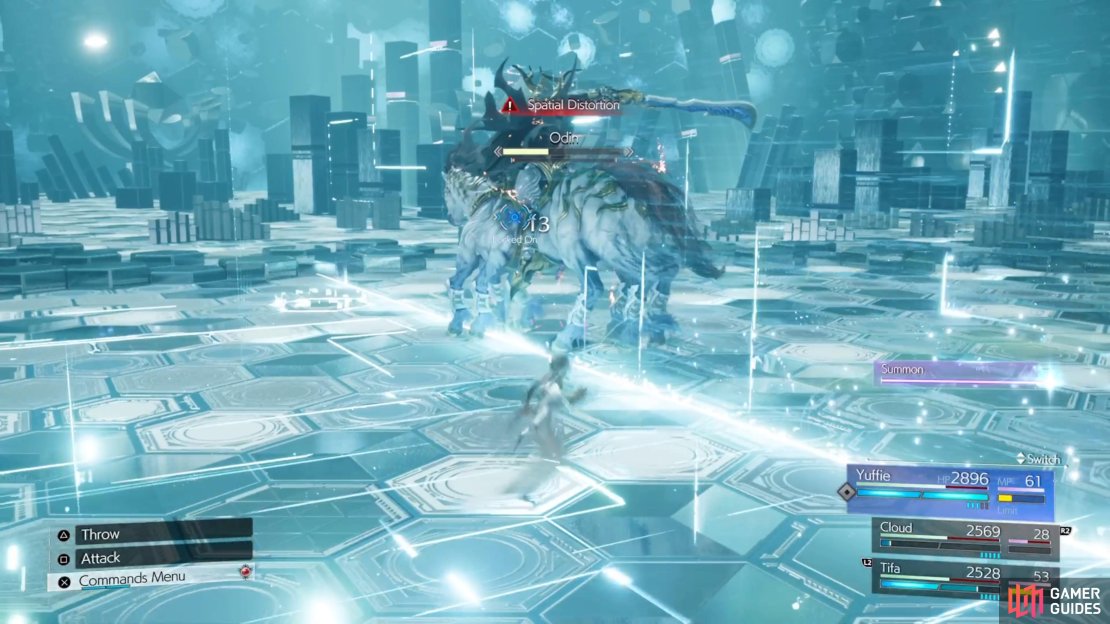
At around 60% HP, he’ll put away his spear and take out a sword, causing Odin to use new moves. One particular move to watch out for in this phase is Spatial Distortion, where Odin essentially cuts the battlefield in half. You will want to be on the side that’s clear of any distortion, as this will damage you and also inflict ![]() Slow. When you’ve brought his HP down to around 40% or so, he will use Lord of the Battlefield and bring out both weapons at the same time.
Slow. When you’ve brought his HP down to around 40% or so, he will use Lord of the Battlefield and bring out both weapons at the same time.
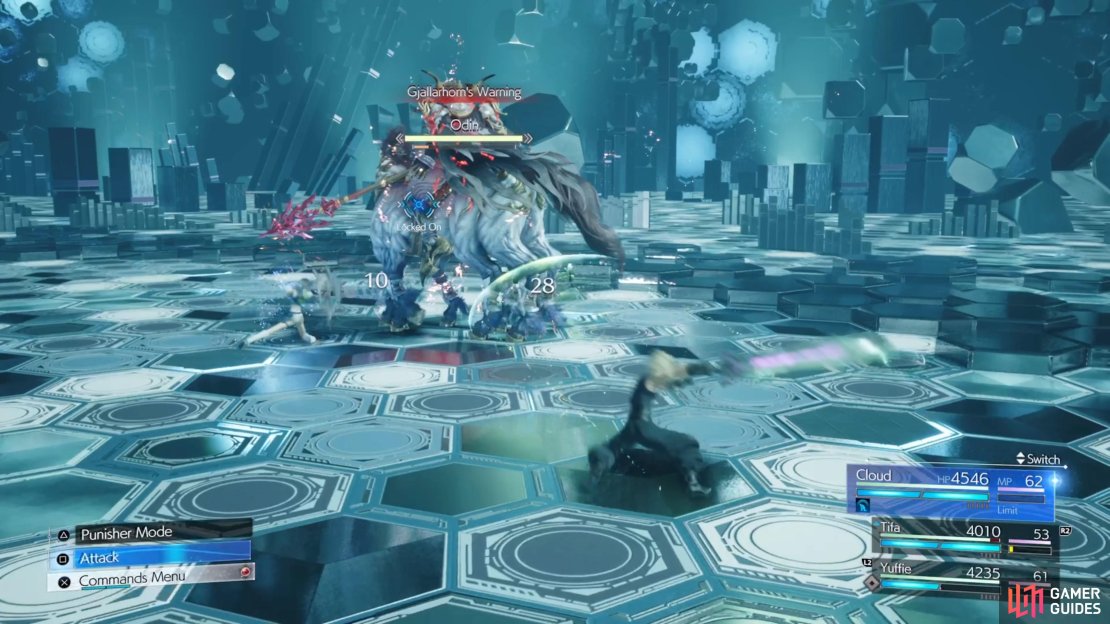
(1 of 3) Gjallarhorn’s Warning is just that, which means he’ll be using Zantetsuken soon.
Most of the moves during this final phase will just be combinations of the other abilities he’s done up to this point. For example, Ruthless Conquest is simply Full Moon Assault, with Helmcleaver tacked on after the slashes. One of the new moves, though, is Ring of the Helheim, where Odin conjures a circle on the ground around him, which will explode after a few seconds. So, you’ll be dodging the attacks a little more, meaning you’ll need to keep on your toes. Temporal Imprisonment is another new move, where Odin basically inflicts Stop on someone.
It may take a good bit to get the feel of the battle down, but once you have, it’s a hectic fight to the finish. Your reward, like all other summon battles, is the Odin Materia!
No Comments